Introduction
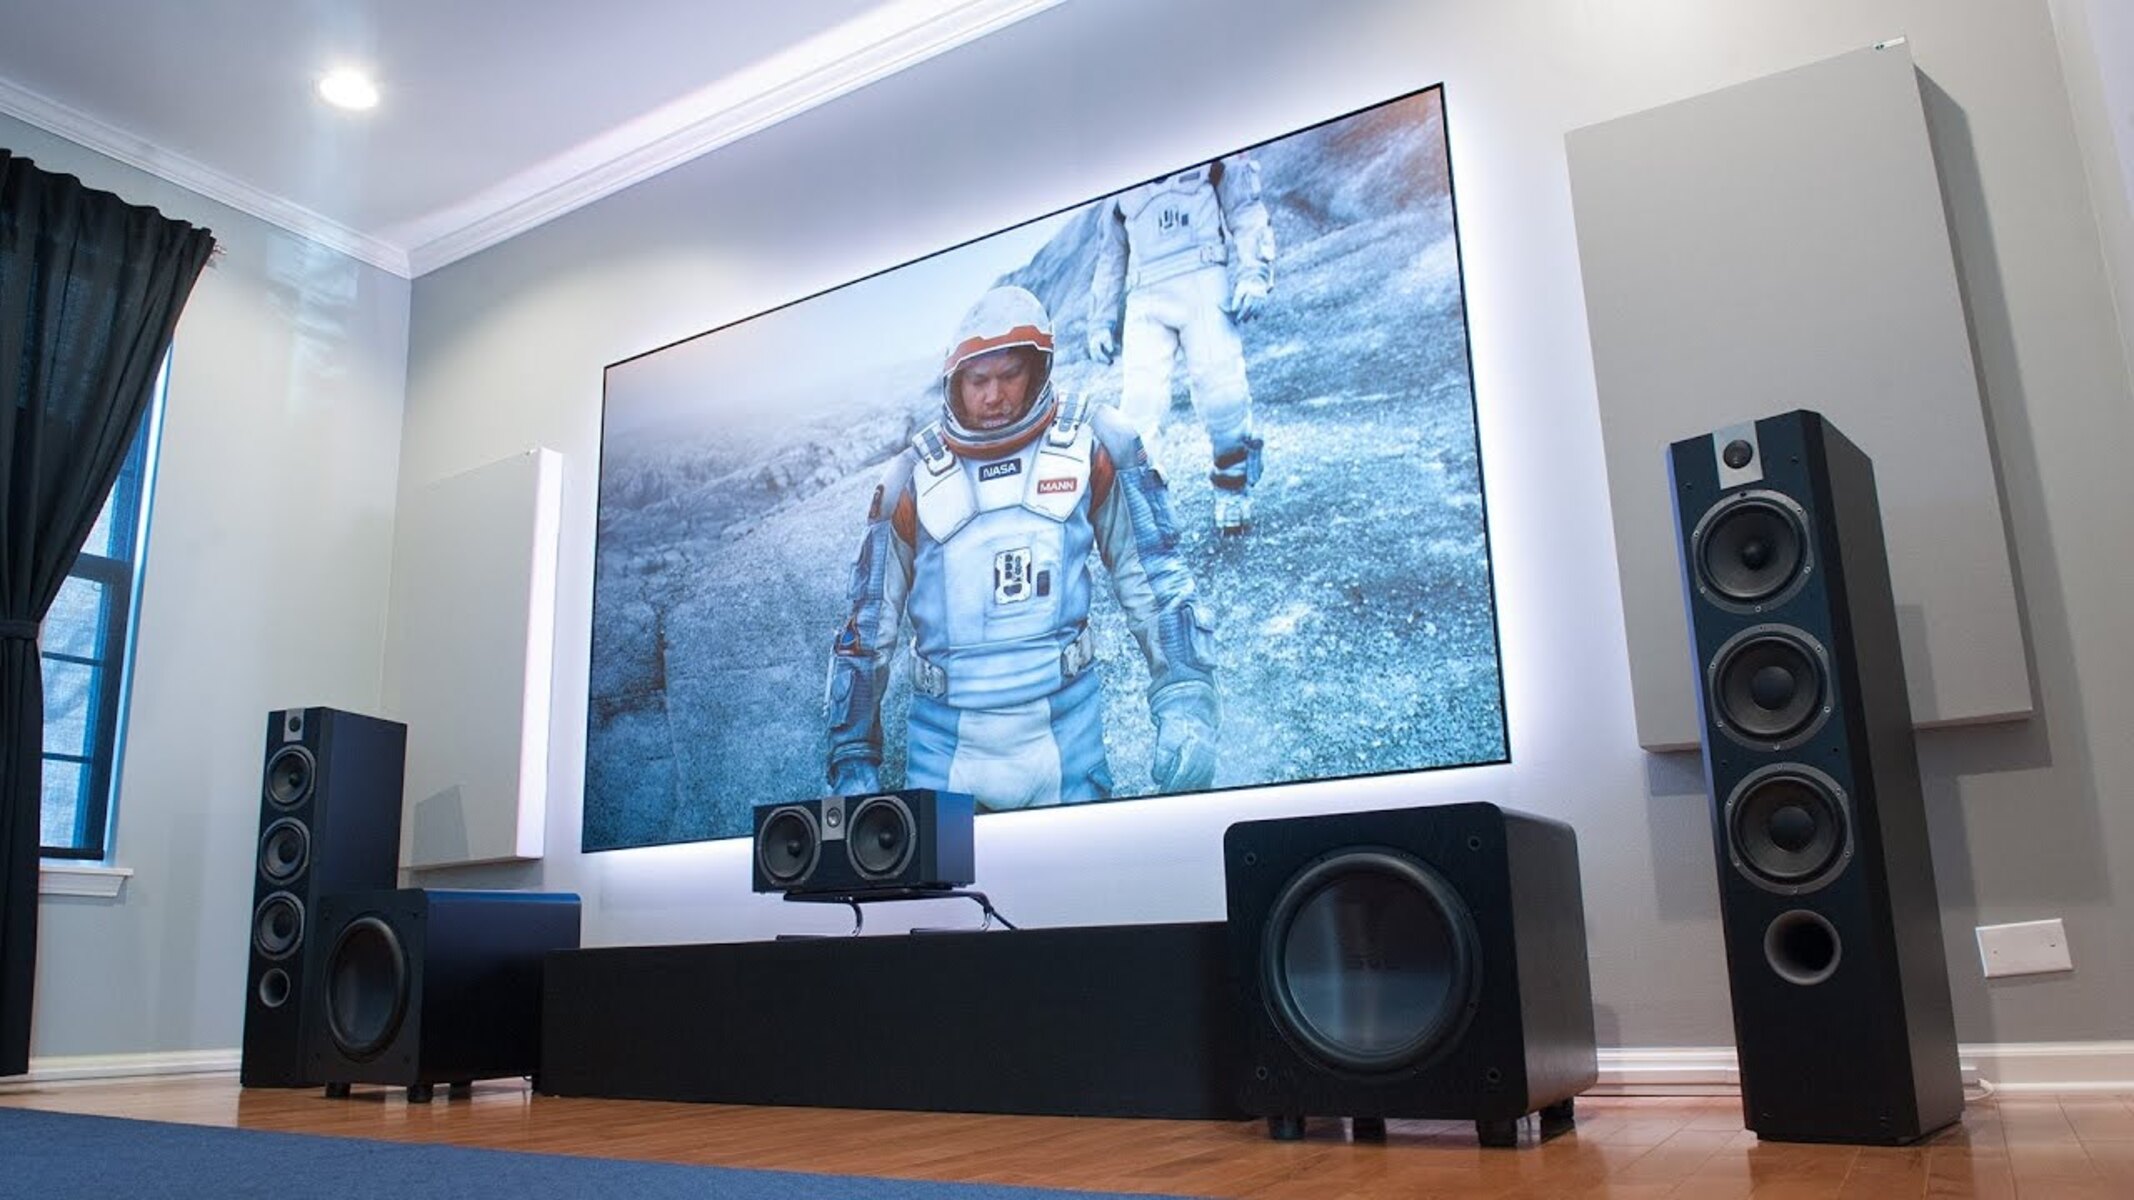
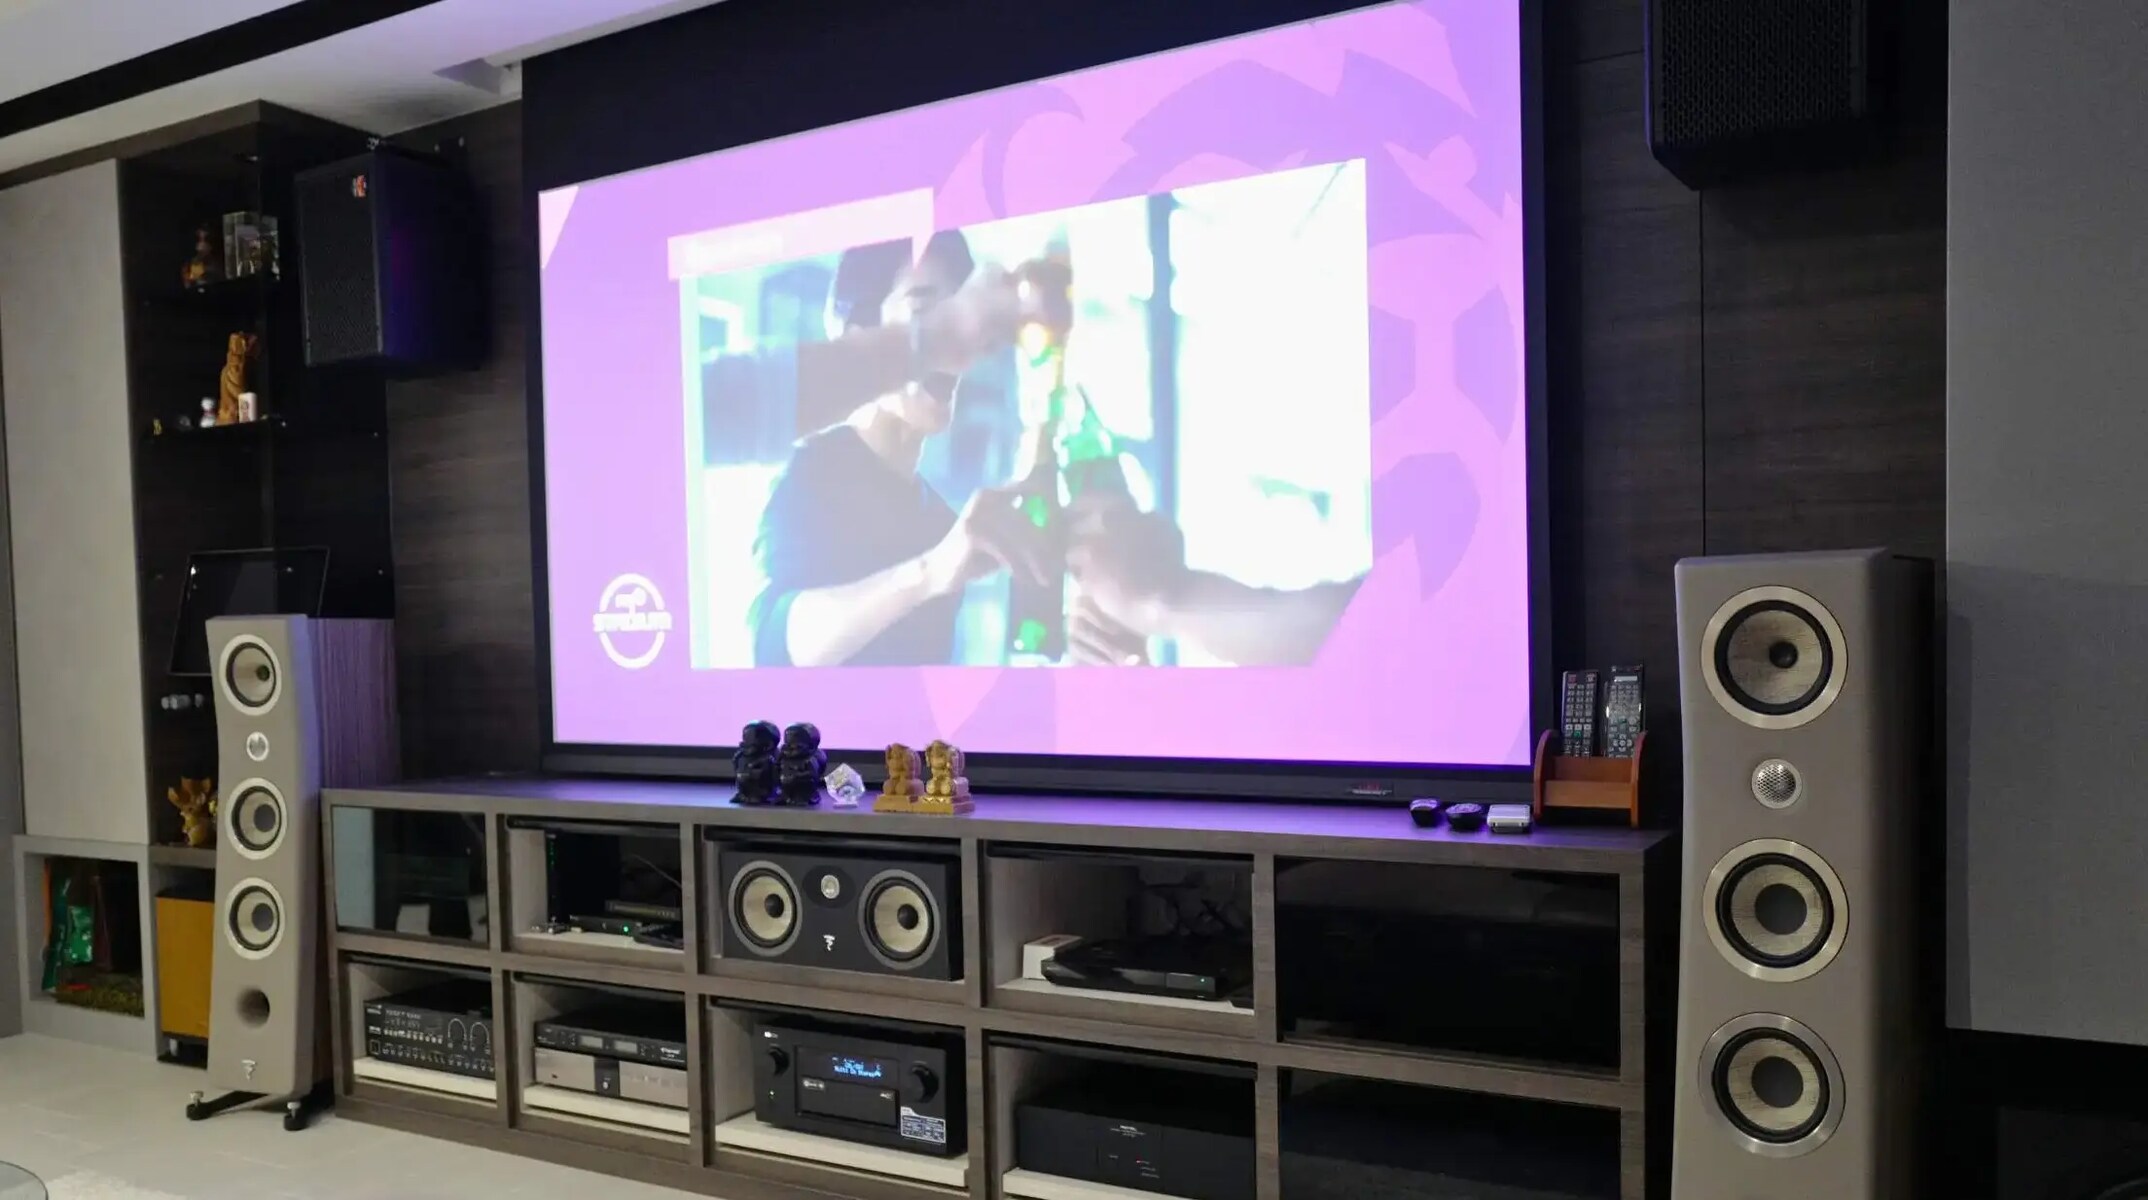
A surround sound system is a wonderful addition to any home entertainment setup, providing an immersive audio experience that enhances the enjoyment of movies, music, and games. However, like any electronic device, it is not immune to issues and malfunctions. One common problem that can occur is when a single speaker in the surround sound system stops functioning properly.
Dealing with a faulty speaker can be frustrating, but before you consider replacing the entire surround sound system, it’s worth exploring some troubleshooting and repair options. In this article, we will guide you through the process of identifying, troubleshooting, and repairing a single speaker in your surround sound system.
Understanding the problem is the first step towards finding a solution. There are several possible causes for a malfunctioning speaker, including loose connections, wiring issues, or even a damaged speaker cone. By following the steps outlined in this article, you will be able to diagnose and fix the issue, saving you the cost and hassle of replacing the entire system.
It’s important to note that the techniques provided in this article assume a basic knowledge of electrical systems and the ability to handle tools safely. If you are not confident in your abilities, it may be best to consult a professional technician or audio specialist to assist you in the repair process.
Now that we have established the importance of troubleshooting and repairing individual speakers in a surround sound system, in the next section, we will delve into how to identify the specific speaker that is causing the issue.
Understanding the Problem
When troubleshooting a faulty speaker in a surround sound system, it’s crucial to have a clear understanding of the problem at hand. By gaining insights into the possible causes of the malfunction, you’ll be better equipped to identify the appropriate solution.
One common issue that can arise is a complete absence of sound from the speaker. This could indicate a problem with the speaker’s connection or wiring. A loose connection between the speaker and the amplifier can result in no sound being produced. Additionally, faulty wiring, such as a broken or frayed cable, can also cause audio signals to be disrupted.
Alternatively, you may encounter a situation where the speaker produces distorted or crackling sound. This suggests a problem with the speaker cone or the driver unit. Over time, the cone can become damaged, affecting the quality of the sound it produces. This damage can be caused by physical impacts or wear and tear.
Another possible issue is when the speaker produces low volume or inconsistent sound levels. This may indicate an imbalance in the system’s settings or some form of electrical interference. It’s important to check the audio settings on your receiver to ensure that they are appropriately configured.
By thoroughly understanding the specific problem you are facing, you will be able to narrow down the potential causes and identify the most effective troubleshooting steps.
Now that we have an understanding of the problem, the next section will focus on how to identify the speaker that is causing the issue.
Identifying the Speaker
Before diving into troubleshooting and repairing the speaker, it’s crucial to identify the specific speaker that is causing the issue. In a surround sound system, where multiple speakers are present, it can be challenging to pinpoint the problematic one.
The first step in identifying the speaker is to locate the source of the audio problem. Pay close attention to the position and direction of the sound when it is being played. This can help narrow down the area where the faulty speaker is situated.
Once you have a general idea of the location, examine each speaker individually. Most surround sound systems label each speaker with a corresponding channel, such as front left, front right, center, rear left, rear right, and subwoofer. These labels can be found on the back or bottom of the speaker unit.
Carefully inspect each speaker for any visible signs of damage, such as dents, tears in the grille, or loose parts. Additionally, check the connections on the back of each speaker to ensure that they are securely plugged into the corresponding ports on the amplifier or receiver.
If you are unable to identify the problematic speaker through a visual inspection, you can use an audio test feature on your surround sound system. Many systems offer a test tone generator that emits a sound from each speaker in sequence. By listening for the sound coming from each speaker, you can determine if any are not producing audio or are producing distorted sound.
Once you have identified the specific speaker that is causing the issue, you can proceed with troubleshooting and potentially repairing it. In the next section, we will discuss the steps to troubleshoot a faulty speaker and determine the underlying cause.
Troubleshooting the Issue
When faced with a faulty speaker in your surround sound system, the next step is to troubleshoot the problem and identify the underlying cause. This will help you determine the best course of action to resolve the issue.
The first thing to check is the speaker’s connection. Ensure that the speaker is properly connected to the amplifier or receiver. Remove and securely reattach the speaker cables or wires, ensuring a tight connection between the speaker terminals and the corresponding ports on the audio device.
If the connections appear to be fine, examine the speaker cables for any signs of damage. Frayed or broken cables can result in a loss of sound or poor audio quality. Replace any damaged cables with new ones to see if that resolves the problem.
It’s essential to ensure that the speaker cables are not crossed or tangled with other cables. This can cause electrical interference and disrupt the audio signal. Keeping the cables organized and separate from other power cords or electrical devices can help eliminate any interference issues.
In some cases, the problem may not lie with the speaker or the connections, but with the amplifier or receiver. To troubleshoot this, try swapping the speaker with a known working one. If the issue persists with the same speaker, then it is likely a problem with the speaker itself. However, if the problem appears to move to the other speaker, then the amplifier or receiver may be at fault.
Another way to troubleshoot the issue is by connecting the suspected faulty speaker to a different audio source. This could be another surround sound system, a stereo receiver, or even a portable audio player. If the speaker performs well on a different source, then the problem may lie with the original amplifier or receiver.
By following these troubleshooting steps, you should be able to determine the cause of the problem and take the necessary steps to address it. Whether it’s a connection issue, faulty cable, or problem with the audio device, understanding the root cause will help guide you towards an effective solution.
In the next sections, we will explore specific troubleshooting and repair techniques for common speaker issues, including damaged speaker cones and wiring problems.
Checking the Connections
When troubleshooting a faulty speaker in your surround sound system, one of the first steps to take is to check the connections. Loose or faulty connections can often be the cause of audio issues. Ensuring a secure and proper connection is essential for optimal sound performance.
Start by inspecting the connections between the speaker and the amplifier or receiver. First, power off the system and unplug it from the electrical outlet to prevent any electrical shocks. Then, examine the speaker cable connections on both ends.
Ensure that the speaker cables are securely plugged into the speaker terminals. The connection should be tight and free of any looseness or wiggle. If the connection is loose, gently push the cable into the terminal until it fits snugly. Avoid using excessive force to prevent any damage to the terminals.
Next, check the connection at the amplifier or receiver. Depending on the system, the connections may be made through binding posts, spring clips, or banana plugs. Inspect each connection point and make sure it is tight and secure.
If you are using banana plugs, ensure that the plugs are inserted completely into the corresponding ports. Give a gentle tug on the plugs to verify that they are firmly seated and not loose. If you are using spring clips, make sure the speaker wire is securely clamped and not slipping out.
In addition to the speaker cable connections, it’s important to check the power cords and other audio cables that are connected to the amplifier or receiver. Make sure they are fully inserted and firmly connected.
During the checking process, it’s also a good idea to inspect the cables for any signs of damage, such as fraying or breaks. If any cables are damaged, replace them with new ones to ensure optimal signal transmission.
Once you have checked and secured all the connections, plug the system back in and power it on. Test the speaker to see if the audio issue has been resolved. If the problem persists, move on to the next troubleshooting step.
In the following sections, we will explore additional troubleshooting and repair techniques for specific speaker issues, such as testing the speaker and replacing or repairing a defective speaker.
Testing the Speaker
Testing the speaker is an essential step in troubleshooting a faulty surround sound system. It allows you to determine if the speaker is functioning properly and if it is the source of the audio problem. By carrying out a thorough test, you can pinpoint the issue and take the appropriate steps to resolve it.
To begin the testing process, ensure that the surround sound system is turned on and connected to a compatible audio source. Play an audio source that you are familiar with, such as music or a movie, and set the volume to a moderate level.
Listen for any sound coming from the speaker under observation. If the speaker is functioning correctly, you should hear audio through the corresponding channel. Pay attention to the clarity and quality of the sound. If it sounds distorted, muffled, or exhibits any other irregularities, it could indicate a problem.
During the testing, it can be helpful to play different types of audio content, such as music with various instruments or movie soundtracks that feature dialogue and surround effects. This will help you identify if the issue is specific to certain frequencies or audio channels.
If you are unable to hear any sound from the speaker or if the sound is consistently distorted, it is important to rule out any external factors that may be causing the problem. Verify that the audio source is working correctly by testing it with a different speaker or audio output device.
Another method to test the speaker is by conducting a channel balance check. Most surround sound systems offer an option to adjust the balance of each speaker’s volume level. Use this feature to isolate the problematic speaker by decreasing the volume of the other speakers one by one. If the issue persists when only the suspected speaker is active, it indicates a problem with that specific speaker.
In some cases, you may have access to an audio test feature on your surround sound system. This feature plays a test tone through each speaker, allowing you to verify if all the channels are working correctly. Listen carefully to each speaker and compare the sound output to ensure consistency.
By thoroughly testing the speaker and comparing its performance to the other speakers in your surround sound system, you will be able to determine if it is functioning properly or if further troubleshooting or repairs are needed. In the next sections, we will explore the steps to replace a defective speaker and repair a damaged speaker cone.
Replacing a Defective Speaker
If all troubleshooting efforts fail to resolve the issue with a faulty speaker in your surround sound system, it may be necessary to replace the speaker. Replacing a defective speaker involves selecting a suitable replacement and safely installing it in your system.
The first step is to identify the specifications of the original speaker that needs to be replaced. Look for any labels or markings on the speaker itself or consult the system’s manual or documentation for information on the speakers used in the surround sound system. Pay attention to details such as impedance, power rating, and size.
Once you have the specifications, you can search for a suitable replacement speaker. Look for speakers that match the specifications as closely as possible to ensure compatibility with your system. There are various online retailers and audio equipment stores where you can find a wide range of speakers to choose from.
When purchasing a replacement speaker, consider factors such as brand reputation, overall sound quality, and budget. It’s also advisable to read customer reviews and seek recommendations from audio enthusiasts or experts.
When you have acquired the replacement speaker, it’s essential to ensure that the new speaker is compatible with the surround sound system. Check that the impedance and power rating of the replacement speaker match the requirements of your system. Installing a speaker that has a higher impedance or power rating than your system can result in poor audio quality and potentially damage the amplifier or receiver.
Before installing the replacement speaker, power off the surround sound system and unplug it from the electrical outlet. Remove the cables or wires from the old speaker, making note of their respective connections. Connect the cables to the new speaker, ensuring a secure and proper connection. Finally, position the replacement speaker in the designated location and secure it in place as per the manufacturer’s instructions.
Once the replacement speaker is installed, plug the system back in and power it on. Test the new speaker by playing audio through the surround sound system. If you hear clear and balanced sound from the replacement speaker, the installation was successful.
If you are unsure about replacing the speaker yourself or have difficulty finding a suitable replacement, it may be wise to seek assistance from a professional technician or audio specialist. They can provide guidance, identify compatible replacement options, and ensure a proper installation.
By replacing a defective speaker with a suitable replacement, you can restore the full audio experience of your surround sound system. In the next section, we will explore an alternative solution for repairing a damaged speaker cone.
Repairing a Damaged Speaker Cone
One of the common issues you may encounter with a faulty speaker in your surround sound system is a damaged speaker cone. The cone, also known as the diaphragm, is responsible for producing sound waves. Damage to the cone can result in distorted audio or complete loss of sound. Repairing the speaker cone can be a cost-effective alternative to replacing the entire speaker.
The first step in repairing a damaged speaker cone is to assess the extent of the damage. Carefully examine the cone for any visible tears, punctures, or deformation. If the damage is minor, such as small tears or ripples, it may be possible to repair it without compromising the overall sound quality.
There are various methods you can use to repair a damaged speaker cone. One common approach is to use a suitable adhesive, such as rubber cement or speaker cone repair glue. Apply a small amount of adhesive to the damaged area and carefully align the tear or deformation. Gently press the repaired section together and hold it in place until the adhesive sets. Follow the manufacturer’s instructions regarding adhesive application and curing time.
For more significant cone damage, you may need to employ a speaker patch kit or a replacement cone. Speaker patch kits generally consist of a thin, flexible material that can be applied over the damaged area to reinforce and repair it. These kits often come with detailed instructions on how to apply the patch effectively.
Replacing the entire cone is a more involved process and may require more advanced technical skills. This option is usually reserved for more severe cone damage or if the speaker cone repair attempts have been unsuccessful. To replace the cone, carefully disassemble the speaker, remove the damaged cone, and install the replacement cone according to the manufacturer’s instructions. Take caution to ensure proper alignment and secure attachment.
It’s important to note that repairing a speaker cone should be done with care and precision. Improper repairs can further damage the speaker or result in poor sound quality. If you are unsure about your ability to repair the cone or if the damage is extensive, it’s recommended to consult a professional technician or audio specialist who can assess the situation and provide expert guidance.
Repairing a damaged speaker cone can extend the lifespan of your speaker and save you the expense of purchasing a new one. However, it’s important to consider the cost and effort involved in the repair compared to the potential benefits. In some cases, it may be more practical to replace the speaker entirely.
With the knowledge and techniques outlined in this section, you can attempt to repair a damaged speaker cone and restore optimal sound performance to your surround sound system.
Fixing Wiring Issues
Wiring problems can be a common culprit behind a faulty speaker in your surround sound system. Issues such as loose or damaged wires can result in poor audio quality or a complete loss of sound. Fixing wiring issues involves identifying the problematic wiring and taking the necessary steps to rectify the problem.
The first step in fixing wiring issues is to visually inspect the speaker cables or wires. Look for any signs of damage, such as fraying, cuts, or exposed wires. If you notice any damage, it’s essential to replace the affected cables to ensure optimal signal transmission.
Next, check that the speaker cables are securely connected to both the speaker terminals and the corresponding ports on the amplifier or receiver. Ensure that each connection is tight and snug. If any connections are loose, gently push the cable into the terminal or port until it is securely in place. Avoid using excessive force to prevent any damage.
If you are using banana plugs or spade connectors, confirm that they are fully inserted into the corresponding ports. Verify that the plugs or connectors are making proper contact and that they are not loose or wiggling. A loose connection can result in intermittent audio or poor sound quality.
Another potential wiring issue to consider is crossed or tangled wires. Ensure that the speaker cables are properly organized and separated from other cables, especially power cords or electrical devices. Crossed or tangled wires can cause electromagnetic interference, resulting in signal degradation and audio problems.
In some cases, it may be helpful to label the speaker cables or use color coding to easily identify and trace each cable’s connection. Proper labeling or color coding can simplify troubleshooting in the future and make it easier to identify and resolve any potential wiring issues.
If the wiring issues persist and you are unable to identify the problem visually, you may need to use a multimeter to test the continuity and integrity of the speaker cables. A multimeter can help you determine if there are any breaks or shorts in the wiring. Follow the instructions provided with the multimeter to conduct the necessary tests and interpret the results accurately.
Lastly, it’s important to ensure that there are no loose or damaged connections on the amplifier or receiver. Check the connections on the audio device for any signs of wear, corrosion, or loose screws. Make sure that all connections are secure and properly tightened.
By diligently checking and fixing any wiring issues, you can ensure that the speaker is receiving a consistent and strong audio signal. Properly functioning wiring will contribute to optimal sound performance and eliminate audio problems caused by poor connections or damaged cables.
In the final section of this article, we will summarize the key steps discussed and offer concluding thoughts on troubleshooting and repairing a single speaker in a surround sound system.
Conclusion
Troubleshooting and repairing a single speaker in a surround sound system can be a challenging yet rewarding process. By following the steps outlined in this article, you can identify the problem, troubleshoot potential causes, and take the necessary actions to resolve the issue.
Understanding the problem is crucial. Whether it’s loose connections, wiring issues, damaged speaker cones, or other factors, a clear understanding of the underlying cause helps guide your troubleshooting efforts.
Checking the connections is an essential step in the process. Ensure that all cables and wires are securely connected and free from damage. Proper organization and separation of wires can minimize electromagnetic interference and improve sound quality.
Testing the speaker helps you verify its functionality and determine if it is the source of the problem. By listening for sound quality, conducting channel balance checks, and utilizing audio test features, you can pinpoint the problematic speaker.
If troubleshooting efforts prove unsuccessful, replacing a defective speaker may be necessary. Ensure that the replacement speaker matches the specifications of the original and install it properly to restore the audio experience.
Repairing a damaged speaker cone is another option. Whether by using adhesives, patch kits, or replacement cones, repairing a damaged cone can be a cost-effective solution that extends the life of your speaker.
Finally, fixing wiring issues is crucial for optimal audio performance. Check for damage, secure connections, and ensure proper organization to eliminate wiring-related problems that may affect sound quality.
Remember, if you are unsure about any step or encounter difficulty during the troubleshooting and repair process, it is advisable to seek assistance from a professional technician or audio specialist. They can provide expertise and ensure a successful resolution to your speaker issues.
With the knowledge and techniques shared in this article, you are well-equipped to tackle the challenge of repairing a single speaker in a surround sound system. By troubleshooting and resolving the problem, you can enjoy an immersive and high-quality audio experience once again.


