Introduction
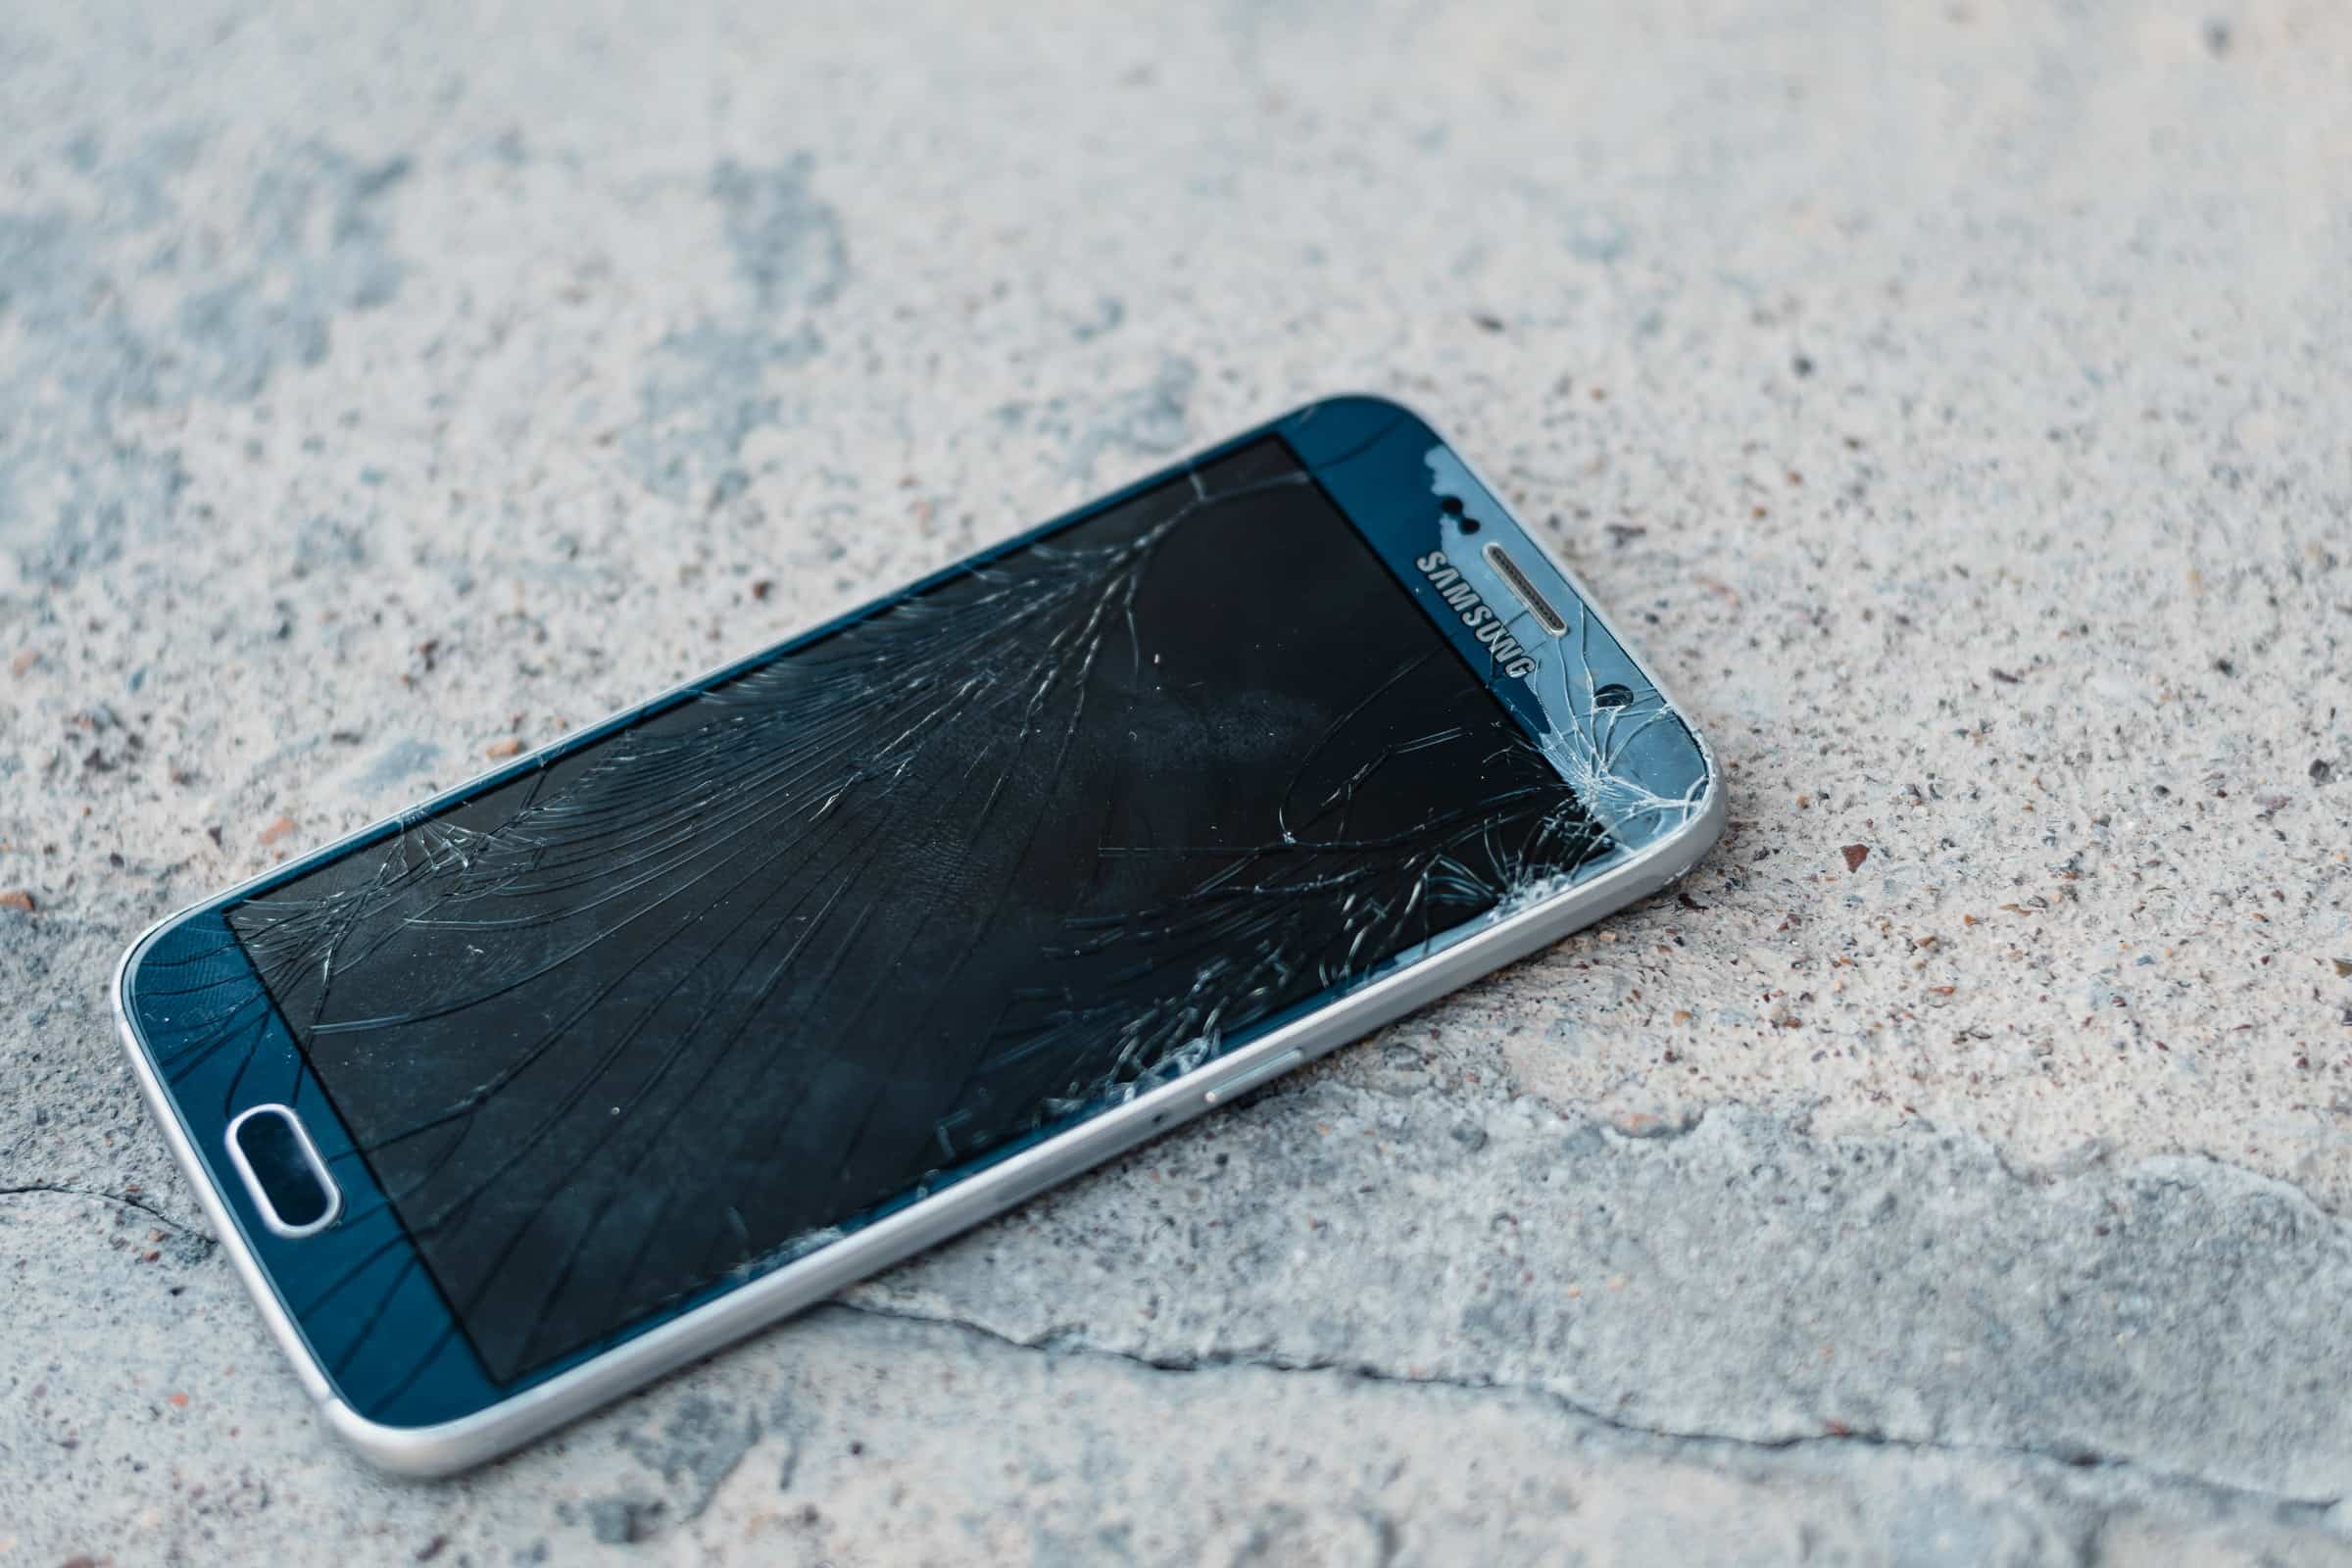
Is your phone speaker acting up, producing crackling sounds, or not working at all? Before you rush to the nearest repair shop or consider purchasing a new device, there are several troubleshooting steps you can take to potentially fix the issue yourself. Whether you're experiencing muffled audio during phone calls or your favorite tunes sound distorted, this step-by-step guide will walk you through the process of diagnosing and resolving common phone speaker problems.
A malfunctioning phone speaker can be frustrating, especially when it interferes with your ability to communicate effectively or enjoy multimedia content. However, with a bit of patience and the right approach, you may be able to restore your phone's audio functionality without incurring hefty repair costs. In this guide, we'll explore various methods to address speaker issues, from simple cleaning techniques to more advanced troubleshooting steps.
By following the recommendations outlined in this guide, you can potentially save time and money by resolving the problem on your own. It's important to note that these methods are intended for addressing software and minor hardware issues. If you suspect a more complex hardware problem, it's advisable to seek professional assistance. With that said, let's dive into the troubleshooting process and get your phone's speaker back in working order.
Step 1: Diagnose the Problem
Before attempting any fixes, it’s crucial to pinpoint the specific issue affecting your phone’s speaker. Start by testing the speaker in various scenarios to identify the nature of the problem. Here are some common symptoms and their potential causes:
- Crackling or Distorted Sound: If you hear crackling, popping, or distorted audio, it could indicate debris or liquid inside the speaker grill, a loose connection, or software-related issues.
- No Sound Output: If your phone remains silent despite adjusting the volume, it may be due to a hardware malfunction, a software glitch, or a muted audio setting.
- Muffled or Low Volume: A reduction in sound quality or volume could be caused by obstructions in the speaker grill, software bugs, or audio settings that need adjustment.
Once you’ve identified the specific symptoms, you can proceed to troubleshoot the problem accordingly. Keep in mind that some issues may have multiple potential causes, so it’s essential to approach the diagnosis process with an open mind. By accurately diagnosing the problem, you’ll be better equipped to apply the most effective solutions and restore your phone’s audio functionality.
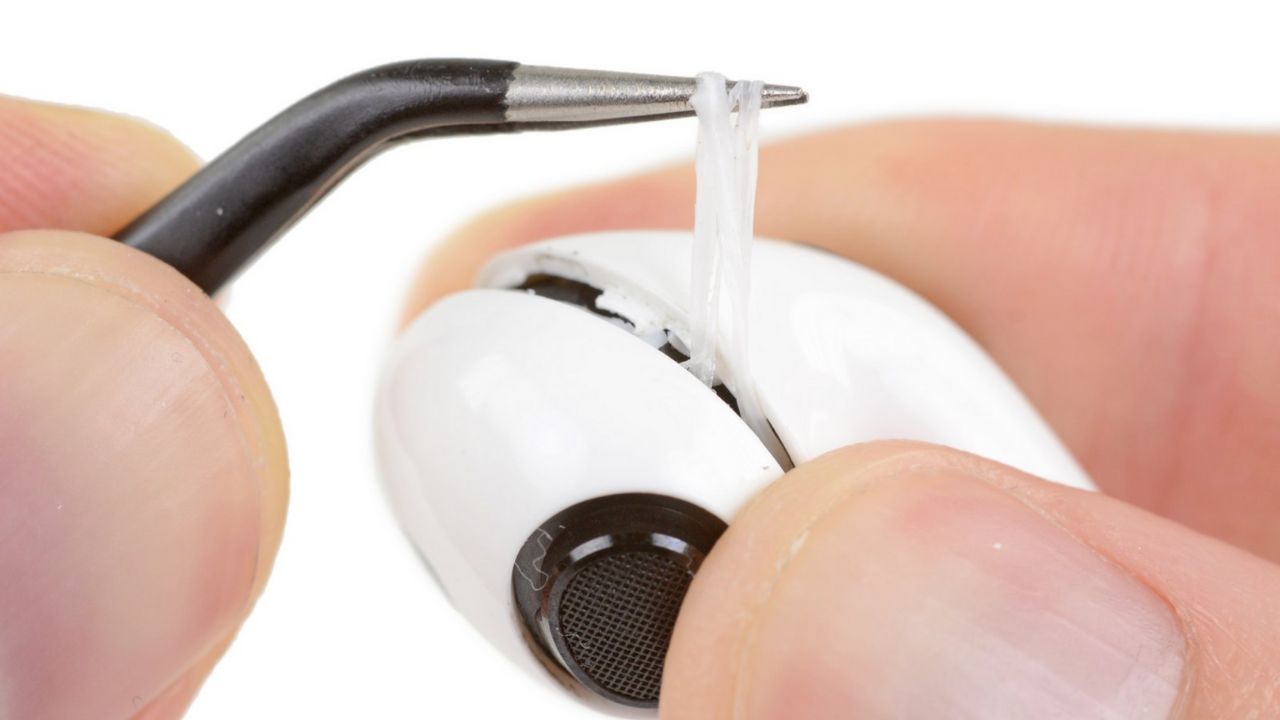
Step 2: Clean the Speaker
One of the most common reasons for distorted or muffled sound from a phone speaker is the accumulation of dirt, dust, or debris. To address this issue, you can start by gently cleaning the speaker grill and the surrounding area. Here’s a step-by-step guide to effectively clean your phone’s speaker:
- Power Off Your Phone: Before cleaning the speaker, turn off your phone to prevent any potential damage.
- Inspect the Speaker Grill: Use a magnifying glass or a bright light to examine the speaker grill for any visible debris or blockages.
- Use Compressed Air: If you notice debris in the speaker grill, carefully use a can of compressed air to blow away the particles. Hold the can upright and use short bursts of air to avoid damaging the speaker.
- Gently Wipe the Speaker: For stubborn dirt or grime, lightly dampen a microfiber cloth with water or isopropyl alcohol. Gently wipe the speaker grill and the surrounding area to remove any remaining residue.
- Allow the Speaker to Dry: If you used a damp cloth, ensure that the speaker area is completely dry before powering on your phone.
After cleaning the speaker, test the audio output to determine if the issue has been resolved. If you notice a significant improvement in sound quality, the problem may have been caused by debris or dirt obstructing the speaker grill. However, if the issue persists, you may need to explore additional troubleshooting steps to address the underlying cause of the audio problem.
Step 3: Restart Your Phone
Restarting your phone can often resolve minor software glitches that may be affecting the speaker’s performance. This simple yet effective troubleshooting step can help refresh the device’s system and potentially address various audio-related issues. Here’s how to restart your phone:
- Power Off Your Phone: Press and hold the power button until the “Power Off” or “Restart” option appears on the screen.
- Restart Your Phone: Select the “Restart” option and wait for your phone to power down and then boot up again.
- Test the Speaker: After the phone has restarted, test the speaker by playing music or making a test call to check if the audio issues have been resolved.
If the speaker problem was caused by a temporary software glitch, restarting your phone may effectively restore normal audio functionality. However, if the issue persists after the restart, you can explore additional troubleshooting steps to further diagnose and address the problem.
Step 4: Check for Software Updates
Outdated software can sometimes lead to audio-related issues on your phone. Manufacturers regularly release software updates to address bugs, improve system stability, and enhance overall performance, including audio functionality. Checking for and installing the latest software updates can potentially resolve software-related issues affecting your phone’s speaker. Here’s how to check for software updates:
- Open the Settings Menu: Navigate to the “Settings” app on your phone.
- Select System or Software Update: Look for the “System” or “Software Update” option in the Settings menu.
- Check for Updates: Tap on “Check for Updates” to allow your phone to search for the latest available software version.
- Download and Install Updates: If an update is available, follow the on-screen prompts to download and install the latest software version.
- Restart Your Phone: After installing the update, restart your phone to ensure that the changes take effect.
- Test the Speaker: Once your phone has restarted, test the speaker to determine if the software update has resolved the audio issue.
If a software update was available and successfully installed, it may address any software-related bugs or compatibility issues that were affecting the phone’s audio output. However, if the problem persists after updating the software, you can proceed to the next troubleshooting step to further diagnose and resolve the speaker issue.
Step 5: Disable Bluetooth and Other Connected Devices
Interference from connected devices, particularly Bluetooth accessories, can sometimes impact the performance of your phone’s speaker. Disabling Bluetooth and other connected devices can help isolate the issue and determine if external connections are contributing to the audio problem. Here’s how to disable Bluetooth and other connected devices:
- Open the Settings Menu: Access the “Settings” app on your phone.
- Select Bluetooth or Connected Devices: Look for the “Bluetooth” or “Connected Devices” option in the Settings menu.
- Disable Bluetooth: Toggle off the Bluetooth switch to disable any connected Bluetooth devices.
- Disconnect Other Devices: If you have other accessories connected, such as wireless headphones or speakers, disconnect them from your phone.
- Test the Speaker: After disabling Bluetooth and disconnecting other devices, test the phone’s speaker to see if the audio issue has been resolved.
By disabling external connections, you can assess whether the audio problem is related to interference from connected devices. If the speaker functions normally after disabling Bluetooth and disconnecting other accessories, it indicates that external connections may have been contributing to the issue. However, if the problem persists, you can proceed to the next troubleshooting step to further address the speaker problem.
Step 6: Use a Headphone Jack
Testing the audio output through a headphone jack can provide valuable insights into the nature of the speaker issue. By using headphones, you can determine if the problem lies with the phone’s internal speaker or if it’s a broader audio-related issue. Here’s how to use a headphone jack to troubleshoot the speaker problem:
- Connect Headphones: Insert a pair of headphones into the phone’s headphone jack or the appropriate adapter if your device doesn’t have a built-in headphone port.
- Play Audio: Play music or make a test call while the headphones are connected to see if the audio is transmitted through the headphones successfully.
- Assess Audio Quality: Pay attention to the audio quality and volume while using the headphones to determine if the sound is clear and free from distortion.
- Compare with Speaker Output: After testing the headphones, unplug them and compare the audio output with the phone’s internal speaker to assess any differences in sound quality.
If the audio plays clearly through the headphones but the internal speaker still exhibits issues, it suggests that the problem may be specific to the phone’s speaker. On the other hand, if the audio issues persist even when using headphones, it could indicate a broader audio-related issue that requires further troubleshooting. Based on the results of this test, you can proceed to the next step to address the specific nature of the speaker problem.
Step 7: Perform a Factory Reset
If you’ve exhausted other troubleshooting options without resolving the speaker issue, performing a factory reset on your phone may help address underlying software-related problems. A factory reset restores your device to its original state, erasing all data and settings, so it’s crucial to back up your important information before proceeding. Here’s how to perform a factory reset:
- Backup Your Data: Before initiating a factory reset, back up your contacts, photos, videos, and any other important data to ensure that you don’t lose valuable information.
- Access the Settings Menu: Navigate to the “Settings” app on your phone.
- Select System or Reset Options: Look for the “System” or “Reset” options within the Settings menu.
- Choose Factory Data Reset: Select the “Factory Data Reset” or “Reset Options” and follow the on-screen prompts to initiate the process.
- Confirm the Reset: You may be prompted to enter your PIN, pattern, or password and confirm the factory reset. Once confirmed, the reset process will begin.
- Wait for the Reset to Complete: The factory reset process may take several minutes to complete. Ensure that your phone is adequately charged or connected to a power source during this process.
- Restore Your Data: After the factory reset is complete, you can restore your backed-up data and settings to your phone.
- Test the Speaker: Once your phone is reconfigured, test the speaker to determine if the factory reset has resolved the audio issue.
A factory reset can help eliminate persistent software-related issues that may be affecting the phone’s speaker. However, it’s important to note that performing a factory reset will erase all data and settings, so it should be considered as a last resort after exploring other troubleshooting steps. If the speaker problem persists even after a factory reset, it may be indicative of a more complex hardware issue, and seeking professional assistance is recommended.
Step 8: Contact a Professional
If you’ve attempted the previous troubleshooting steps and the speaker issue persists, it may be time to seek assistance from a professional technician or the manufacturer’s support team. Here are some key considerations when contacting a professional for assistance:
- Authorized Service Centers: Research authorized service centers for your phone’s manufacturer or reputable third-party repair shops with expertise in mobile device repairs.
- Describe the Issue: When contacting a professional, provide a detailed description of the speaker problem, including any troubleshooting steps you’ve already taken.
- Warranty Coverage: If your phone is still under warranty, review the warranty terms and conditions to determine if the speaker issue is covered for repair or replacement.
- Cost Estimates: Request cost estimates for diagnosing and repairing the speaker issue to make an informed decision about the next steps.
- Professional Diagnosis: Allow the technician to conduct a thorough diagnosis of the speaker problem to identify any underlying hardware or software issues.
- Follow Manufacturer Guidelines: If you choose to send your phone to the manufacturer for repair, follow their specific instructions for initiating a repair request and shipping the device.
Seeking professional assistance is advisable when you’ve exhausted all available troubleshooting options and the speaker problem persists. Professional technicians have the expertise and tools to diagnose and resolve complex hardware and software issues that may be affecting your phone’s speaker. By contacting a professional, you can gain valuable insights into the root cause of the problem and explore appropriate repair solutions to restore your phone’s audio functionality.
Remember to keep any relevant documentation, such as warranty information and repair estimates, for reference throughout the repair process. By collaborating with experienced professionals, you can work towards resolving the speaker issue and enjoying uninterrupted audio performance on your phone.