Introduction
Dealing with a broken screen on your Android phone can be a frustrating experience. Not only does it affect the functionality of the device, but it also hampers your ability to use it properly. However, don’t panic just yet! In this guide, we will walk you through the steps to fix a broken screen on your Android phone, allowing you to regain control of your device.
Before we dive into the solution, it’s important to mention that repairing a broken screen requires careful handling and the right tools. If you’re not confident in your DIY skills, it’s always a good idea to consult a professional technician who specializes in phone repairs.
That said, if you’re up for the challenge, fixing your broken screen can save you time and money. In this guide, we will cover the entire process, from assessing the damage to replacing the screen. But before we do that, let’s make sure you’ve backed up your data.
Backing up your data before attempting any repairs is crucial. It ensures that your valuable photos, videos, documents, and other files are safe in case anything goes wrong during the repair process. We recommend transferring your data to a computer or using a cloud storage service to create a backup.
Once you’ve secured your data, gather the necessary tools for repairing the broken screen. This typically includes a replacement screen, a small screwdriver set, a heat gun or hairdryer, adhesive strips, and a plastic spudger tool. Be sure to check the specific requirements for your Android phone model, as different devices may require different tools.
With the backup done and tools in hand, it’s time to remove the broken screen. This process involves carefully disassembling your phone and disconnecting the old screen from the internal components. Follow the step-by-step instructions specific to your phone model to ensure a smooth removal process.
Once the old screen is removed, it’s time to replace it with the new one. Carefully connect the replacement screen to the internal components of your phone, ensuring all connectors and cables are secure. Again, consult the specific instructions provided with the replacement screen to ensure proper installation.
After replacing the screen, it’s crucial to test the new display to ensure it functions properly. Power on your phone and navigate through the menus to check for any anomalies, such as touch sensitivity issues or display abnormalities. If everything looks good, congratulations! You have successfully fixed your broken screen.
Throughout this guide, we will also provide additional tips and tricks to help you with the repair process and prevent future screen damage. So, without further ado, let’s get started on fixing that broken screen and getting your Android phone back to full functionality.
Assessing the Damage
Before diving into the repair process, it’s crucial to assess the extent of the damage to your Android phone’s screen. This will help you determine the best course of action and whether the screen can be fixed or needs to be completely replaced.
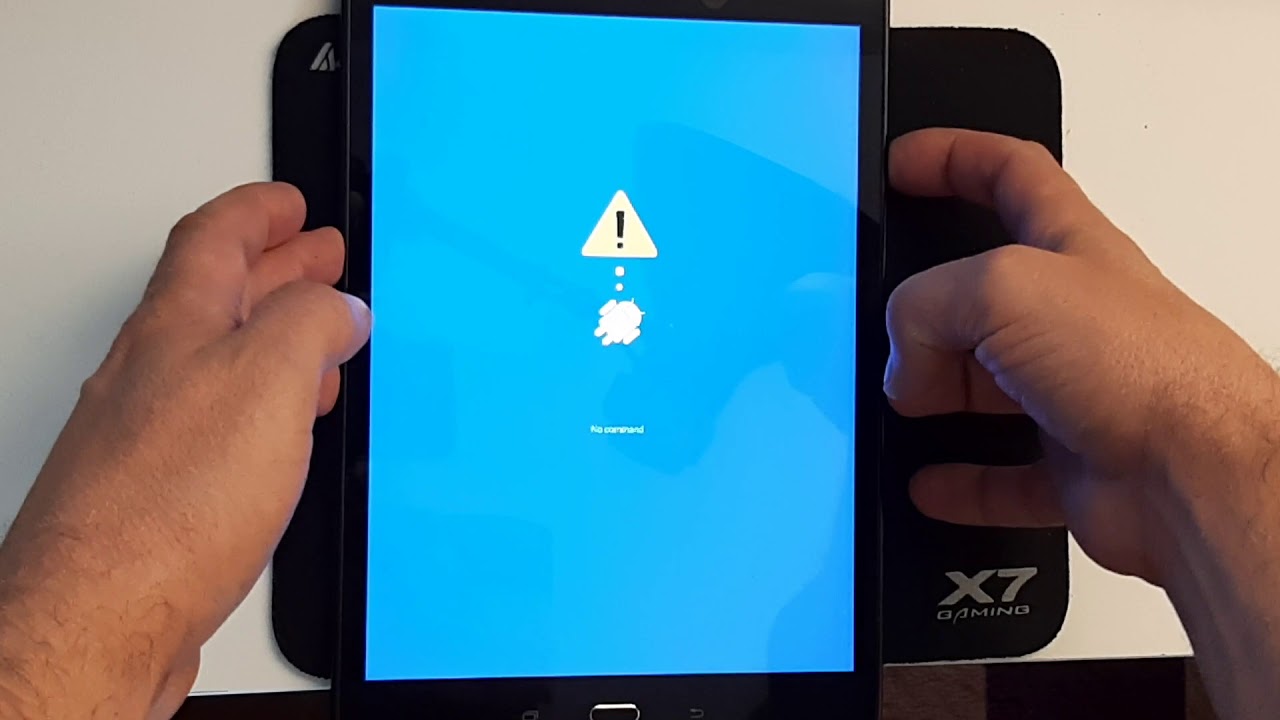
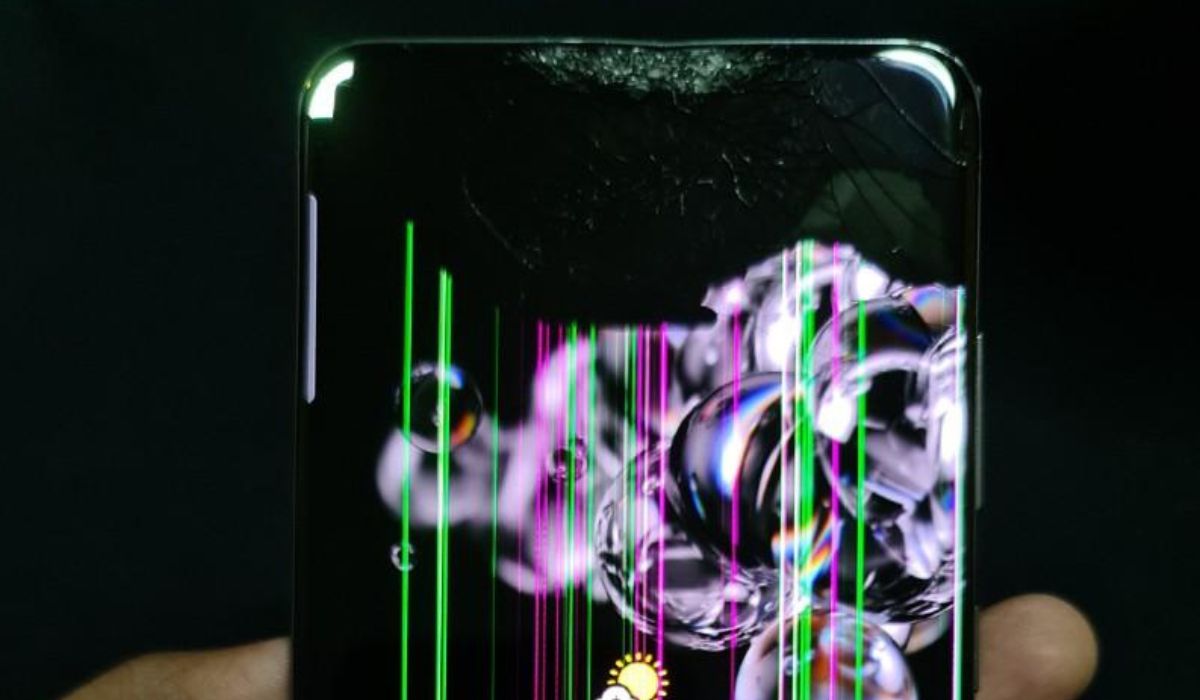
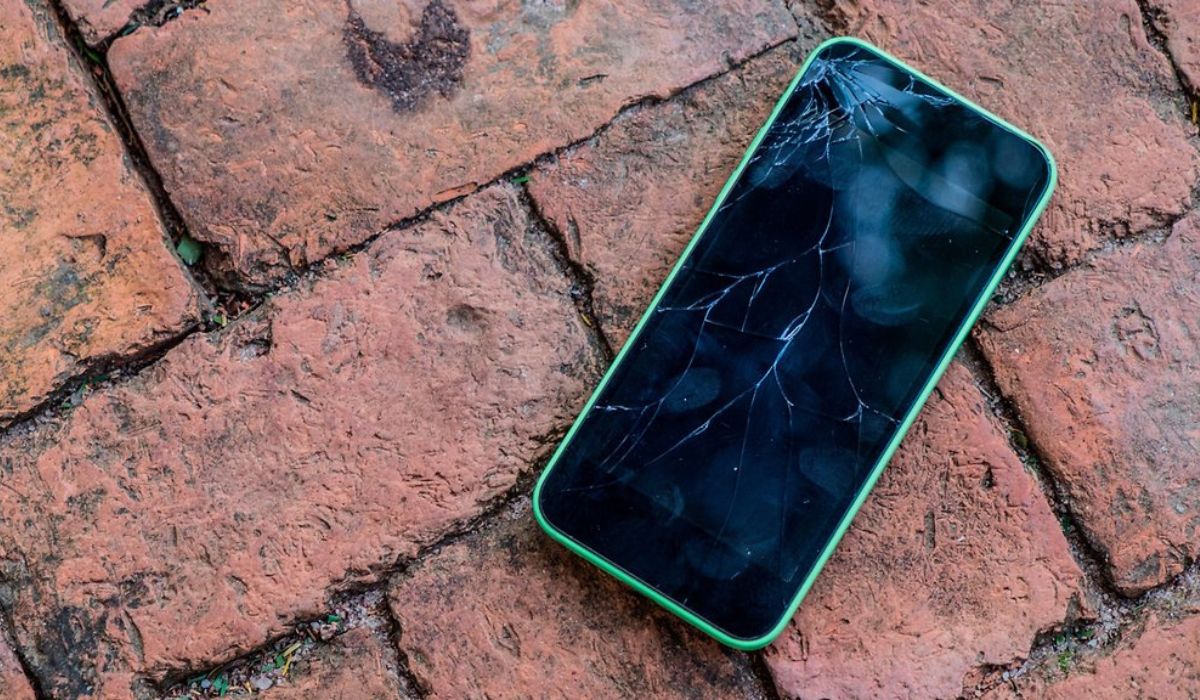
Start by visually inspecting the screen for any cracks, shattered glass, or LCD bleeding. Take note of any visible damage or irregularities. Additionally, try to assess the functionality of the screen by checking if it responds to touch or displays any images properly.
If the screen is completely unresponsive and shows no signs of life, it’s likely that both the glass and the display beneath it are damaged. In this case, you will need to replace the entire screen assembly.
On the other hand, if the touch functionality still works, but there are cracks or shattered glass, you may only need to replace the top glass layer. Keep in mind that this option requires more advanced repair skills and may not be suitable for everyone.
Remember to also check for any additional damage on the phone’s frame or other components. A cracked or bent frame may affect the overall structural integrity of the device, and additional repairs may be needed.
It’s worth noting that some Android phones come with built-in water resistance or protection features. If your phone is water-resistant, check the water damage indicators to see if they have been triggered. These indicators can help determine if any internal components have been affected due to water damage, which may require additional repairs.
Assessing the damage of your Android phone’s screen is crucial to determine the appropriate repair strategy. It’s important to be realistic about your skills and abilities when deciding whether to attempt the repair yourself or seek professional help. Keep in mind that DIY repairs can void your warranty, so proceed with caution.
In the next section, we will discuss the importance of backing up your data before starting any repair work to ensure that your valuable files and information are safe throughout the process.
Backing Up Your Data
Before embarking on the journey of fixing your broken Android phone screen, it’s vital to protect your valuable data by creating a backup. This ensures that even if something goes wrong during the repair process, your photos, videos, contacts, and other important files are safe and secure.
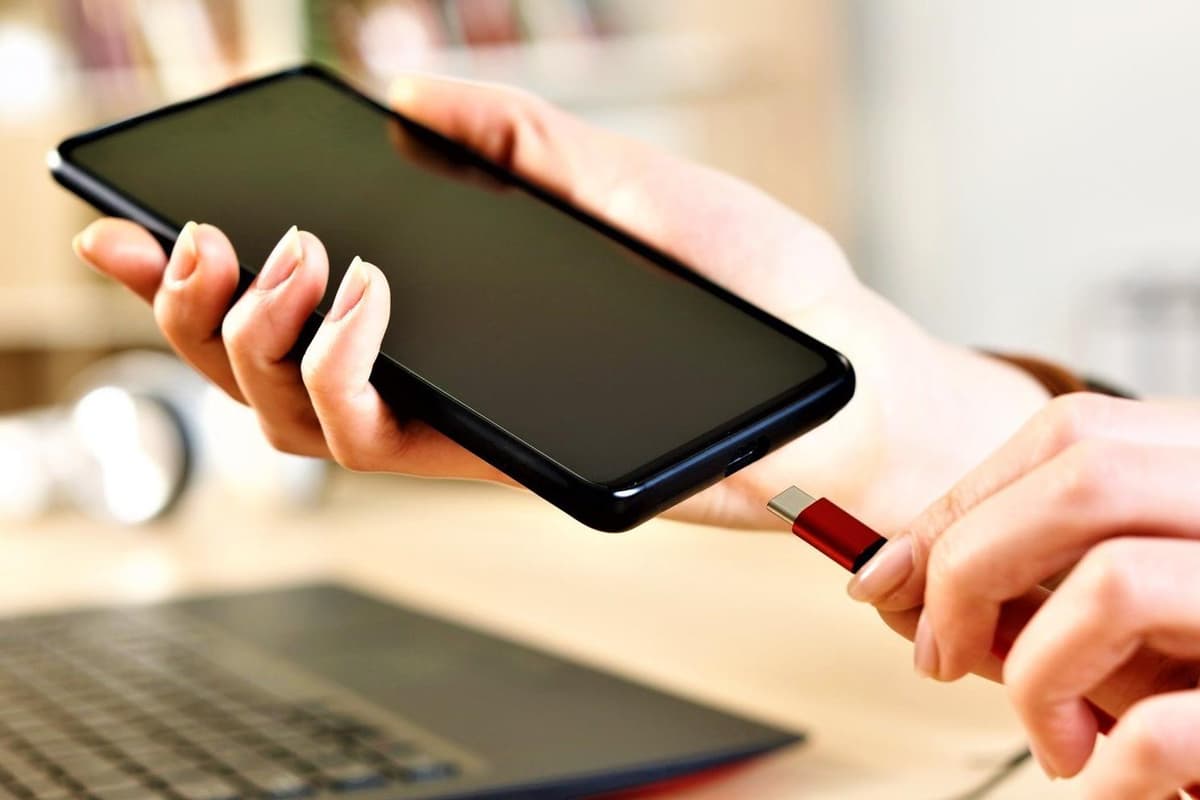
There are various methods to back up your data, depending on your personal preferences and available resources. One of the simplest ways is to connect your phone to a computer using a USB cable and manually copy the files onto your computer’s hard drive. This method allows you to selectively choose which files to back up and provides you with control over organizing them in folders.
Another popular approach is to utilize cloud storage services such as Google Drive, Dropbox, or OneDrive. These services offer a convenient and automated way to store your files securely in the cloud. Simply sign up for an account with your preferred cloud storage provider and install their app on your phone. Then, follow the prompts to back up your data to the cloud. Be mindful of any storage limitations or fees associated with these services.
If you prefer a more comprehensive backup solution, consider using dedicated backup applications such as Titanium Backup or Helium. These apps allow you to create a complete backup of your Android phone, including app data, system settings, and even text messages. With these apps, you can easily restore your phone to its previous state once the screen is fixed.
Before initiating the backup process, make sure your Android phone is adequately charged or connected to a power source to minimize the risk of the battery dying during the backup. Additionally, ensure that you have a stable internet connection if you choose to back up your data to the cloud.
Remember to double-check that your backup is complete and error-free before proceeding with the screen repair. Verify that all your important files are successfully transferred and that you can access them on your computer or through the cloud storage service.
By taking the time to back up your data, you can have peace of mind knowing that your cherished memories and essential information are protected in case any unforeseen issues arise during the screen repair process. Now that your data is safeguarded, let’s move on to gathering the necessary tools for fixing your broken Android phone screen.
Gathering the Necessary Tools
Before you embark on repairing your broken Android phone screen, it’s essential to gather all the necessary tools. Having the right tools at your disposal will make the repair process smoother and more efficient. Here are the essential tools you’ll need:
- Replacement screen: Make sure to purchase a compatible replacement screen that is specifically designed for your Android phone model. It’s crucial to ensure the screen matches your device’s specifications to achieve proper functionality.
- Small screwdriver set: You’ll need a set of small screwdrivers to remove the screws securing the phone’s frame or screen assembly. The screws may vary in size, so having a set with multiple screwdriver heads ensures that you have the right tool for the job.
- Heat gun or hairdryer: The heat gun or hairdryer is used to soften the adhesive that holds the broken screen in place. Applying heat helps loosen the adhesive, making it easier to remove the old screen without damaging the phone’s internal components.
- Adhesive strips or adhesive glue: Once the old screen is removed, you’ll need adhesive strips or adhesive glue to secure the new screen in place. These adhesive materials ensure a proper bond between the screen and the phone’s frame, providing stability and preventing any movement.
- Plastic spudger tool: A plastic spudger tool is useful for prying open the phone’s casing and disconnecting delicate cables during the screen replacement process. It helps prevent damage to the internal components and offers better control compared to using metal tools, which can scratch or short-circuit the electronics.
- Tweezers and plastic prying tools: Tweezers and plastic prying tools are handy for manipulating small components and connectors during the repair process. These tools allow for precision and minimize the risk of accidentally damaging sensitive parts.
- Cleaning materials: It’s important to have cleaning materials such as a microfiber cloth, isopropyl alcohol, or screen cleaning solution to clean the phone’s frame and remove any debris or fingerprints before installing the new screen. A clean surface ensures optimal adhesion and improves the visual clarity of the screen.
Be sure to research and purchase high-quality tools from reputable sources to ensure the best results. Using subpar or incorrect tools may lead to further damage or ineffective repairs.
Once you have gathered all the necessary tools, you’ll be ready to begin the screen repair process. In the next section, we will walk you through the steps to remove the broken screen from your Android phone.
Removing the Broken Screen
Now that you have gathered all the necessary tools, it’s time to proceed with removing the broken screen from your Android phone. This step requires careful handling and attention to detail to avoid causing further damage to the device. Follow these steps:
- Power off your phone: Before you begin any repair work, make sure to power off your Android phone completely. This will help prevent any accidental damage and ensure your safety during the repair process.
- Remove the back cover (if applicable): If your phone has a removable back cover, carefully detach it using a plastic opening tool or your fingernail. Some phones may have screws securing the back cover in place, so be sure to remove them before proceeding.
- Locate and remove the screws: Use the appropriate screwdriver from your small screwdriver set to remove the screws securing the phone’s frame or screen assembly. Pay close attention to the placement and size of each screw to ensure they are correctly reassembled later.
- Apply heat to loosen the adhesive: Use a heat gun or hairdryer on a low heat setting to gently warm the edges of the broken screen. This will soften the adhesive holding it in place, making it easier to remove. Be careful not to overheat the phone or apply too much force while heating.
- Insert the plastic spudger tool: Insert the plastic spudger tool into the gap between the screen and the phone’s frame. Gently pry and apply gentle pressure to separate the screen from the adhesive. Work your way around the edges of the screen, being cautious not to damage any cables or components.
- Disconnect the ribbon cables: Locate the ribbon cables that connect the broken screen to the phone’s internal components. Carefully disconnect these cables using tweezers or plastic prying tools. Take note of their position and orientation to ensure they are reconnected correctly later.
- Remove the broken screen: Once the ribbon cables are disconnected, lift the broken screen away from the phone’s frame. Be gentle and ensure all the adhesive is detached before completely removing the screen.
- Clean the phone’s frame: Use a microfiber cloth, isopropyl alcohol, or screen cleaning solution to clean any remaining adhesive residue or dirt from the phone’s frame. A clean surface will ensure proper adhesion when installing the new screen.
Throughout the process, it’s important to handle the phone and its components with care. Avoid applying excessive force or using metal tools that could damage the delicate internal parts of the device.
With the broken screen successfully removed, you’re now ready to move on to the next step: replacing the screen. We will guide you through the installation process in the following section.
Replacing the Screen
Now that you have removed the broken screen from your Android phone, it’s time to proceed with replacing it. This step requires precision and attention to detail to ensure a proper fit and functionality. Follow these steps to replace the screen:
- Prepare the replacement screen: Remove the new screen from its packaging and inspect it for any damage or defects. Take note of any additional components, such as the proximity sensor, earpiece speaker, or front-facing camera, that need to be transferred from the old screen to the new one.
- Connect the ribbon cables: Locate the ribbon connectors on the new screen and carefully connect the corresponding cables from the phone’s internal components. Double-check that each cable is properly aligned and securely connected, ensuring a reliable connection.
- Align the replacement screen: Place the replacement screen on top of the phone’s frame, aligning it with the appropriate openings and screw holes. Make sure it fits snugly and sits properly in place.
- Secure the replacement screen: If your replacement screen includes adhesive strips, peel off the protective backing and carefully press the screen onto the phone’s frame. Apply gentle pressure to ensure a firm bond. If adhesive strips are not included, use adhesive glue to secure the screen in place. Follow the manufacturer’s instructions for proper application.
- Replace the screws: Use the small screwdriver from your set to reinsert the screws into their respective holes. Tighten them just enough to secure the screen without overtightening, as it may cause damage or misalignment.
- Perform a final check: Before finalizing the repair, double-check that all cables are securely connected, and the screen sits flush with the phone’s frame. Take a moment to review the alignment and ensure all components are properly seated.
- Clean the screen (if needed): If the replacement screen appears dirty or has fingerprints, use a microfiber cloth or a screen cleaning solution to clean it gently. A clean screen will provide optimal visibility and enhance the overall appearance of your phone.
Remember, patience and precision are key during the screen replacement process. Take your time and ensure that each step is accurately executed to avoid any further damage to your phone.
Now that you have successfully replaced the screen, it’s time to test its functionality. In the following section, we will guide you through the process of testing the new screen and ensuring everything is in working order.
Testing the New Screen
After replacing the screen on your Android phone, it’s important to test its functionality to ensure that everything is working as intended. Performing thorough testing allows you to identify any potential issues or anomalies and address them before reassembling the device. Follow these steps to test the new screen:
- Power on your phone: Press and hold the power button to turn on your Android phone. Allow it to boot up completely, giving the new screen time to initialize.
- Check for touch sensitivity: Swipe and tap various areas of the screen to ensure that touch sensitivity is accurate and responsive. Test different gestures, such as pinch-to-zoom and multi-finger gestures, to verify that all touch functionalities are working correctly.
- Inspect the display: Look closely at the screen to check for any abnormal display issues. This includes dead pixels, discoloration, or uneven backlighting. Navigate through different screens and applications to thoroughly assess the visual quality of the display.
- Test the proximity sensor and ambient light sensor: Make a phone call and bring the phone close to your face to check if the proximity sensor is functioning properly. The screen should turn off when in close proximity to your face and turn on again when moved away. Additionally, cover and uncover the ambient light sensor to ensure that the screen brightness adjusts accordingly.
- Verify the front-facing camera: Open the camera app and switch to the front-facing camera. Take a photo or record a short video to ensure that the camera is functioning correctly. Check for any focus issues or blurriness.
- Test the volume and power buttons: Press the volume up, volume down, and power buttons to verify that they work without any issues. They should provide a tactile response and perform their respective functions as expected.
- Check for audio functionality: Play audio or video files to test the sound quality and ensure that both the earpiece speaker and the speaker at the bottom of the phone are functioning correctly. Adjust the volume to different levels to ensure that it increases and decreases properly.
- Test the haptic feedback: Enable or disable haptic feedback in the phone’s settings and verify that the vibrations occur when interacting with the screen, pressing buttons, or receiving notifications.
During the testing process, be attentive to any irregularities or issues that may arise. If you encounter any problems, consult the troubleshooting guides provided by the manufacturer or consider seeking professional assistance.
Once you have performed a comprehensive test of the new screen and are satisfied with its performance, you can move on to reassembling your Android phone. In the next section, we will provide you with additional tips and tricks to enhance your screen repair experience.
Additional Tips and Tricks
As you navigate through the process of fixing your broken Android phone screen, here are some additional tips and tricks to enhance your repair experience:
- Take photos: Before disassembling your phone, take detailed photos of the device, especially the internal components and cable connections. These photos can serve as a valuable reference if you encounter any difficulties when reassembling the phone.
- Organize screws and components: Use a magnetic mat or small containers to keep track of the screws and small components during the disassembly process. Label each container or section of the mat to indicate where each piece belongs, ensuring a smooth reassembly later.
- Work in a clean and well-lit area: Find a clean, well-lit workspace to perform the repair. A clutter-free environment will help you stay organized and minimize the risk of losing or misplacing small components.
- Be patient and gentle: Take your time and handle the phone and its components with care. Rushing or applying excessive force can lead to further damage. Follow the instructions carefully and proceed slowly through each step.
- Follow repair guides and videos: Use reputable repair guides and instructional videos specific to your phone model. These resources provide detailed step-by-step instructions and visuals, helping you navigate the repair process effectively.
- Use a mat or towel to protect the screen: Place a soft mat or towel on your work surface to protect the screen from scratches or accidental damage while performing the repair. This extra layer of protection can make a difference.
- Consider a screen protector: Once you have successfully replaced the broken screen, consider applying a screen protector to help prevent future damage. Screen protectors act as an additional layer of protection against scratches and minor impacts.
- Keep track of warranty and repair information: If your phone is still under warranty or if you enlisted the help of a professional repair service, keep all the necessary documentation and contact information in case you encounter any issues later.
- Practice proper ESD precautions: When working with electronic devices, it’s important to follow electrostatic discharge (ESD) precautions. Use an ESD mat or wristband to prevent static electricity from damaging sensitive components during the repair.
- Seek professional help if needed: If you’re not confident in your repair skills or if the damage to your phone is extensive, it’s always a good idea to seek professional help. Experienced technicians can ensure a successful repair and minimize the risk of further damage.
Following these tips and tricks will help you navigate the screen repair process with confidence and increase the chances of a successful outcome. Remember, every repair situation is unique, so adjust your approach accordingly for your specific device.
With careful attention to detail and the right tools at your disposal, you can successfully fix your broken Android phone screen and restore its functionality. Good luck with your repair journey!
Conclusion
Repairing a broken screen on your Android phone may seem daunting, but with the right tools, patience, and careful execution, it is a task that can be accomplished successfully. By following the steps outlined in this guide, you can regain control of your device and save time and money.
From assessing the damage to gathering the necessary tools, removing the broken screen, replacing it with a new one, and testing the functionality, each step is crucial for a successful repair. Remember to handle the phone and its components with care, take your time, and follow the specific instructions for your phone model.
Backing up your data before starting any repairs is essential to protect your valuable files and information. Take advantage of various backup methods such as connecting your phone to a computer, utilizing cloud storage services, or using dedicated backup applications to ensure your data is safe throughout the process.
Additionally, pay attention to the additional tips and tricks provided to enhance your repair experience. Organizing screws and components, working in a clean environment, being patient and gentle, and following reputable repair resources will all contribute to a smoother and more successful repair process.
It’s important to note that if you’re not confident in your repair skills or if the damage is extensive, seeking professional help is always an option. Professional technicians have the expertise and tools to ensure a proper repair and minimize the risk of further damage.
With careful attention to detail and the right approach, you can overcome the challenges of a broken screen and restore your Android phone to full functionality. Remember to stay calm, be patient, and take pride in your successful repair accomplishment.
We hope this guide has provided you with valuable insights and guidance for fixing your broken Android phone screen. Good luck with your repair journey, and may you enjoy using your fully functional phone once again!