Possible Causes for Phone not Charging
When your Android phone is not charging, it can be a frustrating experience. There can be several reasons why your phone is unable to charge properly. Understanding these causes can help you troubleshoot and resolve the issue. Here are some possible causes to consider:
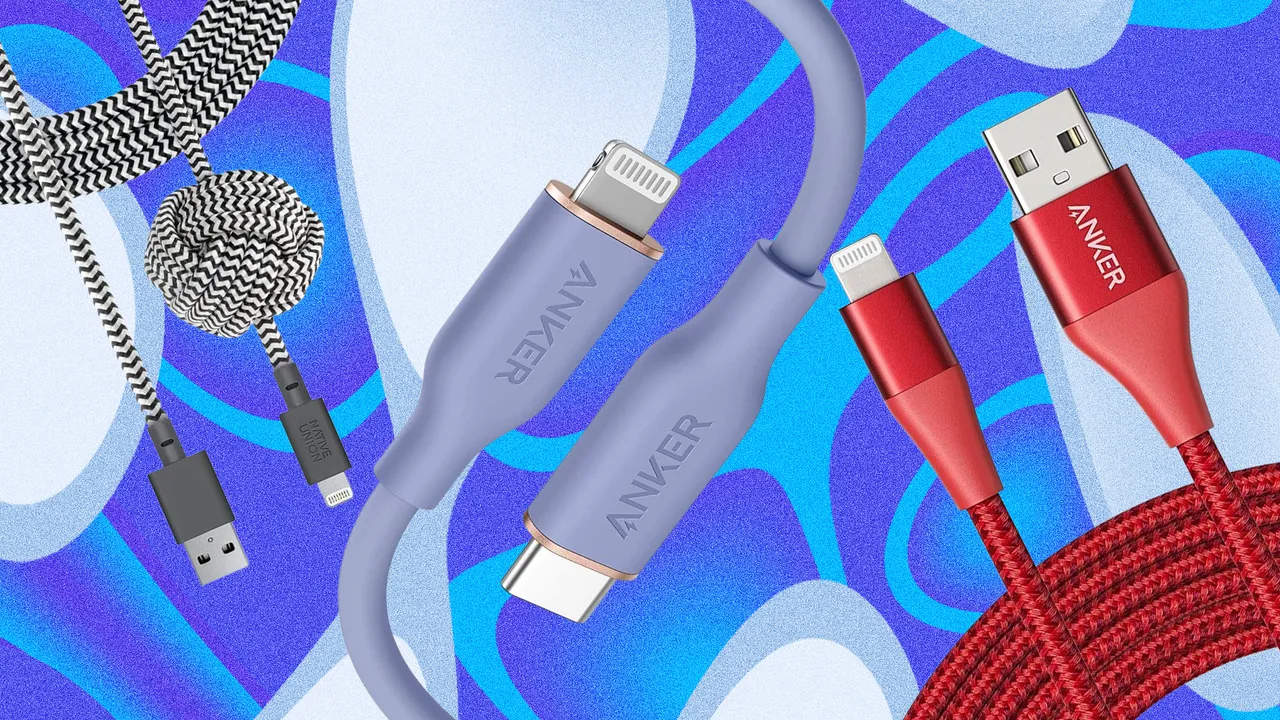
- Faulty Charging Cable: A common cause of charging issues is a faulty charging cable. Over time, cables can become worn out or damaged, resulting in a poor connection between the device and the charger. Try using a different cable to see if that resolves the problem.
- Dirty Charging Port: A dirty or dusty charging port may prevent proper charging. When debris accumulates in the port, it can hinder the connection between the cable and the device. Gently clean the charging port using compressed air or a fine brush to remove any dirt or lint.
- Overheating Issues: Sometimes, a device may not charge if it has overheated. When a phone gets too hot, it may automatically pause charging to prevent further damage. Give your phone time to cool down before attempting to charge it again.
- Software Glitch: Occasionally, a software glitch may be responsible for the charging problem. Restarting your phone or performing a soft reset can help resolve any temporary software issues that may be preventing proper charging.
- Faulty Battery: If your phone’s battery is faulty, it may not charge properly. Over time, batteries can wear out and lose their ability to hold a charge. Consider getting the battery checked and replaced if necessary.
- Incompatible Charger: Using an incompatible charger or a charger with insufficient power output may result in slow or no charging at all. Always use the charger specifically designed for your phone model or a reputable third-party charger that is compatible.
- Damaged Charging Port: Physical damage to the charging port, such as bent or broken pins, can prevent successful charging. In such cases, professional repair or replacement of the charging port may be required.
- Battery Saving Mode is Enabled: Some Android devices have a battery-saving mode that limits the charging speed to conserve power. Make sure this mode is disabled when you want to charge your phone quickly.
- Faulty Power Outlet: A faulty power outlet or adapter can also be the culprit. Try plugging your charger into a different outlet or using a different adapter to see if that resolves the issue.
- Charging Port Moisture or Water Damage: If your phone has been exposed to moisture or water, it may not charge until the charging port is completely dry. It’s important to avoid charging the phone if there is any moisture present to prevent further damage.
- Phone’s USB Debugging Mode is Enabled: USB Debugging mode, which is commonly used for development purposes, can interfere with charging. Disable this mode in the developer options settings to see if it resolves the charging problem.
- Battery Calibration Issues: In some cases, the battery calibration may be off, causing the phone to display incorrect charging levels. Calibrate the battery by fully charging it, then letting it discharge completely before charging it again.
These are some of the possible causes for your phone not charging when plugged in. By identifying the underlying issue, you can take the appropriate steps to fix it and ensure your phone charges properly again. If you’re still experiencing charging problems after trying these solutions, it may be wise to seek professional assistance.
Faulty Charging Cable
A faulty charging cable is one of the most common causes of charging issues with Android phones. Over time, cables can become frayed, bent, or damaged, resulting in a poor electrical connection between the device and the charger. This can prevent proper charging or cause intermittent charging problems.
If you suspect that your charging cable is faulty, try using a different cable to see if that resolves the issue. Borrow a cable from a friend or family member, or purchase a new one if necessary. Make sure to use a cable that is specifically designed for your phone model to ensure compatibility.
When selecting a new charging cable, opt for one that is of high-quality and durable. Look for cables made of reinforced materials and with strong connectors. These cables are less likely to fray or break over time, providing a more reliable charging experience.
In addition to the cable itself, check the connectors at both ends. Ensure that the connectors are clean and free from dust, dirt, or corrosion, as this can obstruct the electrical connection. Gently clean the connectors using a soft cloth or cotton swab if necessary.
If the charging cable still doesn’t work after trying a new one, there may be an issue with the charging port on your phone. Sometimes, the pins inside the port can become bent or damaged, making it difficult for the cable to make proper contact. In such cases, it may be necessary to seek professional repair or replacement of the charging port.
In summary, a faulty charging cable can often be the culprit behind charging issues with Android phones. If you experience problems with charging, try using a different cable and ensure that the connectors are clean. Invest in a high-quality, compatible cable to prevent future issues and ensure a reliable charging experience for your Android device.
Dirty Charging Port
A dirty charging port can be another reason why your Android phone is not charging properly. Over time, dust, lint, and other debris can accumulate in the charging port, obstructing the electrical connection between the charging cable and the device. When this happens, the charging process can be disrupted, resulting in slow charging or no charging at all.
To check if a dirty charging port is causing the issue, visually inspect the port for any visible debris. If you see dust or lint inside the port, it’s important to clean it gently to restore proper charging functionality.
Start by turning off your phone and disconnecting it from any power source. Then, use a small, clean, and dry brush to gently remove any visible dirt or lint from the charging port. Alternatively, you can use compressed air to blow away the debris. Be careful not to use excessive force or sharp objects that can damage the port.
After cleaning the charging port, reconnect your phone to the charger and see if it begins to charge properly. Sometimes, a thorough cleaning is all that’s needed to resolve the charging issue.
If you continue to experience charging problems even after cleaning the charging port, there may be a more serious issue at hand. It’s possible that the port itself is damaged or needs professional cleaning. In such cases, it’s advisable to bring your phone to a technician or authorized service center for further assessment and repair.
Maintaining a clean charging port is essential to ensure a reliable charging process for your Android phone. It’s a good practice to periodically inspect and clean the charging port to prevent the accumulation of dirt and debris. Additionally, consider using dust plugs or port covers to protect the charging port when it’s not in use.
In summary, a dirty charging port can hinder the proper charging of your Android phone. Clean the charging port carefully using a brush or compressed air to remove any dirt or lint. If cleaning doesn’t solve the issue, seek professional help to diagnose and repair any underlying problems with the charging port.
Overheating Issues
Overheating can be a common cause of charging problems on Android phones. When a device becomes too hot, it may automatically pause or limit the charging process to prevent further damage or potential safety hazards.
There are several reasons why your Android phone may be overheating during charging. One possibility is that you are using a case or cover that is not allowing proper heat dissipation. Consider removing the case while charging to allow better airflow and prevent overheating.
Another potential cause of overheating is using your phone while it is charging. Engaging in activities that require significant processing power, such as gaming or running resource-intensive apps, generates more heat and can strain the phone’s charging system. It is recommended to avoid using your phone during charging to minimize the risk of overheating.
Additionally, your phone’s environment can contribute to overheating. Charging your phone in direct sunlight or in a hot environment, such as a car on a hot day, can accelerate heat buildup and adversely affect the charging process. Find a cool and well-ventilated location to charge your phone to prevent overheating.
If your phone feels excessively hot to the touch or you notice other signs of overheating, such as slower performance or unexpected shutdowns, it’s important to let it cool down before attempting to charge it again. Turn off your phone, disconnect it from the charger, and place it in a cool area away from direct sunlight. Once it has cooled down, you can try charging it again.
If you consistently experience overheating issues during charging, it may be a sign of a more serious underlying problem, such as a faulty battery or a malfunctioning charging circuit. In such cases, it is best to seek professional assistance to diagnose and resolve the issue.
In summary, overheating can disrupt the charging process on your Android phone. Remove any phone cases during charging, avoid using your phone while it’s charging, and charge it in a cool environment to minimize the risk of overheating. If overheating persists, seek professional help to address any underlying issues.
Software Glitch
A software glitch can occasionally be the culprit behind charging problems on Android phones. Issues with the operating system or software can disrupt the charging process, causing it to be slow or non-functional.
If you suspect that a software glitch is causing the charging problem, there are a few troubleshooting steps you can take:
1. Restart your phone: A simple restart can often resolve temporary software issues. Press and hold the power button on your phone, then select “Restart” or “Reboot” from the options that appear. Once your phone restarts, check if the charging problem persists.
2. Perform a soft reset: If a simple restart doesn’t solve the issue, you can try performing a soft reset. This can help clear any temporary files or cache that could be interfering with the charging process. To perform a soft reset, press and hold the power button and the volume down button simultaneously for about 10 seconds, or until your phone restarts.
3. Check for software updates: Make sure that your phone’s operating system and apps are up to date. Manufacturers often release software updates that address known issues and improve device performance. Go to the settings menu on your phone, look for the “Software Update” or “System Update” option, and follow the prompts to check for and install any available updates.
4. Factory reset (last resort): If all else fails, you can consider performing a factory reset on your phone. This will erase all data and settings, so make sure to back up your important files before proceeding. To perform a factory reset, go to the settings menu, find the “Backup & Reset” or “System” section, and select “Factory Data Reset.” Confirm your decision and allow the process to complete. Keep in mind that this should only be done as a last resort, as it will erase all personal data from your phone.
If the charging problem persists after attempting these troubleshooting steps, it may be necessary to consult with your device manufacturer or seek professional help from a technician. They can further diagnose the issue and provide the appropriate solution.
In summary, a software glitch can interfere with the charging process on your Android phone. Try restarting your phone, performing a soft reset, checking for software updates, or even performing a factory reset if necessary. If the problem persists, reach out to the device manufacturer or seek professional assistance for further troubleshooting.
Faulty Battery
A faulty battery can be a common cause of charging issues on Android phones. Over time, batteries can degrade and lose their ability to hold a charge effectively. If you notice that your phone is not charging properly despite trying different charging cables and outlets, a faulty battery could be the culprit.
One indication of a faulty battery is if your phone quickly loses its charge, even when not in use. Another sign is if the battery percentage jumps or fluctuates unexpectedly when charging. These issues suggest that the battery’s capacity or calibration may be compromised.
To address a faulty battery, consider the following steps:
1. Check battery health: Some Android phones have built-in battery health diagnostic tools. Check your phone’s settings or battery section to see if a battery health feature is available. It can provide insight into the overall condition and health of your battery.
2. Contact the manufacturer: If your phone is still under warranty or within the manufacturer’s specified period, reach out to their customer support. Explain the charging issues you are experiencing and inquire about possible solutions. They may offer to replace the battery or provide further instructions.
3. Seek professional assistance: If your phone is no longer under warranty or the manufacturer’s support is limited, consider consulting a professional technician or taking your phone to an authorized service center. They can diagnose the battery’s health and suggest appropriate solutions, such as battery replacement.
4. Replace the battery: If you have determined that the battery is indeed faulty, one solution is to purchase a replacement battery. Verify that the replacement battery is compatible with your phone model and follow the manufacturer’s instructions for installation. Keep in mind that replacing the battery yourself may void any remaining warranty on your phone, so proceed with caution.
5. Consider professional repair: If you are not confident in replacing the battery yourself or want to ensure the best outcome, consider professional repair services. Authorized service centers or experienced technicians can handle battery replacements and ensure proper installation, minimizing the risk of further damage to your phone.
Replacing a faulty battery can restore proper charging functionality to your Android phone. However, it’s essential to address the issue promptly and follow appropriate procedures to ensure safety and prevent damage to your device.
In summary, a faulty battery can cause charging problems on your Android phone. Check the battery health, contact the manufacturer or seek professional assistance for guidance, and consider replacing the battery if necessary. Be mindful of the steps you take and prioritize safety to safeguard your device.
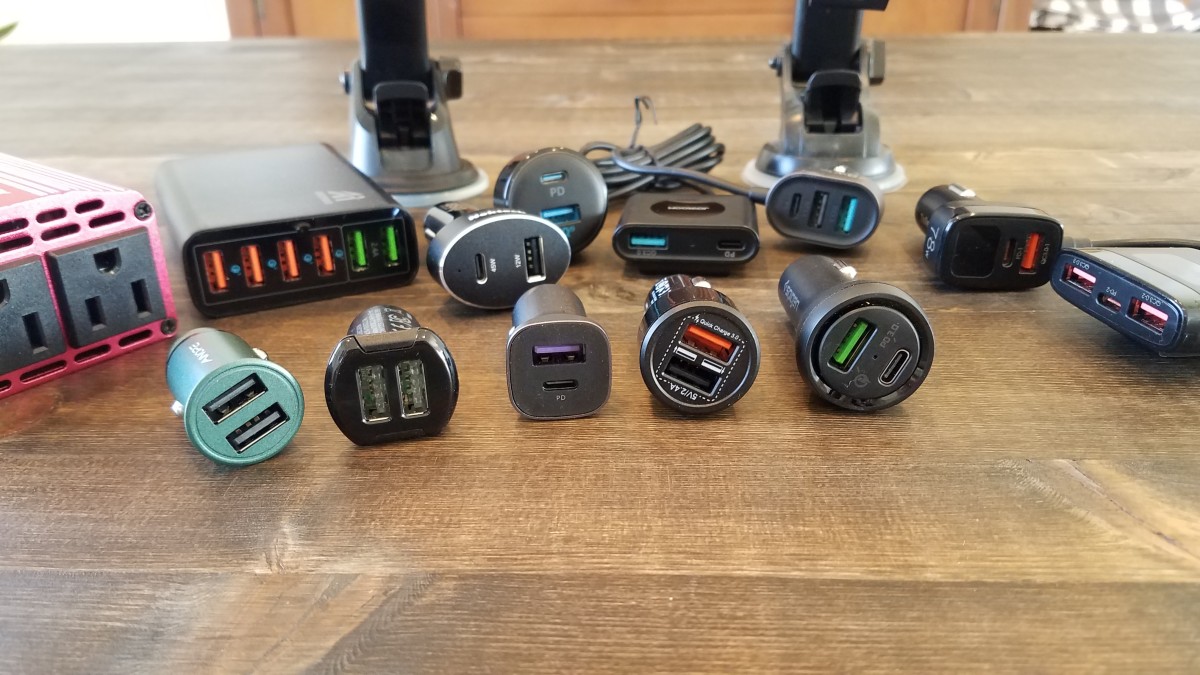
Incompatible Charger
Using an incompatible charger can lead to charging issues on your Android phone. While it may seem convenient to use any charger that fits the charging port, not all chargers are created equal. Incompatibility can result in slow charging, intermittent charging, or even no charging at all.
The important factor to consider when selecting a charger for your phone is the voltage and current output. Every phone model has specific requirements for charging, and using a charger with significantly different output can cause problems.
Here are some points to keep in mind regarding charger compatibility:
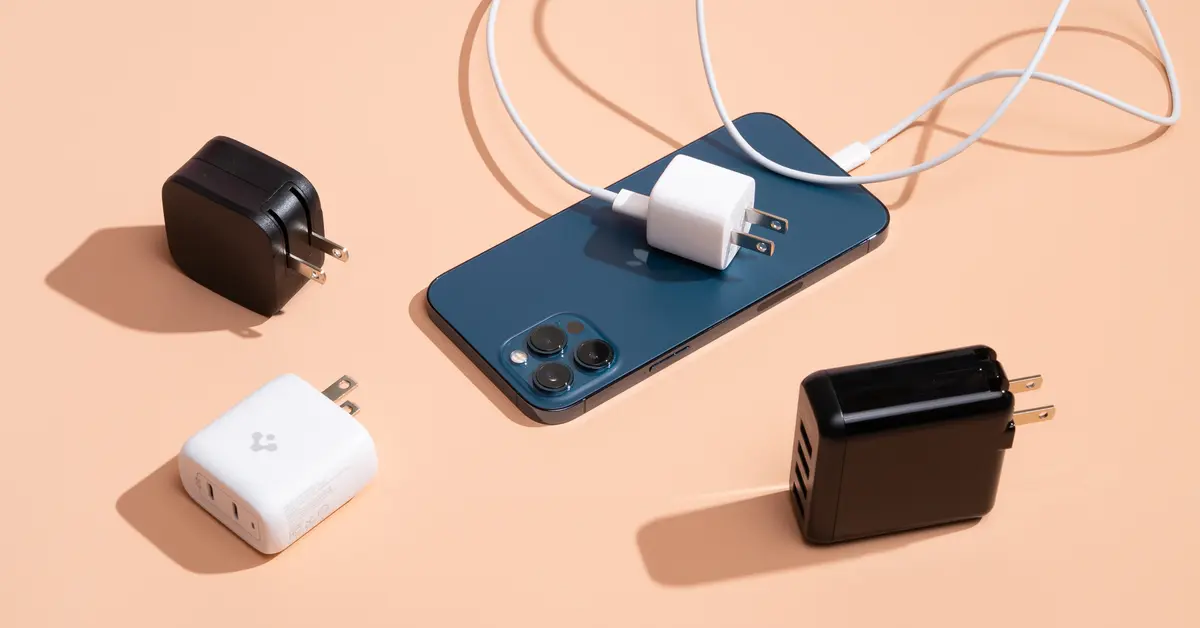
1. Check the charger specifications: Take a look at the charger itself or its packaging to check the voltage and current output. Ensure that it matches the requirements specified for your phone. If you no longer have the original charger that came with your device, refer to the manufacturer’s website or contact their support for the correct charger specifications.
2. Use reputable chargers: It’s recommended to use chargers manufactured by reputable brands or approved by the phone’s manufacturer. These chargers are more likely to meet the necessary specifications and ensure proper charging performance.
3. Avoid generic or counterfeit chargers: Generic or counterfeit chargers may not adhere to the appropriate standards and can pose a safety risk. Additionally, they may not provide the necessary power output for your phone, resulting in charging issues.
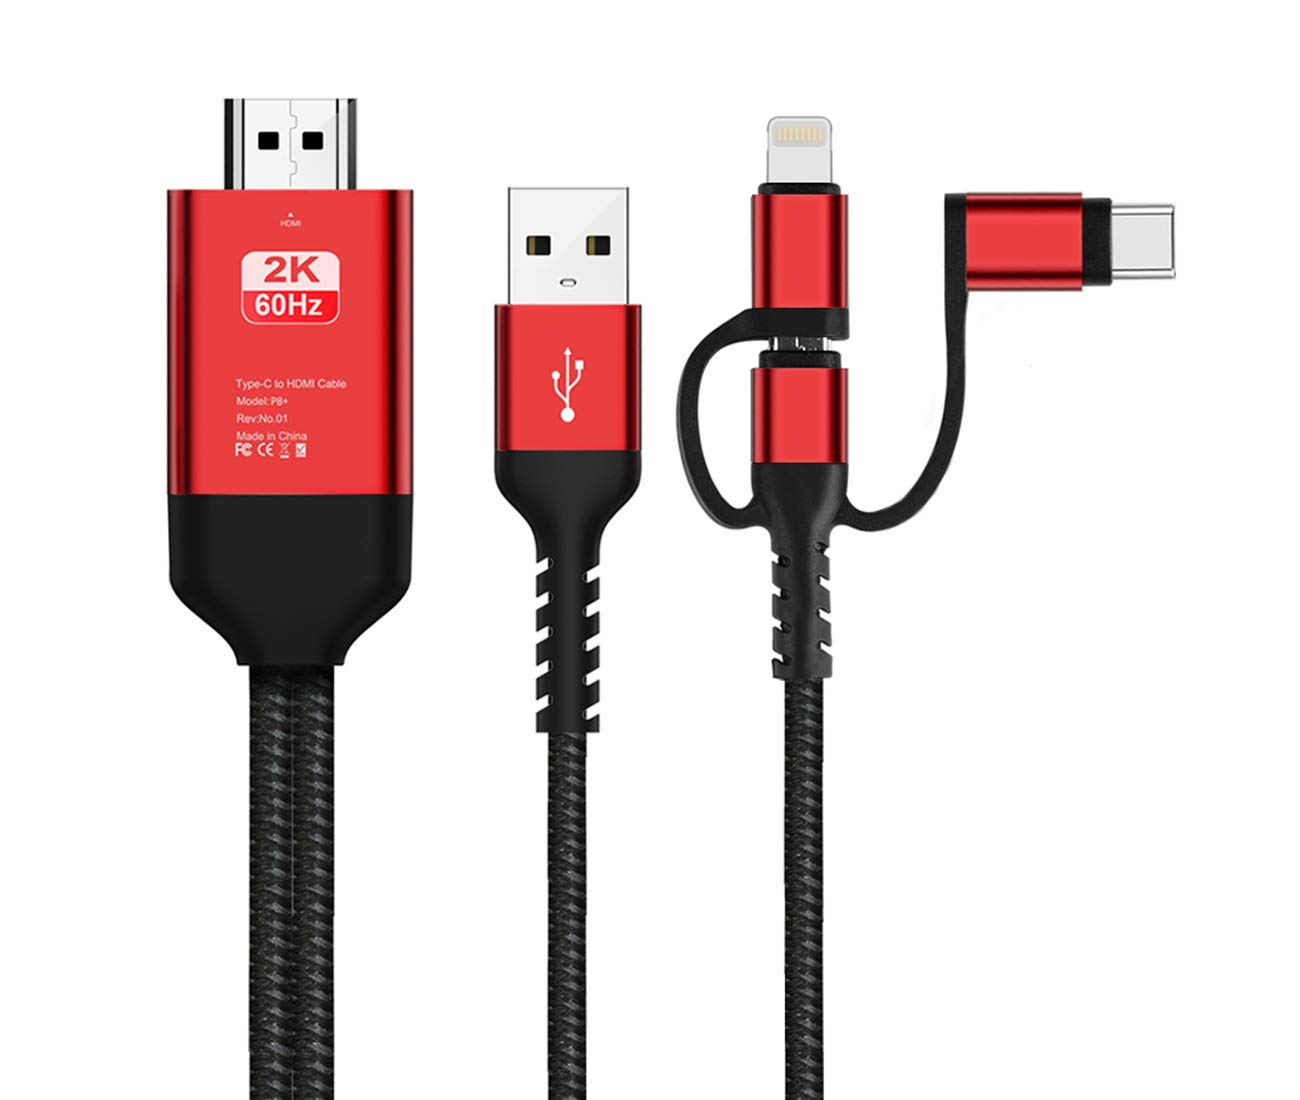
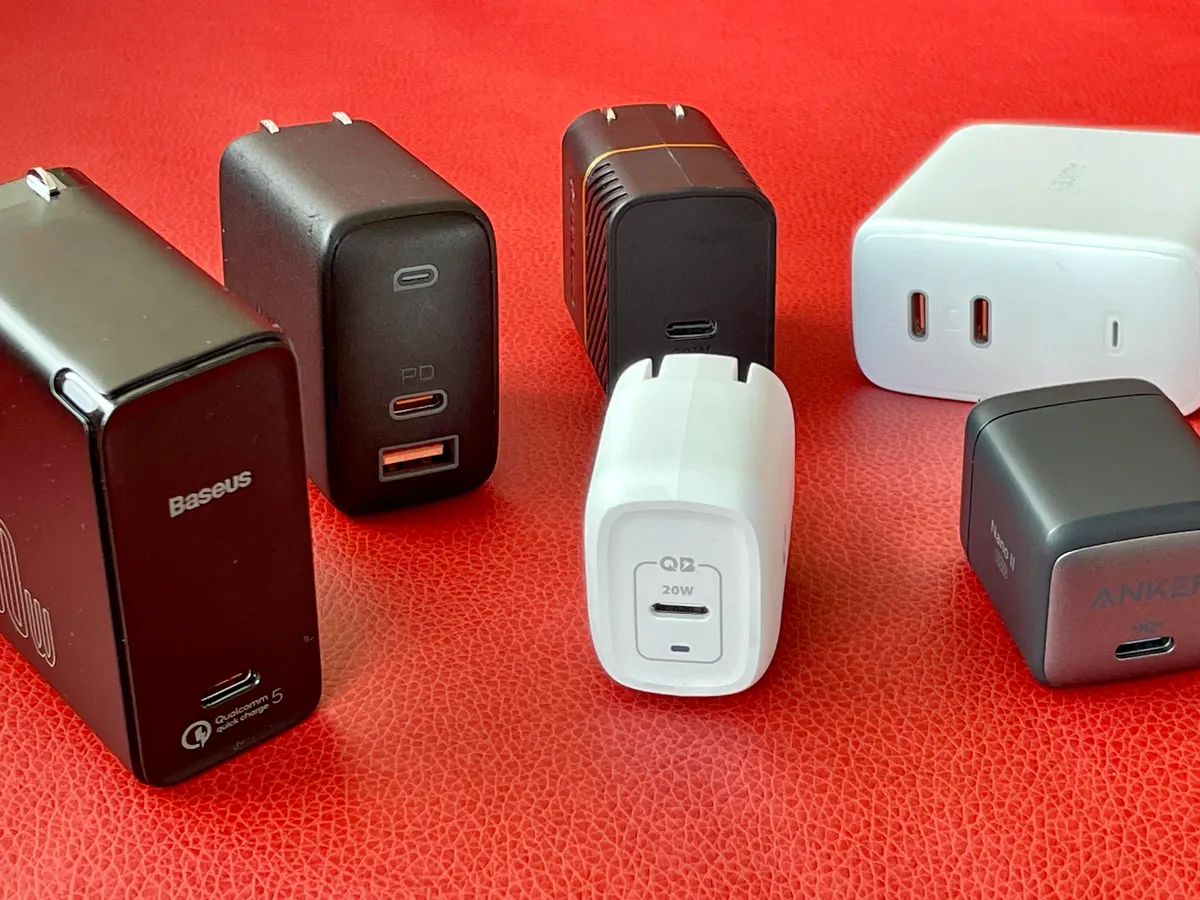
4. USB Type-C considerations: If your phone has a USB Type-C port, it’s essential to use a charger specifically designed for USB Type-C devices. USB Type-C chargers provide faster charging speeds and support features like fast charging or Power Delivery (PD), which may not be available with older chargers.
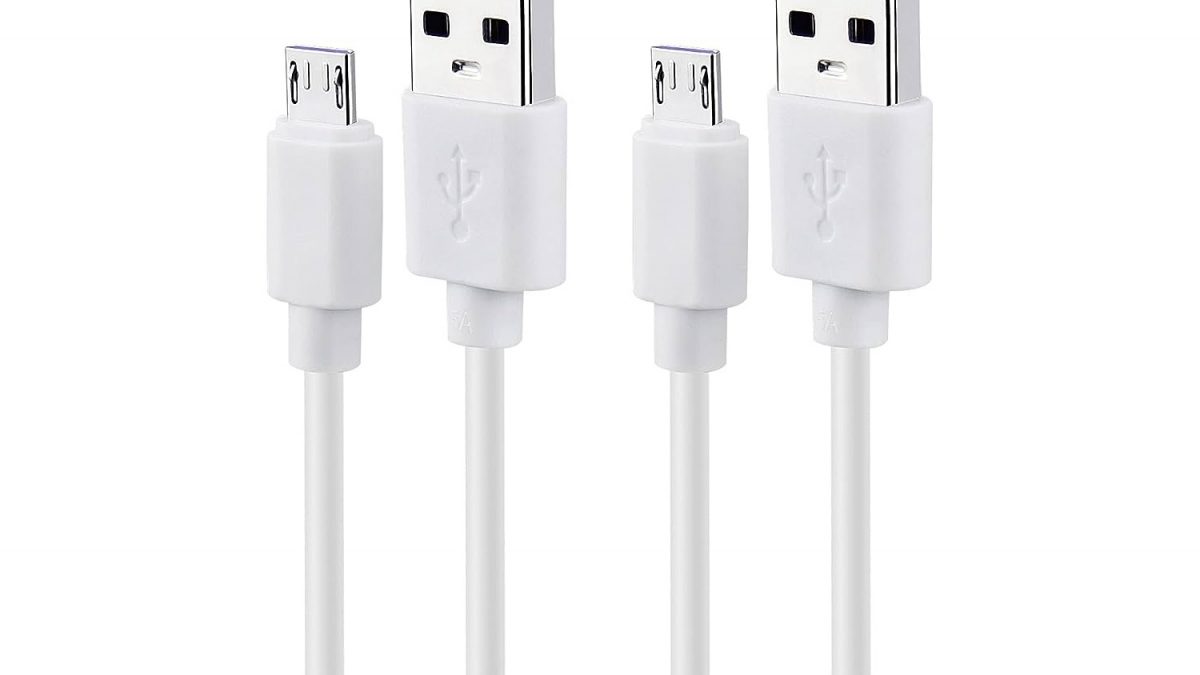
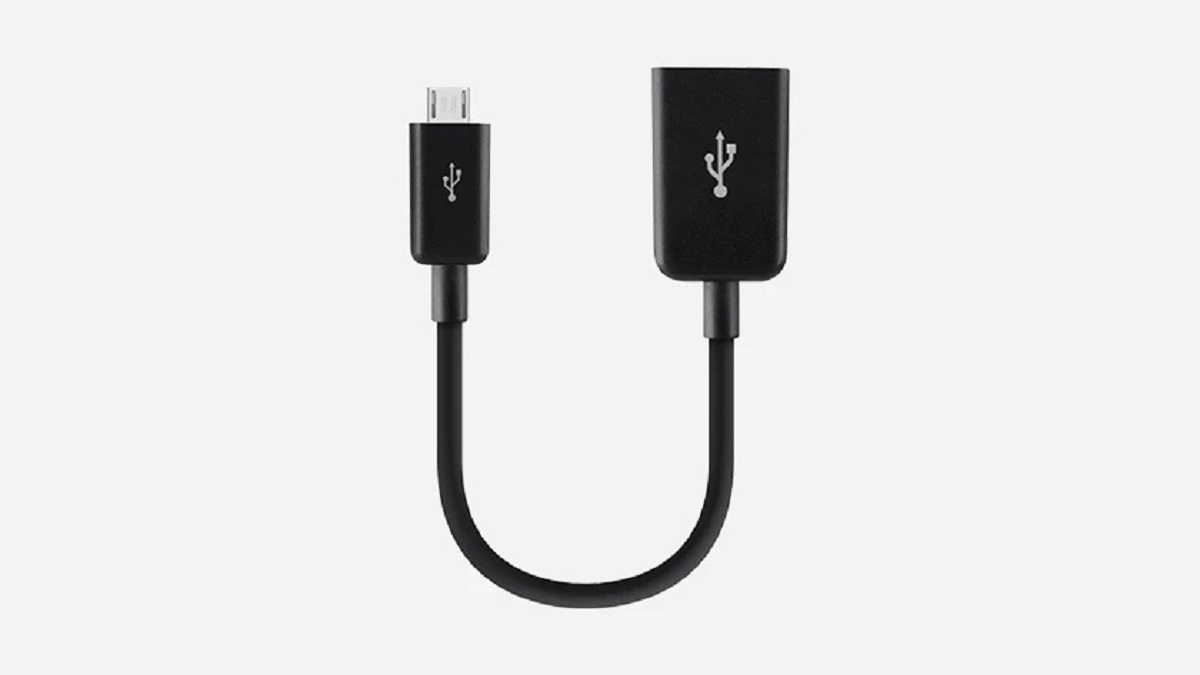
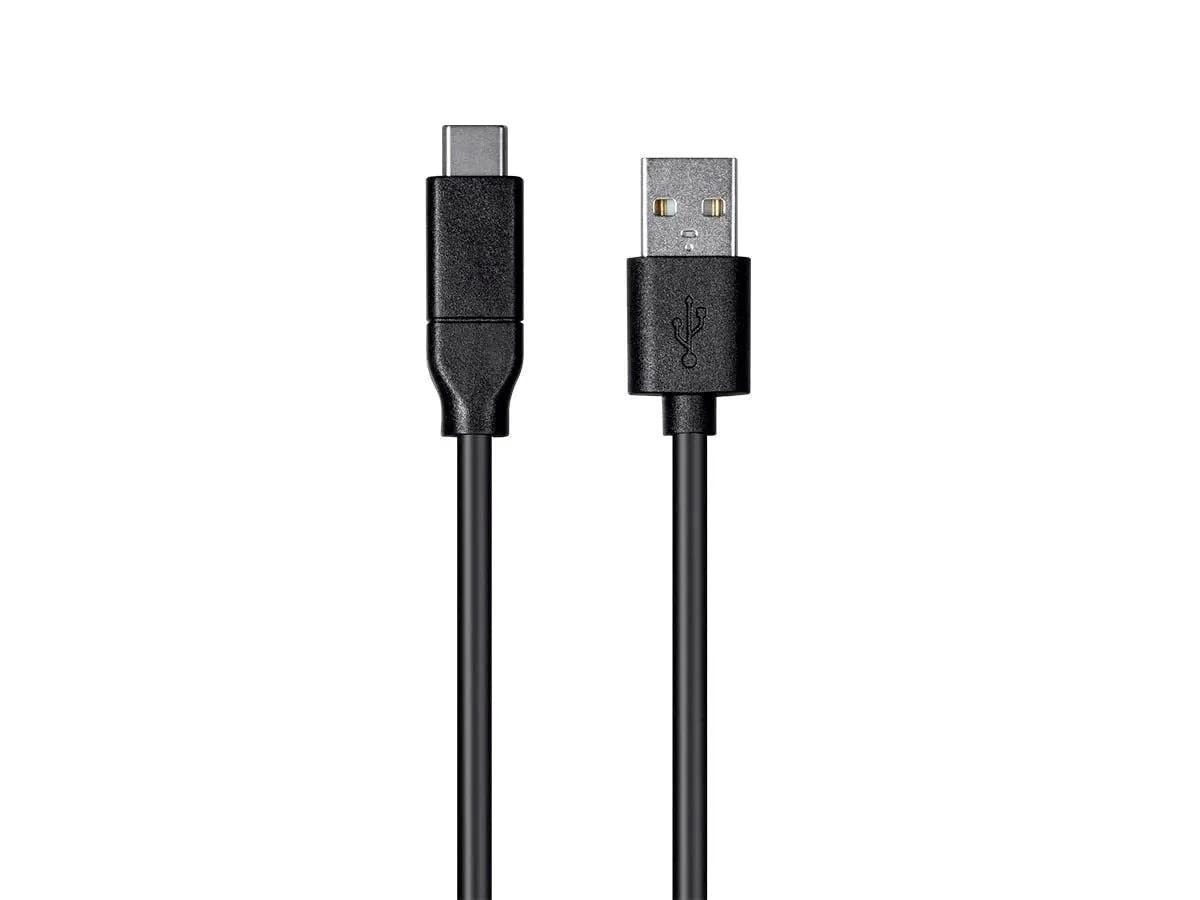
5. Charging cable compatibility: It’s not just the charger itself that needs to be compatible, but also the charging cable. Ensure that the charging cable you use is compatible with both your phone and the charger. For example, some phones require a USB Type-C cable, while others may use a Micro-USB or Lightning cable.
If you are using an incompatible charger and experiencing charging issues, the solution is simple: replace the charger with one that meets the correct specifications. Invest in a charger that is specifically designed for your phone model or purchase a reputable third-party charger that is known to be compatible.
Remember, using an incompatible charger not only affects the charging performance of your phone but can also pose a safety risk. It’s important to prioritize the safety and longevity of your device by using the right charger.
In summary, using an incompatible charger can result in charging problems on your Android phone. Verify the charger specifications and use reputable chargers that meet the requirements of your phone model. Avoid generic or counterfeit chargers, and ensure compatibility between the charger and the charging cable. Taking these steps will help ensure a reliable charging experience for your Android device.
Damaged Charging Port
A damaged charging port can be a common cause of charging issues on Android phones. The charging port, also known as the USB port or charging connector, is where you plug in the charging cable to connect it to your device. Physical damage to the charging port can interfere with the proper electrical connection, resulting in slow charging, intermittent charging, or no charging at all.
Several factors can lead to a damaged charging port:
1. Accidental mishandling: Dropping your phone or accidentally inserting the charging cable at an angle can cause damage to the charging port. The pins inside the port can become bent or broken, making it difficult for the cable to make proper contact.
2. Dirt and debris: Accumulated dust, lint, or other debris can also damage the charging port over time. When foreign particles enter the port, they can cause obstruction and prevent the charging cable from making a solid connection.
If you suspect that your charging port is damaged, here are a few steps you can take to troubleshoot:
1. Inspect the charging port: Visually inspect the charging port on your phone for any visible signs of damage. Look for bent or missing pins, debris, or corrosion. If you notice any issues, proceed with caution as attempting to fix it yourself may further damage the port.
2. Clean the charging port: If the port appears dirty or obstructed, gently clean it using compressed air or a soft brush. Be careful not to use excessive force or sharp objects that can damage the port. If you’re unsure, it’s best to seek professional help.
3. Try a different cable and charger: In some cases, the issue may not be with the charging port itself, but with the cable or charger. Test different cables and chargers to rule out any potential problems with those components.
If the above steps don’t resolve the issue, it’s recommended to seek professional assistance. A technician or authorized service center can assess the condition of the charging port and determine if repairs are necessary. They have the expertise and tools to either repair the damaged port or replace it if needed.
When using a damaged charging port, be cautious as it can worsen the situation and potentially cause harm to your device. It’s crucial to get the necessary repairs done to restore the functionality and ensure safe charging.
In summary, a damaged charging port can hinder the proper charging of your Android phone. Inspect and clean the charging port, try different cables and chargers, and seek professional help if the issue persists. Protect your device by addressing any damage to the charging port promptly and avoiding further mishandling.
Battery Saving Mode is Enabled
If your Android phone is not charging properly, one possible cause could be that the battery-saving mode is enabled. Battery-saving mode is a built-in feature in Android devices that limits certain tasks and reduces power consumption to prolong battery life. While it can be helpful in conserving battery power, it can also affect the charging process.
When battery-saving mode is enabled, the phone may prioritize power conservation over charging speed. This means that the charging process can be significantly slower, or the phone may not charge at all while in this mode.
To check if battery-saving mode is enabled, follow these steps:
- Swipe down from the top of the screen to access the notification panel
- Look for the battery icon or a battery-related shortcut
- If battery-saving mode is enabled, it may be indicated by an icon or a notification
If battery-saving mode is enabled, you can disable it temporarily to allow your phone to charge more efficiently. Here’s how:
- Go to the settings menu on your Android device
- Scroll down and look for the “Battery” or “Power” section
- Select “Battery Saving Mode” or a similar option
- Toggle the switch to turn off battery-saving mode
Once you have disabled battery-saving mode, connect your phone to the charger and see if it charges properly. If the charging issue is resolved, it confirms that the battery-saving mode was the reason for the slow or non-charging behavior.
It’s important to note that battery-saving mode is a useful feature to maximize battery life when you’re running low on power. However, it’s best to disable it while charging if you need a faster charging time. Remember to re-enable it once your phone is fully charged or when you want to conserve battery power again.
If disabling battery-saving mode doesn’t resolve the charging issue, there may be other underlying causes that require further investigation. Consider trying other troubleshooting steps or contacting the phone manufacturer or a professional technician for assistance.
In summary, battery-saving mode can limit the charging speed or prevent proper charging on Android phones. Check if battery-saving mode is enabled and disable it temporarily to see if it resolves the charging issue. However, if the problem persists, explore other possible causes or seek professional help to diagnose and address the underlying problem.
Faulty Power Outlet
When your Android phone is not charging properly, it’s important to consider the possibility that the power outlet you’re using may be the cause. A faulty power outlet can hinder the charging process and prevent your phone from charging adequately or at all.
Here are a few factors to consider when dealing with a potentially faulty power outlet:
1. Check the power source: Ensure that the power outlet you’re using is functioning correctly. Plug in another device or charger to see if it works properly. If the outlet is not providing power or seems to be malfunctioning, try using a different outlet.
2. Test different chargers and cables: Sometimes, the charging issue may not lie with the power outlet itself, but with the charger or cable you’re using. Test different chargers and cables with the same power outlet to determine if the issue persists. This will help identify whether it’s a problem with the power outlet or the charging equipment.
3. Reset the power outlet: If you are confident that the power outlet is the problem, try resetting it by switching off the power at the circuit breaker or fuse box. Wait for a few seconds, then switch it back on. This can help reset any potential issues with the power outlet and restore proper functionality.
4. Consider using a surge protector: Electrical surge or power fluctuations can also affect the charging process. Using a surge protector or a power strip with surge protection can help safeguard your devices from irregular or unstable power supply. Look for surge protectors with built-in USB ports for convenient charging.
5. Seek professional help: If the power outlet continues to cause charging issues even after trying different chargers and cables or resetting the power outlet, it may be necessary to consult an electrician. They can assess the power outlet and determine if any repairs or replacements are required.
It’s crucial to ensure that the power outlet you’re using is supplying consistent and reliable power to avoid any potential damage to your phone. Using a faulty power outlet can not only affect the charging process but also pose a risk to your device.
In summary, a faulty power outlet can impact the charging process of your Android phone. Test different chargers and cables, reset the power outlet, and consider using surge protectors to address any charging issues. If the problem persists, seek professional assistance to assess and rectify any underlying electrical issues with the power outlet.
Charging Port Moisture or Water Damage
If your Android phone is not charging properly, one potential cause could be moisture or water damage to the charging port. Exposure to moisture or water can disrupt the electrical connection, leading to charging issues or complete non-functionality of the charging port.
It’s important to be aware of the following factors when dealing with moisture or water damage:
1. Avoid charging when moisture is present: If your phone has been exposed to moisture or water, it is crucial to not attempt to charge it immediately. Connecting the charger to the wet charging port can potentially cause short circuits or further damage to the phone. Instead, allow the phone to dry thoroughly before attempting to charge.
2. Remove any visible moisture or water: If there is visible moisture on or around the charging port, gently wipe it off with a soft and dry cloth. Make sure to also check the charging cable and connector for any signs of moisture.
3. Use a drying agent: You can accelerate the drying process by using a moisture-absorbing substance such as uncooked rice or silica gel packets. Place your phone in a container filled with the drying agent and leave it for a few hours or overnight. Be cautious not to get any of the drying agent particles into the charging port.
4. Avoid heat sources: While it may be tempting to use external heat sources such as a hairdryer to dry out the charging port, this is not recommended. Excessive heat can cause further damage to sensitive components in the phone. Stick to using natural air drying methods instead.
5. Test with a different charger and cable: After the phone has dried thoroughly, test the charging port with a different charger and cable to see if the issue is resolved. Sometimes, the charging equipment itself may have been affected by the moisture, so using new or known working accessories can help isolate the problem.
6. Seek professional assistance: If the charging port continues to malfunction even after drying and testing with different chargers and cables, it’s advisable to seek professional help. A technician or authorized service center can assess the extent of the water damage and perform any necessary repairs or replacements.
It’s important to note that prevention is key when it comes to moisture or water damage. Keep your phone away from water sources, use protective cases or covers that offer water resistance, and exercise caution in humid or wet environments.
In summary, moisture or water damage can affect the charging port of your Android phone, leading to charging issues. Avoid charging when the charging port is wet, dry the phone thoroughly using natural methods, test with different chargers and cables, and seek professional assistance if the problem persists. Taking these steps can help address and prevent further damage caused by moisture or water exposure.
Phone’s USB Debugging Mode is Enabled
Enabling USB Debugging Mode on your Android phone is a useful feature for developers and advanced users. However, having this mode enabled can interfere with the charging process and cause issues when trying to charge your device.
USB Debugging Mode allows your phone to communicate with a computer via a USB connection, enabling you to perform advanced debugging tasks, install custom firmware, or access certain system settings. While it can be beneficial for development purposes, it can disrupt the charging process when enabled.
If you suspect that USB Debugging Mode may be the cause of your charging issue, here’s what you can do:
1. Disable USB Debugging Mode: Open the settings menu on your Android phone and scroll down to find the “Developer options” or “Developer settings” section. Look for the option called “USB Debugging” and toggle it off. This will disable USB Debugging Mode and should help resolve any charging problems associated with it.
2. Restart your phone: After disabling USB Debugging Mode, restart your phone to apply the changes. This ensures that the phone’s system is refreshed and any temporary glitches are resolved.
3. Test the charging process: Once your phone has restarted, connect it to the charger again and observe if it charges properly. Make sure to use a compatible charger and cable for accurate testing. If the issue persists, continue troubleshooting using other methods.
It’s important to be aware that while disabling USB Debugging Mode may resolve charging issues, it will also limit your ability to perform advanced development tasks. If you rely on USB Debugging for your work or need access to certain developer features, you may have to weigh the benefits against the charging issues you are experiencing.
If disabling USB Debugging Mode does not resolve the charging issue, there may be other underlying causes that need further investigation. Consider trying other troubleshooting steps or seeking professional help from the device manufacturer or a technician.
In summary, enabling USB Debugging Mode on your Android phone may interfere with the charging process. Disable USB Debugging Mode in the phone’s settings to see if it resolves the charging issue. However, consider the potential implications on your development work and seek other solutions if the problem persists.
Battery Calibration Issues
Battery calibration refers to the process of recalibrating the battery’s internal software to accurately report its remaining capacity. When your Android phone experiences battery calibration issues, it can result in inaccurate battery level readings and cause charging problems.
If you suspect that battery calibration issues may be the cause of your charging problem, here’s what you can do:
1. Fully charge your phone: Connect your phone to the charger and allow it to charge until the battery reaches 100%. This ensures that the battery is fully charged, which is necessary for the calibration process.
2. Completely discharge your phone: Once your phone is fully charged, use it as you normally would until the battery is completely drained and the phone powers off. This process helps to discharge the battery completely.
3. Charge the phone without interruption: After the phone has completely discharged, connect it to the charger again without interruptions. Avoid using the phone while it’s charging and allow it to charge uninterrupted until it reaches 100%.
4. Reboot or perform a soft reset: Once the phone has reached 100% charge, try rebooting the device or performing a soft reset. This can help refresh the phone’s system and potentially resolve any remaining calibration issues.
5. Monitor battery performance: After completing the charging and rebooting process, monitor your phone’s battery performance to see if the calibration issue has improved. Check if the reported battery level is more accurate and if charging-related problems have been resolved.
If the battery calibration issue persists and continues to affect charging functionality, there may be other factors at play. Consider consulting the manufacturer’s support or seeking professional assistance for further troubleshooting and potential battery replacement if necessary.
It’s important to note that while battery calibration can resolve some charging issues, it may not solve all problems. If you are experiencing persistent charging problems or other battery-related issues, it’s advisable to consult with the manufacturer or authorized service center for assistance.
In summary, battery calibration issues can disrupt charging functionality on your Android phone. Follow the steps to fully charge and discharge your phone, and monitor the battery performance to see if calibration improves. If the issue persists, reach out to the manufacturer or seek professional help for further assistance.