Introduction
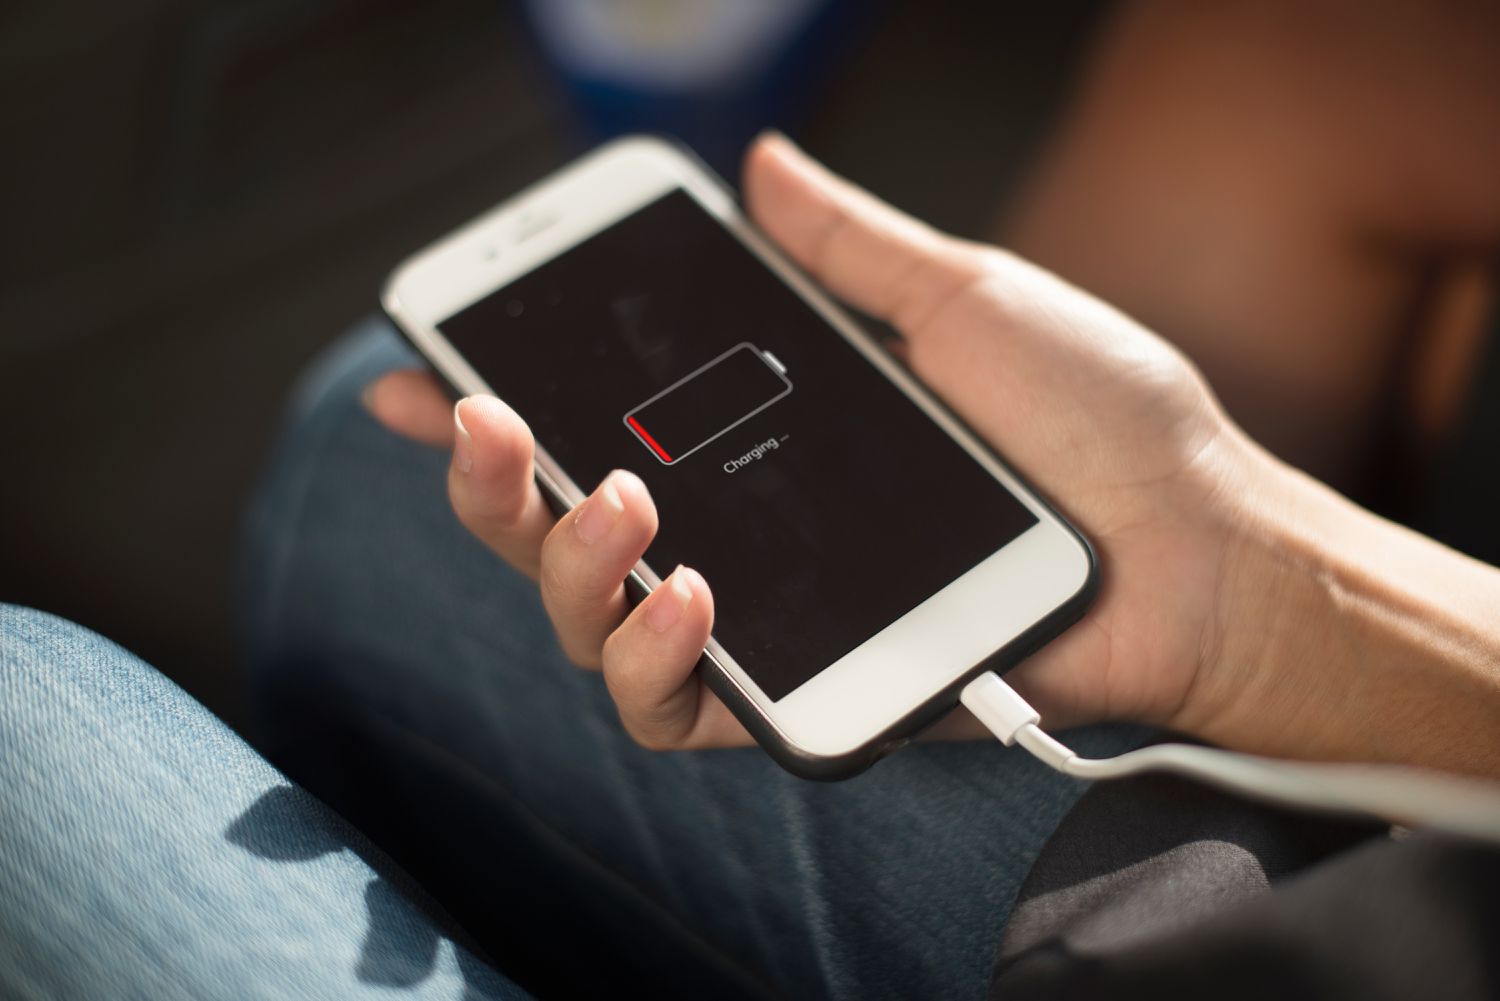
Having a fully functioning charging port is crucial for ensuring that your Android device stays powered throughout the day. However, it is not uncommon to encounter issues with the charging port, which can be frustrating and inconvenient. Whether your Android device isn’t charging at all, charges slowly, or doesn’t establish a proper connection with the charger, these problems can disrupt your daily routine.
Fortunately, many charging port issues are fixable without having to replace the entire device. With the right tools and a little troubleshooting, you can often get your Android charging port back in working order. This guide will walk you through some common charging port issues and provide step-by-step instructions on how to fix them.
Before diving into the solutions, it’s important to note that not all charging port issues can be resolved on your own. In some cases, a professional repair may be necessary. However, it’s always worth trying out the DIY solutions before resorting to professional assistance.
Now, let’s explore some of the common issues that can occur with an Android charging port and learn how to troubleshoot and fix them ourselves.
Common Charging Port Issues
Before we begin troubleshooting and fixing your Android charging port, it’s important to understand the common problems that can occur. By identifying the specific issue affecting your device, you can take the appropriate steps to resolve it. Here are some of the most common charging port issues:
- No Charging: If your Android device is not charging at all, it could be due to a variety of reasons. It may be a problem with the charging port itself, the charging cable, or the power source. This issue often requires some investigation to determine the exact cause.
- Slow Charging: If your Android device is taking an unusually long time to charge, it can be frustrating. Slow charging can occur due to issues like a weak power source, a damaged charging cable, or even the software on your device.
- Intermittent Charging: Sometimes, your Android device may only charge sporadically or experience a disconnection even when the charger is properly connected. This can be caused by a loose or damaged charging port or a faulty charging cable.
- Overheating While Charging: If your Android device becomes excessively hot while charging, it can not only affect charging efficiency but also pose a risk to the overall health of your device. Overheating can be caused by issues like using a low-quality charger or having too many background processes running simultaneously while charging.
- Loose Connection: If you notice that the charger easily disconnects from your Android device or doesn’t stay firmly in place, it may be a sign of a loose charging port. This can make it difficult to establish a consistent charging connection.
Understanding these common charging port issues will help you troubleshoot the problem more effectively. Now that we have identified the potential issues, let’s move on to the solutions.
Tools Needed for Repair
Before you start troubleshooting and fixing your Android charging port, it’s important to gather the necessary tools. Having the right tools on hand will make the process much smoother and minimize the risk of causing further damage. Here are the essential tools you’ll need for repairing your charging port:
- Microfiber cloth: A soft microfiber cloth will be useful for cleaning the charging port and removing any dust or debris that may be causing connectivity issues.
- Isopropyl alcohol: Isopropyl alcohol is a recommended cleaning agent for charging ports. It helps to dissolve any stubborn dirt or grime that may have accumulated in the port.
- Compressed air canister: A canister of compressed air is handy for blowing out any dust or debris from the charging port, ensuring a clear and uninterrupted connection.
- Toothpick or needle: A toothpick or a needle can be used to gently clean the charging port of any compacted dirt or lint that is difficult to remove with just a cloth.
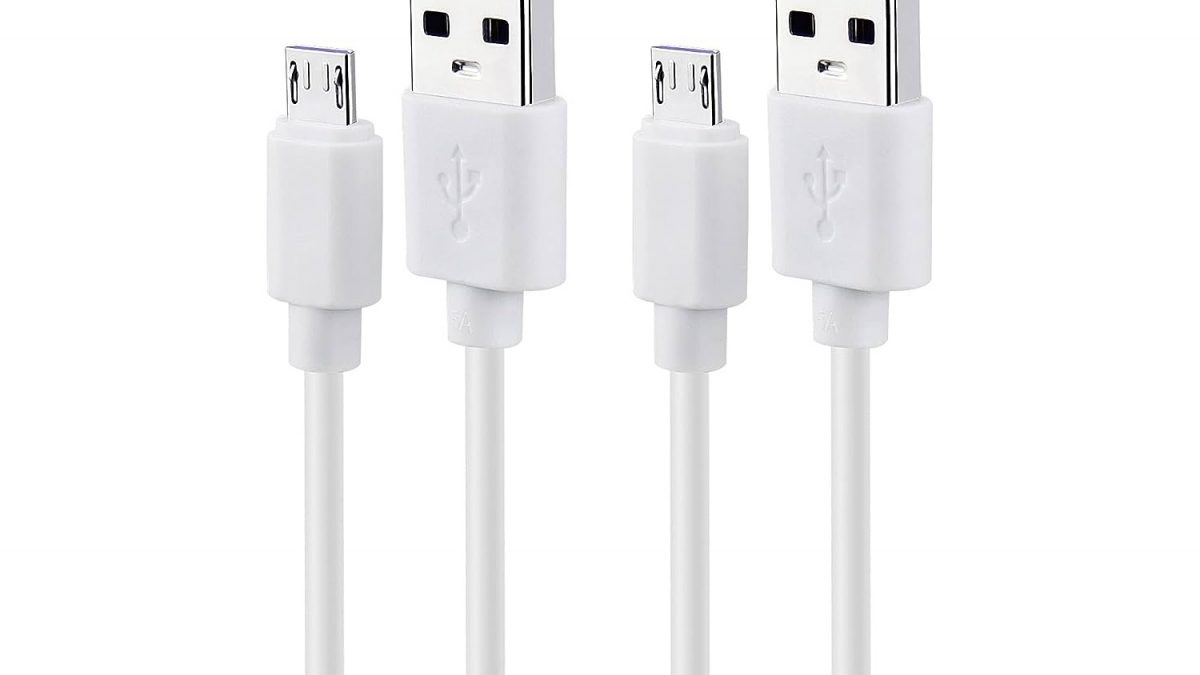
- Spare charging cable: Having a spare charging cable is essential for troubleshooting purposes. It allows you to determine whether the problem lies with the cable or the charging port.
- Precision screwdriver set: If you’re considering a DIY charging port replacement, you’ll need a precision screwdriver set to remove the screws holding the device together.
- Replacement charging port (if necessary): If all other troubleshooting steps fail to resolve the issue, you may need to replace the charging port. Make sure you have the appropriate replacement part before attempting a port replacement.
Gathering these tools beforehand will ensure that you’re well-prepared to tackle any charging port issues that may arise. Now, let’s move on to the step-by-step solutions for fixing your Android charging port.
Step 1: Cleaning the Charging Port
One of the most common causes of charging port issues is the accumulation of dirt, lint, and debris. Over time, these particles can obstruct the connection between the charging cable and the port, leading to charging problems. Cleaning the charging port should be the first step in troubleshooting. Here’s how to do it:
- Power off your Android device: Before cleaning the charging port, turn off your Android device to avoid any potential damage.
- Inspect the charging port: Using a flashlight, carefully examine the charging port for any visible dirt, lint, or debris. You may need to use a magnifying glass to get a better view.
- Use a microfiber cloth: Take a soft microfiber cloth and gently wipe the charging port to remove any loose dirt or debris. Ensure that you’re not applying too much pressure or causing any damage.
- Apply isopropyl alcohol: If you notice stubborn dirt or grime, dampen a corner of the microfiber cloth with a small amount of isopropyl alcohol. Gently rub the charging port to dissolve any stubborn residue.
- Blow out debris: Use a canister of compressed air to blow out any remaining dirt, lint, or debris from the charging port. Hold the canister upright and use short bursts of air to avoid damaging the port.
- Allow the charging port to dry: Let the charging port air dry for a few minutes before attempting to charge your device again.
Once you’ve completed these steps, plug in your charger and check if the cleaning process has resolved the charging port issue. If your Android device still doesn’t charge or experiences other problems, move on to the next troubleshooting step.
Step 2: Checking the Charging Cable
While the charging port might be the first thing we suspect when encountering charging issues, it’s also important to consider the charging cable as a potential culprit. A damaged or faulty charging cable can prevent your Android device from charging properly or establish a stable connection. To ensure that the charging cable is not the root cause of the problem, follow these steps:
- Inspect the charging cable: Carefully examine the charging cable for any visible signs of damage, such as frayed wires, bent or broken connectors, or loose connections. Pay close attention to both ends of the cable.
- Try a different charging cable: If you suspect that your current charging cable may be faulty, try using a different cable that you know is in good working condition. Borrow one from a friend or use a spare cable if you have one.
- Connect the alternative charging cable: Plug the alternative charging cable into your Android device’s charging port and the power source. Ensure that the connection is secure and that all connectors are properly inserted.
- Test the charging process: Leave your Android device connected to the alternative charging cable for a few minutes and monitor if it charges normally. If it does, it indicates that the original charging cable is faulty and needs to be replaced.
- Consider the quality of the charging cable: Cheap or low-quality charging cables may not provide reliable charging connections and can even cause damage to your Android device over time. Investing in a high-quality, certified charging cable is recommended for optimal performance.
If the alternative charging cable works properly and your Android device charges without any issues, then the original charging cable was indeed the problem. In that case, replacing the faulty cable should solve your charging port problem. However, if the issue persists even with a different cable, move on to the next troubleshooting step.
Step 3: Restarting the Phone
Restarting your Android phone may seem like a simple solution, but it can often resolve various software-related issues that could be affecting the charging port functionality. By restarting the phone, you essentially give it a fresh start, allowing any temporary glitches or conflicts to be resolved. Follow these steps to restart your phone:
- Hold down the power button: Locate the power button on your Android device, usually found on the side or top of the device. Press and hold the power button until a menu appears on the screen.
- Select restart: From the menu that appears, select the option to restart your device. This may be labeled as “Restart,” “Reboot,” or a similar term depending on the device model and operating system.
- Confirm the restart: If prompted, confirm your decision to restart your phone. Please note that restarting your device may close any open apps or unsaved data, so ensure you have saved any important work before proceeding.
- Wait for the device to restart: Allow your phone to complete the restart process, which may take a few moments. Once the device has fully rebooted, proceed to test the charging port functionality.
After restarting your Android phone, attempt to charge your device again and check if the charging port issue has been resolved. Sometimes, software glitches or conflicts can interfere with the charging process, and a simple restart can fix those issues. If the issue persists, continue to the next troubleshooting step.
Step 4: Testing with Another Charger
When troubleshooting charging port issues on your Android device, it’s essential to rule out the possibility of a faulty charger. In some cases, the problem may lie with the charger itself rather than the charging port or the device. To determine if the charger is causing the issue, follow these steps:
- Find an alternative charger: Locate another charger that is known to be in good working condition. It could be a charger from a different device or a spare charger that you have.
- Connect the alternative charger: Plug the alternative charger into your Android device’s charging port and the power source. Ensure that the connection is secure and that all connectors are properly inserted.
- Monitor the charging process: Leave your Android device connected to the alternative charger for a few minutes and observe if it charges without any issues. If it charges normally, it indicates that the original charger is faulty and needs to be replaced.
- Consider the quality of the charger: Similar to charging cables, low-quality or counterfeit chargers may not provide proper charging functionality and can even pose a risk to your device. Invest in a reputable and certified charger to ensure reliable and safe charging.
If your Android device charges successfully with the alternative charger, it confirms that the original charger was the source of the problem. Replace the faulty charger with a new, compatible charger to resolve the charging port issue. However, if the issue persists even with a different charger, proceed to the next troubleshooting step.
Step 5: Using a Toothpick or Needle
If you have tried cleaning the charging port and testing with different charging cables and chargers, but your Android device still experiences charging issues, there may be stubborn dirt or lint stuck inside the charging port. In such cases, using a toothpick or needle can help remove the debris that is obstructing the connection. Follow these steps to use a toothpick or needle to clean the charging port:
- Ensure your device is turned off: Before attempting to clean the charging port, make sure your Android device is powered off to avoid any potential damage.
- Select an appropriate tool: Choose a toothpick or needle that is thin and small enough to fit into the charging port without causing any damage. Avoid using excessive force or sharp objects that may scratch or bend the pins inside the port.
- Gently insert the tool: Insert the toothpick or needle into the charging port and gently move it around to dislodge any compacted dirt, lint, or debris. Be careful not to apply too much pressure or damage the internal components.
- Remove the debris: As you move the toothpick or needle around, you may notice debris coming out of the charging port. Use a microfiber cloth or compressed air to clean away any loose dirt or lint.
- Repeat if necessary: If there is a significant amount of debris within the charging port, you may need to repeat the process multiple times until the port appears clean.
- Allow the charging port to dry: Before attempting to charge your Android device, ensure that the charging port is completely dry. This can be done by letting it air dry for a few minutes.
After cleaning the charging port with a toothpick or needle, try connecting your charger again and see if the charging problem has been resolved. If not, it’s time to explore the next troubleshooting step.
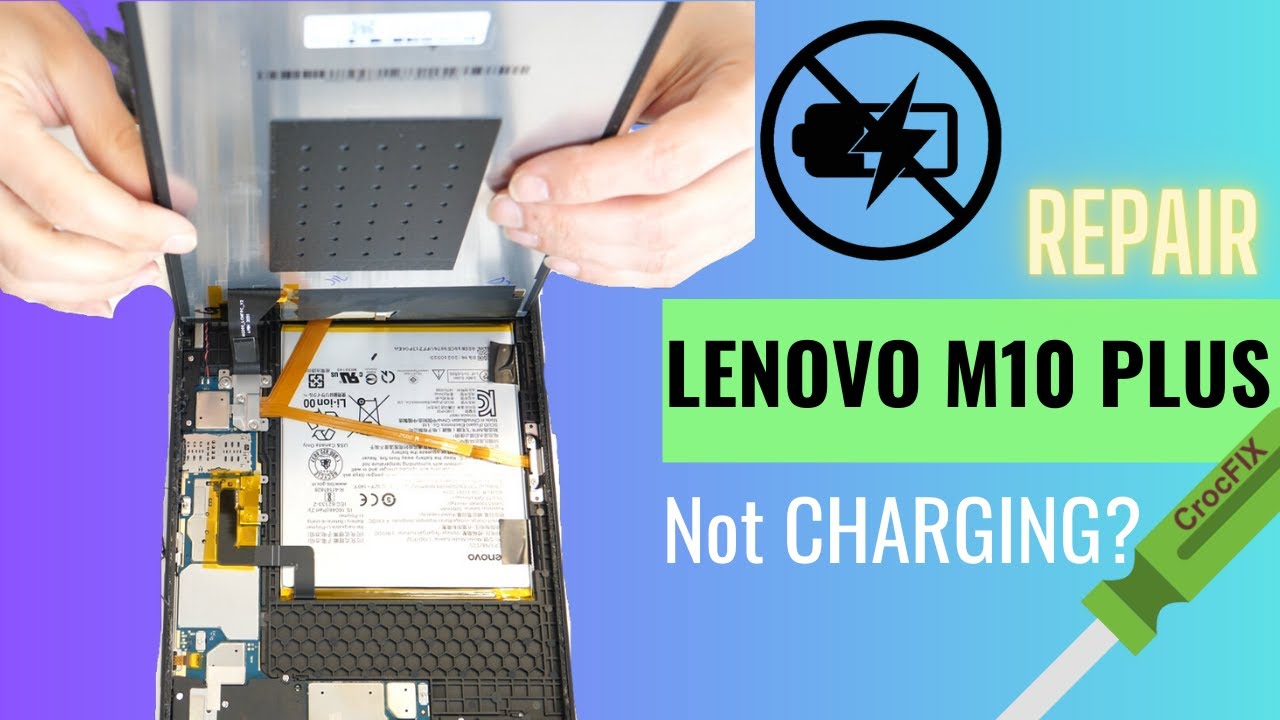
Step 6: DIY Charging Port Replacement
If you have exhausted all the previous troubleshooting steps and your Android device still doesn’t charge or establish a stable connection, it may be necessary to replace the charging port. This step requires a bit more technical skill and should only be attempted if you are comfortable working with electronic components. Here’s a general overview of the DIY charging port replacement process:
- Research and gather information: Before proceeding with the replacement, research your specific device model and its charging port. Find an appropriate replacement charging port that is compatible with your device.
- Prepare the necessary tools: Gather a precision screwdriver set, a prying tool, and any other tools required to open your device. Refer to device-specific guides or tutorials for a comprehensive list of tools needed.
- Power off your Android device: Before opening your device and working on the charging port, make sure your Android device is powered off.
- Remove the back panel or case: Follow the instructions in your device-specific guide to remove the back panel or case of your Android device. This step may involve removing screws or using a prying tool to carefully separate the components.
- Locate the charging port: Once the internal components are exposed, locate the charging port module. It will be connected to the motherboard with a flex cable or ribbon cable.
- Disconnect and remove the old charging port: Carefully disconnect the flex cable or ribbon cable that connects the charging port to the motherboard. Then, remove any screws or clips securing the charging port in place. Gently lift and remove the old charging port from the device.
- Install the new charging port: Take the new charging port and properly align it with the device’s housing. Secure it in place using the screws or clips that were removed in the previous step. Reconnect the flex cable or ribbon cable to the new charging port.
- Reassemble the device: Reverse the steps you took to disassemble the device, ensuring that all components are properly aligned and connected. Ensure that any screws or clips are tightened appropriately.
- Test the charging port: Power on your Android device and test the charging port by connecting a charger. Ensure that the device charges properly and establishes a stable connection.
It’s important to note that DIY charging port replacement can be challenging and may void your device’s warranty. If you are unsure or uncomfortable with this process, it is recommended to seek professional assistance or contact the manufacturer for repair options.
Step 7: Seeking Professional Help
If you have followed all the previous troubleshooting steps and are still unable to fix the charging port issue on your Android device, it may be time to consider seeking professional assistance. Professional technicians have the knowledge, expertise, and specialized tools to diagnose and repair more complex charging port problems. Here are a few reasons why you might need to seek professional help:
- Complex repairs: If the charging port issue involves complex internal components or requires advanced technical skills, it’s best to leave it to the professionals. They have the experience and expertise to handle intricate repairs safely and effectively.
- Warranty concerns: Repairing the charging port yourself or taking it to an unauthorized repair shop may void your device’s warranty. Seeking professional help ensures that your device remains covered under warranty, should any further issues arise.
- Specialized tools and equipment: Professional repair technicians have access to specialized tools and equipment that may be required for certain charging port repairs. These tools may not be readily available to consumers.
- Expert diagnosis: Sometimes, charging port issues can be symptoms of underlying hardware or software problems. Professional technicians can perform a thorough diagnosis to identify and address these issues, ensuring a comprehensive solution.
- Quality assurance: Reputable repair shops often provide warranties or guarantees for their services. This means that if the charging port issue persists or recurs after the repair, you can bring it back to them for further assistance at no additional cost.
When seeking professional help, it’s important to do your research and choose a reputable repair service or contact the manufacturer’s authorized service center. Inquire about their experience, expertise, warranty policies, and cost estimates. Consider reading reviews or seeking recommendations from friends or online forums to ensure a reliable and trustworthy service provider.
Remember, seeking professional help can save you time, effort, and potential risks associated with DIY repairs. It ensures that your Android device receives the expert attention it deserves and increases the likelihood of a successful resolution to the charging port issue.
Conclusion
Dealing with charging port issues on your Android device can be frustrating, but with the right troubleshooting steps, you can often resolve the problem without having to replace the entire device. By cleaning the charging port, checking the charging cable, restarting the phone, testing with another charger, using a toothpick or needle to remove debris, attempting a DIY charging port replacement, or seeking professional help, you have a range of options to fix the issue.
Remember to gather all the necessary tools, research your device model, and always prioritize safety when working on your Android device. It’s important to be patient and methodical throughout the troubleshooting process to accurately identify and address the problem.
If all else fails, seeking professional help from authorized repair centers or technicians is a wise option. They have the expertise and specialized tools to handle complex repairs and ensure that your device remains protected under warranty.
By following these steps, you can increase the chances of resolving your Android device’s charging port issues and get back to enjoying a fully functional and charged device. Hopefully, this guide has been helpful in resolving the charging port problem you were facing, allowing you to once again use your Android device without the inconvenience of charging issues.