Android file transfers are supposed to be a quick and painless method to get files to where you need them to be. Unlike Apple phones, Android phones can interface directly with your PC to transfer files without much fuss.
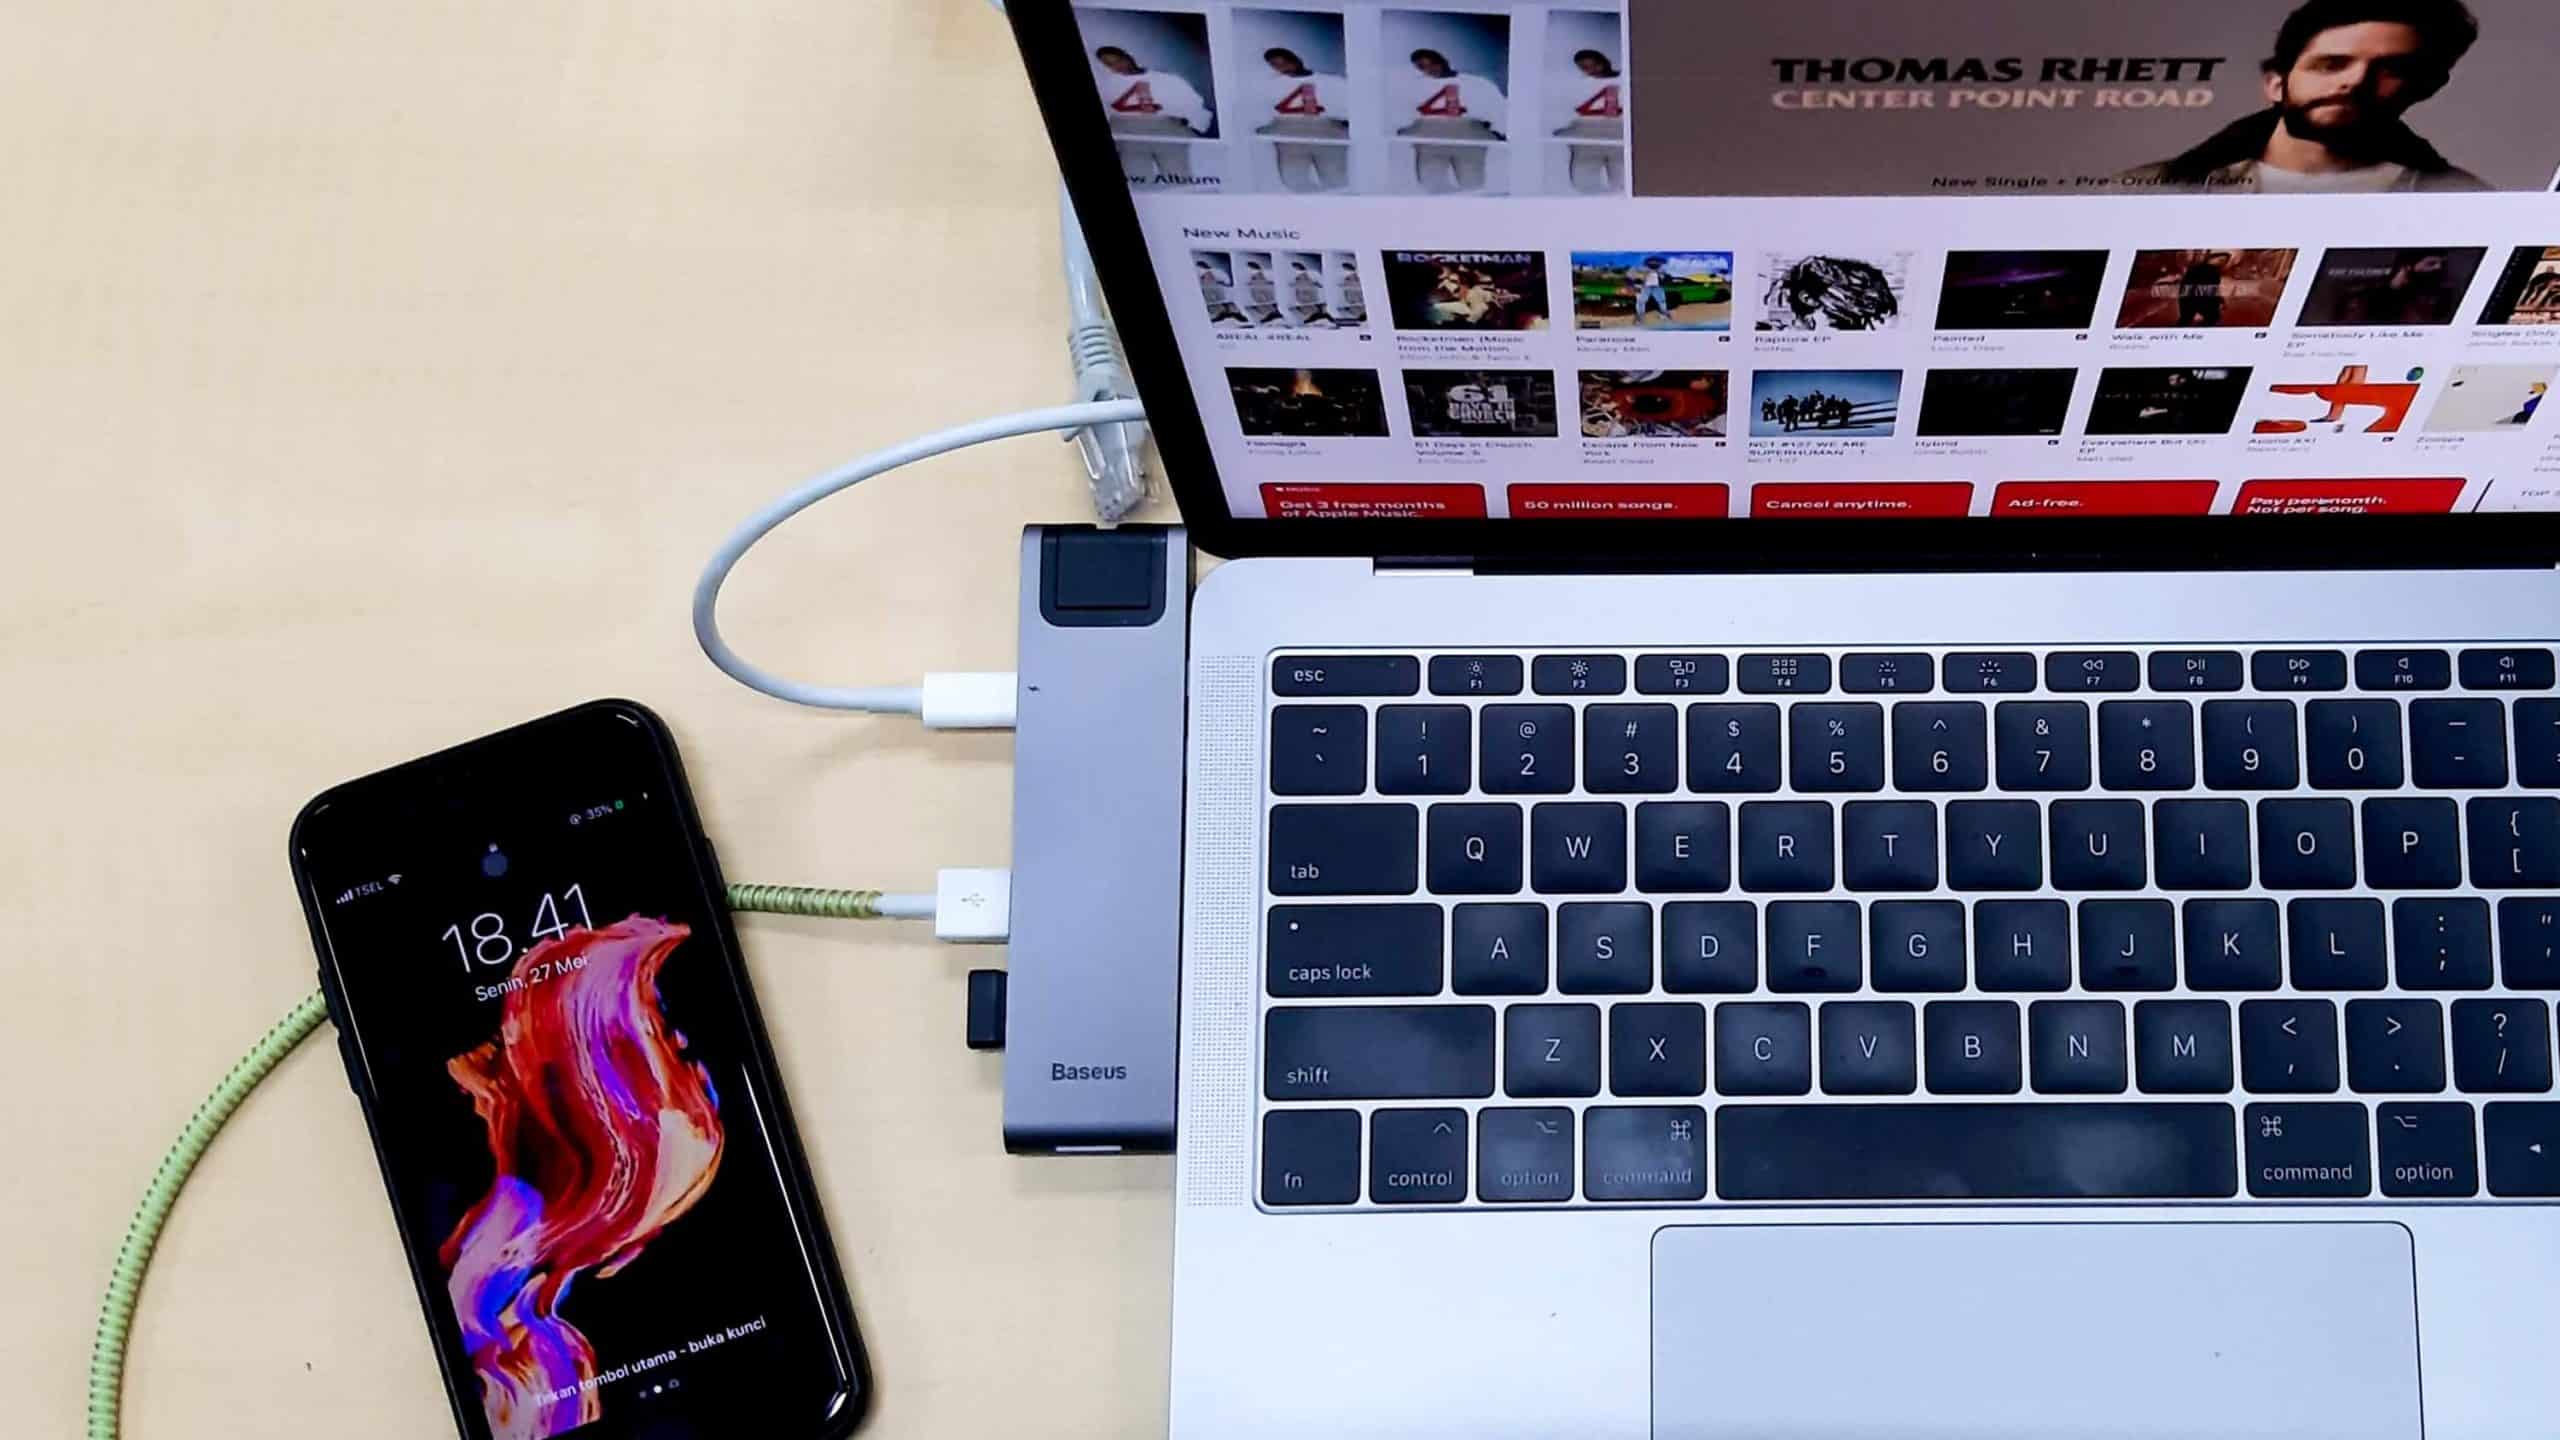
File transfers are usually accomplished within seconds with the help of a USB cable or connector. Even then, Android file transfers can get complicated due to system-related errors, incompatible hardware, and the device’s failure to connect. In this article, we’ll give you a rundown of the possible solutions to your Android file transfer problems.
What Are Android File Transfers?
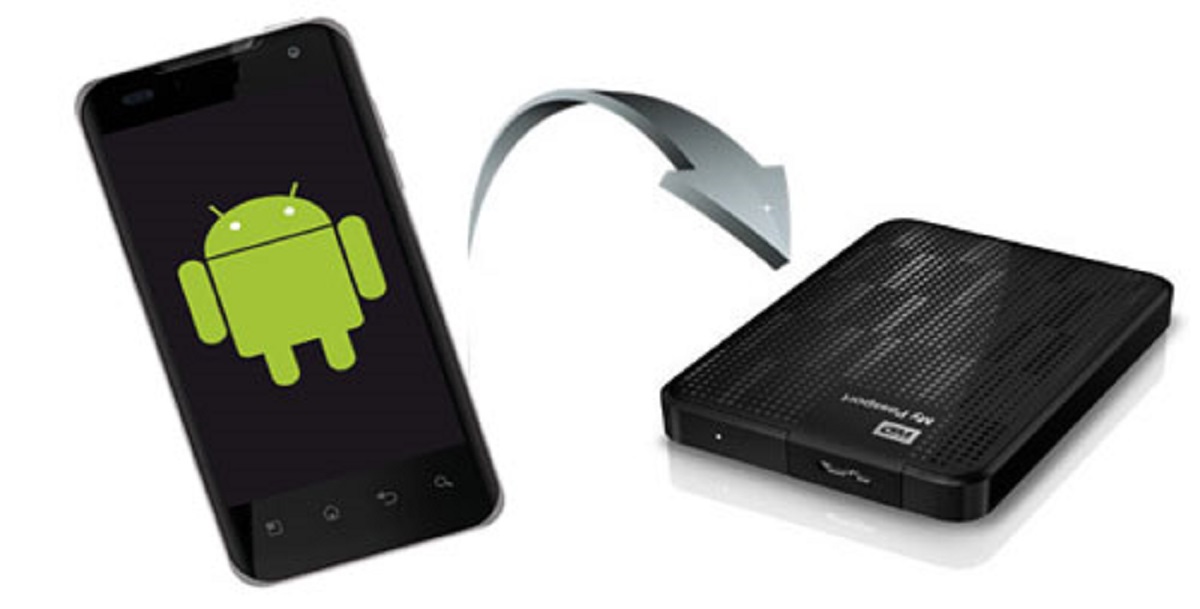
Smartphones are powerful computers that you can fit in your pocket. They have so far evolved from having simple functions towards having more computer-like functions, such as having the ability to store and play large numbers of files in a single device. You can think of your Android phone as a form of an external hard drive that you can carry wherever you go.
The process of moving files to and from your hard drive is pretty much the same as Android. However, we know for a fact that hard drives have much higher storage space and have been designed to hold on to files for a long time. We might not be able to store as many files as we wanted with Android, but it’s the most compact and interactive storage we could ask for.
Increasing Memory Capacities for Android
A growing number of Android phones are being equipped with more memory capacities than ever before. This makes knowledge of basic troubleshooting for file transfers even more necessary. Most Android phones have a memory capacity that ranges anywhere from 8GB to 128GB. 64GB was already considered a lot in the past, but Android smartphones’ average storage capacity nowadays far exceeds 64GB to reach upper levels of 166GB.
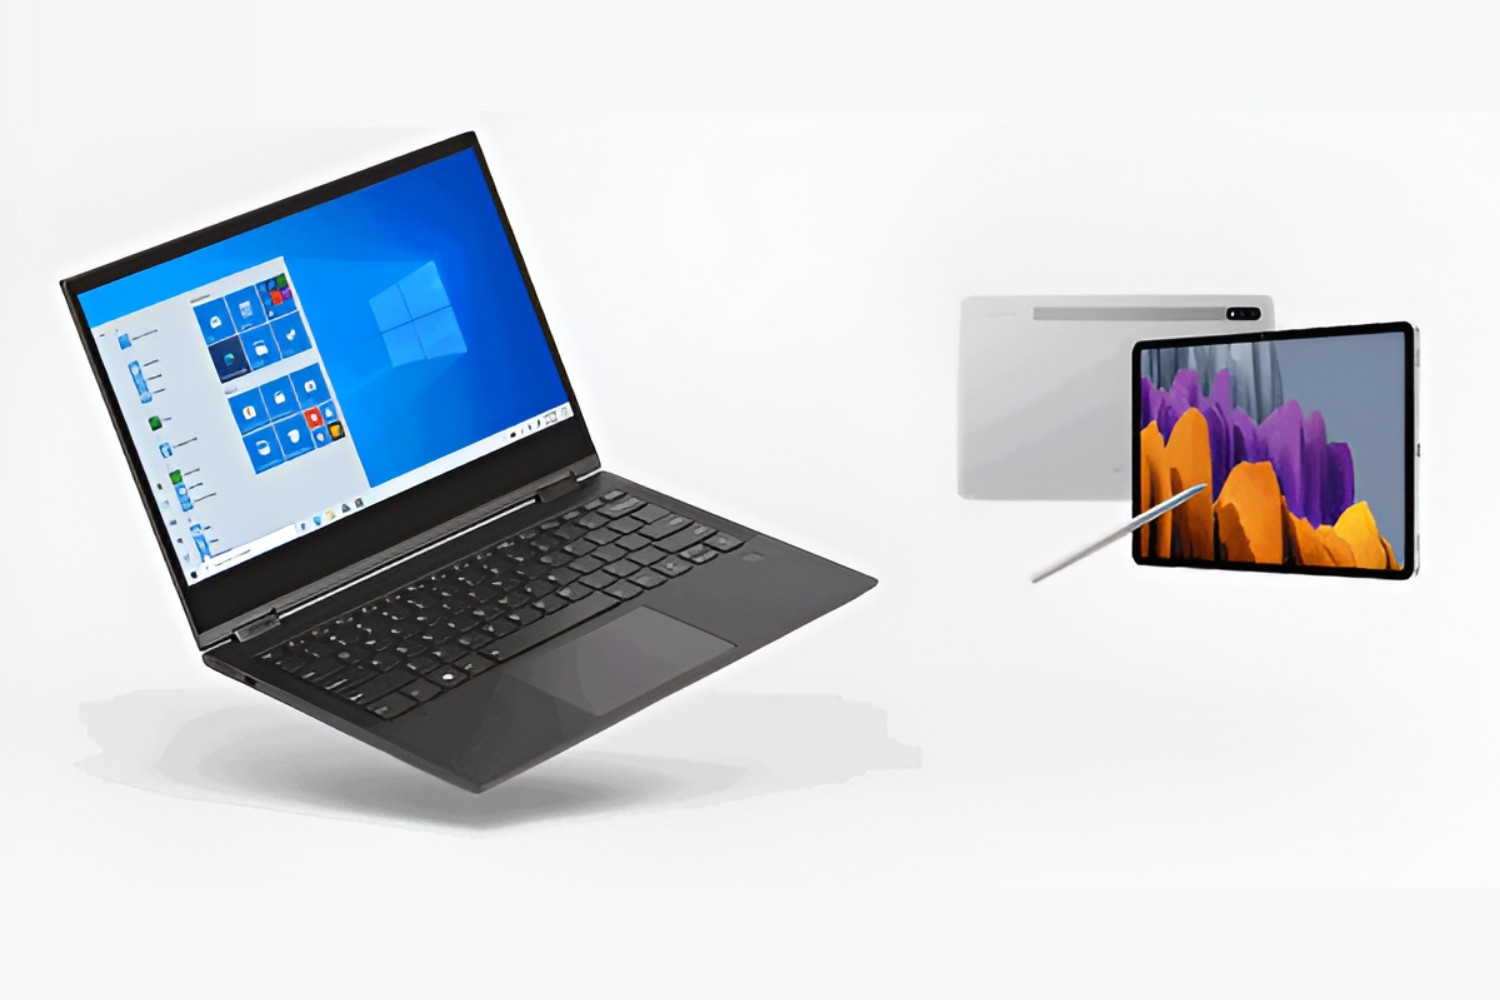
Most Android devices are also equipped with SD card slots to hold SD cards with an average of 64GB storage space. Even when factoring in storage space consumed by apps for when they run, that’s still a lot of space. But even with the combined powers of internal and external storage, the aggregate storage would still be minuscule when compared to a basic laptop or PC, which tend to have around 250GB to 1TB of internal storage.
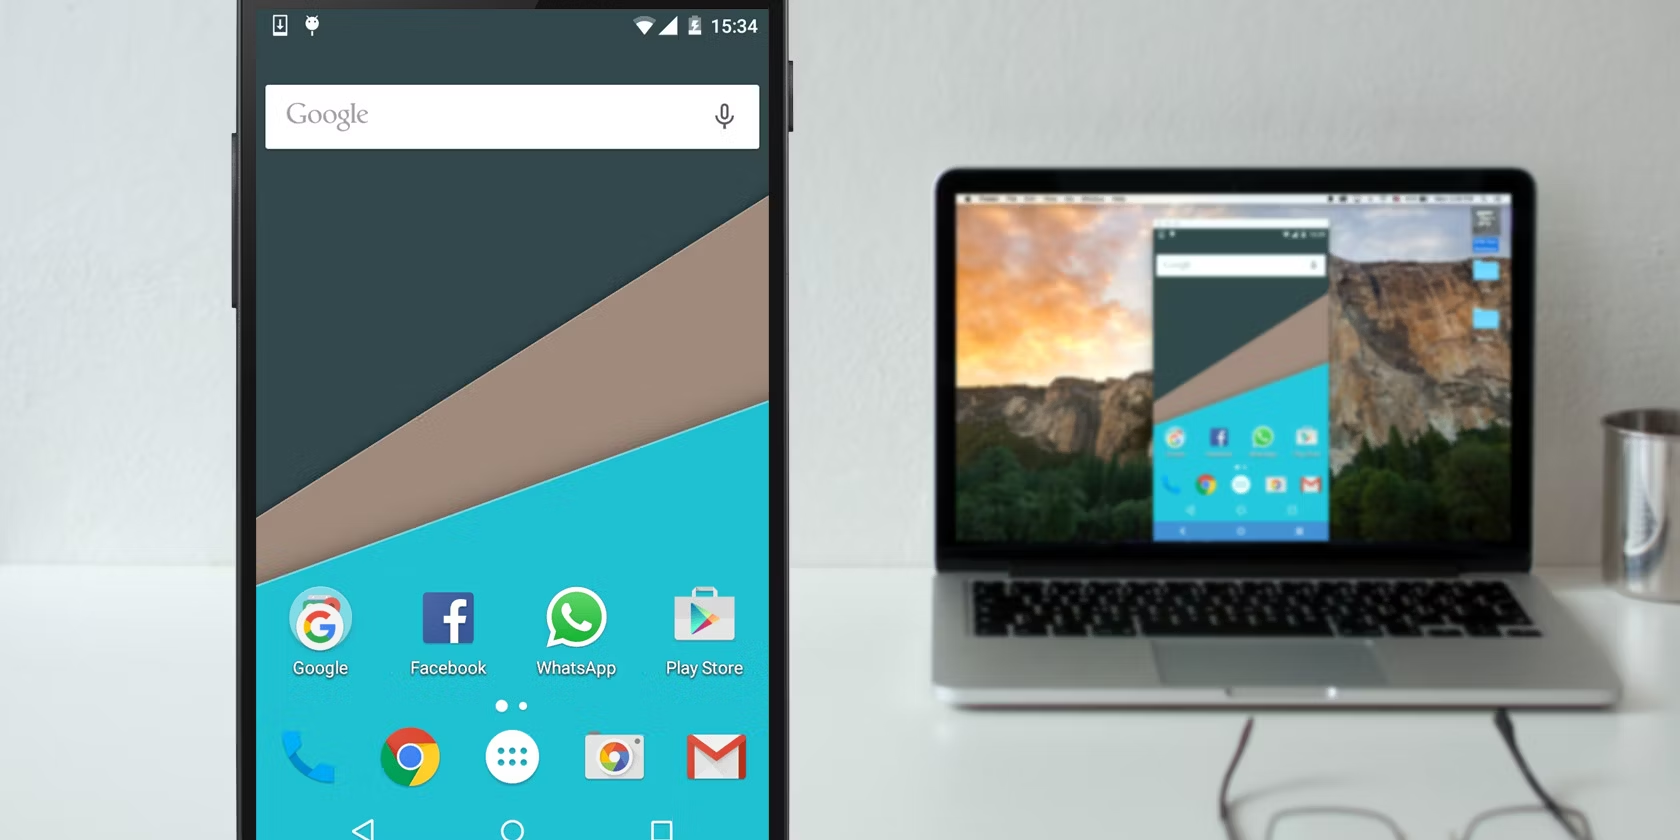
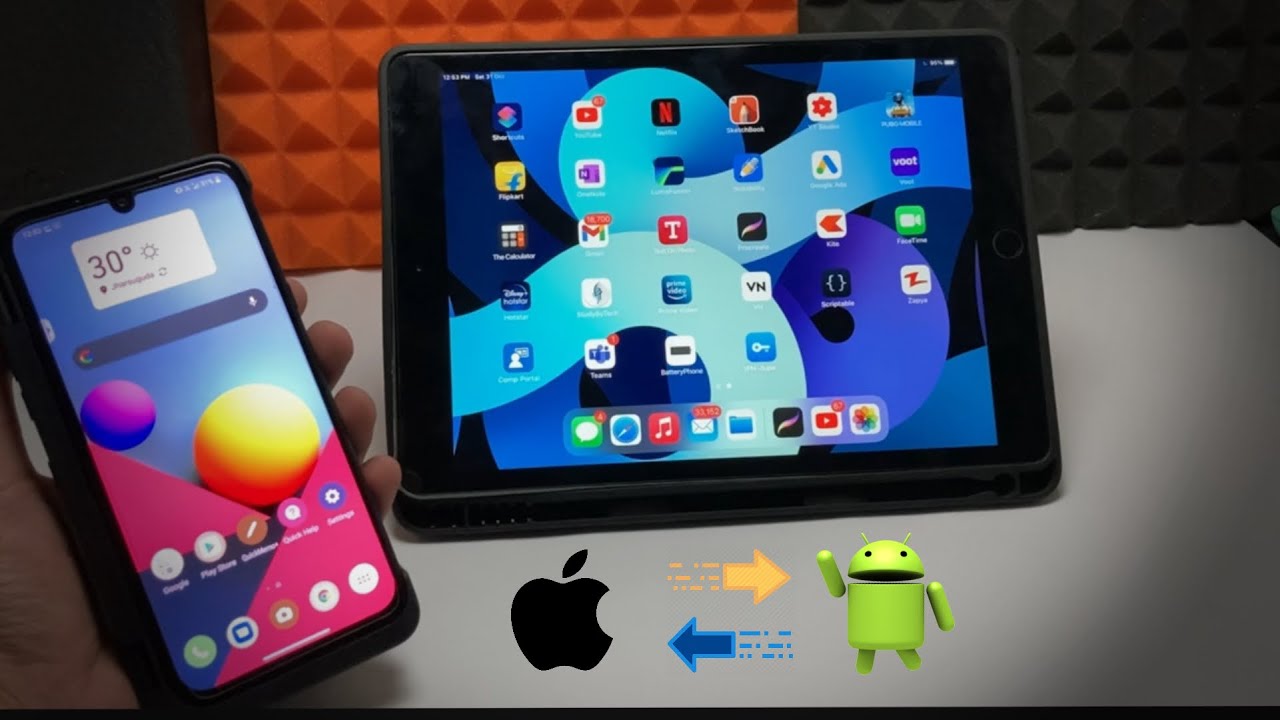
To answer our prayers, Android phones have the uncanny ability to plug into any Windows, Mac, or Chrome OS device. We’ve got nothing against iOS phones, but it’s quite obvious that the manufacturers would prefer that the device be paired with a Mac. Android phones aren’t picky when it comes to connecting to other devices, and you can pretty much pair it with any computer available. It’s also usually the case that the computer is the device to recognize the Android device first as a corresponding app handles the transfer. Most people don’t like having to wait long for file transfers, and so most Android phones have built-in mechanisms to pack in as much data per second as possible.
Common Causes of Android File Transfer Problems

Android file transfers are designed to be simple and straightforward, but small things can sometimes go wrong that lead to Windows or macOS devices failing to recognize your Android phone. Error messages come in different forms, but the most common include the following:
- “Could not connect to the device.”
- “No Android device found.”
- “Can’t access device storage.”
Any of these notifications describes a failed Android file transfer. Potential causes include faulty USB ports, incompatible devices, and required drivers that don’t allow the two devices to pair.
More often than not, and this occurs for various security reasons, the file transfer function on your device has been disabled. You can check whether this function is enabled through the Storage tab on your device Settings. Another potential problem that will cause failed file transfers is when the files are no longer there. If you accidentally lose your files in the transferring process, you might want to consider using the best data recovery software to retrieve them.
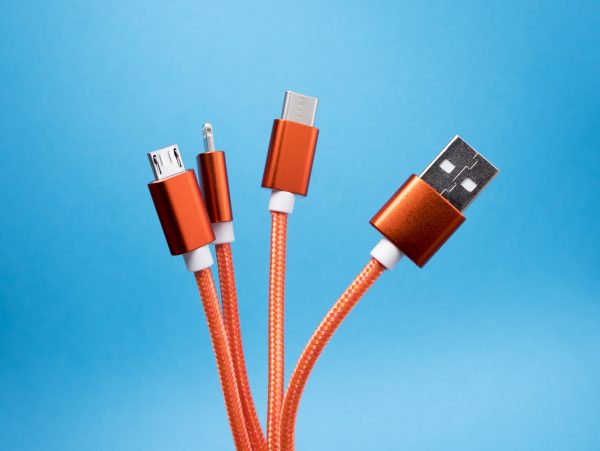
Defective or incompatible USB cables are another potential cause of failed file transfers. Remember that some USB cables enable you to transfer files while others will not. The chances of them not working also increases if you are using a USB cable that did not come with your Android device. To make sure that your cable can do the job, use only the cable that came with your Android device. You should also check the device once in a while for any signs of physical damage.
Other Potential Causes of Failed Android File Transfers
A potential reason for a failed connection would be that your Android device or Mac computer isn’t compatible with the app you use to manage the transfer (i.e. Android File Transfer). Another plausible explanation would be malware-infected devices. A phone or computer infected with malware can reconfigure your app settings and executable files, making it act erratically and eventually cause it to crash.
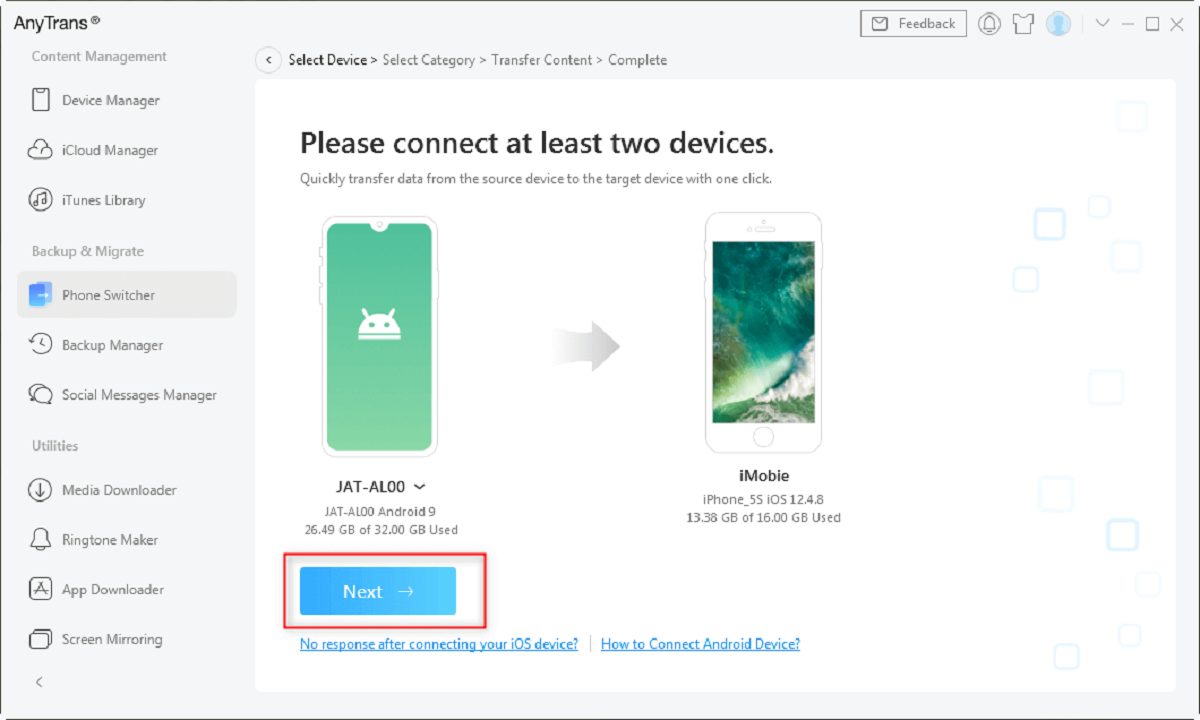
Nevertheless, there are plenty of file transfer apps that you can use as an alternative. For Samsung Android users, a defective Samsung Kies or Samsung Smart Switch app might be the problem. This app allows users to transfer data from one Android device to another wirelessly or through a cable. An infected phone will not be able to transfer files correctly, regardless if it’s through wired or wireless means.
But if you are quite sure that your software is properly installed and the USB cables and ports are working fine, you might consider a virus as the potential cause. Computer viruses are insidious programs that can alter or damage the software required for file transfers, causing glitches in their normal functions. The best move would be to run a full scan of your computer to make sure that nothing is lurking about. If the scan reveals a virus, you should take immediate action to remove it and reinstall the Android transfer software from the official website.
How to Fix Issues Related to Failed Android File Transfers

Android file transfer issues are quite common, especially when you’re not familiar with the platform. Some issues may differ between Windows and macOS computers, but you can fix most network connectivity errors in the same way, regardless of which OS you are using. Here are a couple of solutions you can take when your Android file transfers get unexpectedly complicated:
1. Enable File Transfer Mode
In most cases, simply enabling file transfer does the trick. However, there are still some that haven’t discovered this little feature tucked away under their device’s settings. Not many people even know that this is the go-to solution for their failed Android file transfers. These settings might hinder your computer’s connection to your Android device. In that case, try to enable this function with the following methods:
METHOD 1 (WINDOWS):
- Go to Settings.
- Tap on System.
- Tap on Advanced.
- Go to the Developer options feature.
- Locate Default USB Configuration and tap on it.
- Tick on File Transfer or Transferring Files.
METHOD 2 (WINDOWS):
- Use a USB cable to connect your device to your phone.
- Unlock your phone and toggle the USB connectivity settings from the notification bar.
- Click File Transfers to allow file transfers to the device.
METHOD 3 (macOS):
- Swipe down your notification shade and tap on Android System.
- Look for Charging this device via USB. Click on the Tap for more options under this header.
- Tick on the File Transfer/Android Auto option from the list of USB Preferences.
2. Set Connection Type to MTP

Most Android phones are automatically able to detect a connection with a computer. However, these devices won’t always show you files or transfer them by default. Most are configured to charge your phone by default, and a notification usually appears with several options on what type of connection you want to make.
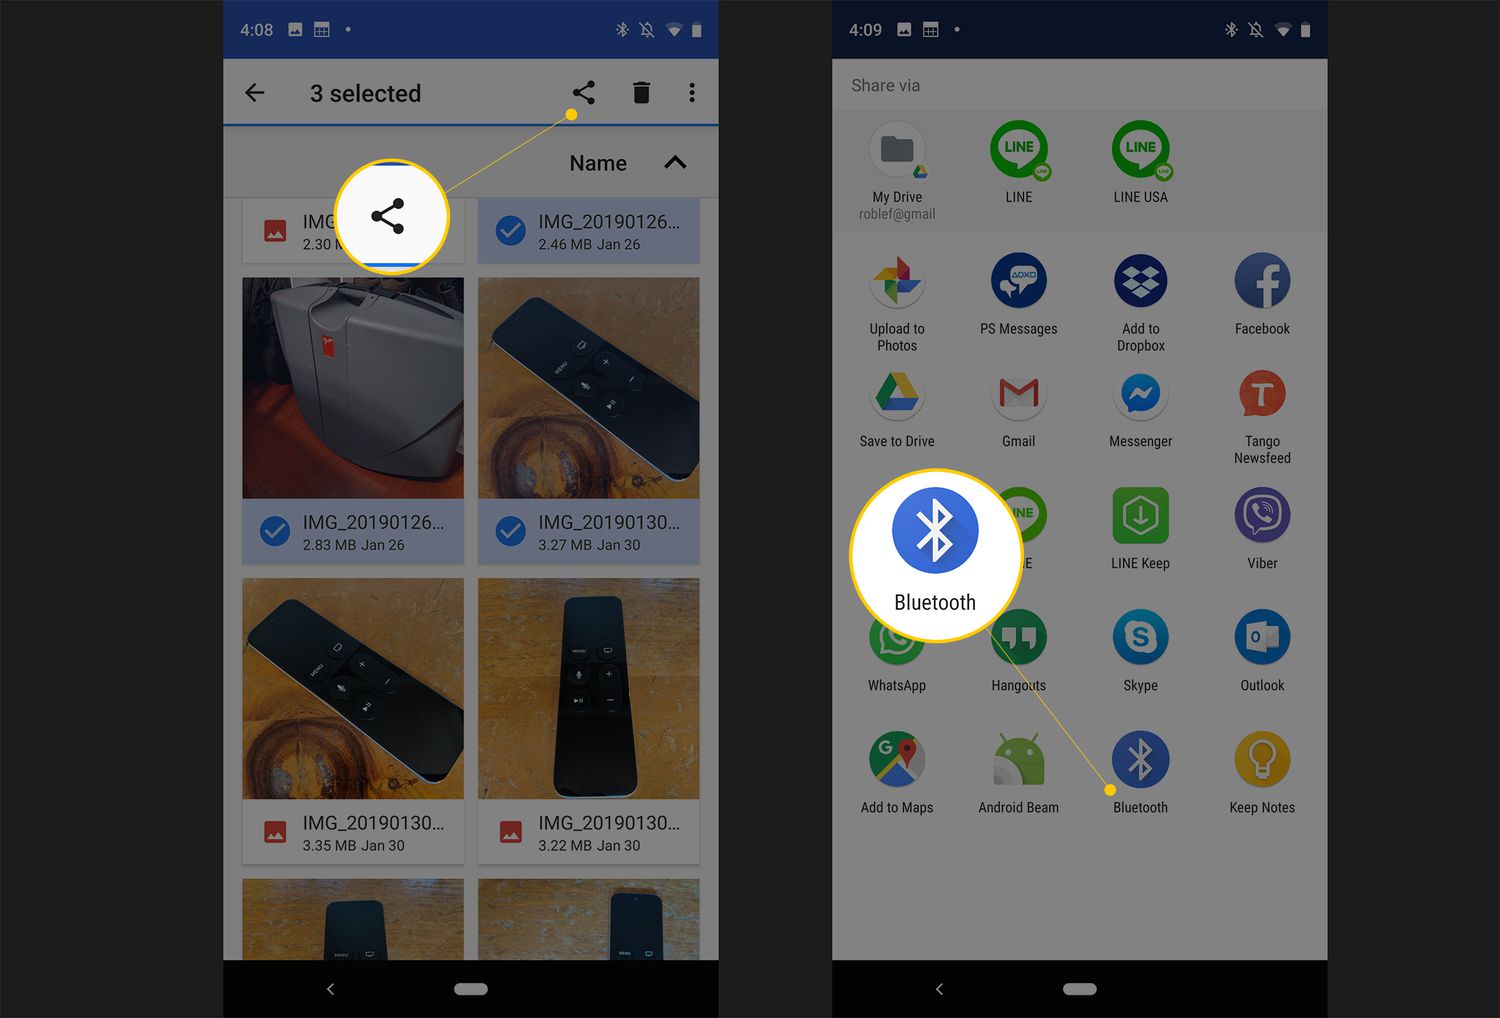
WITH NOTIFICATION (ANDROID DEVICE):
If your phone is working normally, you should get a notification asking you to choose the connection type. Your options include:
- Media device (MTP)
- USB flash drive
- Charge only
Other phones present USB connectivity options as file transfer, USB tethering, MIDI, PTP, and data transfer.
The options differ among devices, but usually, the MTP or file transfer options do the trick. If you receive a notification, simply select either MTP or file transfer from the list. Repeat the process each time you connect your device to transfer files.
WITHOUT NOTIFICATION (ANDROID DEVICE):
Suppose your computer fails to send you a notification regarding USB connectivity options or simply charges your mobile device after the USB connector is plugged into the computer. If you’re not sure what’s wrong when this happens, you could manually configure settings to MTP mode. Here’s how you could accomplish this:
- Go to Settings and select Storage.
- Click on the More (Menu) icon.
- Click on USB computer connection.
- Select Media device (MTP).
Note: If you don’t see USB computer connection, try clearing Settings data from the App Manager before connecting them again.
3. Install MTP driver
Windows automatically installs a driver for any device you connect to it. This is so that the OS can recognize the device and make it work. However, there are some instances where this may not be the case as Windows 10 may fail to install a certain driver.
For this situation, you will have to manually install a driver. Here’s how to install an MTP Driver on Android:
- Use a USB cable to connect your device to your phone. Click OK on the device when asked to allow computer access to your device.
- Press the Windows key + X. From there, find Device Manager from the pop-up list.
- Look for your Android device’s name on Device Manager. This is commonly located under the Other Devices category with a yellow exclamation mark next to it.
- Right-click on the tab indicating the name of your device and click on Update Driver Software.
- Find and click on “Browse my computer for driver software.”
- Select the option “Let me pick a list of device drivers on my computer.”
- Click on MTP USB Device and select Next.
4. Reboot your computer

Many computer issues can be easily resolved by restarting the computer. Doing this will immediately close all running programs, including any program that causes conflict with your device. Once complete, reconnect your device to your computer. This is ideal for when your desktop doesn’t recognize your Android only a couple of times.
But suppose the two devices fail to connect on a regular basis. In that case, there could be more serious system errors and hardware issues at hand. Here are the steps for fixing computer system errors:
FOR WINDOWS
- Click on the Start button on your Desktop.
- Click on Power, then Restart.
FOR macOS:
- Press the Apple key and click Restart
- As an alternative, you can press the Power button (or press Control + Eject) and click on the Restart button when the dialog box appears.
5. Reinstall the Download Manager App
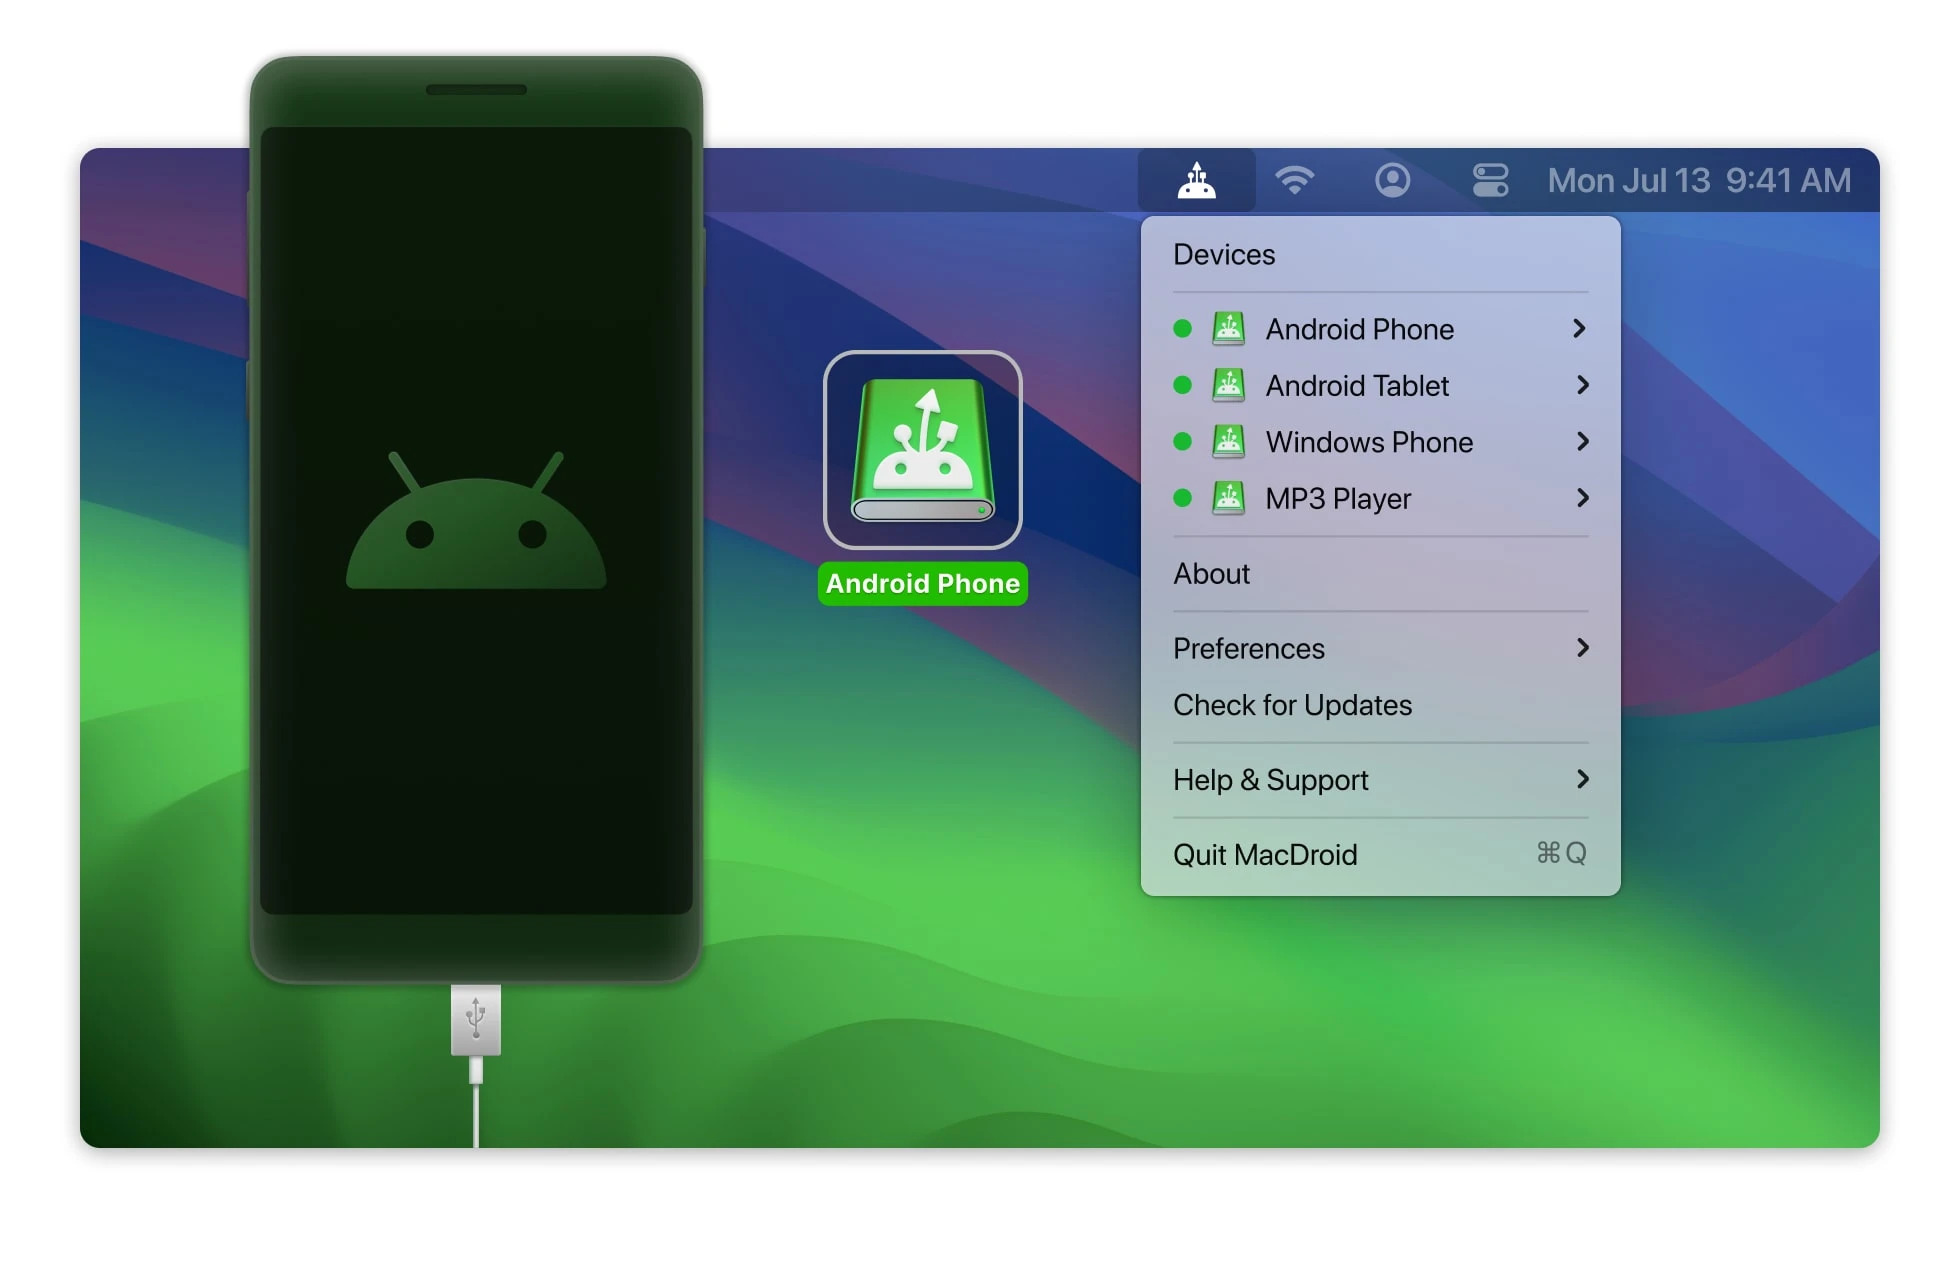
Most Android phones come with a default download manager app that handles the job. For most macOS computers, the recommended software is Android File Transfer. The software does most of the work behind the scenes, but they can also experience lag from time to time which requires rebooting. If even rebooting doesn’t work, you can try uninstalling then reinstalling the app by doing the following steps:
- Look for the Download Manager app on your phone (i.e. Android File Transfer).
- Right-click on the application and select Uninstall.
- Visit the app store (Google Play or Apple) and search for the same app.
- Download and install the new app and test it with a new download.
Alternatively, you can install another download management app to help you out. Examples include AirDroid, iSkySoft, and Google Drive. AirDroid is a file manager app you can use to manage your Android phone from your computer. Meanwhile, iSkySoft functions as a secure download app that transfers your files on a server and deletes all the software’s traces.
6. Enable USB debugging on Android device
USB debugging is a way to facilitate a connection between your device and a computer so that you can access your device on the computer. Developers often use this mode for coding new applications.
USB Debugging mode will allow you to transfer music, photos, videos, and other data from your Android device to your PC. If you just need a simple fix for your file transfer problems, USB debugging is the best way to gain control over your device.
ACCESS DEVELOPER OPTIONS (ANDROID DEVICE):
It’s important to note that Google hid the developer/USB debugging feature from your Android phone since Android 4.2. Most ordinary users don’t need to easily access that feature. We can still show you how to bring it out to transfer files, but this step must only be reserved for emergencies. Here are the steps to access Developer Options on your device:
- Go to Settings. Click on About or About Tablet.
- Scroll down the options under About screen and find the Build Number.
- Tap on the Build Number toolbar seven times continuously. You should receive a small notification with a countdown that indicates, “You are now X steps away from being a developer.”
- Go back to the Settings page. The Developer option should appear on the list this time.
Once you’ve been able to bring forth the Developer Options, you can now enable it. We just have to caution you against leaving USB debugging enabled at all times. Doing so poses a high-security risk on your device, especially if you work in a public place. Make sure to disable the feature right after transferring the files that you need. You can follow these steps, depending on which one is applicable.
METHOD 1: ENABLE USB DEBUGGING (ANDROID DEVICE):
- Press the Menu key.
- Tap on Settings.
- Tap on Applications.
- Click on Development.
- Check on the USB Debugging panel to enable or disable USB. Slide the switch to off when you’ve transferred your file.
METHOD 2: ENABLE USB DEBUGGING (ANDROID DEVICE):
- Go to Settings. Click on System.
- Select Developer Options—Select Enable developer mode. Click Ok.
- Click on Debugging. Select Enable USB debugging. Slide the switch to off when you’ve transferred your file.
7. Scan for Malware (Android Device)

Suppose your Android phone operates at a low-security factor and gets infected with a virus. In that case, it can lead to a series of security issues such as unauthorized disclosure of your personal information, account theft, transaction data leakage, and malicious deduction of fees. Android malware comes in many forms, ranging from spyware to ransomware. Malware often makes its way to your phone in the form of fake, malicious apps that sneak into Google Play or hide in other third-party applications. Some of the infection symptoms include apps crashing regularly, sudden spikes in data usage, and pop-ups that appear even when your browser is closed. Select forms of malware could even cause your files to disappear completely.
To make sure that your devices usually function, we highly recommend installing antivirus software on both your phone and your computer. Most antivirus programs have a simple and straightforward interface that should allow you to check for viruses and eliminate them in just a few steps. Check out this list of the best antivirus software you can install for your computer.
We also recommend learning how to set up a VPN for both your computer and your device. A VPN obscures your IP address and other streaming information so that potential hackers and your own internet provider would not be able to track your activities. Another way to address this problem is to uninstall malicious apps from your phone manually:
- Press and hold the device’s Power button for a few seconds. Afterward, you may now access the Power off option. Click and hold the Power Off button to bring up the settings to enable Safe Mode.
- Go to Settings. From here, you should be able to see a list of installed applications that also contains malware applications.
- Select a suspicious-looking application from the list and open it. Click Uninstall when the option is provided for.
8. Diagnose Any Mac or Windows Issue
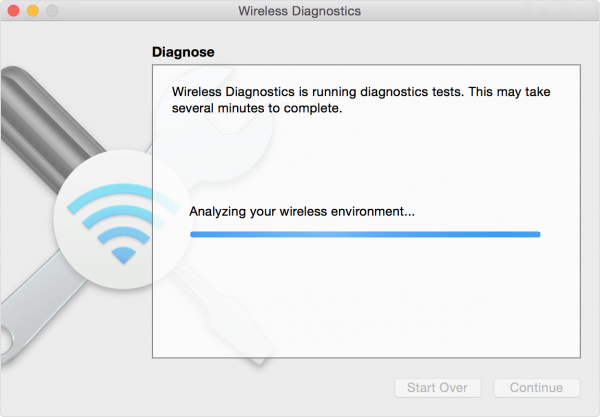
Photo by support.apple
All activities on your computer are controlled by system program files. These files can be changed or corrupted by new software installations and other problems associated with your hard drive over time.
Fortunately for us, both Windows and Mac computers are embedded with troubleshooting applications designed to diagnose and solve these issues quickly. We recommend running a system scan to check for file system errors to prevent any system-related issues from interfering with your file transfers.
FOR WINDOWS:
Windows’ System File program scans all protected system files and replaces corrupted or incorrect versions with the correct version. This procedure can be very helpful, mainly if your computer displays error messages or starts to run erratically. The System File program may take a while to scan and fix the Windows system files. Here’s are the steps:
- Close any open programs on the desktop.
- Press Start. On the Search box, input Command Prompt.
- Select Run as Administrator.
- Enter an administrator password or select Allow.
- At the command prompt, key in SFC/SCANNOW in all capital letters.
- Press Enter to begin the scan of all protected system files.
FOR MacOS:
Apple Diagnostics is a built-in test that helps detect system failures and identifies components on a Mac computer that cause the problem. It can check the RAM, power controller, and other wireless modules of the computer for errors. The software simplifies its findings for users to understand.
After the scan, it offers you possible solutions with the assistance of Apple Support. This might seem like a complicated process, but it’s really not. Here’s how you run Apple Diagnostics:
- Disconnect all peripheral devices from your computer, including cables, USB drives, external DVD drives, etc. Make sure that your computer is connected to a power source and the internet.
- Select Apple Menu, then click on Restart.
- Press and hold the D key. A list of various languages will appear on the screen. You can select the language of your choice, and Apple Diagnostics will run automatically.
- You might need to wait for about two-five minutes as it scans your device for errors. If problems are found, the software will show you an error code and different options you can take.
9. Update Android OS
If you haven’t updated your computer OS or Android OS in a while, check if you have the latest updates to your operating system. There are instances when the older version of Android file transfer software doesn’t mix well with Microsoft or macOS software. Because of this, the computer might not detect your device.
Suppose you’re not able to connect your mobile device to your computer. In that case, it might be time to update your Android OS. Sometimes the system updates appear on the notifications bar. If it does, simply tap on the notification and follow the steps. You can also update the system manually. Here are the steps to updating your OS:
- Go to Settings.
- Scroll down the Settings menu until you find the About Phone option.
- Fine and click the System Update/Software Update option from the list.
- Restart your device before attempting to make a connection.
10. Check Your USB Cables and Ports
There are several ways to transfer files from Android to Windows and vice versa. However, the USB cable method is probably the easiest and fastest solution out of all of them. If any of your USB cords encounter a problem, there is a higher chance of experiencing connectivity issues.
Some USB cables available in the market don’t even support Android file transfers. Make sure then to check your USB cables and ports to rule our hardware-related issues by doing the following:
- Check to see if your USB cable works with other devices.
- Next, plug your USB cable onto another port on your PC. The purpose of this is to check whether it’s the USB or the port that’s defective.
- Change your computer’s USB port to see whether the USB port doesn’t have any issue.
- Try charging your mobile device with the same USB cable to check whether the Micro USB or Type-C port works.
11. Uninstall Samsung Kies (for Samsung Devices)
Kies is a file management app from Samsung that lets users synchronize files from their PC to their smartphone, and vice versa. It also includes tools that download the latest firmware to keep your system efficient and up to date. The software may be a highly efficient app for Samsung users, but it interferes with the operation of the native Android File transfer.
It’s a lot like having two antivirus software installed on your computer. As they have the same purpose, they will inevitably cancel each other out. To uninstall the software, you would need to download the Kies Uninstaller app first. Follow the step-by-step process to remove the software, then try using Android Transfer once more.
12. Store Your Files via Cloud Storage

If you’ve tried almost everything and still find yourself unable to transfer files via USB, maybe it’s time to turn to cloud storage. This is the next best option for sharing files via USB as it digitally moves files for safekeeping in an online portal. Doing so will keep your files safe for when your computer gets infected with malware or if your files get physically stolen from your desktop. If you’re not familiar with the topic, check out this guide on how cloud storage works.
Some popular cloud storage platforms include iDrive, Dropbox, and Open Drive. These apps let you drag and drop files to and from local folders onto a private cloud that you can access multiple devices. Storage capabilities range from anywhere between 2GB to 5TB of storage space. These apps do different things, and you can test each app to find the best one. Check out this brief guide for making Google Drive uploads and downloads.
Final Thoughts
We’ve provided you with various solutions to fix android file transfers that don’t work. There are many potential causes for failed file transfers, but it shouldn’t take a rocket scientist to fix the problem. Try to find the source of the issue first before finding the most appropriate solution. We also need to warn you that the steps might differ depending on the brand and model of your Android device.
Different brands of Android devices usually have different configurations, and the step-by-step procedures can vary from one device to another. Suppose the steps we’ve provided don’t seem to correspond to your device. In that case, you can ask your local provider regarding troubleshooting steps. Just use a little bit of intuition, exploration, and critical thinking to fix your Android file transfer issue. We hope these tips help you have a great Android file transfer sharing!