Introduction
Adjusting the saddle on an acoustic guitar is a crucial aspect of guitar maintenance and setup. The saddle, located on the bridge of the guitar, plays a significant role in determining the instrument's action and intonation. By adjusting the saddle, players can customize the playability and sound of their guitar to suit their preferences and playing style. Whether you are a seasoned guitarist or a beginner, understanding how to adjust the saddle on an acoustic guitar is a valuable skill that can enhance your playing experience.
In this guide, we will explore the step-by-step process of adjusting the saddle on an acoustic guitar. From loosening the strings to sanding the saddle and restringing the guitar, each step is essential in achieving optimal playability and sound. By following these instructions and using the necessary tools, you can effectively adjust the saddle on your acoustic guitar and maintain its peak performance.
The process of adjusting the saddle may seem daunting at first, but with patience and attention to detail, you can master this essential aspect of guitar maintenance. Whether you are looking to lower the action for easier fretting, improve intonation, or simply customize the feel of your instrument, learning how to adjust the saddle on an acoustic guitar will empower you to tailor your guitar to your unique preferences and enhance your playing experience. Let's dive into the tools needed and the step-by-step process of adjusting the saddle on an acoustic guitar.
Tools Needed
Before embarking on the task of adjusting the saddle on an acoustic guitar, it is essential to gather the necessary tools to ensure a smooth and efficient process. Here are the tools you will need:
- Phillips Head Screwdriver: This tool will be used to loosen the strings and remove the saddle from the bridge of the guitar.
- Sandpaper: Different grits of sandpaper will be required to carefully sand the saddle, adjusting its height to achieve the desired action.
- Masking Tape: Using masking tape to mark the saddle before sanding can help maintain precision and prevent over-sanding.
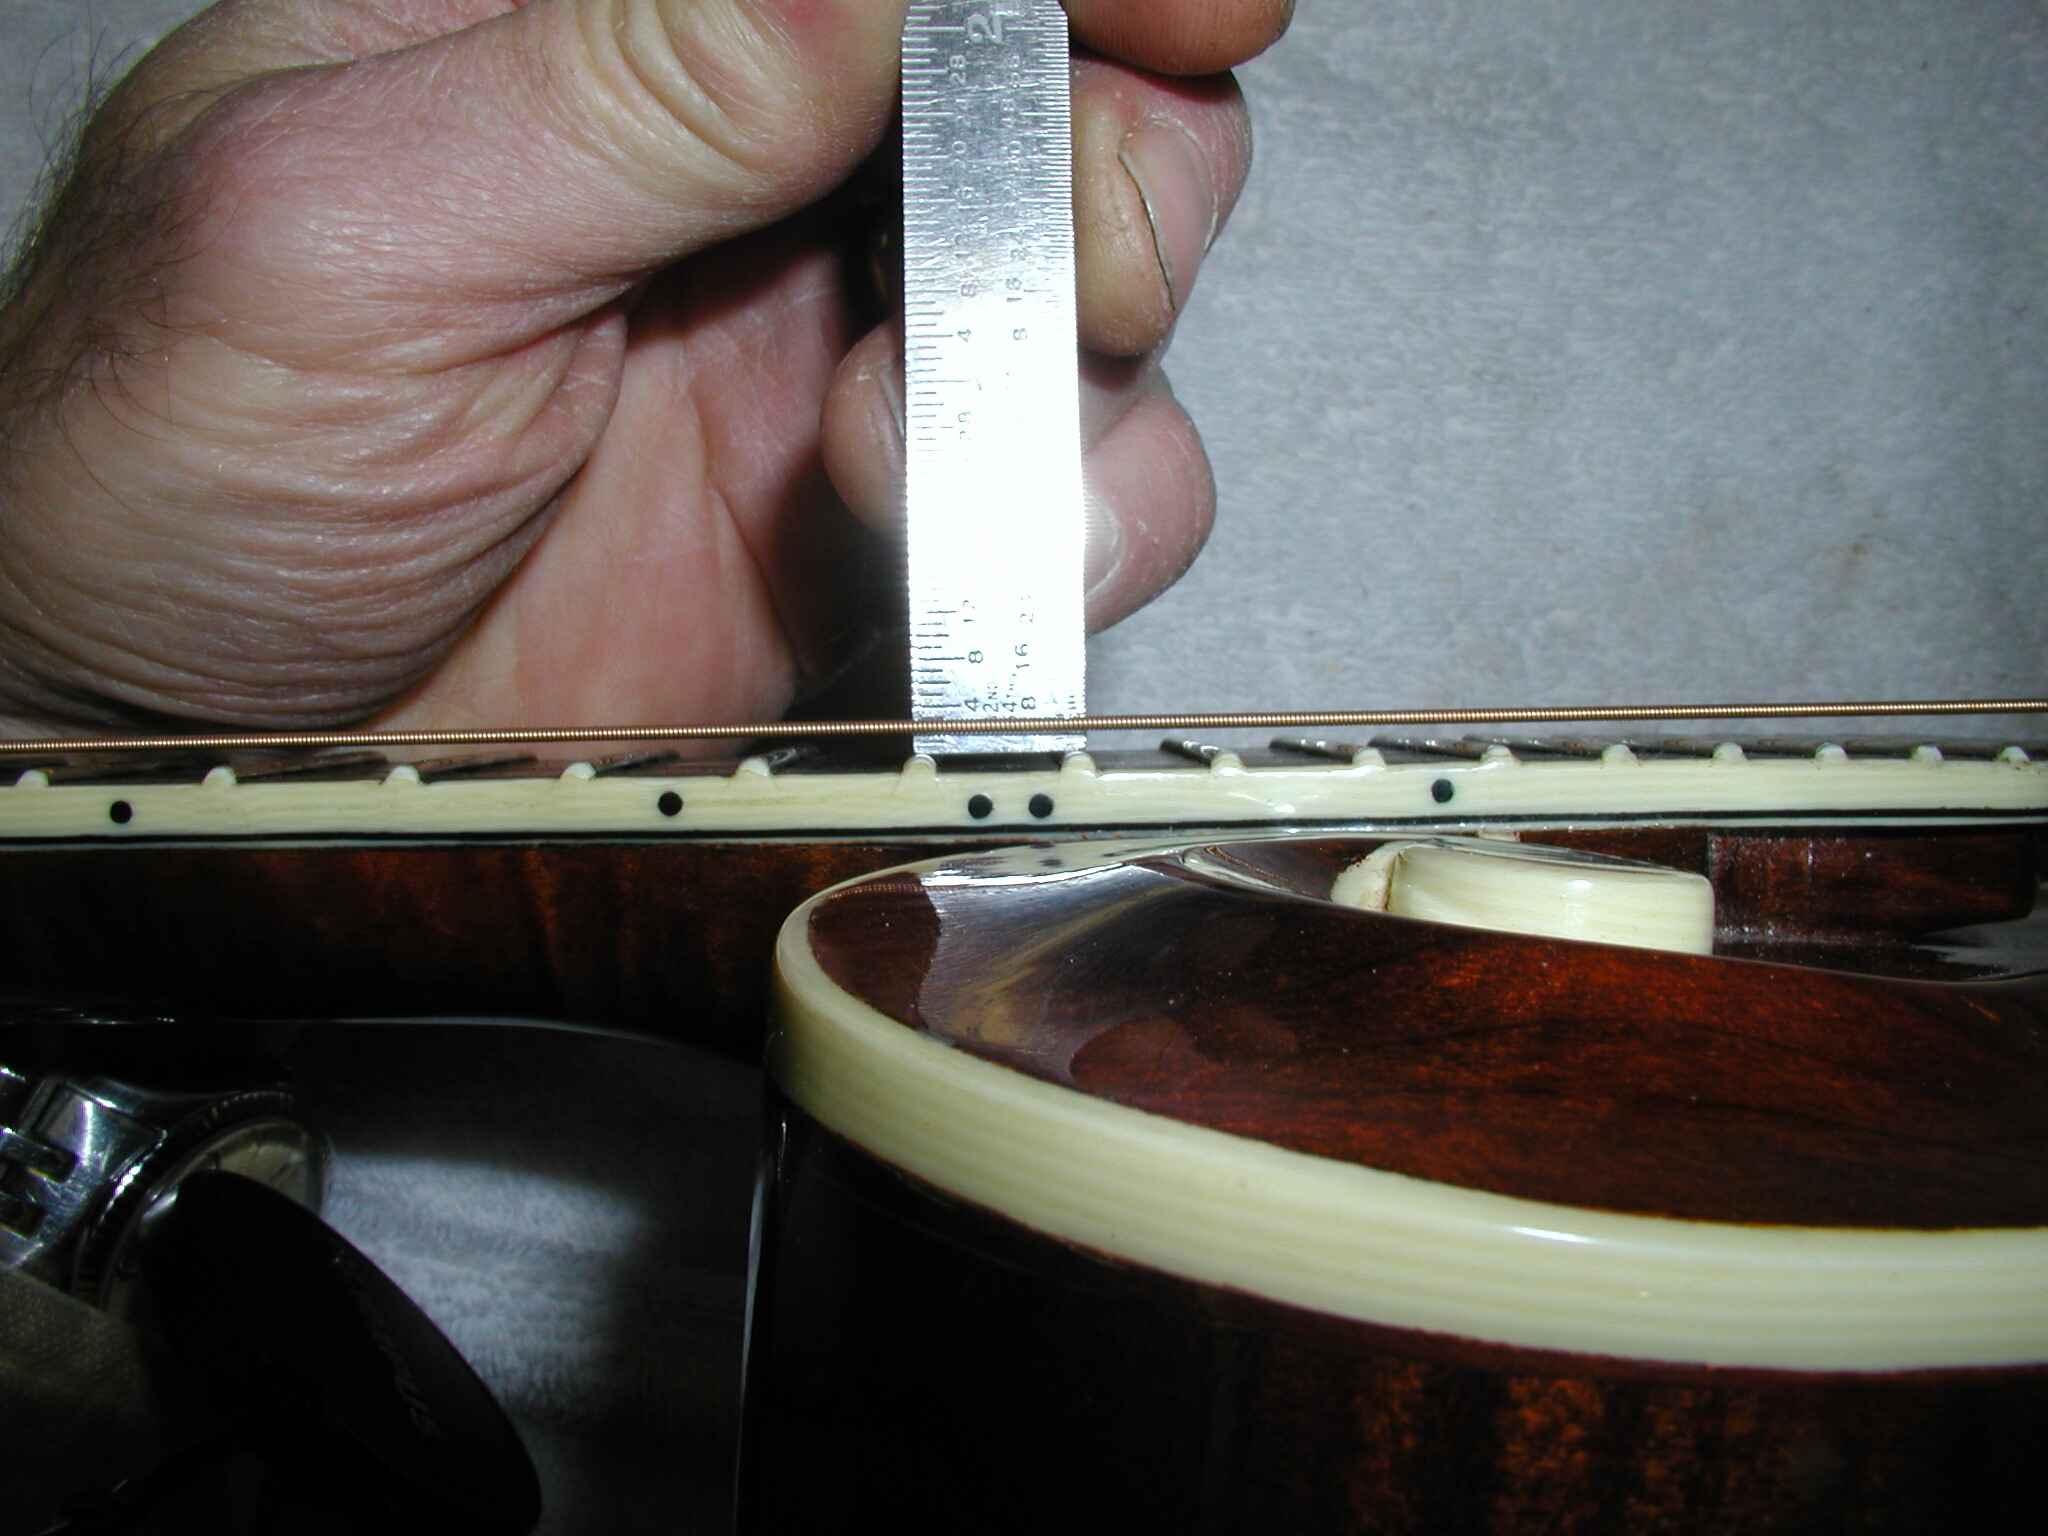
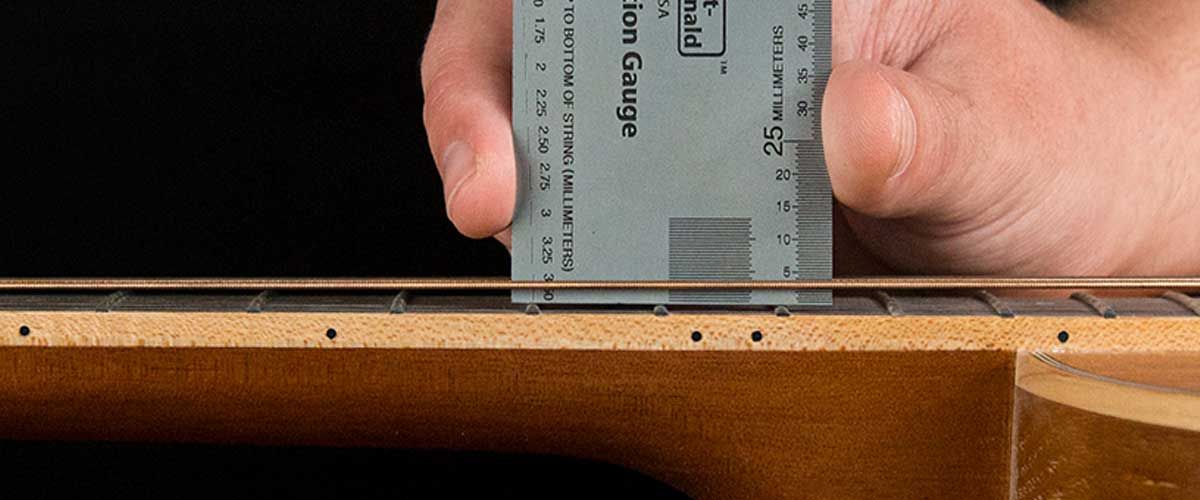
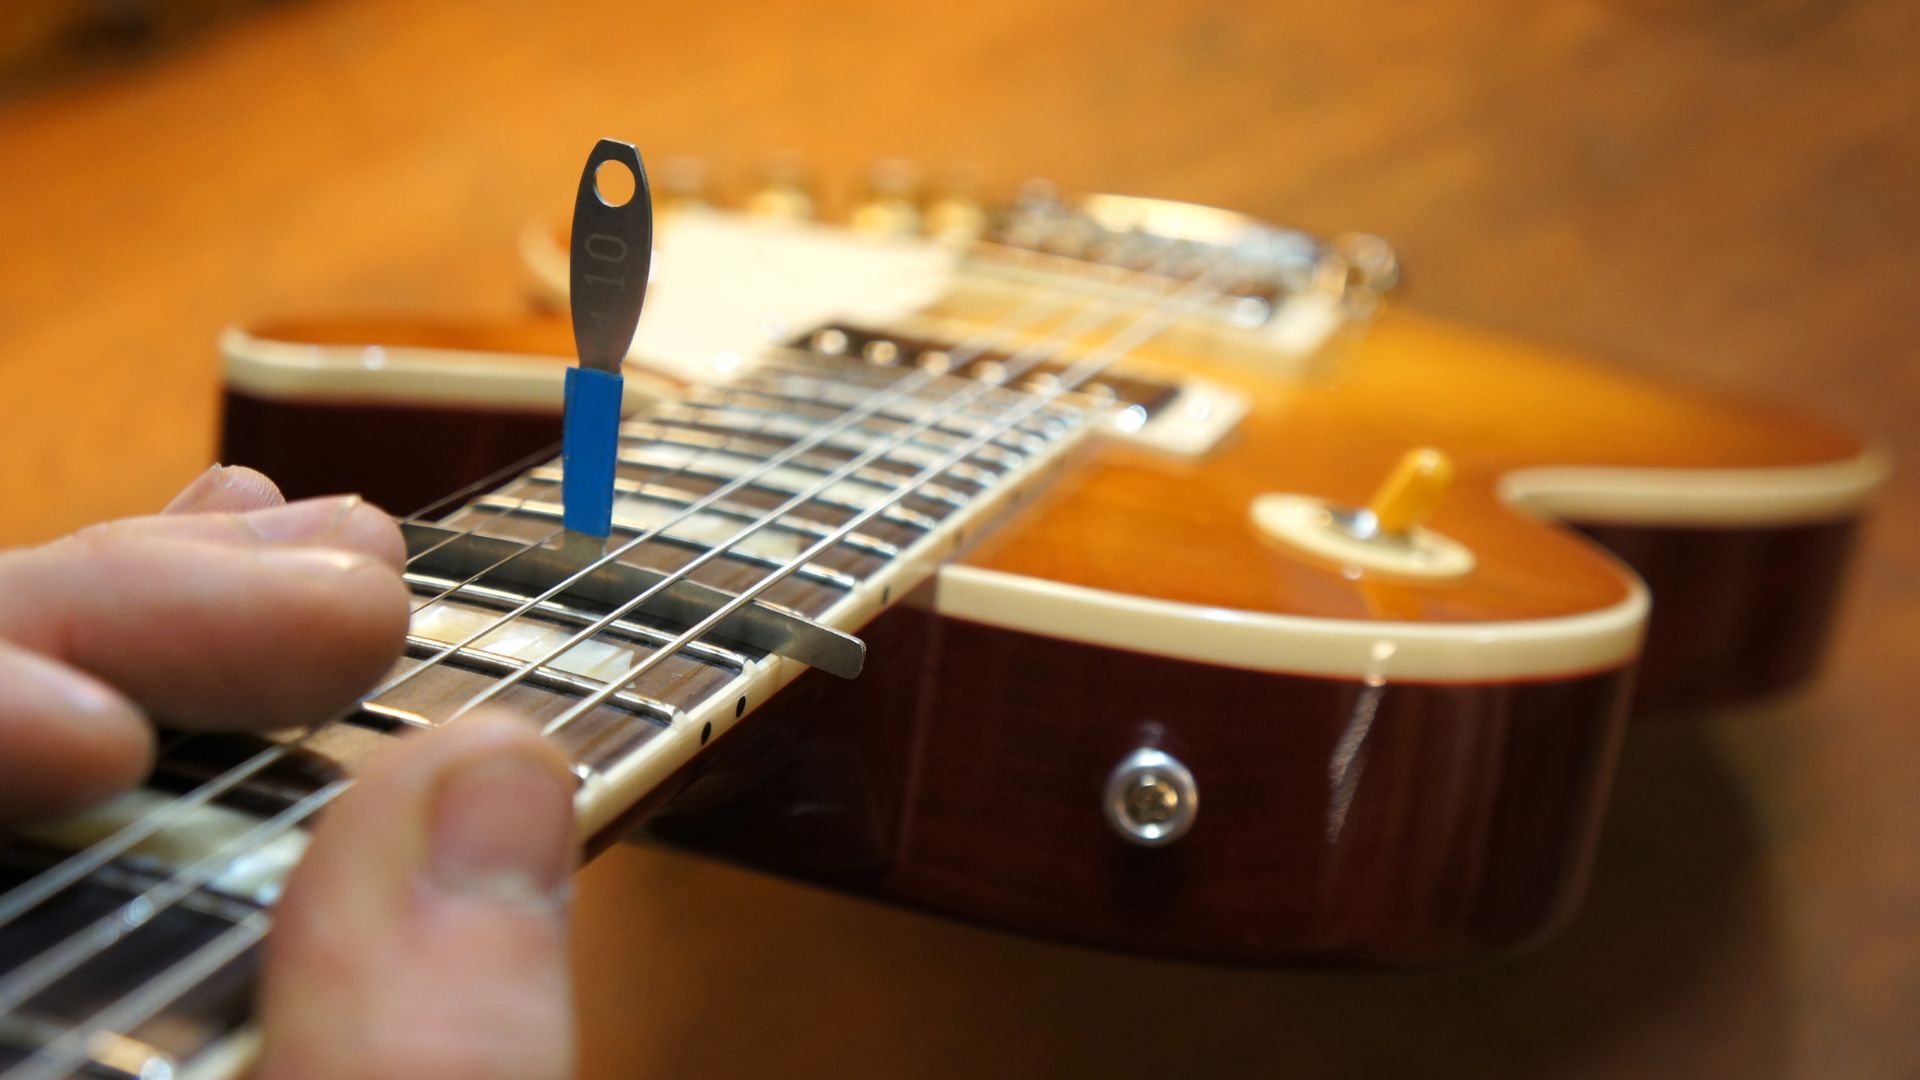
- Ruler or Feeler Gauge: A ruler or feeler gauge will aid in measuring the height of the saddle, ensuring accurate adjustments for optimal playability.
- Guitar Polish and Cloth: After completing the saddle adjustment, guitar polish and a soft cloth can be used to clean the guitar and give it a polished look.
- String Winder: While not essential, a string winder can expedite the process of loosening and restringing the guitar, saving time and effort.
By having these tools on hand, you can approach the task of adjusting the saddle on your acoustic guitar with confidence, knowing that you are well-equipped to perform the necessary adjustments with precision and care.
Step 1: Loosen the Strings
Before beginning the process of adjusting the saddle on your acoustic guitar, it is crucial to relieve the tension on the strings by loosening them. This step is essential to ensure that the saddle can be removed and adjusted without unnecessary resistance. Here’s how to loosen the strings:
- Prepare a Stable Surface: Place your guitar on a stable surface, such as a workbench or a flat table, ensuring that it is secure and won’t shift during the string loosening process.
- Use a Phillips Head Screwdriver: Locate the screws on the bridge of the guitar that secure the strings to the bridge. Using a Phillips head screwdriver, gradually loosen the screws to reduce the tension on the strings. It’s important to loosen the screws evenly to maintain balance across the bridge.
- Loosen the Tuning Pegs: After loosening the screws on the bridge, proceed to the headstock of the guitar. Begin turning the tuning pegs counterclockwise to lower the tension on each string. As you do this, you will notice the pitch of the strings lowering.
- Remove the Strings: Once the tension has been significantly reduced, carefully unwind each string from its respective tuning peg. Gently pull the strings out of the bridge and remove them from the guitar, setting them aside for later use.
By effectively loosening the strings, you prepare the guitar for the subsequent steps of removing and adjusting the saddle. This initial phase sets the stage for the precise adjustments that will follow, ensuring that the process is carried out smoothly and without causing any damage to the instrument.
Step 2: Remove the Saddle
With the strings loosened and the tension relieved, the next step in adjusting the saddle on an acoustic guitar is to remove the saddle from the bridge. This process allows for careful examination and potential modification of the saddle to achieve the desired action and intonation. Here’s how to remove the saddle:
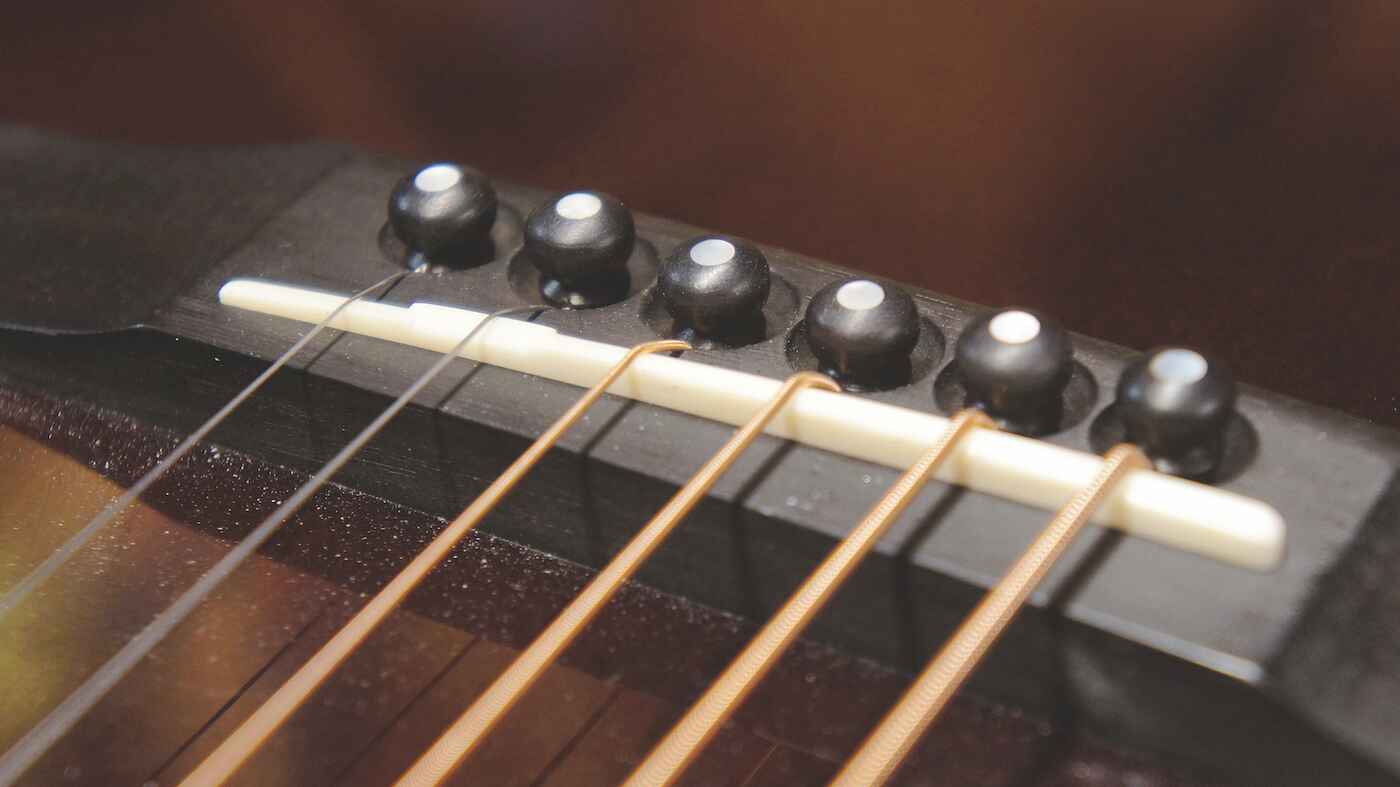
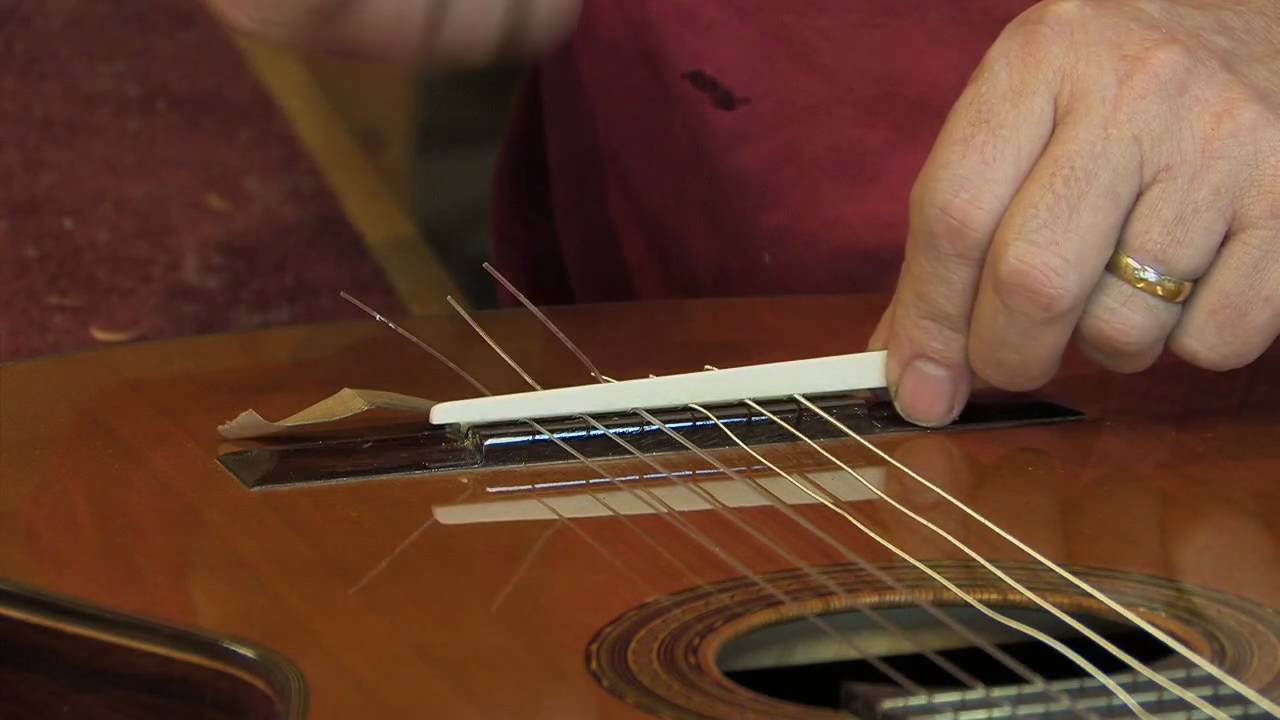
- Identify the Saddle: Locate the saddle on the bridge of the guitar. It is a small, rectangular piece, often made of bone, plastic, or another material, that sits directly in front of the bridge pins.
- Use a Phillips Head Screwdriver: If your guitar’s saddle is secured with screws, carefully remove them using a Phillips head screwdriver. Keep the screws in a safe place to prevent misplacement.
- Gently Lift the Saddle: With the screws removed, gently lift the saddle from the bridge. Take care not to force it, as it should come out easily once the screws are no longer holding it in place. If the saddle feels stuck, gently wiggle it from side to side while lifting to release it from the bridge.
- Inspect the Saddle Slot: While the saddle is removed, take a moment to inspect the saddle slot in the bridge. Ensure that it is clean and free of any debris that may affect the placement of the saddle during reassembly.
By removing the saddle from the bridge, you create the opportunity to assess its condition and make any necessary adjustments to achieve the desired playability and intonation. With the saddle in hand, you can proceed to the next step of sanding and fine-tuning its height to optimize the guitar’s performance.
Step 3: Sanding the Saddle
Once the saddle has been removed from the bridge, the next crucial step in adjusting the saddle on an acoustic guitar is to carefully sand the saddle to achieve the desired action and intonation. Sanding the saddle allows for precise adjustments to its height, ultimately impacting the playability and sound of the instrument. Here’s how to sand the saddle:
- Mark the Saddle: Before sanding, use masking tape to mark the bottom of the saddle. This will serve as a reference point to ensure that you do not over-sand the saddle, maintaining control over the height adjustment.
- Choose the Right Grit: Select a fine-grit sandpaper to begin the sanding process. It is advisable to start with a higher grit and gradually move to a finer grit if further sanding is required.
- Sand Evenly: Carefully sand the bottom of the saddle in a back-and-forth motion, ensuring that you maintain an even surface. It is crucial to maintain a flat and level bottom to guarantee proper contact with the bridge for optimal sound transmission.
- Check the Fit: Periodically check the fit of the saddle in the bridge slot as you sand. This will help you gauge the progress of the adjustment and prevent over-sanding, which could negatively impact the saddle’s functionality.
- Measure the Height: Using a ruler or feeler gauge, measure the height of the saddle as you sand. This will allow you to make precise adjustments to achieve the desired action, ensuring comfortable playability for your guitar.
- Refine as Needed: If necessary, switch to a finer grit sandpaper to further refine the saddle’s height. Take your time and make incremental adjustments, as small changes can have a significant impact on the guitar’s playability.
By carefully sanding the saddle, you can tailor its height to meet your specific preferences, whether you prefer lower action for ease of fretting or need to address intonation issues. This step is pivotal in customizing the guitar’s setup to suit your playing style and ensure an optimal playing experience.
Step 4: Replacing the Saddle
After sanding the saddle to the desired height, the next step in adjusting the saddle on an acoustic guitar is to carefully replace the saddle in the bridge. This process requires precision to ensure that the saddle sits securely and maintains proper alignment, ultimately influencing the guitar’s playability and sound. Here’s how to replace the saddle:
- Clean the Saddle Slot: Before reinserting the saddle, ensure that the saddle slot in the bridge is clean and free of any debris. A clean slot will allow the saddle to sit evenly and make proper contact with the bridge for optimal sound transmission.
- Position the Saddle: Gently place the sanded saddle back into the saddle slot, ensuring that it sits flush and level with the bridge. Take care to align the saddle properly to maintain accurate intonation across the fretboard.
- Secure the Saddle: If your saddle is secured with screws, carefully reinsert and tighten them using a Phillips head screwdriver. Ensure that the saddle is secure but not overly tight, allowing for minor adjustments if needed.
- Double-Check the Fit: After replacing the saddle, double-check its fit in the bridge slot. Ensure that it sits evenly and makes full contact with the bridge, as any gaps or unevenness could affect the guitar’s tone and playability.
By replacing the saddle with precision and care, you ensure that the adjustments made during the sanding process are accurately translated to the guitar’s setup. The proper placement of the saddle is crucial in maintaining optimal intonation and playability, allowing you to fully enjoy the customized setup of your acoustic guitar.
Step 5: Tuning the Guitar
With the saddle successfully replaced, the final step in adjusting the saddle on an acoustic guitar is to tune the instrument to the desired pitch. Tuning the guitar ensures that the strings are at the correct tension and that the adjustments made to the saddle and setup are fully realized. Here’s how to tune the guitar:
- Restring the Guitar: If you removed the strings during the saddle adjustment process, restring the guitar by attaching each string to its respective tuning peg. Use a string winder to expedite the restringing process, if available, and ensure that the strings are secured properly at the bridge.
- Begin Tuning: Using a digital tuner or tuning app, start tuning the guitar by adjusting the tension of each string. Tune the strings to the standard EADGBE tuning or to your preferred tuning if you play in alternate tunings.
- Check Intonation: Once the guitar is tuned, play each string open and then at the 12th fret. Ensure that the pitch at the 12th fret matches the open string pitch. If there is a discrepancy, adjustments to the saddle may be necessary to correct the intonation.
- Make Fine Adjustments: If you notice any intonation issues, such as sharp or flat notes at the 12th fret, make fine adjustments to the saddle as needed. Sanding the saddle slightly or repositioning it can help achieve accurate intonation across the fretboard.
- Play and Assess: After tuning and potential intonation adjustments, play the guitar to assess the feel and sound. Pay attention to the playability and ensure that the guitar meets your preferences in terms of action and intonation.
By tuning the guitar and addressing any intonation issues, you complete the process of adjusting the saddle on your acoustic guitar. The final tuning ensures that the guitar is ready to be played, with the saddle adjustments contributing to a customized setup that enhances the instrument’s playability and sound.
Conclusion
Adjusting the saddle on an acoustic guitar is a fundamental aspect of guitar maintenance and customization. By following the step-by-step process outlined in this guide and using the necessary tools, you can effectively tailor the playability and sound of your acoustic guitar to suit your preferences and playing style. From loosening the strings to sanding the saddle and tuning the guitar, each step plays a crucial role in achieving optimal performance and a personalized playing experience.
Mastering the art of saddle adjustment empowers guitarists to address specific playability and intonation preferences, whether aiming for lower action, improved intonation, or a customized feel. With patience, attention to detail, and the right tools, adjusting the saddle becomes a rewarding endeavor that enhances the overall performance of the instrument.
As you embark on the journey of adjusting the saddle on your acoustic guitar, remember that each adjustment contributes to the unique character and playability of your instrument. The ability to customize the setup to your liking not only improves the sound and feel of the guitar but also fosters a deeper connection between the player and their instrument.
By mastering the process of adjusting the saddle on an acoustic guitar, you gain a valuable skill that allows you to maintain and optimize your instrument for years to come. Whether you are a seasoned guitarist or a beginner, the knowledge and experience gained from adjusting the saddle contribute to a deeper understanding of the instrument and its potential for customization.
With the completion of the saddle adjustment process, your acoustic guitar is primed for optimal performance, reflecting your unique preferences and playing style. Embrace the journey of customization and maintenance, and let the personalized setup inspire your musical creativity and expression.