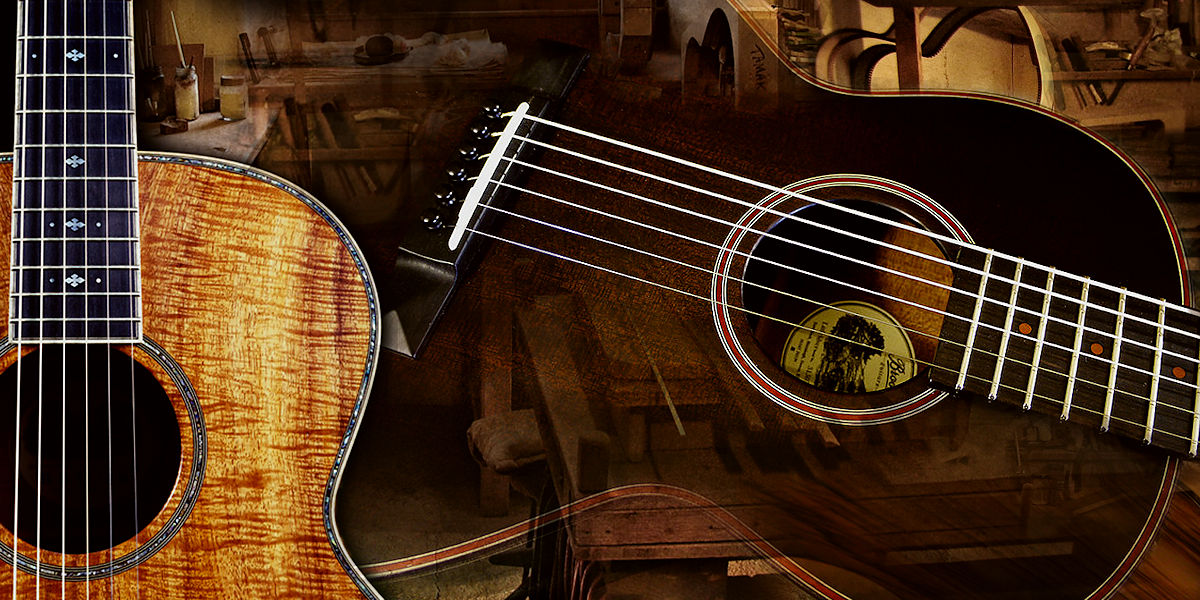
Introduction
Playing the guitar is a rewarding experience, but it can be frustrating when your instrument’s intonation is off. Intonation refers to the accuracy of the pitch as you move up and down the fretboard. When the intonation is not properly set, your guitar may sound out of tune even if you’ve tuned it correctly. This can make it challenging to play in different positions and can affect the overall sound quality of your performance.
Fortunately, fixing intonation issues on an acoustic guitar is a task that can be tackled at home with the right tools and a little know-how. In this article, we will guide you through the steps to fix intonation on your acoustic guitar, ensuring that each note rings true no matter where you play it on the fretboard.
Before we dive into the process, let’s understand why intonation matters. When you play a chord or a melody, you want all the notes to blend harmoniously. Incorrect intonation can cause certain chords or intervals to sound dissonant, making your music sound off-key and less pleasing to the ear. Additionally, when recording or playing with other musicians, accurate intonation becomes crucial to ensure a well-balanced and cohesive sound.
To fix the intonation on your acoustic guitar, you will need a few essential tools. Firstly, ensure that you have a reliable electronic tuner or a tuning app on your smartphone. This is necessary to ensure that your guitar is in tune before you start adjusting the intonation. You will also need a small screwdriver or an Allen wrench to make adjustments to your bridge saddle, which we will cover in detail later.
Now that you understand the importance of intonation and have the necessary tools at hand, let’s move on to the step-by-step process of fixing intonation on an acoustic guitar. By the end of this guide, you’ll have a well-intonated instrument that will help you make beautiful music.
Why Intonation Matters
Intonation is a critical aspect of playing the guitar that directly affects the overall sound quality and playability of the instrument. When the intonation is set correctly, each note you play on the fretboard will be in tune, allowing you to create harmonious chords and melodies. Here are a few reasons why intonation matters:
- Accuracy: Accurate intonation ensures that each note you play is in tune. This is especially important when playing with other musicians or recording music, as it ensures a cohesive and balanced sound.
- Musicality: Correct intonation allows you to express yourself musically by playing chords and melodies that are pleasing to the ear. It enhances the overall tonality of your playing and brings out the nuances and dynamics in your music.
- Transposition: When the intonation is properly set, you can easily transpose songs to different keys without worrying about the guitar sounding out of tune. This opens up a world of possibilities and allows you to play a wider repertoire of music.
- Playability: Good intonation makes it easier to play on different positions of the fretboard. When the notes are in tune, you can confidently navigate through different scales, chords, and musical passages without the fear of sounding off-key.
- Tuning Stability: Properly intonating your guitar promotes tuning stability. When the intonation is off, even if you tune your guitar perfectly, certain chords or notes may sound out of tune. This can be frustrating and hinder your progress as a guitarist.
Overall, intonation is crucial for producing pleasing and accurate tones from your acoustic guitar. It ensures that each note you play is in tune, and allows you to play with confidence and musicality. Now that you understand the importance of intonation, let’s move on to the steps to fix it on your acoustic guitar.
Tools You’ll Need
Before you begin the process of fixing the intonation on your acoustic guitar, it’s important to gather the necessary tools. Having the right tools will make the task easier and ensure that you can accurately adjust the intonation. Here are the tools you’ll need:
- Electronic Tuner: An electronic tuner is essential for accurately tuning your guitar. You can use a dedicated tuner or download a tuning app on your smartphone. Make sure it’s reliable and accurate.
- Small Screwdriver or Allen wrench: To adjust the intonation, you’ll need a small screwdriver or an Allen wrench. The specific size will depend on your guitar’s bridge saddle screws, so consult your guitar’s manual or research the appropriate size.
While these are the basic tools required, you might also want to have the following equipment handy to make the process more convenient:
- String Winder: A string winder allows you to quickly change strings on your guitar. While not necessary for intonation adjustment, it can be helpful if you plan on restringing your guitar during the process.
- Pliers: Pliers can be useful for loosening tight strings or making adjustments to certain parts of the guitar, such as the bridge pins.
- Pencil: A pencil can come in handy for marking your guitar’s bridge saddle before making adjustments. It helps you keep track of the original position and ensures you can revert any changes if necessary.
With these tools at your disposal, you’ll be prepared to tackle the intonation issues on your acoustic guitar with confidence. Remember to have a stable and well-lit workspace where you can comfortably make the adjustments.
Step 1: Tuning Your Guitar
Before you can fix the intonation on your acoustic guitar, it’s crucial to start with a properly tuned instrument. Here’s how to tune your guitar:
- Use an Electronic Tuner: Start by placing your electronic tuner in a visible position, ensuring that you can easily see the screen while tuning.
- Pluck the Open Strings: Begin by plucking the open strings one by one – starting from the thickest string (low E) and moving towards the thinnest (high E). The tuner will indicate whether the string is in tune. Keep adjusting each string until it matches the desired pitch.
- Check the Tuning: Once you’ve tuned all the strings individually, strum the guitar gently to check the overall tuning. If any of the strings sound out of tune, make the necessary adjustments until all the strings are in tune.
Remember, having your guitar properly tuned is crucial for ensuring accurate intonation adjustments. Take your time during the tuning process and ensure that each string is precisely in tune.
Once your guitar is tuned, you’re ready to move on to the next step: checking the intonation.
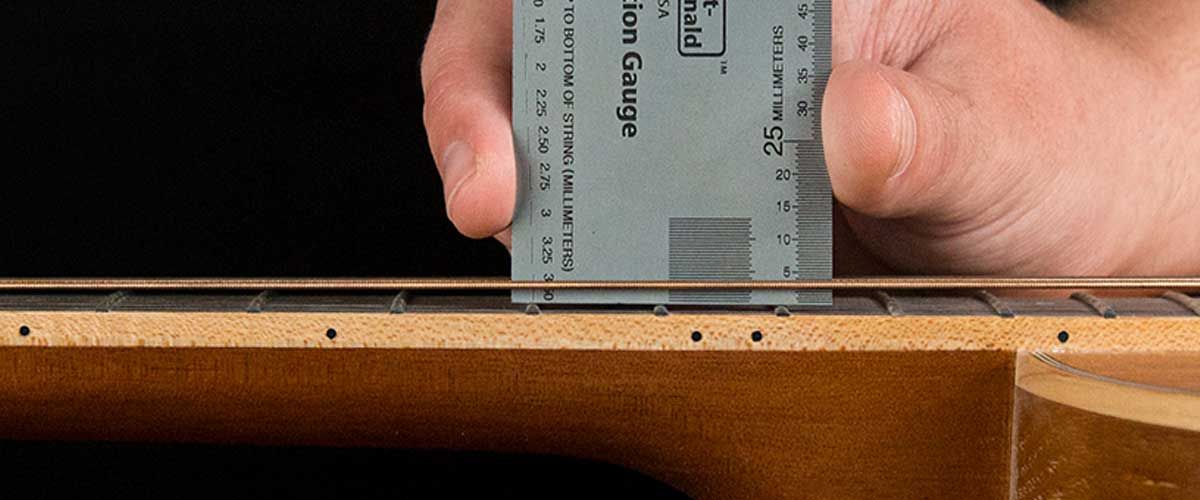
Step 2: Checking the Intonation
After tuning your acoustic guitar, it’s important to check the intonation to identify any issues. Here’s how you can check the intonation:
- Choose a Fret to Test: Start by selecting a fret on the guitar neck, preferably around the 12th fret. This is a common spot for checking intonation as it represents the midway point of the fretboard.
- Play the String Open: Pluck the open string and let it ring out. This will establish the reference pitch for comparison.
- Play the Same String at the Chosen Fret: Now, press down on the chosen fret and pluck the string again. Listen closely to determine if the pitch matches the open string. If it sounds out of tune, either sharp (higher in pitch) or flat (lower in pitch), there is an intonation problem that needs to be addressed.
- Repeat for Each String: Move on to check the intonation of each string individually by following the same procedure. Play the open string and then play the same string at the chosen fret, comparing the pitches.
While checking the intonation, pay attention to any noticeable discrepancies in pitch. If a played note is consistently sharp or flat compared to the open string, it indicates that the intonation needs adjustment.
By following this process and identifying the strings with intonation issues, you can move on to the next step: adjusting the bridge saddle to fix the intonation.
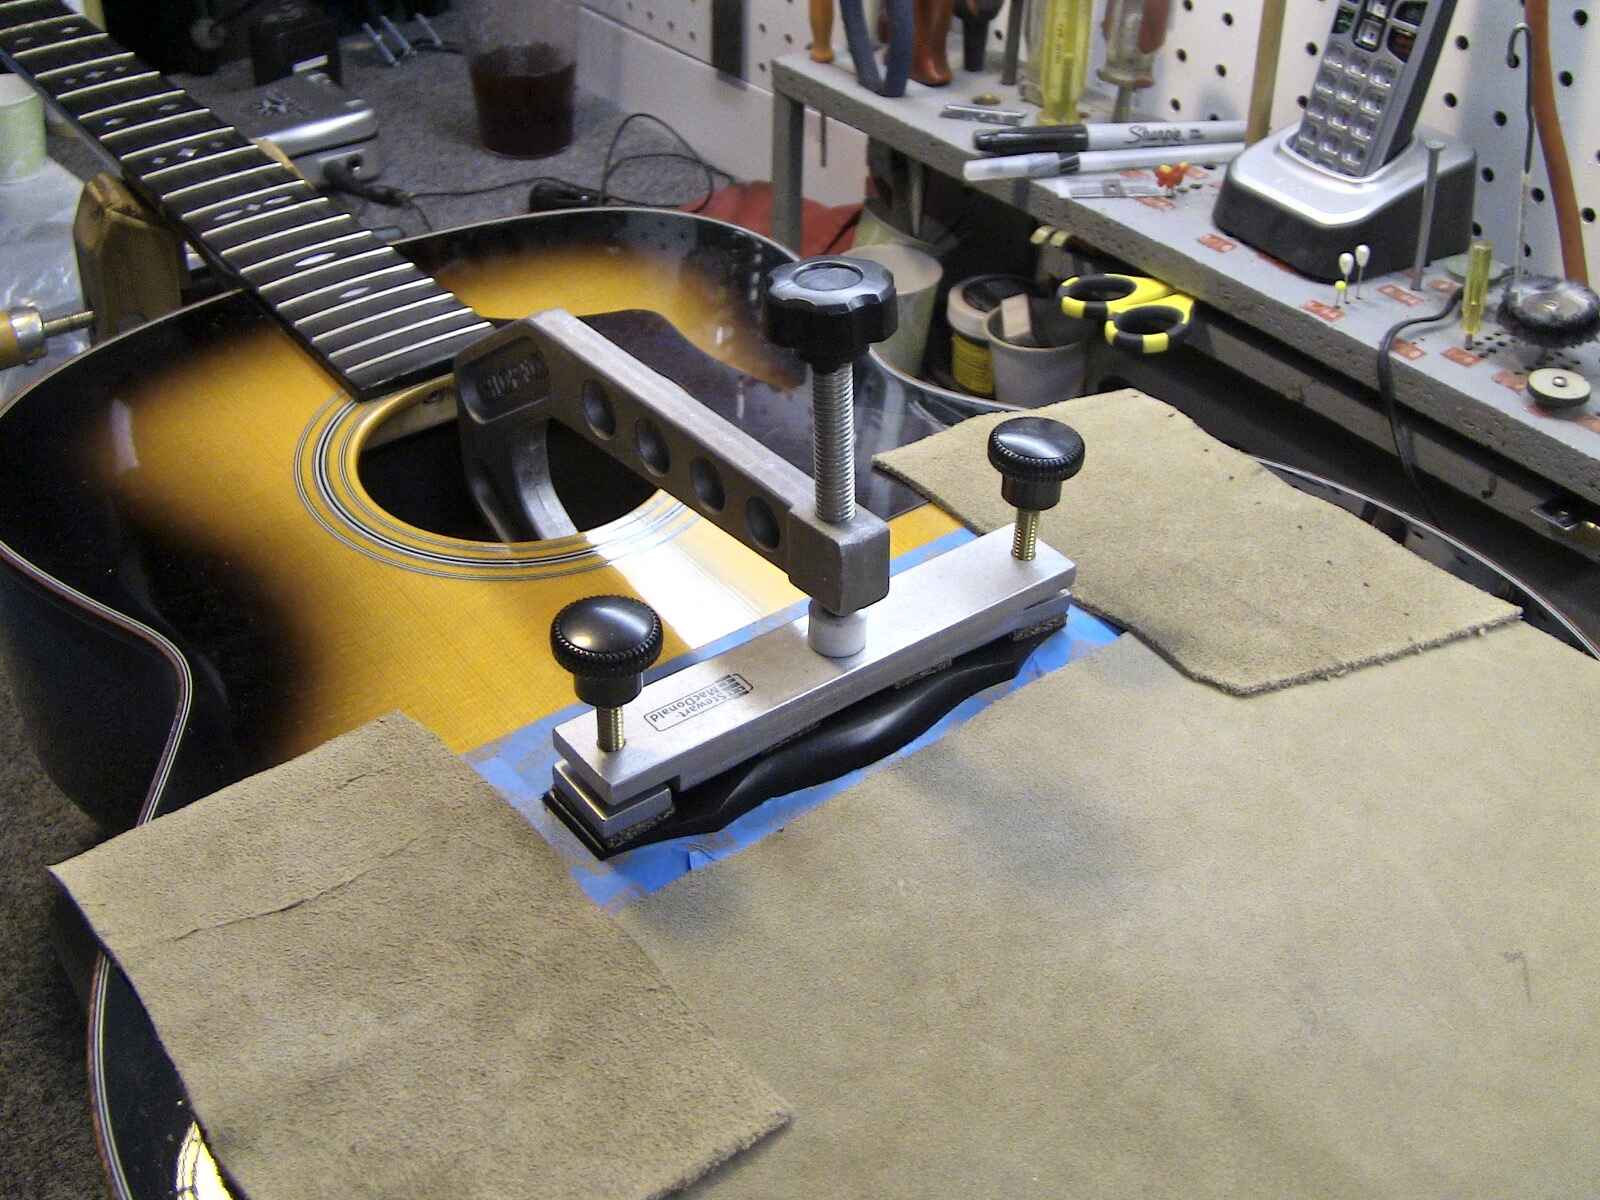
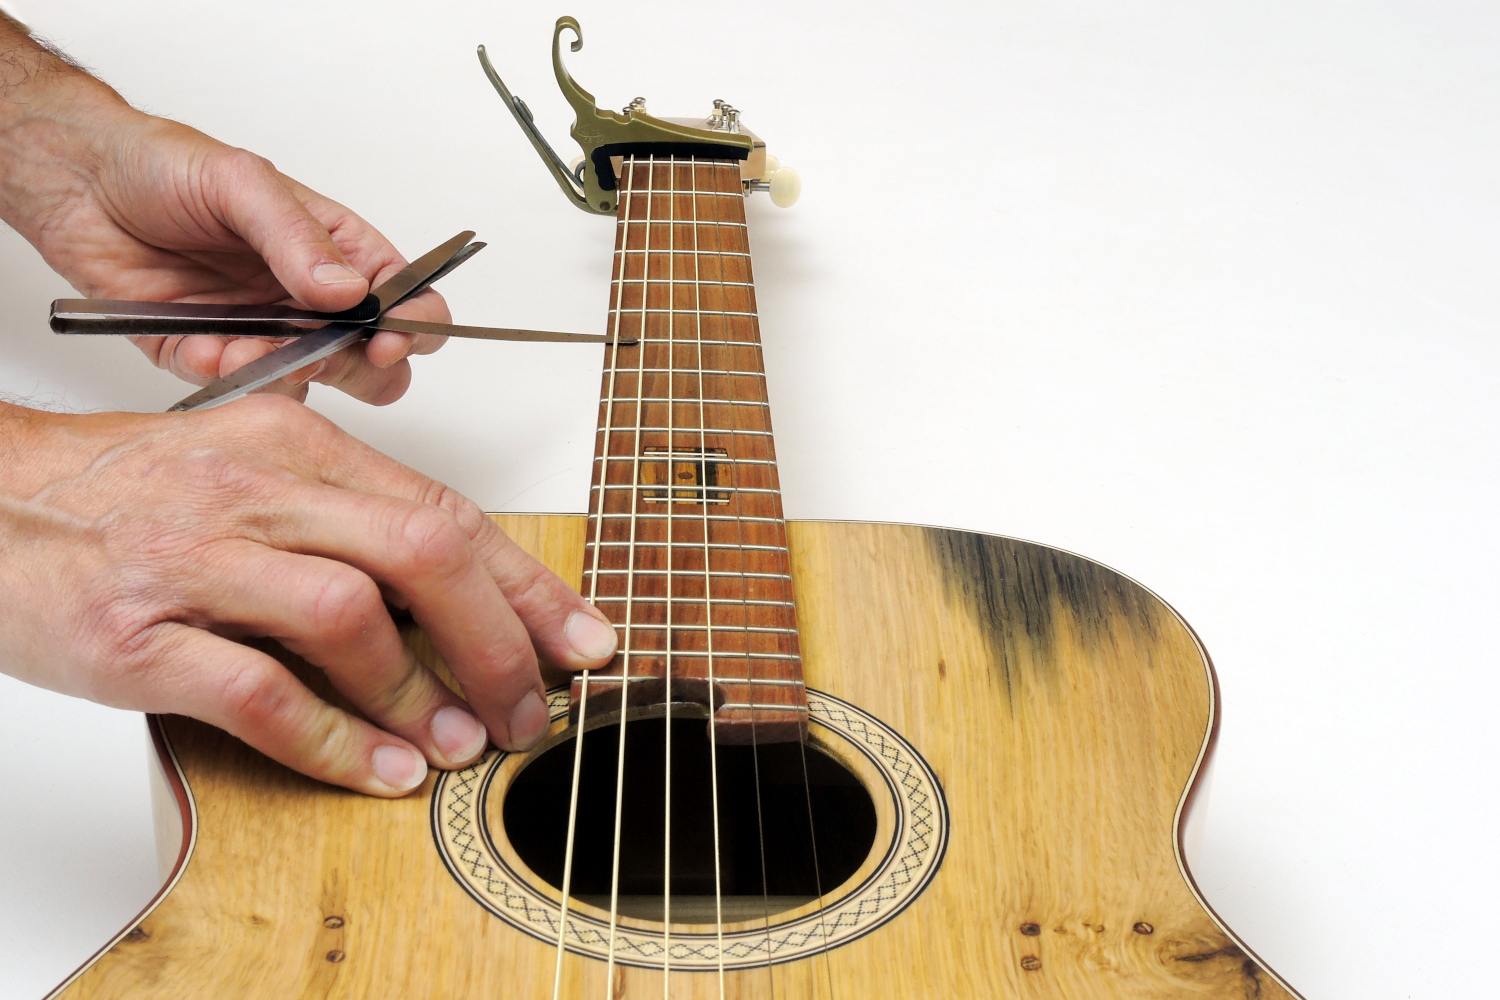
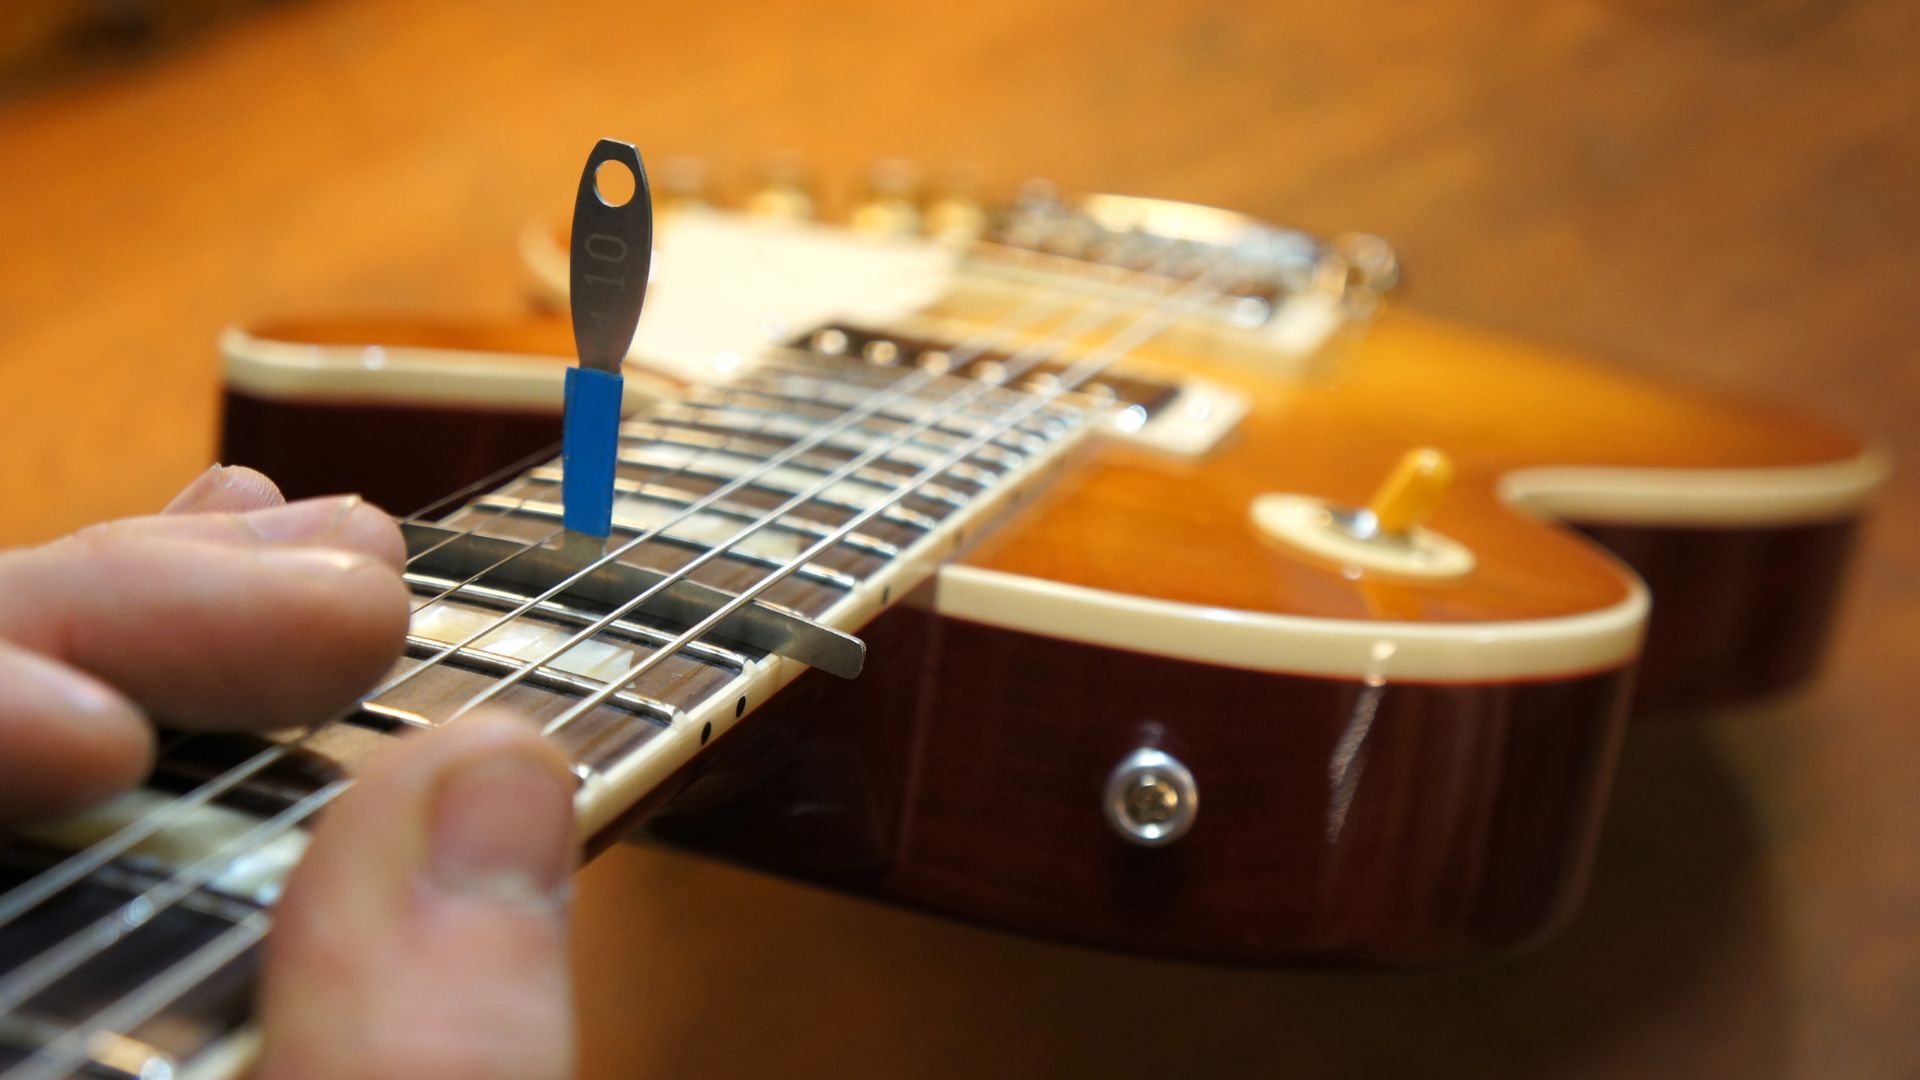
Step 3: Adjusting the Bridge Saddle
Once you have identified which strings have intonation issues, it’s time to adjust the bridge saddle to correct the problem. Here’s how you can adjust the bridge saddle on your acoustic guitar:
- Locate the Bridge Saddle: The bridge saddle is a small piece usually made of bone, plastic, or metal located on the bridge of the guitar. It is responsible for setting the scale length and ultimately affects the intonation.
- Loosen the Strings: Before making any adjustments, it’s essential to loosen the strings to relieve tension. You can do this by turning the tuning pegs counterclockwise until the strings are significantly slackened. This will make it easier to manipulate the bridge saddle.
- Identify the Intonation Screw: Some guitars have an intonation screw on the bridge saddle that can be adjusted with a small screwdriver. If your guitar has an intonation screw, locate it before proceeding.
- Make Small Adjustments: To correct the intonation, you need to slightly lengthen or shorten the scale length of the string. If your guitar has an intonation screw, turn it clockwise to lengthen the scale length (for sharp notes) or counterclockwise to shorten it (for flat notes). If your guitar doesn’t have an intonation screw, you can gently file the bottom of the saddle to achieve the desired adjustment.
- Recheck the Intonation: After making the necessary adjustments, tune your guitar and go back to Step 2 to double-check the intonation. Repeat the checking process for each string and make further adjustments if needed.
Remember, when adjusting the bridge saddle, it’s crucial to make small increments and recheck the intonation after each adjustment. This allows you to fine-tune the intonation and achieve accurate pitch across the fretboard.
Once you’re satisfied with the intonation adjustments on your acoustic guitar, it’s time to move on to the next step: recheck and fine-tune.
Step 4: Recheck and Fine-Tune
After adjusting the bridge saddle to correct the intonation on your acoustic guitar, it’s important to recheck your work and make any necessary fine-tuning adjustments. Here’s how you can recheck and fine-tune the intonation:
- Tune Your Guitar: Start by tuning your guitar again using an electronic tuner or tuning app. Ensure that all the strings are in tune.
- Repeat the Intonation Check: Once your guitar is in tune, go back to Step 2 and repeat the process of checking the intonation. Play each string open and then play it at the chosen fret to determine if the pitches align accurately.
- Listen for Accuracy: Listen closely to the pitch of each played note. If you notice any remaining discrepancies in intonation – whether sharp or flat – make note of which string(s) need further adjustment.
- Fine-Tune the Bridge Saddle: To fine-tune the intonation, make small adjustments to the bridge saddle for the strings that still require modification. Use the same process as Step 3, either using the intonation screw or filing the saddle, to achieve the desired changes.
- Recheck and Repeat if Necessary: After each adjustment, recheck the intonation by playing the open string and the chosen fretted note. Continue making small adjustments as needed, and keep rechecking until the intonation is accurate and consistent across all strings.
Remember to take your time during the rechecking and fine-tuning process. Making small, incremental adjustments will help you achieve precise intonation on your acoustic guitar.
Once you are satisfied with the rechecked and fine-tuned intonation, you can proceed to the final step: repeating the process if necessary.
Step 5: Repeat if Necessary
After going through the steps to fix the intonation on your acoustic guitar, it’s important to evaluate the results and determine if any further adjustments are required. Here’s how you can determine if you need to repeat the process:
- Check for Consistency: Play different chords, scales, and melodies across the fretboard to ensure that the intonation remains consistent. Listen carefully for any notes or chords that sound noticeably out of tune.
- Recheck Specific Strings: If you notice any persistent intonation issues on specific strings, focus on those strings and repeat Steps 2 to 4 for those strings only. This allows you to fine-tune the problematic areas without having to adjust the entire guitar’s intonation again.
- Consider Professional Help: If you are unable to achieve satisfactory intonation even after multiple attempts, it might be worth considering seeking assistance from a professional guitar technician. They have the expertise and specialized tools to accurately diagnose and correct any complex intonation issues.
It’s important to note that slight intonation discrepancies are normal, especially on certain parts of the fretboard. Perfect intonation across all strings and frets is often challenging to achieve, but the goal is to get it as close as possible for optimal playability and tonal accuracy.
By carefully evaluating the consistency and making necessary adjustments, you can ensure that your acoustic guitar has the best possible intonation. Remember, patience and persistence are key when dealing with intonation adjustments.
If you are satisfied with the results and the intonation is accurate, you have successfully fixed the intonation on your acoustic guitar. Now you can enjoy playing with improved tonal quality and precise pitch across the fretboard!
Conclusion
Fixing the intonation on your acoustic guitar is a task that can greatly enhance your playing experience. By ensuring that each note rings true and accurate across the fretboard, you can create harmonious chords, melodies, and enjoy better tonal quality.
In this guide, we’ve discussed the importance of intonation and provided a step-by-step process to fix it on your acoustic guitar. From tuning your guitar to checking the intonation, adjusting the bridge saddle, and rechecking the results, we’ve covered the necessary steps to achieve accurate intonation.
Throughout the process, it’s important to be patient and make small adjustments as needed. Remember, achieving perfect intonation may be challenging, but with practice and careful listening, you can significantly improve the accuracy of your instrument.
If you encounter persistent intonation issues or feel unsure about making adjustments, don’t hesitate to seek assistance from a professional guitar technician. They can provide expert guidance and ensure optimal intonation for your guitar.
Now that you have the knowledge and tools necessary to fix the intonation on your acoustic guitar, take the time to go through each step and enjoy the rewarding experience of playing in tune. You’ll be amazed at the difference accurate intonation can make in your guitar playing journey.
So go ahead, grab your guitar, tune it up, and embark on a musical adventure with improved intonation!