Introduction
Are you ready to unlock the full potential of your Moog Sub Phatty synthesizer? Connecting a MIDI keyboard to your Moog Sub Phatty can open up a world of creative possibilities, allowing you to play and control the powerful analog sounds of the Sub Phatty using the keys and controls of an external MIDI keyboard. This seamless integration can enhance your music production and performance capabilities, enabling you to explore new sonic landscapes and express your musical ideas with precision and fluidity.
In this comprehensive guide, we will walk through the step-by-step process of connecting a MIDI keyboard to a Moog Sub Phatty, empowering you to harness the combined capabilities of these musical instruments. Whether you are a seasoned synthesizer enthusiast or a budding musician eager to delve into the realm of electronic music production, this tutorial will equip you with the knowledge and skills to establish a seamless MIDI connection between your keyboard and the Moog Sub Phatty.
By following the instructions outlined in this guide, you will gain the ability to play the Moog Sub Phatty using the keys of your MIDI keyboard, leverage the expressive control features of your MIDI controller to manipulate the Sub Phatty's parameters, and integrate the two instruments into a cohesive setup that amplifies your creativity and musical expression. Let's embark on this journey to bridge the gap between your MIDI keyboard and the iconic Moog Sub Phatty, paving the way for a harmonious synergy that elevates your musical endeavors to new heights.
Step 1: Gather the Necessary Cables and Equipment
Before embarking on the process of connecting your MIDI keyboard to the Moog Sub Phatty, it is essential to gather the requisite cables and equipment to ensure a seamless and efficient setup. The following items are crucial for establishing a stable MIDI connection between your keyboard and the Sub Phatty:
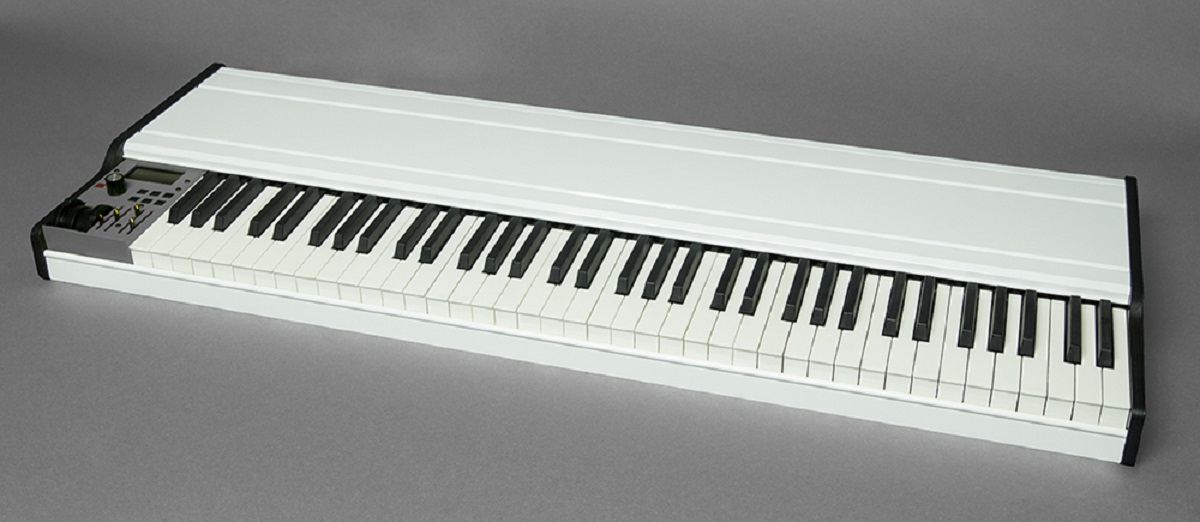
- MIDI Keyboard: Select a MIDI keyboard that suits your playing style and musical preferences. Ensure that it features MIDI output ports, typically labeled as MIDI OUT or MIDI OUT/THRU, which will serve as the interface for transmitting MIDI data to the Moog Sub Phatty.
- MIDI Cable: Acquire a standard MIDI cable with the appropriate connectors to link the MIDI output port of your keyboard to the MIDI input port of the Moog Sub Phatty. These cables are designed to facilitate the transmission of MIDI signals between compatible devices.
- Moog Sub Phatty: Of course, you will need your Moog Sub Phatty synthesizer, equipped with MIDI input ports to receive the MIDI data from your keyboard. Familiarize yourself with the location of the MIDI input port on the Sub Phatty, typically labeled as MIDI IN.
- Power Sources: Ensure that both your MIDI keyboard and the Moog Sub Phatty are powered on and ready for connection. If your MIDI keyboard requires external power, make sure it is plugged in and operational.
By assembling these essential components, you are poised to proceed with the next steps of the MIDI connection process. This preparatory phase sets the stage for a smooth and efficient setup, laying the groundwork for a harmonious integration between your MIDI keyboard and the Moog Sub Phatty.
Step 2: Connect the MIDI Keyboard to the Moog Sub Phatty
With the necessary cables and equipment at your disposal, it’s time to establish the physical connection between your MIDI keyboard and the Moog Sub Phatty. Follow these steps to seamlessly link the two instruments:
- Locate the MIDI Output Port on Your Keyboard: Identify the MIDI output port on your MIDI keyboard. This port is responsible for transmitting MIDI data from the keyboard to external devices such as the Moog Sub Phatty.
- Connect the MIDI Cable: Take one end of the MIDI cable and insert the MIDI OUT connector into the MIDI output port of your keyboard. Ensure a secure connection to prevent any signal loss during operation.
- Locate the MIDI Input Port on the Moog Sub Phatty: Familiarize yourself with the location of the MIDI input port on the Moog Sub Phatty. This port is designed to receive MIDI data from external devices like your MIDI keyboard.
- Connect the MIDI Cable to the Moog Sub Phatty: Insert the other end of the MIDI cable, featuring the MIDI IN connector, into the MIDI input port of the Moog Sub Phatty. Ensure that the connection is snug and secure to facilitate reliable MIDI communication between the keyboard and the synthesizer.
- Power On Your Instruments: Once the MIDI cable is securely connected, power on both your MIDI keyboard and the Moog Sub Phatty. Verify that both instruments are receiving power and are ready to interface with each other.
By meticulously following these steps, you have successfully linked your MIDI keyboard to the Moog Sub Phatty, laying the foundation for a cohesive and responsive MIDI connection. This physical connection paves the way for the transmission of MIDI data from your keyboard to the Sub Phatty, enabling you to control and play the synthesizer using the keys and controls of your MIDI controller.
Step 3: Set up the MIDI Settings on the Moog Sub Phatty
After establishing the physical connection between your MIDI keyboard and the Moog Sub Phatty, it is essential to configure the MIDI settings on the synthesizer to ensure seamless communication and optimal performance. Follow these steps to set up the MIDI settings on the Sub Phatty:
- Access the Global Settings: Power on your Moog Sub Phatty and access the global settings menu. This can typically be achieved by pressing specific buttons or combinations of buttons as outlined in the Sub Phatty’s user manual.
- Navigate to the MIDI Settings: Within the global settings menu, locate the MIDI settings section. This area allows you to customize the MIDI parameters to accommodate the incoming MIDI data from your keyboard.
- Configure the MIDI Channel: Select a MIDI channel on the Moog Sub Phatty that corresponds to the MIDI channel output of your MIDI keyboard. This ensures that the synthesizer receives and responds to MIDI data transmitted on the specified channel from your keyboard.
- Adjust Additional MIDI Parameters: Depending on your specific requirements and the features of your MIDI keyboard, you may need to adjust additional MIDI parameters such as MIDI clock settings, MIDI sync options, and other relevant parameters to synchronize the Sub Phatty with your MIDI controller.
- Save the MIDI Settings: Once you have configured the MIDI settings to align with your MIDI keyboard’s output, save the changes within the global settings menu. This ensures that the Sub Phatty recognizes and responds to the incoming MIDI data according to the specified parameters.
By meticulously configuring the MIDI settings on the Moog Sub Phatty, you have established a tailored interface that aligns with the capabilities of your MIDI keyboard, facilitating seamless communication and control between the two instruments. This optimization ensures that the Sub Phatty interprets and responds to MIDI data from your keyboard accurately, enabling you to leverage the full potential of this integrated setup.
Step 4: Test the Connection and Play the Moog Sub Phatty from the MIDI Keyboard
With the MIDI keyboard connected to the Moog Sub Phatty and the MIDI settings configured, it’s time to test the connection and experience the seamless integration firsthand. Follow these steps to ensure that the MIDI setup is operational and ready for musical exploration:
- Select a Sound Patch on the Moog Sub Phatty: Choose a sound patch or preset on the Sub Phatty that you would like to play using your MIDI keyboard. This can be accomplished by navigating the synthesizer’s interface and selecting a suitable preset that aligns with your musical intentions.
- Play the MIDI Keyboard: Begin playing the keys of your MIDI keyboard, and observe how the Moog Sub Phatty responds to your performance. As you play different notes and chords on the MIDI controller, the Sub Phatty should accurately reproduce the sound and respond to your playing dynamics.
- Explore Parameter Control: Utilize the control features of your MIDI keyboard, such as mod wheels, pitch bend, and other assignable controls, to manipulate the parameters of the Moog Sub Phatty in real-time. This interaction allows you to shape the sound and expressivity of the synthesizer using the intuitive controls of your MIDI controller.
- Test MIDI Sync and Clock Functions: If your MIDI keyboard offers MIDI clock synchronization capabilities, explore the synchronization of tempo and timing between the keyboard and the Moog Sub Phatty. This can enhance the rhythmic precision and synchronization of your musical performances.
- Verify Overall Responsiveness: Assess the overall responsiveness and latency of the MIDI connection by playing intricate passages and dynamic performances on the MIDI keyboard. The seamless integration should facilitate a fluid and immediate response from the Moog Sub Phatty, allowing for expressive and nuanced musical expression.
By conducting these tests, you can ascertain the reliability and functionality of the MIDI connection between your keyboard and the Moog Sub Phatty. This hands-on exploration not only validates the successful integration of the two instruments but also provides an immersive experience that showcases the creative potential unleashed by this cohesive setup.
Conclusion
Congratulations! By following the comprehensive steps outlined in this guide, you have successfully connected your MIDI keyboard to the Moog Sub Phatty, establishing a harmonious union between these two powerful musical instruments. This integration empowers you to explore a myriad of creative possibilities, leveraging the expressive capabilities of your MIDI keyboard to control and play the iconic analog sounds of the Sub Phatty with precision and finesse.
As you embark on your musical journey with this interconnected setup, remember that the MIDI connection opens doors to a wealth of sonic exploration and performance opportunities. Whether you are a seasoned synthesizer aficionado, a live performer seeking dynamic control over analog sounds, or a music producer aiming to infuse your compositions with rich, expressive textures, the MIDI connection between your keyboard and the Moog Sub Phatty amplifies your creative potential.
Now equipped with the knowledge to establish and optimize the MIDI connection, you are poised to delve into a world of musical expression, where the boundaries between your MIDI keyboard and the Moog Sub Phatty dissolve, giving rise to a seamless and immersive musical experience. Embrace the synergy between these instruments, experiment with diverse soundscapes, and unleash your creativity as you navigate the boundless sonic terrain that awaits.
As you continue to explore the interconnected capabilities of your MIDI keyboard and the Moog Sub Phatty, remember that this integration is not merely a technical feat but a gateway to emotive, expressive, and captivating musical performances. Embrace the fusion of analog and digital realms, and let your creativity soar as you command the powerful analog soul of the Sub Phatty through the intuitive interface of your MIDI keyboard.
With the MIDI connection serving as a conduit for your musical vision, the journey ahead is filled with endless possibilities, sonic adventures, and transformative performances. Embrace the fusion of technology and artistry, and let the harmonious integration of your MIDI keyboard and the Moog Sub Phatty propel your musical endeavors to new heights.