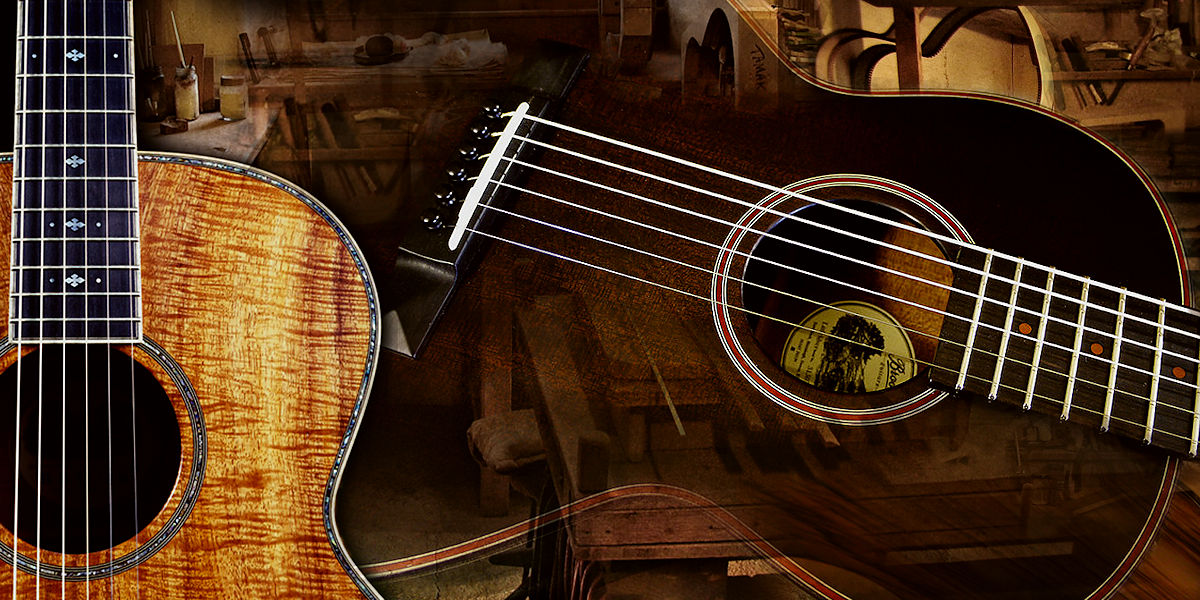
Introduction
Welcome and congratulations on your journey as an acoustic guitar owner! Owning an acoustic guitar is a fulfilling experience, but it also comes with a responsibility to properly care for and maintain your instrument. By giving your guitar the attention it deserves, you can ensure that it stays in optimal condition, performs at its best, and lasts for years to come.
Caring for an acoustic guitar goes beyond simply playing it. It involves regular cleaning, restringing, adjustments, and protective measures to keep it looking and sounding its best. Whether you are a beginner guitarist or a seasoned player, understanding how to care for your acoustic guitar is essential.
In this article, we will outline the importance of guitar care, the tools and supplies you’ll need, as well as provide step-by-step instructions for maintaining your instrument. By following these guidelines, you’ll not only keep your guitar in top shape but also enhance its overall performance and prolong its lifespan.
Remember, a well-cared-for guitar not only sounds better but can also inspire you to play more often and improve your skills. So let’s dive into the world of acoustic guitar care and discover how to keep your instrument in excellent condition!
Why is Guitar Care Important?
Properly caring for your acoustic guitar is crucial for several reasons. Firstly, it helps to maintain the instrument’s optimal performance and playability. Over time, dirt, sweat, and oils from your hands can build up on the guitar’s body, strings, and fretboard, affecting the tone and playability. Regular cleaning and maintenance will ensure that your guitar sounds its best and feels comfortable to play.
In addition to improving the sound and feel, caring for your guitar also helps to preserve its physical appearance. Regular cleaning and polishing will remove dust, fingerprints, and smudges, keeping the guitar looking pristine. This not only enhances its visual appeal but also helps to maintain its resale value, should you ever decide to part ways with your instrument.
Guitar care is also essential for prolonging the lifespan of your instrument. By following proper maintenance routines, such as restringing, adjusting the truss rod, and controlling humidity levels, you can prevent unnecessary wear and tear. A well-maintained guitar can last for generations, becoming a cherished heirloom or a valuable investment.
Furthermore, caring for your acoustic guitar can have a positive impact on your playing experience. When your instrument is in good condition, it is more likely to stay in tune, have proper intonation, and offer comfortable action. This can greatly enhance your practice sessions, performances, and overall enjoyment of playing the guitar.
Lastly, taking care of your guitar demonstrates respect and appreciation for the instrument and the craft of guitar playing. By investing time and effort into its maintenance, you show a dedication to your musical journey and a commitment to preserving the instrument’s integrity. It is a way to honor the instrument and the music it produces.
As you can see, guitar care is not just about maintaining the physical condition of the instrument; it is about ensuring optimal performance, preserving its value, and enhancing your overall playing experience. So let’s explore the tools and supplies you’ll need to begin caring for your acoustic guitar!
Tools and Supplies Needed for Guitar Care
Before you embark on your guitar care journey, it is important to gather the necessary tools and supplies. Having the right equipment will make the process more efficient and ensure that you can properly maintain your acoustic guitar. Here are some essential items to have:
- Guitar Cleaning Solution: Invest in a high-quality guitar cleaning solution that is specifically formulated for cleaning the body, strings, and fretboard of an acoustic guitar. Avoid using household cleaners as they can damage the instrument.
- Microfiber Cloth: A soft, lint-free microfiber cloth is essential for cleaning and buffing the guitar. It helps to remove dust, oils, and fingerprints without scratching the surface.
- Guitar Polish: Choose a guitar polish that is suitable for the type of finish on your acoustic guitar. This will help to restore shine and protect the finish from dulling over time.
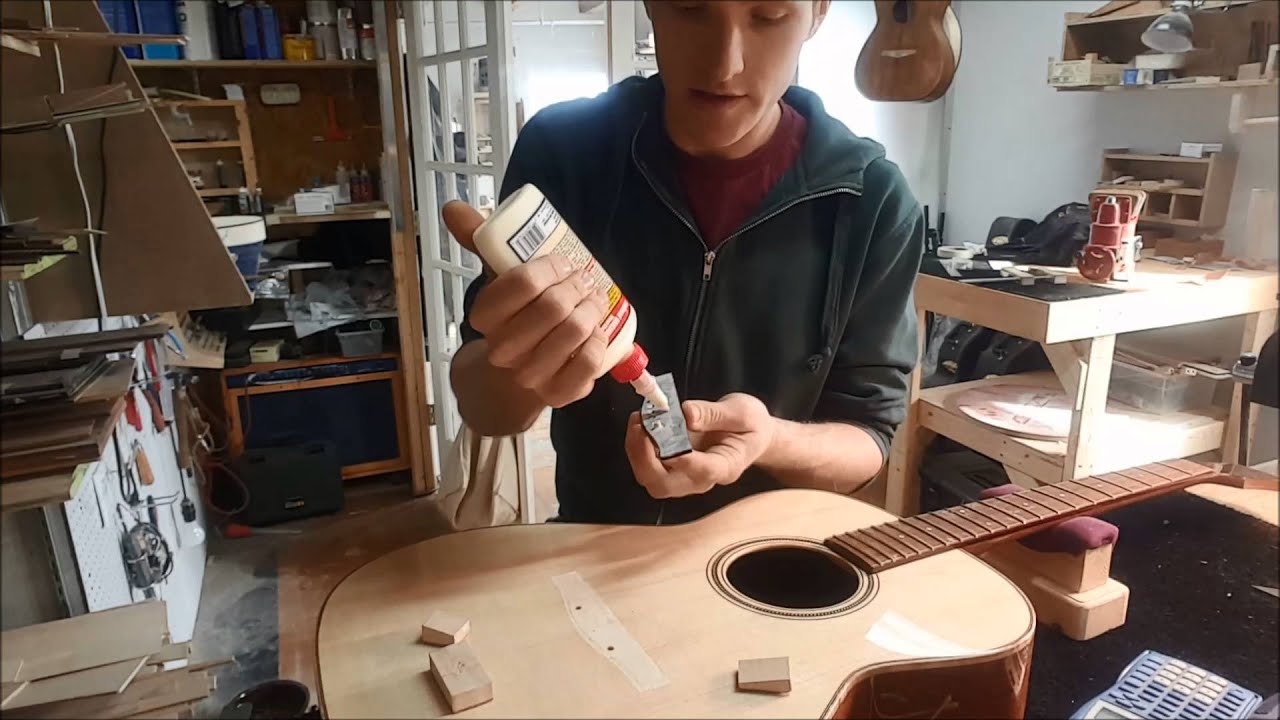
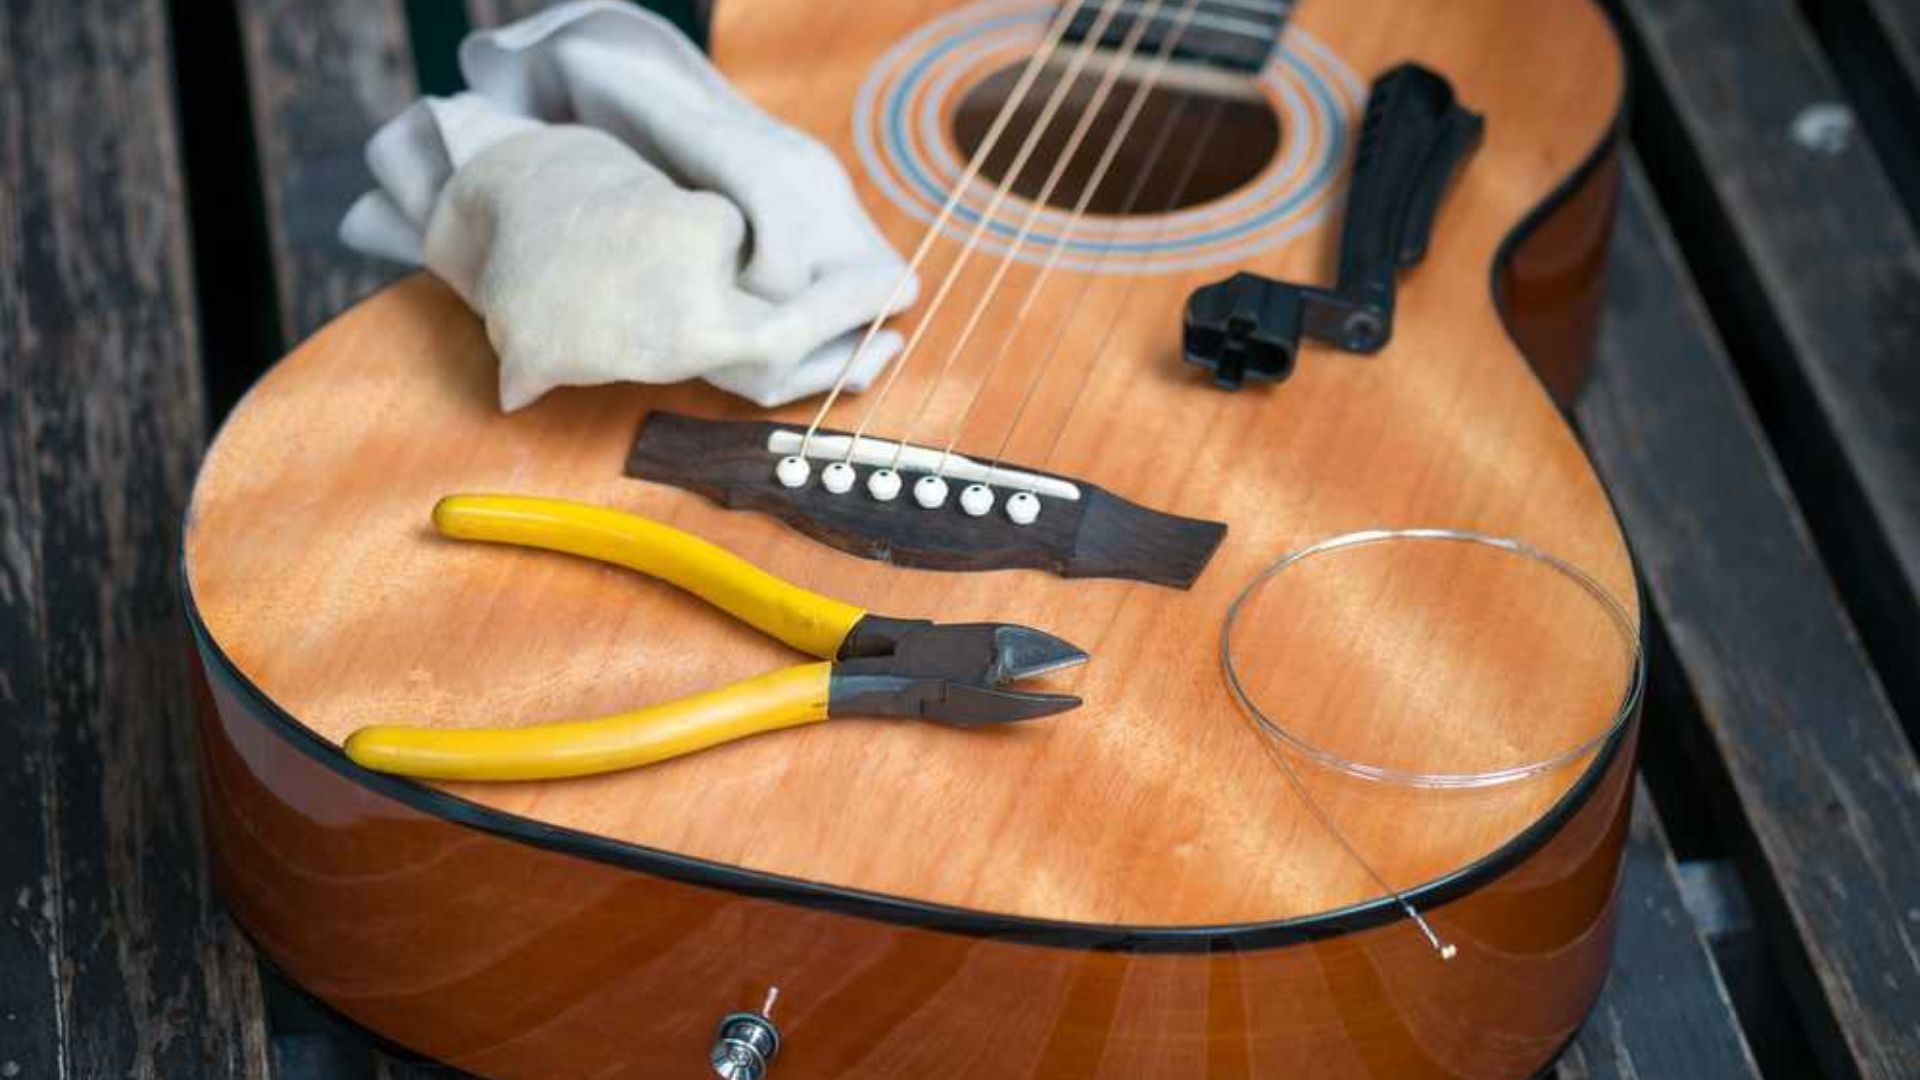
- Guitar String Cutter: When it comes time to change your guitar strings, a good quality string cutter is essential for clean and precise string removal.
- Guitar String Winder: A string winder will save you time and effort when restringing your guitar. It helps to quickly and efficiently wind the strings around the tuning pegs.
- Guitar Humidifier: To protect your guitar from extreme humidity conditions, invest in a guitar humidifier. This will help to prevent the wood from drying out or swelling, which can cause damage to the instrument.
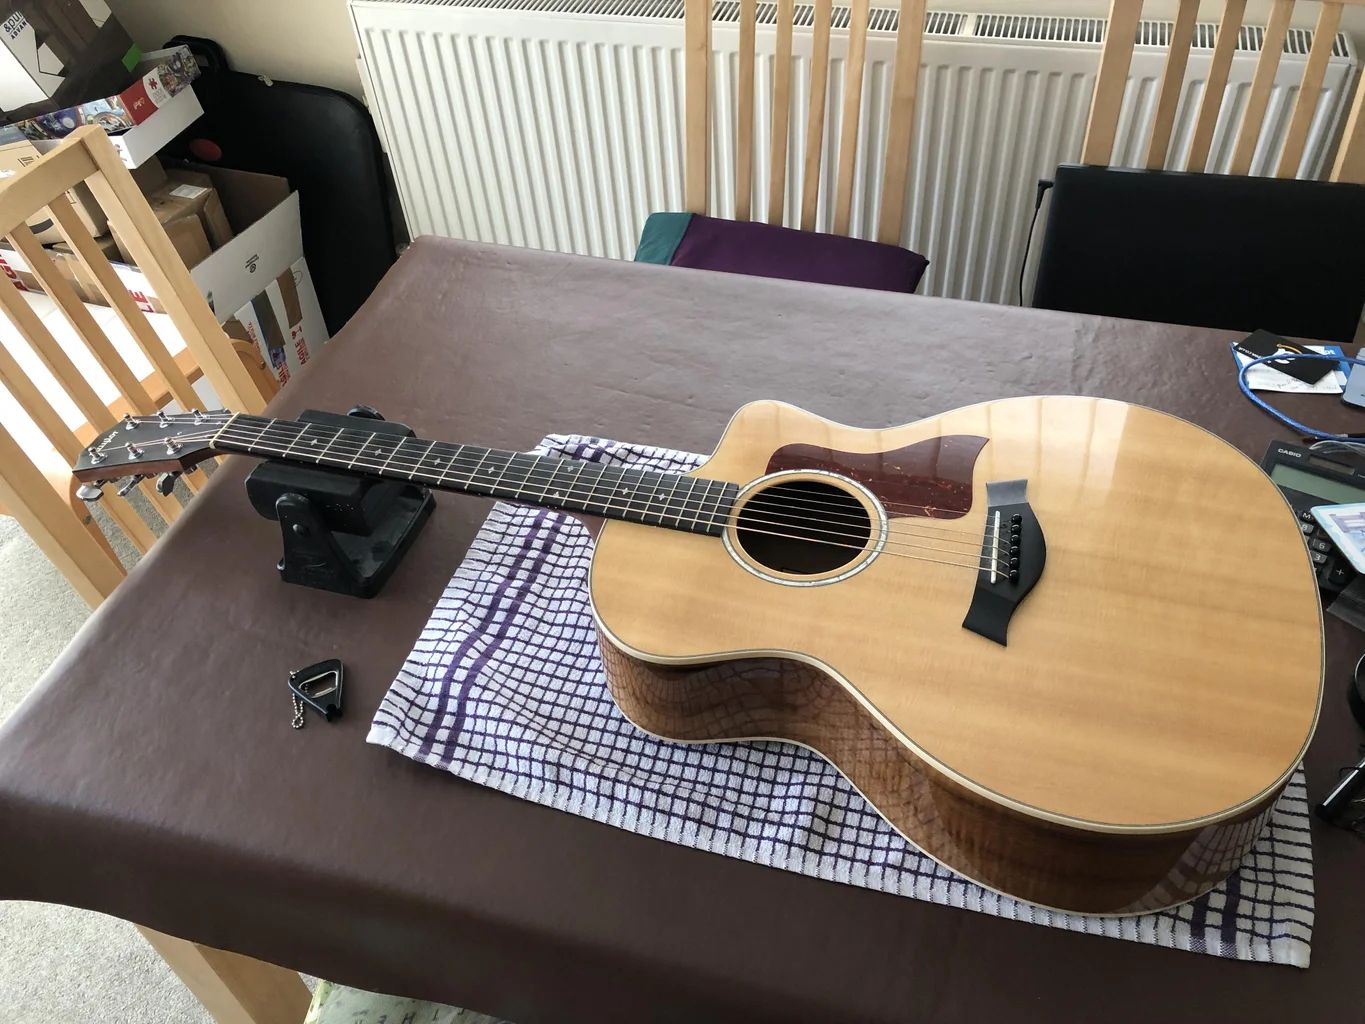
- Guitar Case or Gig Bag: A sturdy guitar case or gig bag is essential for protecting your acoustic guitar during storage and transportation. It provides cushioning and prevents accidental bumps or scratches.
- Guitar Stand: While not a necessity, a guitar stand is a convenient accessory for keeping your guitar easily accessible and safe when not in use. It helps prevent accidental falls or damage.
These are just a few of the essential tools and supplies needed for guitar care. As you become more experienced and delve deeper into guitar maintenance, you may find additional tools that suit your specific needs. Now, let’s move on to the step-by-step process of cleaning and dusting your acoustic guitar.
Cleaning and Dusting the Guitar
Regular cleaning and dusting are essential to maintain the cleanliness and appearance of your acoustic guitar. Here’s a step-by-step guide on how to clean your instrument:
- Start by removing the guitar strings. This will allow better access to clean the body, fretboard, and other hard-to-reach areas.
- Use a soft, lint-free microfiber cloth to gently wipe away any dust or debris from the guitar’s body. Pay attention to the soundhole, bridge, and other crevices where dust can accumulate.
- If there are stubborn smudges or fingerprints on the body, you can dampen a small section of the cloth with a guitar cleaning solution and gently rub the affected area. Be sure to follow the manufacturer’s instructions when using cleaning products.
- For the fretboard, you can use the same damp cloth or a separate cloth with a bit of guitar cleaning solution. Gently wipe along the length of the fretboard, paying close attention to remove any dirt or grime that may have built up around the frets.
- After cleaning the body and fretboard, use a dry microfiber cloth to buff and polish the guitar’s surface. This will help restore its natural shine.
- Once the cleaning is complete, it’s time to restring the guitar. Installing new strings will not only improve the sound but also enhance the overall look of the instrument.
- Dispose of the old strings properly and follow the specific string replacement process for your acoustic guitar model. Use a string winder to speed up the process.
- After restringing, wipe down the strings with a clean cloth after each use to remove any sweat or oils left behind from your playing.
Remember to clean your guitar regularly, especially after playing sessions or performances, to prevent buildup of dirt and oils. By keeping your guitar clean and free from dust, you can ensure its longevity and maintain its visual appeal. In the next sections, we will cover additional maintenance tasks, such as adjusting the truss rod and maintaining the fretboard, to keep your acoustic guitar in top shape.
Restringing the Guitar
Restringing your acoustic guitar is an important maintenance task that should be done regularly to ensure optimal sound quality and playability. Follow these steps to restring your guitar:
- Start by loosening the tension of the old strings. Use a string winder to unwind the strings from the tuning pegs until they are loose enough to easily remove.
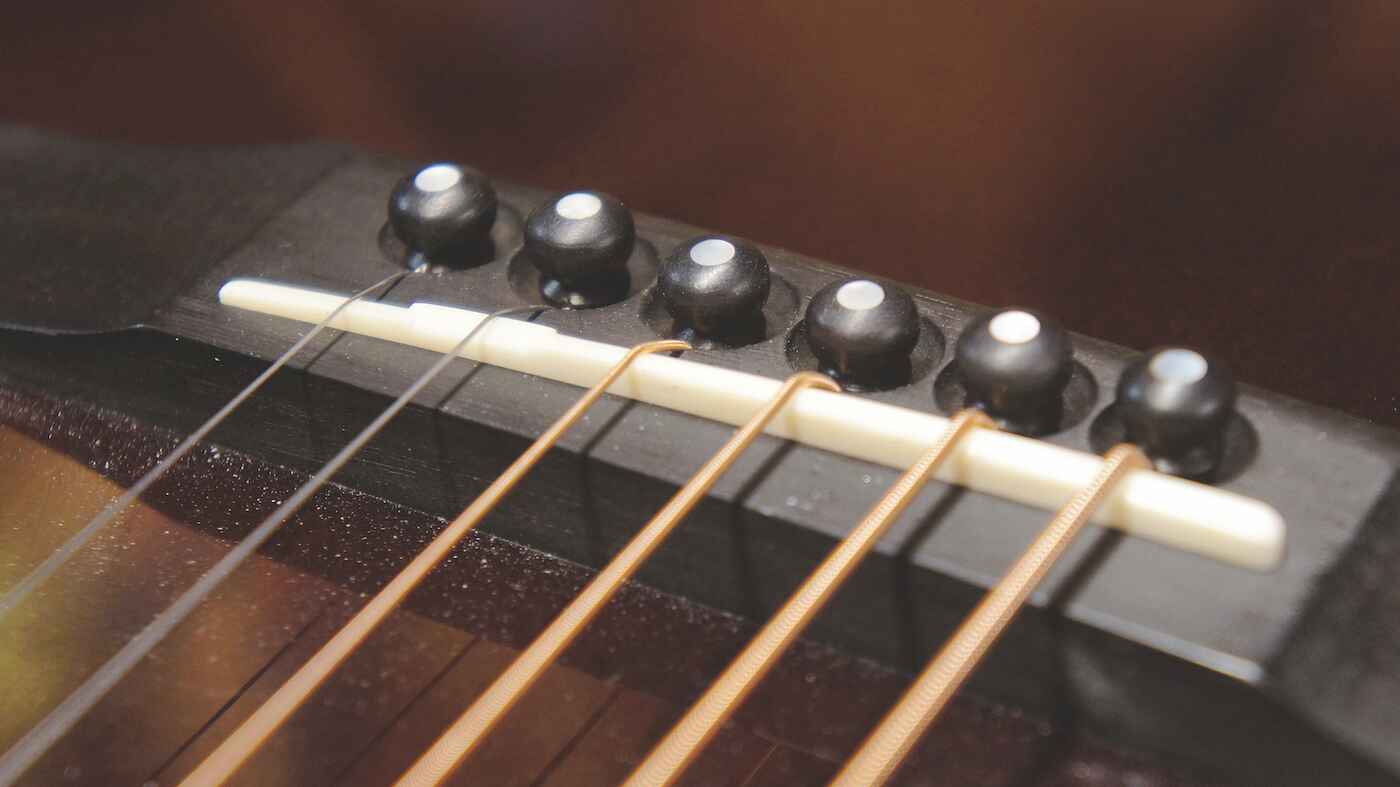
- One by one, remove the old strings from the bridge by carefully pulling them out of their slots. Be gentle to avoid any damage to the guitar or the bridge.
- Clean the bridge area and inspect it for any debris or dirt. Use a soft cloth to wipe away any dust or grime.
- Take one of the new strings and insert it into the corresponding slot on the bridge. Make sure the ball end of the string is securely in place, as this provides the anchor for the string.
- Bring the other end of the string towards the headstock, passing it through the corresponding tuning peg hole. Leave enough slack to allow for winding later on.
- Hold the string in place near the tuning peg and begin winding it clockwise around the peg. Make sure each winding is tight and neat, with no overlapping or gaps.
- Continue winding until the string is securely in place and tuned to the desired pitch. Repeat this process for each string, ensuring that they are inserted into the correct slots on the bridge and wound onto the appropriate tuning pegs.
- Once all strings are reinstalled, stretch and tune them to their proper pitch. You may need to stretch each string a few times to help them settle, as this will improve the stability of tuning.
- After tuning, trim any excess string length using a string cutter, leaving a length that is safe and comfortable.
Remember to take your time and be patient when restringing your guitar. It may take a few attempts to get the right amount of tension and ensure that each string is securely in place. If you’re unsure about the process, don’t hesitate to seek guidance from a professional or experienced guitarist.
Restringing your guitar regularly not only improves the tone and playability but also helps to maintain the overall condition of the instrument. In the next section, we will discuss the importance of adjusting the truss rod for optimal neck relief and playability.
Adjusting the Truss Rod
The truss rod is a crucial component of your acoustic guitar that helps to control the curvature of the neck, known as neck relief. Adjusting the truss rod can ensure that the neck remains straight and properly aligned, which is essential for optimal playability and string action. Here’s how to adjust the truss rod:
- Before making any truss rod adjustments, it’s important to consider the current state of your guitar and whether it actually needs adjustment. Signs that the truss rod might need adjustment include excessive bowing or backbowing of the neck, high action, or buzzing frets.
- First, locate the truss rod adjustment point on your guitar. This is typically located at the headstock, either inside a small cover or directly accessible.
- Using the appropriate truss rod tool, usually an Allen wrench or a specialized truss rod wrench, insert it into the adjustment point, and turn it clockwise or counterclockwise, depending on the required adjustment. Consult your guitar’s manual or manufacturer’s website for specific instructions.
- Make small adjustments, typically no more than a quarter or a half turn at a time, and then evaluate the changes. It’s important not to make drastic or sudden adjustments, as this can damage the guitar’s neck.
- After each adjustment, check the guitar’s neck relief by sighting down the neck from the headstock to the body. The goal is to achieve a slight forward bow or a very slight gap between the string and the frets in the middle of the neck.
- Repeat the adjustment process as needed, making small adjustments and evaluating the neck relief until you achieve the desired playability and string action.
- Remember to take your time and be patient when adjusting the truss rod. If you are unsure or uncomfortable with making this adjustment yourself, it is always recommended to seek assistance from a professional guitar technician.
Regularly checking and adjusting the truss rod, if necessary, can help maintain the optimal neck relief for your acoustic guitar. This will ensure comfortable playability, prevent buzzing or fretting out, and allow for proper string action. In the next section, we will discuss the importance of maintaining the fretboard to ensure smooth and accurate playability.
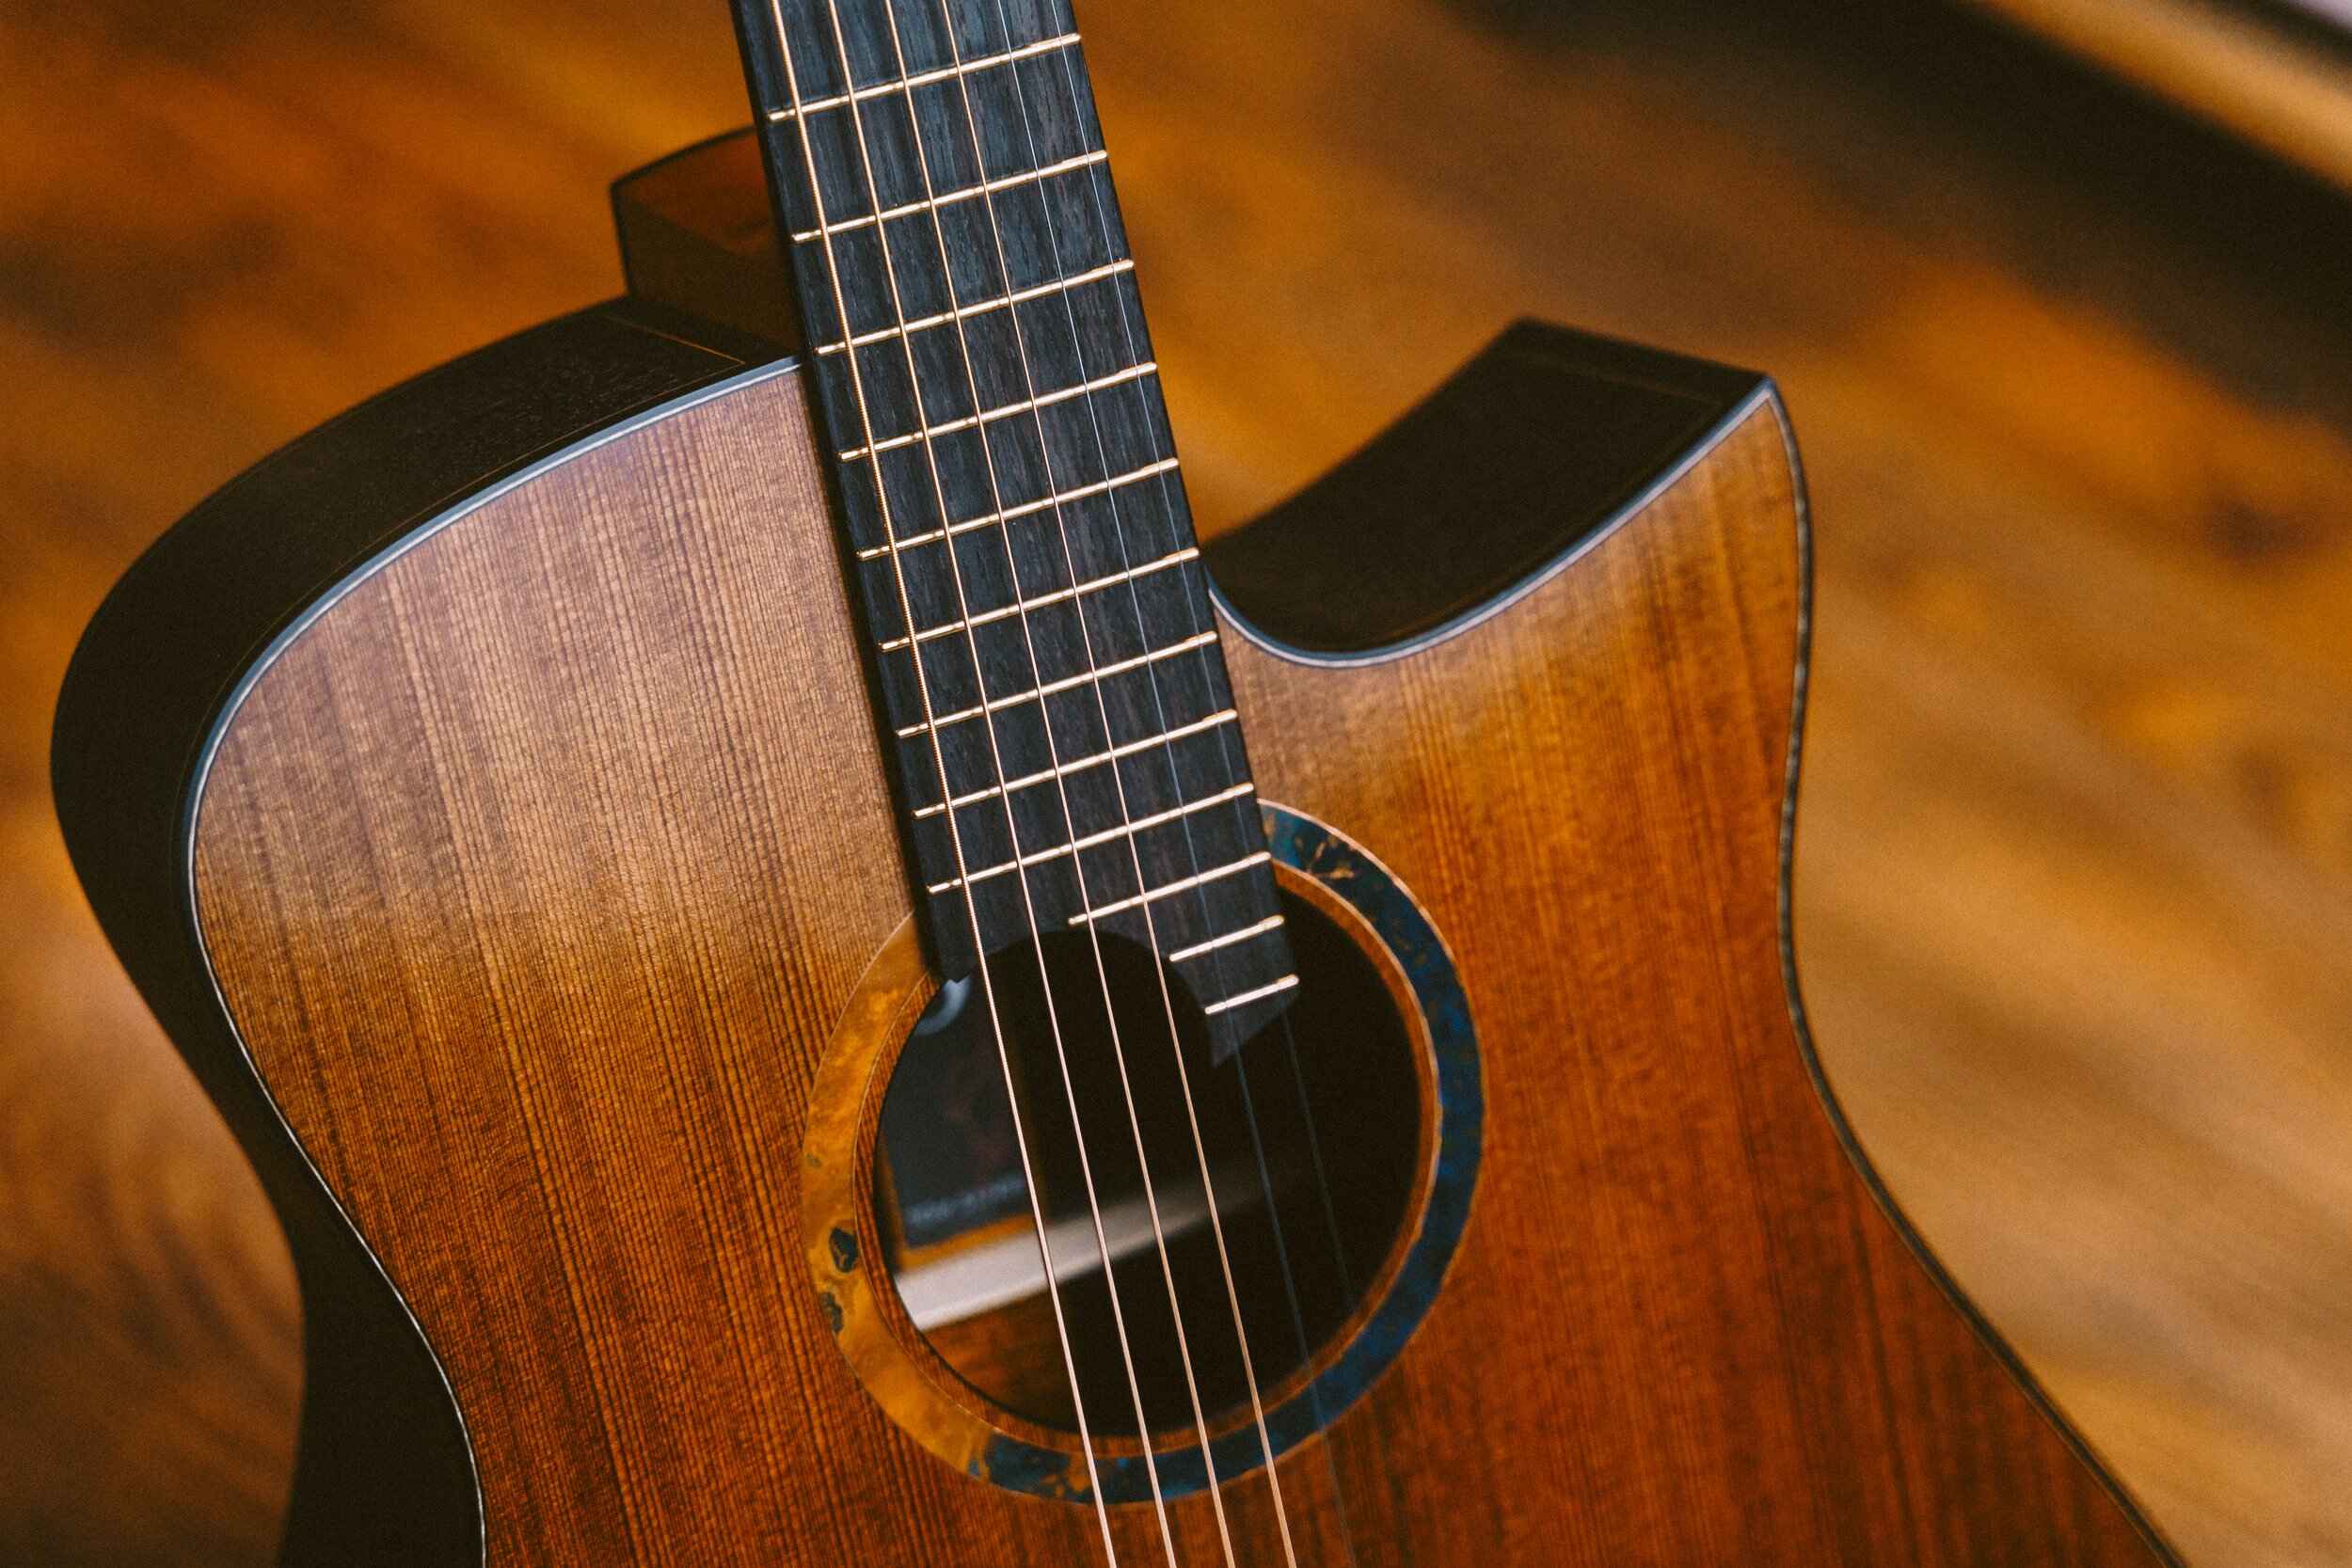
Maintaining the Fretboard
The fretboard is an integral part of your acoustic guitar, and proper maintenance is crucial to ensure smooth playability and longevity. Here are some essential steps for maintaining the fretboard:
- Start by removing the strings from the guitar or loosening them to allow better access to the fretboard.
- Using a soft cloth or an old toothbrush, gently remove any dirt, dust, or grime from the fretboard. Take extra care around the frets to ensure they are free from debris.
- If the fretboard is particularly dirty or greasy, you can use a small amount of lemon oil or a specialized fretboard cleaner. Apply a small amount to a cloth and rub it gently into the surface of the fretboard.
- After applying the cleaner, use a clean cloth to wipe away any excess oil or cleaner from the fretboard. It’s important not to leave any residue on the surface.
- If your guitar has a rosewood or ebony fretboard, you can use a fine-grade steel wool to gently polish the frets. This will help remove any oxidation or tarnish and ensure smooth playability.
- Once the fretboard is clean and dry, you can apply a small amount of fretboard conditioner or lemon oil to help moisturize and protect the wood. Use a cloth to apply the conditioner, and then wipe away any excess.
- Allow the conditioner to penetrate the wood for a few minutes, and then use a clean cloth to buff the fretboard, making it smooth and ready for playing.
- Finally, restring your guitar and tune it to the desired pitch. Your clean and well-maintained fretboard will provide a comfortable playing experience and help prolong the life of your guitar.
Maintaining the fretboard of your acoustic guitar is essential for ensuring smooth playability and preserving the integrity of the wood. Regular cleaning and conditioning will help prevent drying out, cracking, or warping of the fretboard. By following these steps, you can keep your guitar’s fretboard in top shape and enjoy optimal playability. In the next section, we will discuss the process of polishing your guitar’s exterior to keep it looking its best.
Polishing the Guitar
Polishing your acoustic guitar not only enhances its visual appeal but also helps to protect the finish and keep it looking its best. Follow these steps to polish your guitar:
- Start by ensuring that your guitar is clean and free from dust or debris. Use a soft cloth to wipe down the body, removing any fingerprints or smudges.
- Select a guitar polish that is suitable for the type of finish on your acoustic guitar. Different finishes, such as gloss, satin, or matte, may require specific polish formulations. Consult your guitar’s manual or manufacturer’s recommendations.
- Apply a small amount of guitar polish onto a clean, soft cloth. Be careful not to use too much, as excess polish can leave behind residue or build-up.
- Gently rub the polish onto the surface of the guitar, using circular or back-and-forth motions. Pay attention to the entire body of the guitar, including the top, sides, and back.
- Take extra care when polishing around areas with binding or delicate inlay work. Use a separate cloth or a soft brush to clean those areas to avoid damaging or scratching them.
- Once you’ve polished the entire guitar, use a clean cloth to buff and remove any excess polish. This will help bring out the shine and leave the finish looking pristine.
- For instruments with a satin or matte finish, avoid using a polish that adds shine, as it can alter the intended appearance of the guitar. Instead, consider using a specialized cleaner designed for these types of finishes.
- Remember to periodically clean and polish your guitar to maintain its visual appeal. However, be cautious not to over-polish, as excessive polishing can potentially wear down the finish over time.
Polishing your guitar not only protects the finish but also brings out its natural beauty. Regular maintenance and polishing will keep your acoustic guitar looking and feeling its best, ensuring its longevity and value. In the next section, we will discuss the importance of protecting your guitar from extreme temperatures and humidity.
Protecting the Guitar from Extreme Temperatures and Humidity
Your acoustic guitar is made of delicate materials, and exposure to extreme temperatures and humidity can have detrimental effects on its structure and playability. Taking measures to protect your guitar from these environmental factors is essential. Here’s what you need to know:
Extreme Temperatures:
High temperatures can cause the glue holding the guitar together to soften, leading to loose braces or even separated seams. On the other hand, cold temperatures can cause the wood to contract, potentially leading to cracks or damage. To protect your guitar from extreme temperatures:
- Avoid leaving your guitar in a vehicle, especially during hot summer days or freezing winters. Heat can build up inside a vehicle, causing significant damage to your instrument.
- If you’re traveling with your guitar in cold weather, allow it to gradually adjust to room temperature before opening the case. Sudden changes in temperature can cause condensation and potential damage to the wood.
- Store your guitar in a temperature-controlled environment when not in use, such as a room with stable temperature and humidity levels.
Humidity:
Excessive humidity can result in the guitar’s wood absorbing moisture, causing the neck to swell, frets to protrude, and strings to buzz. On the other hand, low humidity levels can cause the wood to dry out and shrink, leading to fret sprout, fretboard cracking, and other structural issues. To protect your guitar from humidity-related damage:
- Keep your guitar in its case when not in use. Guitar cases provide some level of insulation and protect the instrument from rapid humidity changes.
- Consider using a guitar humidifier or dehumidifier, depending on your climate. These devices help maintain stable humidity levels within the guitar’s case, preserving the wood’s condition.
- Avoid storing your guitar near windows, vents, or areas prone to high humidity or direct sunlight.
- If you live in an area with extreme humidity fluctuations, it’s recommended to invest in a hygrometer to monitor the humidity levels in your guitar’s environment.
By taking proactive steps to protect your guitar from extreme temperatures and humidity, you can mitigate the risk of damage and ensure the longevity of your instrument. Remember, prevention is key when it comes to safeguarding your acoustic guitar. In the next section, we will discuss safe storage and transportation practices for your guitar.
Storing and Transporting the Guitar Safely
Proper storage and transportation are vital to protecting your acoustic guitar from scratches, dents, and other damages. Whether you’re at home or on the go, here are some best practices to follow:
Storing the Guitar:
- When not in use, store your guitar in a protective case or gig bag. These provide cushioning and shielding from environmental factors.
- Place a clean cloth or a guitar-specific humidity control pack inside the case to help regulate moisture levels and prevent potential damage due to humidity.
- Store the guitar in an area with stable temperature and humidity levels, away from direct sunlight, extreme temperatures, and high humidity.
- If you have multiple guitars, consider using a guitar stand or wall hanger to keep them easily accessible, but make sure they are securely mounted and protected from accidental bumps or falls.
Transporting the Guitar:
- Always use a well-padded guitar case or gig bag when transporting your instrument. This will provide protection from impacts and prevent scratches or dents.
- Ensure that the case or bag fits your guitar properly to minimize movement and potential damage during transport.
- Avoid exposing your guitar to extreme temperatures or humidity during transportation. If traveling by car, keep the instrument inside the vehicle and not in the trunk, where temperature fluctuations can be more severe.
- If you’re flying with your guitar, consider investing in a hardshell flight case, specifically designed to withstand the rigors of air travel. Loosen the strings slightly to relieve tension on the neck.
- Use caution when handling and loading/unloading your guitar to prevent accidental drops or impacts. Secure it with seat belts or other restraints if traveling by car.
By properly storing and transporting your acoustic guitar, you can significantly reduce the risk of damage and ensure that it remains in excellent condition. Remember to handle your instrument with care and take precautionary measures to protect it from any potential harm. In the next section, we will discuss the importance of regular maintenance and check-ups for your guitar.
Regular Maintenance and Check-ups
Regular maintenance and check-ups are essential to keep your acoustic guitar in optimal condition and ensure its longevity. By performing routine maintenance tasks and seeking professional assistance when needed, you can prevent potential issues and keep your guitar playing and sounding its best. Here’s what you need to know:
Cleaning and Inspection:
- Regularly clean your guitar to remove dust, dirt, and oils that can accumulate over time. Follow the steps outlined earlier in this article to properly clean the body, fretboard, and other areas.
- Inspect your guitar for any signs of wear, such as loose hardware, cracks, or changes in the neck relief. Pay attention to the bridge, saddle, nut, and tuning pegs, as these are areas that may require adjustment or repair.
- If you notice any issues during your inspection, it’s important to address them promptly. Small repairs or adjustments early on can prevent more significant damage in the future.
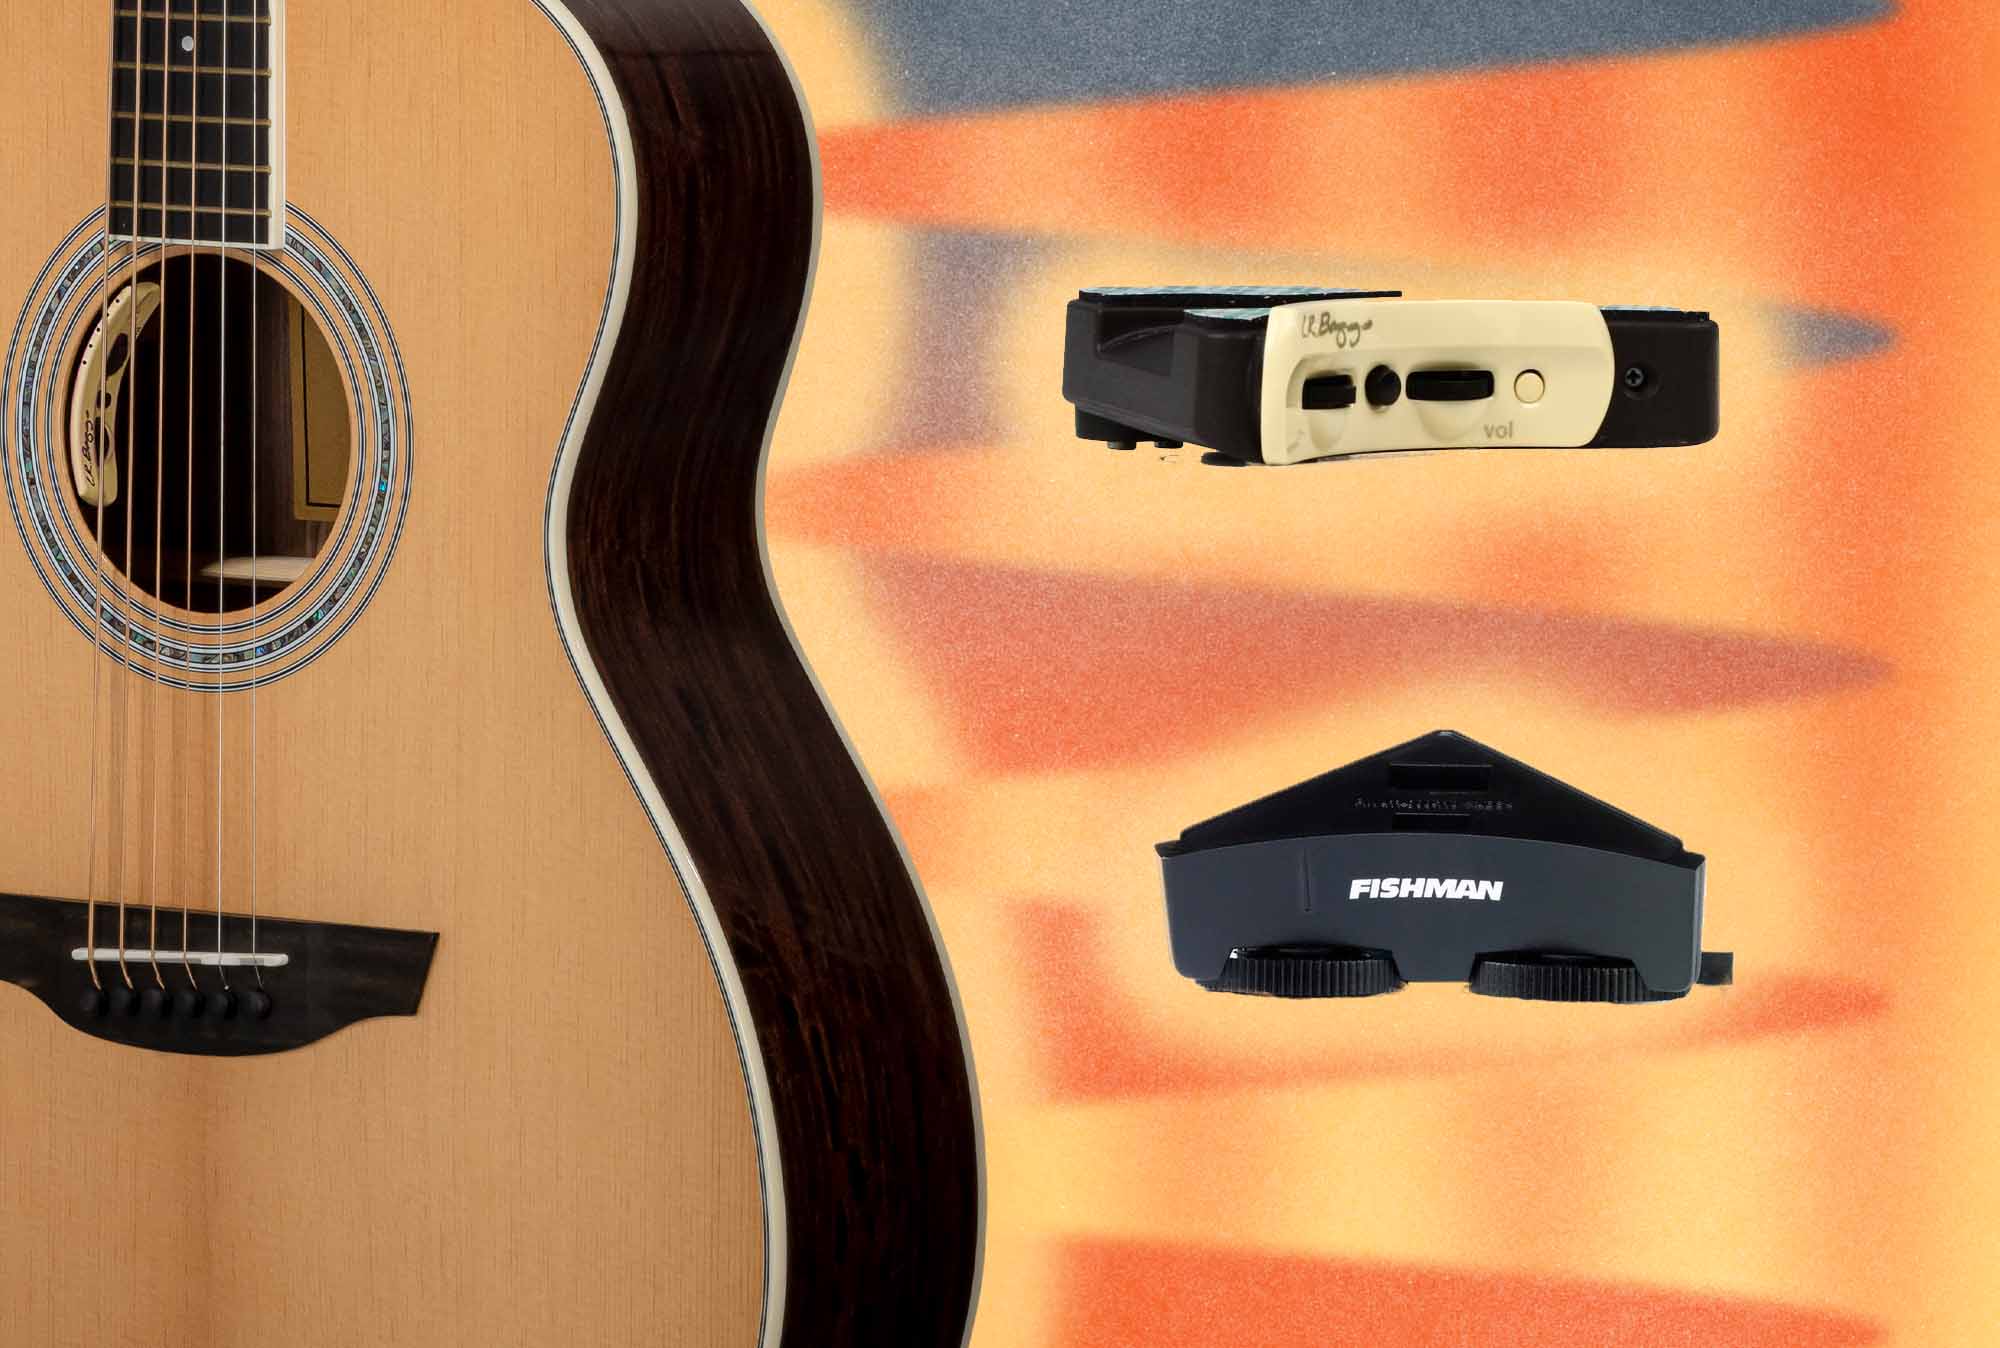
Professional Set-up:
While you can perform basic maintenance tasks yourself, it is beneficial to have your guitar professionally set up from time to time. A professional guitar technician can fine-tune your instrument, ensuring optimal playability and performance. Here’s what a professional set-up may include:
- Adjustment of the action (string height) to improve playability and comfort.
- Inspection and adjustment of the truss rod to achieve proper neck relief.
- Checking and correcting intonation to ensure accurate tuning and proper pitch across the fretboard.
- Inspecting and potentially replacing worn-out or damaged parts, such as the nut, saddle, or tuning pegs.
String Replacement:
Regularly changing your guitar strings is essential for optimal tone and playability. As strings age, they can lose their brightness and become more difficult to play. It’s recommended to replace your strings every few months or when they show signs of wear, such as rust, fraying, or significant loss of tone.
By incorporating regular maintenance and check-ups into your guitar care routine, you can catch potential issues early on and ensure that your instrument remains in excellent condition. Whether performing basic maintenance tasks yourself or seeking professional assistance, investing time and effort into regular care will pay off in the long run. In the next section, we will conclude our discussion on caring for your acoustic guitar.
Conclusion
Caring for your acoustic guitar is not just about ensuring its physical condition, but also about preserving its sound, playability, and overall performance. By following the maintenance steps outlined in this article, you can keep your instrument in optimal shape and enjoy years of beautiful music. From cleaning and dusting to restringing, adjusting the truss rod, maintaining the fretboard, and protecting the guitar from extreme temperatures and humidity, every aspect of guitar care is crucial.
Remember to gather the necessary tools and supplies, invest in quality cleaning solutions and polishes specifically designed for guitars, and always handle your instrument with care. Regular maintenance and check-ups, including string replacement and professional set-ups, will further ensure that your guitar remains in peak condition.
By taking the time to care for your acoustic guitar, you are not only extending its lifespan but also maximizing your playing experience. A well-cared-for guitar will reward you with improved sound, enhanced playability, and countless hours of enjoyment.
So, treat your acoustic guitar with the love and attention it deserves. Make guitar care an integral part of your routine, and your instrument will be there to accompany you on your musical journey for years to come.