Introduction
Are the ear pads on your over-ear headphones starting to show signs of wear and tear? Perhaps the padding has become worn out, torn, or just doesn't feel as comfortable as it used to. Fret not, as replacing the padding on your over-ear headphones is a straightforward process that can breathe new life into your favorite listening companion.
Over-ear headphones are prized for their comfort and sound isolation, making them a popular choice for audiophiles, gamers, and professionals alike. However, extended use can take a toll on the ear pads, leading to discomfort and a decline in performance. Fortunately, with the right tools and a little know-how, you can easily replace the padding and restore your headphones to their former glory.
In this guide, we will walk you through the process of removing and replacing the padding on your over-ear headphones. From gathering the necessary tools to attaching the new padding, each step is designed to help you revitalize your headphones and enhance your listening experience. So, grab your tools and get ready to give your over-ear headphones a well-deserved makeover!
Step 1: Gather the Necessary Tools
Before embarking on the journey of replacing the padding on your over-ear headphones, it’s essential to gather the requisite tools to ensure a smooth and efficient process. Here’s what you’ll need:
- New Ear Pads: Ensure that you have the correct replacement ear pads that are compatible with your specific headphone model. Check the dimensions and attachment mechanism to guarantee a proper fit.
- Small Phillips-head Screwdriver: Many over-ear headphones have screws that secure the ear pads in place. A small Phillips-head screwdriver will enable you to remove these screws without causing damage to the headphones.
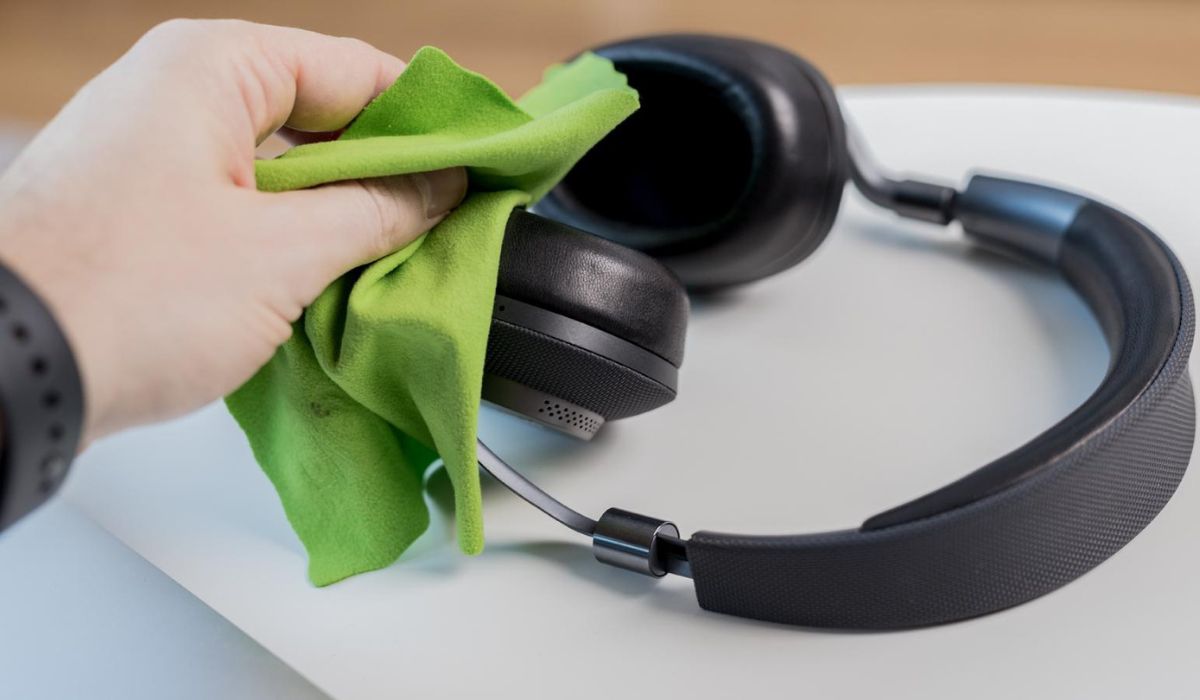
- Clean Cloth: Having a soft, clean cloth on hand is essential for wiping down any dust, debris, or residual adhesive from the headphone’s ear cup once the old padding is removed.
- Mild Cleaning Solution: If the ear cups are soiled, a mild cleaning solution and water can be used to gently cleanse the headphone’s surface before attaching the new padding.
- Tweezers or Small Pliers: In some cases, the old padding may be secured with adhesive or clips. Tweezers or small pliers can aid in delicately detaching the old padding without causing damage to the headphone’s structure.
By ensuring that you have these tools at your disposal, you can proceed with confidence, knowing that you’re well-equipped to complete the task at hand. With the tools gathered, you’re ready to embark on the next step of removing the old padding from your over-ear headphones.
Step 2: Remove the Old Padding
With the necessary tools in hand, it’s time to begin the process of removing the old padding from your over-ear headphones. Follow these steps to ensure a seamless removal:
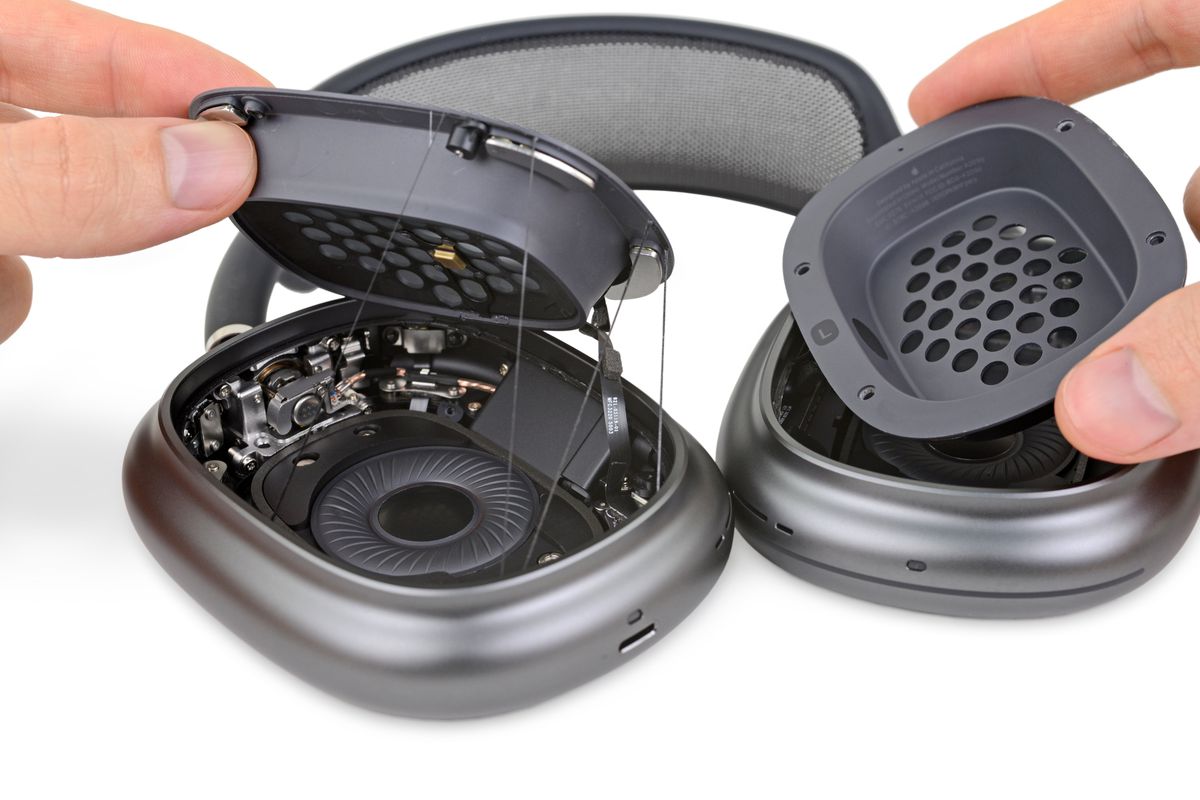
- Locate the Attachment Mechanism: Examine the ear cups to identify how the existing padding is attached. This could involve screws, adhesive, or clips. Understanding the attachment method is crucial for a careful removal process.
- Unscrew the Ear Pads: If your headphones utilize screws to secure the ear pads, use the small Phillips-head screwdriver to carefully remove them. Place the screws in a secure location to prevent misplacement.
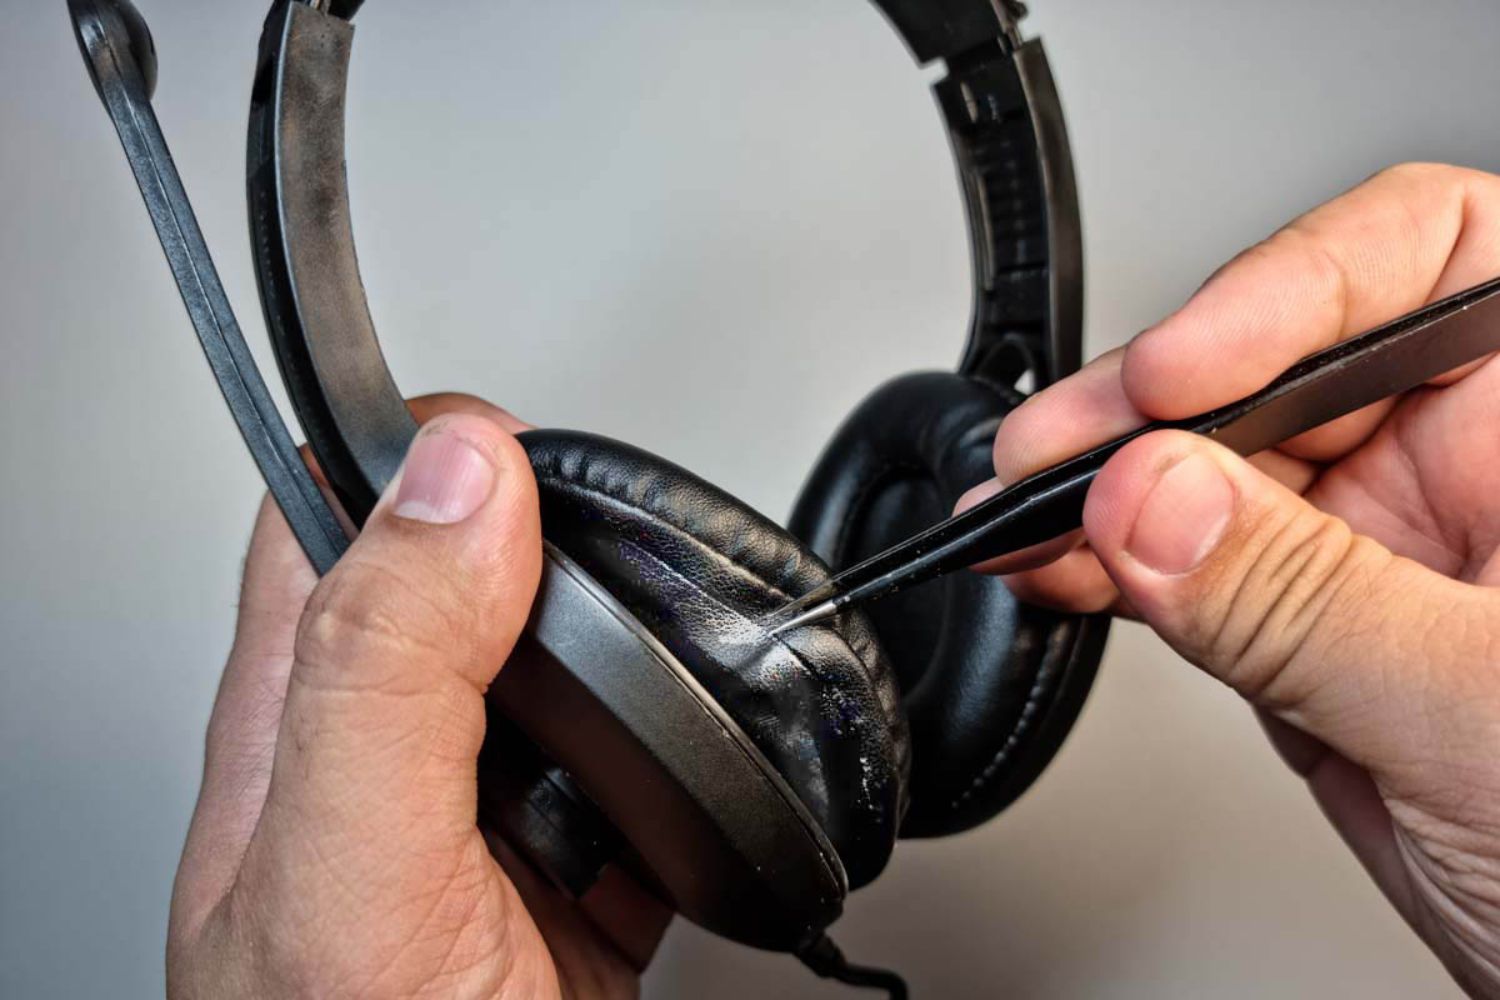
- Carefully Detach the Padding: Gently peel back the old padding, taking care not to damage the headphone’s surface. If adhesive is present, use tweezers or small pliers to delicately detach the padding without leaving any residue behind.
- Dispose of the Old Padding: Once the old padding has been removed, discard it appropriately. Be sure to clear any remaining debris or adhesive from the ear cups using a clean cloth and mild cleaning solution if necessary.
By following these steps, you can effectively remove the worn-out padding from your over-ear headphones without causing any damage to the headphones themselves. With the old padding out of the way, you’re now ready to proceed with cleaning the headphones in preparation for attaching the new padding.
Step 3: Clean the Headphones
After removing the old padding, it’s essential to ensure that the ear cups and the headphone’s surface are clean and free from any debris or adhesive residue before attaching the new padding. Follow these steps to effectively clean your headphones:
- Wipe Down the Ear Cups: Use a clean cloth to gently wipe the ear cups, removing any dust, dirt, or adhesive remnants. If necessary, dampen the cloth with a mild cleaning solution to aid in the removal of stubborn residue.
- Inspect for Residue: Carefully examine the headphone’s surface to ensure that no adhesive or debris remains. If any residue is found, use the cloth and cleaning solution to meticulously clean the area, ensuring a smooth and clean surface for the new padding.
- Dry the Headphones: Once the cleaning process is complete, allow the headphones to air dry thoroughly. It’s crucial to ensure that no moisture remains on the headphone’s surface before proceeding to attach the new padding.
By diligently cleaning the headphones, you can create an optimal environment for the attachment of the new padding, ensuring a secure and hygienic fit. With the headphones now clean and dry, you’re ready to move on to the next step of attaching the new padding to your over-ear headphones.
Step 4: Attach the New Padding
With the ear cups clean and free from any remnants of the old padding, it’s time to attach the new padding to your over-ear headphones. Follow these steps to ensure a secure and snug fit for the new padding:
- Align the New Ear Pads: Carefully position the new ear pads over the ear cups, ensuring that they are correctly aligned with the attachment points. Take note of any grooves or alignment markers that indicate the proper placement of the new padding.
- Secure the Ear Pads: If your headphones utilize screws to secure the ear pads, use the small Phillips-head screwdriver to fasten them in place. Ensure that the screws are tightened securely but not overly tightened, as this could potentially damage the ear pads.
- Adjust for Comfort: Once the new padding is attached, wear the headphones to ensure that they fit comfortably and securely. Adjust the positioning of the ear pads if necessary to achieve an optimal and snug fit.
By following these steps, you can successfully attach the new padding to your over-ear headphones, revitalizing their comfort and performance. With the new padding in place, your headphones are now ready to deliver an enhanced listening experience, free from the discomfort and wear associated with worn-out padding.
Conclusion
Embarking on the journey of replacing the padding on your over-ear headphones has not only revitalized their comfort and performance but has also empowered you with the knowledge and skills to maintain and care for your beloved audio gear. By following the simple yet effective steps outlined in this guide, you’ve successfully given your headphones a well-deserved makeover, ensuring that they continue to provide an immersive and enjoyable listening experience.
As you gather the necessary tools, carefully remove the old padding, clean the headphones, and attach the new padding, you’ve demonstrated a commitment to preserving the quality and longevity of your over-ear headphones. This hands-on approach not only saves you the cost of purchasing new headphones but also allows you to customize the comfort and style of your audio gear with the replacement padding of your choice.
With the new padding securely in place, your over-ear headphones are poised to deliver hours of comfortable listening, whether you’re immersing yourself in music, engaging in intense gaming sessions, or focusing on work-related audio tasks. The revitalized padding ensures that your headphones provide the sound isolation and comfort that you’ve come to expect, enhancing your overall audio experience.
By mastering the art of replacing the padding on your over-ear headphones, you’ve gained a valuable skill that can be applied to various audio equipment, allowing you to maintain and customize your gear with confidence. With your headphones now boasting fresh, plush padding, you’re ready to indulge in the immersive world of sound, knowing that your audio companion has been given a new lease on life.