Introduction
Are you experiencing issues with your Turtle Beach gaming headset? Don't worry; you're not alone. Many gamers encounter various problems with their headsets, from audio malfunctions to connectivity issues. Fortunately, there are several troubleshooting steps you can take to resolve these issues and get back to enjoying an immersive gaming experience.
In this guide, we will walk you through the common problems that may arise with your Turtle Beach gaming headset and provide practical solutions to address them. Whether you're dealing with sound distortions, microphone problems, or connectivity issues, we've got you covered. By following the troubleshooting steps outlined in this article, you'll be able to identify and resolve the issues affecting your headset, ensuring that you can fully immerse yourself in your gaming adventures without any distractions.
So, if you're ready to reclaim the crystal-clear audio and seamless communication that Turtle Beach headsets are known for, let's dive into the troubleshooting process and get your gaming headset back in top shape. Whether you're a casual gamer or a dedicated enthusiast, having a reliable headset is essential for fully enjoying the gaming experience. Let's get started on resolving those pesky headset issues so you can get back to dominating the virtual battlefield.
Troubleshooting Common Issues
When it comes to troubleshooting your Turtle Beach gaming headset, understanding the common issues is the first step toward finding a solution. Whether you’re encountering audio problems, connectivity issues, or microphone malfunctions, identifying the root cause of the problem is crucial. Let’s explore some of the most prevalent issues that gamers encounter with their Turtle Beach headsets and the steps you can take to address them.
- Audio Distortions: One of the most common issues reported by headset users is audio distortions, such as crackling sounds or static interference. These disruptions can significantly impact your gaming experience, making it essential to address them promptly.
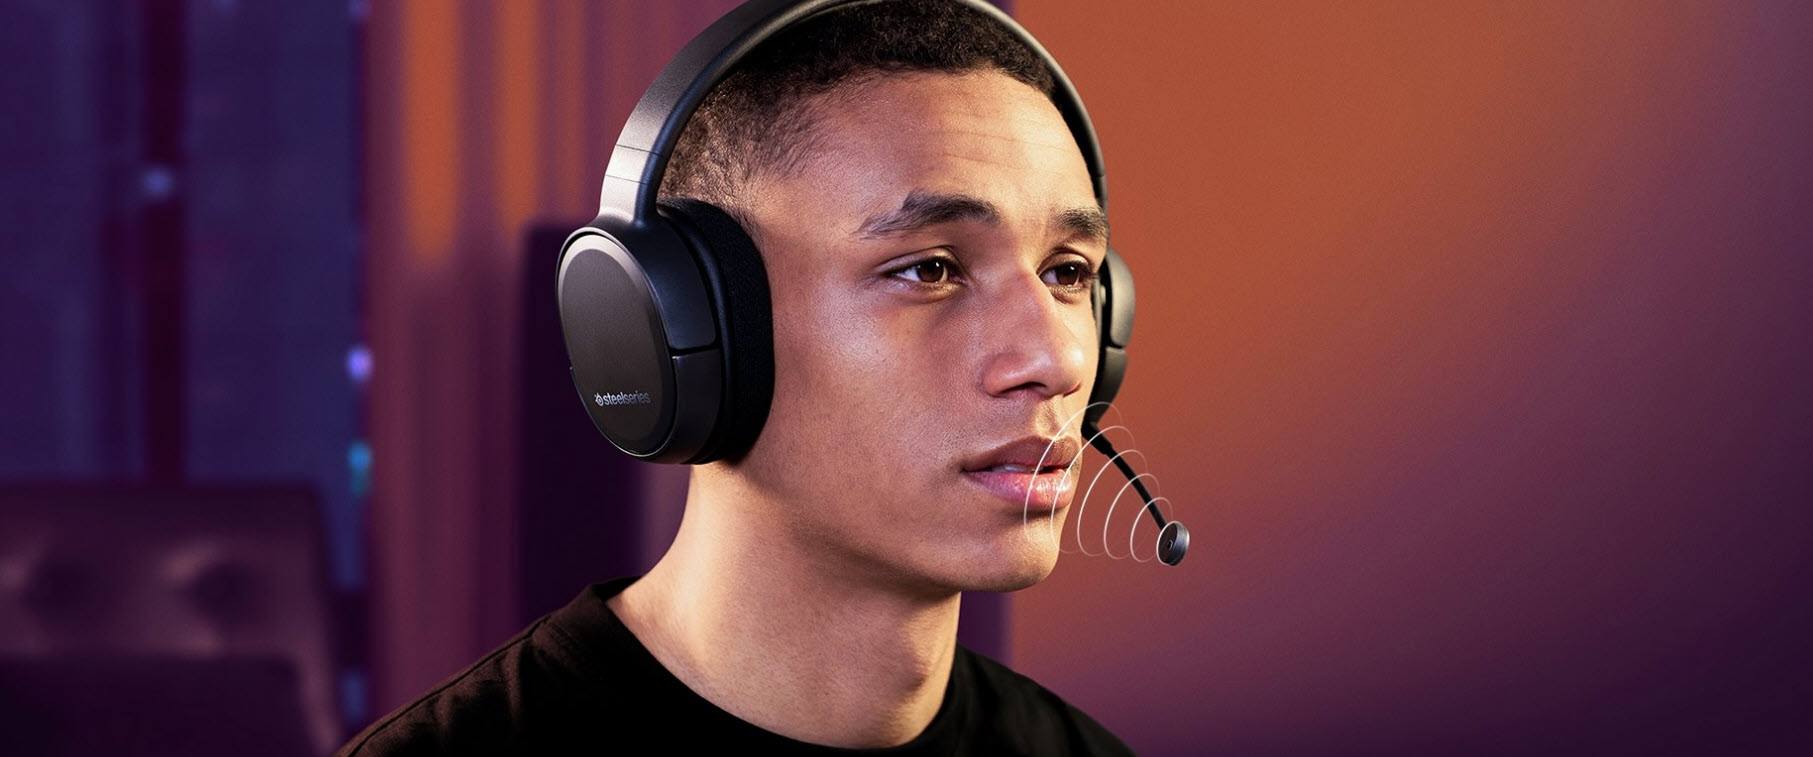
- Microphone Not Working: If your microphone is not picking up your voice or is producing muffled or distorted sound, it can hinder your ability to communicate with other players during gameplay.
- Connectivity Problems: Issues with the headset’s connectivity, such as it not being recognized by the gaming console or PC, can be frustrating and disruptive to your gaming sessions.
By understanding these common issues, you’ll be better equipped to tackle them head-on and restore your headset to optimal functionality. In the following sections, we’ll delve into specific troubleshooting steps for each of these issues, guiding you through the process of identifying and resolving the problems affecting your Turtle Beach gaming headset.
Checking the Connections
Ensuring that the connections of your Turtle Beach gaming headset are secure is a fundamental step in troubleshooting any issues you may encounter. Loose or faulty connections can lead to audio distortions, microphone malfunctions, or connectivity problems. Here’s how you can methodically check the various connections to pinpoint and resolve potential issues:
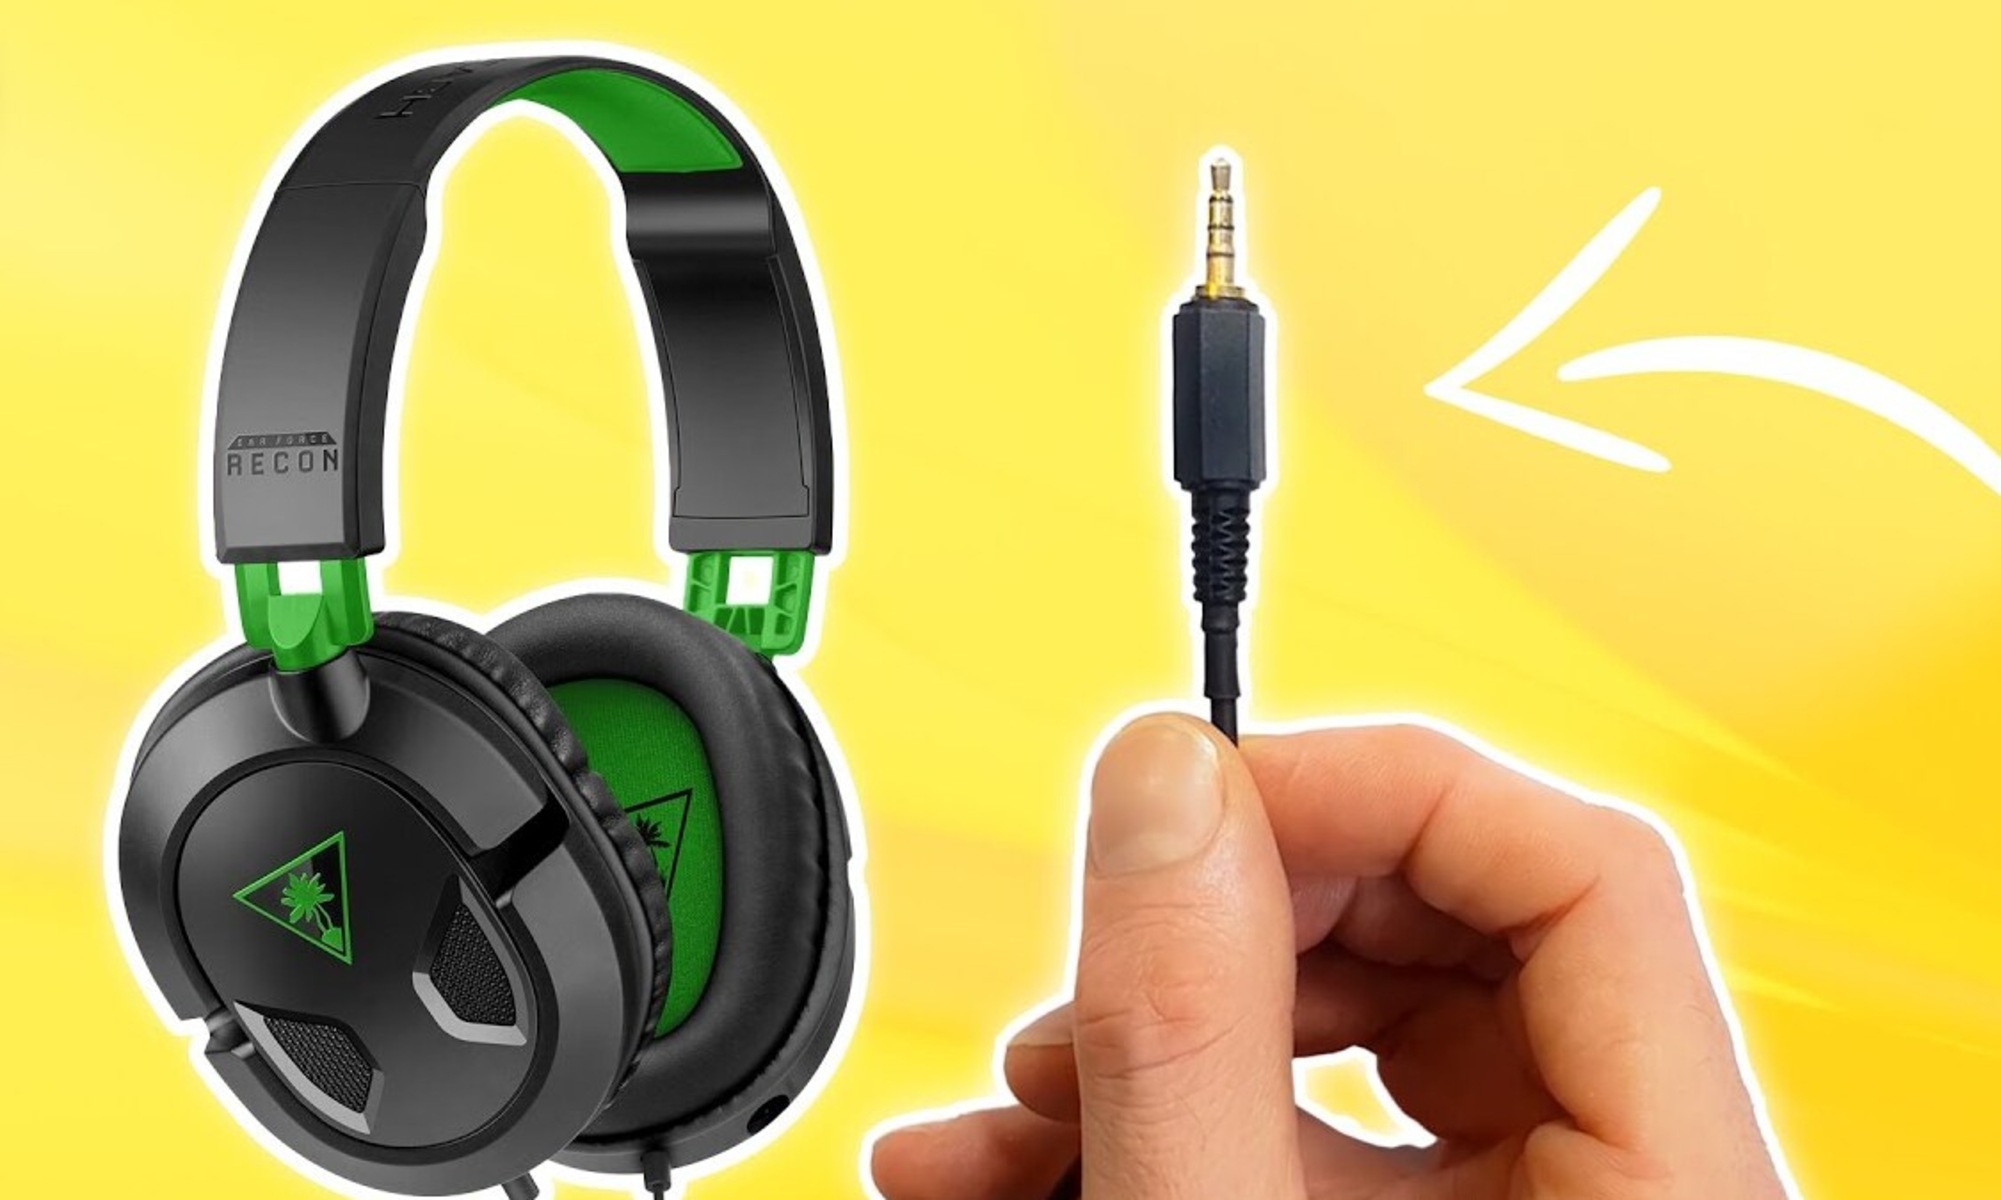
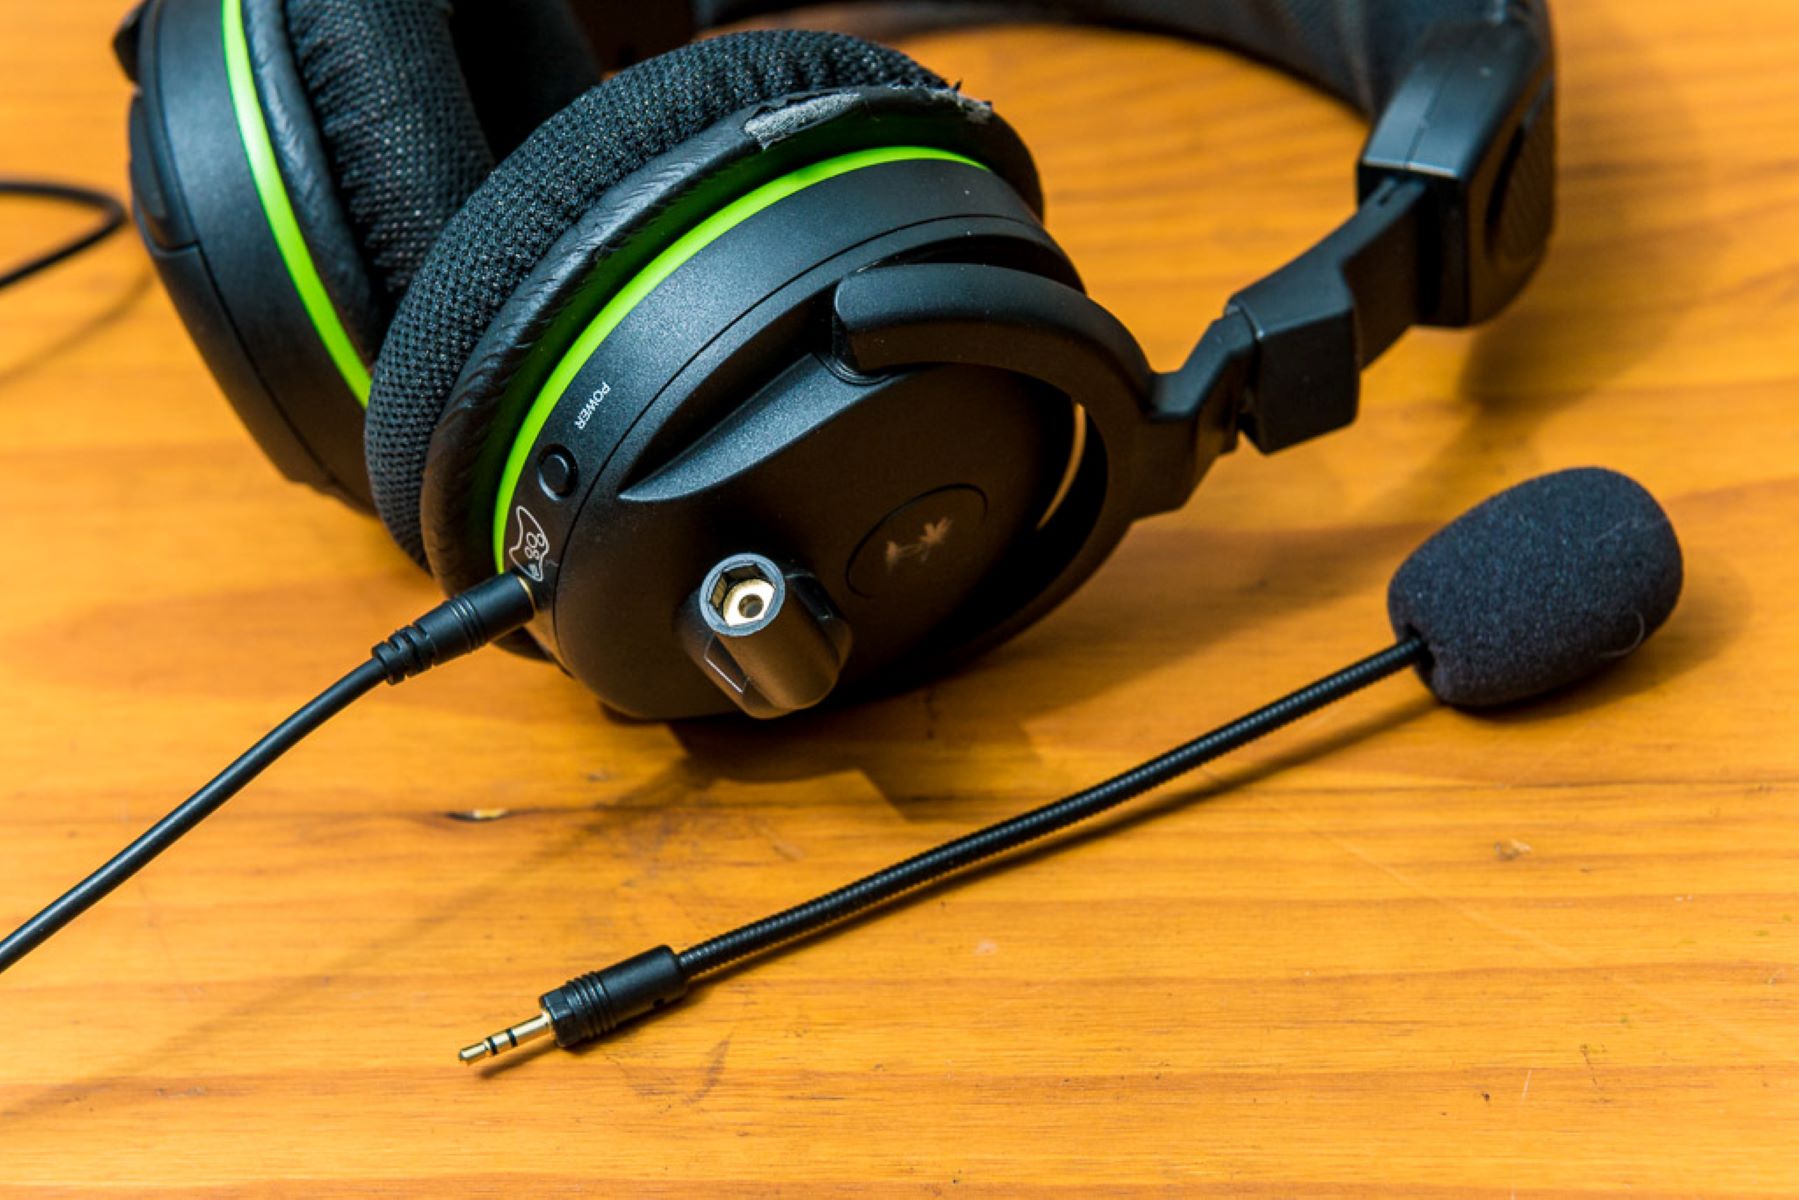
- Headset to Device Connection: Start by examining the connection between your headset and the gaming device, whether it’s a console, PC, or mobile device. Ensure that the headset’s audio and microphone jacks are securely plugged into the corresponding ports on the device. If you’re using a wireless headset, check that the wireless transmitter is properly connected to the device and that the headset is within the transmission range.
- Cable Integrity: If your Turtle Beach headset utilizes cables, inspect the cables for any signs of damage, such as fraying or exposed wires. Damaged cables can lead to audio disruptions or a malfunctioning microphone. Consider testing the headset with a different set of cables to determine if the issue is related to the cables themselves.
- USB Connections: For USB-powered headsets, ensure that the USB connection is secure and that the headset is receiving adequate power. If the headset has an inline amplifier or control unit, check the USB connection between the amplifier and the gaming device.
By meticulously examining and securing the connections of your Turtle Beach gaming headset, you can eliminate connection-related issues as potential culprits for the problems you’re experiencing. Once you’ve verified the integrity of the connections, you can proceed to the next troubleshooting steps to further diagnose and address any persisting issues.
Adjusting the Settings
Optimizing the settings of your Turtle Beach gaming headset can significantly impact its performance and alleviate common issues. Whether you’re dealing with audio distortions, microphone problems, or suboptimal sound quality, adjusting the headset’s settings can help address these concerns. Here are some key settings to consider when troubleshooting your headset:
- Audio Levels: Check the audio levels on both the headset and the connected device. Ensure that the volume settings are appropriately adjusted to prevent audio distortions or excessively loud sound that may cause discomfort.
- Microphone Sensitivity: If your microphone is producing muffled or distorted sound, adjusting the microphone sensitivity settings can improve its performance. Access the microphone settings on your gaming device or within the game’s audio settings to fine-tune the microphone sensitivity.
- Equalizer Settings: Many Turtle Beach headsets feature customizable equalizer settings that allow you to tailor the audio output to your preferences. Experiment with different equalizer presets or manually adjust the equalizer settings to optimize the audio quality for gaming, music, or other activities.
- Surround Sound: If your headset supports surround sound, ensure that the surround sound settings are configured correctly. Some games and applications may have specific surround sound options that need to be enabled for an immersive audio experience.
By fine-tuning these settings, you can enhance the audio quality, microphone performance, and overall experience with your Turtle Beach gaming headset. Additionally, familiarizing yourself with the available settings and customization options can empower you to tailor the headset’s performance to suit your specific gaming preferences and audio requirements.
Updating the Drivers
Keeping the drivers for your Turtle Beach gaming headset up to date is crucial for ensuring optimal performance and compatibility with your gaming device. Outdated or corrupted drivers can lead to a range of issues, including audio distortions, microphone malfunctions, and connectivity problems. Here’s how you can update the drivers for your headset to address these potential issues:
- Visit the Turtle Beach Website: Start by visiting the official Turtle Beach website and navigating to the support or downloads section. Look for the specific model of your headset and check for available driver updates or firmware upgrades. Download the latest drivers or firmware files provided by Turtle Beach.
- Install the Updates: Once you’ve downloaded the updated drivers or firmware, follow the instructions provided by Turtle Beach to install the updates on your gaming device. This may involve running an installer or firmware update utility to ensure that the latest drivers are properly installed.
- Restart Your Device: After installing the driver updates or firmware upgrades, restart your gaming device to allow the changes to take effect. Rebooting the device can help ensure that the updated drivers are fully integrated into the system.
By keeping your Turtle Beach headset’s drivers up to date, you can mitigate potential compatibility issues and ensure that the headset functions optimally with your gaming platform. Regularly checking for driver updates and installing the latest versions provided by Turtle Beach can help prevent and resolve a variety of performance-related issues, ultimately enhancing your gaming experience.
Cleaning the Headset
Maintaining a clean Turtle Beach gaming headset is essential for preserving its performance and longevity. Over time, dust, dirt, and debris can accumulate on the headset, leading to audio issues, microphone malfunctions, and discomfort during extended gaming sessions. Here’s how you can effectively clean your headset to ensure optimal functionality and hygiene:
- Exterior Cleaning: Use a soft, dry microfiber cloth to gently wipe the exterior surfaces of the headset, including the headband, ear cups, and microphone. If there are stubborn stains or smudges, lightly dampen the cloth with water and mild soap, ensuring that no moisture penetrates the headset’s internal components.
- Earcup Cushions and Headband Padding: If your headset features removable earcup cushions or headband padding, carefully detach them according to the manufacturer’s instructions. Clean the cushions and padding with a mild solution of water and gentle soap, ensuring that they are thoroughly dried before reattaching them to the headset.
- Microphone and Speaker Grilles: Use a small, soft-bristled brush or compressed air to remove any debris or dust from the microphone and speaker grilles. Avoid using sharp or abrasive tools that may damage the delicate components.
- Cable Maintenance: If your headset utilizes detachable cables, inspect the cable connectors for debris or buildup. Wipe the connectors with a dry cloth and ensure that they are free from any obstructions before reattaching them to the headset.
By incorporating regular cleaning into your headset maintenance routine, you can prevent the accumulation of debris that may compromise the headset’s performance and comfort. Additionally, maintaining a clean headset contributes to a hygienic gaming environment, ensuring that you can enjoy extended gaming sessions without discomfort or audio-related issues.
Replacing the Cables
If you’re experiencing connectivity issues or audio disruptions with your Turtle Beach gaming headset, faulty or damaged cables may be the culprit. Over time, cables can fray, develop internal wiring issues, or become damaged due to wear and tear. Replacing the cables can often resolve these issues and restore the functionality of your headset. Here’s how you can address cable-related issues with your Turtle Beach headset:
- Identify Cable Damage: Inspect the cables of your headset for any visible signs of damage, such as fraying, exposed wires, or kinks. If you notice any damage to the cables, it’s essential to replace them to prevent further issues.
- Obtain Replacement Cables: Contact Turtle Beach customer support or visit their official website to procure replacement cables that are compatible with your specific headset model. Ensure that you obtain genuine Turtle Beach cables to maintain the integrity and performance of your headset.
- Follow Manufacturer Instructions: Once you have the replacement cables, carefully follow the manufacturer’s instructions for detaching the old cables and installing the new ones. Pay attention to the correct insertion of the cables into the headset and the gaming device to ensure a secure connection.
- Test the Headset: After replacing the cables, test the headset to ensure that the connectivity issues or audio disruptions have been resolved. Verify that the sound quality is consistent, the microphone functions properly, and the headset is recognized by your gaming platform without any issues.
By replacing damaged or faulty cables, you can eliminate connectivity issues and audio disruptions that may be affecting your gaming experience. Keeping spare cables on hand can also provide a quick solution in the event of cable-related issues, allowing you to swiftly address any connectivity or audio problems without prolonged downtime.
Contacting Customer Support
When all troubleshooting efforts have been exhausted and persistent issues with your Turtle Beach gaming headset remain unresolved, reaching out to the manufacturer’s customer support can provide valuable assistance and guidance. Turtle Beach’s customer support team is equipped to address a wide range of technical issues and can offer personalized solutions to resolve the problems you’re encountering. Here’s how you can effectively engage with Turtle Beach’s customer support:
- Visit the Official Website: Navigate to Turtle Beach’s official website and locate the customer support or contact section. Look for options to initiate a support ticket, live chat with a representative, or access comprehensive troubleshooting resources.
- Provide Detailed Information: When contacting customer support, provide detailed information about the issues you’re experiencing with your headset. Include specifics such as the model of your headset, the nature of the problems, and the troubleshooting steps you’ve already attempted.
- Follow Support Guidance: If customer support recommends specific troubleshooting steps or further diagnostics, carefully follow their instructions to assess and address the issues. Provide feedback on the outcomes of the recommended actions to facilitate the resolution process.
- Warranty and Replacement Options: If your headset is within the warranty period and the issues persist, inquire about warranty coverage and potential replacement options. Turtle Beach’s customer support can guide you through the warranty claim process and provide assistance with obtaining a replacement headset if necessary.
By engaging with Turtle Beach’s knowledgeable and dedicated customer support team, you can leverage their expertise to overcome persistent technical issues and ensure that your gaming headset operates at its full potential. Whether it’s troubleshooting complex audio malfunctions, addressing connectivity issues, or obtaining warranty support, the customer support team is committed to delivering effective solutions and enhancing your overall gaming experience.


