Introduction
Are you ready to elevate your gaming experience on the PlayStation 4 (PS4)? Connecting a gaming headset to your PS4 can immerse you in the virtual world of gaming, allowing you to communicate with fellow players and enjoy high-quality sound. Whether you're engaging in intense battles or exploring captivating virtual landscapes, a gaming headset can enhance the auditory dimension of your gaming adventures.
In this guide, you'll learn how to seamlessly connect your gaming headset to your PS4, ensuring that you can communicate clearly with other players and fully appreciate the rich audio of your favorite games. Whether you're a seasoned gamer or just starting your gaming journey, mastering the art of connecting a gaming headset to your PS4 is essential for a truly immersive gaming experience.
So, grab your gaming headset, prepare your PS4 controller, and let's dive into the step-by-step process of connecting your gaming headset to your PS4. Whether you're delving into the world of multiplayer gaming or simply seeking a more immersive solo experience, a gaming headset can be a game-changer in your gaming setup. Let's get started on this exciting journey to enhance your gaming experience on the PS4!
Step 1: Check the Compatibility of the Gaming Headset
Before diving into the connection process, it’s crucial to ensure that your gaming headset is compatible with the PS4. While many gaming headsets are designed to work seamlessly with the PS4, it’s essential to verify compatibility to avoid any potential issues during the setup.
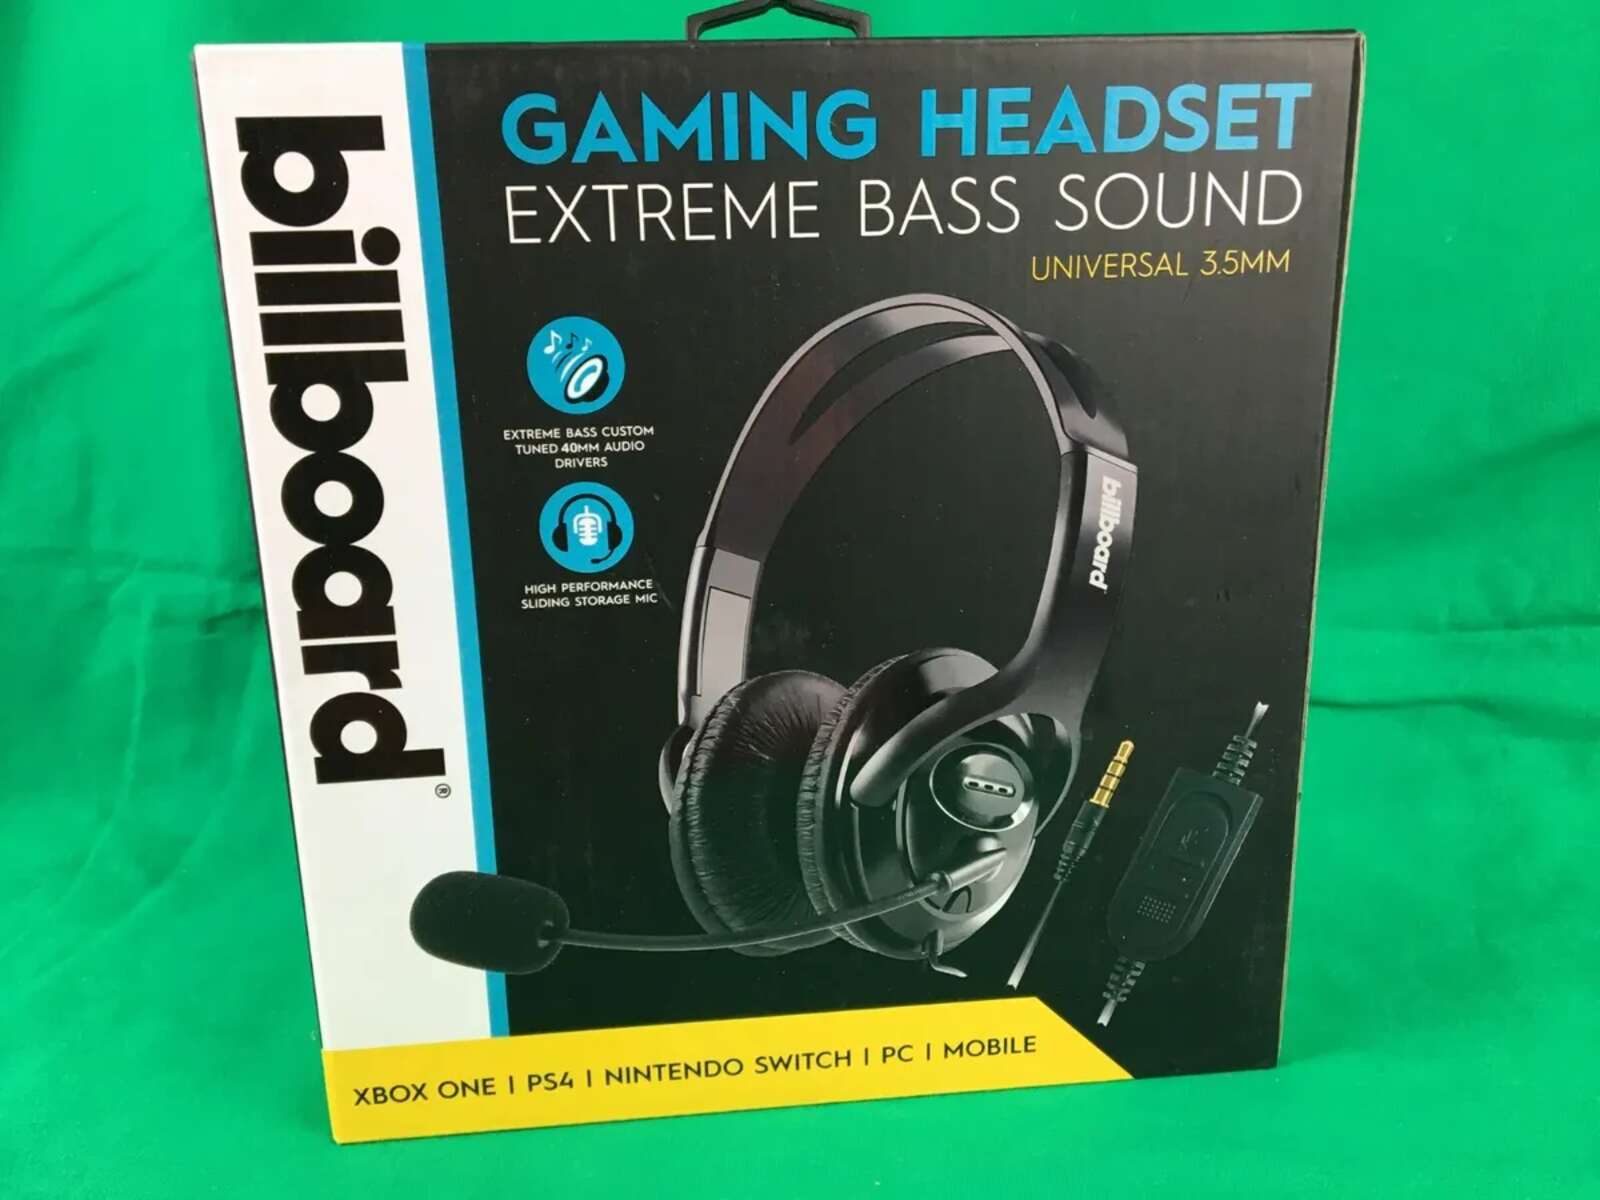
Begin by checking the specifications of your gaming headset to confirm its compatibility with the PS4. Most gaming headset manufacturers provide detailed information about the devices their products are compatible with, including gaming consoles such as the PS4. You can typically find this information on the headset’s packaging, the manufacturer’s website, or in the product manual.
If you’re unsure about the compatibility of your gaming headset, you can also explore online forums and community discussions where gamers share their experiences with specific headset models and their compatibility with the PS4. Additionally, reaching out to the headset manufacturer’s customer support can provide you with valuable insights into compatibility and any potential workarounds for specific models.
Some gaming headsets may require firmware updates to ensure compatibility with the PS4. Check the manufacturer’s website or contact their support team to see if any firmware updates are available for your headset. Keeping the headset’s firmware up to date can help address compatibility issues and ensure optimal performance when connected to the PS4.
By verifying the compatibility of your gaming headset with the PS4, you can proceed with confidence, knowing that your headset is designed to work seamlessly with your gaming console. Once you’ve confirmed compatibility, you’re ready to move on to the next step and begin the process of connecting your gaming headset to your PS4 controller.
Step 2: Connect the Gaming Headset to the PS4 Controller
Connecting your gaming headset to the PS4 controller is a straightforward process that allows you to harness the power of high-quality audio while gaming. The PS4 controller features a 3.5mm audio jack, making it compatible with a wide range of gaming headsets. Here’s how to connect your gaming headset to the PS4 controller:
- Locate the 3.5mm Jack: Begin by identifying the 3.5mm audio jack on your PS4 controller. This is where you’ll plug in the connector of your gaming headset.
- Insert the Connector: Take the connector of your gaming headset and carefully insert it into the 3.5mm audio jack on the PS4 controller. Ensure that the connection is secure to prevent any audio disruptions during gameplay.
- Adjust the Volume Control: Once the gaming headset is connected, you can use the volume control on the PS4 controller to adjust the audio levels to your preference. This allows you to fine-tune the audio output of your gaming headset without needing to access additional settings.
- Ensure Proper Fit: Verify that the gaming headset fits comfortably and securely, allowing you to focus on your gaming experience without any discomfort or distractions. Proper fitting ensures that you can fully immerse yourself in the audio environment of your games.
By following these simple steps, you can establish a direct audio connection between your gaming headset and the PS4 controller, unlocking the potential for immersive sound and clear communication during gameplay. With the headset securely connected, you’re ready to proceed to the next step and fine-tune the audio settings on your PS4 to optimize your gaming experience.
Step 3: Adjust the Audio Settings on the PS4
After connecting your gaming headset to the PS4 controller, it’s essential to optimize the audio settings on your console to ensure an immersive and personalized gaming experience. The PS4 offers a range of audio settings that allow you to customize the sound output according to your preferences. Here’s how to adjust the audio settings on your PS4:
- Access the Settings Menu: From the PS4 home screen, navigate to the “Settings” menu using the controller. This menu provides access to various system settings, including audio and sound options.
- Select Sound and Screen: Within the Settings menu, locate and select the “Sound and Screen” option. This section contains settings related to audio output and display settings for your PS4.
- Adjust Audio Output Settings: Under the “Sound and Screen” menu, select “Audio Output Settings.” Here, you can configure the audio output settings, including the primary output port and the audio format. Ensure that the primary output port is set to “Headphones Connected to Controller” to direct the audio output to your gaming headset.
- Customize Sound Settings: Explore the “Audio Output Settings” menu to customize sound settings such as chat audio, microphone volume, and sidetone. Adjust these settings based on your preferences to optimize the audio balance and clarity during gameplay.
- Test the Audio: After customizing the audio settings, it’s beneficial to test the audio output using your gaming headset. Launch a game or multimedia content that allows you to experience various audio elements, such as dialogue, music, and sound effects. This test enables you to fine-tune the settings based on your preferences and the specific audio characteristics of your gaming headset.
By adjusting the audio settings on your PS4, you can tailor the sound output to suit your gaming preferences and the capabilities of your gaming headset. Customizing the audio settings enhances the overall gaming experience, allowing you to fully immerse yourself in the captivating audio environments of your favorite games. With the audio settings optimized, you’re ready to proceed to the next step and test your gaming headset to ensure that it’s delivering the desired audio experience.
Step 4: Test the Gaming Headset
After connecting and adjusting the audio settings for your gaming headset on the PS4, it’s crucial to perform a comprehensive test to ensure that the headset is delivering the desired audio experience. Testing the gaming headset allows you to evaluate the sound quality, microphone functionality, and overall performance during gameplay. Here’s how to conduct a thorough test of your gaming headset on the PS4:
- Launch a Game: Start by launching a game that features a diverse range of audio elements, including dialogue, ambient sounds, and dynamic sound effects. Choose a game that allows you to experience the full spectrum of audio to assess the capabilities of your gaming headset.
- Focus on Audio Detail: Pay attention to the subtle details in the game’s audio, such as environmental sounds, footsteps, and spatial audio effects. These nuances can showcase the immersive capabilities of your gaming headset, providing a heightened sense of realism during gameplay.
- Test Microphone Functionality: If your gaming headset features a microphone, engage in voice communication with other players or utilize the microphone in a single-player game to ensure that it’s functioning correctly. Clear and crisp microphone output is essential for effective communication during multiplayer gaming sessions.
- Assess Comfort and Fit: Evaluate the comfort and fit of the gaming headset during extended gameplay sessions. Ensure that the headset remains comfortable and securely positioned, allowing you to focus on the gaming experience without discomfort or distractions.
- Adjust Settings if Necessary: If you encounter any audio or microphone-related issues during the test, revisit the audio settings on the PS4 to make adjustments. Fine-tune the settings based on the specific performance of your gaming headset to optimize the audio output and communication capabilities.
By conducting a comprehensive test of your gaming headset on the PS4, you can confirm that the headset delivers the desired audio quality, microphone functionality, and comfort during gaming sessions. Testing the headset in a real gaming environment provides valuable insights into its performance, allowing you to make any necessary adjustments to enhance the overall gaming experience.
Conclusion
Congratulations! By following the step-by-step process outlined in this guide, you have successfully connected your gaming headset to your PS4, unlocking a world of immersive audio experiences and seamless communication during gameplay. The combination of a high-quality gaming headset and the powerful audio capabilities of the PS4 allows you to elevate your gaming adventures to new heights.
Ensuring the compatibility of your gaming headset with the PS4, connecting it to the PS4 controller, adjusting the audio settings, and conducting a thorough test have empowered you to optimize the audio experience for your gaming sessions. The clarity of sound, immersive audio environments, and effective communication with fellow players are now within your grasp, enhancing the overall enjoyment and engagement of your gaming endeavors.
As you delve into the captivating worlds of your favorite games, the immersive audio provided by your gaming headset will transport you into rich and dynamic soundscapes, allowing you to appreciate every auditory detail and experience the full impact of in-game audio elements. Whether you’re engaging in intense multiplayer battles, exploring vast virtual landscapes, or immersing yourself in compelling storytelling, the enhanced audio experience facilitated by your gaming headset enriches every moment of your gaming journey.
Remember to periodically revisit the audio settings on your PS4 to fine-tune the sound output based on your evolving preferences and the specific characteristics of your gaming headset. Additionally, staying informed about firmware updates for your gaming headset can further enhance its compatibility and performance with the PS4, ensuring a seamless and optimized audio experience.
With your gaming headset seamlessly integrated into your gaming setup, you’re poised to embark on countless memorable gaming adventures, fully immersed in the captivating audio environments that enrich the narratives, action, and atmosphere of your favorite games. Embrace the power of immersive audio, clear communication, and personalized sound settings as you continue to explore the vast and diverse landscape of gaming on your PS4.


