Introduction
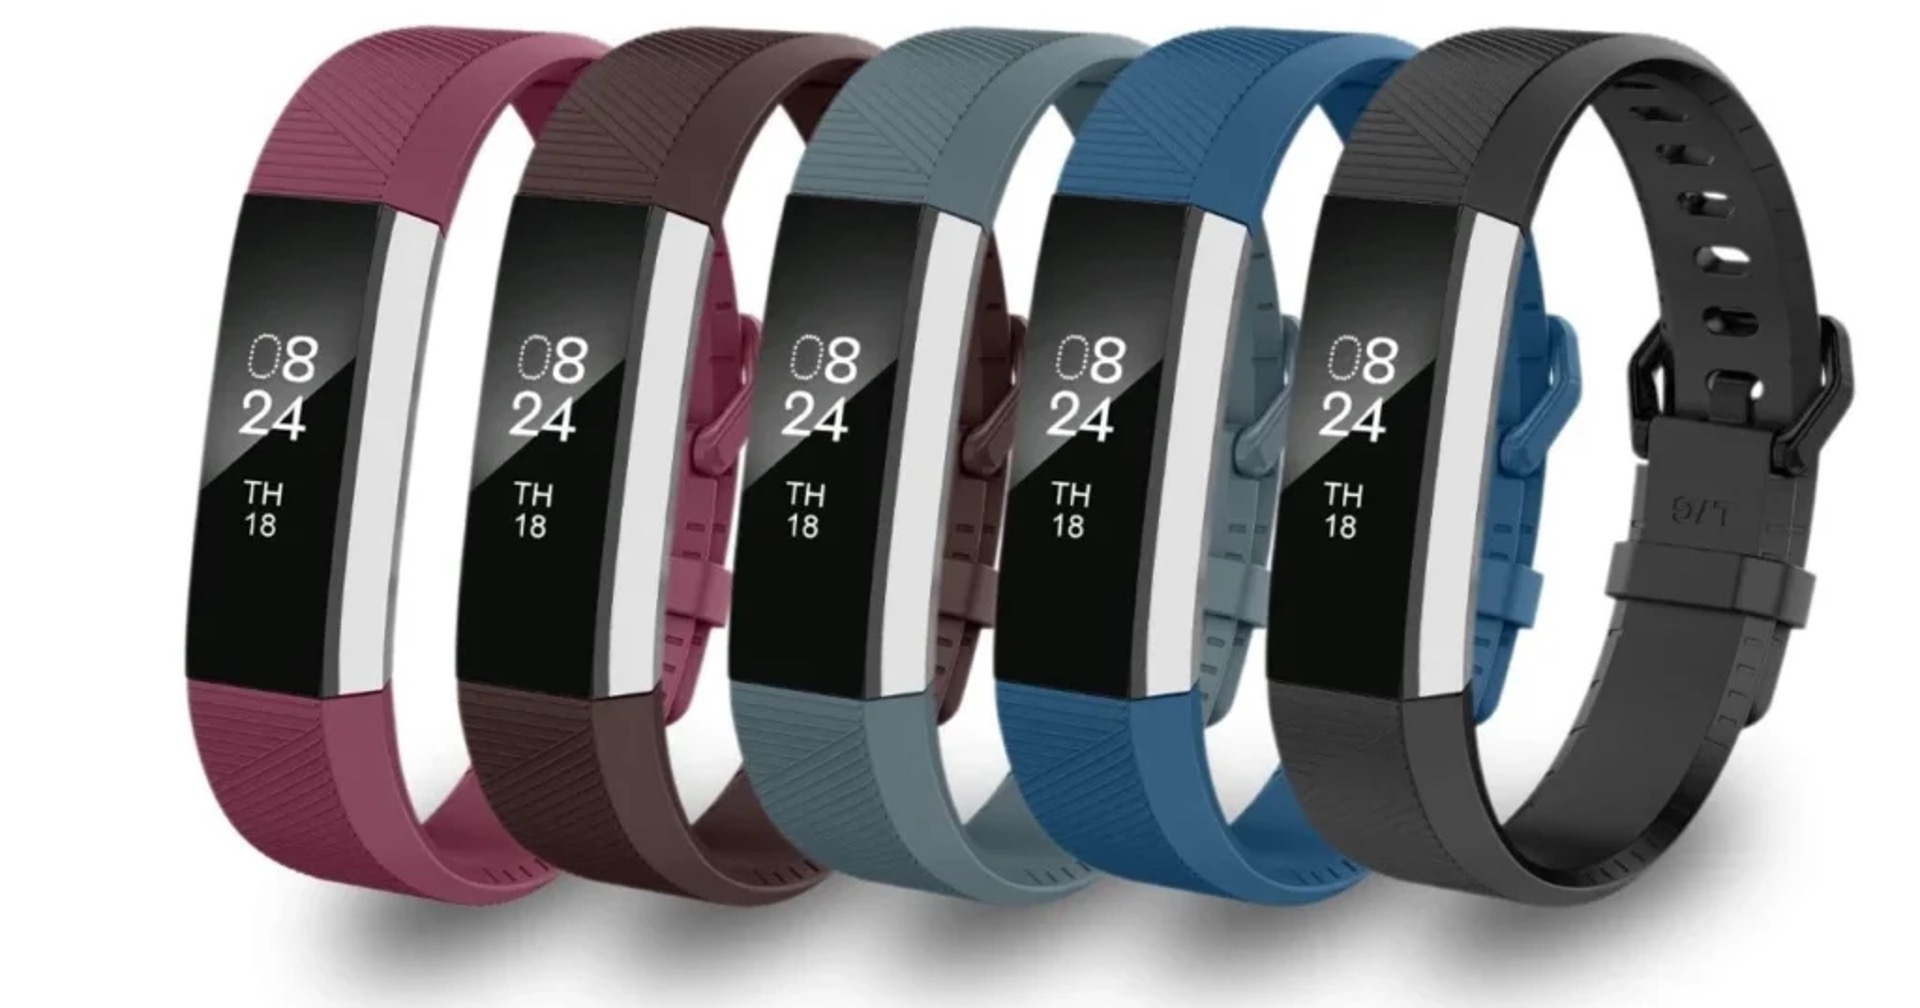
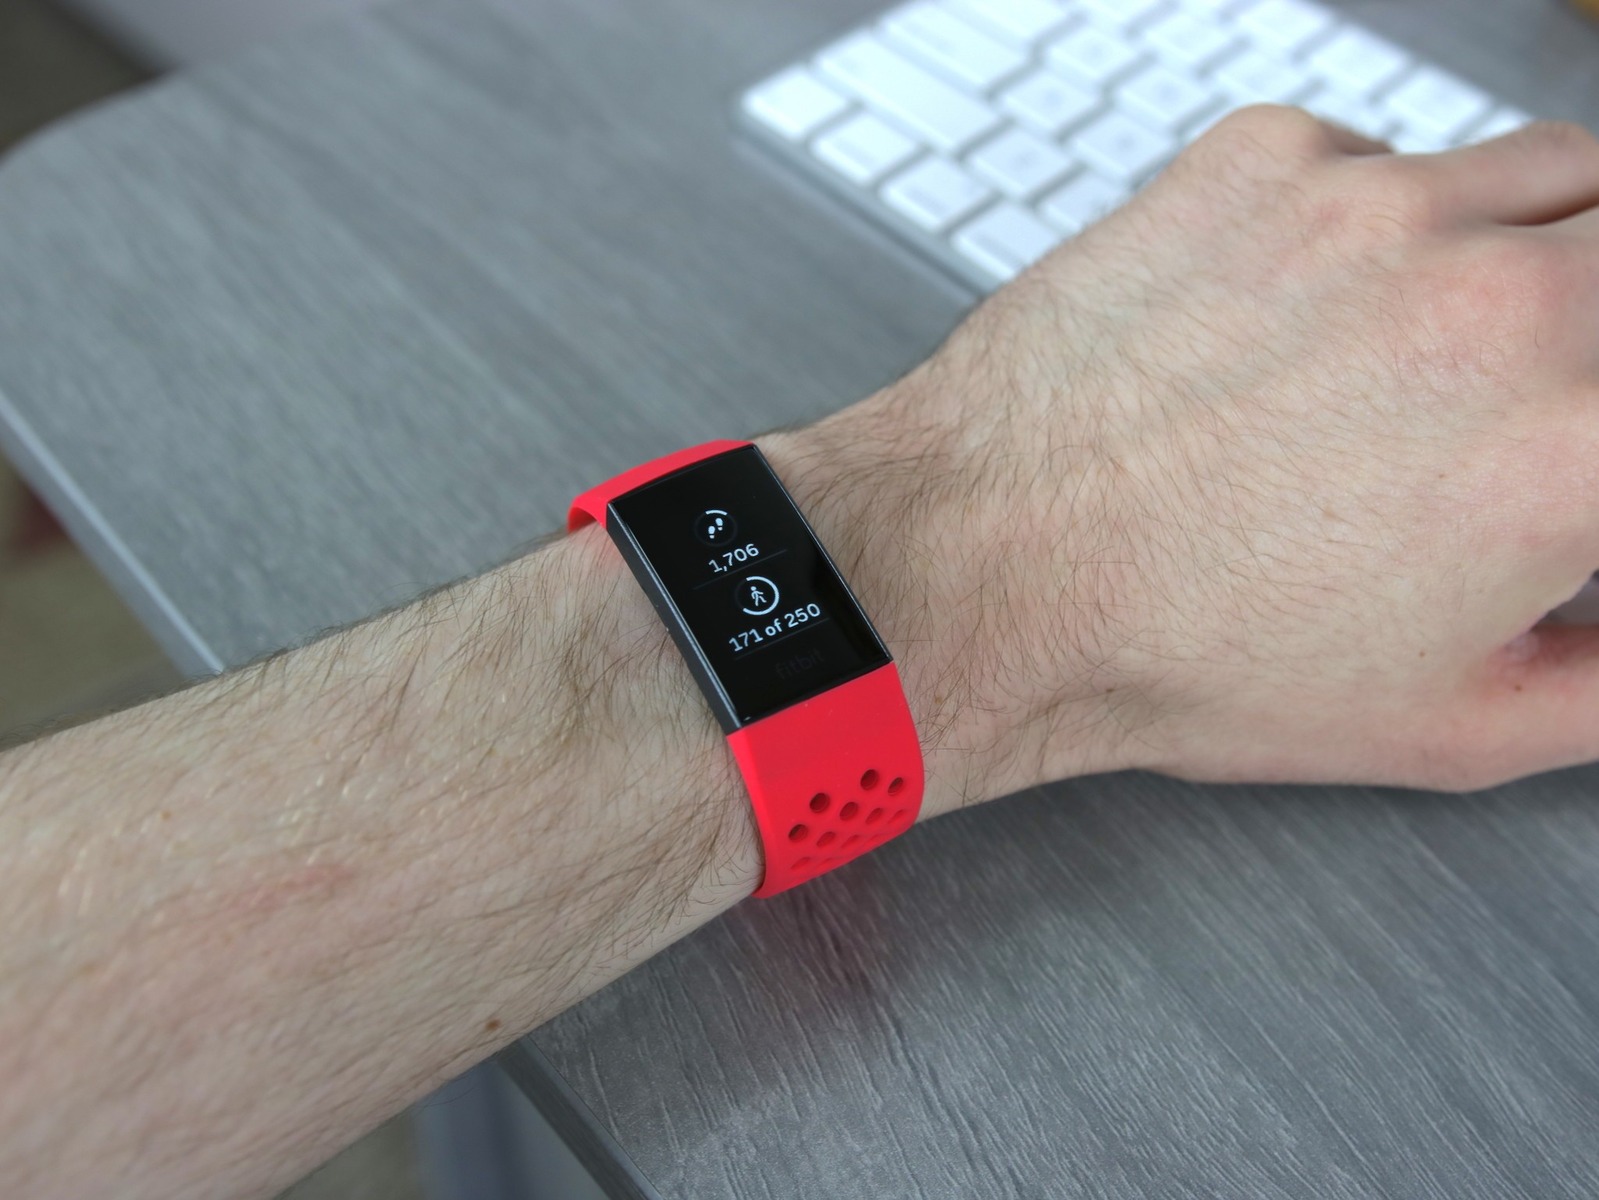
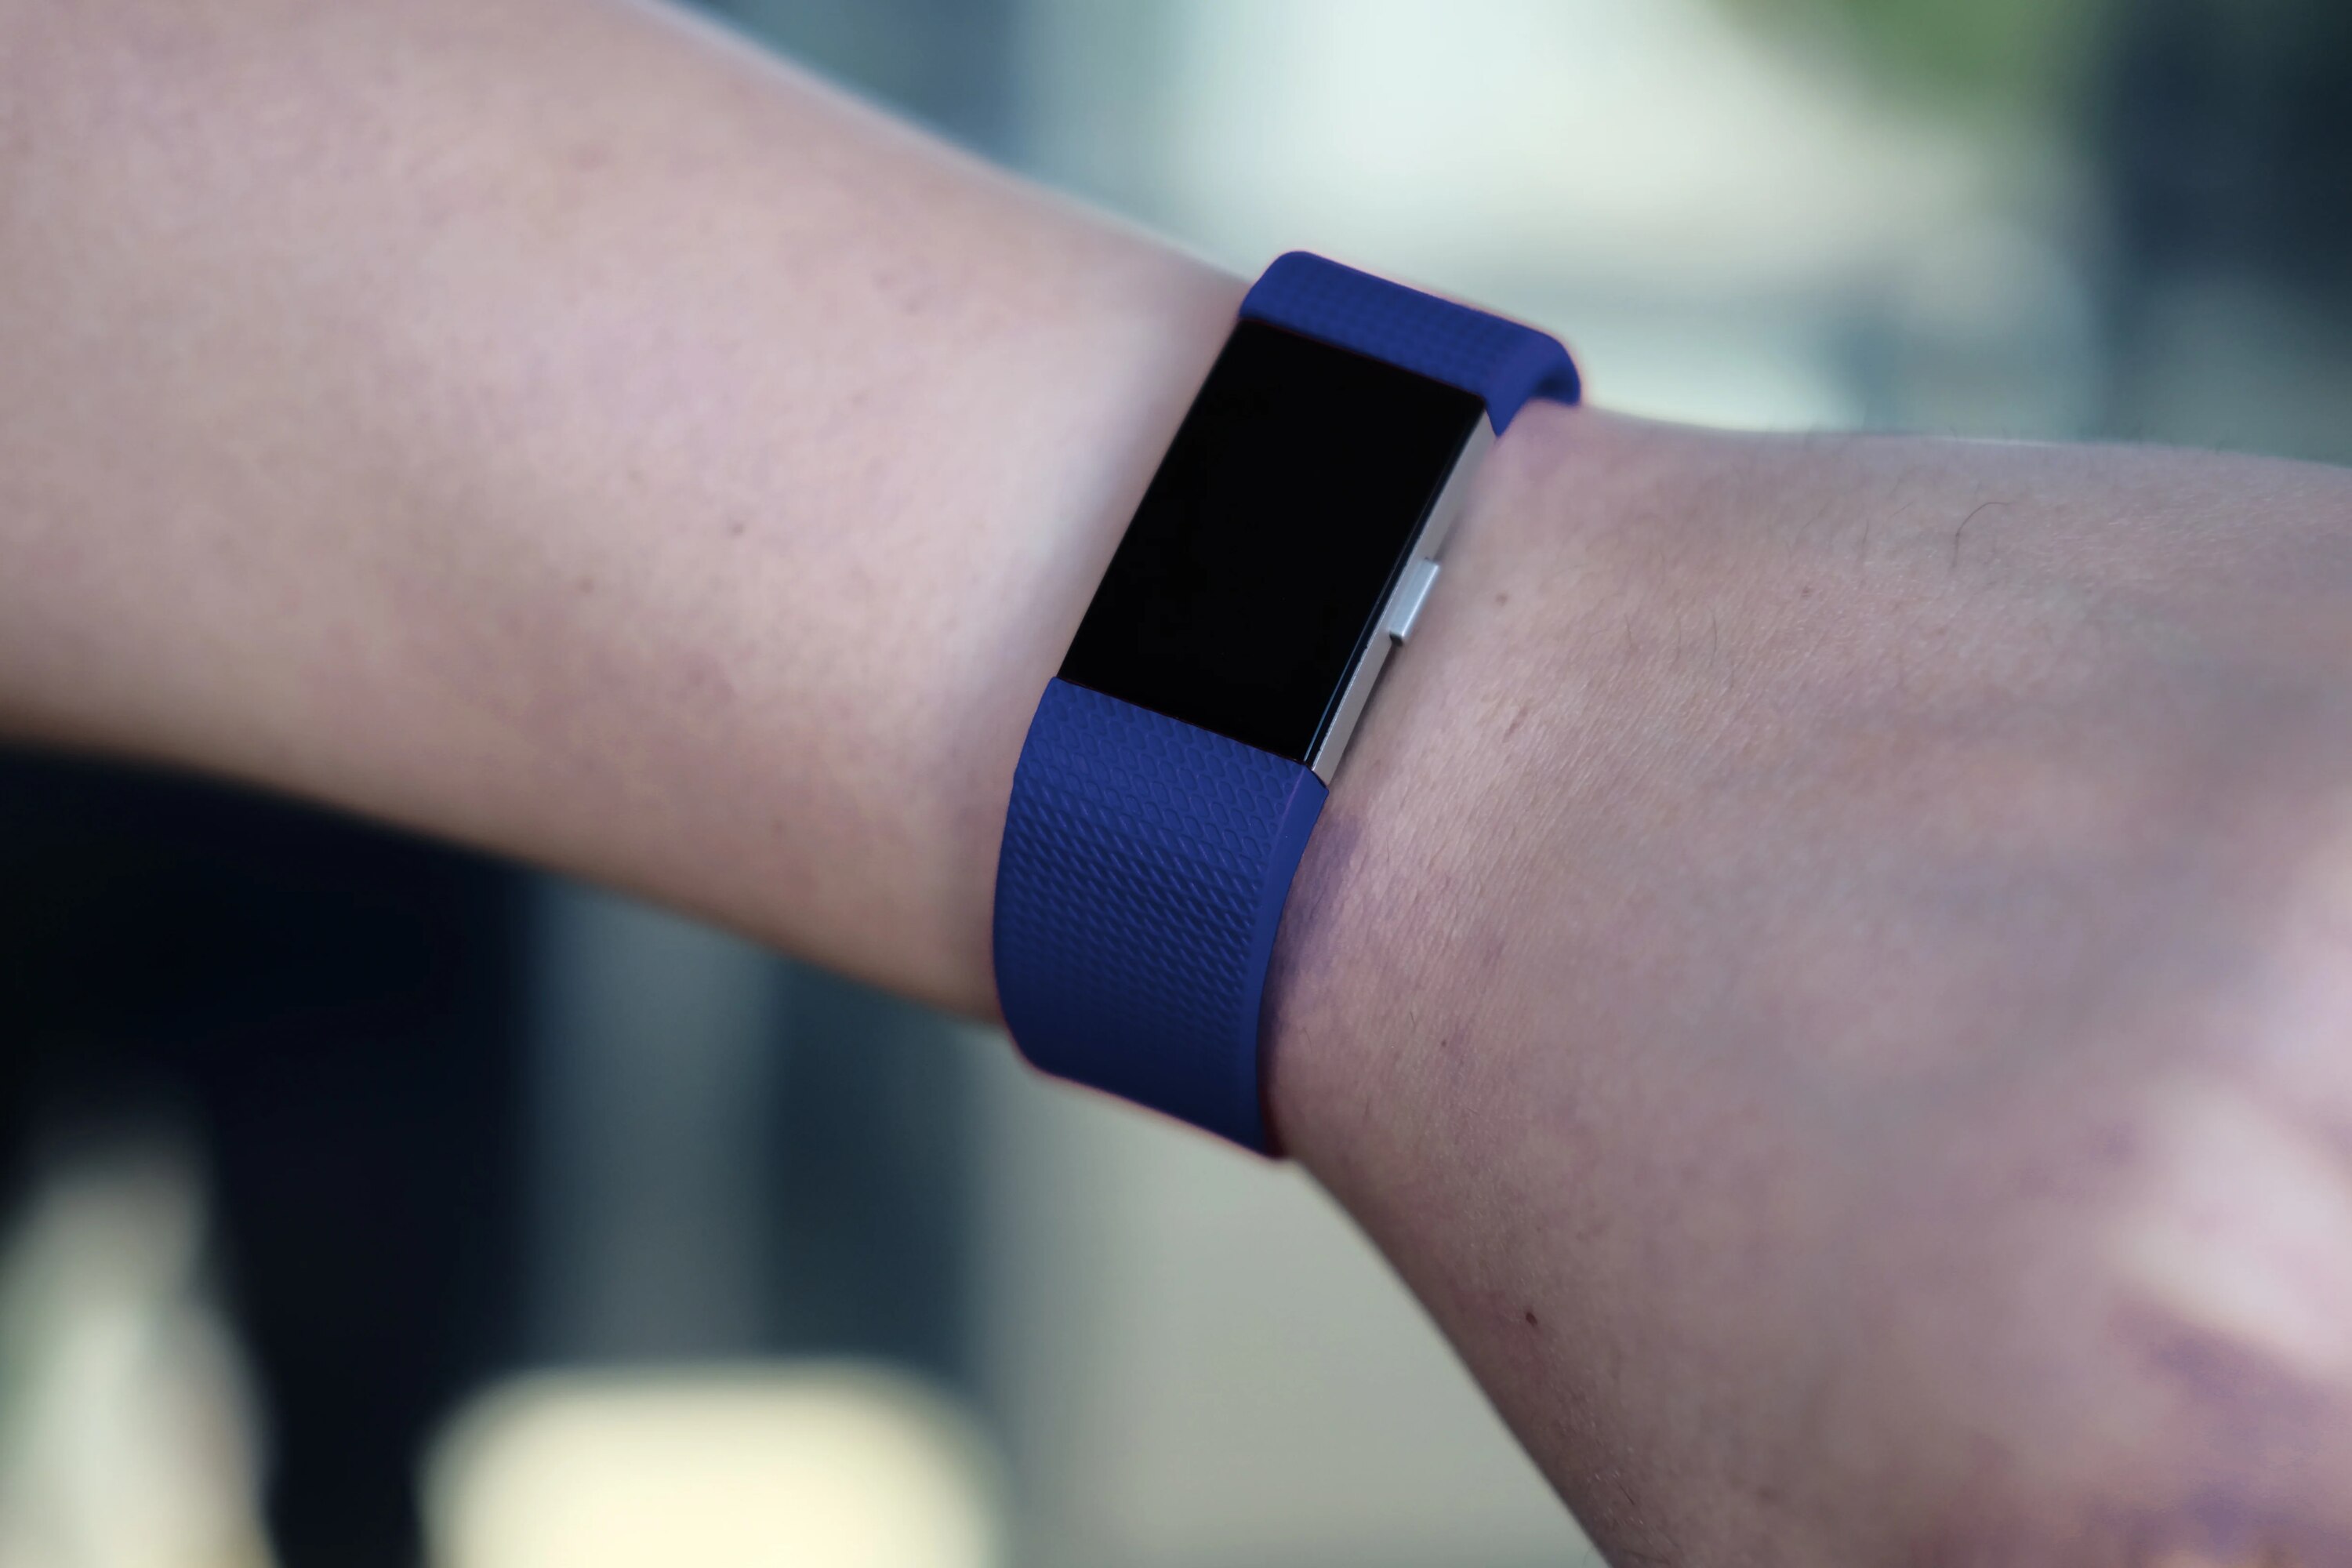
The Fitbit Charge 2 is a popular and versatile fitness tracker, known for its sleek design and advanced features. One of the key advantages of the Charge 2 is its interchangeable bands, allowing users to customize their device to suit their personal style or activity. Whether you're looking to replace a worn-out band, switch to a different color for a fresh look, or simply clean the band, knowing how to remove and replace the band is essential.
In this comprehensive guide, we will walk you through the step-by-step process of removing the band from your Fitbit Charge 2. By following these instructions, you will gain the confidence and knowledge needed to safely and effectively remove the band without causing any damage to your device. Additionally, we will explore the optional step of replacing the band, providing you with a complete understanding of this practical and straightforward process.
With this guide, you will be equipped with the necessary skills to maintain and customize your Fitbit Charge 2, ensuring that it remains a stylish and functional accessory for your active lifestyle. Let's dive into the detailed steps to remove and potentially replace the band on your Fitbit Charge 2.
Step 1: Gather the necessary tools
Before you begin the process of removing the band from your Fitbit Charge 2, it's essential to gather the necessary tools to ensure a smooth and hassle-free experience. The following items will be required for this task:
-
Soft Cloth or Towel: Having a soft cloth or towel on hand is crucial for protecting the display and body of your Fitbit Charge 2 while you work on removing the band. This will help prevent any scratches or damage to the device, ensuring that it remains in pristine condition throughout the process.
-
Flat Surface: Find a clean and flat surface to lay your Fitbit Charge 2 on during the band removal process. This will provide a stable and secure area for working on the device, allowing you to concentrate on the task at hand without any unnecessary movement or disruptions.
-
Good Lighting: Adequate lighting is essential for clearly seeing the band release button and the mechanism for sliding the band out. Ensuring that you have sufficient lighting will make it easier to navigate the removal process and reduce the risk of any accidental damage to your device.
By gathering these essential tools, you are setting yourself up for success as you embark on the journey of removing the band from your Fitbit Charge 2. Having these items at your disposal will not only streamline the process but also contribute to a safe and effective band removal experience, ultimately preserving the integrity of your device.
With the necessary tools in hand, you are now ready to proceed to the next step of powering off your Fitbit Charge 2 in preparation for band removal.
Step 2: Power off the Fitbit Charge 2
Before delving into the process of removing the band from your Fitbit Charge 2, it is crucial to power off the device to ensure safety and prevent any potential disruptions during the band removal process. Powering off your Fitbit Charge 2 is a simple yet essential step that can contribute to a smooth and uninterrupted band removal experience.
To power off your Fitbit Charge 2, start by locating the main button on the side of the device. This button serves as the primary control for navigating the device's interface and accessing its various functions. Press and hold the button for a few seconds until the power-off prompt appears on the screen. Once the prompt is displayed, follow the on-screen instructions to confirm the power-off process.
By powering off your Fitbit Charge 2, you are ensuring that the device is in a safe and inactive state during the band removal process. This minimizes the risk of accidental inputs or disruptions that could potentially interfere with the band removal procedure. Additionally, powering off the device helps protect the internal components and ensures that the band removal process is carried out smoothly and without any unexpected complications.
After successfully powering off your Fitbit Charge 2, you can proceed with confidence to the next steps of locating the band release button and safely removing the band from the device. With the device powered off, you are now ready to embark on the exciting journey of customizing and maintaining your Fitbit Charge 2 through the seamless removal and potential replacement of the band.
Taking the time to power off your Fitbit Charge 2 sets the stage for a focused and uninterrupted band removal process, allowing you to fully engage in the task at hand without any concerns about the device's active state. This simple yet crucial step demonstrates your commitment to maintaining the integrity of your Fitbit Charge 2 while undertaking the band removal process with precision and care.
Now that your Fitbit Charge 2 is powered off, let's move on to the next step of locating the band release button, a pivotal stage in the band removal process that will bring you closer to achieving your desired band customization or maintenance goals.
Step 3: Locate the band release button
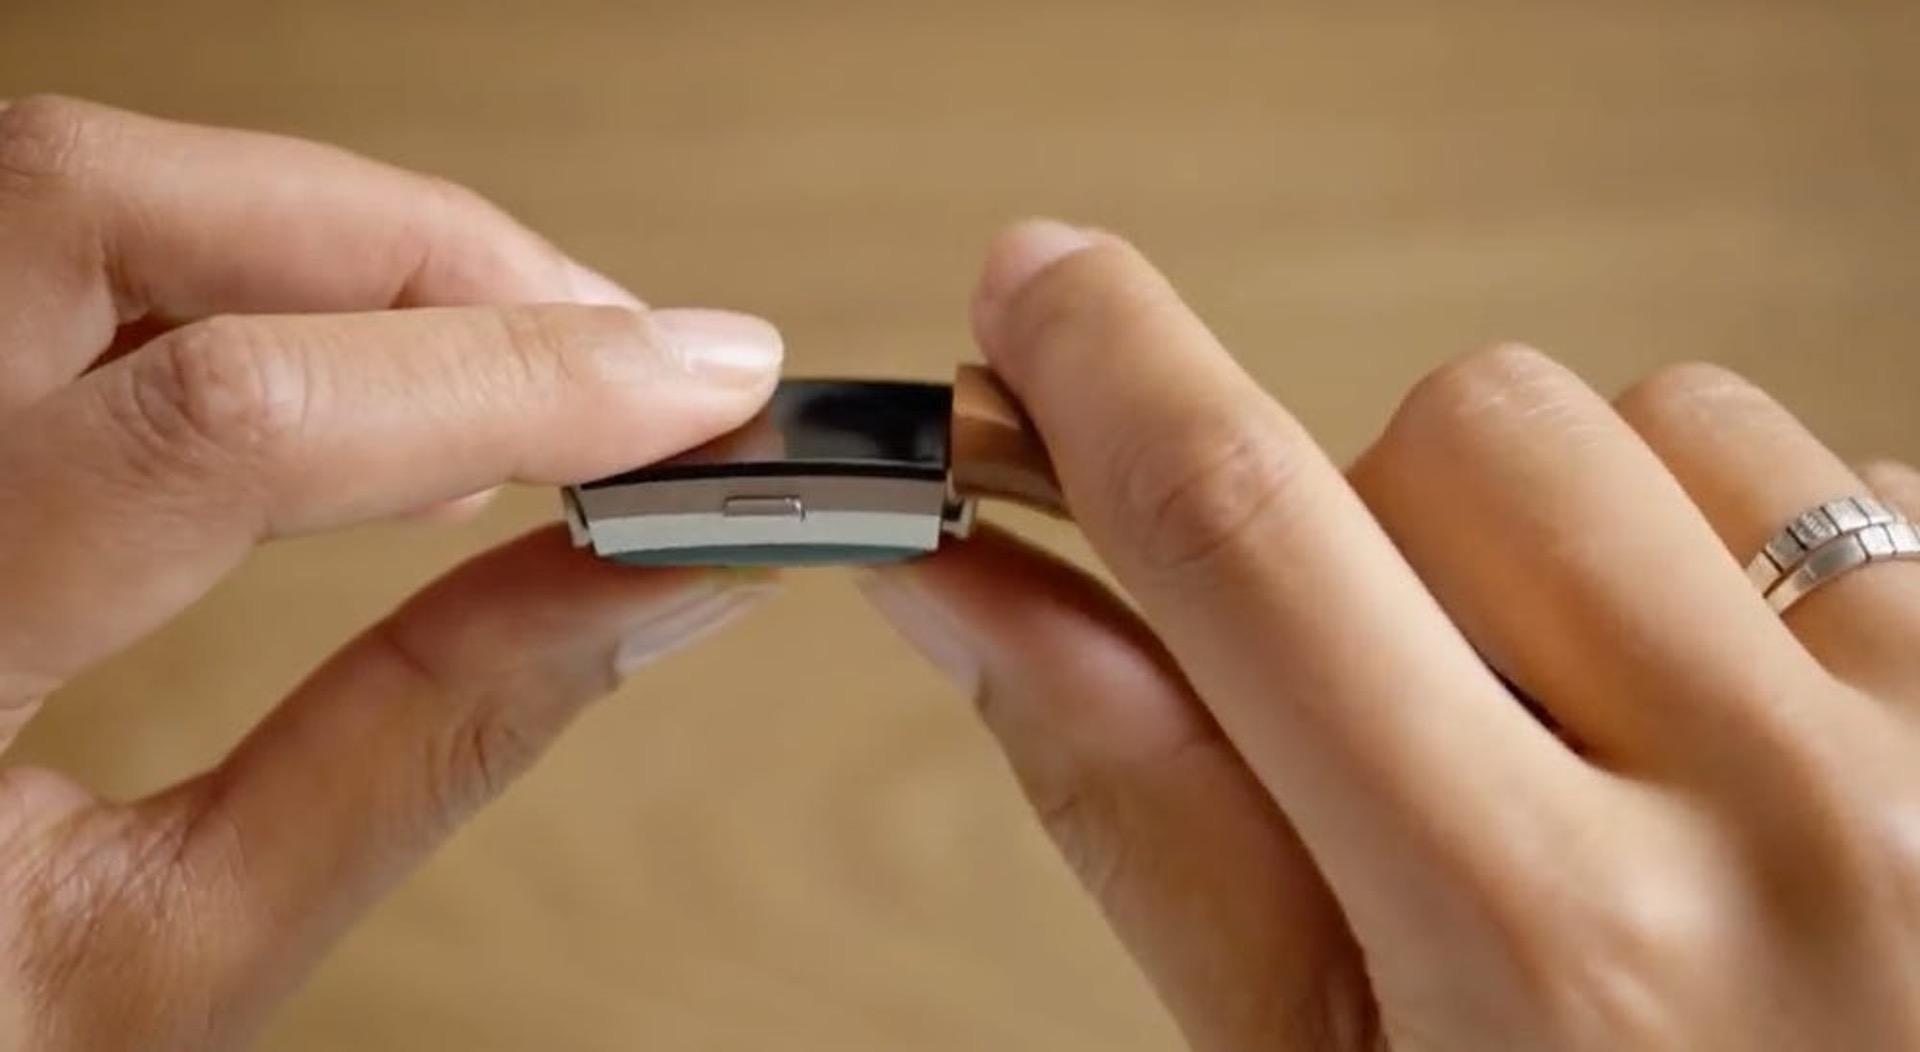
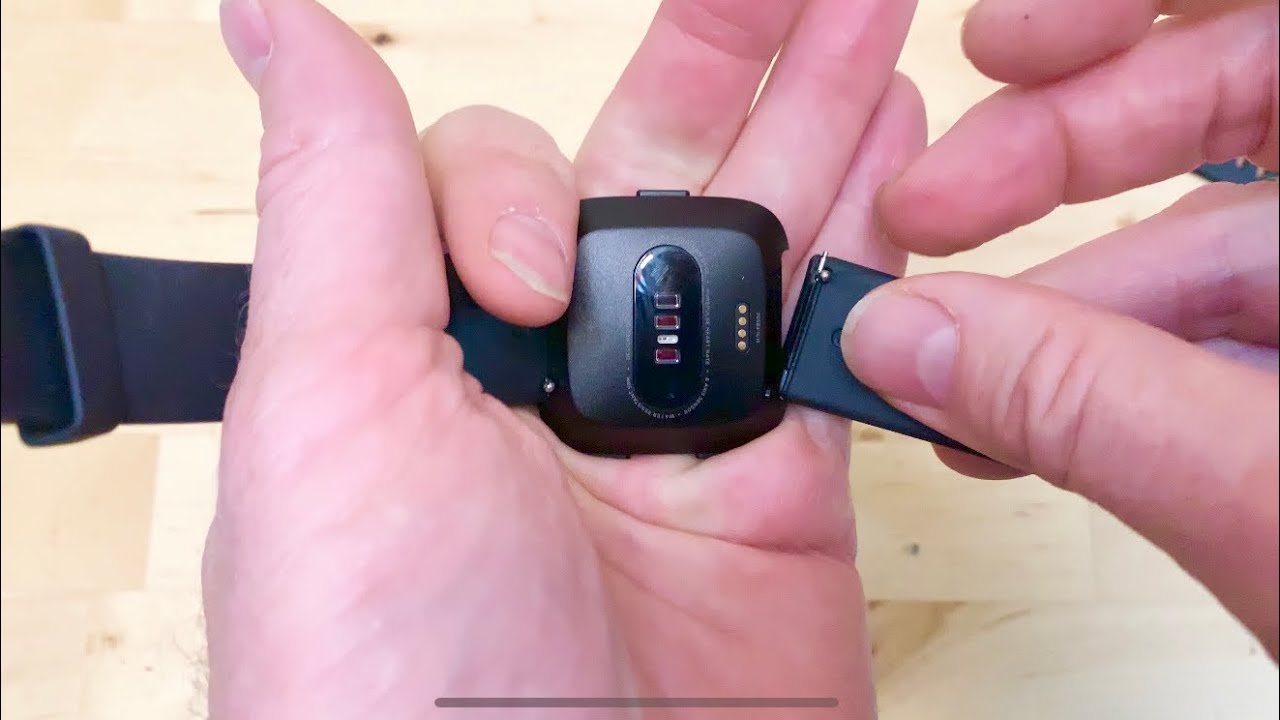
Locating the band release button is a critical step in the process of removing the band from your Fitbit Charge 2. The band release button is ingeniously designed to facilitate the effortless removal of the band, allowing users to customize and maintain their devices with ease. To begin this step, carefully examine the underside of your Fitbit Charge 2, focusing on the area where the band connects to the main body of the device.
The band release button is strategically positioned near the connection point, typically on both sides of the device. It is identifiable as a small, discreet button that is seamlessly integrated into the band attachment mechanism. The purpose of this button is to release the band from its locked position, enabling users to slide it out smoothly without exerting excessive force or causing any damage to the device.
Once you have located the band release button, take a moment to familiarize yourself with its placement and function. Gently press the band release button to observe how it responds and understand the mechanism behind it. This tactile interaction will provide you with a tactile understanding of the button's operation, enhancing your confidence and proficiency as you progress through the band removal process.
It's important to approach the band release button with a gentle and deliberate touch, ensuring that you apply consistent but controlled pressure to activate it. This deliberate approach minimizes the risk of accidental damage to the band release mechanism and preserves the overall integrity of your Fitbit Charge 2.
By successfully locating the band release button, you have reached a pivotal stage in the band removal process, setting the stage for the subsequent steps of pressing and holding the button to release the band and smoothly sliding it out. This foundational understanding of the band release button's location and function empowers you to proceed with confidence, knowing that you are well-equipped to navigate the band removal process with precision and care.
With the band release button identified and understood, you are now prepared to advance to the next step of pressing and holding the button to initiate the band removal sequence. This seamless transition marks a significant milestone in your journey toward customizing and maintaining your Fitbit Charge 2, reflecting your dedication to achieving a personalized and stylish device configuration.
Step 4: Press and hold the band release button
Pressing and holding the band release button is a pivotal moment in the process of removing the band from your Fitbit Charge 2. This deliberate action initiates the release of the band from its securely locked position, paving the way for a seamless and controlled band removal experience.
To execute this step with precision, position your thumb or finger directly over the band release button, ensuring a firm yet gentle touch. Applying steady pressure, press the band release button and maintain the pressure to engage the release mechanism. As you press and hold the button, you may feel a subtle but distinct response, indicating that the band is being released from its locked position.
It's essential to maintain the pressure on the band release button to sustain the release mechanism's activation. This deliberate and sustained pressure ensures that the band remains securely disengaged, allowing for a smooth and controlled removal process. By holding the button in this manner, you are effectively preparing the band for effortless sliding and detachment from the main body of the device.
As you press and hold the band release button, take a moment to appreciate the precision and finesse required for this step. Your deliberate and controlled approach reflects your commitment to maintaining the integrity of your Fitbit Charge 2 while executing the band removal process with confidence and care.
The act of pressing and holding the band release button signifies a pivotal transition in your band removal journey, signifying your dedication to achieving a personalized and stylish device configuration. With the band release mechanism engaged, you are now poised to smoothly slide the band out, bringing you closer to your desired customization or maintenance goals for your Fitbit Charge 2.
By mastering the art of pressing and holding the band release button, you are demonstrating your proficiency in navigating the band removal process with precision and finesse. This foundational skill empowers you to embark on the subsequent steps of sliding the band out, culminating in a successful band removal experience that aligns with your vision for a customized and well-maintained Fitbit Charge 2.
Step 5: Slide the band out
With the band release mechanism engaged, the next step in removing the band from your Fitbit Charge 2 involves smoothly sliding the band out of its locked position. This process requires a steady and controlled approach to ensure that the band is detached seamlessly without causing any unnecessary strain on the device.
To initiate the sliding motion, gently grasp the main body of your Fitbit Charge 2 with one hand, providing a stable and secure hold. With your other hand, place your thumb and index finger on either side of the band, near the band release button. Apply gentle pressure to the band, guiding it to slide out smoothly from the main body of the device.
As you begin to slide the band out, maintain a consistent and even motion to prevent any abrupt or jerky movements. This deliberate approach minimizes the risk of causing undue stress on the band attachment points and ensures that the band is disengaged from the device with precision and care.
As the band slides out, you may feel a subtle but distinct release, indicating that it is separating from the main body of the Fitbit Charge 2. Continue to guide the band out until it is fully detached, taking care to handle it with the utmost delicacy to avoid any unnecessary bending or twisting.
The smooth and controlled sliding motion allows the band to be removed effortlessly, showcasing your adeptness in navigating this essential step of the band removal process. By executing this maneuver with finesse and precision, you are demonstrating your commitment to maintaining the integrity of your Fitbit Charge 2 while achieving your desired band customization or maintenance goals.
Upon successfully sliding the band out, take a moment to appreciate the seamless execution of this step, recognizing the meticulous attention to detail that has contributed to a smooth and hassle-free band removal experience. With the band now detached, you have reached a significant milestone in your journey toward customizing and maintaining your Fitbit Charge 2, reflecting your dedication to achieving a personalized and stylish device configuration.
The completion of this step marks a pivotal moment in the band removal process, bringing you closer to your ultimate goal of customizing or maintaining your Fitbit Charge 2 according to your preferences. With the band successfully removed, you are now poised to explore the optional step of replacing the band, should you desire a fresh and updated look for your device.
Step 6: Repeat for the other side
Having successfully removed the band from one side of your Fitbit Charge 2, it's essential to maintain the same level of precision and care as you proceed to repeat the process for the other side. This symmetrical approach ensures that the band removal experience remains consistent and balanced, contributing to a harmonious customization or maintenance process for your device.
To initiate the repetition of the band removal process, gently reposition your Fitbit Charge 2 to access the opposite side where the band is securely attached. With a firm yet delicate touch, identify the band release button on the underside of the device, mirroring the location and function of the button you engaged previously. This deliberate action sets the stage for a seamless continuation of the band removal journey, reflecting your dedication to achieving a comprehensive and meticulous customization or maintenance process for your Fitbit Charge 2.
Once the band release button is identified, proceed to press and hold it with the same level of precision and finesse as demonstrated in the previous step. By maintaining a consistent and controlled approach, you are effectively activating the release mechanism, preparing the band for smooth and effortless detachment from the main body of the device. This deliberate and symmetrical engagement of the band release button showcases your commitment to executing the band removal process with unwavering attention to detail and proficiency.
With the band release mechanism engaged on the other side, transition seamlessly into the motion of sliding the band out, mirroring the deliberate and controlled approach employed in the previous step. Gently guide the band to slide out smoothly from the main body of the Fitbit Charge 2, ensuring a harmonious and balanced execution that mirrors the initial band removal experience. This symmetrical sliding motion reflects your dedication to maintaining a consistent and precise band removal process, resulting in a well-balanced and cohesive customization or maintenance journey for your device.
As the band slides out from the opposite side, savor the seamless and controlled execution of this repetition, acknowledging the meticulous attention to detail that has contributed to a balanced and harmonious band removal experience. With both sides of the band successfully detached, you have achieved a symmetrical and comprehensive customization or maintenance milestone for your Fitbit Charge 2, underscoring your commitment to achieving a personalized and stylish device configuration with unwavering precision and care.
The successful repetition of the band removal process for the other side brings you closer to realizing your desired customization or maintenance goals for your Fitbit Charge 2, reflecting your dedication to achieving a well-rounded and balanced band removal experience. With both sides of the band now detached, you are poised to explore the optional step of replacing the band, should you desire a fresh and updated look for your device.
Step 7: Replace the band (optional)
After successfully removing the band from your Fitbit Charge 2, you have the option to explore the exciting realm of band replacement, allowing you to infuse a fresh and personalized touch into your device. Whether you seek a new color to complement your style, a specialized band for a specific activity, or a replacement for a worn-out band, the process of replacing the band offers a myriad of possibilities for customization and enhancement.
To initiate the band replacement process, begin by selecting a compatible replacement band that aligns with your preferences and functional needs. Fitbit offers a diverse range of replacement bands, featuring various colors, materials, and designs to cater to a wide spectrum of user preferences. Whether you opt for a classic silicone band for everyday wear, a breathable sports band for active pursuits, or a stylish leather band for a sophisticated look, the choice is yours to make based on your individual style and activity requirements.
Once you have selected the replacement band of your choice, proceed to align it with the attachment points on the main body of your Fitbit Charge 2. Ensure that the band is positioned correctly, with the attachment points securely engaged to guarantee a stable and reliable connection. With a gentle and deliberate motion, slide the replacement band into place, mirroring the controlled and precise approach employed during the band removal process. This seamless transition ensures that the replacement band is securely attached, ready to adorn your Fitbit Charge 2 with a fresh and updated look.
As the replacement band is successfully secured in place, take a moment to appreciate the transformative impact of this optional step, recognizing the personalized touch it brings to your device. The act of replacing the band underscores your commitment to maintaining a stylish and functional accessory that resonates with your unique preferences and lifestyle, reflecting your dedication to achieving a personalized and well-maintained Fitbit Charge 2.
With the replacement band seamlessly integrated into your Fitbit Charge 2, you have breathed new life into your device, infusing it with a personalized and updated aesthetic that aligns with your individuality. This optional step of band replacement empowers you to continually refresh and customize your Fitbit Charge 2, ensuring that it remains a versatile and stylish companion throughout your active endeavors.
By embracing the optional step of replacing the band, you have further elevated the customization and maintenance journey of your Fitbit Charge 2, demonstrating your commitment to achieving a device configuration that resonates with your unique style, preferences, and activity requirements. Whether you choose to maintain a collection of bands for various occasions or opt for a signature band that reflects your personal flair, the optional step of band replacement enriches your experience with the Fitbit Charge 2, enabling you to continually reinvent and personalize your device according to your evolving tastes and pursuits.
Conclusion
In conclusion, the process of removing the band from your Fitbit Charge 2 is a straightforward yet pivotal undertaking that empowers you to customize and maintain your device with precision and care. By following the step-by-step guide outlined in this comprehensive tutorial, you have gained valuable insights into the meticulous process of band removal, equipping you with the knowledge and confidence needed to navigate this essential task seamlessly.
Throughout this journey, you have demonstrated a dedicated commitment to maintaining the integrity of your Fitbit Charge 2, ensuring that the band removal process is executed with finesse and precision. From gathering the necessary tools to delicately sliding the band out from both sides of the device, your deliberate and controlled approach has underscored your unwavering dedication to achieving a personalized and well-maintained Fitbit Charge 2.
The optional step of band replacement has further enriched your customization and maintenance experience, offering you the opportunity to infuse a fresh and personalized touch into your device. Whether you opt for a vibrant new color, a specialized band for active pursuits, or a sophisticated leather band for a refined look, the act of replacing the band reflects your commitment to continually refreshing and personalizing your Fitbit Charge 2 according to your evolving style and activity requirements.
As you reflect on this comprehensive guide, you can take pride in the proficiency and finesse with which you have navigated the band removal process, underscoring your dedication to maintaining a stylish and functional accessory that resonates with your unique preferences and lifestyle. Your mastery of this essential task positions you as a capable and discerning custodian of your Fitbit Charge 2, ensuring that it remains a versatile and stylish companion throughout your active endeavors.
With the knowledge and skills acquired from this guide, you are well-prepared to embark on future band removal and replacement endeavors with confidence and precision, continually enhancing and personalizing your Fitbit Charge 2 to align with your evolving tastes and pursuits. This journey of customization and maintenance reflects your unwavering commitment to achieving a device configuration that resonates with your individuality, ensuring that your Fitbit Charge 2 remains a stylish and functional companion on your active lifestyle journey.