Introduction
Welcome to the ultimate guide on revamping your Fitbit Charge 2 with a new band! As wearables continue to gain popularity, personalizing these devices has become a widespread trend. One of the most effective ways to breathe new life into your Fitbit Charge 2 is by replacing its band. Whether you're seeking a fresh look, improved comfort, or enhanced functionality, changing the band can make a world of difference.
In this comprehensive step-by-step guide, we will walk you through the process of transforming the style of your Fitbit Charge 2. From gathering the necessary materials to syncing your device with the Fitbit app, each step is designed to ensure a seamless and successful band replacement. By the end of this guide, you'll have the knowledge and confidence to give your Fitbit Charge 2 a personalized touch that reflects your unique style and preferences.
So, if you're ready to embark on this exciting journey of revamping your Fitbit Charge 2, let's dive into the first step: gathering the necessary materials.
Step 1: Gather Necessary Materials
Before embarking on the journey of revamping your Fitbit Charge 2 with a new band, it's essential to gather the necessary materials to ensure a smooth and successful band replacement. Here's what you'll need:
-
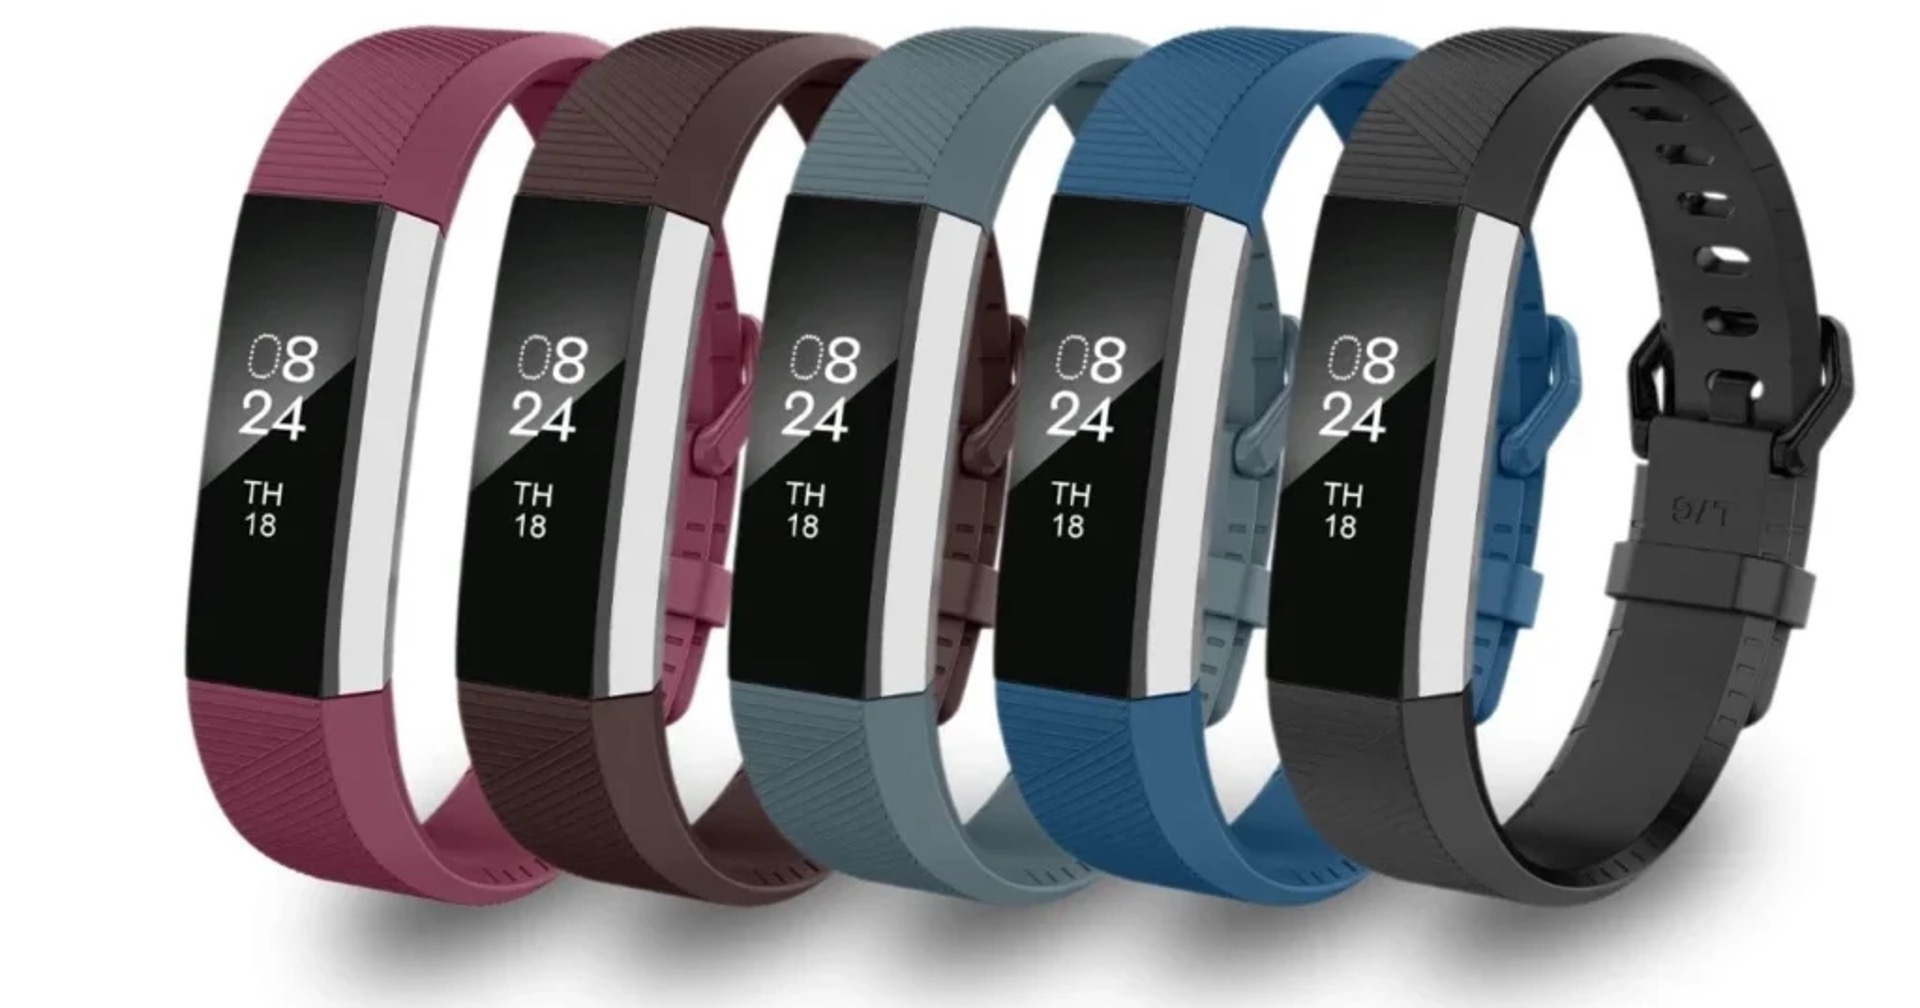
Fitbit Charge 2 Replacement Band: The first and most crucial item on your list is the replacement band itself. When selecting a new band, consider factors such as material, color, and style to align with your personal preferences and lifestyle. Whether you opt for a sleek stainless steel band for a professional look or a breathable silicone band for active pursuits, the choice is yours.
-
Small Flathead Screwdriver or Spring Bar Tool: Depending on the type of band you choose, you may need a small flathead screwdriver or a spring bar tool to facilitate the removal and attachment of the band. These tools are essential for safely and effectively manipulating the spring bars that secure the band to the Fitbit Charge 2 tracker.
-
Clean Cloth or Microfiber Towel: It's important to have a clean cloth or microfiber towel on hand to wipe down the Fitbit Charge 2 tracker before and after the band replacement process. This ensures that the tracker remains free from dust, dirt, and any residue that may have accumulated over time.
-
Comfortable Workspace: Set up a comfortable and well-lit workspace where you can perform the band replacement process with ease. A stable surface with ample lighting will help you see the intricate details and handle the small components of the Fitbit Charge 2 with precision.
-
Patience and Attention to Detail: While not tangible materials, patience and attention to detail are invaluable assets during the band replacement process. Take your time, follow each step carefully, and pay close attention to the nuances of the replacement procedure to achieve the best results.
By gathering these essential materials and preparing your workspace, you'll be well-equipped to proceed to the next step: removing the old band from your Fitbit Charge 2.
Step 2: Remove the Old Band
Now that you've gathered the necessary materials and prepared your workspace, it's time to delve into the process of removing the old band from your Fitbit Charge 2. This step is essential for ensuring a seamless transition to the new band, and with the right approach, it can be a straightforward and rewarding experience.
-
Power Down Your Fitbit Charge 2: Before beginning the band removal process, it's important to power down your Fitbit Charge 2 to prevent any accidental syncing or interference during the procedure. To power down the device, navigate to the settings menu and select the option to turn it off.
-
Secure the Fitbit Charge 2: Lay your Fitbit Charge 2 on a stable surface with the display facing down. This positioning provides a clear view of the band attachment mechanism and allows for easy access to the spring bars.
-
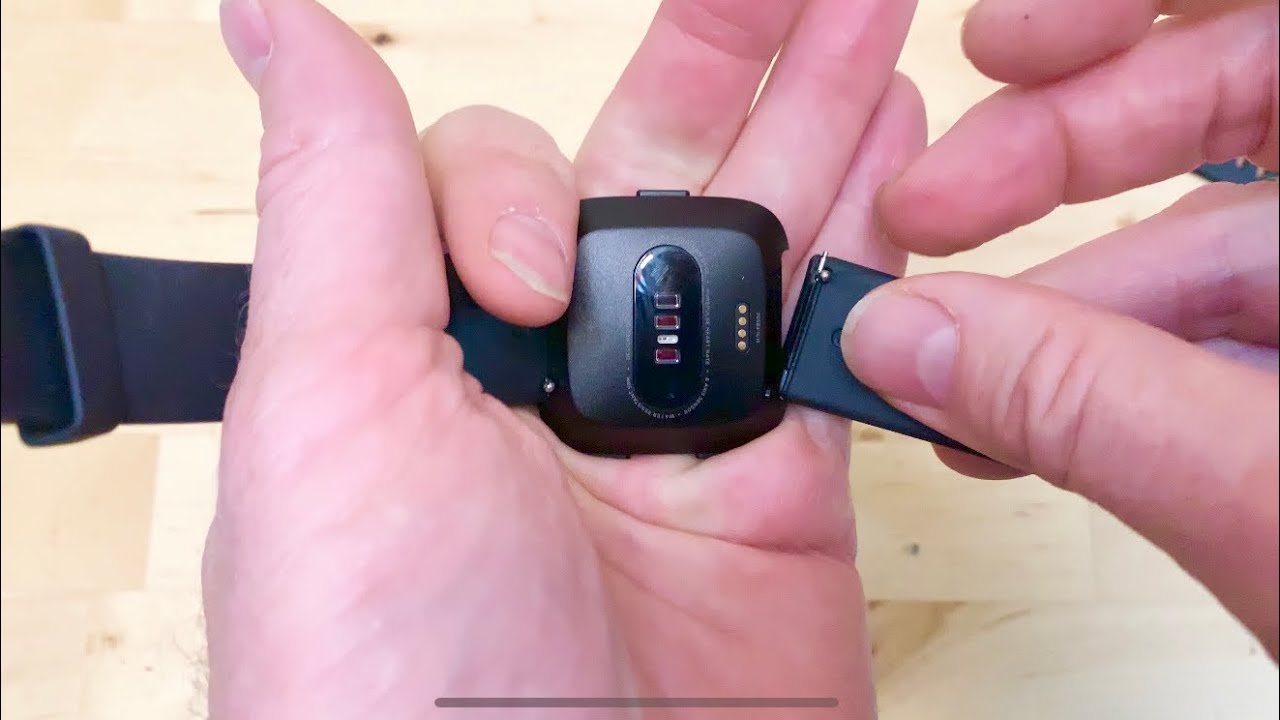
Identify the Spring Bars: The spring bars are the small, spring-loaded metal bars that secure the band to the tracker. They are located on either side of the tracker's body, where the band meets the main body of the device. You may need to use a small flathead screwdriver or a spring bar tool to access and manipulate them.
-
Release the Spring Bars: Using the small flathead screwdriver or spring bar tool, carefully press down on the spring bar to release it from the notch on the band attachment point. Repeat this process for the other side of the tracker to fully release the old band.
-
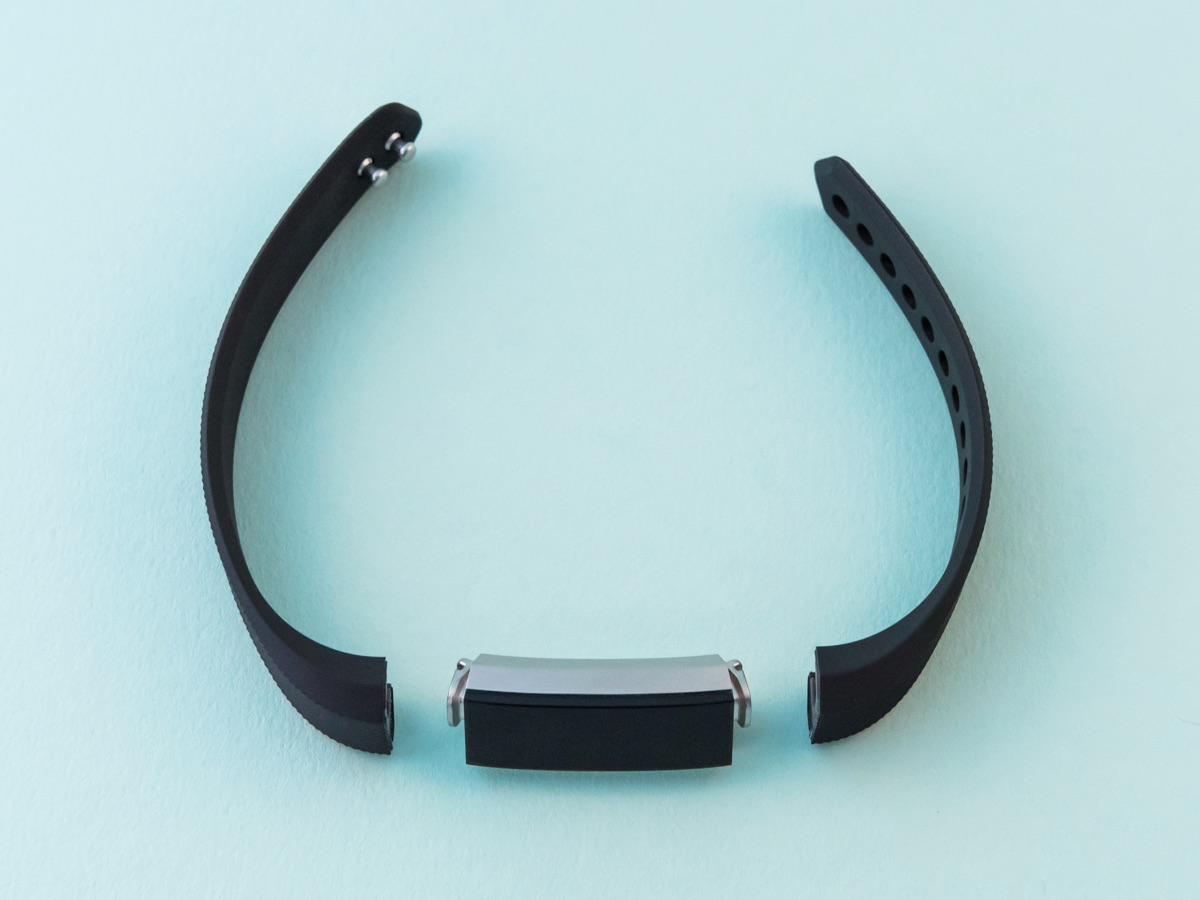
Remove the Old Band: With the spring bars fully released, gently slide the old band away from the tracker. Take care to handle the tracker delicately and avoid applying excessive force during this step.
-
Inspect the Tracker: After removing the old band, take a moment to inspect the tracker for any dust, dirt, or residue that may have accumulated around the band attachment points. Use a clean cloth or microfiber towel to gently wipe the tracker, ensuring that it remains clean and free from any obstructions that could affect the attachment of the new band.
By following these steps with precision and attention to detail, you can successfully remove the old band from your Fitbit Charge 2, setting the stage for the exciting next step: attaching the new band.
Step 3: Attach the New Band
With the old band successfully removed from your Fitbit Charge 2, the next step is to attach the new band. This pivotal stage not only marks the transformation of your device's appearance but also presents an opportunity to customize its functionality and comfort to better suit your lifestyle. Here's a detailed guide on how to seamlessly attach the new band to your Fitbit Charge 2:
-
Select the New Band: Begin by choosing the new band that aligns with your style and preferences. Whether it's a vibrant silicone band for workouts or an elegant leather band for everyday wear, ensure that the band is compatible with the Fitbit Charge 2 and complements your personal aesthetic.
-
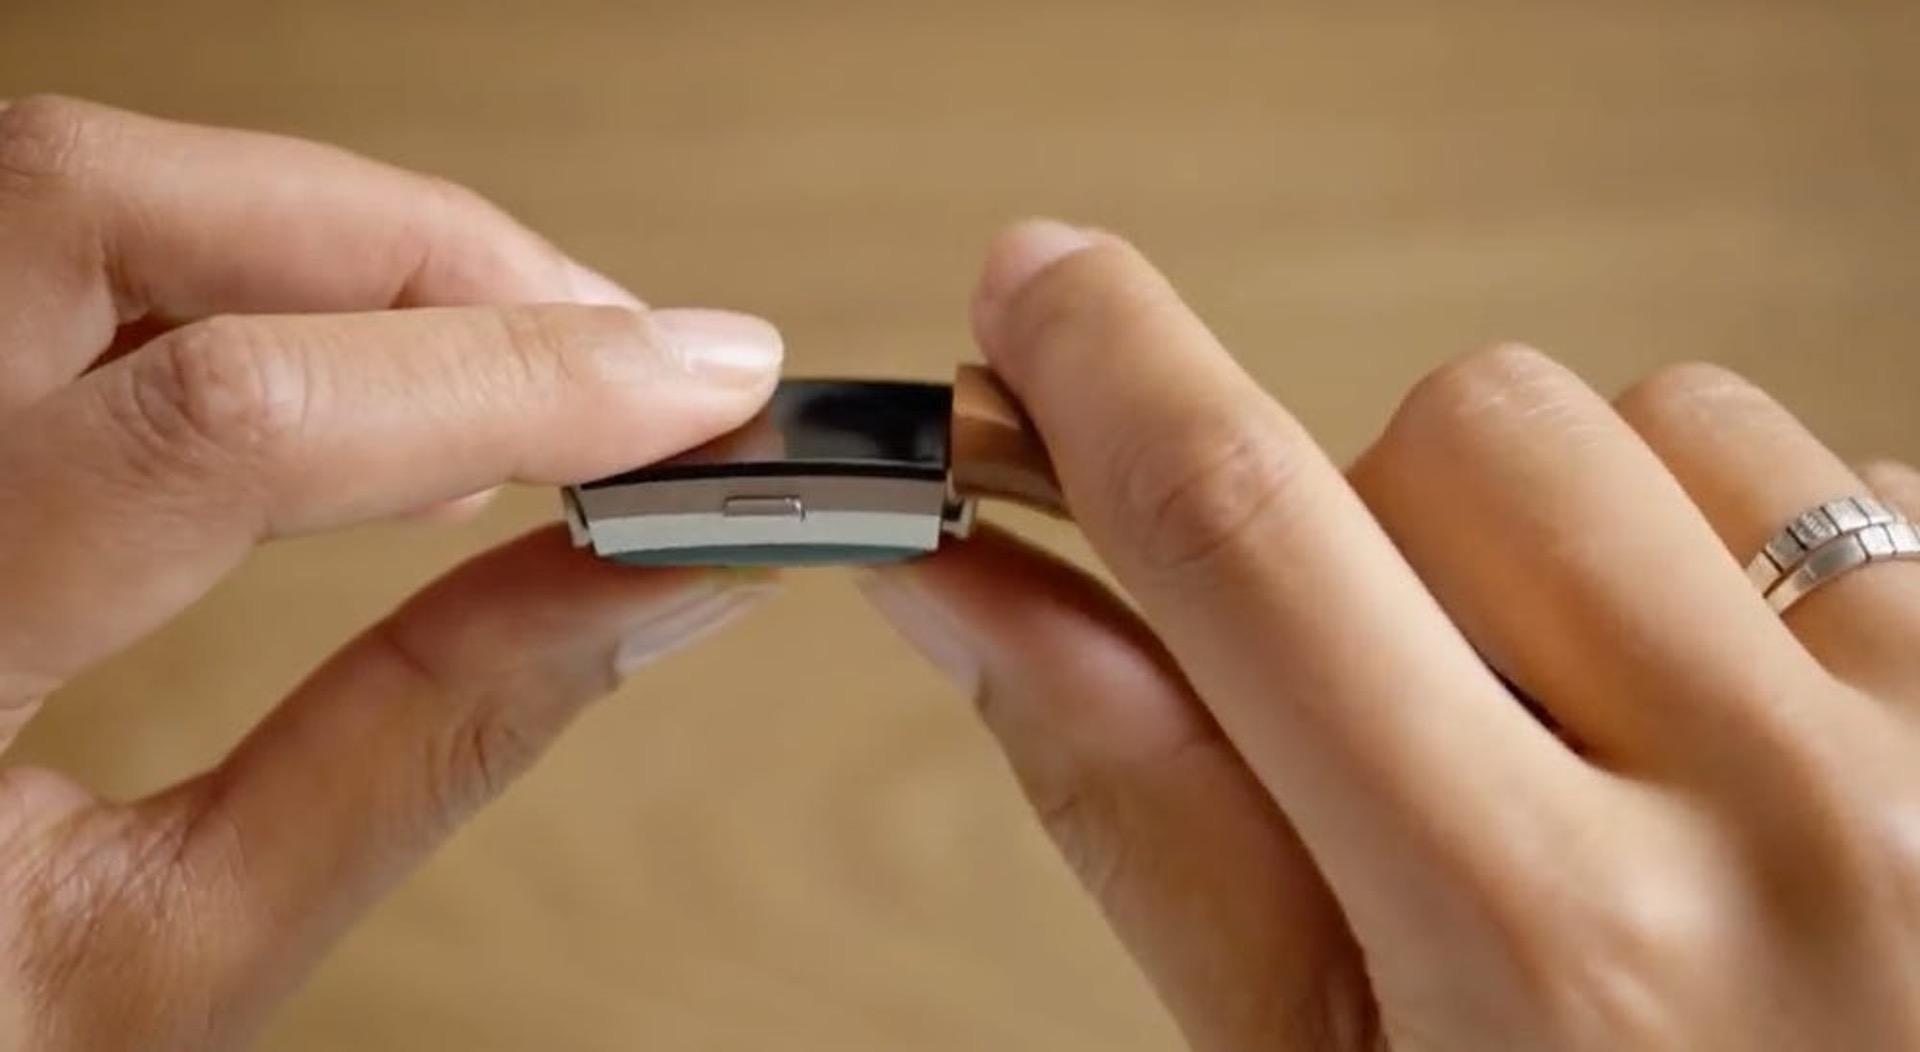
Align the New Band: Hold the Fitbit Charge 2 with the display facing down and position the new band so that it aligns with the attachment points on the tracker. The band should be oriented in a way that allows the spring bars to be easily inserted into the notches on the tracker.
-
Insert the Spring Bars: With the new band aligned, carefully insert one end of the spring bar into the notch on the band attachment point. Apply gentle pressure to compress the spring bar, allowing it to slide into place. Repeat this process for the other end of the band, ensuring that both spring bars are securely inserted.
-
Secure the New Band: Once the spring bars are in place, give the new band a gentle tug to ensure that it is securely attached to the Fitbit Charge 2. The band should sit flush against the tracker, with no gaps or movement when tugged lightly. This step is crucial for ensuring that the band remains firmly in place during daily wear.
-
Check for Proper Alignment: Take a moment to inspect the new band and ensure that it is aligned symmetrically with the tracker. The band should sit evenly on both sides of the device, providing a balanced and comfortable fit. Adjust the band if necessary to achieve optimal alignment.
-
Power Up Your Fitbit Charge 2: Once the new band is securely attached, power up your Fitbit Charge 2 to activate the device and confirm that the band replacement process has been successful. Navigate through the settings to ensure that the device recognizes the new band and is ready for use.
By following these detailed steps, you can seamlessly attach the new band to your Fitbit Charge 2, ushering in a fresh and personalized look that reflects your unique style and preferences. With the band securely in place, you're now ready to move on to the next step: adjusting the fit for optimal comfort and functionality.
Step 4: Adjust the Fit
Now that the new band is securely attached to your Fitbit Charge 2, it's time to focus on ensuring the optimal fit for comfort and functionality. A well-fitted band not only enhances the overall wearing experience but also ensures the accuracy of fitness tracking and heart rate monitoring. Here's a detailed guide on how to adjust the fit of your Fitbit Charge 2 band:
-
Evaluate the Fit: Place the Fitbit Charge 2 on your wrist and assess the initial fit of the new band. Pay attention to the snugness of the band and ensure that it is neither too tight nor too loose. The ideal fit should allow the device to sit comfortably on your wrist without causing any discomfort or constriction.
-
Adjust the Size: If the band feels too loose or tight, it may be necessary to adjust its size to achieve the perfect fit. Many replacement bands come with adjustable sizing options, such as additional holes or a clasp mechanism. Follow the manufacturer's instructions to customize the size of the band to your wrist's dimensions.
-
Comfort and Flexibility: As you fine-tune the fit of the band, prioritize comfort and flexibility. The band should conform to the contours of your wrist without causing any irritation or chafing. Additionally, ensure that the band allows for natural movement and does not impede blood circulation.
-
Secure Closure: If the new band features a clasp or buckle closure, ensure that it is securely fastened without being overly tight. A well-secured closure prevents the band from slipping or becoming dislodged during physical activity, providing peace of mind during workouts or daily wear.
-
Wearable Position: Adjust the position of the Fitbit Charge 2 on your wrist to find the most comfortable and functional placement. The device should sit slightly above the wrist bone, allowing the heart rate monitor and sensors to make accurate contact with your skin for precise tracking.
-
Test for Movement: Perform a few simple movements, such as wrist rotations and bending, to gauge the band's flexibility and stability. The band should remain in place without shifting or causing discomfort, even during dynamic activities.
By meticulously adjusting the fit of your Fitbit Charge 2 band, you can ensure a personalized and comfortable wearing experience that complements your lifestyle. With the band tailored to your wrist's dimensions and comfort in mind, your Fitbit Charge 2 is now ready to accompany you on your daily adventures and fitness pursuits.
Step 5: Sync with Fitbit App
Once you have successfully replaced the band and adjusted the fit of your Fitbit Charge 2, the final step is to sync your device with the Fitbit app. This crucial step ensures that your Fitbit Charge 2 is ready to track your activity, monitor your heart rate, and provide valuable insights into your fitness journey. Here's a detailed guide on how to seamlessly sync your Fitbit Charge 2 with the Fitbit app:
-
Open the Fitbit App: Begin by opening the Fitbit app on your smartphone or tablet. If you don't have the app installed, you can download it from the App Store (for iOS devices) or the Google Play Store (for Android devices).
-
Log In or Create an Account: If you're a new Fitbit user, follow the prompts to create a Fitbit account. For existing users, log in using your credentials to access your Fitbit dashboard and device settings.
-
Navigate to Device Settings: Once you're logged in, navigate to the device settings within the Fitbit app. This section allows you to manage your connected Fitbit devices and customize their settings.
-
Add a New Device: If your Fitbit Charge 2 is not yet connected to the app, select the option to add a new device. Follow the on-screen instructions to initiate the pairing process between your Fitbit Charge 2 and the Fitbit app.
-
Follow Pairing Instructions: The app will guide you through the pairing process, which typically involves enabling Bluetooth on your smartphone or tablet and allowing the app to search for nearby Fitbit devices. Once your Fitbit Charge 2 is detected, follow the prompts to establish a secure connection.
-
Device Recognition and Update: After the pairing process is complete, the Fitbit app will recognize your Fitbit Charge 2 and may prompt you to install any available firmware updates. It's essential to ensure that your device is running the latest software for optimal performance and feature availability.
-
Sync Data: Once your Fitbit Charge 2 is connected and updated, the app will automatically sync data between your device and your Fitbit account. This includes activity tracking, heart rate monitoring, sleep data, and more. Allow the app to complete the initial sync to ensure that all your device's features are fully operational.
-
Customize Settings: Take the opportunity to customize your device settings within the Fitbit app. This may include setting activity goals, adjusting notification preferences, and personalizing the display options for your Fitbit Charge 2.
By following these steps, you can seamlessly sync your Fitbit Charge 2 with the Fitbit app, ensuring that your device is fully integrated with your fitness and wellness journey. With the synchronization complete, your Fitbit Charge 2 is ready to empower you with valuable insights, personalized tracking, and a seamless connection to your fitness goals.
Conclusion
Congratulations on successfully revamping the style of your Fitbit Charge 2 with a new band! This transformative journey has not only refreshed the appearance of your device but also empowered you to personalize its functionality and comfort to align with your unique preferences. By following the step-by-step guide outlined in this comprehensive resource, you've gained valuable insights into the process of band replacement and device customization.
As you reflect on this experience, it's important to recognize the impact of personalization in the realm of wearables. Your Fitbit Charge 2 is now a reflection of your individual style and preferences, seamlessly integrating into your daily activities, workouts, and lifestyle. The ability to customize the look and feel of your device speaks to the evolving nature of wearable technology, where personal expression and practical functionality converge.
Beyond the aesthetic transformation, the process of replacing the band has provided you with a deeper understanding of your Fitbit Charge 2. From identifying the spring bars to adjusting the fit, each step has allowed you to engage with the intricate details of your device, fostering a sense of familiarity and confidence in its maintenance and customization.
Furthermore, the seamless synchronization of your Fitbit Charge 2 with the Fitbit app underscores the interconnected nature of modern fitness tracking. By leveraging the power of technology, you're now equipped with a comprehensive suite of features that cater to your wellness journey, from activity tracking and heart rate monitoring to personalized insights and goal setting.
As you embark on this new chapter with your revamped Fitbit Charge 2, remember that personalization is an ongoing journey. Whether you're exploring new bands to match different occasions or customizing your device settings to align with evolving fitness goals, the ability to tailor your wearable to your preferences remains a dynamic and empowering endeavor.
In closing, the process of revamping your Fitbit Charge 2 with a new band extends far beyond the physical act of replacement. It embodies the fusion of personal style, technological innovation, and individual empowerment. Your wearable device is now a seamless extension of your lifestyle, ready to accompany you on your pursuits and inspire you to achieve your wellness aspirations.
Embrace this newfound personalization and let your revamped Fitbit Charge 2 serve as a testament to the power of customization in the world of wearables. With each step, you've not only transformed your device but also embarked on a journey of self-expression and empowerment, reflecting the true essence of wearable technology in the modern age.