Introduction
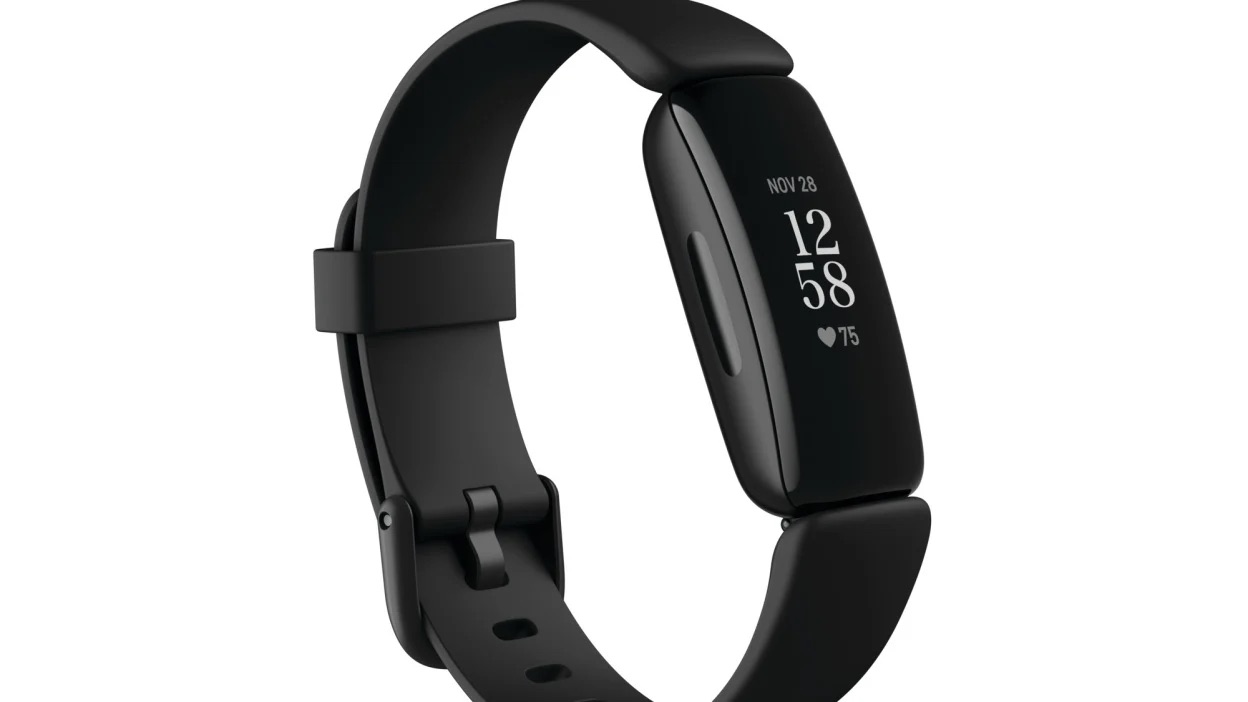
The Fitbit Inspire 2 is a versatile and stylish wearable that offers not only advanced fitness tracking features but also the ability to personalize its appearance to suit your unique style. One of the most popular ways to personalize the Fitbit Inspire 2 is by changing its band. Whether you want to switch to a different color for a fresh look or opt for a different material for enhanced comfort, changing the band on your Fitbit Inspire 2 is a simple and rewarding process.
In this guide, we will walk you through the step-by-step process of changing the band on your Fitbit Inspire 2. By following these instructions, you will be able to seamlessly transition from the current band to a new one, allowing you to express your individuality and make your Fitbit Inspire 2 truly your own.
The process of changing the band on your Fitbit Inspire 2 is not only a practical skill but also an opportunity to infuse your wearable with a touch of personal flair. Whether you're gearing up for a workout, a night out, or a casual day, having the flexibility to switch bands gives you the freedom to tailor your Fitbit Inspire 2 to any occasion. So, let's dive into the steps and unleash the full potential of your Fitbit Inspire 2 by mastering the art of band changes.
Step 1: Gather the Necessary Tools
Before embarking on the journey of changing the band on your Fitbit Inspire 2, it's essential to gather the necessary tools to ensure a smooth and hassle-free process. Here's what you'll need:
-
Fitbit Inspire 2: Ensure that your Fitbit Inspire 2 is fully charged and powered off before beginning the band-changing process. This will prevent any accidental input during the band replacement.
-
Replacement Band: Select a replacement band that suits your style and preferences. Whether it's a sporty silicone band for workouts or an elegant metal mesh band for a night out, choose a band that complements your personality and activities.
-
Work Surface: Find a clean and flat work surface to lay out the tools and components. This will provide a stable area to work on and prevent any small parts from getting lost during the band change.
-
Tool for Band Removal (if applicable): Depending on the type of replacement band you've chosen, you may need a small tool, such as a spring bar tool, to assist in removing the current band from your Fitbit Inspire 2.
-
Cleaning Cloth: Have a soft cleaning cloth on hand to wipe down your Fitbit Inspire 2 and the new band before installation. This will help ensure a clean and polished look for your wearable.
-
Patience and Care: While not tangible tools, patience and care are essential for a successful band change. Take your time and handle the components with care to avoid any damage to your Fitbit Inspire 2 or the new band.
By gathering these tools and setting the stage for the band-changing process, you'll be well-prepared to proceed with confidence. With everything in place, you're ready to move on to the next step and begin the exciting journey of transforming your Fitbit Inspire 2 with a new band.
Step 2: Remove the Current Band
Removing the current band from your Fitbit Inspire 2 is the first crucial step in the band-changing process. Whether you're replacing a worn-out band or simply seeking a change in style, this step sets the stage for the transformation of your wearable. Here's a detailed guide on how to remove the current band with precision and care:
-
Assess the Band Type: Depending on the type of band your Fitbit Inspire 2 is currently equipped with, the removal process may vary. If it's a traditional buckle or clasp band, you'll need to focus on the attachment points near the watch face. For a sport or mesh band, there may be quick-release pins or a different attachment mechanism to consider.
-
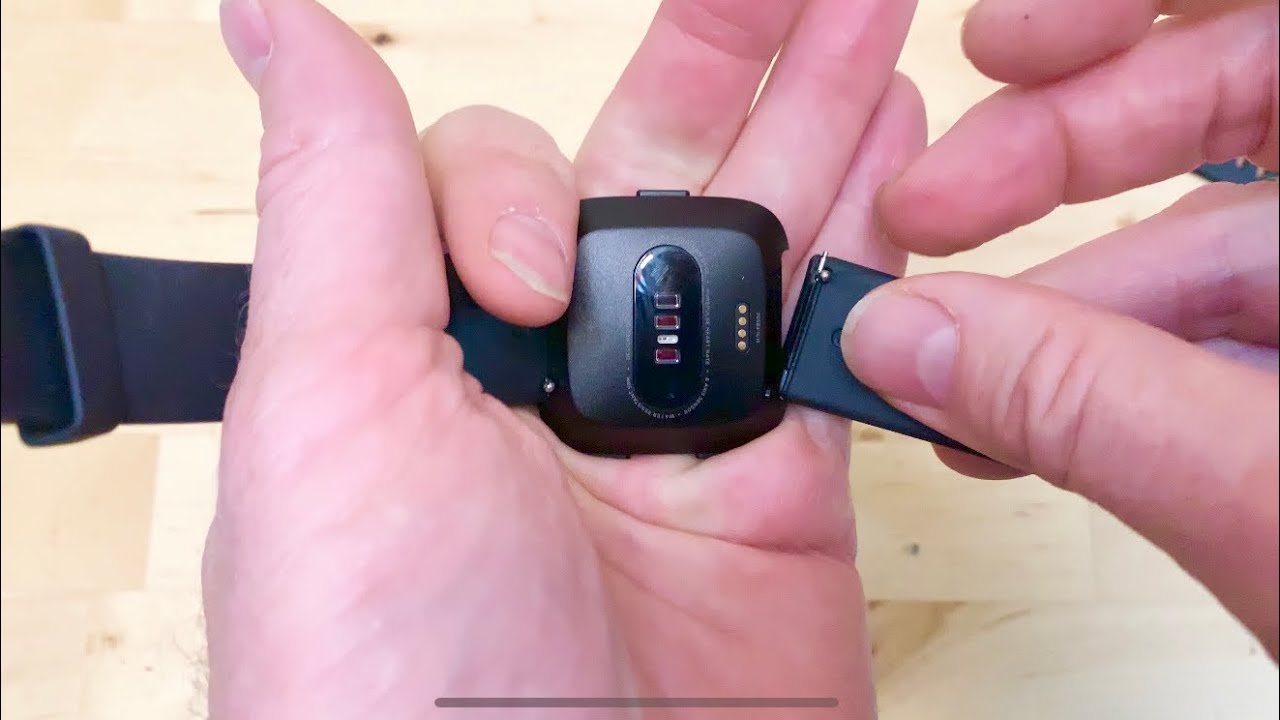
Locate the Release Mechanism: If your current band features a traditional buckle or clasp, look for the small release buttons or levers on the underside of the band near the watch face. Press or slide these mechanisms to release the band from the watch body. For quick-release bands, locate the small pins on each side of the band where it connects to the watch body.
-
Use the Appropriate Tool (if needed): In the case of bands with spring bars or other secure attachment methods, a small tool such as a spring bar tool may be required to assist in the removal process. Carefully insert the tool into the designated slots or openings and gently apply pressure to release the band from the watch body. Exercise caution to avoid damaging the watch or the band during this step.
-
Detach the Band: With the release mechanism engaged or the appropriate tool in place, carefully detach the band from the watch body. Ensure a steady hand and gentle movements to prevent any accidental damage. If you encounter resistance, double-check the release mechanisms and proceed with patience to avoid forcing the band off.
-
Clean and Inspect: Once the band is removed, take a moment to inspect the attachment points on the watch body for any debris or residue. Use a soft cleaning cloth to gently wipe the area, ensuring a clean surface for the new band installation. Similarly, inspect the removed band for any signs of wear or dirt, and clean it if necessary before storing it for future use.
By following these detailed steps, you can successfully remove the current band from your Fitbit Inspire 2, paving the way for the exciting installation of a new band. With precision and care, this process sets the stage for a seamless transition to a fresh and personalized look for your wearable companion.
Step 3: Attach the New Band
With the current band successfully removed, it's time to embark on the exhilarating phase of attaching the new band to your Fitbit Inspire 2. This step marks the transformation of your wearable, infusing it with a fresh and personalized look that resonates with your style and preferences. Follow these detailed instructions to seamlessly attach the new band with precision and care:
-
Select the New Band: Before attaching the new band, ensure that it is compatible with your Fitbit Inspire 2. Whether it's a sporty silicone band, a sophisticated metal mesh band, or a classic leather band, choose a replacement that aligns with your fashion sense and activity needs.
-
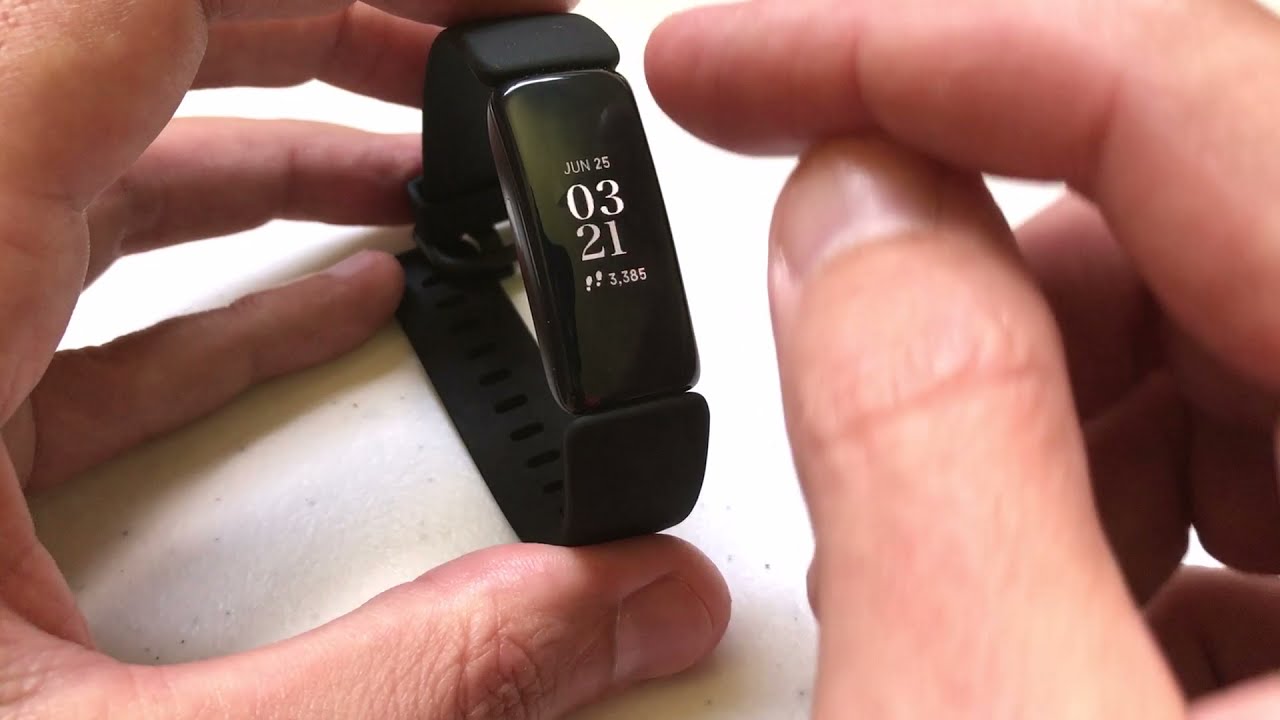
Align and Position: Hold the new band alongside your Fitbit Inspire 2, aligning the attachment points with the corresponding slots or pins on the watch body. Ensure that the band is positioned correctly to facilitate a smooth and secure attachment.
-
Engage the Attachment Mechanism: Depending on the type of band you've chosen, engage the appropriate attachment mechanism to secure the new band to your Fitbit Inspire 2. For traditional buckle or clasp bands, fasten the closure securely, ensuring a snug and comfortable fit. If the new band features quick-release pins, align them with the attachment points and gently press until you hear a satisfying click, indicating a secure attachment.
-
Verify Security and Fit: After attaching the new band, perform a gentle tug to ensure that it is securely fastened to your Fitbit Inspire 2. Verify that the band sits comfortably on your wrist, allowing for unrestricted movement while maintaining a snug and stable fit. This step is crucial to ensure that the new band is firmly in place, ready to accompany you on your daily activities.
-
Clean and Polish: Once the new band is securely attached, take a moment to clean and polish your Fitbit Inspire 2. Use a soft cleaning cloth to gently wipe the watch body and the new band, removing any fingerprints or smudges. This final touch enhances the overall aesthetic appeal of your wearable, presenting it in its best light.
By following these detailed steps, you can seamlessly attach the new band to your Fitbit Inspire 2, elevating its appearance and functionality to align with your personal style and activity preferences. With precision and care, this transformative process sets the stage for a renewed and personalized experience with your Fitbit Inspire 2.
Step 4: Adjust the Fit
Once the new band is securely attached to your Fitbit Inspire 2, it's essential to ensure that it provides a comfortable and secure fit for your wrist. The adjustment phase allows you to customize the band's fit, ensuring that it stays in place during your daily activities while maintaining a comfortable feel. Here's a detailed guide on how to adjust the fit of your new band with precision and care:
-
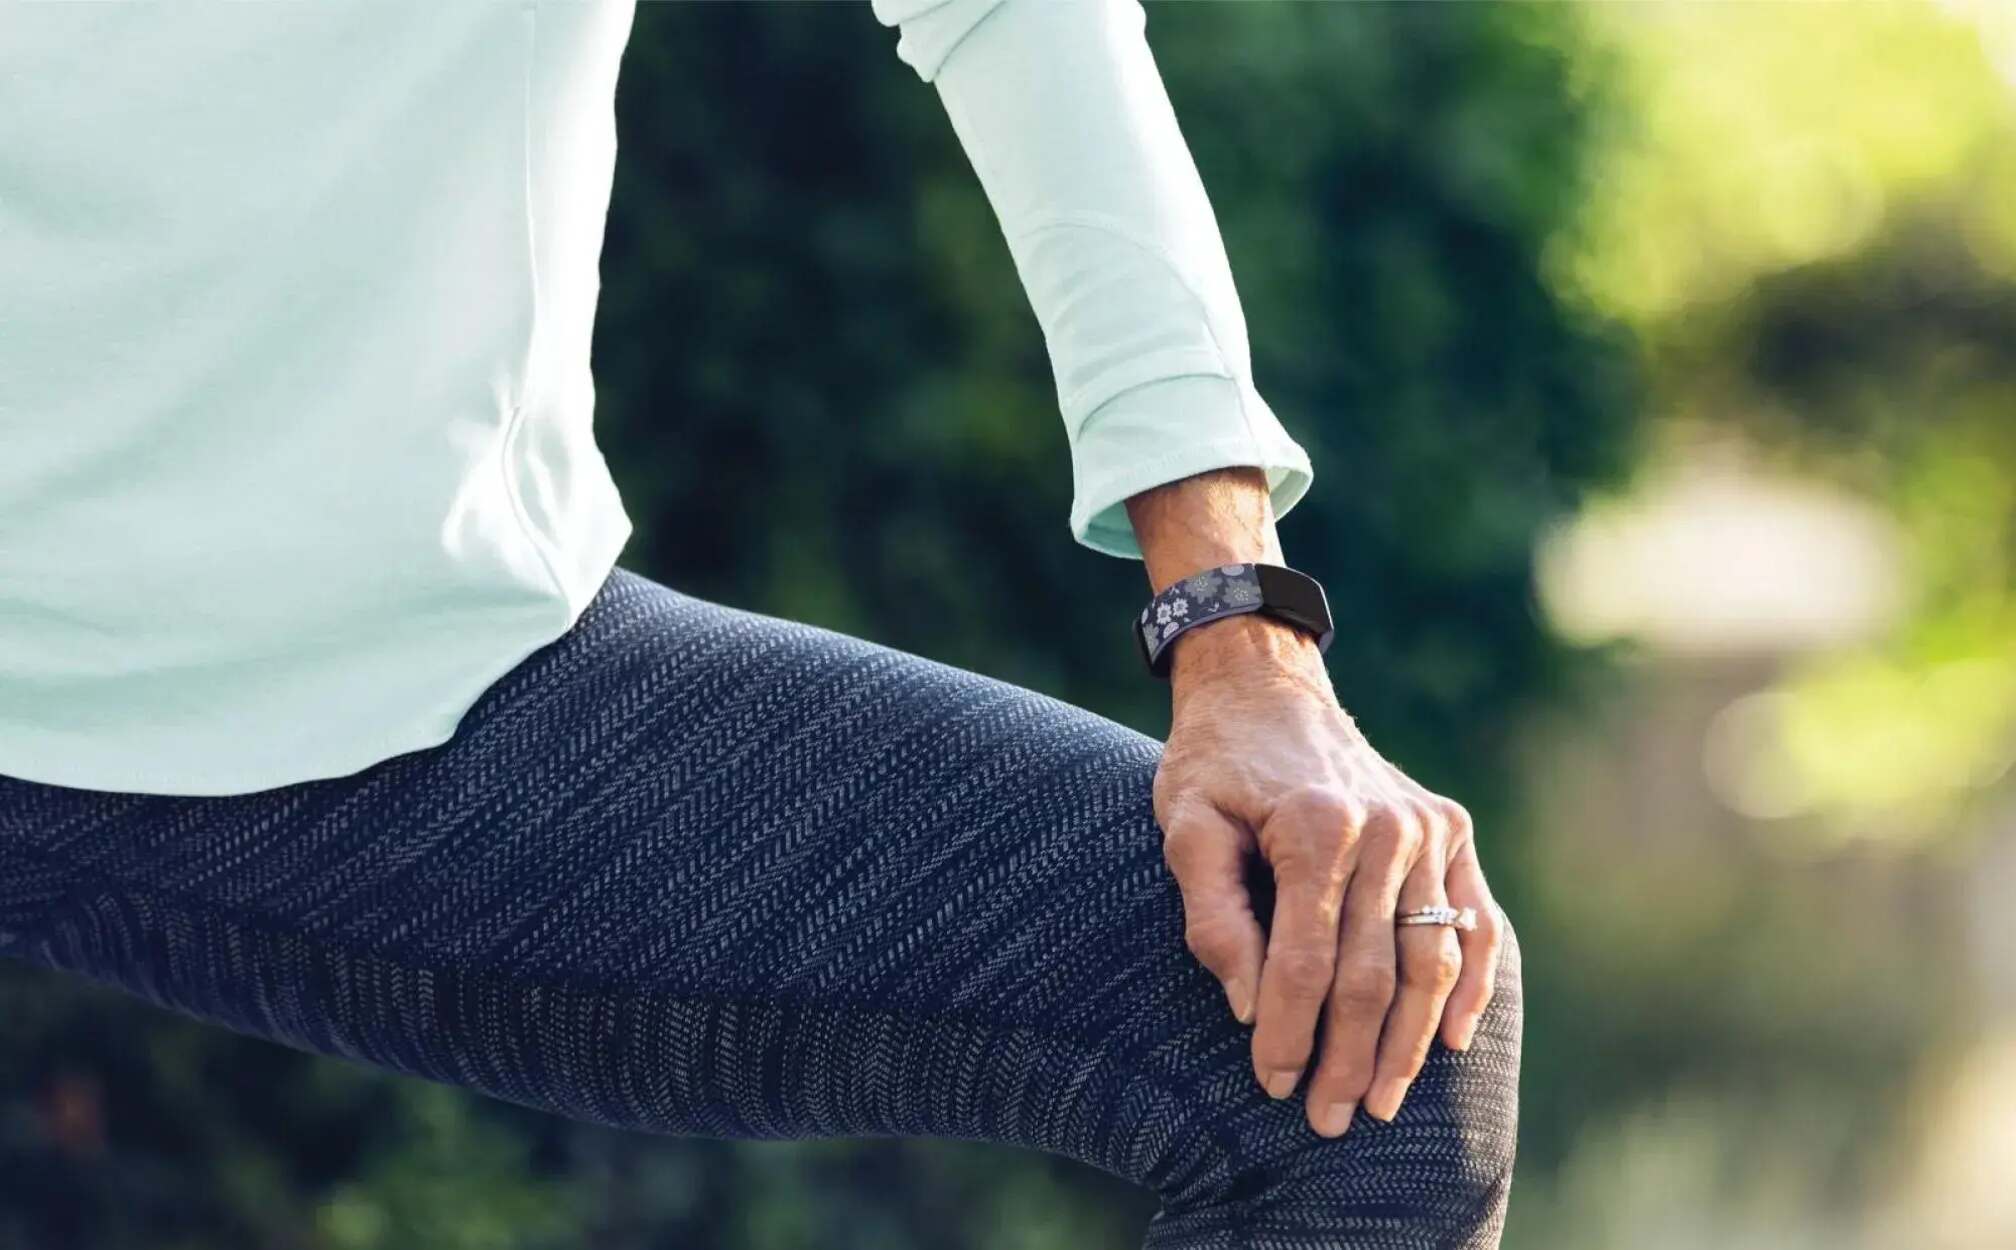
Wrist Positioning: Position your Fitbit Inspire 2 on your wrist in a way that feels natural and comfortable. The placement of the device should allow for optimal sensor contact with your skin while ensuring that the band sits securely without being too tight or too loose.
-
Closure Adjustment: If your new band features a traditional buckle or clasp, adjust the closure to achieve the desired fit. Fasten the closure securely, ensuring that it provides a snug and stable hold without causing discomfort. The goal is to strike a balance between security and comfort, allowing the band to stay in place without being overly restrictive.
-
Band Length: For bands with adjustable length, such as metal mesh or certain silicone bands, take the time to customize the length to fit your wrist perfectly. Follow the manufacturer's instructions for adjusting the band length, ensuring that it provides a secure fit without leaving excess slack or feeling too tight.
-
Comfort Check: After making initial adjustments, perform a comfort check by moving your wrist through its natural range of motion. Ensure that the band allows for unrestricted movement while maintaining a secure hold. Pay attention to any pressure points or discomfort, as these may indicate the need for further adjustments.
-
Skin Contact: Verify that the sensors on the underside of your Fitbit Inspire 2 maintain consistent contact with your skin. This is crucial for accurate fitness tracking and heart rate monitoring. Adjust the band if necessary to ensure that the sensors remain in contact with your skin without causing irritation.
-
Stability Test: Perform a stability test by gently shaking your wrist to simulate movement during various activities. The band should remain securely in place without sliding or shifting. If you notice any movement, revisit the closure or length adjustments to achieve a more secure fit.
By following these detailed steps, you can fine-tune the fit of your new band, ensuring that it provides the ideal combination of comfort, stability, and security. A well-adjusted band not only enhances the overall wearing experience but also contributes to the accuracy of fitness and health tracking provided by your Fitbit Inspire 2. With precision and care, this adjustment phase completes the band-changing process, allowing you to enjoy a personalized and comfortable fit for your wearable companion.
Step 5: Final Checks and Tips
With the new band securely attached and the fit customized to your comfort, it's time to perform final checks and consider valuable tips to ensure that your Fitbit Inspire 2 is ready to accompany you on your daily adventures. This phase of the band-changing process serves as a comprehensive evaluation of the transformation, allowing you to verify the integrity of the installation and gather insights for optimal usage. Here's a detailed overview of the final checks and essential tips to enhance your experience with the newly changed band:
Final Checks
-
Secure Attachment: Double-check the attachment of the new band to your Fitbit Inspire 2, ensuring that it remains firmly in place. Perform a gentle tug to verify its security, providing peace of mind that it will stay put during your activities.
-
Sensor Contact: Confirm that the sensors on the underside of your Fitbit Inspire 2 are in consistent contact with your skin. This is vital for accurate fitness tracking and heart rate monitoring, ensuring that the device can provide reliable data.
-
Aesthetic Appeal: Take a moment to admire the new band and its visual harmony with your Fitbit Inspire 2. Appreciate the personalized touch it adds to your wearable, reflecting your unique style and preferences.
-
Comfort Assessment: Wear your Fitbit Inspire 2 for a brief period to assess the comfort of the new band. Pay attention to any pressure points or discomfort, making adjustments if necessary to achieve an optimal wearing experience.
-
Functionality Test: Test the functionality of your Fitbit Inspire 2, including its tracking capabilities and display visibility. Ensure that the new band does not obstruct the device's features and that it seamlessly integrates into your daily routine.
Essential Tips
-
Band Maintenance: Regularly clean and maintain your new band to preserve its appearance and longevity. Follow the manufacturer's guidelines for cleaning and care, ensuring that it remains in top condition for an extended period.
-
Band Rotation: Consider owning multiple bands to cater to different occasions and activities. Having a selection of bands allows you to effortlessly switch styles, whether it's for workouts, formal events, or casual outings.
-
Personalization: Embrace the versatility of your Fitbit Inspire 2 by experimenting with various band options. Personalize your wearable to suit your mood, outfit, or the nature of your day, adding a touch of creativity to your daily ensemble.
-
Explore Accessories: Explore additional accessories such as screen protectors and decorative charms to further customize your Fitbit Inspire 2. These accessories can enhance the visual appeal and protection of your wearable, adding an extra layer of personalization.
By performing these final checks and embracing these valuable tips, you can ensure that your Fitbit Inspire 2, with its newly changed band, is primed for a seamless and personalized experience. This phase marks the culmination of the band-changing process, empowering you to fully enjoy the enhanced aesthetics and functionality of your wearable companion.
Conclusion
In conclusion, the process of changing the band on your Fitbit Inspire 2 is not only a practical skill but also an opportunity to infuse your wearable with a touch of personal flair. By following the step-by-step guide outlined in this article, you have gained valuable insights into seamlessly transitioning from the current band to a new one, allowing you to express your individuality and make your Fitbit Inspire 2 truly your own.
The ability to personalize the appearance of your Fitbit Inspire 2 through band changes offers a myriad of benefits beyond aesthetics. It empowers you to tailor your wearable to suit different occasions and activities, whether it's a sporty silicone band for workouts, an elegant metal mesh band for a night out, or a classic leather band for everyday wear. This versatility enhances not only the visual appeal of your Fitbit Inspire 2 but also its functionality, ensuring that it seamlessly integrates into your lifestyle.
As you embark on the band-changing journey, gathering the necessary tools, removing the current band with precision, attaching the new band with care, adjusting the fit to your comfort, and performing final checks and essential tips, you have embraced the transformative potential of your Fitbit Inspire 2. The attention to detail and the thoughtful approach to the band-changing process reflect your commitment to maximizing the personalization and usability of your wearable companion.
By mastering the art of band changes, you have unlocked the full potential of your Fitbit Inspire 2, allowing it to evolve alongside your style and preferences. The renewed aesthetics and customized fit of the new band not only elevate the visual appeal of your wearable but also contribute to a comfortable and personalized wearing experience.
Moving forward, continue to explore the diverse range of band options available for your Fitbit Inspire 2, embracing the opportunity to switch styles effortlessly and infuse creativity into your daily ensemble. With each band change, you have the chance to redefine the look and feel of your Fitbit Inspire 2, ensuring that it remains a true reflection of your individuality and dynamic lifestyle.
As you venture into the exciting realm of band changes, remember that the process is not just about swapping bands—it's about curating a wearable experience that resonates with your unique identity and enhances every moment of your day. Embrace the versatility, express your style, and savor the personalized journey with your Fitbit Inspire 2, knowing that each band change is an opportunity to make your wearable truly yours.