Introduction
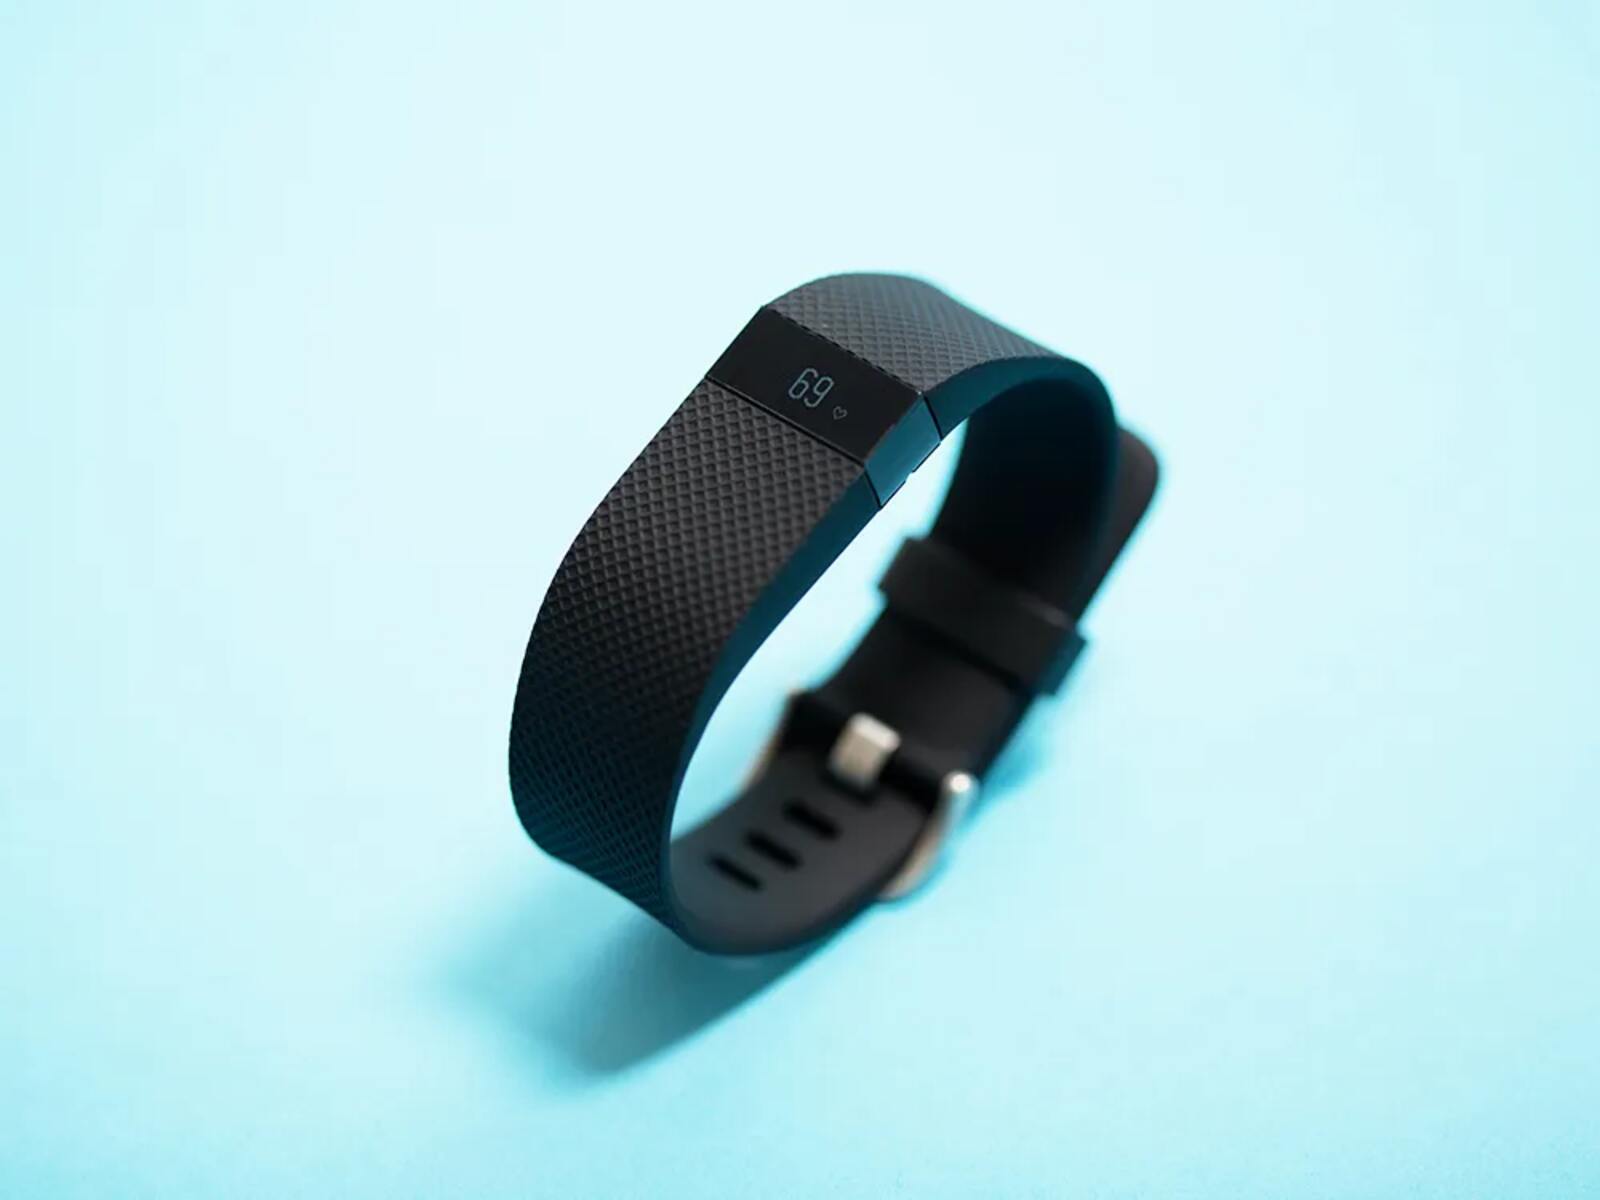
The Fitbit Charge HR is a popular and reliable fitness tracker that has helped countless individuals achieve their health and wellness goals. One of the standout features of this wearable device is its interchangeable bands, which allow users to customize the look and feel of their device to suit their personal style and preferences. Whether you're looking to replace a worn-out band or simply want to switch up the aesthetic of your Fitbit Charge HR, changing the band is a simple and rewarding process.
In this comprehensive guide, we will walk you through the step-by-step process of changing the band on your Fitbit Charge HR. By following these instructions, you'll be able to seamlessly upgrade the style of your device, giving it a fresh and personalized look that reflects your unique personality.
The process of changing the band on your Fitbit Charge HR is straightforward and requires only a few basic tools. With a little patience and attention to detail, you can easily transform the appearance of your fitness tracker, breathing new life into your everyday accessory. So, gather your tools and get ready to give your Fitbit Charge HR a style upgrade that will make it stand out in any setting.
Step 1: Gather the necessary tools
Before embarking on the journey of changing the band on your Fitbit Charge HR, it's essential to gather the necessary tools to ensure a smooth and successful transition. Here's a list of items you'll need:
-
Replacement Band: The first and most crucial tool you'll need is the replacement band for your Fitbit Charge HR. Replacement bands come in a variety of colors, materials, and styles, allowing you to personalize your device to match your unique taste and preferences. Ensure that you have the correct replacement band that is compatible with your Fitbit Charge HR model.
-
Small Flathead Screwdriver or Pry Tool: To remove the old band from your Fitbit Charge HR, you'll need a small flathead screwdriver or a specialized pry tool designed for this purpose. This tool will allow you to carefully detach the old band from the device, making way for the new band.
-
Clean Cloth: It's important to have a clean cloth on hand to wipe down your Fitbit Charge HR and ensure that the device is free from any dust, dirt, or residue before attaching the new band. This will help maintain the integrity of the new band and keep your device looking fresh and clean.
-
Workspace: Find a well-lit and spacious area to work on your Fitbit Charge HR. A clutter-free workspace will make the process more manageable and reduce the chances of misplacing any small components during the band replacement.
-
Patience and Attention to Detail: While not tangible tools, patience and attention to detail are essential for this task. Taking your time and being mindful of the process will ensure that you handle the device and its components with care, minimizing the risk of accidental damage.
By gathering these tools and preparing your workspace, you'll be fully equipped to proceed with confidence to the next step of replacing the band on your Fitbit Charge HR. With the necessary tools at your disposal, you're ready to embark on this style upgrade journey and give your fitness tracker a fresh new look.
Step 2: Remove the old band
Removing the old band from your Fitbit Charge HR is a crucial step in the process of upgrading its style. Before starting, ensure that you have a clean workspace and all the necessary tools within reach. Here's a detailed guide on how to remove the old band and prepare your device for the new one.
-
Power Off: Begin by powering off your Fitbit Charge HR. This can be done by accessing the settings on the device and selecting the power-off option. Ensuring that the device is turned off will prevent any accidental activation during the band replacement process.
-
Secure Workspace: Lay down a soft, clean cloth on your workspace to prevent any scratches to the device's screen or body. This will also provide a gentle surface to place the Fitbit Charge HR as you work on it.
-
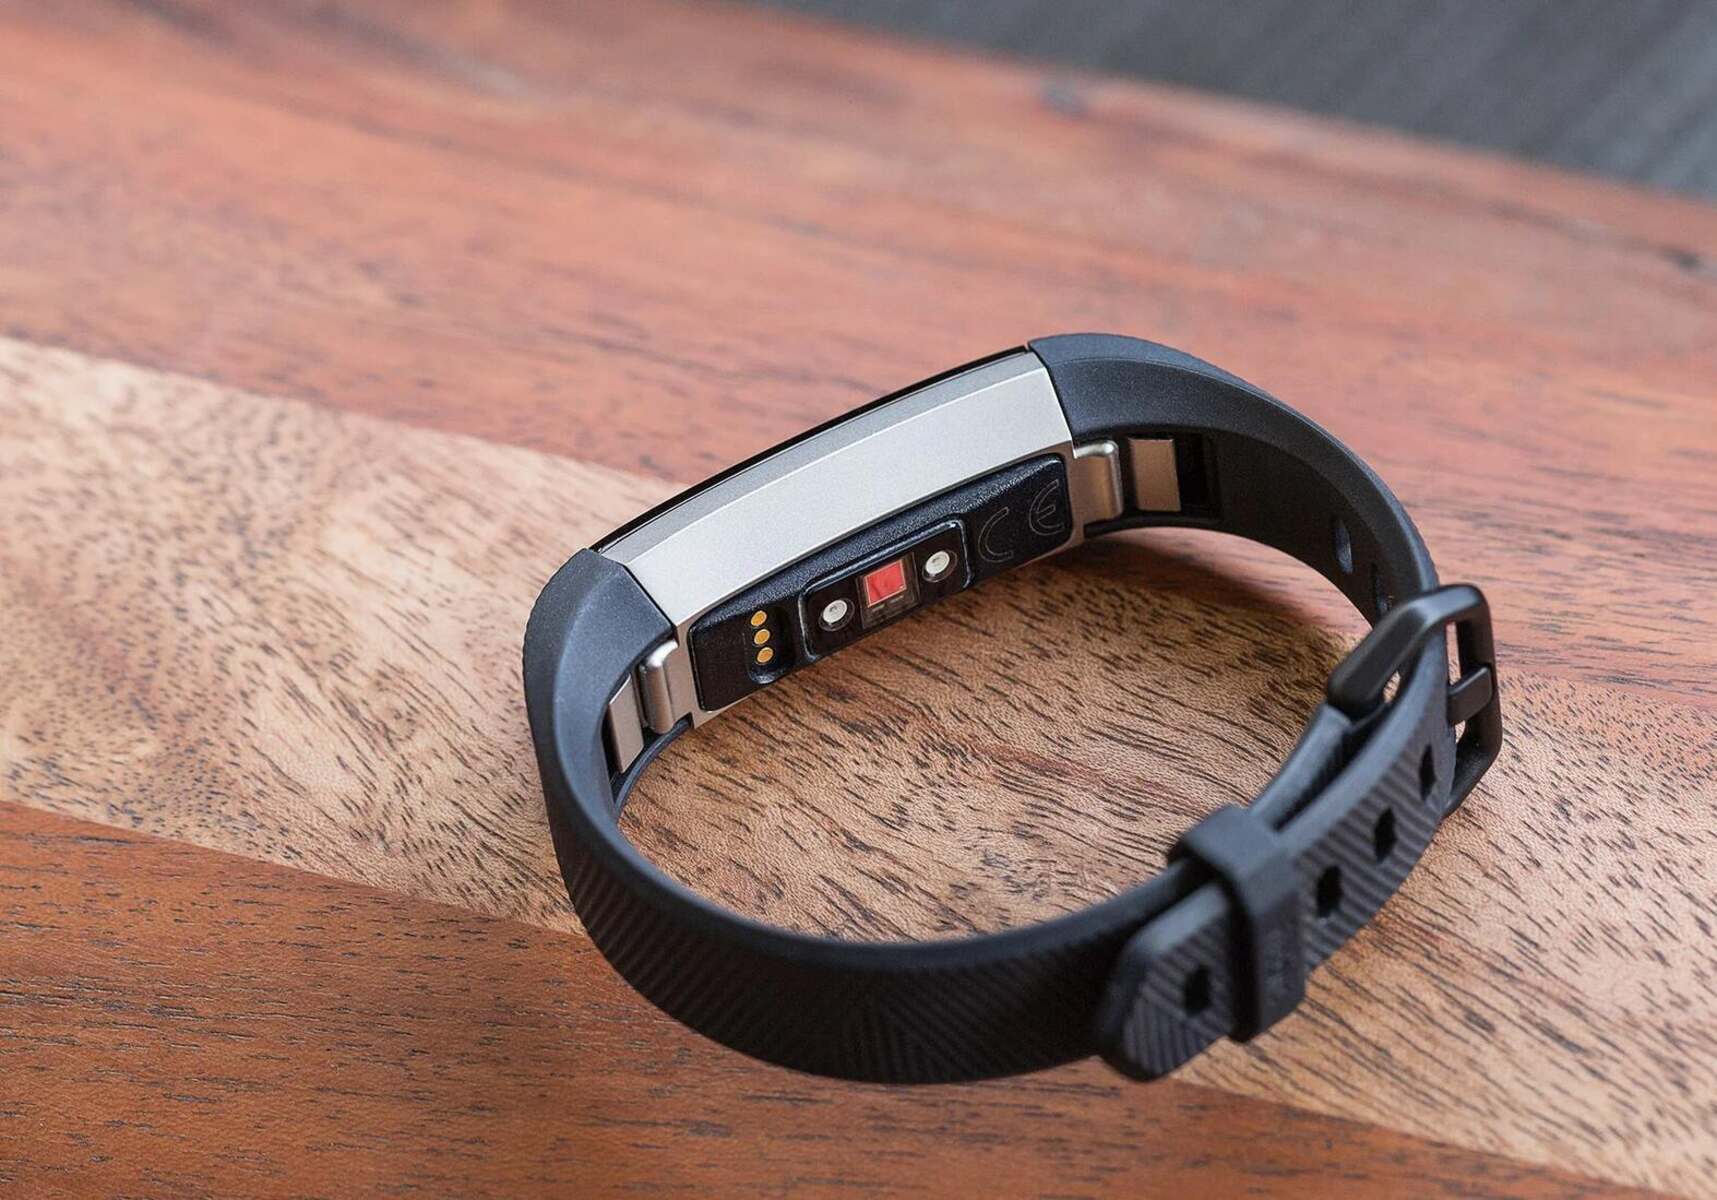
Identify the Latches: Examine the sides of the Fitbit Charge HR to locate the latches that secure the band to the tracker. These latches are small, discreet mechanisms that hold the band in place. You may need to use a small flathead screwdriver or a specialized pry tool to release the latches. Carefully insert the tool between the band and the tracker, applying gentle pressure to disengage the latch.
-
Detach the Band: With the tool in place, carefully and slowly pry the band away from the tracker. Start at one end and work your way around the device, gradually releasing the band from the latches. Take your time and ensure that each latch is fully disengaged before moving on to the next one. It's important to exercise caution during this process to avoid any damage to the device or the band.
-
Remove the Band: Once all the latches have been released, gently lift the old band away from the Fitbit Charge HR. Take care not to force the band or apply excessive pressure, as this may cause damage to the device. Set the old band aside, as it can potentially be reused or recycled.
By following these steps, you can successfully remove the old band from your Fitbit Charge HR, paving the way for the attachment of a new, fresh band. With the old band removed, you're now ready to move on to the next exciting phase of this style upgrade journey.
Step 3: Attach the new band
With the old band successfully removed, it's time to usher in a fresh and stylish new band for your Fitbit Charge HR. This step will guide you through the process of attaching the new band, allowing you to personalize your device and give it a renewed sense of character. Before proceeding, ensure that you have the replacement band and all the necessary tools within reach.
-
Inspect the New Band: Begin by examining the new replacement band for any defects or irregularities. Check for any manufacturing residues or rough edges that may affect the fit or comfort of the band. It's essential to ensure that the new band is in pristine condition before proceeding with the attachment process.
-
Align and Position: Hold the Fitbit Charge HR in a secure and comfortable position, ensuring that the screen is facing upwards. Take the new band and align it with the tracker, ensuring that the orientation is correct. Most replacement bands are designed to fit seamlessly with the device, with specific grooves or notches that facilitate a secure attachment.
-
Engage the Latches: Carefully position the new band against the tracker, aligning the latches with the corresponding slots on the device. Apply gentle and consistent pressure to the band, ensuring that each latch securely engages with the tracker. Start at one end and work your way around, ensuring that the new band sits flush against the device.
-
Verify the Fit: Once the new band is attached, perform a thorough inspection to ensure that it is securely in place. Gently tug on the band to check for any signs of looseness or instability. The band should sit snugly against the device, with no gaps or misalignments. A properly attached band will enhance the overall aesthetics and functionality of the Fitbit Charge HR.
-
Power On and Test: With the new band securely attached, power on your Fitbit Charge HR and verify that the device functions as expected. Navigate through the menus and check the display to ensure that the device is operating normally. Additionally, perform a quick physical activity to test the stability of the new band during movement.
By following these steps, you can seamlessly attach the new band to your Fitbit Charge HR, breathing new life into your device and reflecting your personal style. With the new band in place, your fitness tracker will exude a fresh and personalized charm, ready to accompany you on your wellness journey.
Step 4: Test the new band
After successfully attaching the new band to your Fitbit Charge HR, it's crucial to thoroughly test the band to ensure its stability and functionality. This step is essential in guaranteeing that the new band seamlessly integrates with the device, providing a comfortable and reliable fit during various activities. Here's a detailed guide on how to effectively test the new band and verify its performance.
-
Physical Activity Test: Engage in a brief physical activity such as walking, jogging, or light exercise to assess the stability of the new band during movement. Pay attention to any signs of slippage or discomfort, ensuring that the band remains securely in place throughout the activity.
-
Moisture Resistance: If your new band is designed for active use or is water-resistant, consider exposing it to moisture in the form of sweat or light splashes of water. This will allow you to evaluate the band's resistance to moisture and its ability to maintain comfort and durability in such conditions.
-
Skin Sensitivity Check: For individuals with sensitive skin, it's important to monitor the interaction between the new band and the skin. Wear the device for an extended period, paying attention to any signs of irritation or discomfort. A high-quality replacement band should be skin-friendly and non-irritating, ensuring a pleasant wearing experience.
-
Fitbit Functionality: Test the full functionality of the Fitbit Charge HR, including features such as heart rate monitoring, step tracking, and display responsiveness. Verify that the new band does not obstruct or interfere with the device's sensors or buttons, allowing for seamless operation.
-
Long-Term Wear Assessment: Wear the Fitbit Charge HR with the new band for an entire day, paying attention to its comfort and ergonomics during prolonged use. A well-fitted band should remain comfortable and secure, adapting to the contours of your wrist without causing any discomfort or inconvenience.
By conducting these comprehensive tests, you can ensure that the new band not only enhances the visual appeal of your Fitbit Charge HR but also delivers on practicality and comfort. A successful band replacement should seamlessly integrate with the device, elevating its overall functionality and style. With the new band passing the rigorous testing phase, you can confidently embrace the refreshed look and feel of your Fitbit Charge HR, ready to accompany you on your fitness and wellness endeavors.
Conclusion
Congratulations on successfully upgrading the style of your Fitbit Charge HR by replacing its band! This transformative process has not only given your fitness tracker a fresh and personalized look but has also allowed you to infuse your unique personality into this everyday accessory. As you conclude this band replacement journey, it's essential to reflect on the significance of this style upgrade and the impact it has on your overall experience with the Fitbit Charge HR.
By taking the initiative to change the band on your Fitbit Charge HR, you have demonstrated a commitment to personalization and self-expression. The ability to customize the appearance of your fitness tracker empowers you to align it with your individual style, preferences, and mood, creating a deeper sense of connection with the device. This newfound personalization adds a layer of excitement and ownership to your Fitbit Charge HR, elevating it from a functional gadget to a reflection of your unique identity.
Furthermore, the process of changing the band has allowed you to engage with your Fitbit Charge HR on a deeper level, fostering a sense of care and attention towards this valuable wellness companion. The meticulous steps involved in removing the old band, inspecting the new band, and ensuring its seamless attachment have provided a hands-on experience that strengthens your bond with the device. This hands-on approach encourages a deeper appreciation for the craftsmanship and design of the Fitbit Charge HR, fostering a stronger sense of connection and ownership.
As you marvel at the refreshed appearance of your Fitbit Charge HR, adorned with a new band that resonates with your personal style, you are poised to embark on your wellness journey with renewed enthusiasm. The visual transformation of the device serves as a constant reminder of your dedication to health and fitness, inspiring you to make the most of its capabilities and features. The upgraded style of your Fitbit Charge HR reflects your commitment to holistic well-being, encapsulating the fusion of technology and personal expression in a single wearable device.
In conclusion, the process of changing the band on your Fitbit Charge HR extends far beyond a mere cosmetic upgrade. It represents a profound act of self-expression, a hands-on engagement with your fitness tracker, and a visual declaration of your dedication to wellness. As you revel in the newfound charm of your Fitbit Charge HR, may it serve as a steadfast companion on your journey towards a healthier and more vibrant lifestyle. Embrace the personalized allure of your device, and let it inspire you to reach new heights in your pursuit of well-being.