Introduction
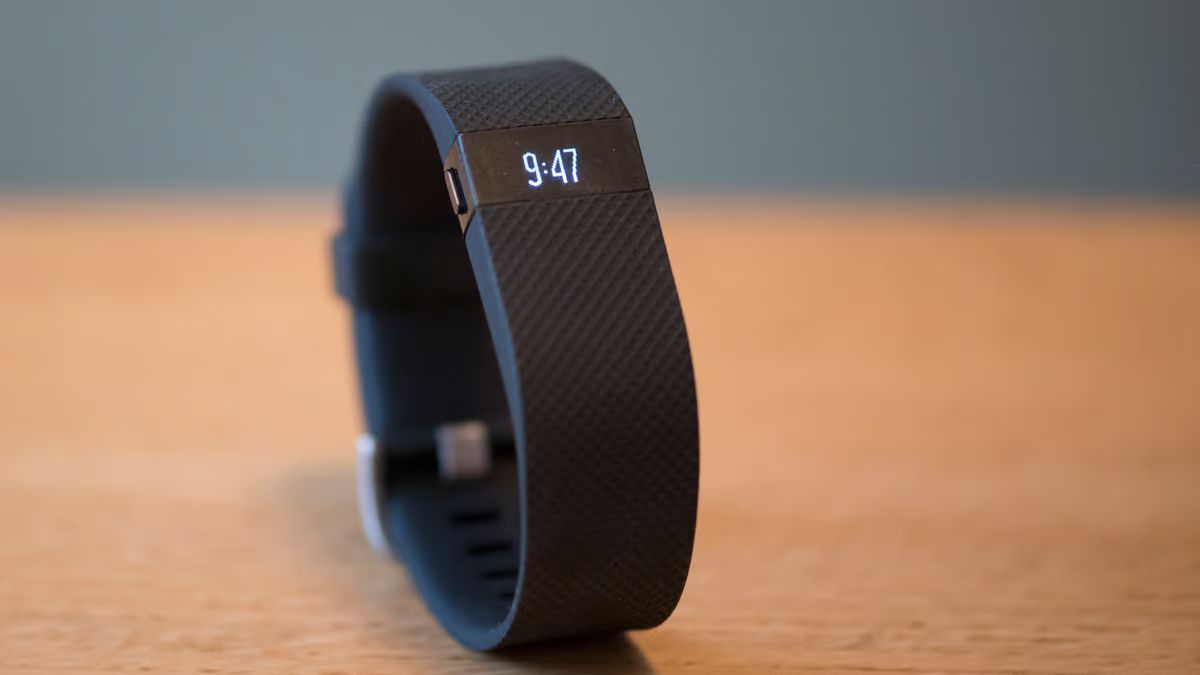
The Fitbit Charge HR is a popular wearable device that helps individuals track their fitness and monitor their daily activity levels. Over time, the band of the Fitbit Charge HR may wear out due to regular use, leading to the need for a replacement. Fortunately, replacing the band on the Fitbit Charge HR is a straightforward process that can be easily accomplished with the right tools and a few simple steps.
In this comprehensive guide, we will walk you through the process of replacing the band on your Fitbit Charge HR, ensuring that you can continue to enjoy the benefits of this innovative fitness tracker. Whether you prefer a sleek new band or need to replace a worn-out one, this guide will equip you with the knowledge and confidence to carry out the replacement seamlessly.
By following the step-by-step instructions and tips provided in this guide, you will be able to restore your Fitbit Charge HR to its optimal functionality, allowing you to continue tracking your workouts, monitoring your heart rate, and staying motivated on your fitness journey.
Now, let's delve into the details of how to replace the band on your Fitbit Charge HR, starting with the essential tools you will need for this task.
Step 1: Gather Necessary Tools
Before embarking on the process of replacing the band on your Fitbit Charge HR, it's essential to gather the necessary tools to ensure a smooth and efficient band replacement. Having the right tools at your disposal will not only streamline the process but also minimize the risk of damaging the device during the replacement procedure.
Here's a list of the essential tools you will need:
-
Replacement Band: Begin by obtaining a compatible replacement band for your Fitbit Charge HR. Ensure that the replacement band is specifically designed for the Fitbit Charge HR model to guarantee a perfect fit and optimal functionality. Replacement bands are available in a variety of colors, materials, and designs, allowing you to personalize your Fitbit Charge HR to suit your style and preferences.
-
Small Flathead Screwdriver or Pry Tool: To safely remove the old band from your Fitbit Charge HR, you will need a small flathead screwdriver or a specialized pry tool designed for electronic devices. This tool will enable you to carefully detach the old band without causing any damage to the device's casing or internal components.
-
Cleaning Cloth: It's advisable to have a soft cleaning cloth on hand to gently wipe the device's surface and ensure that it is free from any dust, dirt, or residue before attaching the new band. This simple step will help maintain the overall cleanliness and appearance of your Fitbit Charge HR.
-
Work Surface: Prepare a clean and well-lit work surface where you can comfortably carry out the band replacement process. Choose a location with ample space and minimal clutter to facilitate easy access to the device and tools.
By gathering these necessary tools, you will be fully equipped to proceed with the band replacement process, ensuring that you can seamlessly transition to the subsequent steps without any interruptions.
With the essential tools in hand, you are now ready to move on to the next step, which involves removing the old band from your Fitbit Charge HR. This pivotal stage will set the foundation for successfully attaching the new replacement band, allowing you to revitalize your Fitbit Charge HR and resume your fitness tracking endeavors with renewed vigor.
Step 2: Remove the Old Band
Removing the old band from your Fitbit Charge HR is a crucial step in the band replacement process. By carefully detaching the worn-out band, you pave the way for seamlessly attaching the new replacement band, ensuring a secure and comfortable fit for your device.
To begin, locate the connection points where the band attaches to the main body of the Fitbit Charge HR. You will notice small metal pins on each end of the band, which fit into corresponding holes on the device's casing. Using a small flathead screwdriver or a specialized pry tool, gently insert the tool's edge between the band and the device's casing, ensuring a delicate and controlled approach to avoid any damage.
Apply gentle pressure to carefully pry the band away from the device, taking care not to force or bend the metal pins. It's important to exert even pressure on both sides of the band to ensure a balanced and controlled removal process. As you work the tool around the band's connection points, you will gradually loosen the grip of the old band, allowing it to be safely detached from the Fitbit Charge HR.
Once the band is loosened on both sides, gently lift it away from the device, taking care to avoid any sudden movements that may cause damage. With a steady and deliberate motion, separate the old band from the device, ensuring that the metal pins are fully disengaged from the corresponding holes.
Upon successful removal of the old band, take a moment to inspect the device's casing and connection points to ensure that no damage has occurred during the band removal process. Clear away any debris or residue that may have accumulated around the connection points, using a soft cleaning cloth to maintain the cleanliness of the device's surface.
With the old band removed and the device's casing in optimal condition, you are now ready to proceed to the next step, where you will seamlessly attach the new replacement band to your Fitbit Charge HR. This pivotal stage marks the transition to revitalizing your device and ensuring that it is ready to accompany you on your fitness journey with a fresh and secure band.
Step 3: Attach the New Band
With the old band successfully removed, it's time to embark on the exciting phase of attaching the new replacement band to your Fitbit Charge HR. This step is pivotal in revitalizing your device and ensuring a secure and comfortable fit that will accompany you on your fitness journey.
Begin by aligning the new replacement band with the device, ensuring that the metal pins on each end of the band correspond to the designated holes on the Fitbit Charge HR's casing. Carefully position the band to ensure a snug and balanced fit, taking note of the alignment to prevent any potential damage to the device during the attachment process.
Once the band is aligned with the device, gently press each end of the band against the casing, allowing the metal pins to smoothly slide into the corresponding holes. Apply even pressure on both sides of the band to ensure a secure and stable attachment, taking care to avoid any abrupt or forceful movements that may compromise the integrity of the connection points.
As you press the band into place, listen for a subtle clicking sound, which indicates that the metal pins have securely engaged with the device's casing. This auditory confirmation signifies a successful attachment, ensuring that the new replacement band is firmly in position and ready to accompany you on your fitness endeavors.
After attaching the new band, take a moment to inspect the connection points to ensure that the band is securely fastened to the Fitbit Charge HR. Gently tug on the band to verify its stability, ensuring that it does not shift or detach from the device. This simple test will provide reassurance that the new band is securely in place, ready to withstand your daily activities and fitness routines.
With the new replacement band securely attached, your Fitbit Charge HR is now revitalized and ready to resume its role as your trusted fitness companion. The seamless attachment process ensures that you can continue tracking your workouts, monitoring your heart rate, and staying motivated on your fitness journey without any interruptions.
By successfully completing the band attachment process, you have restored your Fitbit Charge HR to its optimal functionality, allowing you to enjoy the benefits of this innovative fitness tracker with a fresh and secure band. With the band securely in place, you are now prepared to test the replacement band, ensuring that it seamlessly integrates with the device's features and enhances your overall fitness tracking experience.
Step 4: Test the Replacement Band
With the new replacement band securely attached to your Fitbit Charge HR, it's crucial to conduct a comprehensive test to ensure that the band seamlessly integrates with the device's features and functions. Testing the replacement band will not only validate its secure attachment but also verify its compatibility with the Fitbit Charge HR's tracking capabilities, allowing you to resume your fitness monitoring with confidence.
Begin by powering on your Fitbit Charge HR and accessing its various features, including heart rate monitoring, step tracking, and workout recording. As you navigate through the device's functionalities, pay close attention to the responsiveness of the touch interface and the accuracy of the displayed data. The seamless operation of these features indicates that the replacement band is effectively interfacing with the device, ensuring that you can continue tracking your fitness metrics without any impediments.
Next, engage in physical activities that align with your typical fitness routines, such as walking, jogging, or engaging in workout sessions. During these activities, observe the stability of the replacement band and its ability to withstand movement and perspiration. The band should remain securely fastened to the device, providing a comfortable and reliable fit that allows you to focus on your fitness goals without any distractions.
Additionally, monitor the heart rate tracking functionality to ensure that the replacement band accurately captures and displays your heart rate data in real time. Compare the readings with your perceived exertion levels during physical activities to assess the band's precision in monitoring your heart rate, providing valuable insights into your workout intensity and cardiovascular performance.
Furthermore, evaluate the overall comfort and wearability of the replacement band during extended use. Assess its breathability, flexibility, and skin-friendly properties to determine whether it enhances the overall wearing experience of your Fitbit Charge HR. A well-suited replacement band should complement the device's ergonomic design, allowing you to wear it throughout the day without discomfort or irritation.
By conducting a thorough test of the replacement band, you can confidently ascertain its compatibility with your Fitbit Charge HR, ensuring that it seamlessly integrates with the device's features and enhances your overall fitness tracking experience. The successful completion of the band test reaffirms the reliability and functionality of your revitalized Fitbit Charge HR, empowering you to pursue your fitness goals with renewed enthusiasm and assurance.
Conclusion
In conclusion, the process of replacing the band on your Fitbit Charge HR is a rewarding endeavor that allows you to breathe new life into your trusted fitness companion. By following the step-by-step guide outlined in this comprehensive resource, you have gained valuable insights into seamlessly replacing the band, ensuring that your Fitbit Charge HR remains a reliable tool for tracking your fitness journey.
The journey began with the essential step of gathering the necessary tools, including a compatible replacement band, a small flathead screwdriver or pry tool, a cleaning cloth, and a suitable work surface. This preparatory phase equipped you with the resources needed to embark on the band replacement process with confidence and precision.
Next, the meticulous removal of the old band from your Fitbit Charge HR set the stage for the seamless attachment of the new replacement band. By delicately detaching the worn-out band and inspecting the device's casing, you ensured that the foundation was set for a successful band replacement, free from any potential damage or complications.
The subsequent step involved the exciting process of attaching the new replacement band to your Fitbit Charge HR, where precision and care were paramount. By aligning the band and securely fastening it to the device, you revitalized your Fitbit Charge HR with a fresh and comfortable band, tailored to your preferences and style.
Following the band attachment, the comprehensive test of the replacement band validated its compatibility with the device's features and its ability to withstand your fitness activities. This crucial step ensured that the replacement band seamlessly integrated with the Fitbit Charge HR, empowering you to resume your fitness tracking with unwavering confidence.
As you reflect on the journey of replacing the band on your Fitbit Charge HR, you have not only revitalized your device but also reaffirmed your commitment to your fitness goals. The seamless band replacement process has provided you with a renewed sense of enthusiasm and assurance, allowing you to embrace your fitness journey with a revitalized tool by your side.
With the replacement band securely in place and seamlessly integrated with your Fitbit Charge HR, you are now poised to embark on your fitness endeavors with renewed vigor and confidence. The successful band replacement has reaffirmed the reliability and functionality of your Fitbit Charge HR, ensuring that it remains a steadfast companion on your path to wellness and vitality.
In essence, the band replacement process encapsulates the spirit of progress and revitalization, embodying your dedication to maintaining an active and healthy lifestyle. As you continue to track your workouts, monitor your heart rate, and pursue your fitness aspirations, your Fitbit Charge HR stands as a testament to your unwavering commitment to well-being and self-improvement.
Embrace the journey ahead with your revitalized Fitbit Charge HR, knowing that each step you take is supported by a trusted companion that has been rejuvenated through the seamless replacement of its band. Your fitness story continues, propelled by the reliability and functionality of your Fitbit Charge HR, now adorned with a fresh and secure band that represents your dedication to progress and vitality.