Introduction
Welcome to our guide on how to set up a Polk Soundbar! If you’ve recently purchased a Polk Soundbar and are ready to enhance your audio experience, you’ve come to the right place. In this article, we’ll walk you through the step-by-step process of unboxing, connecting, and configuring your Polk Soundbar, so that you can enjoy immersive, high-quality sound from your TV.
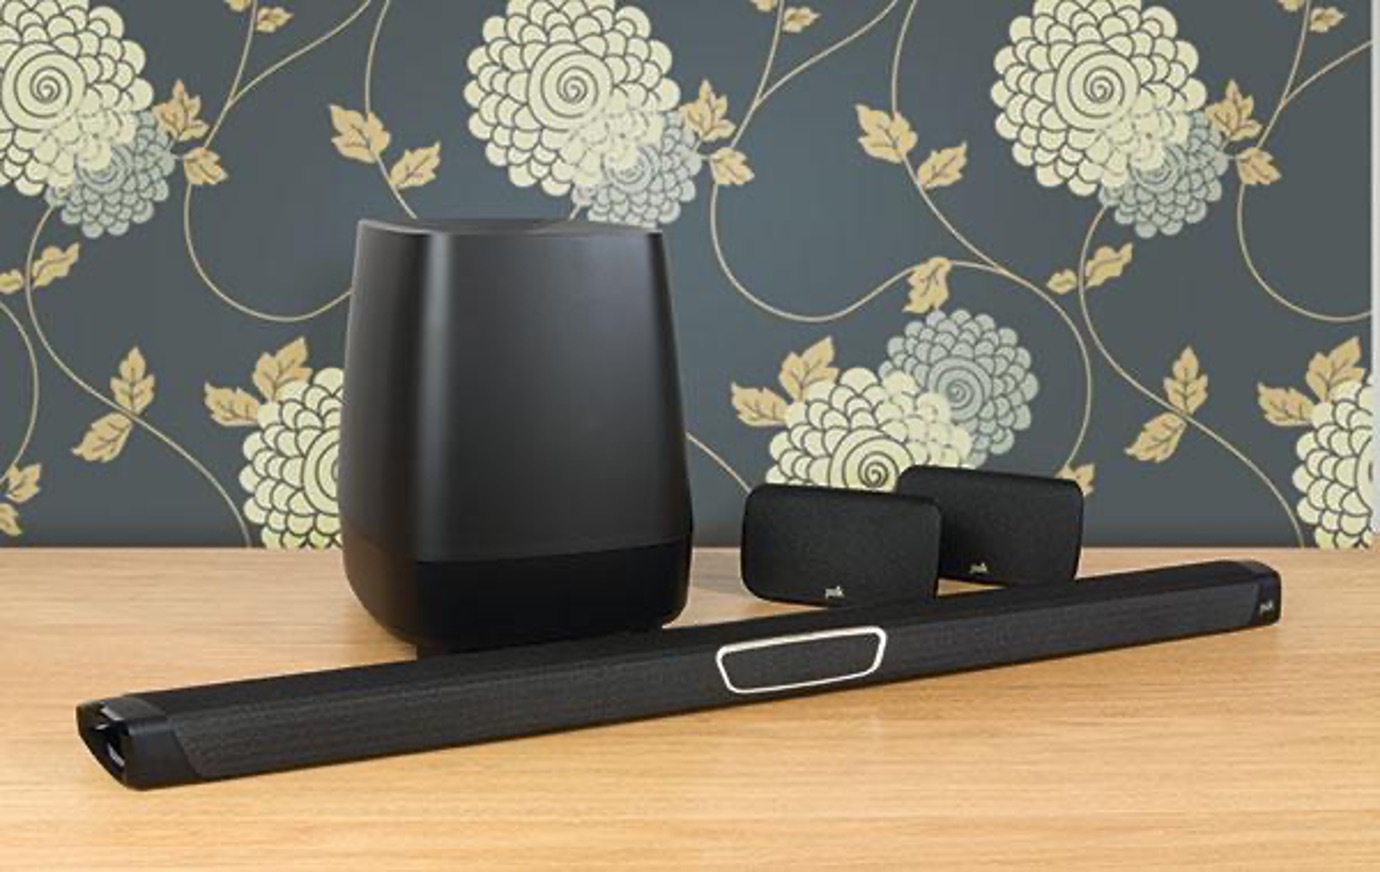
A soundbar is an excellent addition to any home theater setup, as it provides improved audio quality and clarity compared to the built-in speakers of most televisions. Polk Soundbars are known for their exceptional performance and user-friendly features, making them a popular choice among audio enthusiasts.
Whether you’re a tech-savvy individual or a beginner, setting up a Polk Soundbar is a straightforward process. In the following sections, we’ll provide you with detailed instructions along with tips and troubleshooting advice to ensure a seamless setup experience.
Before we dive into the steps, make sure you have all the necessary tools and components. This usually includes the Polk Soundbar, a power cord, an HDMI cable, and any other additional devices you plan to connect, such as a Blu-ray player or gaming console.
Now, let’s get started on setting up your Polk Soundbar and take your TV audio to the next level!
Step 1: Unboxing the Polk Soundbar
The first step in setting up your Polk Soundbar is unboxing it. This process is relatively simple, but it’s important to handle the components with care to avoid any damage.
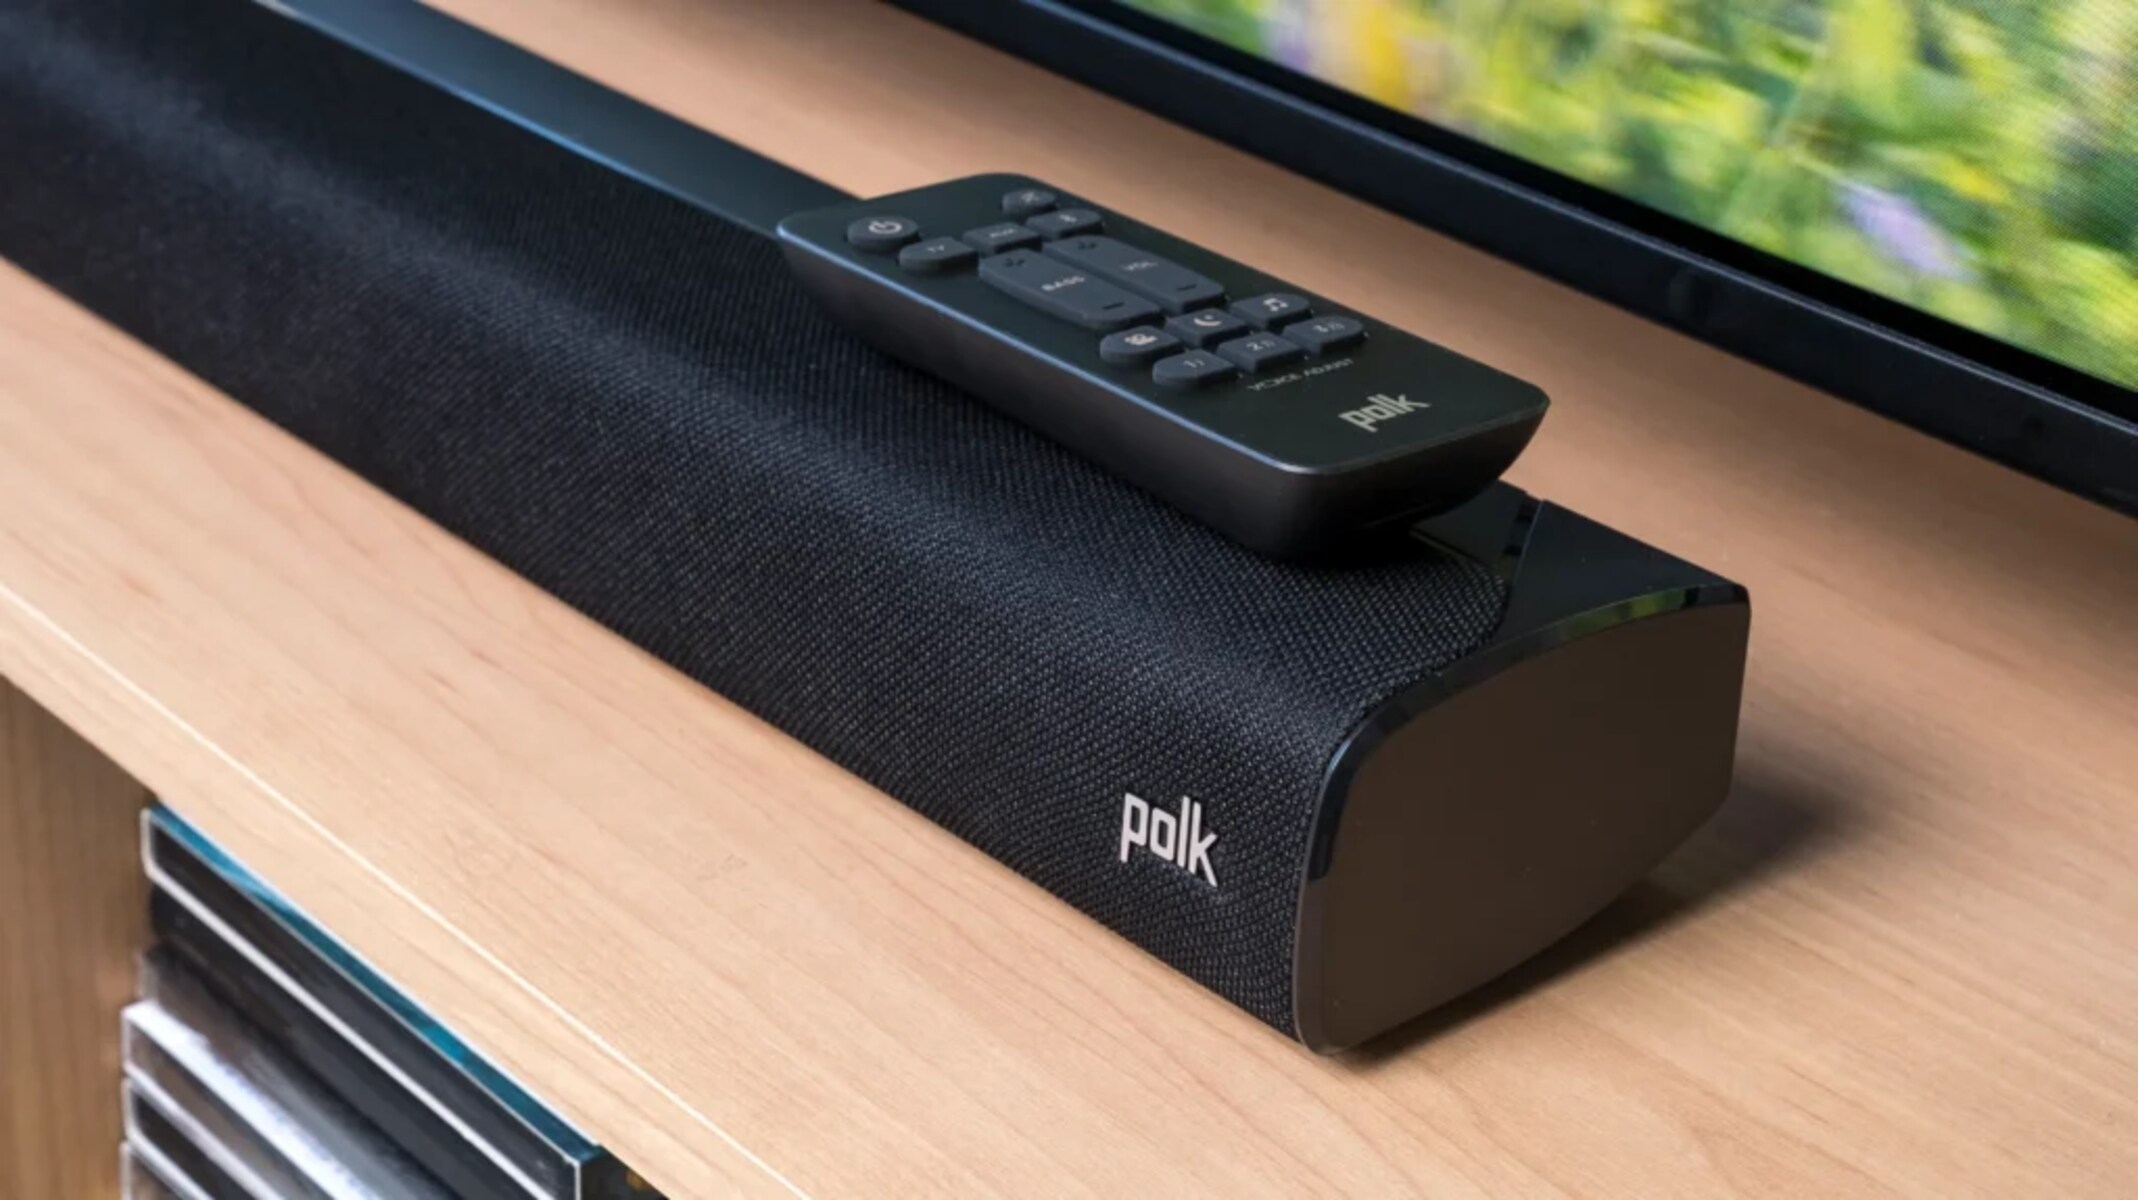
Start by finding a clear and spacious area to work in. Lay out the contents of the box, which usually include the soundbar itself, a remote control, power cords, and any additional accessories that may come with your specific model.
Remove any protective packaging, such as plastic wrap or foam, from the soundbar and its components. Take a moment to familiarize yourself with the various buttons, ports, and indicators on the soundbar. The user manual provided with your soundbar can serve as a helpful reference if you have any questions about the specific features and functions.
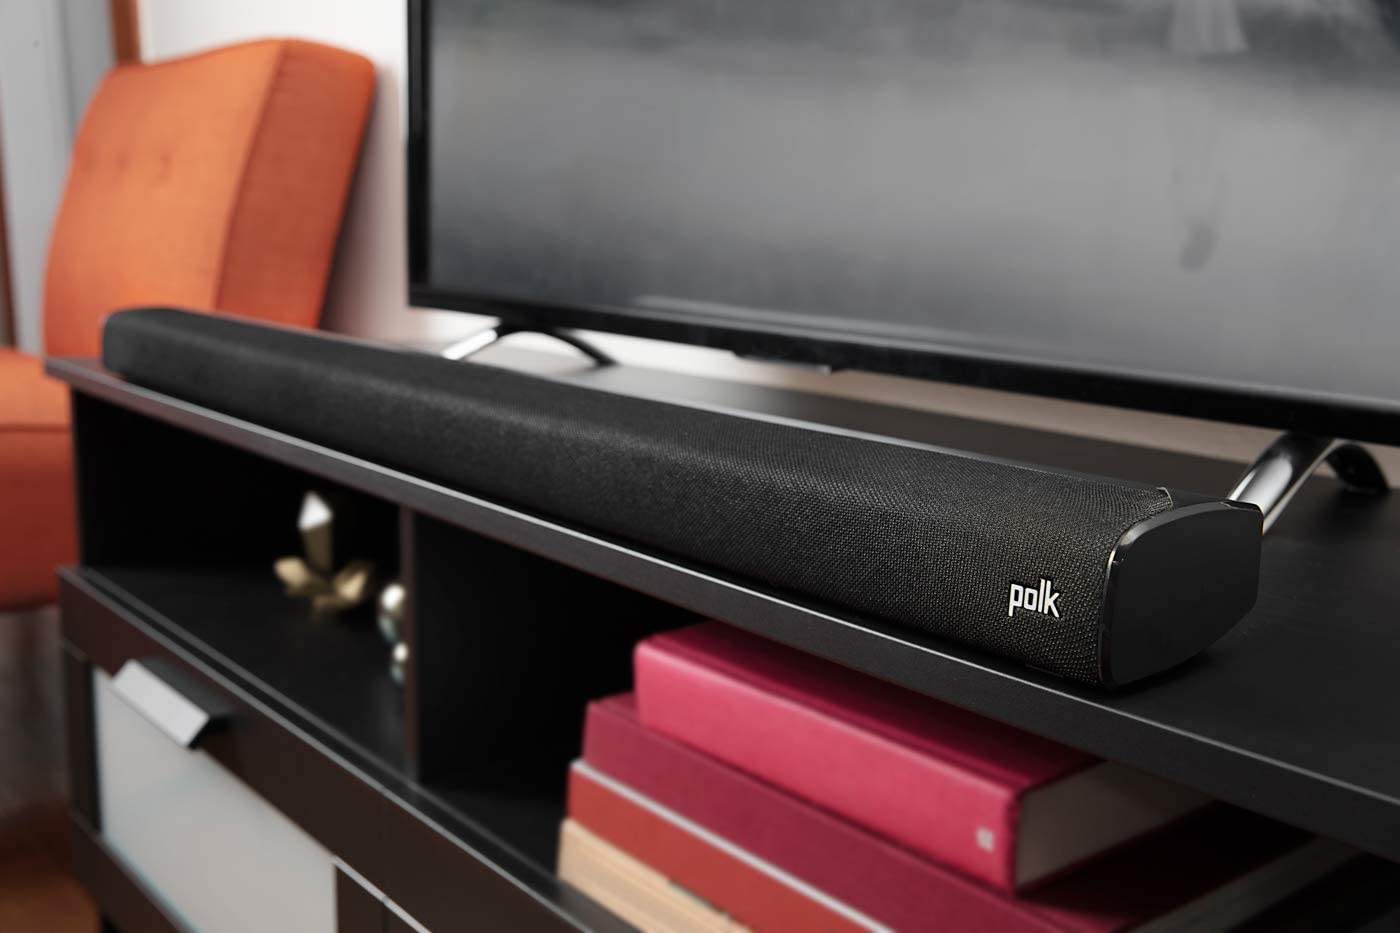
Next, find a suitable location for the soundbar. It is typically placed directly below the TV, either on a TV stand or mounted on the wall. Consider the positioning carefully, as it will affect the sound quality. Ensure that the soundbar is centered in relation to your seating area for optimal audio balance.
Once you have chosen the ideal location, you can proceed with connecting the soundbar to your TV. This will be covered in the next step.
Take your time during the unboxing process to ensure everything is in order and undamaged. If you notice any defects or missing components, reach out to the manufacturer or the retailer where you purchased the soundbar for assistance or a replacement.
Now that you have unboxed and familiarized yourself with the Polk Soundbar, it’s time to move on to connecting it to your TV and enjoying superior audio quality. Let’s proceed to the next step.
Step 2: Connecting the Soundbar to Your TV
Now that you have unboxed your Polk Soundbar, it’s time to connect it to your TV for an enhanced audio experience. There are different ways to establish this connection, depending on the available ports and features on your TV and soundbar.
Start by locating the HDMI or optical audio output on your TV. These are the most commonly used ports for connecting a soundbar. If your TV has an HDMI ARC (Audio Return Channel) port, we recommend using it for the best audio quality and simplified setup.
Take the HDMI cable that came with your Polk Soundbar, or a high-quality HDMI cable that you already have, and connect one end to the HDMI ARC port on your TV. If you’re using an optical audio connection, connect one end of the optical audio cable to the optical audio output on your TV.
Next, locate the corresponding HDMI ARC or optical audio input on your Polk Soundbar. Connect the other end of the HDMI cable or optical audio cable to this input on the soundbar. Ensure a secure connection by firmly inserting the cables into the ports.
Once the HDMI or optical audio connection is established, you need to power on the soundbar. Connect the power cord to the soundbar and plug it into a power outlet. Look for a power button or switch on the soundbar and turn it on.
Now, on your TV, go to the audio settings and select the appropriate audio output option. This may vary depending on your TV’s make and model, but it is typically found in the “Settings” or “Audio” menu. Choose the HDMI ARC or optical audio output option to direct the audio to your Polk Soundbar.
If you have successfully connected your Polk Soundbar to your TV, you should hear a confirmation sound or see an indicator light on the soundbar. Play some audio or video content on your TV to test the sound and ensure that it is coming from the soundbar.
Congratulations! You have successfully connected your Polk Soundbar to your TV. In the next step, we will guide you through the process of configuring the sound settings to optimize the audio performance.
Step 3: Configuring the Sound Settings
With your Polk Soundbar connected to your TV, it’s time to configure the sound settings to tailor the audio output to your preferences. Polk Soundbars typically offer various sound modes and settings that allow you to optimize the audio performance based on the content you’re watching.
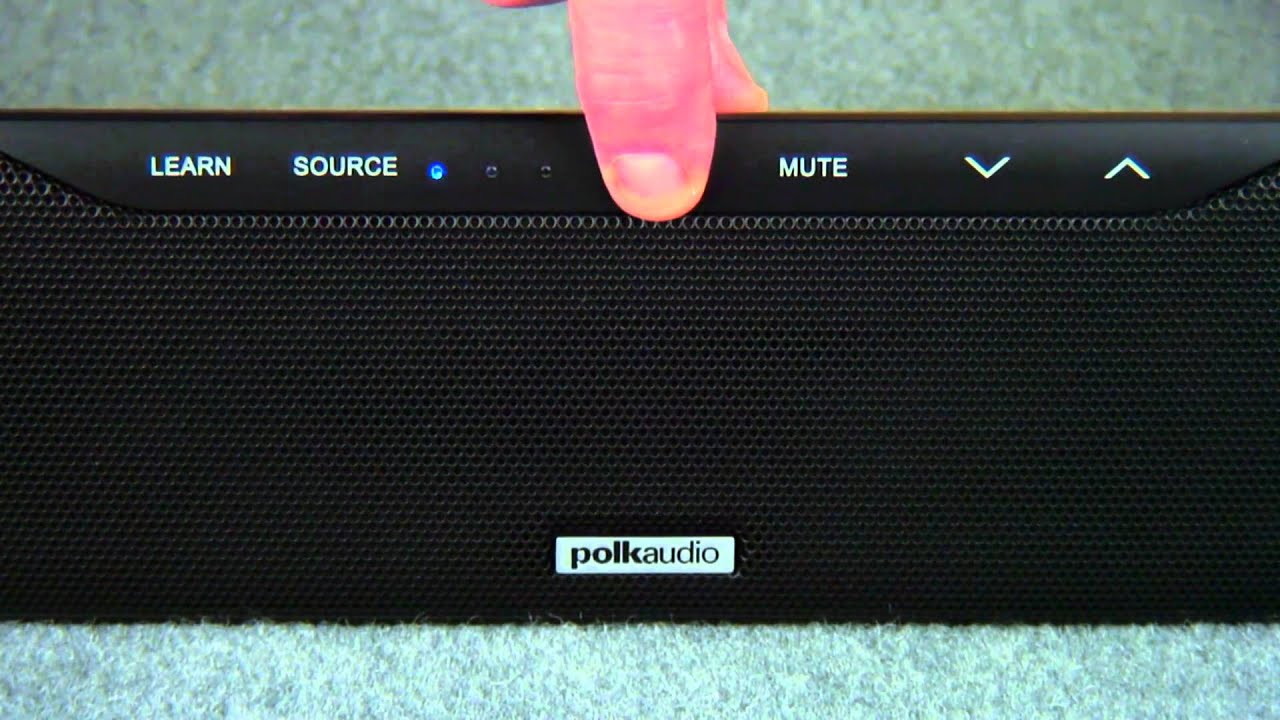
Start by familiarizing yourself with the remote control that came with your Polk Soundbar. Look for buttons or dedicated functions that control different sound modes, EQ (equalizer) settings, and volume levels. Every soundbar model may have a slightly different interface, so consult the user manual if needed.
One of the most common sound modes found on Polk Soundbars is the “Standard” mode, which is suitable for general TV viewing. It provides a balanced audio profile and is a good starting point if you’re unsure about which sound mode to choose.
If you’re watching movies or TV shows that are known for their cinematic soundscapes, consider switching to the “Cinema” or “Movie” mode. This mode enhances the low-frequency sounds, adding depth and richness to explosions, car chases, and other impactful moments.
For music enthusiasts, the “Music” mode is designed to deliver a clear and detailed audio experience with a focus on vocals and instrument separation. This mode can make your favorite tunes come alive, allowing you to appreciate the subtleties and nuances in the music.
In addition to sound modes, Polk Soundbars often offer EQ settings that allow you to adjust the bass, treble, and overall sound balance. Depending on your preferences and the acoustics of your room, you may want to experiment with these settings to achieve the desired audio quality.
Once you have selected the appropriate sound mode and made any necessary EQ adjustments, test the soundbar by playing different types of content. This could include movies, TV shows, music, or even video games. Pay attention to the clarity, depth, and overall immersion that the soundbar provides.
If you are not satisfied with the default settings or want to fine-tune the audio further, consult the user manual for more advanced options, such as dialogue enhancement or surround sound virtualization.
Remember, personal audio preferences can vary, so don’t be afraid to experiment and adjust the settings until you find the perfect audio experience for your TV viewing.
In the next step, we will cover the optional process of mounting your Polk Soundbar for a sleek and space-saving setup.
Step 4: Mounting the Soundbar (optional)
If you prefer a clean and streamlined look for your home theater setup, you may want to consider mounting your Polk Soundbar on the wall. Mounting the soundbar not only saves space but also provides a professional and aesthetically pleasing appearance.
Before proceeding with the mounting process, ensure that you have the necessary mounting hardware, which typically includes brackets, screws, and wall anchors. These might come included with your soundbar or may need to be purchased separately.
Start by selecting a suitable location on the wall below your TV. Make sure it is at a height that allows the soundbar to align with the center of the TV screen. Use a stud finder to locate wall studs, as mounting the soundbar to studs provides a more secure and stable installation.
Once you have determined the location, hold the wall mounting brackets against the wall and mark the positions for drilling. Use a drill with the appropriate size bit to create pilot holes for the screws or wall anchors.
After the pilot holes are drilled, attach the mounting brackets to the wall using the provided screws or wall anchors. Make sure to tighten them securely to ensure the soundbar stays in place.
Before mounting the soundbar, remove the stand or feet if they are attached. Then, carefully align the soundbar with the installed mounting brackets and slide it into place. Depending on the soundbar model, there may be grooves or hooks to secure it to the brackets.
Ensure that the soundbar is level and centered before releasing it. Double-check the stability and ensure that it is securely attached to the wall.
Finally, connect the power cord and any necessary audio cables to the soundbar. Be mindful of cable management, keeping them tidy and out of sight for a clean installation.
Mounting your Polk Soundbar can enhance the aesthetics of your home theater setup and provide an immersive audio experience without taking up additional space. However, if you prefer not to mount the soundbar or have other limitations, you can always place it on a TV stand or shelf.
In the next step, we will discuss how to connect additional devices to your Polk Soundbar, such as gaming consoles or streaming devices.
Step 5: Connecting Additional Devices to the Soundbar
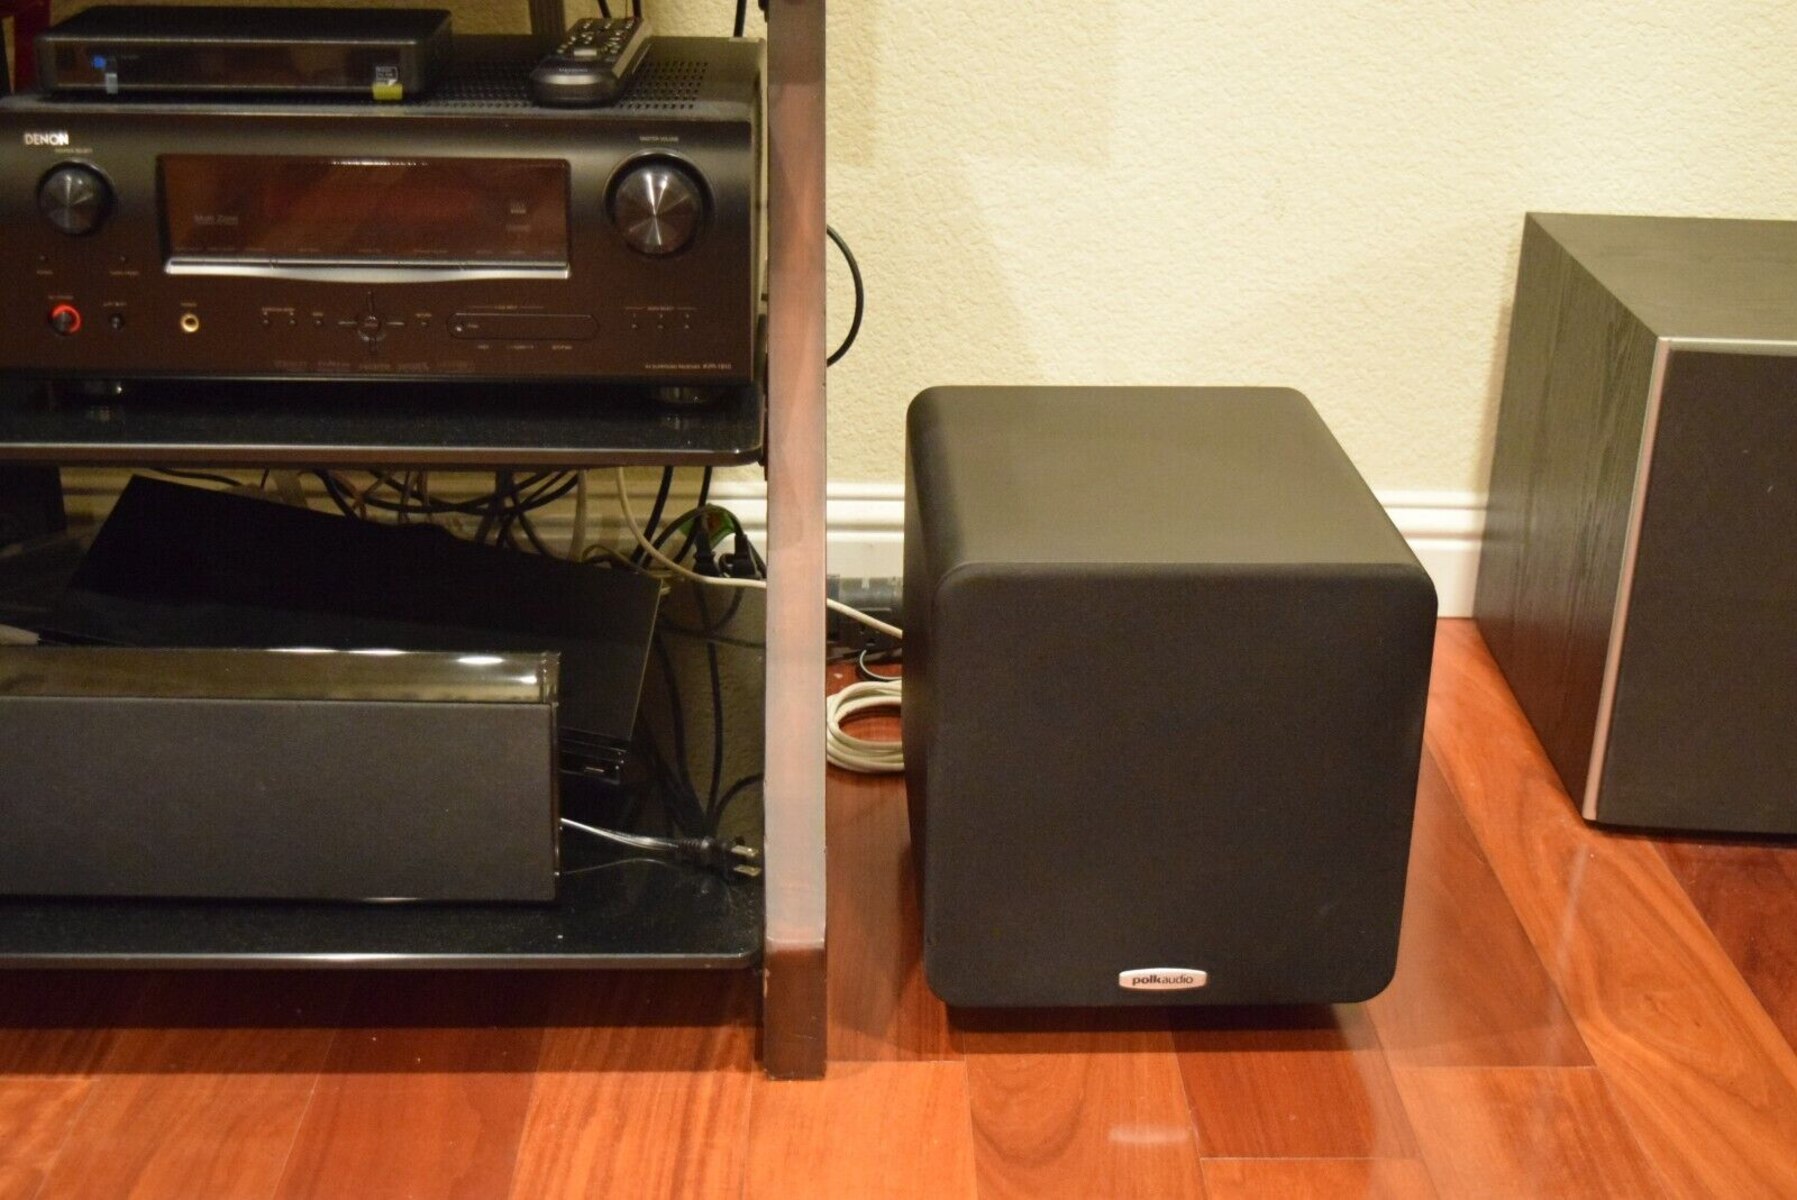
In addition to connecting your TV to the Polk Soundbar, you may want to connect other devices, such as gaming consoles, Blu-ray players, or streaming devices, to further enhance your audio experience. Polk Soundbars offer multiple input options to accommodate these devices.
Start by identifying the available input ports on your soundbar. Common input options include HDMI, optical audio, and auxiliary (3.5mm) input. Determine the type of connection that is compatible with your additional device(s).
If you have a gaming console or Blu-ray player, the ideal connection method is through HDMI. Simply connect the HDMI output of your device to an available HDMI input on the soundbar. This allows for seamless audio transmission and ensures that the sound from your gaming sessions or movies flows through the Polk Soundbar.
For devices that do not have HDMI output, you can utilize the alternative options. If your device has an optical audio output, connect it to the optical audio input on the soundbar using an optical audio cable. This will enable the sound to be routed through the soundbar speakers.
If you have older devices with a 3.5mm headphone jack, you can connect them to the auxiliary input on the soundbar using a 3.5mm audio cable. This connection method is commonly used for smartphones, MP3 players, or portable audio devices.
Once you have made the necessary connections, switch the soundbar to the appropriate input source using either the remote control or the control buttons on the soundbar itself. This ensures that the soundbar receives the audio signals from the connected devices.
It’s important to note that when connecting additional devices, you may need to adjust the audio settings on both the device and the soundbar to ensure proper synchronization and audio output levels. Refer to the user manuals of your devices and the soundbar for specific instructions on configuring the settings.
By connecting additional devices to your Polk Soundbar, you can enjoy a unified audio experience without the need for multiple speakers or complicated setups. Now, you’re ready to immerse yourself in high-quality sound from all your entertainment devices.
In the next step, we will address some common troubleshooting issues that you may encounter during the setup process.
Step 6: Troubleshooting Common Issues
While setting up your Polk Soundbar, you may encounter some common issues that can be easily resolved with a few troubleshooting steps. Here are some common problems and their solutions:
1. No sound from the soundbar: Double-check the connections between the soundbar and your TV or other devices. Ensure that the cables are securely plugged in. Also, make sure the soundbar is powered on and the volume is turned up. If you’re using the HDMI ARC connection, verify that your TV’s audio settings are correctly configured.
2. Soundbar not turning on: Check that the power cord is securely connected to the soundbar and the power outlet. Try using a different power outlet to rule out any electrical issues. If the problem persists, contact Polk customer support for further assistance.
3. Audio out of sync: If you notice a delay between the audio and video while watching content, adjust the audio delay settings on the soundbar or the TV. Typically, you can find this setting in the audio or settings menu of your TV. Make incremental adjustments until the audio and video are properly synchronized.
4. No response from the remote control: Ensure that there are no obstacles blocking the line of sight between the remote control and the soundbar. Check the batteries and replace them if necessary. If the remote control still doesn’t work, try resetting the soundbar to its default settings or contact Polk customer support.
5. Poor audio quality or distortion: Review the sound settings on the soundbar and make sure they are properly adjusted. Experiment with different sound modes and EQ settings to find the right balance for your preferences and the content you are watching. If the issue persists, check the audio settings on your TV, as it may be affecting the audio output to the soundbar.
If the above troubleshooting steps do not solve the problem, consult the user manual provided with your Polk Soundbar or visit Polk’s website for further guidance and support. They have a dedicated support section and customer service team that can assist with any specific issues or concerns.
With these troubleshooting tips, you can address common issues that may arise during the setup process and ensure that your Polk Soundbar delivers the optimal audio experience.
Now that you’re equipped with the knowledge and troubleshooting know-how, you can enjoy immersive, high-quality sound from your Polk Soundbar. Sit back, relax, and let the soundbar elevate your TV viewing experience.
Conclusion
Congratulations! You have successfully set up your Polk Soundbar and taken a significant step towards enhancing your audio experience. By following the step-by-step instructions in this guide, you unboxed the soundbar, connected it to your TV, configured the sound settings, and even troubleshooted common issues.
With your Polk Soundbar up and running, you can now enjoy immersive, crystal-clear audio while watching your favorite movies, TV shows, or playing games. The soundbar’s sound modes and EQ settings allow you to customize the audio output to suit your preferences and the content you’re enjoying.
Remember to consult the user manual and the Polk Soundbar’s website for more detailed information on specific features and settings. If you encounter any difficulties or have further questions, don’t hesitate to reach out to Polk’s customer support for assistance.
We hope this guide has been helpful in setting up your Polk Soundbar. With its exceptional audio performance and user-friendly features, your audio experience will undoubtedly be elevated to new heights. Sit back, relax, and enjoy a home theater experience like never before!