Introduction
Welcome to the world of immersive sound! If you’ve recently purchased a Polk Soundbar and are eager to enhance your audio experience, you’ve come to the right place. With its sleek design and powerful speakers, a Polk Soundbar can take your home entertainment to the next level.
In this guide, we will walk you through the step-by-step process of pairing your Polk Soundbar with your TV. Whether you’re a tech enthusiast or a novice, rest assured that we will provide clear instructions to ensure a seamless setup. By the end of this guide, you’ll be able to enjoy rich, immersive sound while you watch your favorite movies, listen to music, or play games.
Before we dive into the steps, it’s important to note that the specific pairing process may vary depending on the model of your Polk Soundbar and the TV you’re using. However, the general principles remain the same across most models, so the instructions provided here should be applicable in most cases.
So, if you’re ready to embark on this audio adventure, let’s get started with unpacking the soundbar and preparing it for the pairing process.
Step 1: Unpack the Soundbar
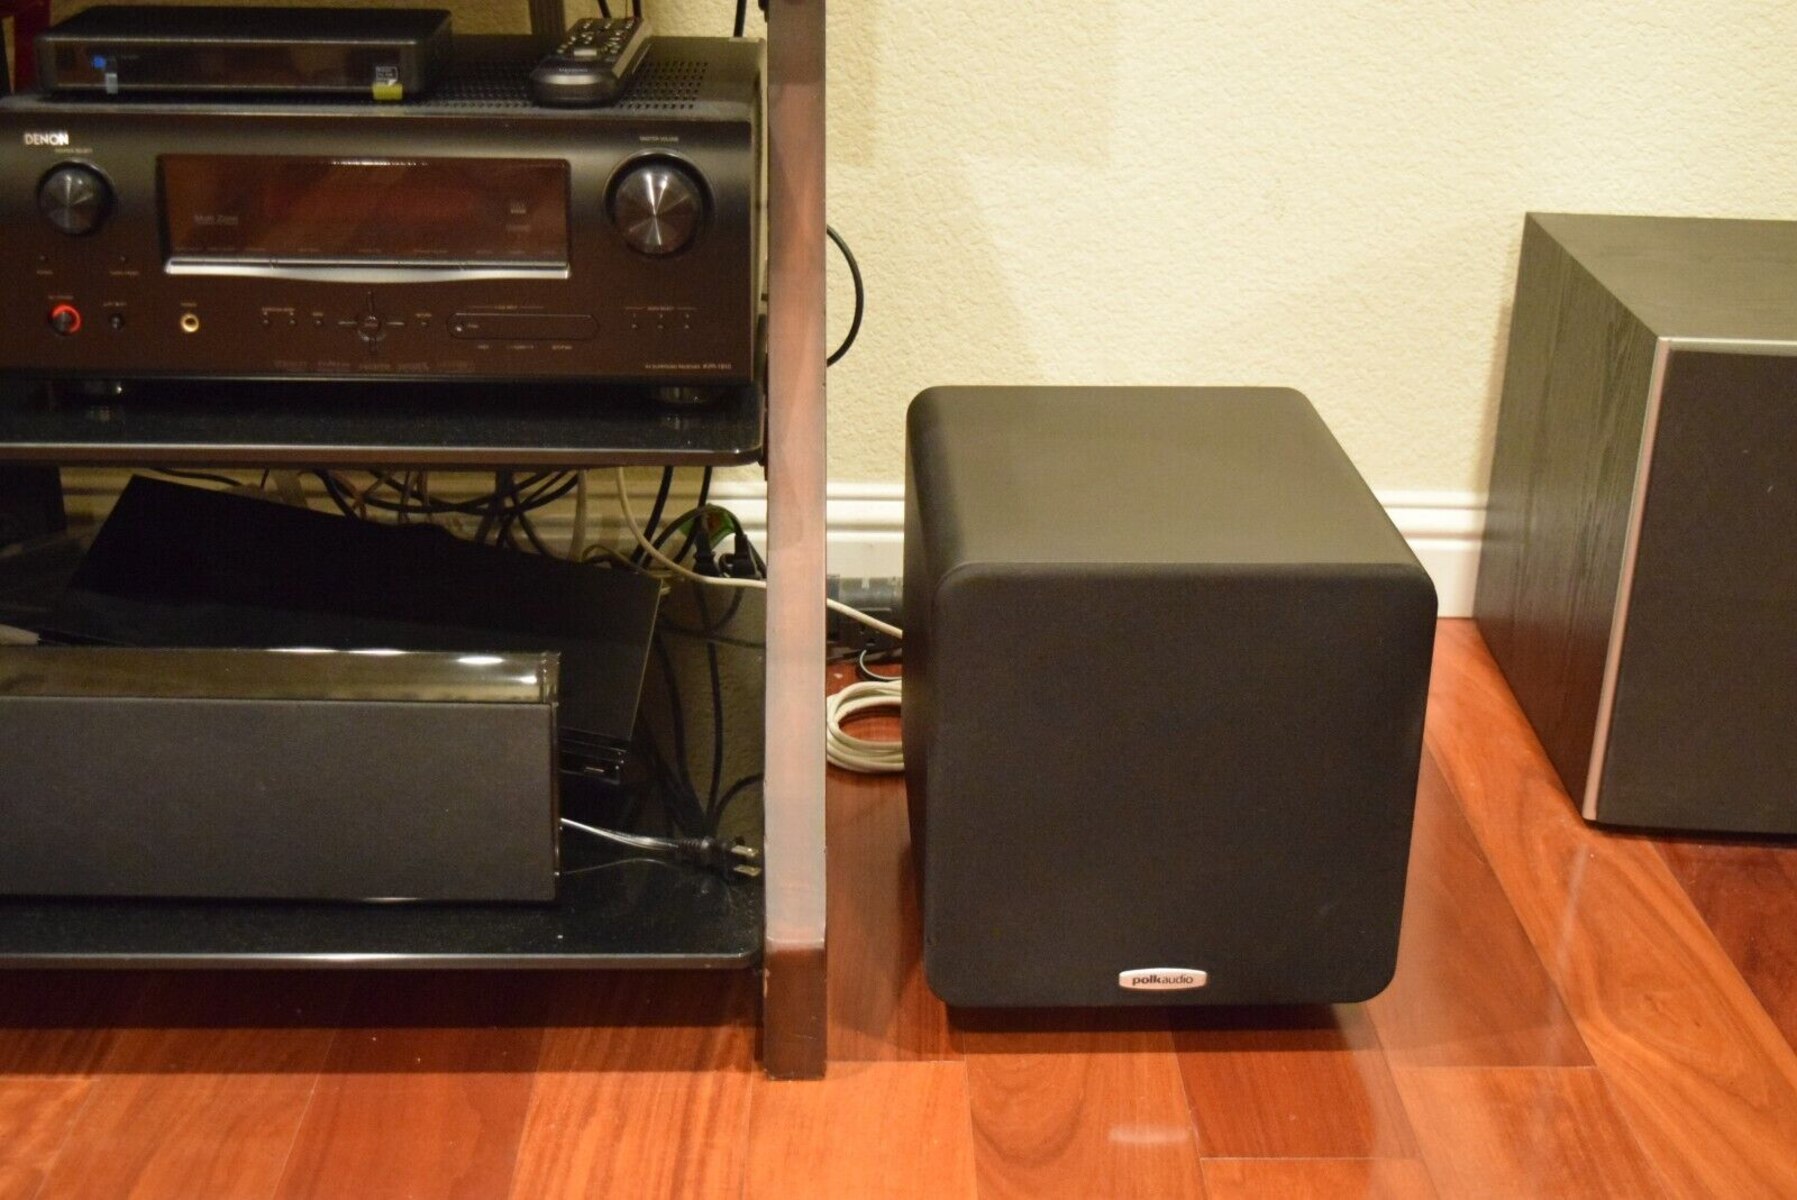
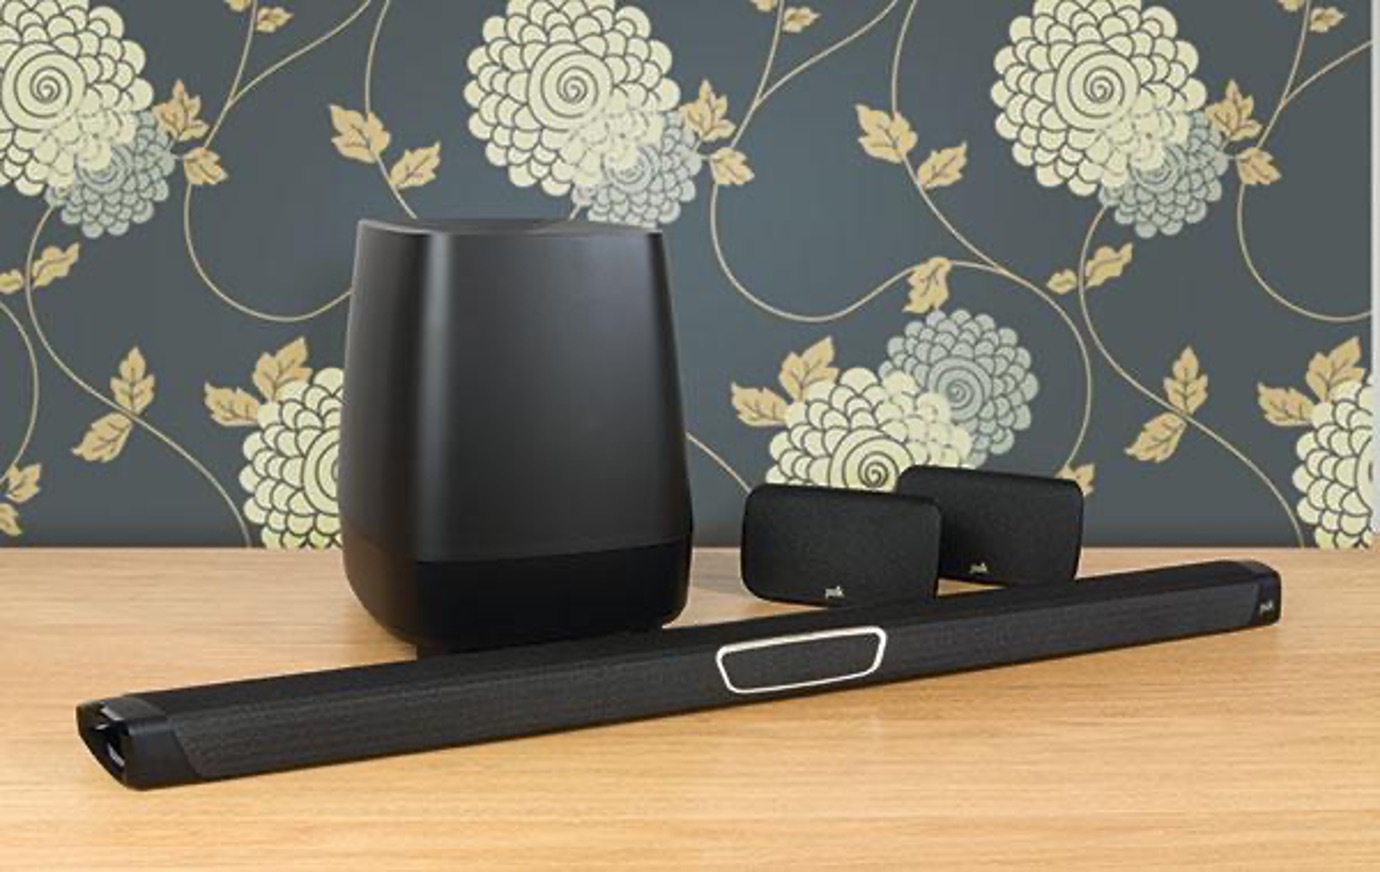
Before you can begin the pairing process, you’ll need to unpack your Polk Soundbar. Take a moment to carefully remove it from the packaging, making sure to keep any included accessories such as cables, remote control, and user guide handy.
Inspect the soundbar for any visible damage. If you notice any dents, scratches, or other issues, contact the retailer or Polk customer support for assistance. It’s important to ensure that the soundbar is in perfect condition before proceeding with the setup process.
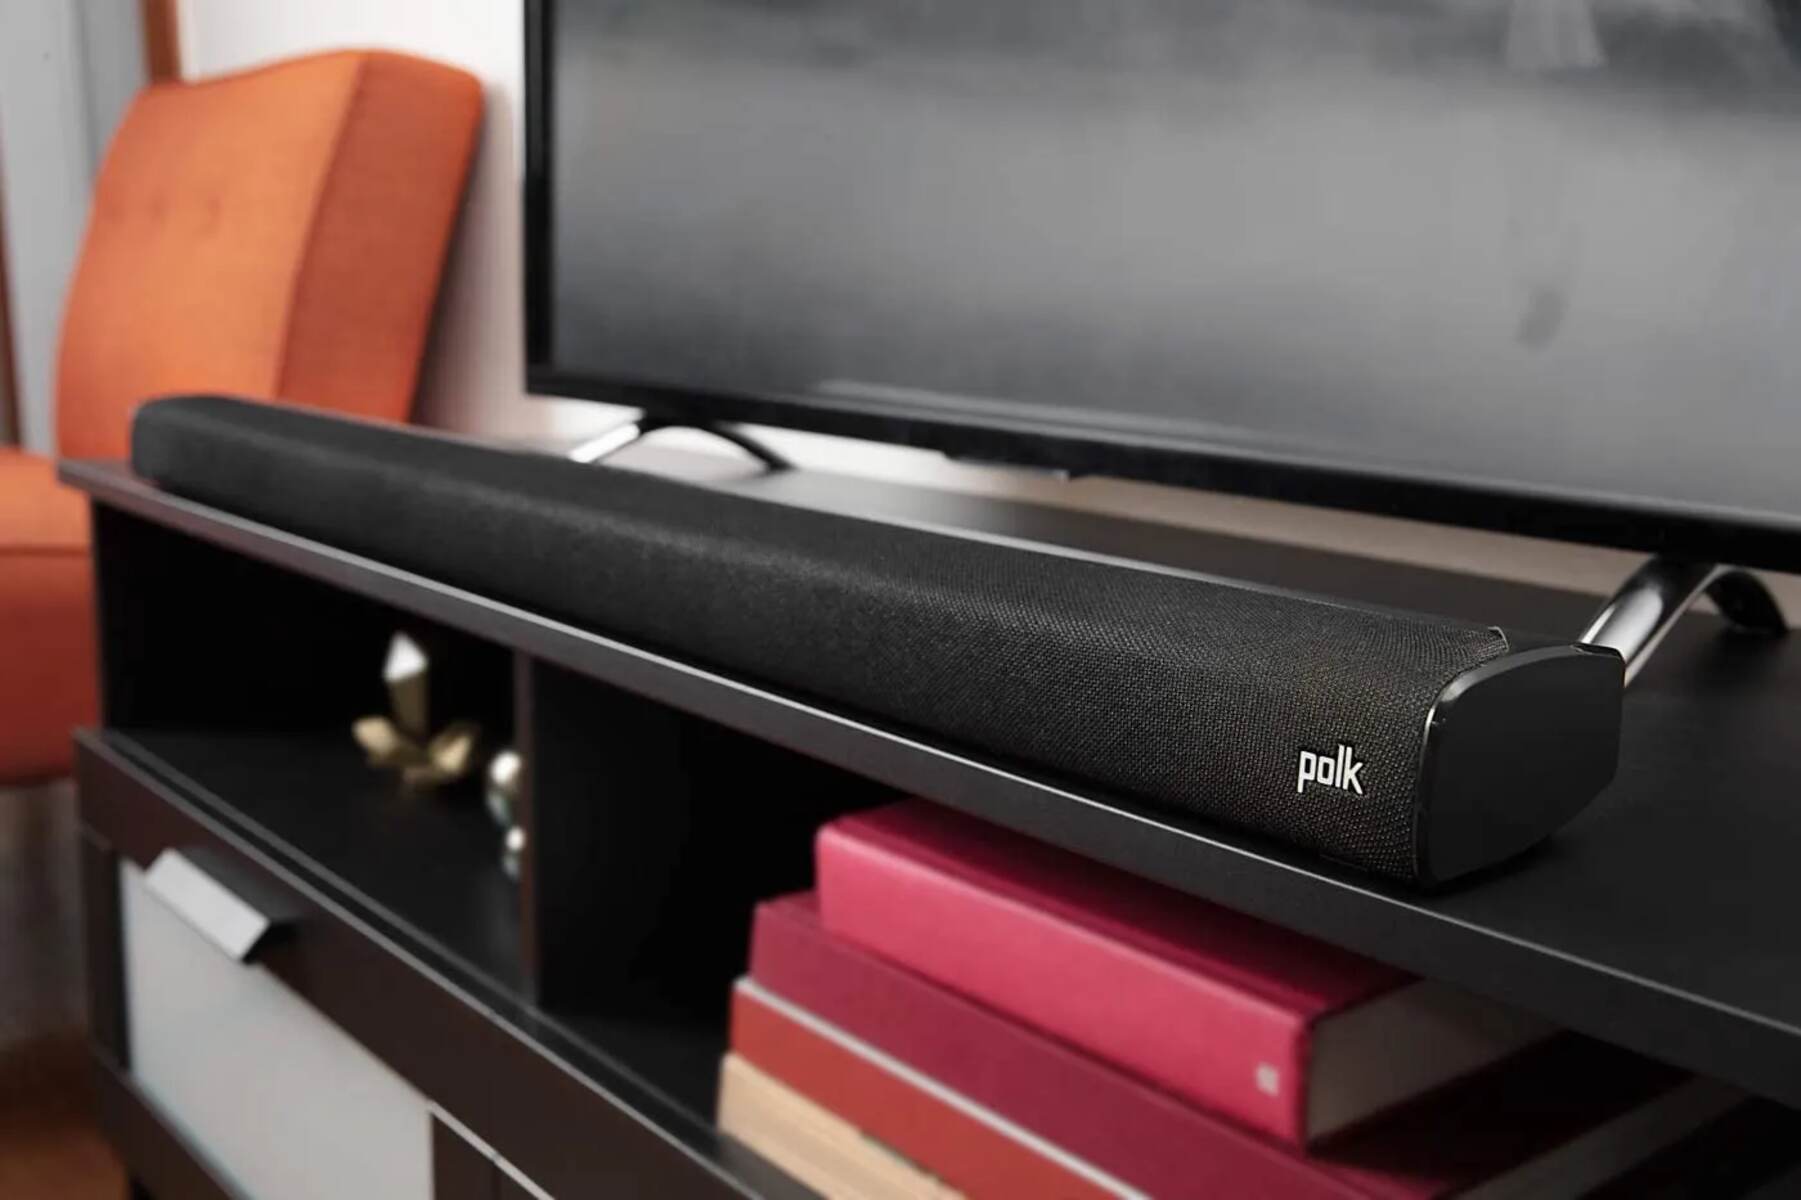
Once you’ve confirmed that the soundbar is undamaged, find a suitable location for it. Make sure there is enough space for the soundbar to sit comfortably in front of your TV or mounted on the wall. Ensure that it is within reach of an electrical outlet.
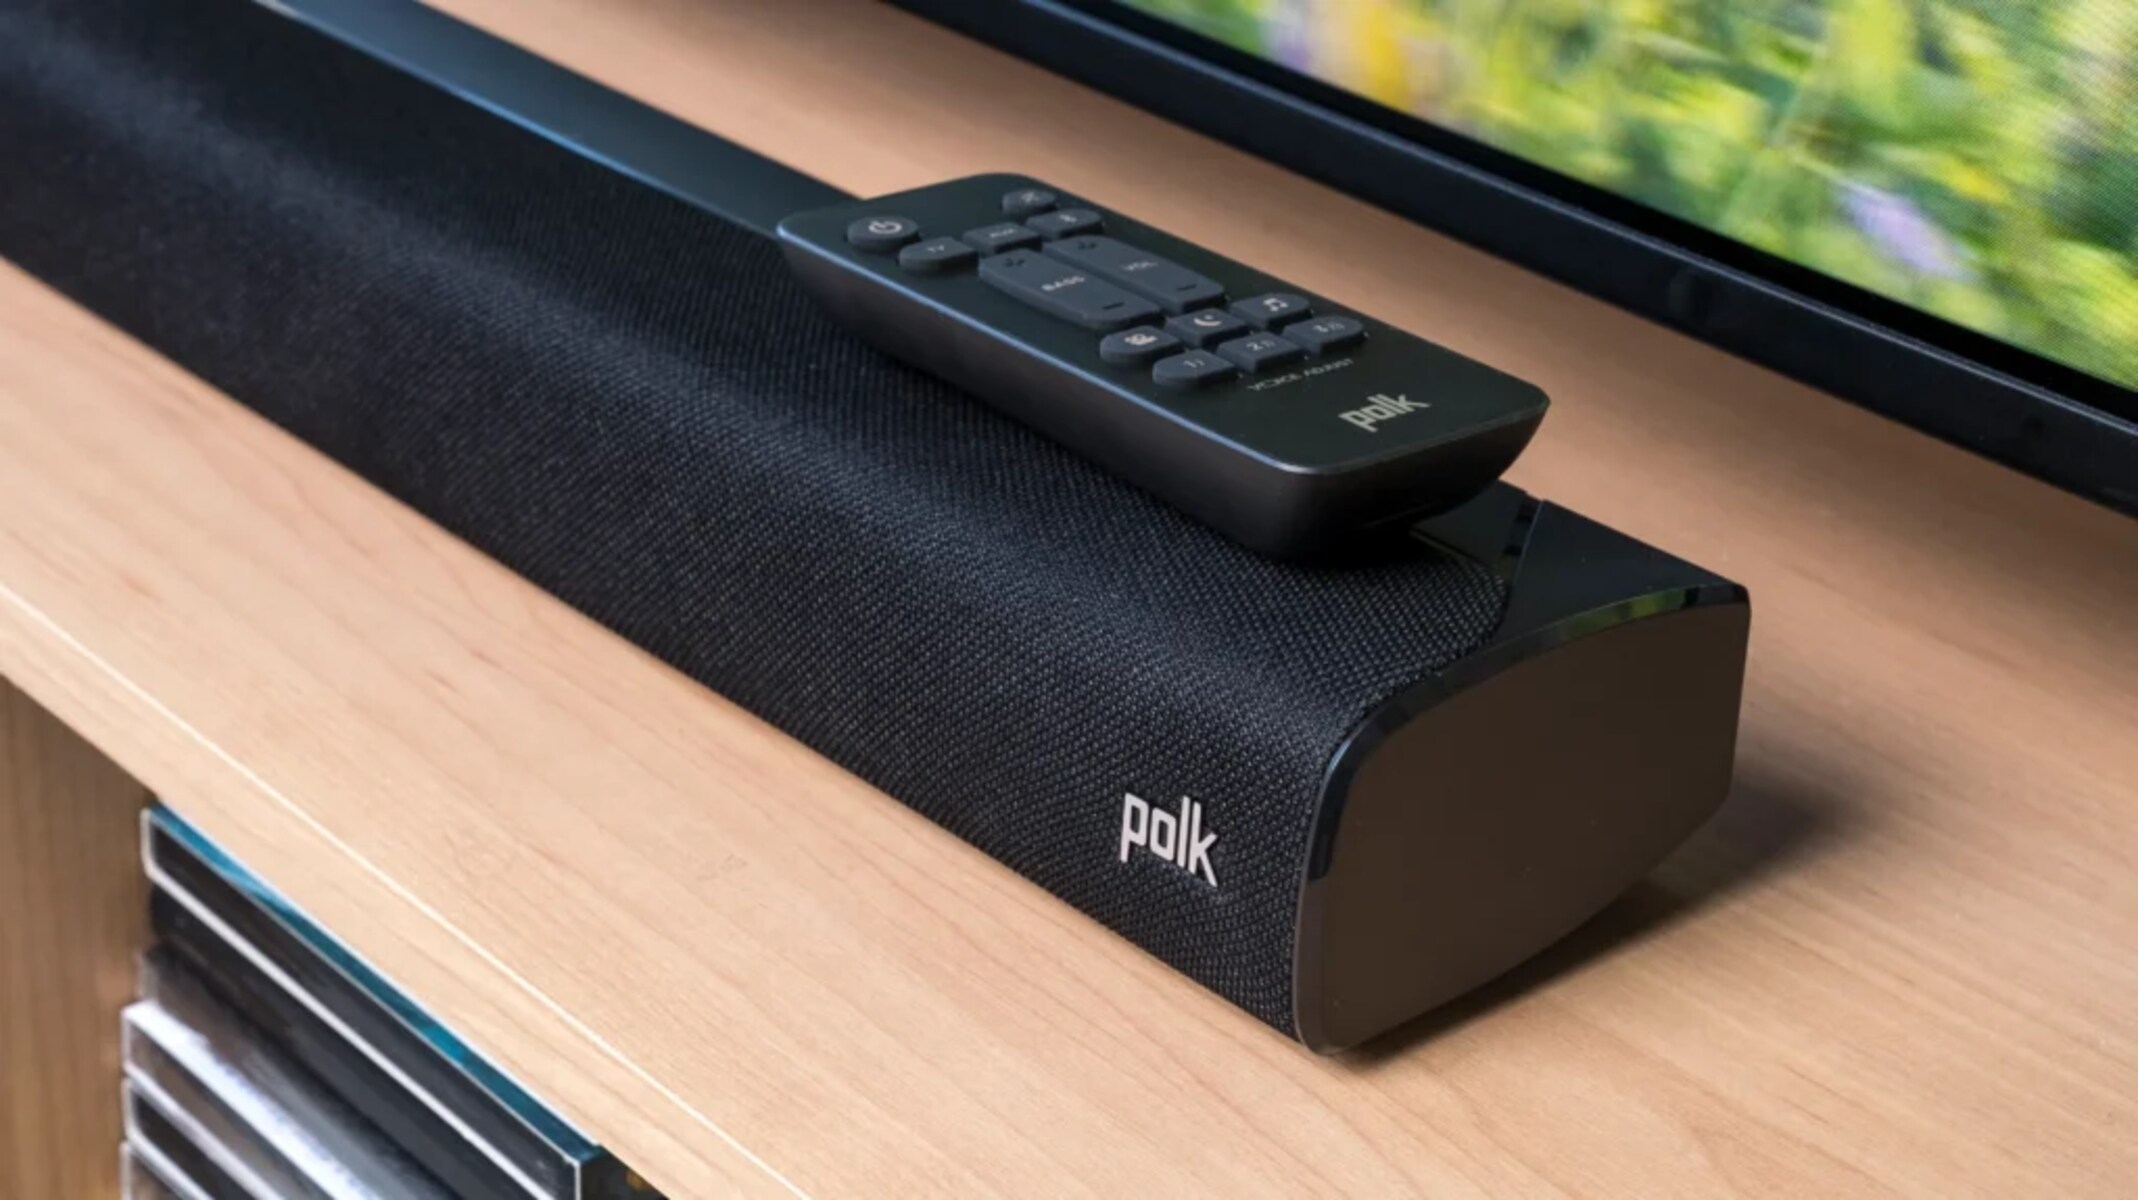
Before proceeding to the next step, take a moment to familiarize yourself with the soundbar’s physical features. Look for input and output ports, power buttons, volume controls, and any other buttons or indicators. This will be helpful in the later steps when connecting the soundbar to your TV.
Now that you’ve unpacked and prepared your Polk Soundbar, you’re ready to move on to the next step: connecting it to power.
Step 2: Connect the Soundbar to Power
To start enjoying the immersive sound of your Polk Soundbar, you need to connect it to a power source. Locate the power cable included with your soundbar and plug one end into the power input port on the back of the soundbar.
Next, find a nearby electrical outlet and plug the other end of the power cable into it. Ensure that the power cable is securely connected on both ends to avoid any power interruptions.
Once the soundbar is connected to power, look for the power button, which is often located on the side or at the top of the soundbar. Press the power button to turn on the soundbar. You may see a light or indicator indicating that the soundbar is powered on.
It’s important to note that some Polk Soundbar models have an auto power feature, which means they will automatically turn on when they detect an audio signal from the connected TV. If your soundbar has this feature, you can skip the manual power button press and proceed to the next step.
Make sure to adjust the volume of your soundbar to a comfortable level using either the remote control or the control buttons on the soundbar itself. This will ensure that you can clearly hear the audio from your TV without it being too loud or too low.
Congratulations! You’ve successfully connected your Polk Soundbar to power. Now, it’s time to move on to the next step: connecting the soundbar to your TV.
Step 3: Connect the Soundbar to your TV
Connecting your Polk Soundbar to your TV is a crucial step in the pairing process. This will ensure that the audio from your TV is channeled through the soundbar, providing you with an enhanced audio experience. Follow these steps to establish the connection:
1. Examine the back of your TV for available audio output options. Look for HDMI ARC (Audio Return Channel) or optical audio output ports. These are the most common connections used to connect soundbars.
2. Locate the corresponding audio input ports on your Polk Soundbar. Depending on the model, it may have HDMI ARC, optical audio, or other audio input options. Choose the appropriate port that matches the audio output port on your TV.
3. Connect one end of the appropriate audio cable (HDMI or optical) to the audio output port on your TV and the other end to the corresponding input port on your Polk Soundbar. Ensure that the connection is secure and that the cable is inserted fully into the ports.
4. If you’re using an HDMI ARC connection, make sure to enable the HDMI ARC functionality in your TV’s settings menu. This will allow for two-way communication between your TV and the soundbar. Consult your TV’s user manual for specific instructions on how to enable HDMI ARC.
5. Once the connection is established, power on your TV and soundbar. Ensure that your TV’s audio output is set to the connected soundbar by accessing the audio settings on your TV’s menu. Select the appropriate audio output option (e.g., HDMI ARC or optical audio).
6. To test the connection, play a video or audio content on your TV and listen for the audio coming from your Polk Soundbar. If the sound is coming through the soundbar, congratulations! The soundbar is successfully connected to your TV.
You’re now one step closer to enjoying immersive sound. In the next step, we will cover how to pair your Polk Soundbar with your TV, ensuring seamless audio synchronization.
Step 4: Pair the Soundbar with your TV
Now that your Polk Soundbar is connected to your TV, it’s time to pair them together. This step ensures that the audio from your TV is synchronized with the soundbar, providing you with a seamless audio experience. Follow these instructions to pair your soundbar with your TV:
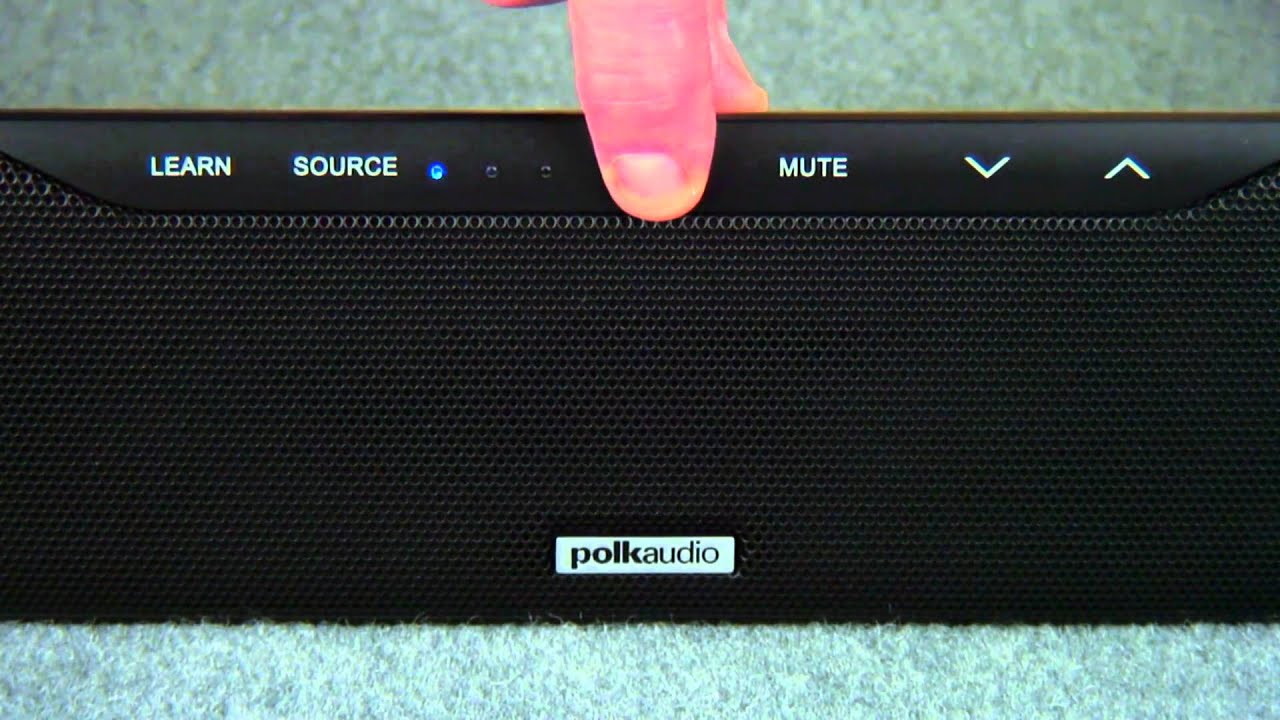
1. On your Polk Soundbar remote control, locate and press the “Source” or “Input” button. This will allow you to select the input source for the soundbar.
2. Use the arrow buttons on the remote control to navigate through the available input sources. Select the input source that corresponds to the connection you made in the previous step (e.g., HDMI ARC or optical).
3. Once you have selected the input source, press the “OK” or “Enter” button to confirm your selection. This will set the soundbar to receive audio from the chosen input source.
4. On your TV remote control, access the audio settings menu. Look for the option to select the audio output device. This may be labeled as “Sound Output,” “Audio Output,” or something similar, depending on your TV model.
5. Select the option that allows you to choose the audio output device. Look for the name or model number of your Polk Soundbar in the list of available devices. Select it to set the soundbar as the audio output device for your TV.
6. Once you have selected the soundbar as the audio output device, save the changes and exit the audio settings menu on your TV. This will ensure that all audio output from the TV is directed to the soundbar.
7. Test the audio synchronization by playing a video or audio content on your TV. You should now hear the audio coming from your Polk Soundbar. If the audio is playing through the soundbar without any delays or synchronization issues, the pairing process is successful.
Congratulations! You have successfully paired your Polk Soundbar with your TV. In the next step, we will explore how to adjust the soundbar settings to optimize your audio experience.
Step 5: Adjust Soundbar Settings
Now that your Polk Soundbar is paired with your TV, it’s time to fine-tune the settings to optimize your audio experience. Follow these steps to adjust the soundbar settings to your preference:
1. On your Polk Soundbar remote control, locate the “Settings” or “Menu” button. Press it to access the soundbar’s settings menu.
2. Use the arrow buttons on the remote control to navigate through the settings options. Look for settings related to sound modes, audio presets, equalizer settings, and other audio enhancement features.
3. Experiment with different sound modes and presets to find the one that best suits your preferences. Some common sound modes may include “Standard,” “Movie,” “Music,” or “Game.” These modes are designed to enhance the audio depending on the content you are watching or listening to.
4. If your soundbar has an equalizer, you can further customize the sound by adjusting the bass, treble, and other frequencies. Play with these settings to find the right balance that enhances the audio according to your preferences.
5. If your soundbar supports additional audio enhancement features, such as surround sound or virtual 3D sound, explore these options and enable them if desired. These features can create a more immersive audio experience when watching movies or playing games.
6. After making adjustments, test the soundbar settings by playing different types of audio content. Listen for any distortion, imbalance, or other issues in the sound. Make further adjustments as necessary to achieve the desired audio quality.
7. It’s also worth checking if your soundbar has a firmware update available. Visit the Polk Audio website or refer to the user manual for instructions on how to update the firmware. Keeping your soundbar’s firmware up to date ensures that you have the latest features and bug fixes.
Once you have customized the soundbar settings according to your preferences, you’re ready to enjoy a tailored audio experience. In the next step, we’ll perform a sound test to ensure everything is functioning properly.
Step 6: Test the Soundbar
After adjusting the settings of your Polk Soundbar, it’s important to perform a sound test to ensure that everything is functioning properly. This will allow you to evaluate the audio quality and make any necessary tweaks to further enhance your listening experience. Here’s how you can test your soundbar:
1. Play different types of audio content, such as movies, music, and TV shows, to assess the sound quality. Pay attention to the clarity, depth, and balance of the audio. Make sure the sound is evenly distributed across all the speakers of the soundbar.
2. Check for any distortions or audio imbalances. If you notice any issues, go back to the soundbar’s settings menu and adjust the equalizer or sound modes accordingly. Experiment with different settings to find the best audio quality for each type of content.
3. Pay close attention to dialogue clarity. Ensure that voices are clear and distinguishable, especially during dialogue-heavy scenes in movies or TV shows. Adjust the soundbar’s settings as needed to enhance dialogue clarity without sacrificing other audio elements.
4. Test the surround sound capabilities, if applicable. If your soundbar supports surround sound, play content that includes surround sound effects. Listen for a realistic and immersive audio experience, where sounds appear to come from different directions around you.
5. Experiment with different volume levels to ensure that the soundbar can produce both loud and soft sounds without distortion. Make sure the volume control on your TV remote is also properly synchronized with the soundbar’s volume control for convenient adjustment.
6. If your soundbar comes with a subwoofer, test its performance by playing content with deep bass tones. Make sure the bass is resonant and punchy, adding depth and impact to your audio experience. Adjust the subwoofer settings if necessary to achieve the desired bass level.
7. Finally, listen for any connectivity issues or audio delays. If you experience any problems, check the cable connections and ensure that your TV’s firmware and soundbar’s firmware are up to date. Refer to the user manual or contact customer support for further assistance.
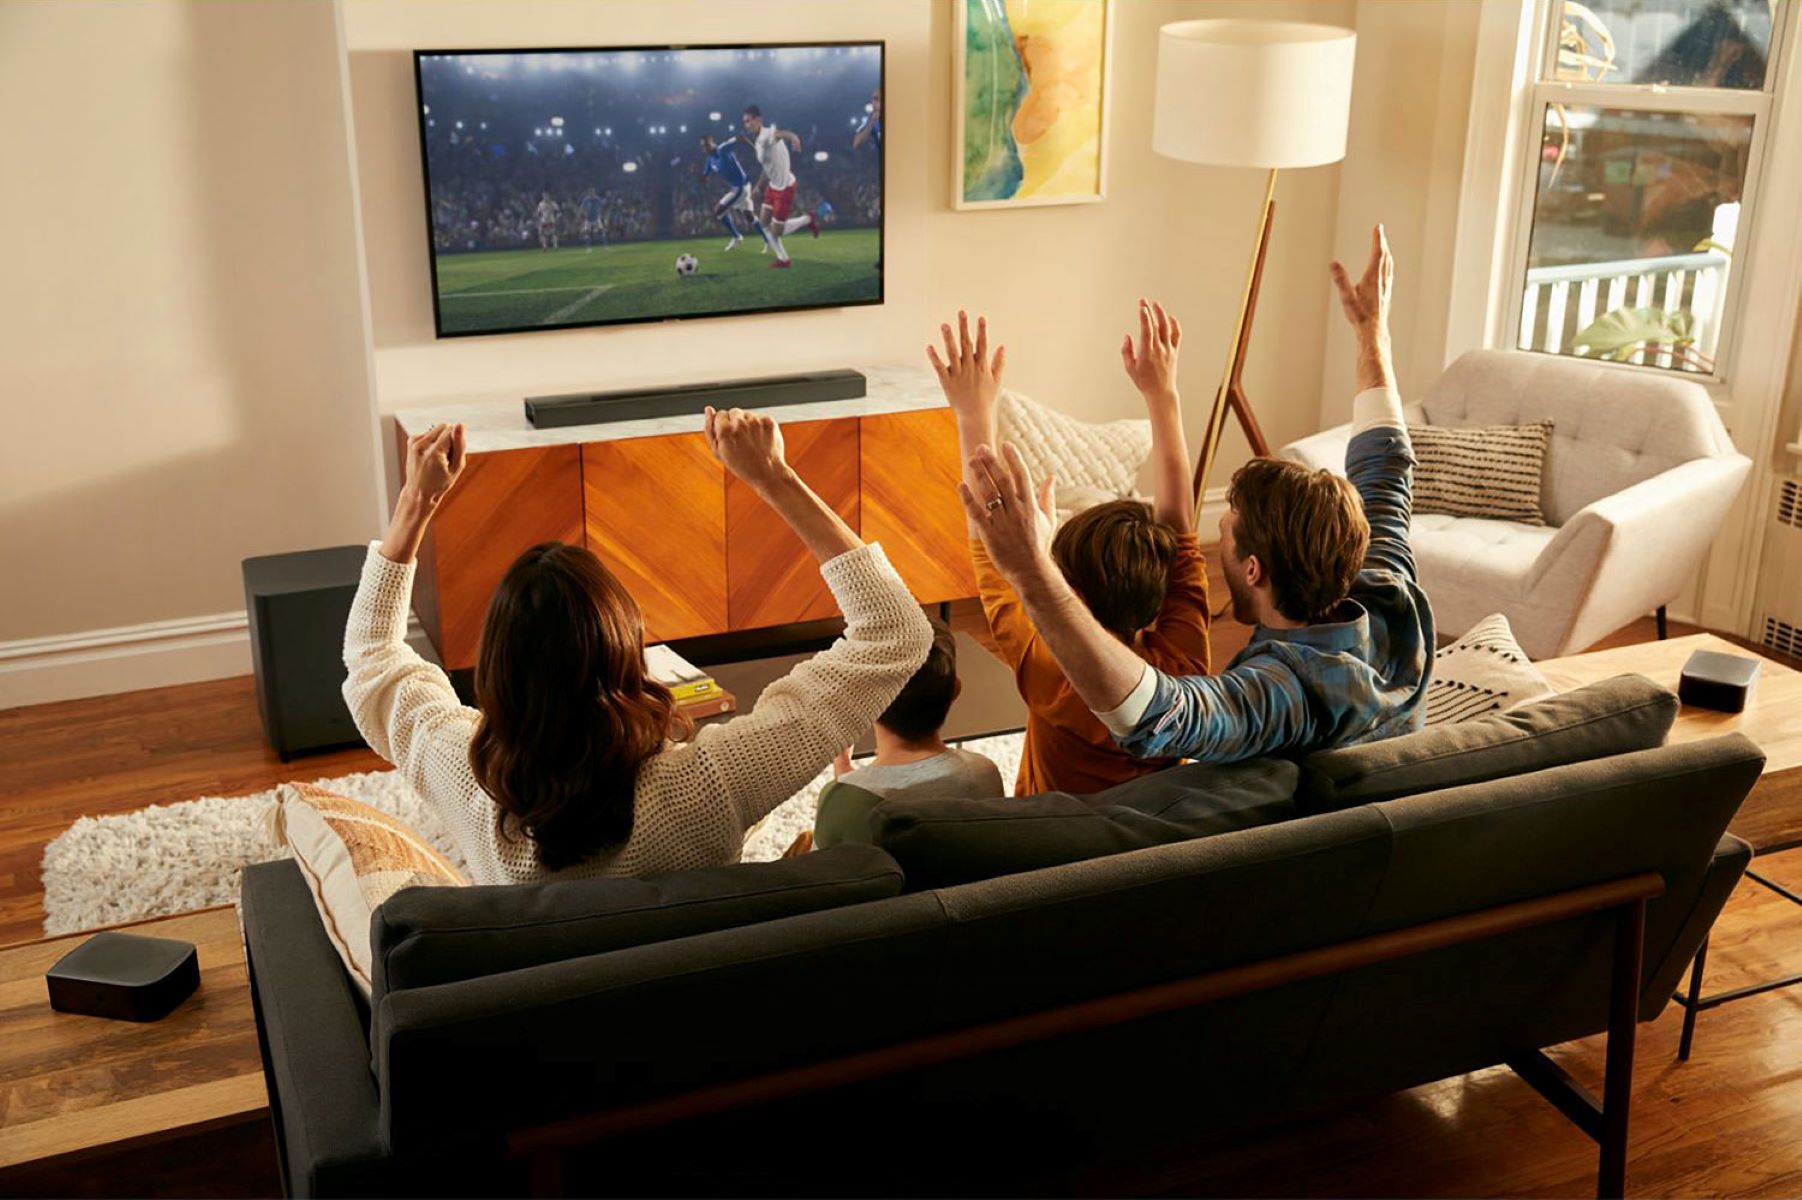
Once you’ve tested the soundbar and made any necessary adjustments, you can sit back, relax, and enjoy the immersive sound experience that your Polk Soundbar brings to your home entertainment setup. Congratulations on successfully setting up and testing your soundbar!
Conclusion
Congratulations! You have successfully paired and set up your Polk Soundbar with your TV. By following the steps outlined in this guide, you have unlocked a new level of audio quality and immersion in your home entertainment experience.
Starting from unpacking the soundbar and connecting it to power, to establishing the connection with your TV and adjusting the soundbar settings, you have now fine-tuned your audio setup to suit your preferences. The sound test ensured that everything is working correctly and delivering the desired audio quality.
With your Polk Soundbar, you can now enjoy movies with crisp dialogue, immersive surround sound, and powerful bass. Music will come to life with clear instrument separation and rich tones. Gaming will be more action-packed as you hear every detail and immerse yourself in the virtual world.
Remember to keep the soundbar’s firmware updated regularly to access new features and improvements. Additionally, don’t hesitate to refer to the user manual or reach out to Polk customer support if you encounter any issues or have further questions.
Now, sit back, relax, and immerse yourself in the captivating sound that your Polk Soundbar offers. Enjoy the enhanced audio experience and let the soundbar elevate your home entertainment to new heights. Happy listening!