Introduction
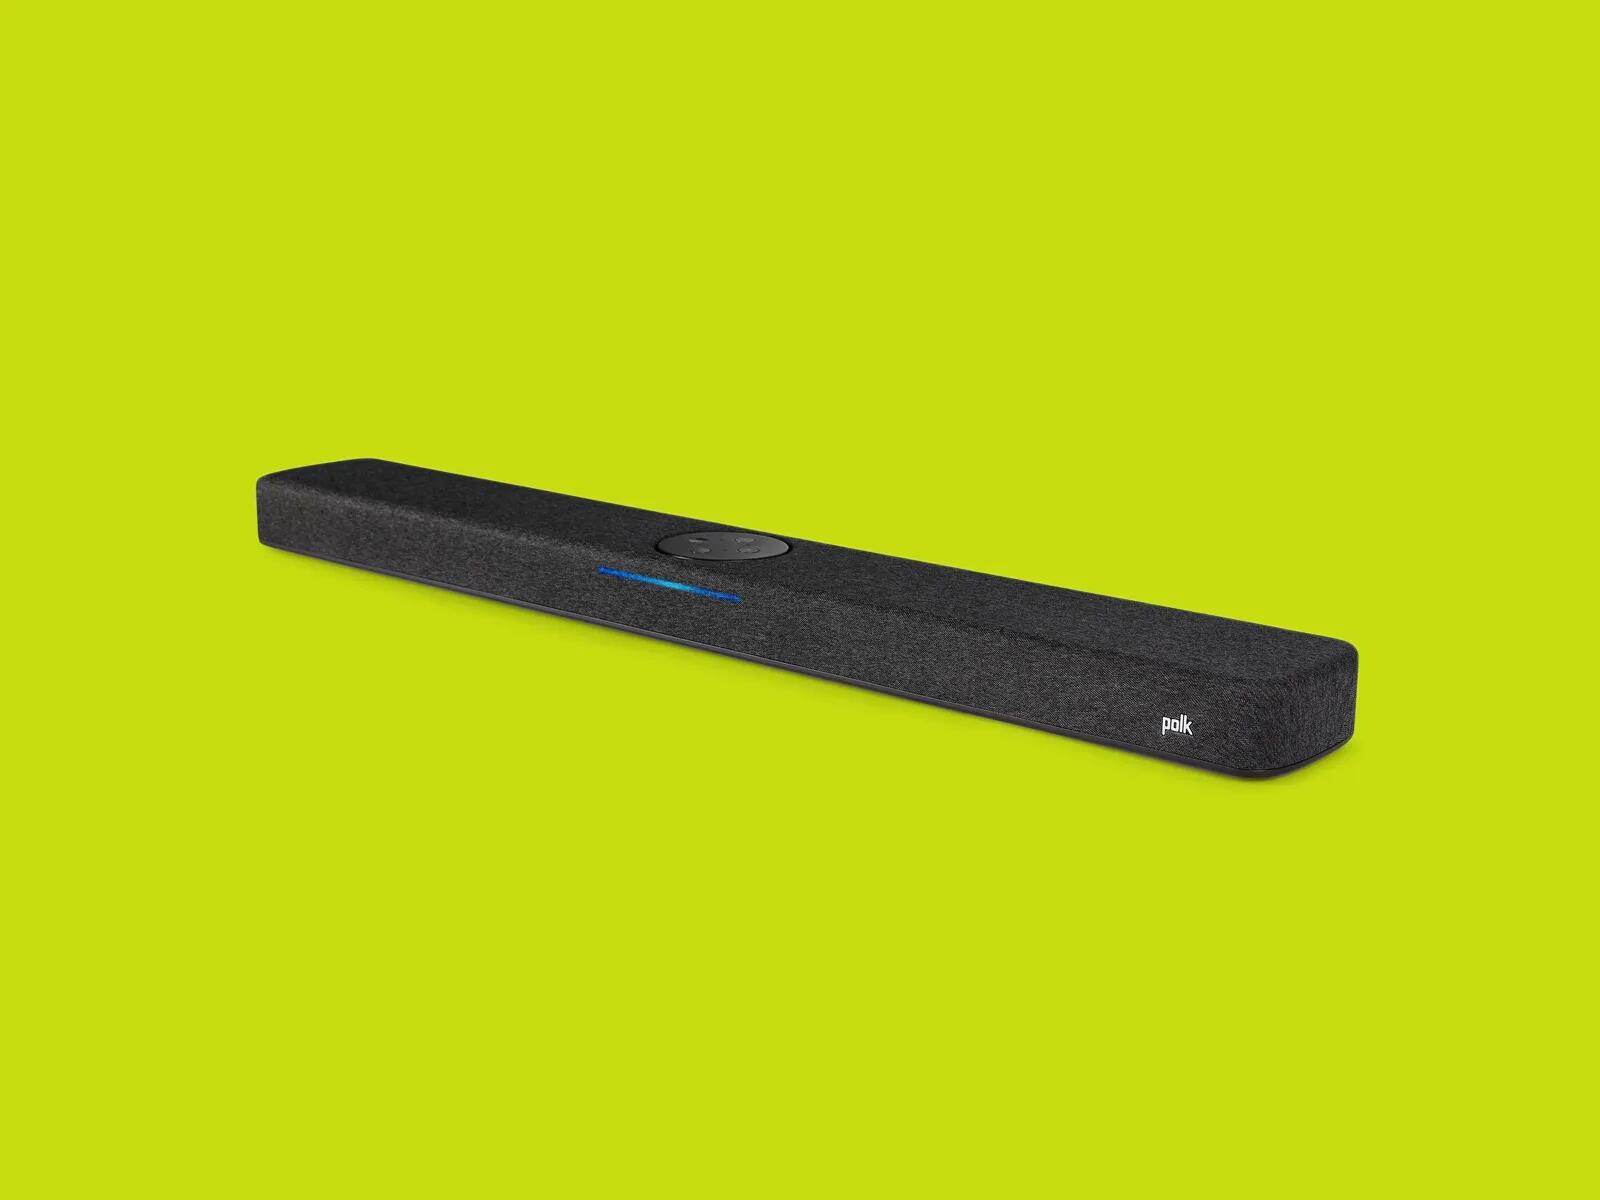
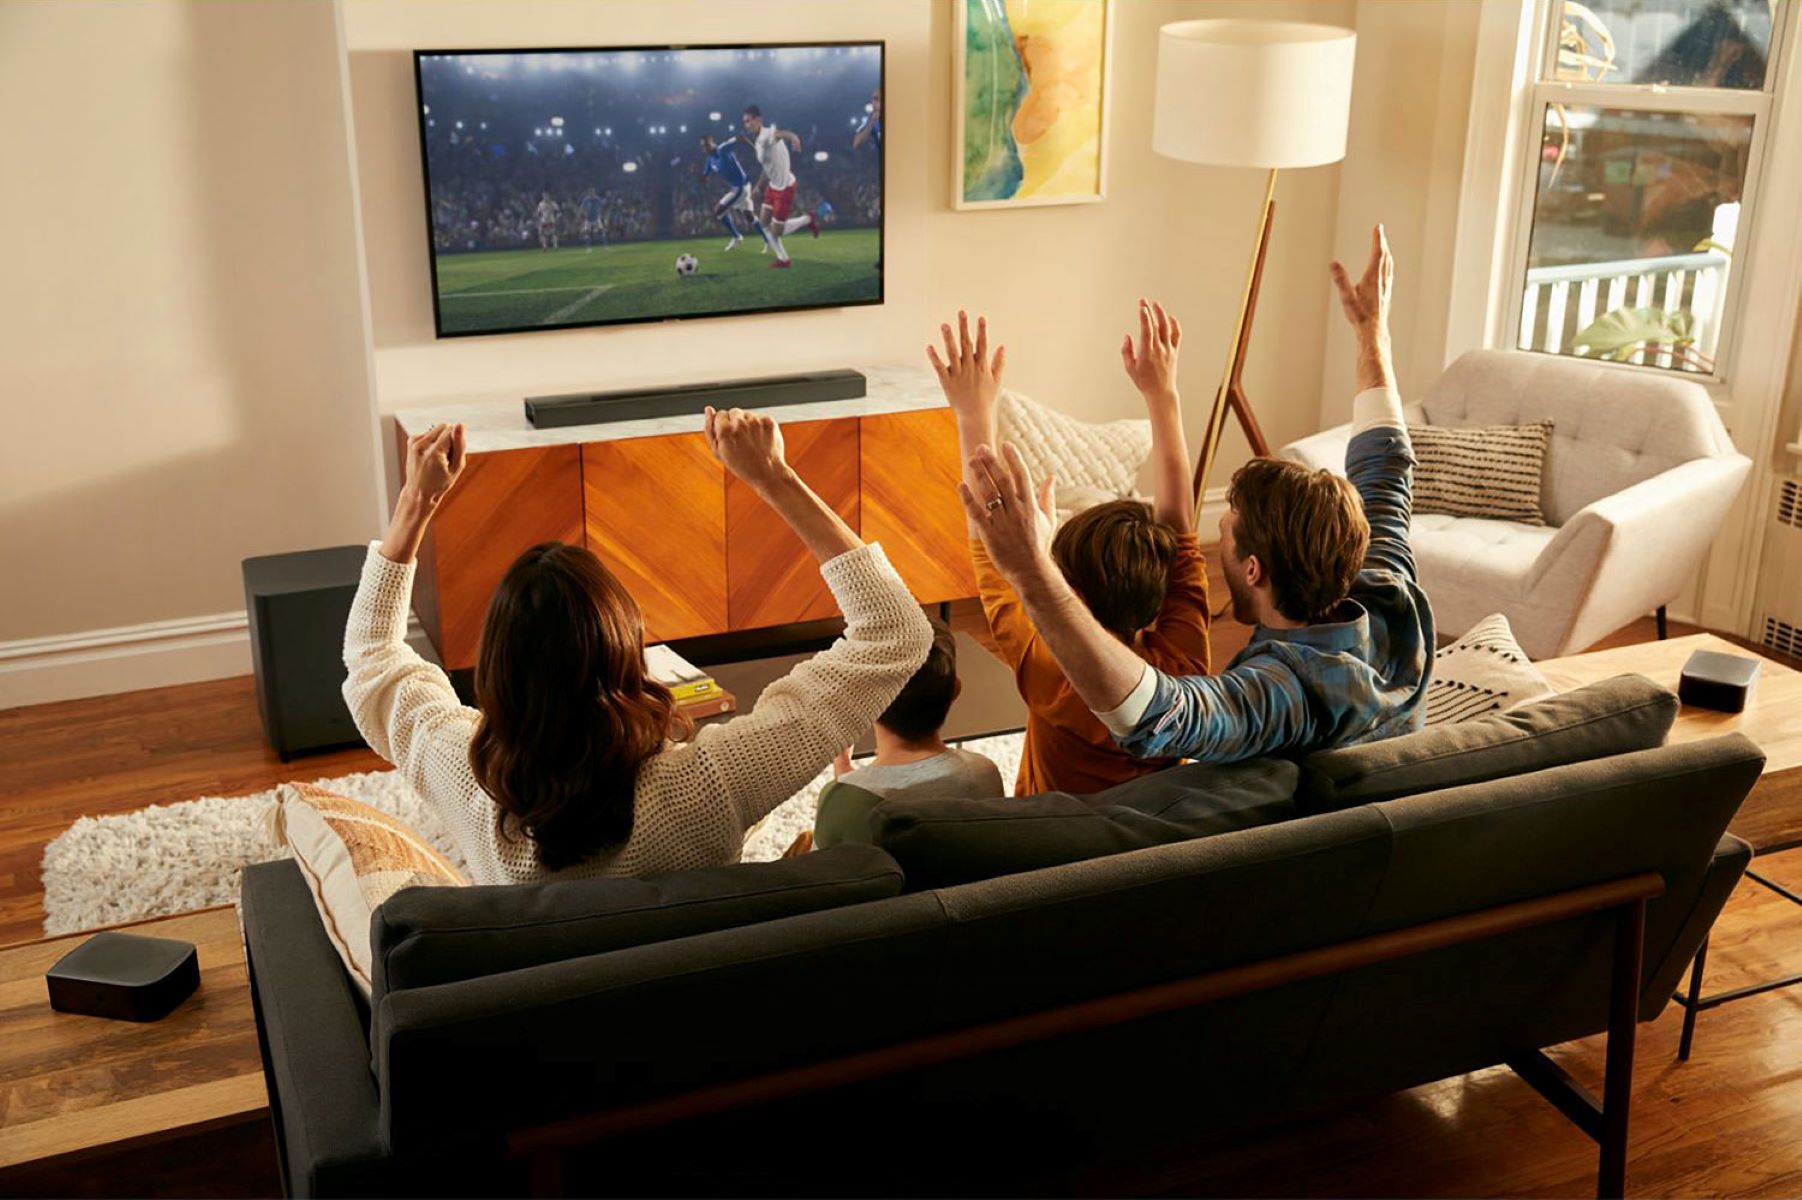
Connecting your Polk soundbar to your TV is a simple and effective way to enhance your audio experience while watching movies, TV shows, and playing games. A soundbar is a sleek and compact audio device that delivers improved sound quality and clarity compared to the built-in speakers of your TV. It provides a more immersive listening experience, with enhanced bass and balanced sound output.
In this guide, we will walk you through the step-by-step process of connecting your Polk soundbar to your TV. Whether you have a new Polk soundbar or an older model, we will cover multiple connection options so you can find the one that suits your needs. You don’t need to be a tech expert to follow these instructions; anyone can do it with a little guidance.
Before we get started, it is important to check the compatibility of your Polk soundbar with your TV. Different models of soundbars and TVs may have different connection options and requirements. Read through the user manuals of both devices or visit the manufacturer’s website to ensure they are compatible and support the desired connection method.
Now, let’s dive into the various methods of connecting your Polk soundbar to your TV, so you can enjoy an immersive and high-quality audio experience right at home.
Step 1: Check the Compatibility
Before you begin connecting your Polk soundbar to your TV, it is essential to check the compatibility between the two devices. This step ensures that the soundbar and your TV can work together seamlessly and avoid any potential issues during the setup process.
Start by reviewing the user manuals of both your soundbar and your TV. Look for information on compatible connection methods and any specific requirements or limitations. You can usually find these manuals on the manufacturer’s website if you no longer have the physical copies.
Alternatively, you can also check the compatibility information on the manufacturer’s website. They may provide a compatibility guide or a list of recommended TVs for their soundbar models. This can help you determine if your specific TV model is supported and which connection options are available.
Another option is to contact the customer support of the soundbar and TV manufacturers. They can provide you with detailed information regarding compatibility and advise you on the best way to connect your specific devices.
Keep in mind that most modern TVs and soundbars support multiple connection options, such as HDMI ARC, optical, and 3.5mm audio. However, it is always best to double-check to ensure a smooth setup process.
Once you have confirmed the compatibility between your Polk soundbar and your TV, you can proceed to the next step of gathering the necessary cables and devices for the connection process.
Step 2: Gather the Necessary Cables and Devices
Before you can connect your Polk soundbar to your TV, you will need to gather the necessary cables and devices. The specific cables and devices required may vary depending on the connection method you choose. Here are the most common options: HDMI ARC, optical, and 3.5mm audio.
For HDMI ARC connection, you will need an HDMI cable that supports ARC (Audio Return Channel). Make sure to check the HDMI version compatibility between your soundbar and TV. If your TV or soundbar does not have an ARC-enabled HDMI port, you may need to use an optical or 3.5mm audio connection instead.
For optical connection, you will need an optical audio cable. This cable has a square-shaped connector with a small transparent or red plastic covering. Check the compatibility between your soundbar and TV for optical connection support.
If you prefer a 3.5mm audio connection, you will need a 3.5mm audio cable with a male-to-male connector. One end of the cable has a small headphone-like connector, while the other end has a larger connector that plugs into your TV or soundbar.
In addition to the necessary cables, make sure that both your Polk soundbar and your TV are powered on and ready to go. Connecting the devices while they are turned off can lead to connection problems, so it’s always best to have them powered up before starting the setup process.
Once you have gathered the required cables and ensured that your devices are powered on, you are now ready to proceed to the next step of connecting your soundbar to your TV using the chosen method.
Step 3: Connect the Soundbar to the TV Using an Optical Cable
If you have decided to use an optical cable for connecting your Polk soundbar to your TV, follow these steps:
- Locate the optical audio output port on your TV. It is usually labeled as “Optical Out” or “Digital Audio Out.”
- Take one end of the optical cable and insert it into the optical audio output port on your TV.
- Next, locate the corresponding optical audio input on your soundbar. It is typically labeled as “Optical In.”
- Connect the other end of the optical cable to the optical audio input on your soundbar.
- Once the optical cable is securely connected to both the TV and the soundbar, ensure that both devices are powered on.
- Using your TV’s remote control, navigate to the audio settings menu. Look for an option to change the audio output settings.
- In the audio settings menu, select the optical output as the audio source for the TV.
- Adjust the volume on both the TV and the soundbar to a comfortable level.
Congratulations! You have successfully connected your Polk soundbar to your TV using an optical cable. Now you can enjoy enhanced audio quality while watching your favorite movies or shows.
Remember that some TVs may require you to manually enable the optical audio output or set it as the default audio source. Refer to your TV’s user manual for specific instructions if you encounter any difficulties.
In the next step, we will explore connecting your soundbar to your TV using an HDMI ARC (Audio Return Channel) connection method.
Step 4: Connect the Soundbar to the TV Using an HDMI ARC Connection
If your TV and soundbar support HDMI ARC (Audio Return Channel), you can take advantage of this convenient connection method. HDMI ARC allows for both audio and video to be transmitted through a single HDMI cable. Here’s how to set it up:
- Locate the HDMI ARC port on your TV. It is usually labeled as “HDMI ARC” or “ARC.”
- Connect one end of the HDMI cable into the HDMI ARC port on your TV.
- Insert the other end of the HDMI cable into the HDMI ARC input on your soundbar.
- Ensure that both the TV and the soundbar are powered on and switched to the appropriate input sources.
- Using your TV’s remote control, navigate to the settings menu. Look for an option to enable HDMI ARC.
- In the settings menu, enable HDMI ARC to allow the TV and soundbar to communicate through the HDMI connection.
- Adjust the volume on both the TV and the soundbar to your desired level.
With the HDMI ARC connection established, you can now enjoy high-quality sound from your Polk soundbar while watching your favorite content on the TV. The HDMI ARC connection also allows you to control the soundbar volume using your TV remote, eliminating the need for separate remotes.
It’s important to note that not all HDMI ports on your TV support ARC. Ensure that you have plugged the HDMI cable into the correct HDMI ARC port. If you encounter any issues with sound playback or control, refer to the user manual of your TV and soundbar for troubleshooting steps.
In the next step, we will cover connecting your soundbar to your TV using a 3.5mm audio cable.
Step 5: Connect the Soundbar to the TV Using a 3.5mm Audio Cable
If your TV and soundbar do not have HDMI ARC or optical audio capabilities, you can still connect them using a 3.5mm audio cable. Follow these steps to establish the connection:
- Locate the headphone or audio output jack on your TV. It is typically labeled as “Audio Out” or “Headphone.”
- Take one end of the 3.5mm audio cable and insert it into the headphone jack on your TV.
- Identify the corresponding audio input on your Polk soundbar. It may be labeled as “Aux,” “Line In,” or a similar term.
- Connect the other end of the 3.5mm audio cable to the audio input on your soundbar.
- Ensure that both the TV and the soundbar are powered on.
- Using the TV’s remote control, navigate to the audio settings menu, and select the appropriate audio output source.
- Adjust the volume levels on both the TV and the soundbar for a balanced audio experience.
Once the 3.5mm audio cable is securely connected between the TV and the soundbar, you can enjoy enhanced audio quality while watching your favorite programs.
It’s important to note that when using a 3.5mm audio cable, the TV’s built-in speakers may remain active and produce sound in addition to the soundbar. To avoid any audio interference, you may need to adjust the TV’s audio settings and mute the built-in speakers.
If you encounter any sound or connectivity issues, ensure that the 3.5mm audio cable is properly inserted into both the TV and the soundbar. Additionally, refer to the user manuals of your TV and soundbar for troubleshooting tips and troubleshooting tips.
In the next step, we will discuss setting up the soundbar and TV settings to optimize your audio experience.
Step 6: Set Up the Soundbar and TV Settings
After successfully connecting your Polk soundbar to your TV, it’s important to properly set up the soundbar and TV settings to optimize your audio experience. Follow these steps to ensure everything is configured correctly:
- Access the soundbar’s settings menu. This can usually be done using the soundbar’s remote control or buttons on the device itself.
- Explore the soundbar settings and adjust them according to your preferences. This may include adjusting the bass, treble, surround sound settings, or selecting specific sound modes offered by the soundbar.
- Check the TV’s audio settings menu for any available enhancements or adjustments. Some TVs offer options to optimize audio output, such as virtual surround sound or equalizer settings.
- Experiment with different sound settings on both the soundbar and the TV to find the optimal balance for your listening preferences and room acoustics.
- Ensure that any volume control settings on both the soundbar and the TV are synchronized. This will allow you to control the volume seamlessly using a single remote or the TV’s volume buttons.
Taking the time to adjust the soundbar and TV settings can significantly enhance your audio experience. It allows you to fine-tune the sound output to match your preferences, resulting in more immersive and enjoyable audio while watching your favorite content.
If you are unsure about specific settings or need further guidance, refer to the user manuals of your soundbar and TV. They often provide detailed instructions on the various settings and customization options available.
Once you have completed the soundbar and TV setup, it’s time to move on to the final step: testing the audio and making any necessary adjustments.
Step 7: Test the Audio and Make Adjustments if Needed
Now that you have connected your Polk soundbar to your TV and adjusted the settings, it’s time to test the audio and make any necessary adjustments to ensure the best sound quality. Follow these steps to fine-tune your audio experience:
- Play a variety of content, such as movies, TV shows, music, or games, to assess the sound quality and performance of your soundbar.
- Pay attention to the balance between the soundbar and the TV’s built-in speakers. If you notice an imbalance, you may need to adjust the volume levels on either device to achieve a more harmonious audio blend.
- Listen for any distortions, rattling sounds, or other irregularities in the audio output. If you encounter such issues, double-check the connections and ensure that all cables are securely plugged in.
- If your soundbar offers different sound modes, such as movie mode, music mode, or game mode, experiment with them to determine which mode provides the best audio experience for each type of content.
- Make adjustments to the soundbar’s EQ (equalizer) settings, if available, to fine-tune the audio frequencies according to your personal preferences.
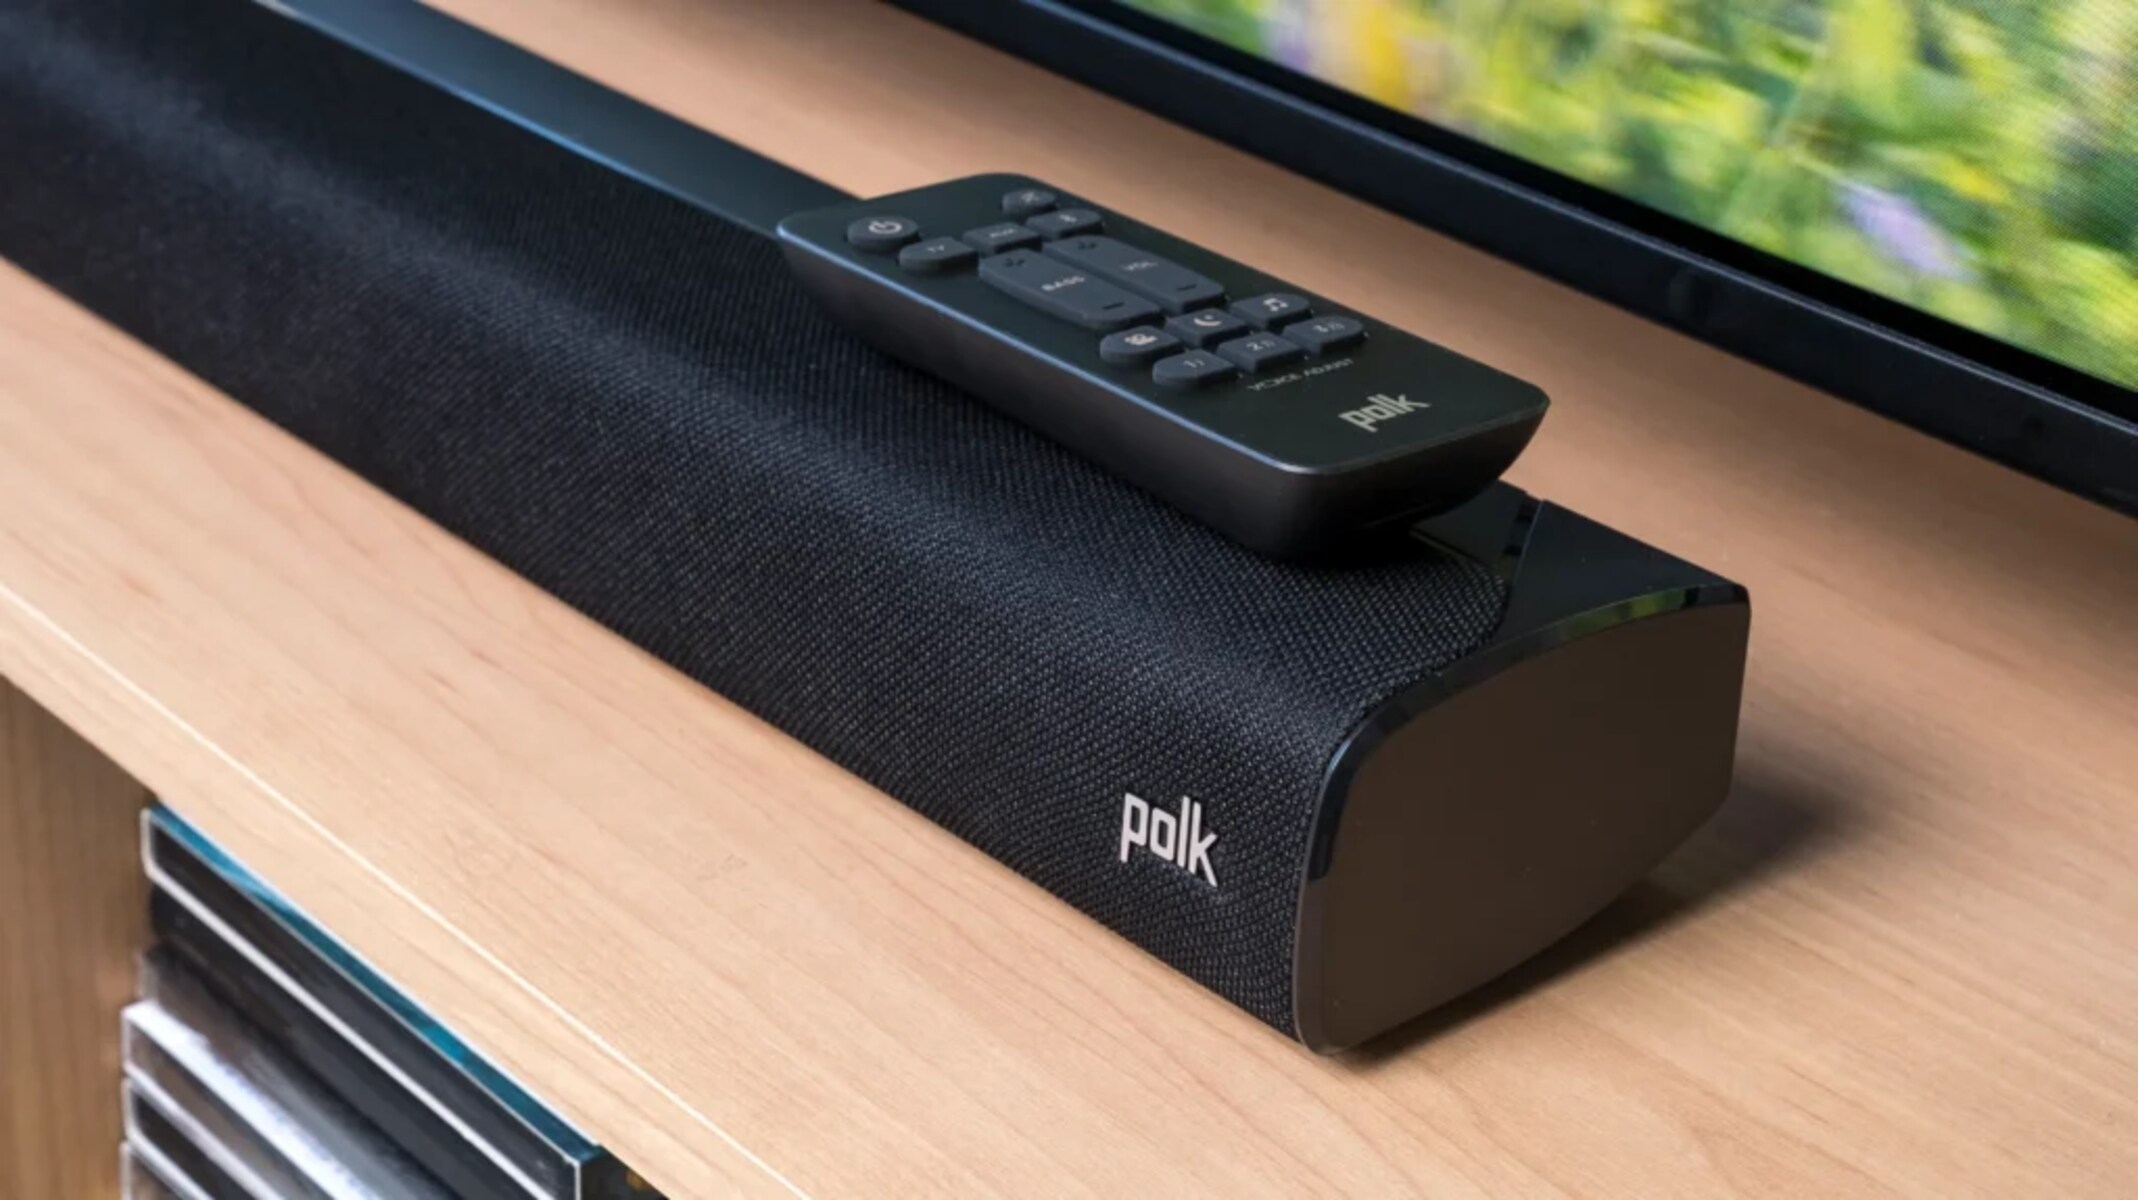
- If you have a remote control that came with your soundbar, familiarize yourself with its features, including volume control, sound mode selection, and other functions.
During the testing phase, it may be necessary to make several adjustments to achieve the desired audio quality. Take your time to find the right balance and settings that suit your preferences and the environment in which you are using the soundbar.
If you encounter any difficulties or need additional assistance, refer to the user manuals of your soundbar and TV. They often provide troubleshooting tips and explanations of specific features that can help you optimize your audio settings.
Remember, the ultimate goal is to enjoy high-quality sound from your Polk soundbar, enhancing your overall viewing experience and immersing yourself in the audio world of your favorite entertainment.
Conclusion
Connecting your Polk soundbar to your TV is a straightforward process that can greatly enhance your audio experience. Whether you choose to use an optical cable, HDMI ARC connection, or a 3.5mm audio cable, following the step-by-step instructions in this guide will help you successfully set up your soundbar and enjoy immersive sound while watching your favorite movies, TV shows, or playing games.
Start by checking the compatibility between your soundbar and TV, making sure they support the desired connection method. Gather the necessary cables and devices, ensuring that both devices are powered on before proceeding with the setup. From there, you can connect the soundbar to the TV using the chosen method and adjust the soundbar and TV settings to optimize your audio output.
Once you have completed the setup, take the time to test the audio and make any necessary adjustments to achieve the best sound quality. It may involve fine-tuning the volume levels, sound modes, EQ settings, and ensuring a harmonious balance between the soundbar and TV’s speakers.
If you encounter any difficulties during the setup process or have specific troubleshooting needs, consult the user manuals of your soundbar and TV. They are valuable resources that provide detailed instructions and guidance for various scenarios.
By following these steps and exploring the available features of your Polk soundbar and TV, you can create a captivating and immersive audio experience in your home entertainment setup. Enjoy the enhanced sound quality and immerse yourself in the world of your favorite content like never before.