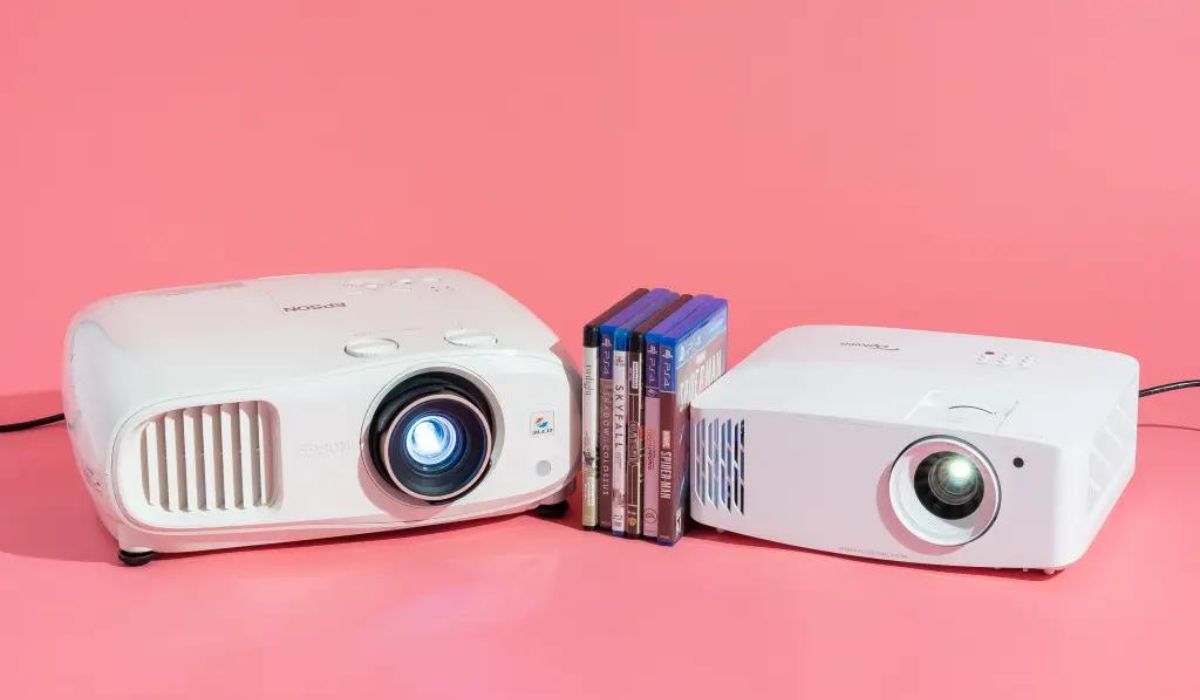
Choosing the Right Projector
Selecting the perfect projector for your home theater setup is a crucial decision that can significantly impact your viewing experience. With a myriad of options available, it's essential to consider several factors to ensure that you make an informed choice.
-
Consider the Room Size and Layout: Evaluate the dimensions and layout of your home theater room. For smaller spaces, a projector with a shorter throw distance may be more suitable, while larger rooms can accommodate projectors with longer throw capabilities.
-
Resolution and Display Technology: The projector's resolution directly impacts the image quality. Opt for a higher resolution, such as 1080p or 4K, for sharper and more detailed visuals. Additionally, consider the display technology, such as DLP, LCD, or LCoS, to align with your preferences for color accuracy and contrast.
-
Brightness and Ambient Light: Assess the ambient light conditions in the room where the projector will be used. Spaces with ample natural or artificial light may require a projector with higher brightness levels to maintain image clarity and vibrancy.
-
Connectivity and Compatibility: Ensure that the projector offers versatile connectivity options to accommodate various audio and video sources, such as HDMI, USB, and audio outputs. Compatibility with streaming devices, gaming consoles, and Blu-ray players is also essential for a seamless setup.
-
Throw Ratio and Screen Size: The projector's throw ratio determines the image size based on the throw distance. Calculate the throw ratio needed for your desired screen size to ensure that the projector can effectively fill the screen from its placement location.
-
Noise Levels and Fan Sound: Consider the operational noise levels of the projector, especially if it will be installed in close proximity to the seating area. Opt for models with quieter fan operation to minimize distractions during viewing sessions.
-
Budget and Long-Term Value: Establish a budget that aligns with your expectations for performance and features. While it's essential to stay within budget, prioritize long-term value by considering factors such as lamp life, warranty, and potential upgrade options.
By carefully evaluating these considerations, you can narrow down your options and select a projector that seamlessly integrates into your home theater environment, delivering an immersive and captivating viewing experience for years to come.
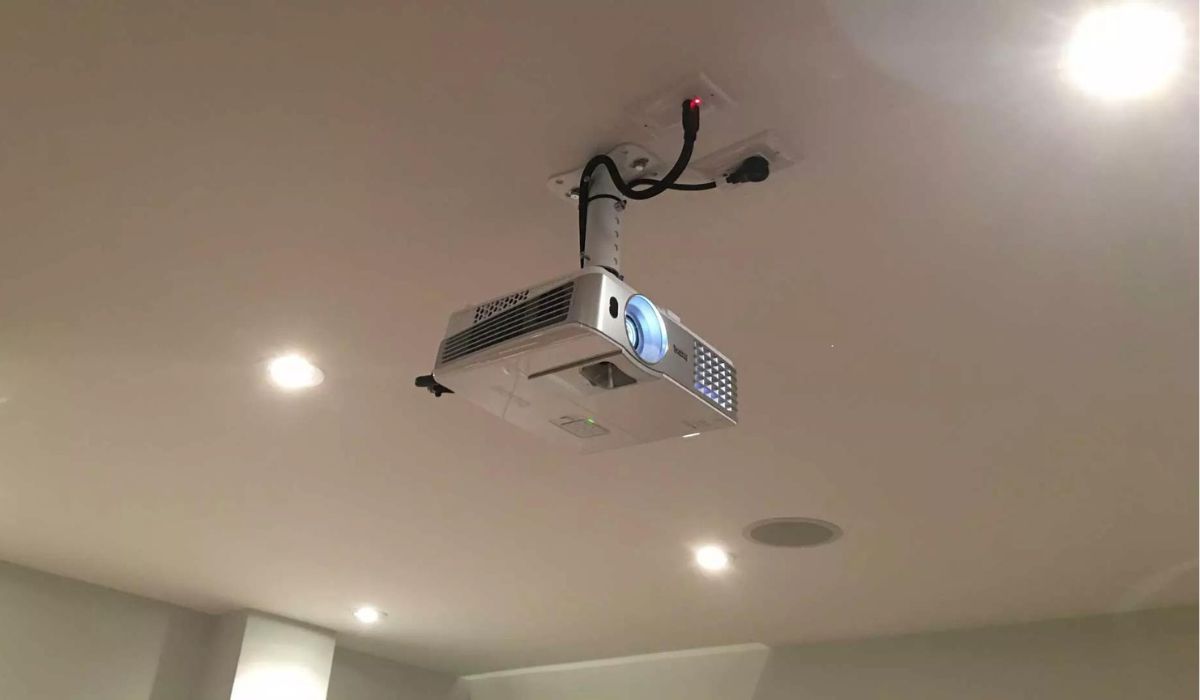
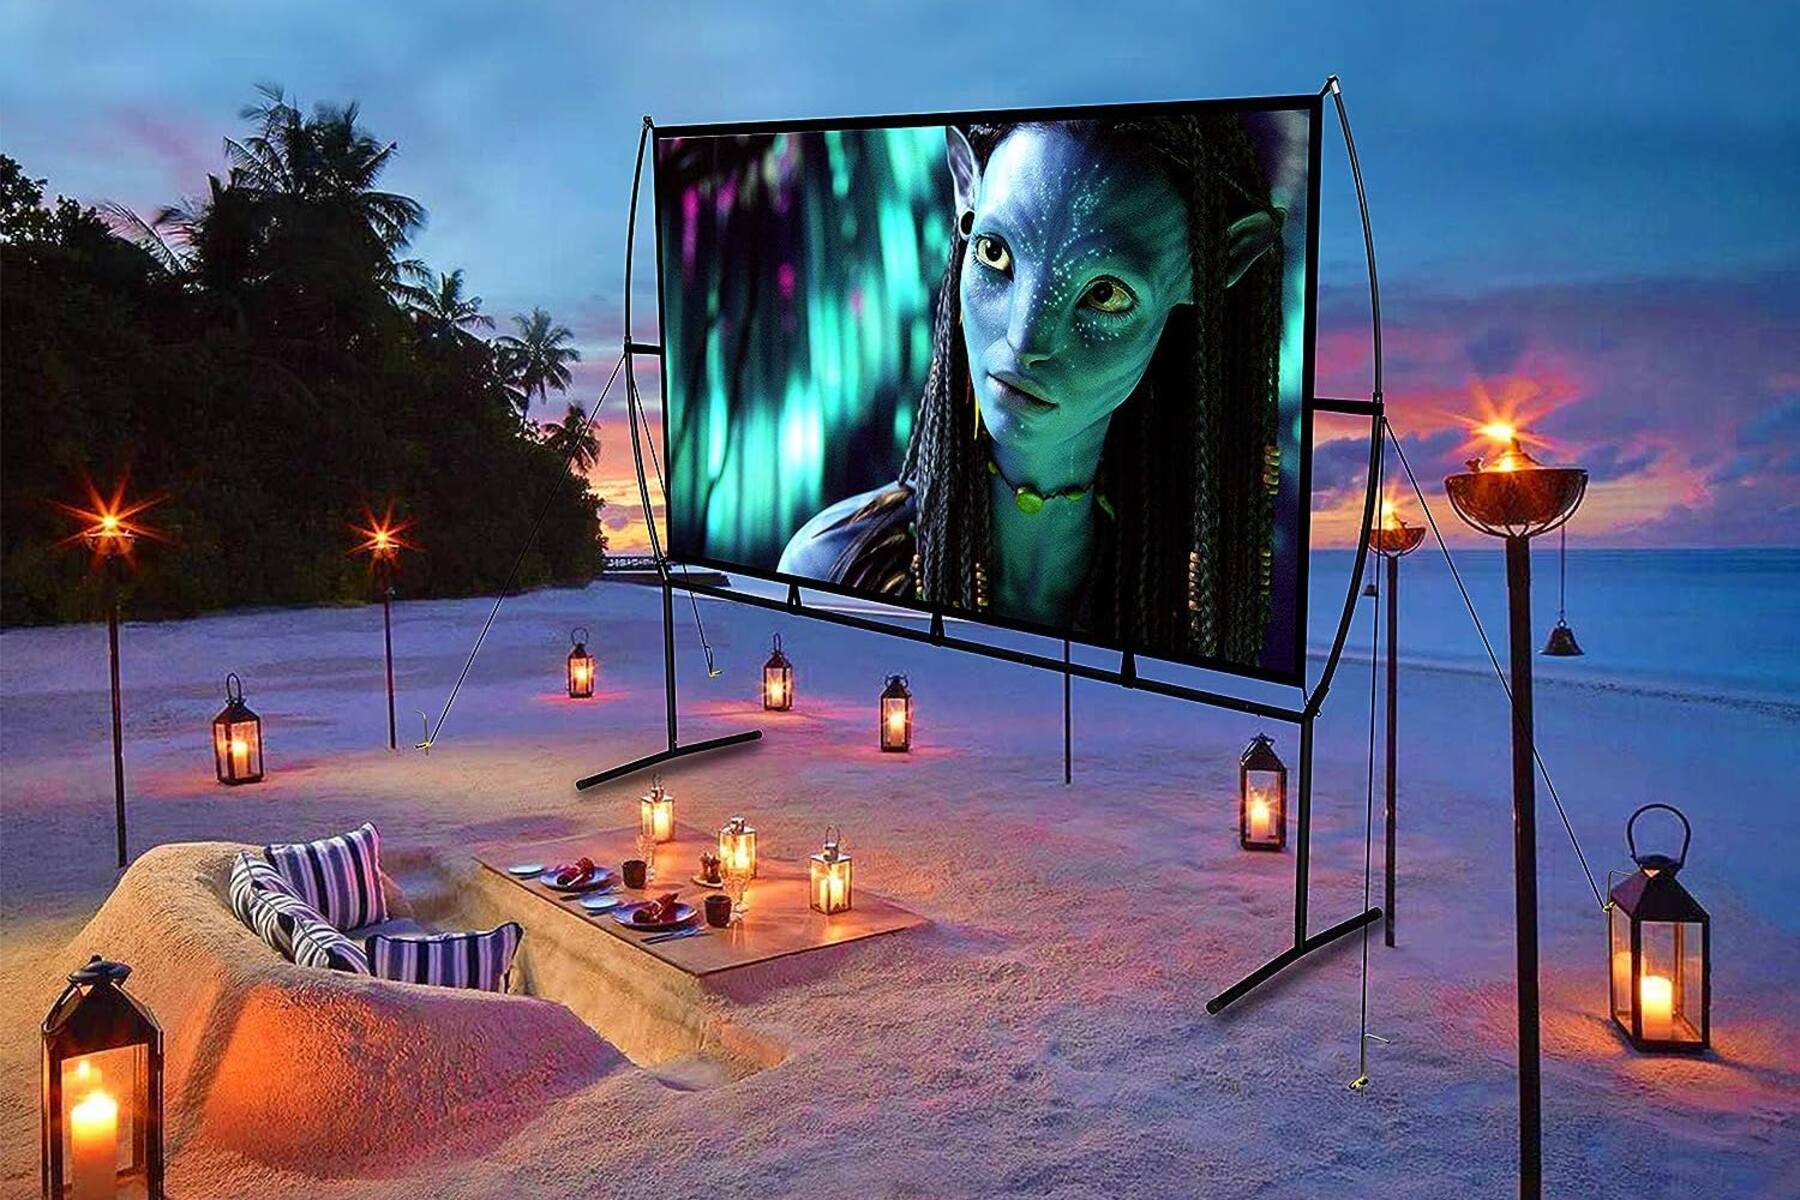
Setting Up the Projector
Once you’ve chosen the ideal projector for your home theater, the next step is to set it up correctly to optimize its performance and ensure an exceptional viewing experience. Follow these steps to seamlessly integrate the projector into your entertainment space:
-
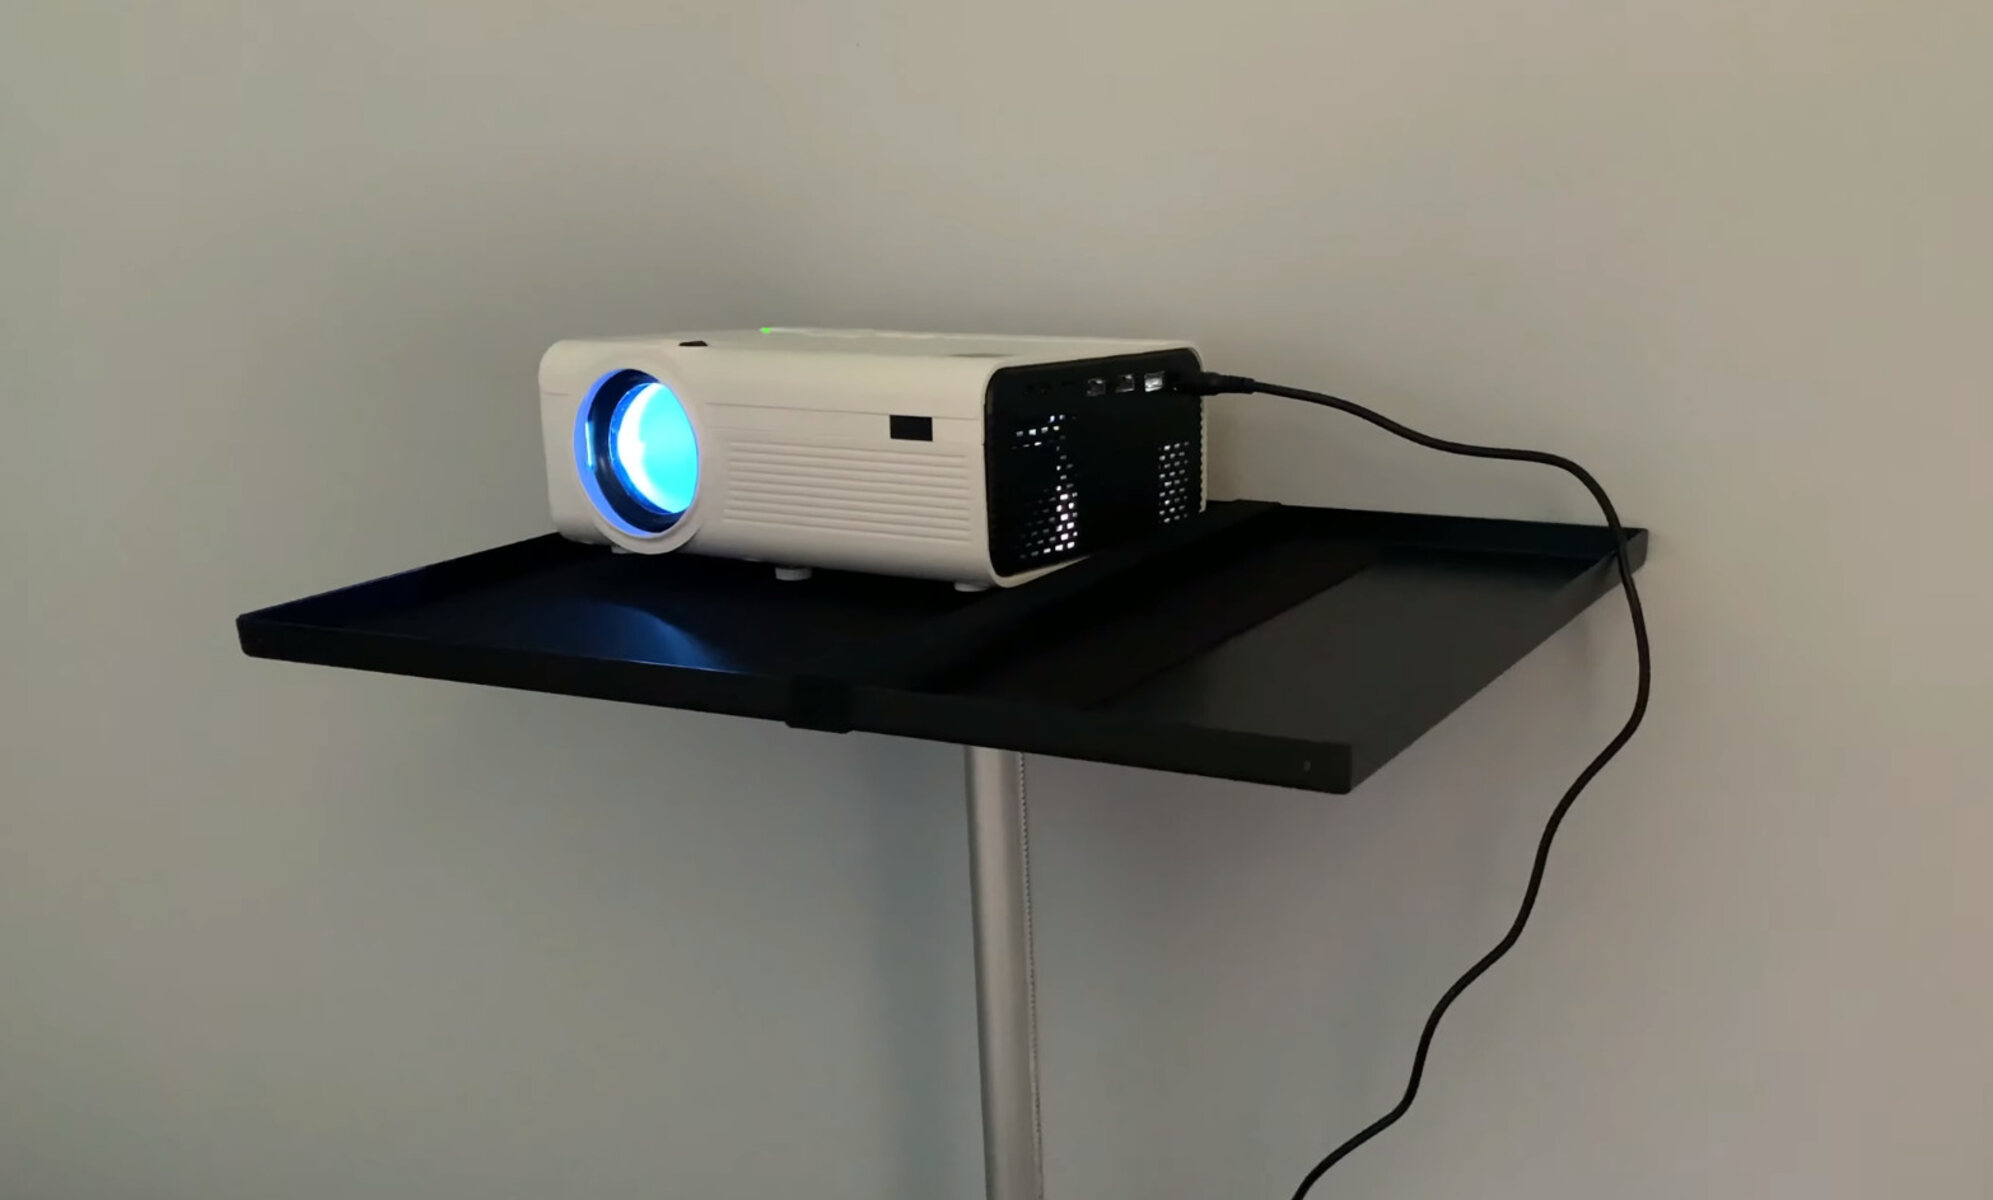
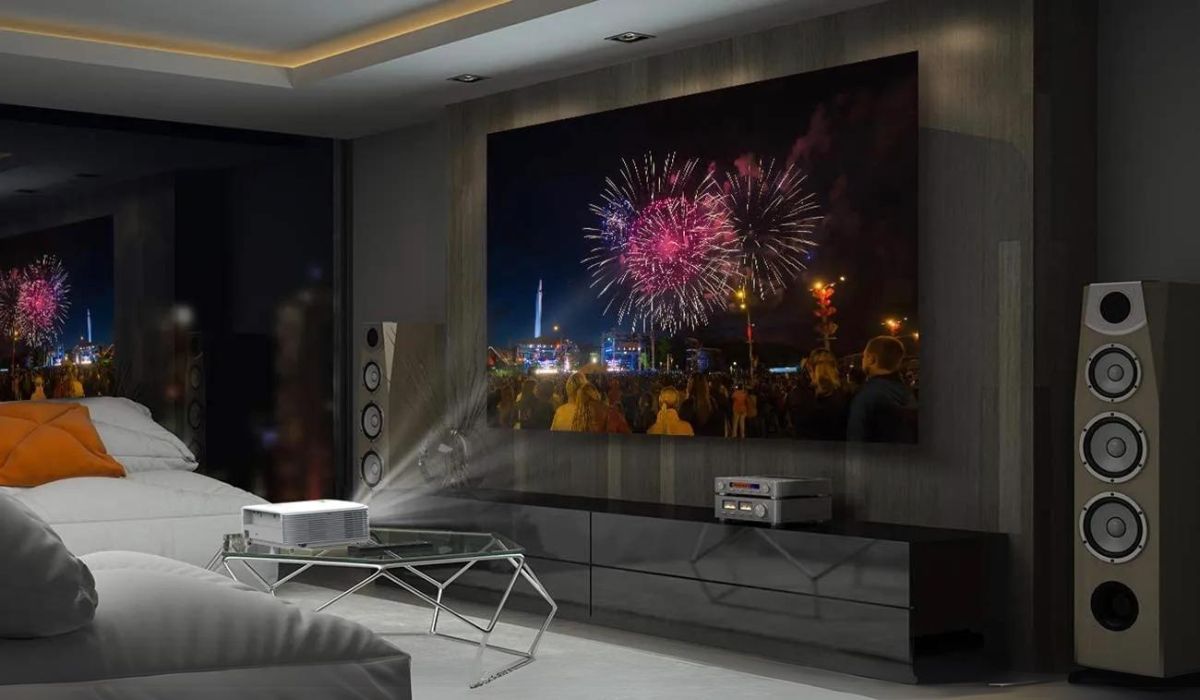
Placement and Mounting: Determine the optimal placement for the projector based on the room layout and seating arrangement. Consider ceiling mounting for a streamlined look and to prevent obstruction of the projected image.
-
Screen Positioning: Position the screen or projection surface at the appropriate height and distance from the projector to achieve the desired image size and aspect ratio. Ensure that the screen is flat and free from wrinkles or imperfections to maintain image quality.
-
Power and Connectivity: Connect the projector to a power source and ensure that all necessary cables, such as HDMI or VGA, are securely plugged into the corresponding ports. Verify that the audio output is connected to the sound system for synchronized audio and video playback.
-
Keystone and Lens Adjustment: Use the projector’s keystone correction and lens shift features, if available, to align the projected image and correct any distortion caused by the projector’s angle or placement. This ensures a proportionate and distortion-free display.
-
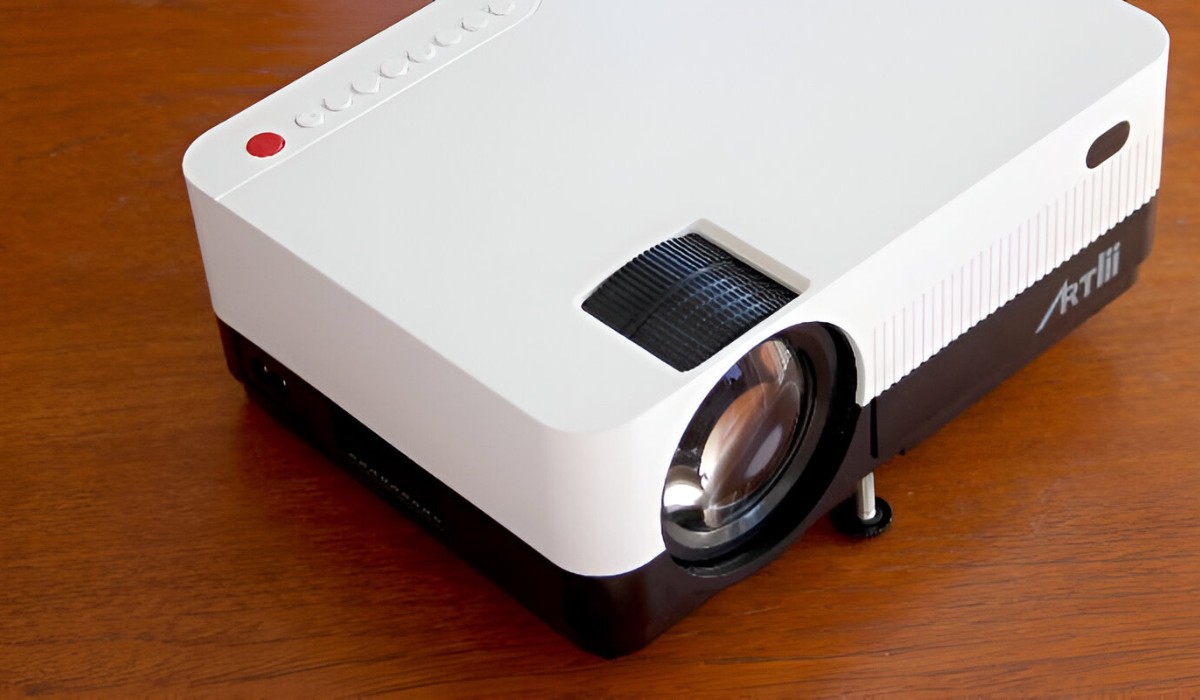
Calibration and Focus: Access the projector’s settings menu to fine-tune the image parameters, including brightness, contrast, color temperature, and sharpness. Adjust the focus ring to achieve a crisp and clear image across the entire projection surface.
-
Remote Control and Accessibility: Familiarize yourself with the projector’s remote control functions and accessibility options, such as on-screen menus and preset modes. This enables convenient adjustment of settings and modes based on the content being displayed.
-
Ventilation and Maintenance: Ensure that the projector’s ventilation vents are unobstructed to prevent overheating. Regularly clean the projector’s filters and lens to maintain optimal performance and extend the lifespan of the device.
By meticulously following these steps, you can effectively set up the projector in your home theater, creating an immersive and visually captivating environment for enjoying movies, gaming, and multimedia content with unparalleled clarity and vibrancy.
Connecting Audio and Video Sources
Once the projector is in place, the next crucial step is to connect the audio and video sources to create a seamless and immersive home theater experience. Follow these steps to effectively integrate your various devices with the projector:
-
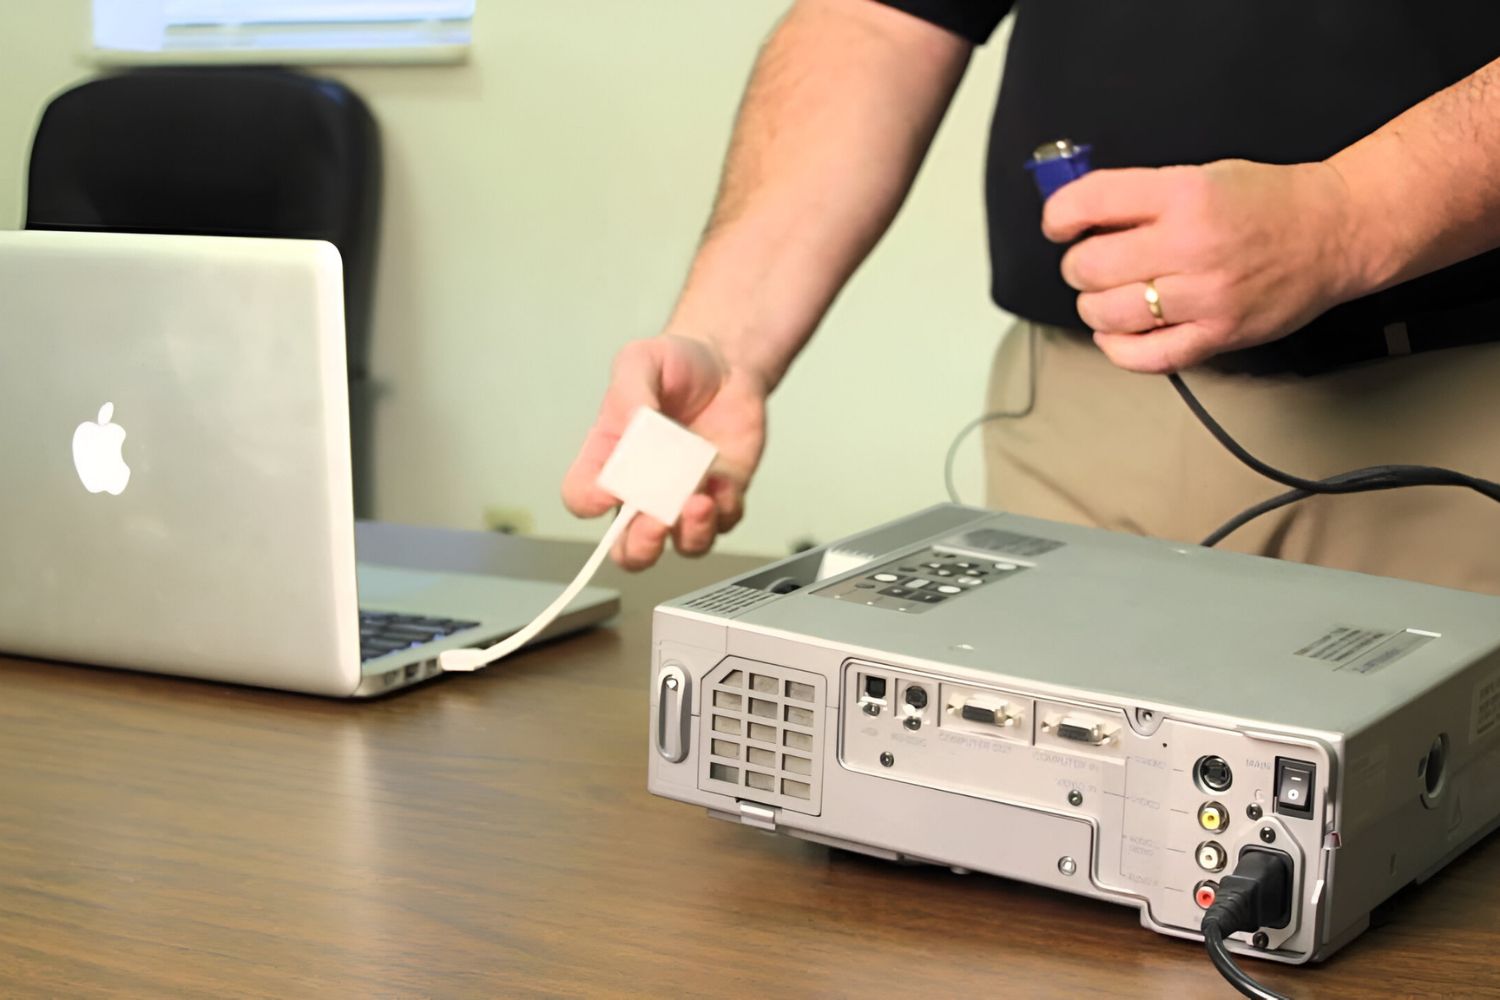
Audio and Video Input Selection: Identify the audio and video sources you intend to connect to the projector, such as a Blu-ray player, gaming console, streaming device, or cable/satellite box. Determine the available input ports on the projector, such as HDMI, VGA, or composite inputs.
-
HDMI and Audio Connections: For high-definition audio and video signals, utilize HDMI connections to ensure optimal quality and compatibility. Connect the HDMI output of your source device to the HDMI input on the projector. Additionally, establish audio connections from the source device to the sound system or projector, depending on the audio output options available.
-
Legacy and Analog Devices: If you have older devices with analog outputs, such as RCA or VGA, utilize compatible input ports on the projector or consider using adapters to convert the signals to a format supported by the projector. This allows for the seamless integration of legacy devices into your home theater setup.
-
Wireless Connectivity Options: Explore wireless connectivity solutions, such as Wi-Fi-enabled projectors or wireless display adapters, to effortlessly stream content from compatible devices without the need for physical cables. This provides flexibility and convenience, especially when incorporating smartphones, tablets, or laptops into the home theater system.
-
External Audio Systems: If you have a dedicated audio system or soundbar, ensure that the audio output from the projector is connected to the input of the audio system to achieve synchronized audio playback. Adjust the audio settings on the projector to optimize the audio output based on the capabilities of the connected audio system.
-
Switching and Source Selection: Familiarize yourself with the projector’s input selection options and source switching capabilities. This allows for seamless transitions between different input sources, enabling a smooth and uninterrupted viewing experience when switching between various devices.
By effectively connecting your audio and video sources to the projector, you can create a cohesive and integrated home theater setup that delivers stunning visuals and immersive audio, elevating your entertainment experiences to new heights.
Adjusting the Image and Sound
After connecting the audio and video sources, fine-tuning the image and sound settings is essential to optimize the viewing and listening experience in your home theater. Follow these steps to adjust the image and sound parameters for optimal performance:
-
Aspect Ratio and Screen Size: Access the projector’s settings menu to adjust the aspect ratio and screen size settings to match the dimensions of the projection surface. This ensures that the projected image fits perfectly within the designated viewing area without distortion.
-
Brightness and Contrast: Calibrate the brightness and contrast levels to achieve a balanced and vibrant image. Avoid excessively high brightness settings in dark environments, as they can lead to eye strain, while low contrast levels may result in a lack of depth and detail in the image.
-
Color Temperature and Gamut: Fine-tune the color temperature and gamut settings to achieve accurate and natural color reproduction. Adjust the color balance and saturation to enhance the richness and fidelity of the displayed colors, ensuring lifelike visuals.
-
Sharpness and Clarity: Utilize the projector’s sharpness and clarity adjustments to enhance the overall image detail and edge definition. Avoid excessive sharpness settings that may introduce artifacts or distortions, striving for a crisp and natural image appearance.
-
Sound Equalization and Balance: Access the audio settings to adjust the equalization and balance parameters based on your preferences and the acoustic characteristics of the room. Fine-tune the bass, treble, and midrange levels to achieve a balanced and immersive audio experience.
-
Speaker Placement and Configuration: If utilizing the projector’s built-in speakers or an integrated sound system, ensure that the speakers are appropriately positioned to deliver optimal audio coverage. Adjust the speaker configuration settings to align with the layout of the room and seating arrangement.
-
Audio Delay and Synchronization: Address any audio delay or synchronization issues that may arise when using external audio systems. Adjust the audio delay settings on the projector to synchronize the audio with the projected video, minimizing audio-visual discrepancies.
By meticulously adjusting the image and sound settings, you can tailor the viewing and listening experience to your preferences, creating a captivating and immersive atmosphere within your home theater. These adjustments ensure that the projected visuals and audio complement each other harmoniously, delivering an unparalleled entertainment experience.
Calibrating the Projector for Best Performance
Calibrating the projector is a pivotal step in achieving optimal performance and ensuring that it delivers exceptional image quality and immersive audio-visual experiences. By meticulously adjusting various settings and parameters, you can fine-tune the projector to align with your preferences and the characteristics of your home theater environment. Follow these steps to calibrate the projector for best performance:
-
Utilize Calibration Tools: Consider using calibration tools, such as a colorimeter or spectrophotometer, to objectively measure and adjust the projector’s color accuracy, grayscale performance, and gamma settings. These tools provide precise measurements and aid in achieving accurate color reproduction.
-
Color Management System (CMS): If available, utilize the projector’s color management system to individually adjust the primary and secondary colors, ensuring that they adhere to industry standards and accurately represent the intended color palette of the content being displayed.
-
Gamma Correction: Fine-tune the gamma settings to achieve the desired luminance response and contrast characteristics. Adjusting the gamma curve influences the brightness and contrast of the projected image, enhancing the overall visual impact and depth of the displayed content.
-
White Balance and Grayscale Calibration: Calibrate the projector’s white balance and grayscale performance to achieve neutral and accurate shades of gray across the entire luminance range. This ensures that the projected image maintains consistent and natural tonal representation.
-
Dynamic Range and HDR Optimization: If the projector supports high dynamic range (HDR) content, optimize the settings to ensure that the projector effectively reproduces the extended contrast and luminance levels inherent in HDR content, enhancing the visual impact and realism of the displayed images.
-
Audio Calibration and Acoustic Treatment: Consider calibrating the audio settings and addressing the acoustic characteristics of the room to optimize the sound reproduction. Utilize acoustic treatments, such as sound-absorbing panels and bass traps, to minimize acoustic distortions and enhance the clarity of the audio playback.
-
Save Custom Presets: Once the projector is calibrated to your satisfaction, save the custom presets or settings profiles to easily switch between different calibration configurations based on the type of content being displayed or the ambient light conditions in the room.
By meticulously calibrating the projector for best performance, you can unlock its full potential, ensuring that it delivers stunning visuals and immersive audio that elevate your home theater experience to new heights. These calibration efforts result in a finely-tuned projector that faithfully reproduces content with remarkable fidelity and precision, captivating your senses and enriching your entertainment endeavors.