Introduction
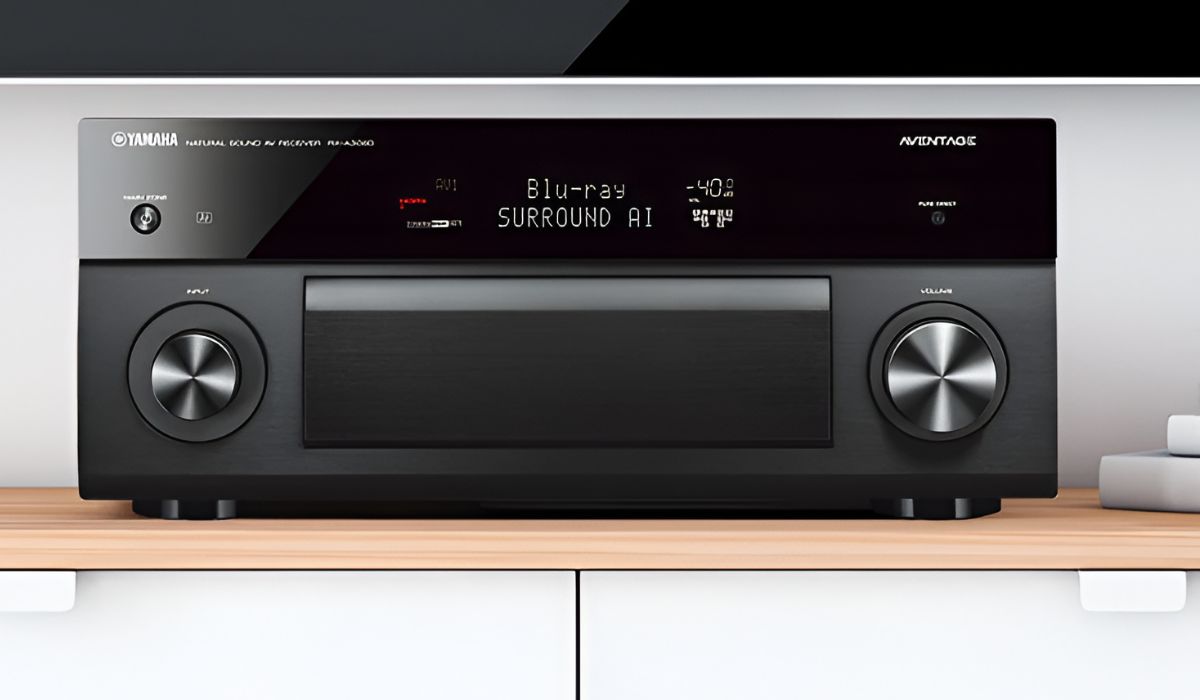
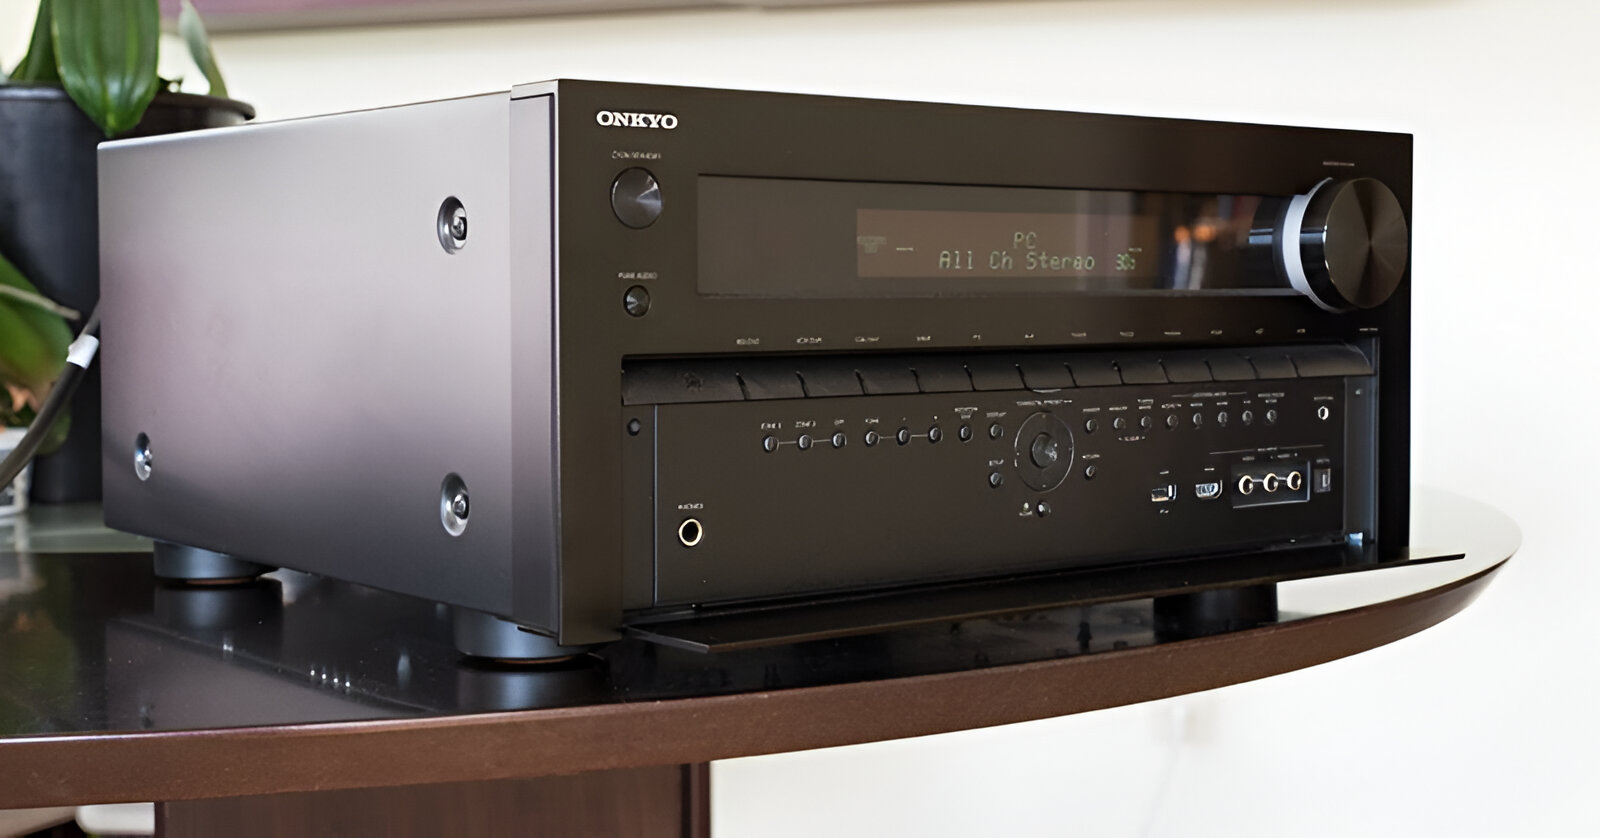
Welcome to the world of immersive audio experiences with your AV receiver! Whether you're a seasoned audiophile or just beginning to explore the joys of high-quality sound, an AV receiver is a central component of any home entertainment system. This versatile device serves as the hub for connecting and controlling your audio and video sources, delivering powerful, room-filling sound to enhance your music, movies, and gaming experiences.
When it comes to playing music on an AV receiver, you have a multitude of options at your fingertips. From traditional inputs like CD players and turntables to modern streaming services and wireless connectivity, the possibilities for enjoying your favorite tunes are virtually endless. In this guide, we'll walk you through the essential steps for playing music on your AV receiver, covering everything from initial setup to advanced playback options.
Whether you're hosting a party, unwinding after a long day, or simply savoring the sonic nuances of your favorite albums, your AV receiver is ready to deliver the perfect soundtrack to complement any moment. Let's dive into the world of audio excellence and discover the myriad ways you can harness the full potential of your AV receiver to elevate your music listening experience.
Connecting the AV Receiver
Before you can start enjoying your favorite tunes through your AV receiver, it’s essential to establish the proper connections to ensure seamless audio playback. Here’s a step-by-step guide to help you set up your AV receiver and link it to your audio sources:
- Positioning the Receiver: Select a well-ventilated and easily accessible location for your AV receiver, ensuring that there’s ample space around the unit for ventilation and cable management.
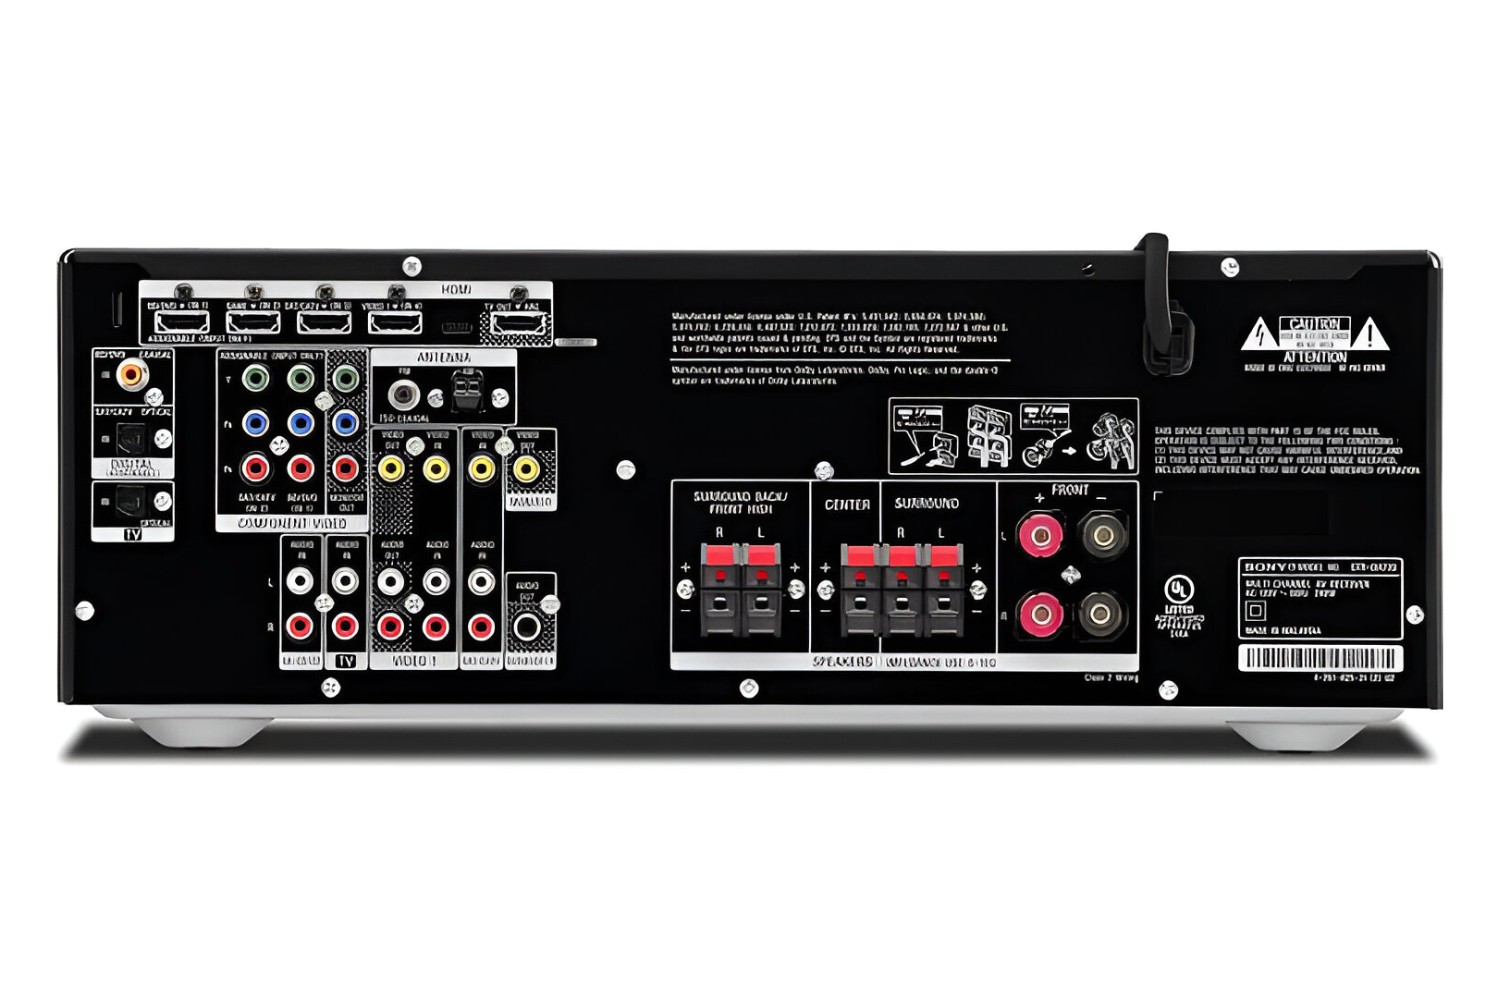
- Power and Speaker Connections: Connect the power cord to an electrical outlet and attach your speakers to the corresponding terminals on the receiver, ensuring that the polarity is correct for each speaker.
- Audio and Video Sources: Connect your audio and video sources, such as a CD player, turntable, or media player, to the designated input ports on the receiver using appropriate cables (e.g., RCA, HDMI, optical, or coaxial cables).
- Television or Display Connection: If you’re using your AV receiver for video playback, connect the HDMI output of the receiver to your television or display device to transmit both audio and video signals.
- Network and Wireless Connectivity: If your receiver supports network or wireless connectivity, follow the manufacturer’s instructions to connect it to your home network or pair it with Bluetooth-enabled devices for seamless audio streaming.
Once you’ve completed these steps, your AV receiver should be ready to receive audio signals from your connected sources, allowing you to start exploring the various playback options and fine-tuning the sound to suit your preferences. The proper setup of your AV receiver forms the foundation for an exceptional audio experience, ensuring that you can fully immerse yourself in the music without any technical hiccups.
Selecting the Input Source
Once your AV receiver is properly connected, the next step is to choose the input source from which you want to play music. Most AV receivers offer a variety of input options, allowing you to connect multiple audio devices and seamlessly switch between them. Here’s how to select the input source on your AV receiver:
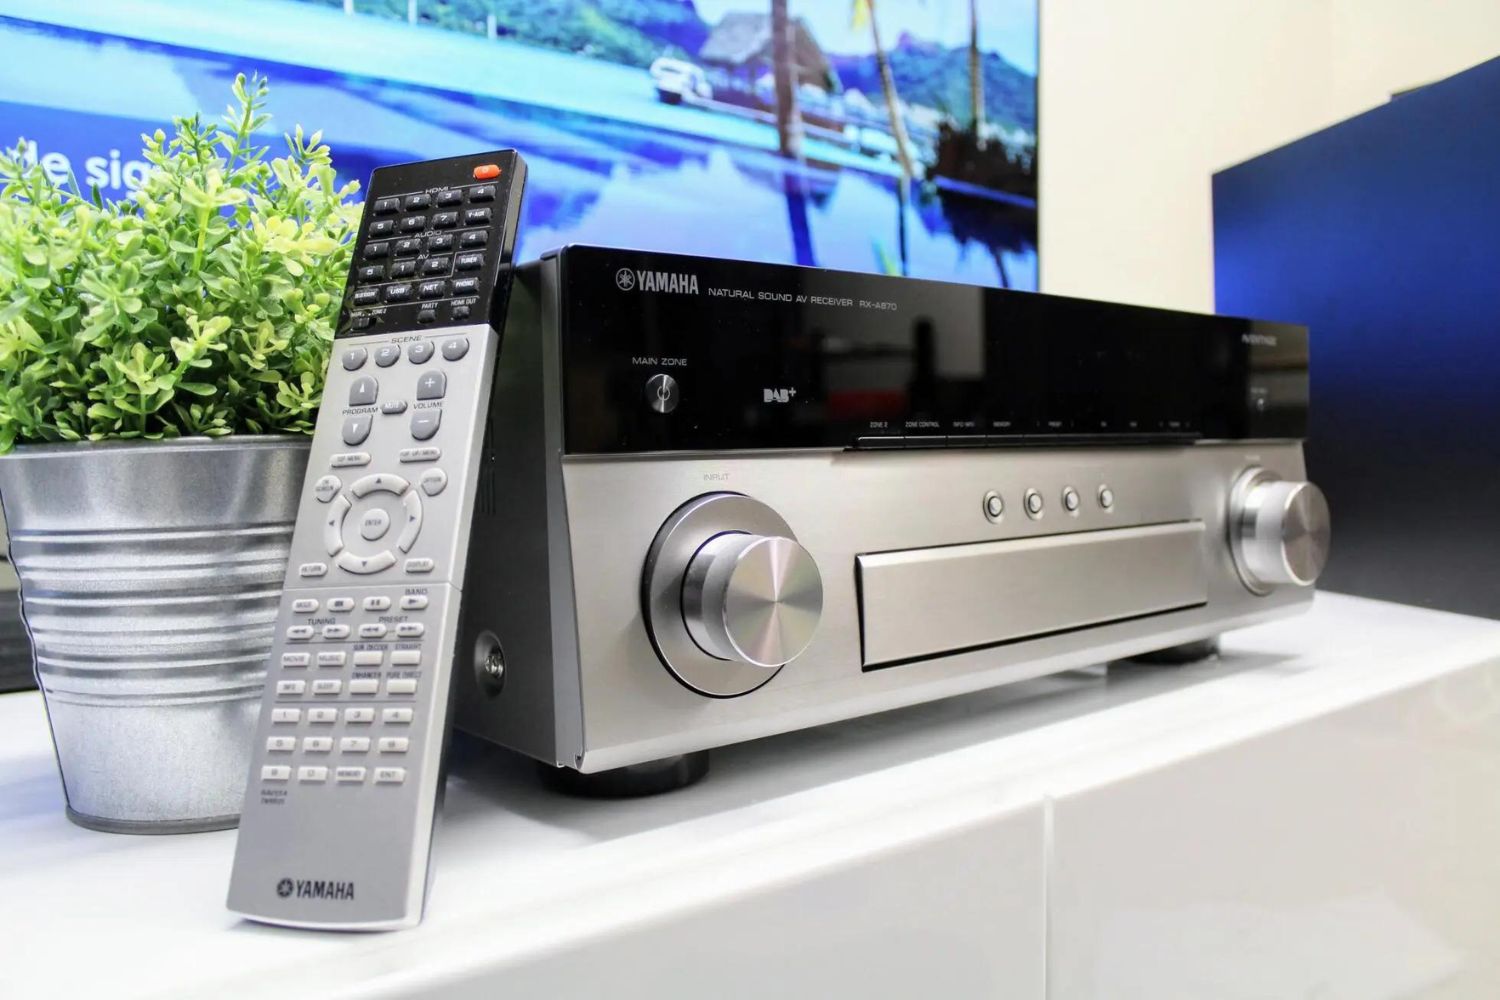
1. Input Selection Buttons: Many AV receivers feature dedicated input selection buttons on the front panel or remote control. These buttons are labeled to correspond with the different input sources, such as “CD,” “Phono,” “Aux,” “Bluetooth,” “USB,” and more. By pressing the appropriate input button, you can quickly switch to the desired audio source.
2. On-Screen Menu: Some AV receivers utilize an on-screen menu system that allows you to navigate and select input sources using your television or display. This user-friendly interface provides a visual representation of the available input options, making it easy to choose the desired source with just a few button presses on the remote control.
3. Rotary Selector Knob: Certain AV receivers feature a rotary selector knob that enables you to cycle through the available input sources by turning the knob and selecting the desired input when it appears on the receiver’s display panel. This tactile method offers a hands-on approach to input selection.
4. Auto-Sensing and Auto-Switching: Modern AV receivers may include auto-sensing or auto-switching capabilities, which can detect when a new audio source is active and automatically switch to that input. This convenient feature eliminates the need for manual input selection, providing a seamless and hassle-free user experience.
By mastering the art of input selection, you can effortlessly switch between your turntable, CD player, digital media player, Bluetooth-enabled devices, and other audio sources, ensuring that you’re always ready to enjoy your favorite music without any unnecessary delays or complications.
Adjusting the Volume and Sound Settings
Once you’ve selected your desired input source, it’s time to fine-tune the audio to achieve the perfect sound for your listening environment and personal preferences. Your AV receiver offers a range of volume and sound settings that allow you to customize the audio output to suit your specific needs. Here’s a guide to adjusting the volume and sound settings on your AV receiver:
- Volume Control: Use the volume knob or remote control to adjust the overall volume level to a comfortable listening level. It’s important to start with a moderate volume and make gradual adjustments to avoid sudden loud sounds that may be disruptive or damaging to your speakers.
- Sound Modes: Many AV receivers provide preset sound modes, such as “Music,” “Movie,” “Gaming,” or “Pure Direct,” each tailored to enhance the audio for different types of content. Experiment with these sound modes to find the one that best complements your music playback, taking into account factors like room acoustics and personal preferences.
- Equalizer Settings: Explore the equalizer settings on your AV receiver to fine-tune the audio frequencies according to your preferences. Adjusting the bass, treble, and midrange levels can significantly impact the overall sound quality, allowing you to tailor the audio output to your liking.
- Room Calibration: Some AV receivers feature room calibration systems that use built-in microphones to analyze the acoustics of your listening area and automatically adjust the audio settings for optimal sound quality. Follow the manufacturer’s instructions to run the room calibration process and optimize the audio performance based on your specific room layout.
- Dynamic Range Control: If your receiver offers dynamic range control, you can use this feature to regulate the volume level differences between quiet and loud sounds, ensuring that softer passages remain audible without being overshadowed by louder sections, especially useful for late-night listening sessions.
By mastering the volume and sound settings on your AV receiver, you can create a tailored audio experience that brings your music to life with precision and clarity, allowing you to immerse yourself in the nuances of each composition while enjoying optimal sound quality.
Playing Music from a USB or Bluetooth Device
With the advancement of technology, AV receivers have evolved to accommodate the growing trend of wireless and portable audio sources. Whether you prefer the convenience of Bluetooth connectivity or the versatility of USB playback, your AV receiver offers seamless options for enjoying music from these devices. Here’s how to play music from a USB or Bluetooth device through your AV receiver:
- USB Playback: If your AV receiver features a USB input, you can simply connect a USB flash drive or external hard drive loaded with your favorite music files. Once connected, use the receiver’s input selection to choose the USB source, allowing you to browse and play your music collection directly through your audio system.
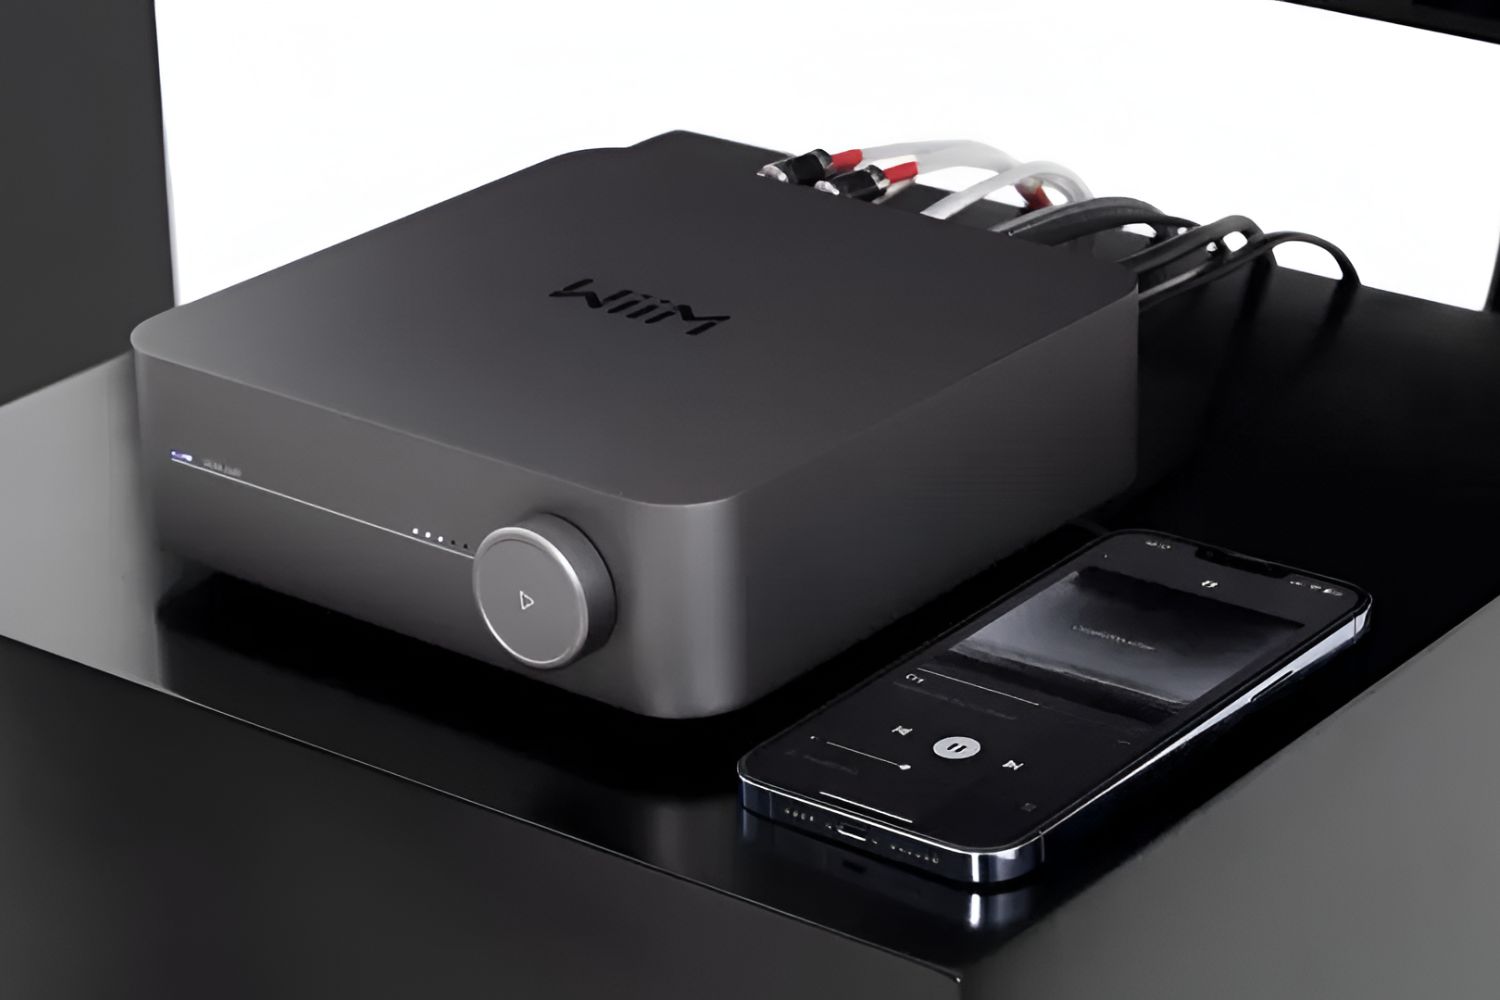
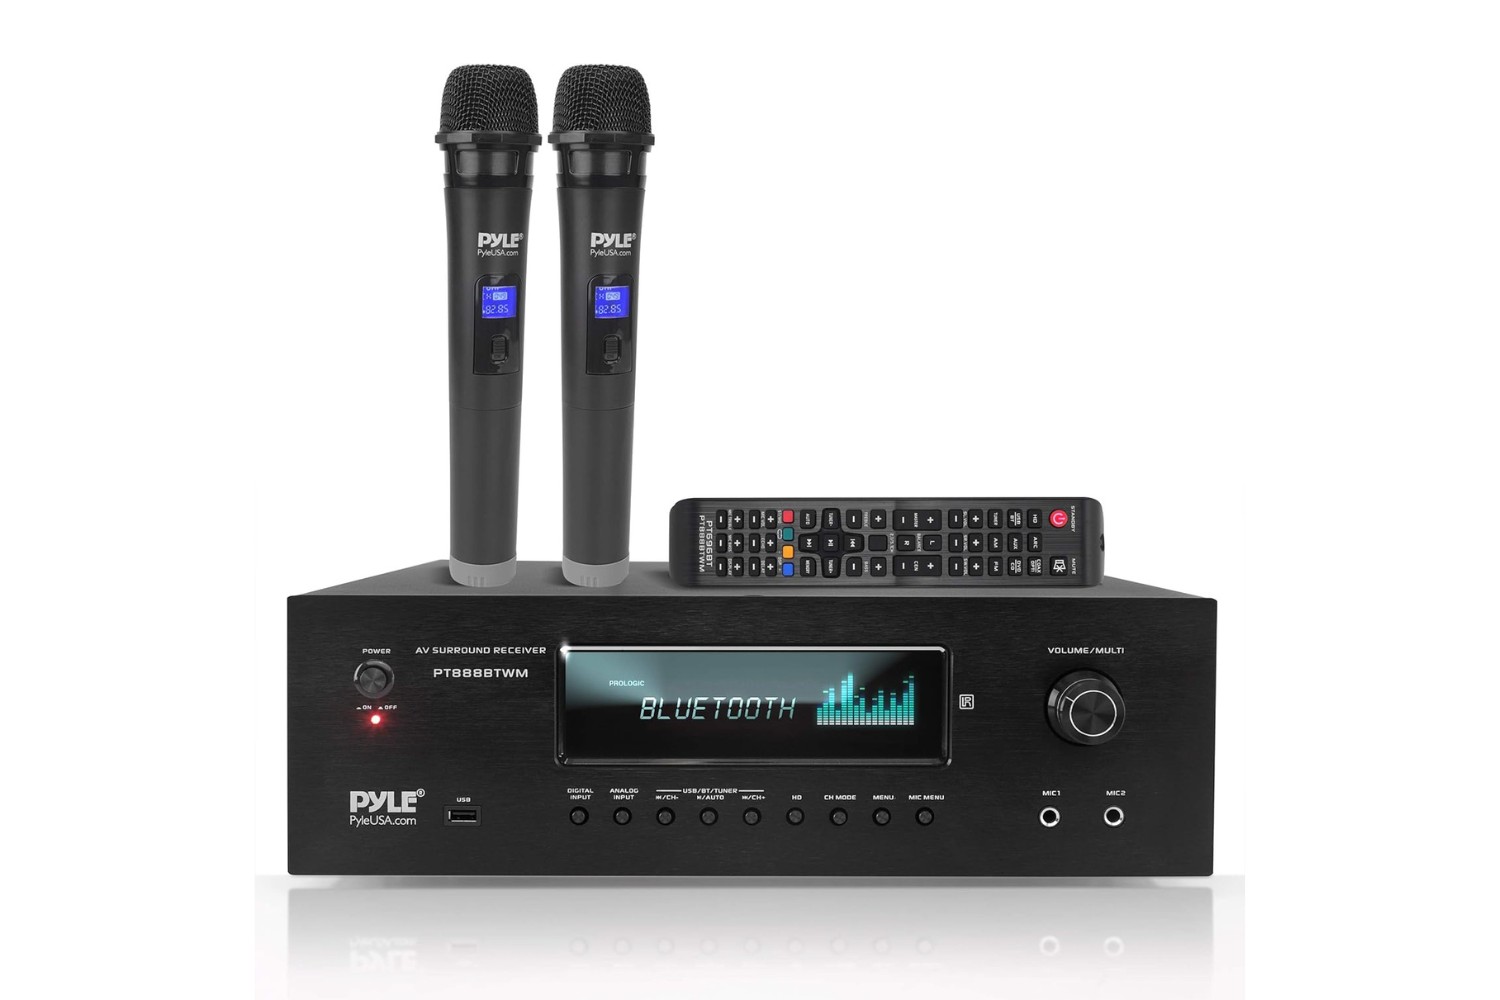
- Bluetooth Pairing: Many modern AV receivers support Bluetooth connectivity, enabling you to wirelessly stream music from your smartphone, tablet, or computer. Activate the Bluetooth pairing mode on your receiver and your Bluetooth-enabled device, then pair them to establish a wireless audio connection. Once paired, you can effortlessly stream your music to the receiver without the need for physical cables.
- Playback Control: Once your USB device or Bluetooth source is connected, you can use the receiver’s remote control or front panel interface to navigate through your music library, select specific tracks or albums, and control playback functions such as play, pause, skip, and repeat.
- Audio Quality: When playing music from a USB device or streaming via Bluetooth, your AV receiver ensures that the audio quality remains uncompromised, delivering high-fidelity sound reproduction that preserves the nuances and dynamics of your music files.
- Charging Capability: In the case of USB playback, some AV receivers may also provide charging functionality for your connected USB devices, ensuring that your portable music players remain powered while delivering uninterrupted music playback.
By leveraging the USB and Bluetooth capabilities of your AV receiver, you can seamlessly integrate your portable and wireless music sources into your home audio setup, enjoying the freedom to explore and enjoy your music collection with the added benefits of high-quality audio playback and effortless connectivity.
Streaming Music from Online Services
Embracing the digital age, many AV receivers now offer the convenience of accessing and streaming music from a myriad of online services, providing a gateway to an extensive library of songs, albums, and playlists. By tapping into these online platforms, you can expand your music listening horizons and enjoy a diverse range of content directly through your AV receiver. Here’s how to stream music from online services using your AV receiver:
- Network Connectivity: Ensure that your AV receiver is connected to your home network, either via Ethernet cable or Wi-Fi, to enable access to online music streaming services. Follow the manufacturer’s instructions to set up the network connection and ensure that your receiver is linked to the internet.
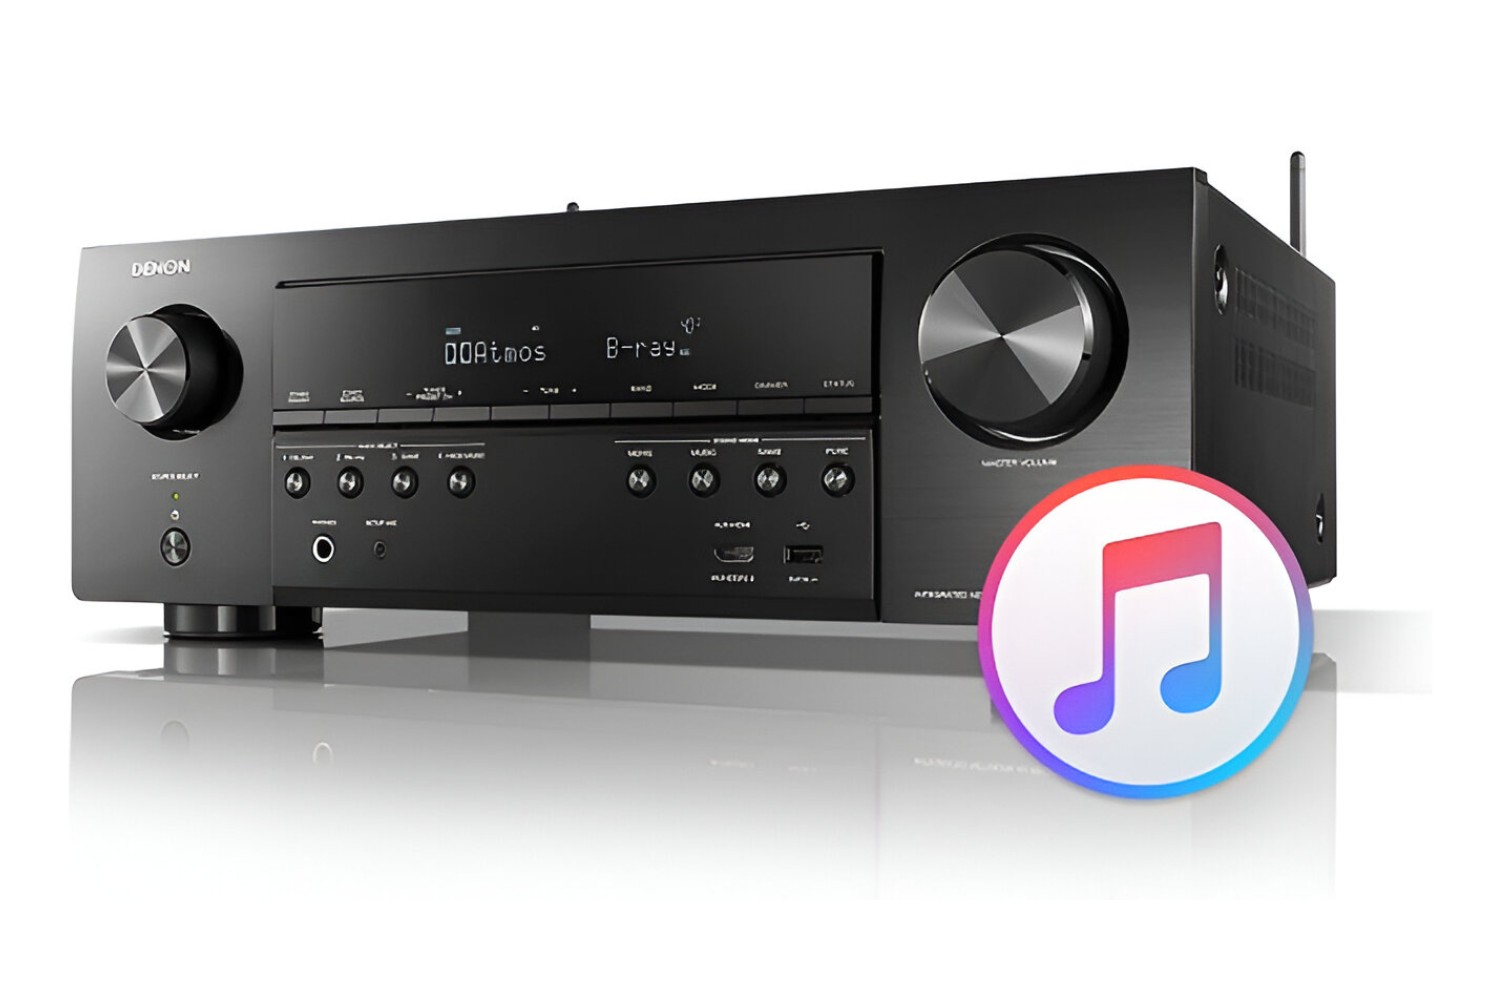
- Integrated Apps: Many modern AV receivers come equipped with built-in apps that provide direct access to popular streaming services such as Spotify, TIDAL, Pandora, Amazon Music, and more. Navigate through the receiver’s on-screen interface or remote control to access these integrated apps and explore the vast music libraries they offer.
- Account Integration: If you have existing accounts with online music streaming services, you can typically link them to your AV receiver, allowing you to access your personalized playlists, saved albums, and music recommendations directly through the receiver’s interface.
- Search and Browse: Use the receiver’s interface to search for specific artists, albums, or songs, and browse through curated playlists and radio stations offered by the streaming services. This intuitive navigation empowers you to discover new music and enjoy your favorite tracks with ease.
- High-Resolution Audio: Many online music streaming services now offer high-resolution audio streaming, delivering studio-quality sound directly to your AV receiver. Take advantage of these premium audio offerings to experience your music in exceptional detail and clarity.
By harnessing the power of online music streaming services through your AV receiver, you can elevate your music listening experience, accessing an extensive catalog of songs and enjoying the convenience of seamless, on-demand music playback directly through your home audio system.
Using a Multi-Room Audio System
Transforming your home into a symphony of sound, a multi-room audio system integrated with your AV receiver allows you to extend your music listening experience to different areas of your living space, creating a harmonious ambiance throughout your home. With the ability to play music in multiple rooms simultaneously or independently, a multi-room audio setup offers unparalleled flexibility and convenience. Here’s how you can utilize a multi-room audio system with your AV receiver:
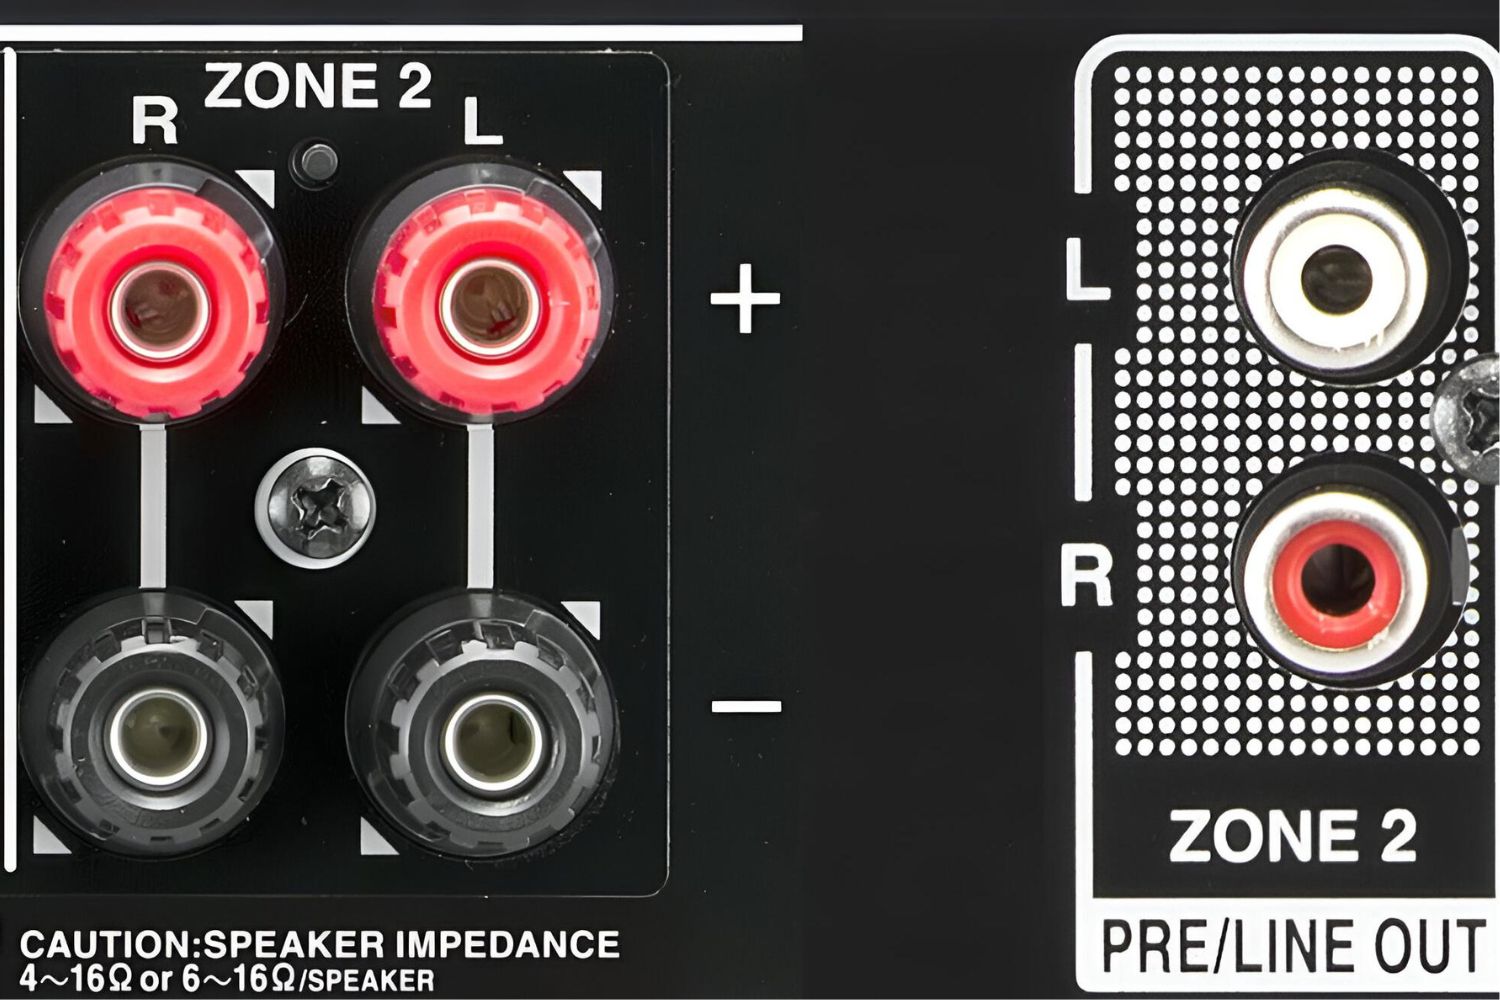
- Zone Control: If your AV receiver supports multi-zone audio, you can designate different areas or rooms in your home as separate zones, each with its own audio output. This allows you to play different music in each zone or synchronize the audio playback across multiple zones, providing a cohesive listening experience throughout your home.
- Zone Selection: Use the receiver’s interface or remote control to select the desired zones for audio playback, enabling you to tailor the music to suit specific areas of your home. Whether you’re hosting a gathering in the living room, enjoying a quiet moment in the bedroom, or entertaining guests on the patio, you can customize the audio experience for each zone.
- Multi-Room Sources: With a multi-room audio setup, you can distribute audio from the same source (such as a CD player, turntable, or streaming service) to multiple zones simultaneously, ensuring that everyone in your home can enjoy synchronized music playback without any delays or interruptions.
- Independent Control: Enjoy the freedom to adjust the volume, skip tracks, or pause the music independently in each zone, empowering you to tailor the audio experience to the preferences and activities of the occupants in different areas of your home.
- Whole-Home Audio: Embrace the immersive experience of whole-home audio by synchronizing the playback across all zones, allowing your favorite music to seamlessly flow throughout your living space, creating a cohesive and captivating sonic atmosphere.
By integrating a multi-room audio system with your AV receiver, you can orchestrate a symphony of sound that resonates throughout your home, providing a versatile and immersive music listening experience that caters to the unique dynamics and activities of your living space.


