Introduction
Are you eager to enjoy your favorite tunes on your home audio-video (AV) receiver directly from a USB drive? This guide will walk you through the simple and rewarding process of playing music from a USB on your AV receiver. With the convenience of USB connectivity, you can effortlessly access and enjoy a vast library of music without the need for additional devices or complex setups.
Whether you're hosting a party, relaxing at home, or simply want to elevate your audio experience, playing music from a USB on your AV receiver offers a seamless and versatile solution. By following these straightforward steps, you can unlock the potential of your AV receiver and indulge in your cherished playlists with ease.
Now, let's delve into the essential steps that will empower you to harness the power of your AV receiver and elevate your auditory experience. From checking the compatibility of your AV receiver to navigating the USB drive and playing your favorite tracks, this guide will equip you with the knowledge and confidence to seamlessly integrate your USB drive with your AV receiver. Let's embark on this journey to seamlessly play music from a USB on your AV receiver and enhance your audio experience.
Step 1: Check the Compatibility of Your AV Receiver
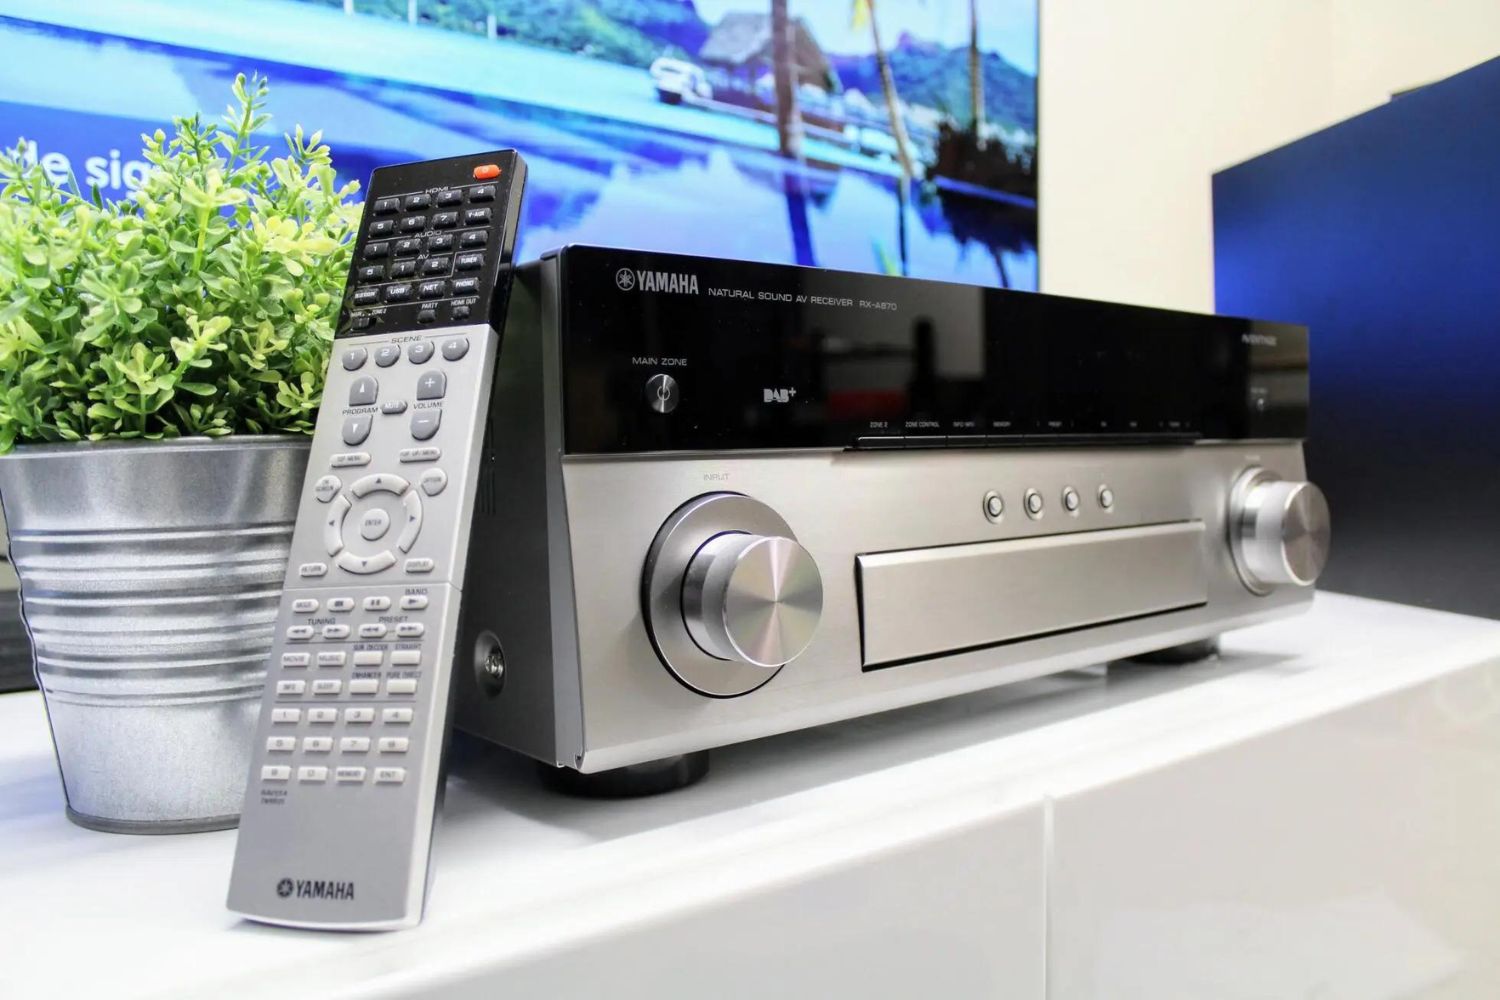
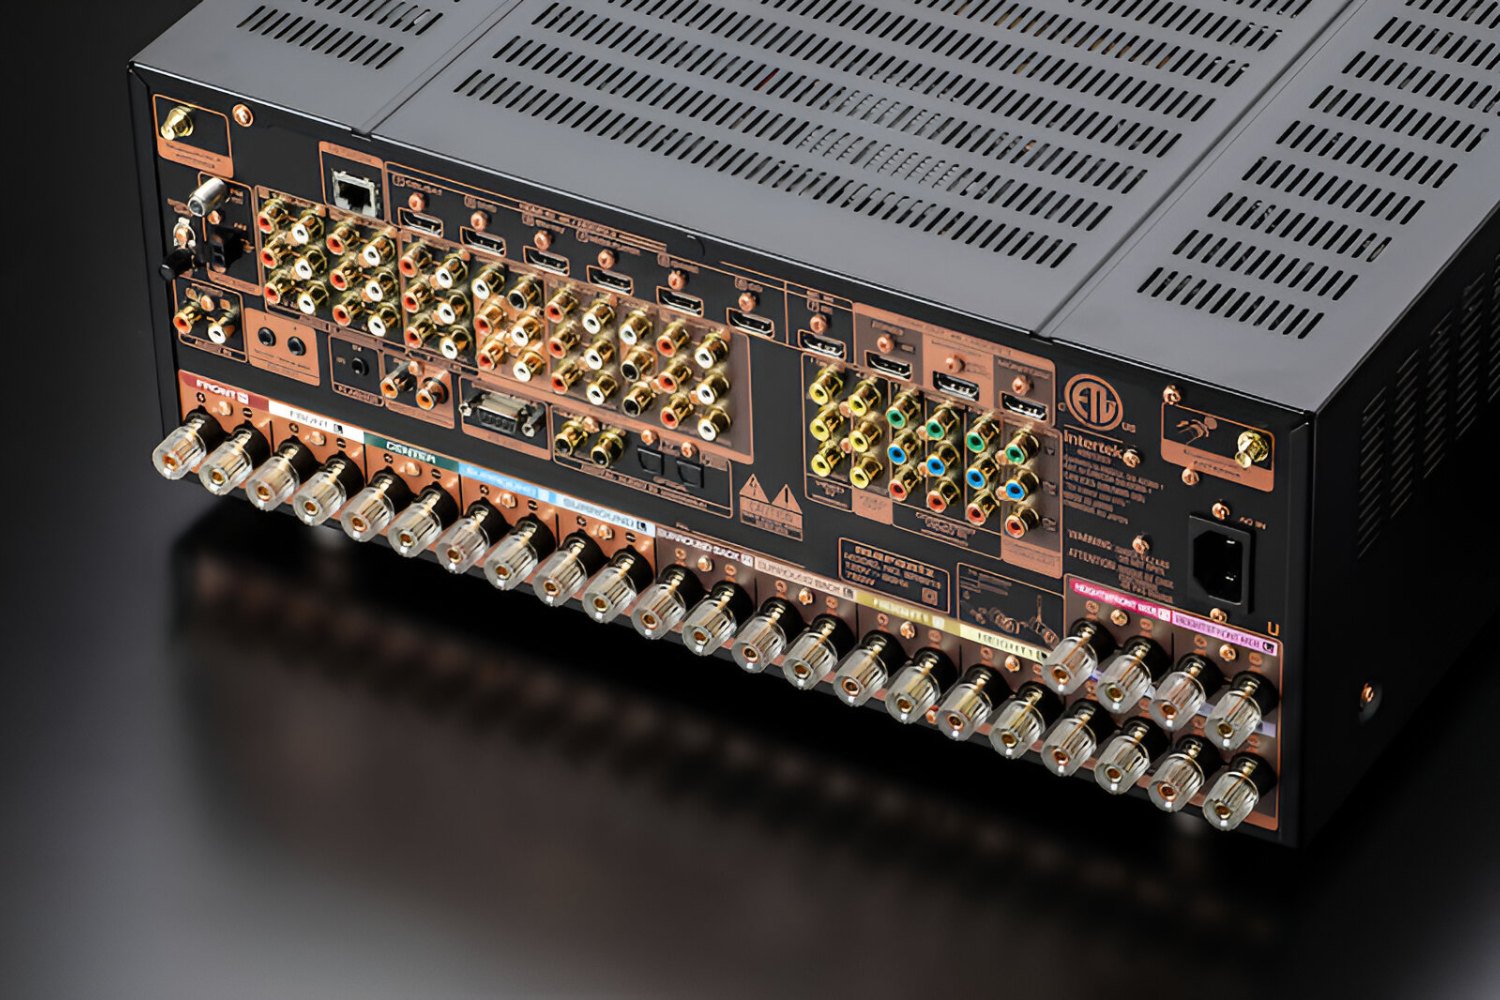
Before diving into the process of playing music from a USB on your AV receiver, it’s crucial to ensure that your AV receiver is compatible with USB playback. Start by consulting the user manual or visiting the manufacturer’s website to verify if your specific AV receiver model supports USB connectivity and playback.
Most modern AV receivers are equipped with USB ports that enable seamless playback of music files from USB drives. However, it’s essential to confirm the supported file formats and storage capacities to avoid any compatibility issues. Some AV receivers may support a wide range of audio file formats, including MP3, WAV, FLAC, and more, while others may have limitations on the supported formats and bitrates.
Additionally, check if your AV receiver requires a specific USB drive format, such as FAT32 or exFAT, for optimal compatibility. Understanding the compatibility requirements will ensure a smooth and hassle-free experience when connecting your USB drive to the AV receiver.
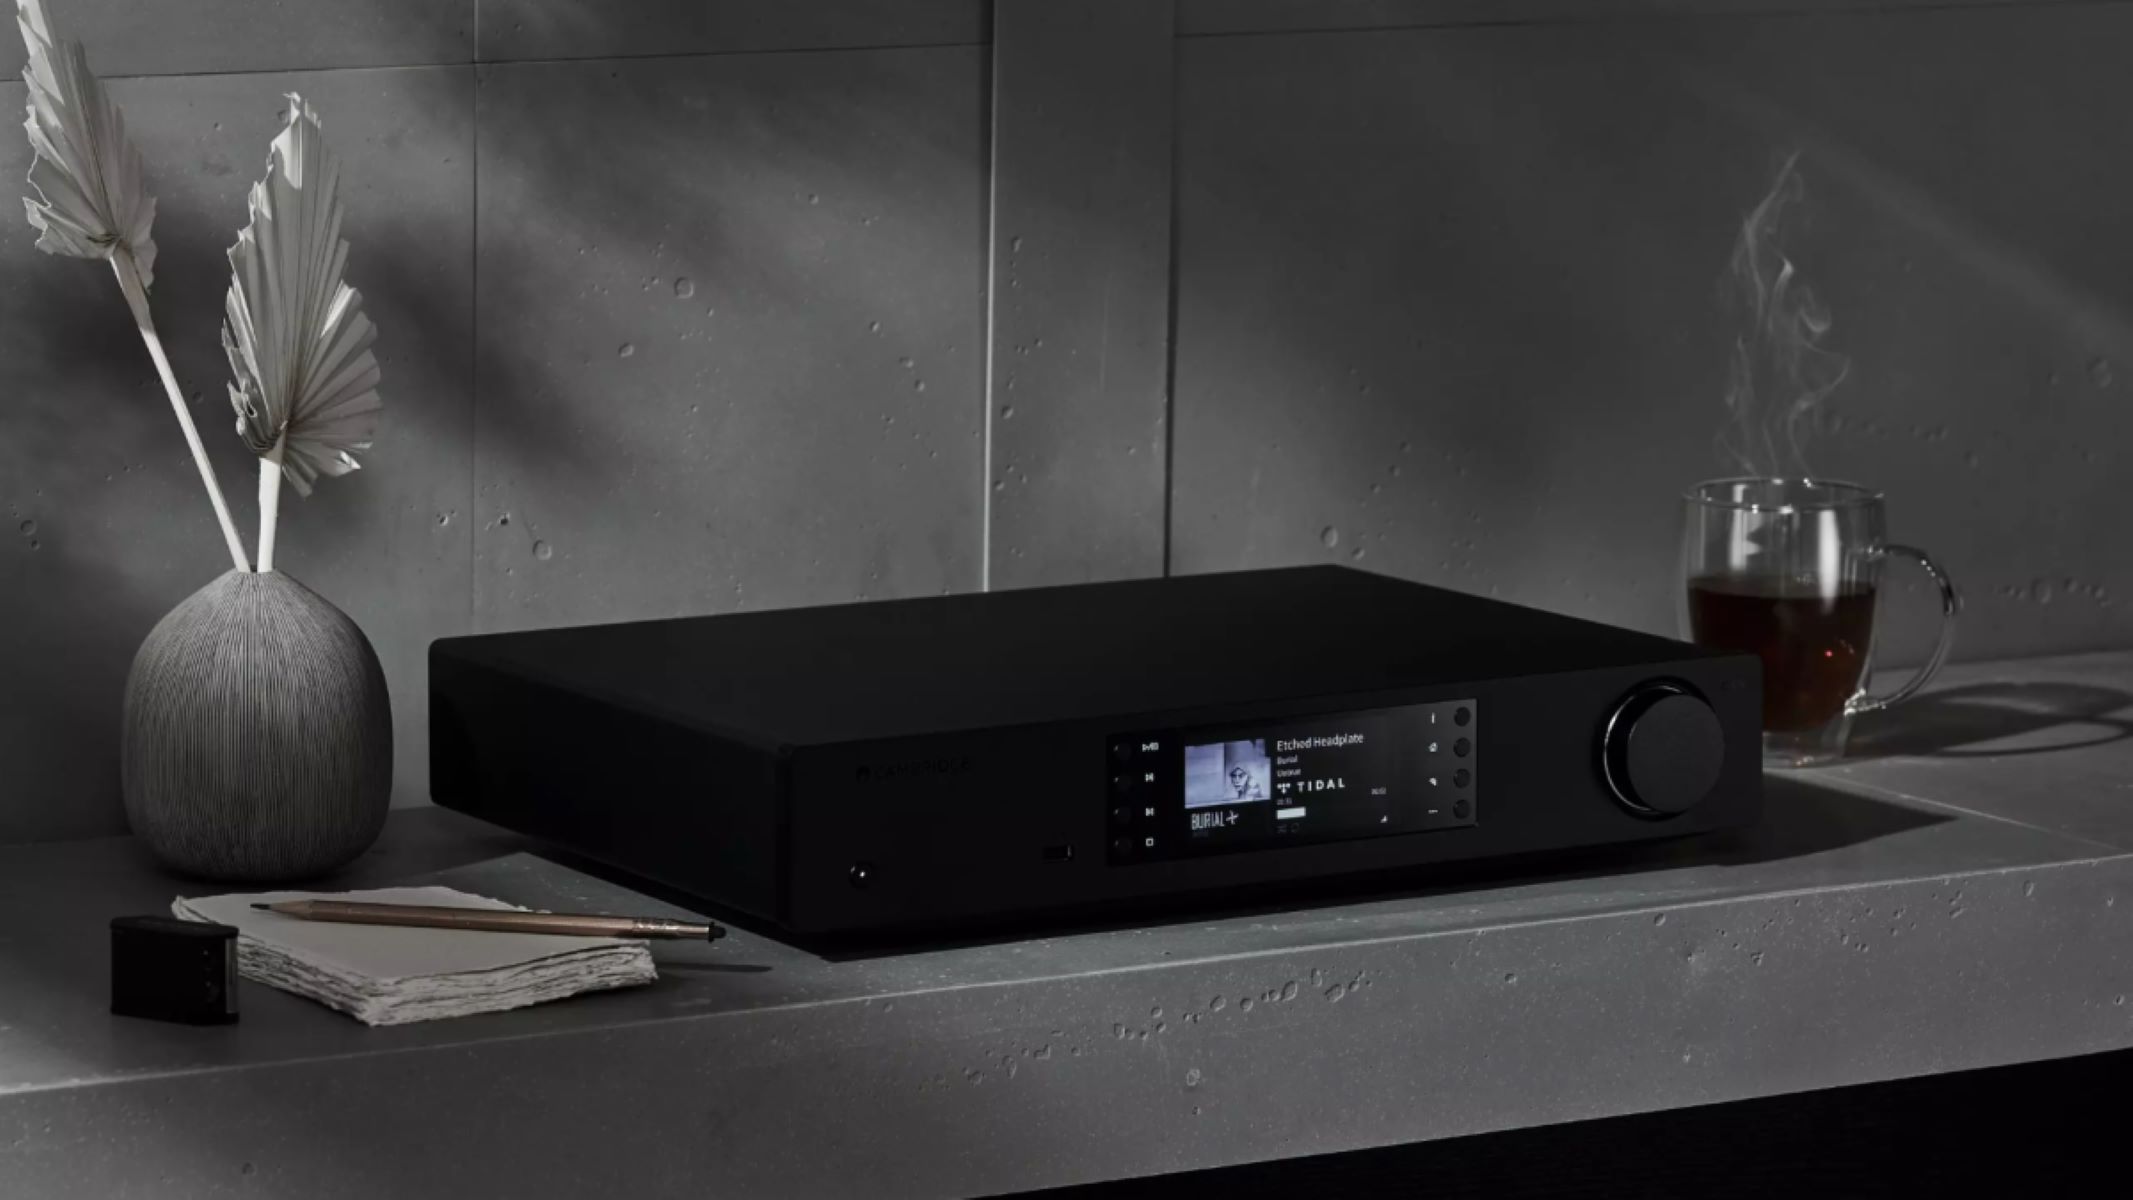
If your AV receiver lacks built-in USB connectivity, you may explore alternative solutions, such as using a media player or USB DAC (Digital-to-Analog Converter) that can be connected to your receiver to enable USB playback functionality.
By thoroughly assessing the compatibility of your AV receiver with USB playback, you can preemptively address any potential limitations and make informed decisions when selecting and preparing your USB drive for seamless music playback.
Step 2: Format Your USB Drive
Once you’ve confirmed the compatibility of your AV receiver with USB playback, the next crucial step is to format your USB drive to ensure seamless integration and optimal performance. Formatting your USB drive in the correct file system is essential for compatibility and efficient music playback on your AV receiver.
Before proceeding with the formatting process, it’s important to back up any existing data on the USB drive to prevent data loss. Once your data is safely backed up, you can proceed with the following steps to format your USB drive:
- Connect the USB Drive: Insert the USB drive into an available USB port on your computer or laptop.
- Access Disk Management: On Windows, right-click on the Start button and select “Disk Management” from the menu. On Mac, open “Disk Utility” from the Applications folder.
- Select the USB Drive: Locate your USB drive in the list of available drives or devices within the Disk Management or Disk Utility interface.
- Format the USB Drive: Right-click on the USB drive (Windows) or select the USB drive and choose the “Erase” option (Mac). Follow the on-screen prompts to select the desired file system (e.g., FAT32, exFAT) and initiate the formatting process.
When selecting the file system for your USB drive, consider the compatibility requirements specified by your AV receiver. Some receivers may require the USB drive to be formatted in a specific file system, such as FAT32 or exFAT, for seamless playback. Refer to the user manual or manufacturer’s guidelines for any specific formatting recommendations.
After the formatting process is complete, your USB drive will be ready to accommodate your music library and seamlessly connect to your AV receiver for an immersive audio experience. The properly formatted USB drive will ensure that your receiver can recognize and access the music files without any compatibility issues, allowing you to effortlessly navigate and enjoy your favorite tracks.
Step 3: Transfer Music Files to the USB Drive
With your USB drive formatted and ready for use, it’s time to transfer your cherished music collection to the USB drive, preparing it for seamless playback on your AV receiver. Whether you prefer an eclectic mix of genres or have curated personalized playlists, transferring music files to the USB drive is a straightforward process that sets the stage for an immersive audio experience.
Follow these simple steps to transfer music files to your USB drive:
- Connect the USB Drive: Insert the formatted USB drive into an available USB port on your computer or laptop.
- Locate Your Music Files: Navigate to the directory or folder on your computer where your music files are stored.
- Select and Copy: Choose the desired music files or folders, then copy them to your clipboard (Ctrl+C on Windows or Command+C on Mac).
- Paste to USB Drive: Open the USB drive directory and paste the copied music files into the root directory or create organized folders to categorize your music based on albums, artists, or genres.
- Verify the Transfer: Once the transfer is complete, double-check that the music files are successfully copied to the USB drive and are accessible for playback.
It’s essential to organize your music files in a logical and easily navigable manner on the USB drive, especially if your AV receiver supports folder-based browsing. Creating separate folders for different artists, albums, or genres can enhance the accessibility and enjoyment of your music library when using the AV receiver’s interface to navigate the USB drive.
By transferring your music files to the USB drive, you’re empowering your AV receiver to access an extensive collection of music, allowing you to seamlessly browse and select your preferred tracks for an enriching auditory experience. Whether you’re a fan of classic rock, soothing jazz, or pulsating electronic beats, having your music library readily available on the USB drive opens the door to endless listening possibilities.
Step 4: Connect the USB Drive to Your AV Receiver
Now that your USB drive is equipped with your favorite music collection, it’s time to seamlessly integrate it with your AV receiver for effortless playback. Connecting the USB drive to your AV receiver is a straightforward process that paves the way for an immersive audio journey, allowing you to enjoy your curated playlists and albums with unparalleled convenience.
Follow these simple steps to connect the USB drive to your AV receiver:
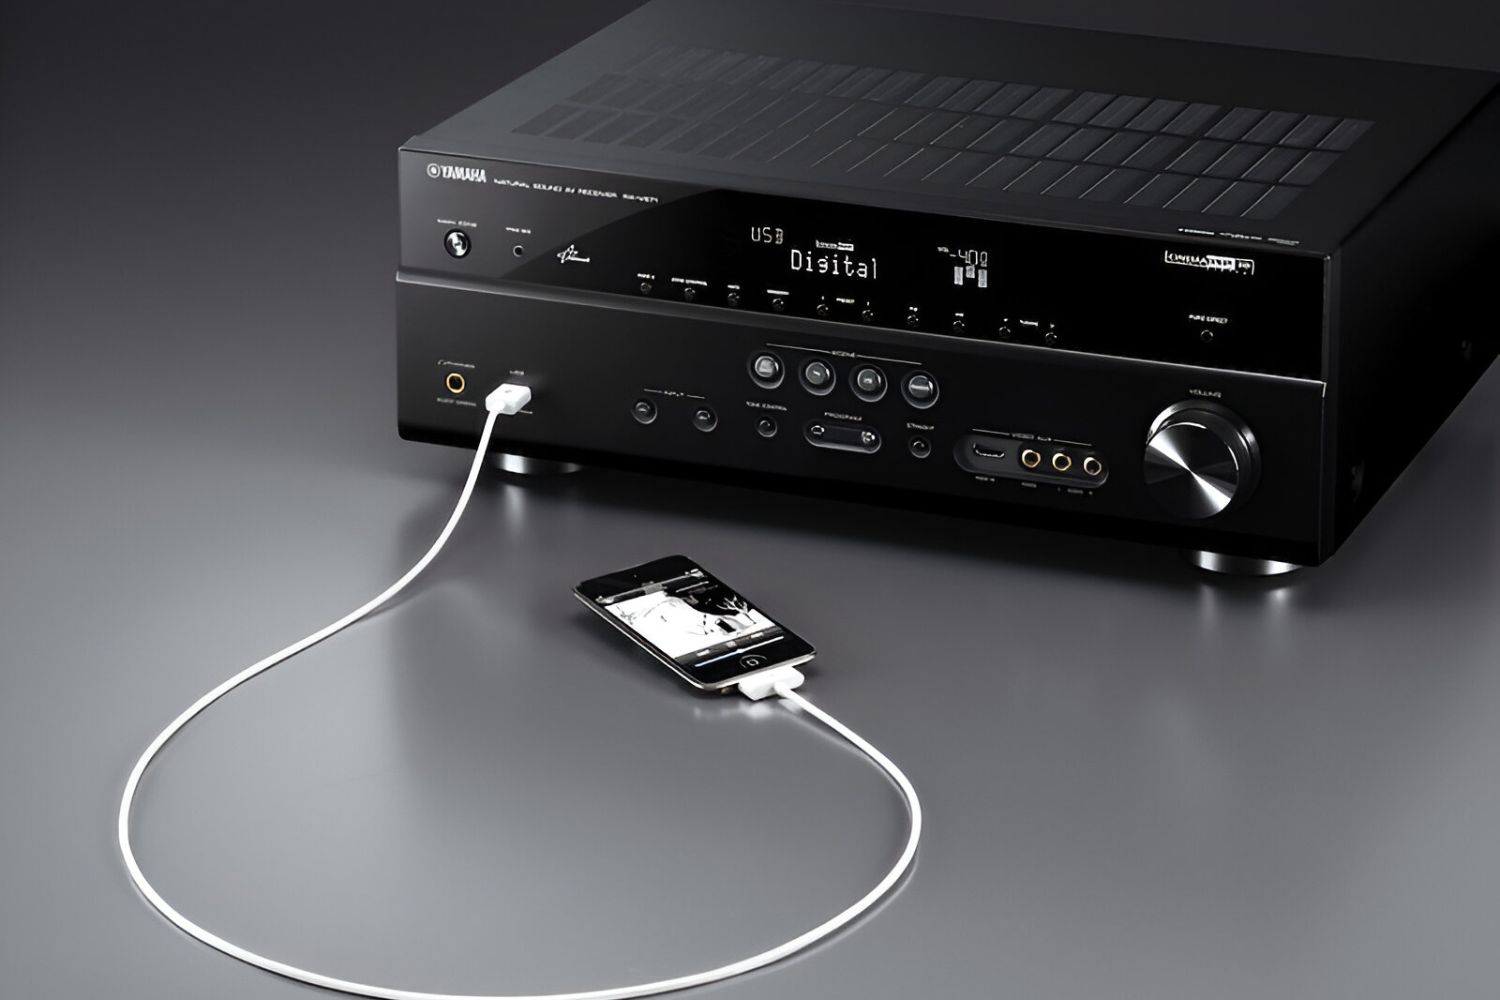
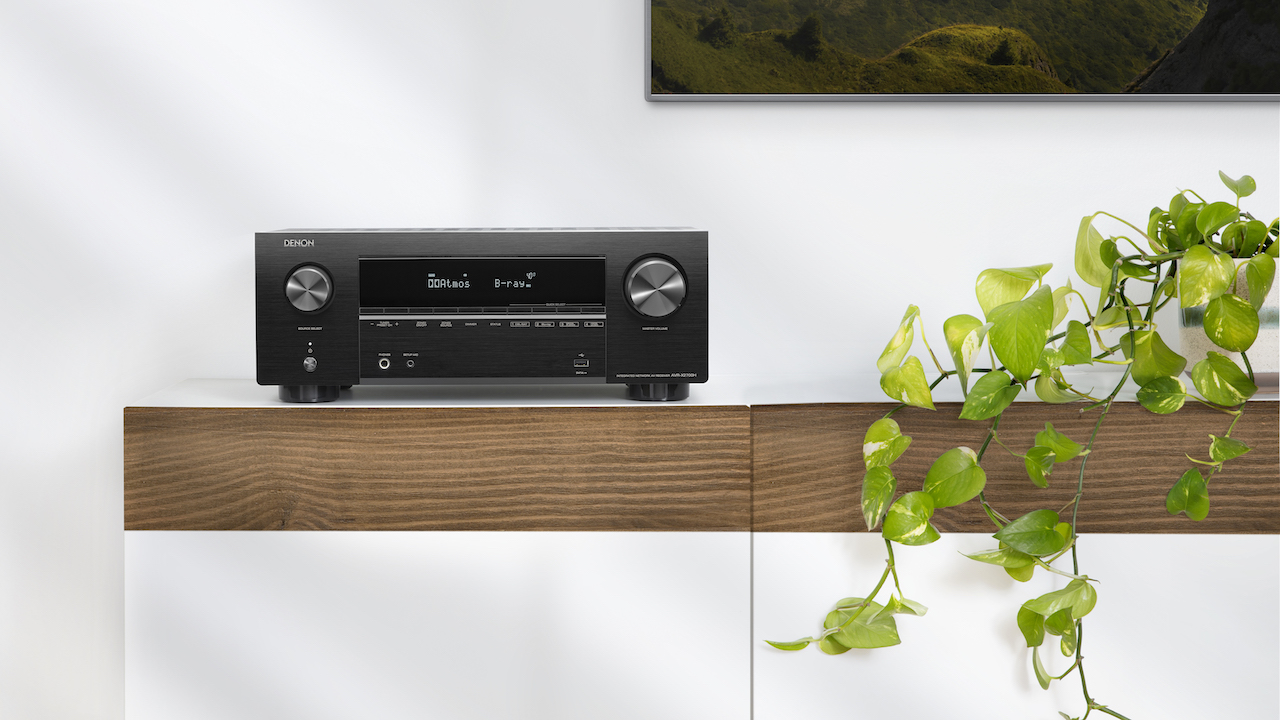
- Locate the USB Port: Identify the USB input port on your AV receiver. It is typically located on the front or rear panel, depending on the receiver’s design.
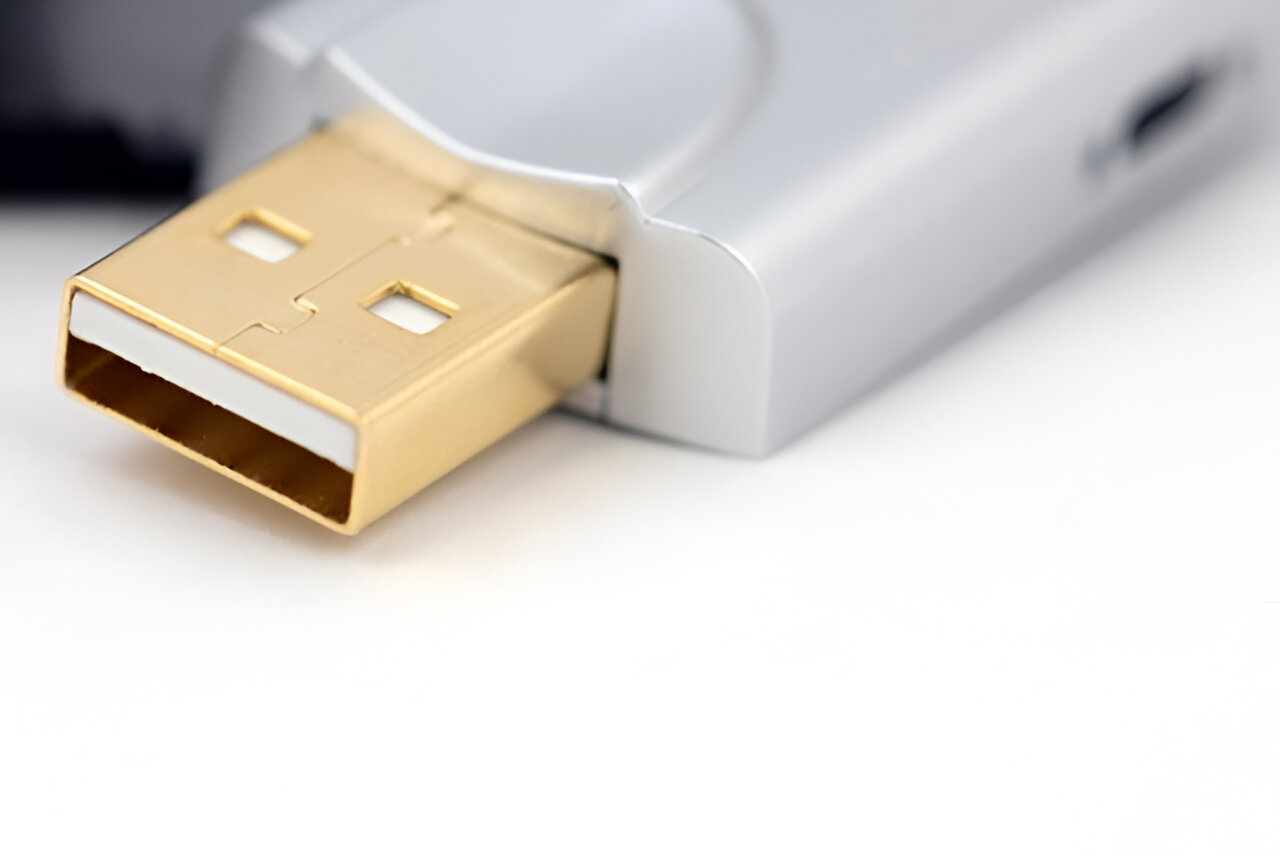
- Insert the USB Drive: Carefully insert the USB drive into the USB port, ensuring a secure and snug fit to establish a reliable connection.
- Wait for Recognition: Allow the AV receiver a few moments to recognize and initialize the USB drive. Some receivers may display a notification or indicator light to signify successful detection.
Upon successful connection, your AV receiver is now primed to access the music files stored on the USB drive, granting you the freedom to navigate and select your preferred tracks directly from the USB source. This seamless integration enables you to harness the full potential of your AV receiver, transforming it into a versatile music playback platform that complements your listening preferences.
By connecting the USB drive to your AV receiver, you’re unlocking a world of musical possibilities, from spontaneous playlist selections to on-the-fly music exploration. Whether you’re hosting a gathering, unwinding after a long day, or simply seeking to elevate your audio experience, the direct connection between your USB drive and AV receiver offers unparalleled convenience and accessibility.
With the USB drive seamlessly integrated into your AV receiver, you’re poised to embark on a captivating audio journey, immersing yourself in the sounds that resonate with your mood and preferences. The next step involves navigating the USB drive on your AV receiver to effortlessly access and play your favorite music files, setting the stage for an enriching auditory experience.
Step 5: Navigate the USB Drive on Your AV Receiver
With the USB drive seamlessly connected to your AV receiver, it’s time to explore the intuitive interface of your receiver to navigate and access the music files stored on the USB drive. Navigating the USB drive on your AV receiver empowers you to effortlessly browse through your music library, select specific tracks or albums, and tailor your audio experience to suit your preferences.
Follow these simple steps to navigate the USB drive on your AV receiver:
- Access the USB Input: Using the remote control or front panel interface of your AV receiver, select the USB input as the active source to initiate USB playback mode.
- Browse Music Categories: If your AV receiver supports folder-based browsing, explore the categorized folders on the USB drive, such as albums, artists, genres, or playlists, to streamline your music selection process.
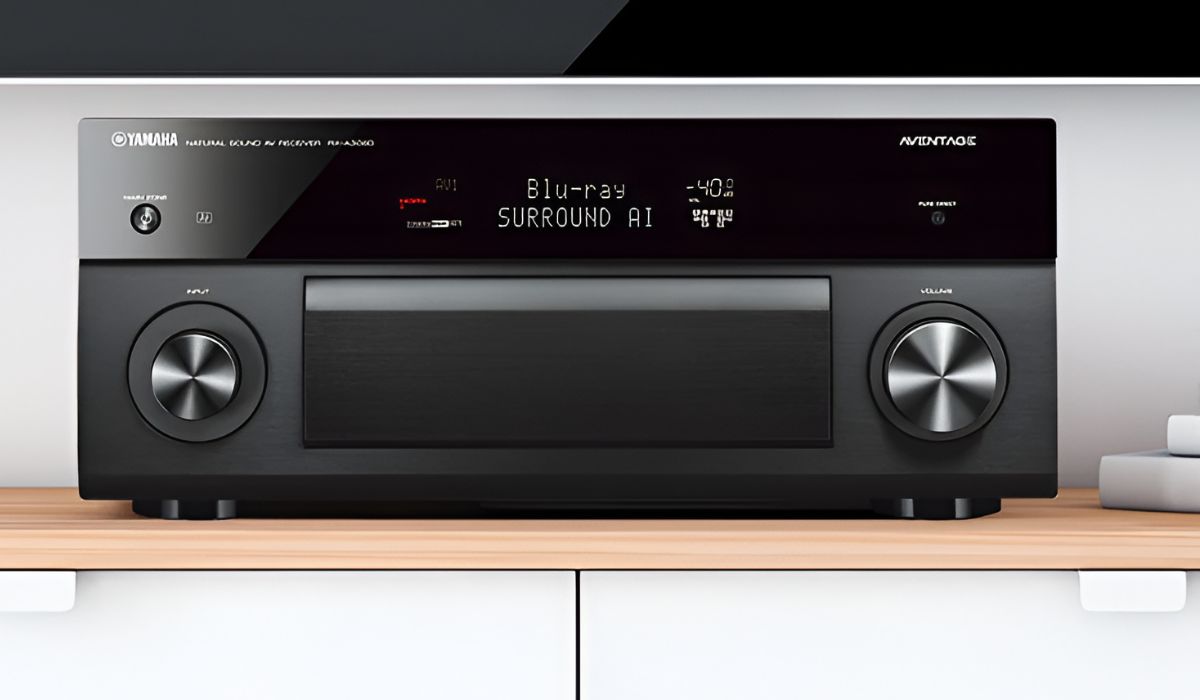
- Utilize On-Screen Display: If your AV receiver features an on-screen display, take advantage of the visual interface to navigate through the music files, view track information, and customize your playback preferences.
- Use the Remote Control: Employ the remote control’s navigation buttons to scroll through the available music files, albums, or folders, and select your desired tracks for playback.
By seamlessly navigating the USB drive on your AV receiver, you have the freedom to curate your listening experience, whether you’re in the mood for a specific artist’s discography, a carefully crafted playlist, or a spontaneous shuffle of your entire music library. The intuitive interface of the AV receiver enhances the accessibility and enjoyment of your music collection, allowing you to immerse yourself in the sonic tapestry of your choosing.
As you navigate the USB drive on your AV receiver, take advantage of any additional features offered by your receiver, such as customizable EQ settings, playback modes, and visual enhancements that further enrich your audio journey. Whether you’re seeking a dynamic concert-like experience or a tranquil background ambiance, the versatile controls and options available on your AV receiver empower you to tailor the audio output to align with your preferences.
With the USB drive seamlessly integrated into your AV receiver and the music library at your fingertips, the final step involves initiating the playback of your favorite tracks, setting the stage for a captivating auditory experience that resonates with your unique musical tastes and preferences.
Step 6: Play Music from the USB on Your AV Receiver
As you reach the culmination of this seamless process, the stage is set to immerse yourself in the captivating world of music directly from your USB drive through your AV receiver. Playing music from the USB on your AV receiver is a gratifying experience that enables you to indulge in your favorite tracks, curated playlists, and diverse musical genres with unparalleled convenience.
Follow these straightforward steps to play music from the USB on your AV receiver:
- Select Your Desired Source: Using the AV receiver’s remote control or front panel interface, designate the USB input as the active source to initiate USB playback mode.
- Browse and Choose Your Music: Navigate through the categorized folders or browse the available music files on the USB drive to select your preferred tracks, albums, or playlists for playback.
- Initiate Playback: Once you’ve made your music selection, initiate the playback using the controls on your AV receiver, remote control, or on-screen display, immersing yourself in the captivating sounds emanating from your audio system.
- Adjust Playback Settings: Explore the playback settings and options offered by your AV receiver, such as shuffle mode, repeat options, and audio enhancements, to tailor your listening experience to your preferences.
With the music playing from the USB on your AV receiver, you’re transported into a world of sonic bliss, where every note, rhythm, and melody comes to life with pristine clarity and immersive depth. Whether you’re savoring the intricate details of a jazz ensemble, surrendering to the pulsating beats of electronic music, or relishing the timeless classics of yesteryears, the AV receiver serves as your gateway to an enriching auditory journey.
Embrace the freedom to curate your listening experience, seamlessly transitioning between tracks, adjusting the volume to suit the ambiance, and reveling in the seamless playback of your meticulously curated music library. The USB connection to your AV receiver empowers you to effortlessly access and enjoy your favorite tunes, elevating your audio experience to new heights within the comfort of your home.
As the music fills the air, you’re invited to lose yourself in the captivating melodies, finding solace, inspiration, or sheer joy in the transformative power of music. The culmination of this process marks the beginning of a harmonious relationship between your USB drive and AV receiver, where the boundaries of sonic exploration are expanded, and the joy of music knows no bounds.
Conclusion
Congratulations on successfully mastering the art of playing music from a USB on your AV receiver. By following the comprehensive steps outlined in this guide, you’ve unlocked a world of musical possibilities and seamlessly integrated your USB drive with your AV receiver to elevate your auditory experience.
Through meticulous attention to compatibility, formatting, file transfer, and seamless connection, you’ve harnessed the full potential of your AV receiver, transforming it into a versatile platform for accessing and enjoying your cherished music collection. The culmination of this process marks the beginning of a harmonious relationship between your USB drive and AV receiver, where the boundaries of sonic exploration are expanded, and the joy of music knows no bounds.
As you navigate the USB drive on your AV receiver and initiate the playback of your favorite tracks, you’re invited to lose yourself in the captivating melodies, finding solace, inspiration, or sheer joy in the transformative power of music. The seamless integration between your USB drive and AV receiver empowers you to curate your listening experience, tailor the audio output to your preferences, and immerse yourself in the captivating world of music within the comfort of your home.
Whether you’re hosting a gathering, unwinding after a long day, or simply seeking to elevate your audio experience, the direct connection between your USB drive and AV receiver offers unparalleled convenience and accessibility. Embrace the freedom to seamlessly transition between tracks, adjust the volume to suit the ambiance, and revel in the seamless playback of your meticulously curated music library.
By mastering the process of playing music from a USB on your AV receiver, you’ve embraced a new dimension of audio enjoyment, where every note, rhythm, and melody comes to life with pristine clarity and immersive depth. The joy of music is now at your fingertips, ready to accompany you on your daily adventures and moments of relaxation, providing a soundtrack that resonates with your unique musical tastes and preferences.
As you embark on this captivating auditory journey, may the seamless integration of your USB drive and AV receiver continue to enrich your life with the transformative power of music, offering moments of solace, inspiration, and sheer joy within your personal sanctuary.