Introduction
Welcome to the ultimate guide on how to wire up an AV receiver! If you're a home entertainment enthusiast or a sound aficionado, an AV receiver is a crucial component for creating an immersive audio-visual experience. Whether you're setting up a home theater system or a high-fidelity audio setup, understanding the intricacies of wiring an AV receiver is essential for optimizing your audio and video performance.
In this comprehensive guide, we'll walk you through the step-by-step process of connecting an AV receiver to your audio and video components. From understanding the basics of AV receivers to selecting the right cables, connecting speakers, setting up source components, configuring the AV receiver, and testing the system, we've got you covered.
By the end of this guide, you'll have the knowledge and confidence to wire up your AV receiver like a pro, ensuring that you get the most out of your home entertainment setup. So, let's dive in and demystify the art of wiring up an AV receiver, empowering you to unleash the full potential of your audio-visual experience.
Understanding the Basics of AV Receivers
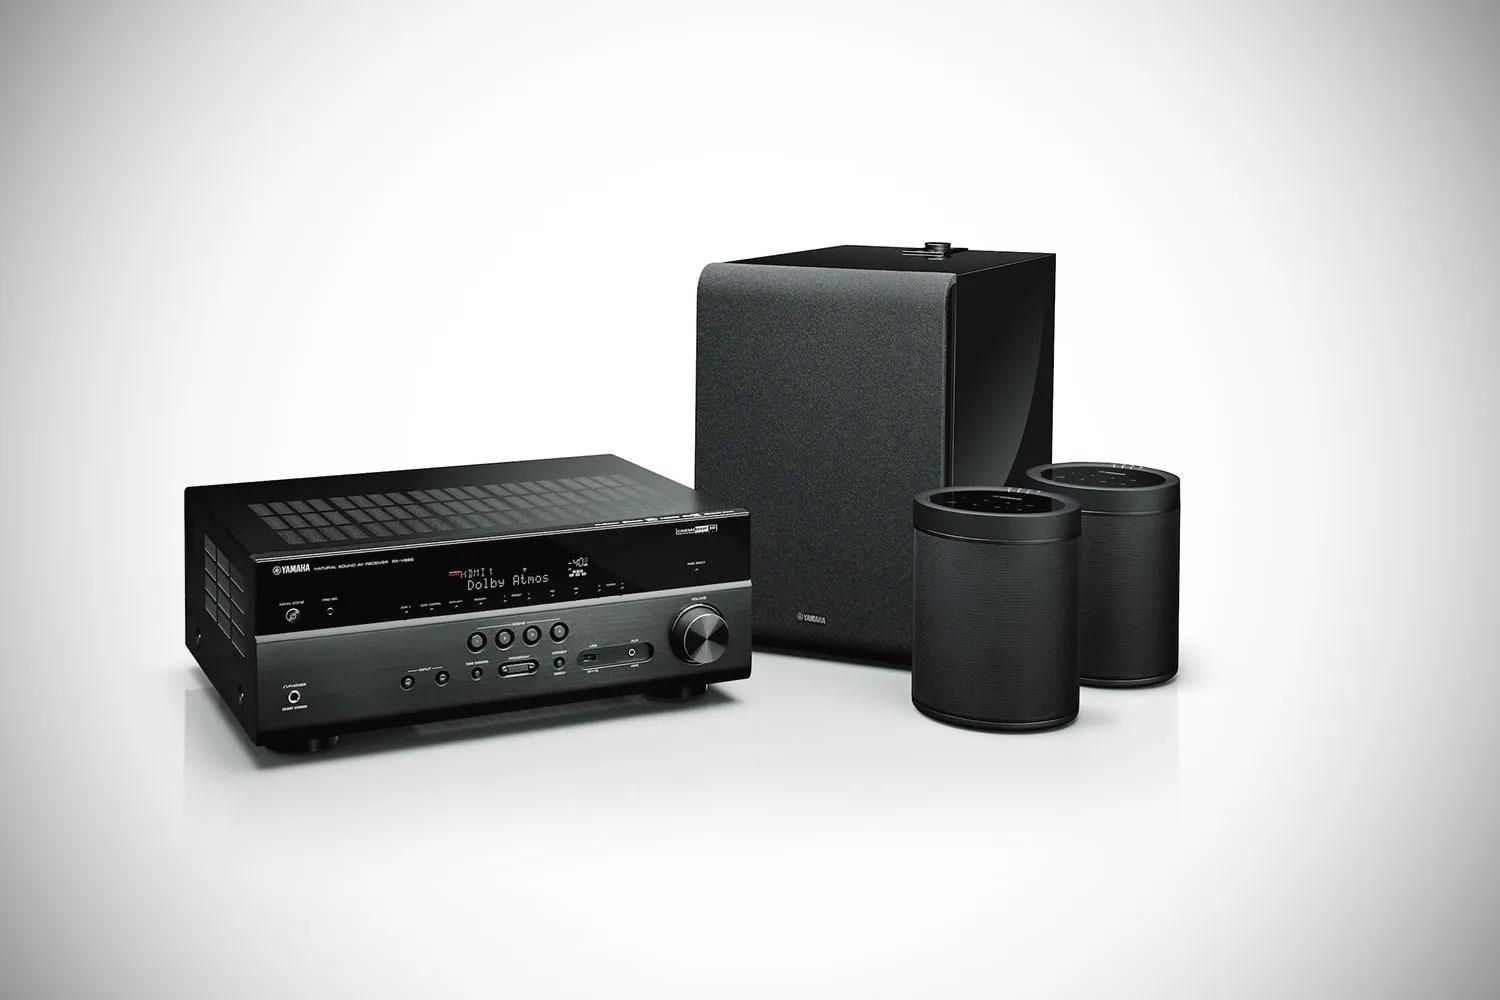
Before diving into the intricacies of wiring up an AV receiver, it's essential to grasp the fundamental functions and features of this pivotal component. An AV receiver, short for audio-video receiver, serves as the central hub for managing and processing audio and video signals from various sources, such as Blu-ray players, gaming consoles, media players, and cable or satellite boxes.
At its core, an AV receiver functions as a powerhouse that amplifies audio signals, decodes surround sound formats, and distributes audio and video signals to connected speakers and display devices. It acts as a unifying interface, seamlessly integrating different audio and video sources and delivering a cohesive multimedia experience.
Modern AV receivers are equipped with an array of cutting-edge features, including multiple HDMI inputs and outputs, support for high-definition audio formats like Dolby Atmos and DTS:X, wireless connectivity options, and advanced room calibration technologies for optimizing sound quality based on the acoustic characteristics of the room.
Furthermore, AV receivers often incorporate video upscaling and passthrough capabilities, enhancing the visual fidelity of content and ensuring seamless transmission to the display device. Additionally, many AV receivers support network streaming, allowing users to access online music services, internet radio, and audio content from networked storage devices.
Understanding the basics of AV receivers empowers you to make informed decisions when selecting a model that aligns with your specific audio-visual requirements. Whether you prioritize high-fidelity audio playback, immersive surround sound, seamless connectivity, or advanced room optimization, a solid grasp of AV receiver fundamentals sets the stage for a tailored and optimized home entertainment experience.
Choosing the Right Cables
When it comes to wiring up an AV receiver, selecting the appropriate cables is paramount for ensuring optimal signal transmission and audio-visual performance. The choice of cables can significantly impact the clarity of audio, the resolution of video, and the overall reliability of the system. Here are the key considerations for choosing the right cables:
- HDMI Cables: For transmitting high-definition audio and video signals, HDMI cables are the go-to option. When connecting source components such as Blu-ray players, gaming consoles, and streaming devices to the AV receiver, ensure that the HDMI cables support the required bandwidth and features, such as 4K resolution, HDR (High Dynamic Range), and HDCP (High-bandwidth Digital Content Protection) compliance.
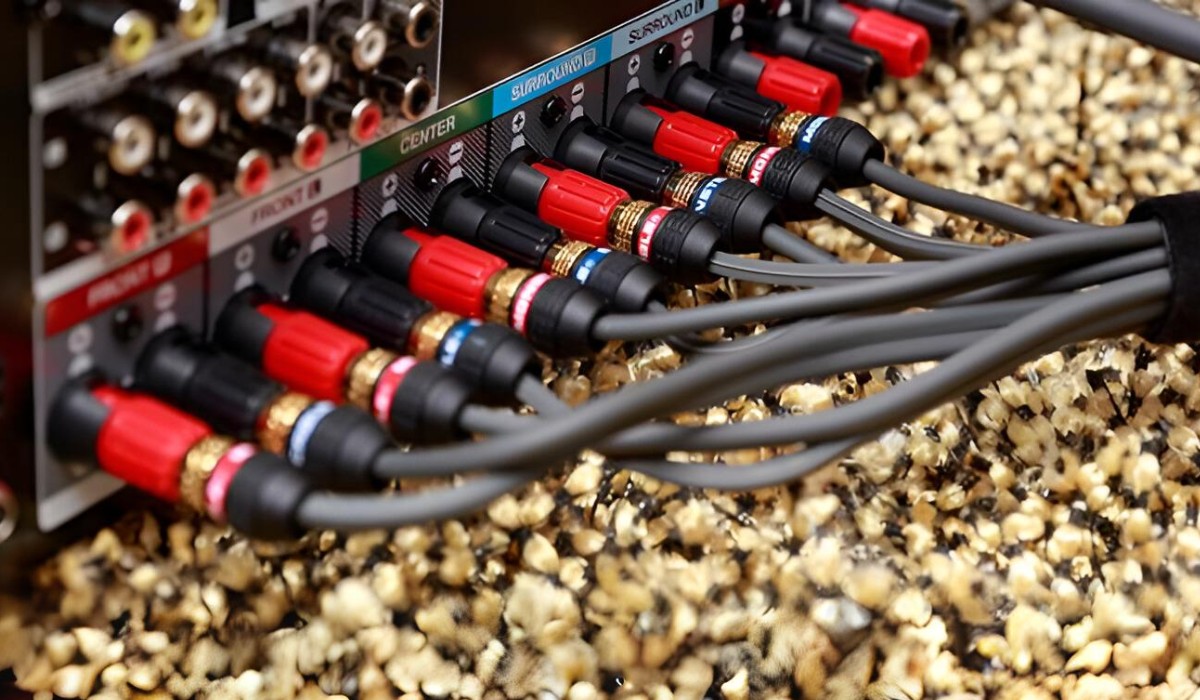
- Speaker Cables: When wiring the speakers to the AV receiver, high-quality speaker cables with adequate gauge (thickness) should be used to minimize signal loss and distortion. The gauge of the speaker wire depends on the distance between the AV receiver and the speakers, with longer distances requiring thicker wire gauges to maintain signal integrity.
- Subwoofer Cables: For connecting a subwoofer to the AV receiver, a dedicated subwoofer cable is recommended. These cables are designed to carry low-frequency signals with minimal interference, ensuring that the subwoofer reproduces deep bass accurately and powerfully.
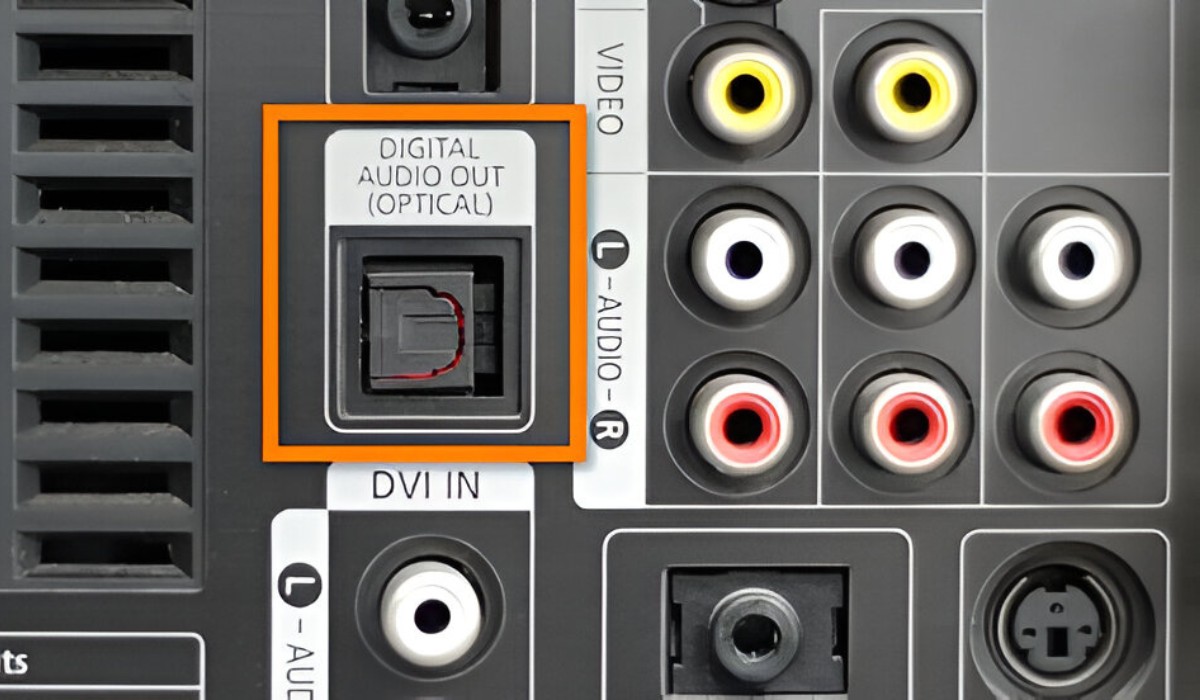
- Digital Optical or Coaxial Cables: When connecting audio sources that utilize digital optical or coaxial outputs, such as CD players or older audio equipment, using the respective digital cables ensures a clean and reliable transmission of digital audio signals to the AV receiver.
- Ethernet Cables: If your AV receiver supports network connectivity for streaming audio content or accessing online services, an Ethernet cable can provide a stable and high-speed connection to your home network, minimizing potential latency and buffering issues.
By carefully selecting the right cables based on the specific requirements of your AV setup, you can optimize the signal integrity, minimize potential interference, and lay the foundation for a robust and high-performance audio-visual system.
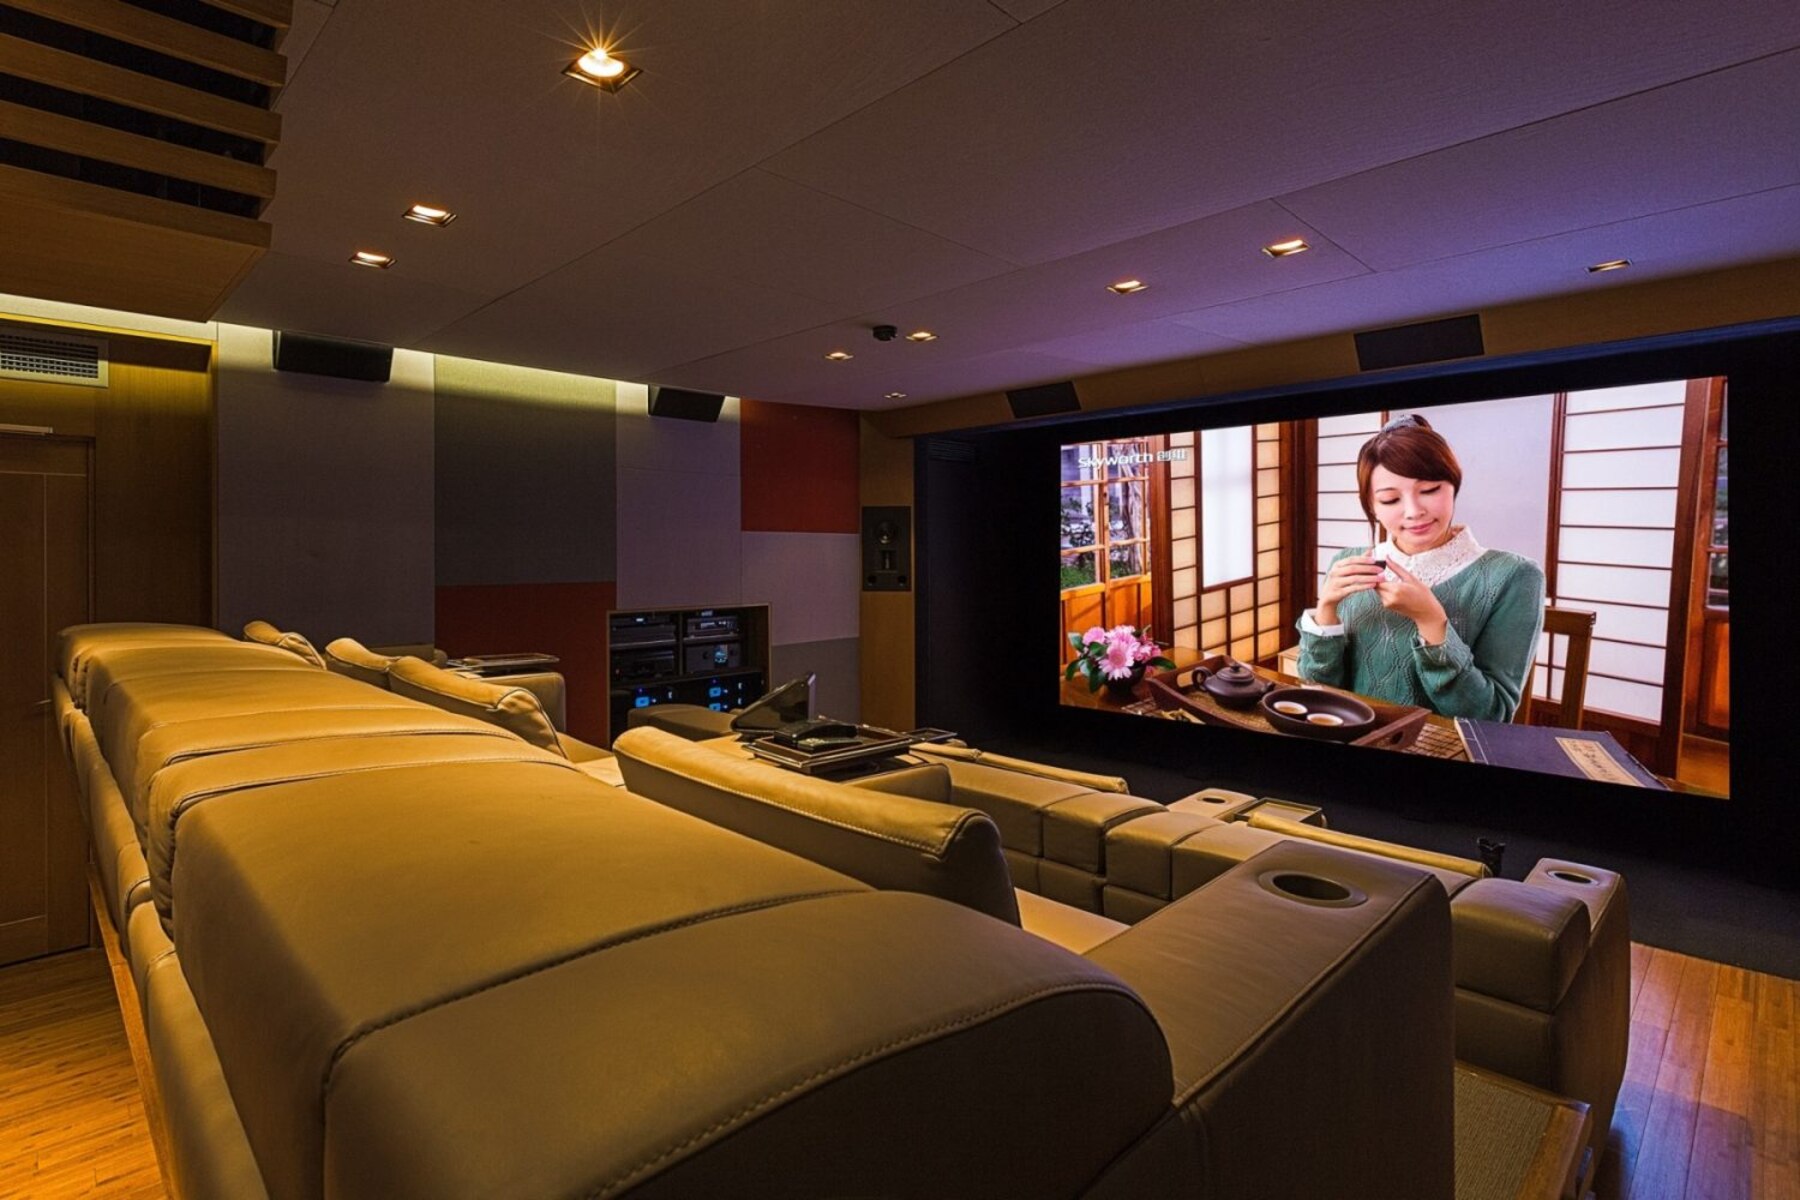
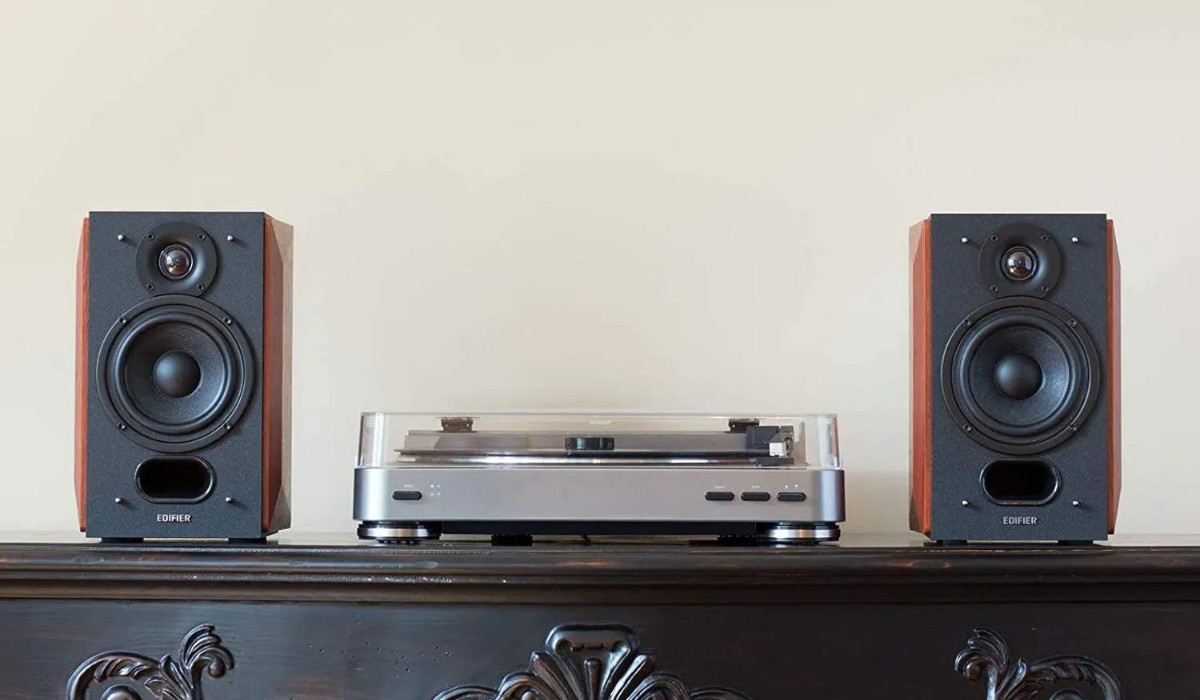
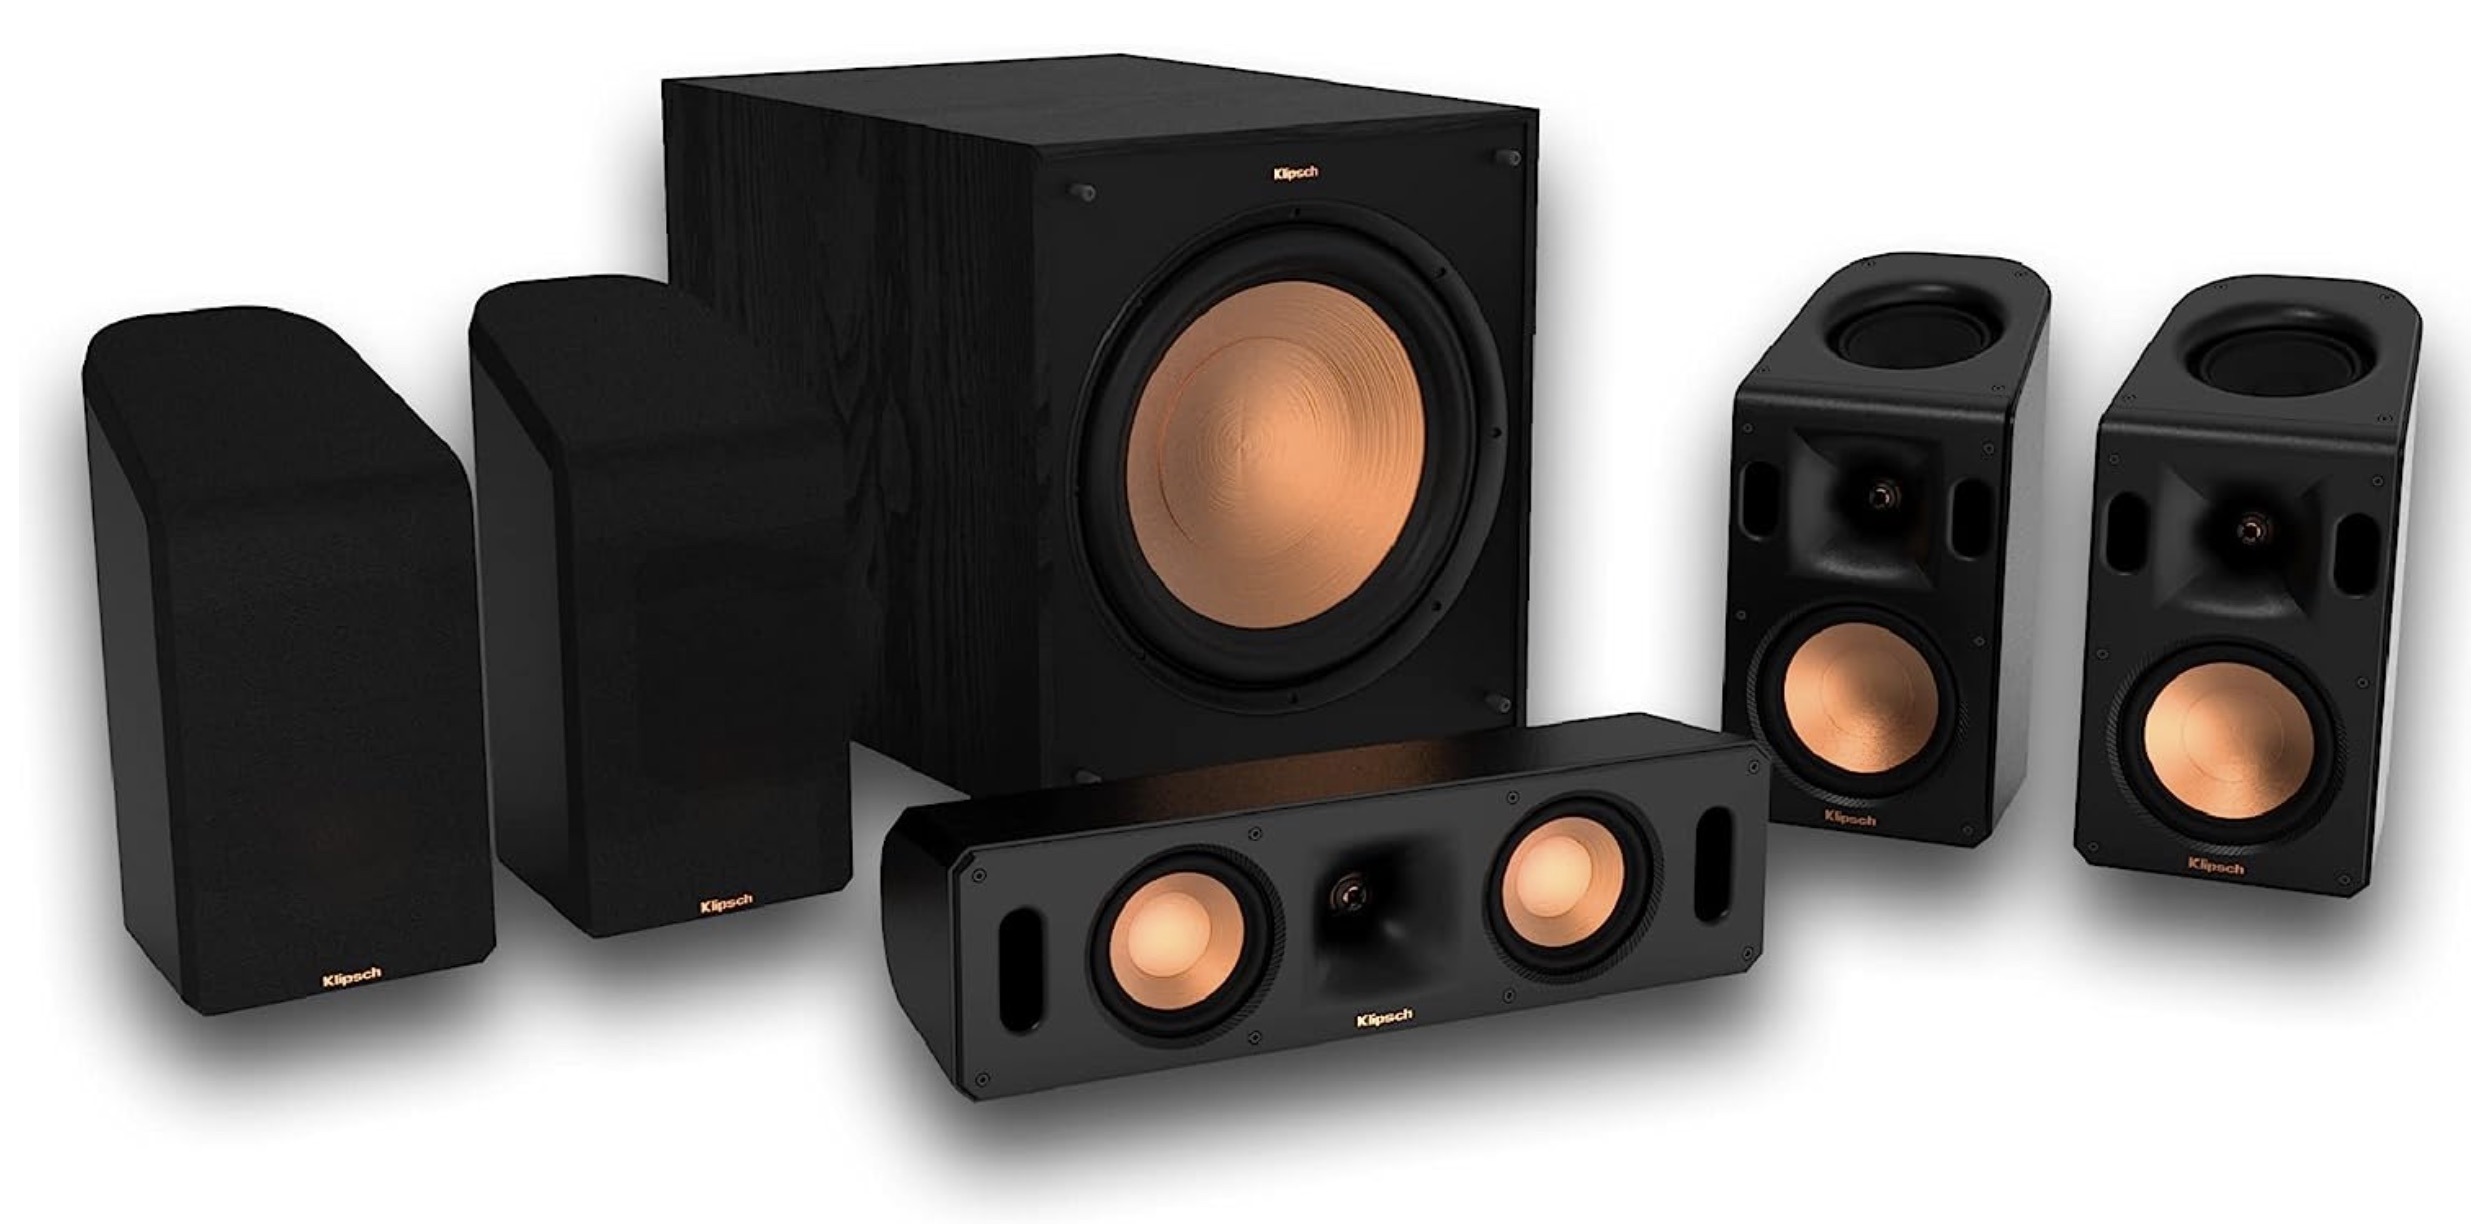
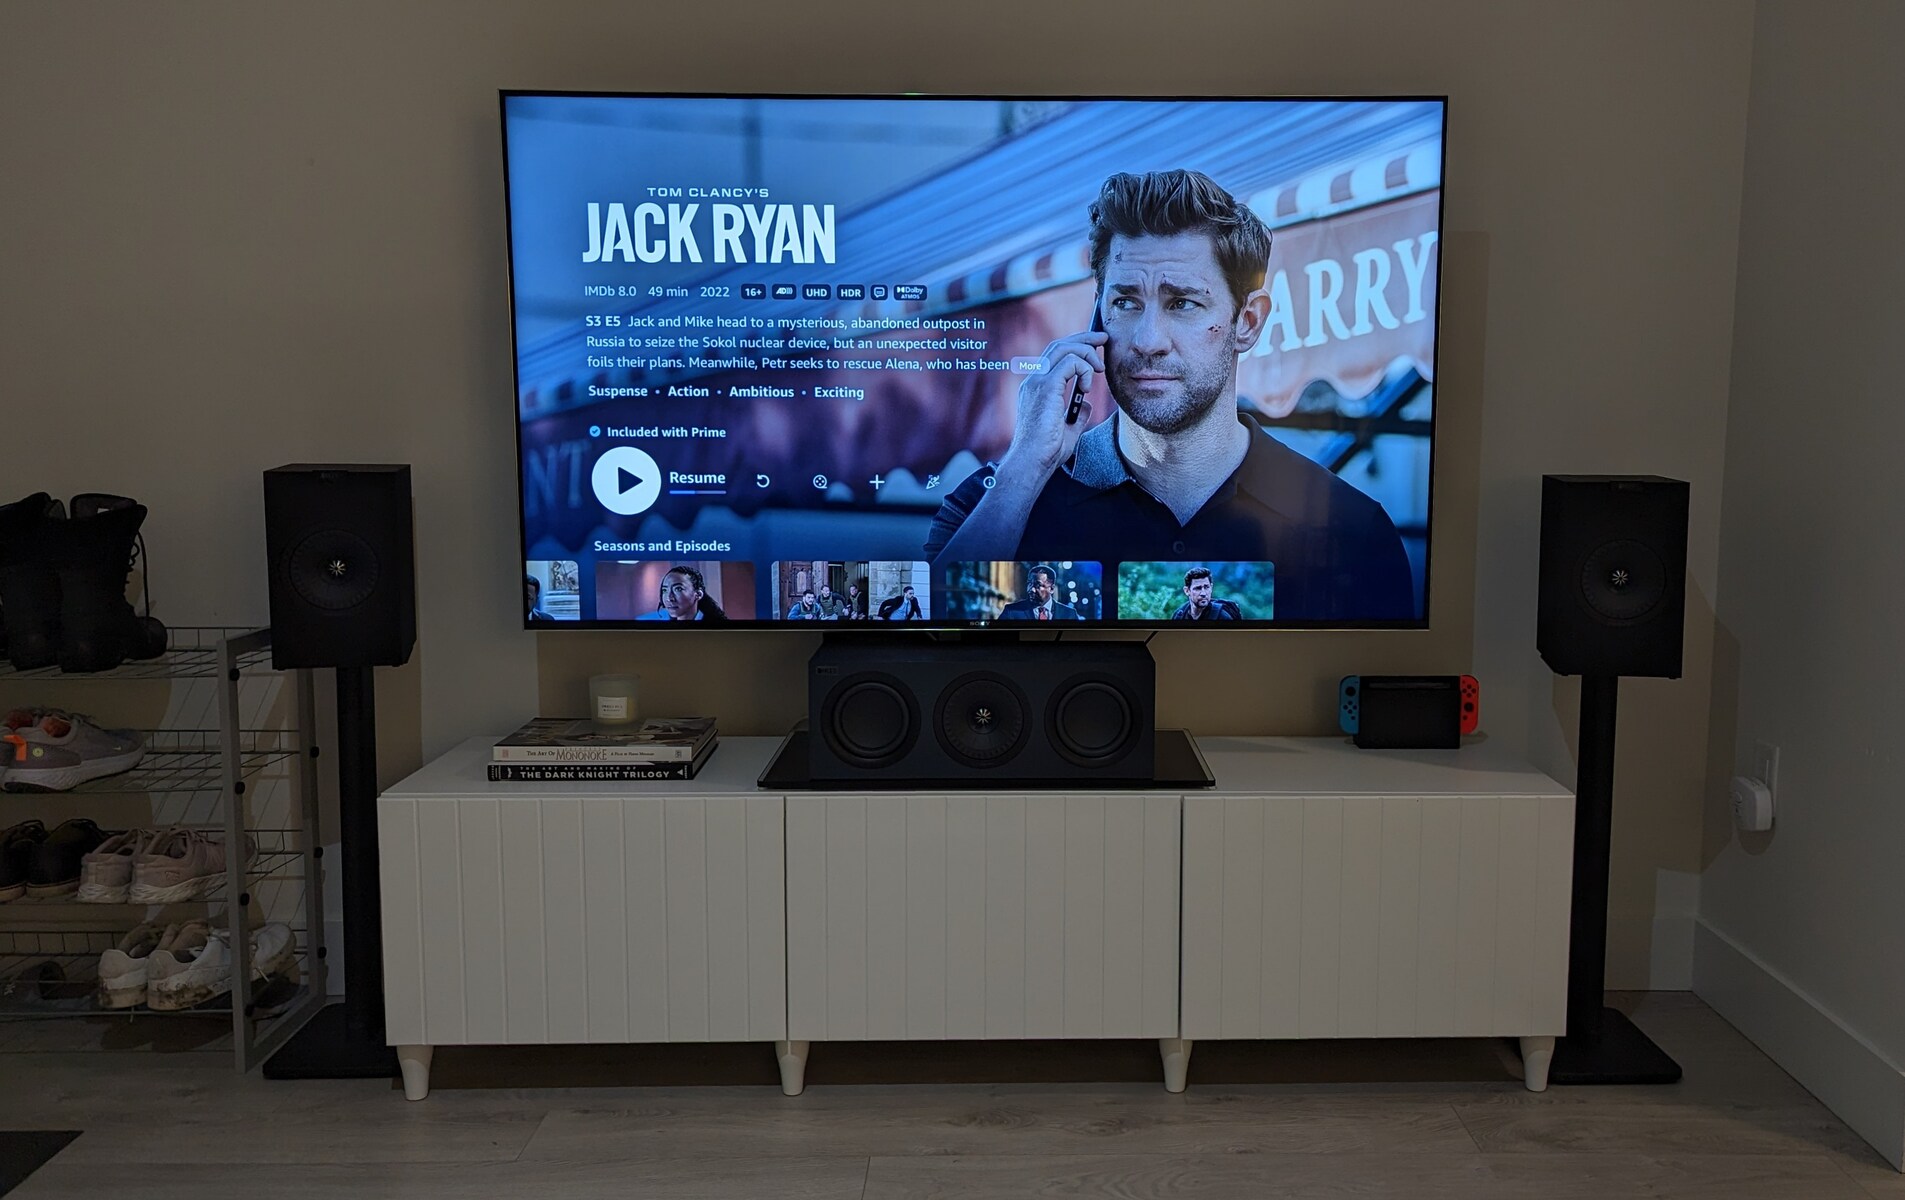
Connecting the Speakers
Properly connecting the speakers to your AV receiver is essential for achieving optimal audio performance and creating a captivating listening experience. Whether you have a stereo setup, a 5.1 surround sound system, or a more elaborate multi-channel configuration, the way you wire the speakers can significantly impact the sound quality and spatial imaging. Here’s a step-by-step guide to connecting the speakers to your AV receiver:
- Identify Speaker Channels: Before connecting the speakers, identify the speaker channels on the back of your AV receiver. These channels are typically labeled for each speaker position, such as front left, front right, center, surround left, surround right, and subwoofer (LFE).
- Match Speaker Wires to Channels: Ensure that the speaker wires are correctly matched to the corresponding channels on the AV receiver. The positive and negative terminals on both the receiver and the speakers should align to prevent phase issues and ensure proper signal flow.
- Strip and Prepare Speaker Wires: If your speakers utilize bare wire connections, strip the insulation from the ends of the speaker wires and twist the exposed strands to create a secure connection. For speakers with binding posts or terminals, loosen the terminals to insert the wires and tighten them to establish a solid connection.
- Connect to Front and Center Speakers: If you have a stereo or 3.1 setup, connect the front left and front right speakers to their respective channels on the AV receiver. For a 5.1 or 7.1 system, also connect the center speaker, ensuring that it is positioned correctly for optimal dialogue reproduction.
- Wire Surround Speakers: In a multi-channel setup, wire the surround speakers to the designated channels on the AV receiver. Ensure that the surround speakers are strategically positioned to create an enveloping soundstage for immersive movie soundtracks and multi-channel audio content.
- Connect the Subwoofer: If your system includes a subwoofer, use a dedicated subwoofer cable to connect the subwoofer’s input to the LFE (low-frequency effects) output on the AV receiver, or to the dedicated subwoofer pre-out if available.
- Secure and Organize Wires: After connecting the speakers, secure the wires to prevent tripping hazards and maintain a neat and organized setup. Consider using cable management solutions to conceal and route the speaker wires along walls or baseboards for a clean and professional look.
By following these steps and ensuring a secure and accurate connection of the speakers to the AV receiver, you can unlock the full potential of your audio system, immersing yourself in a rich and dynamic sonic environment.
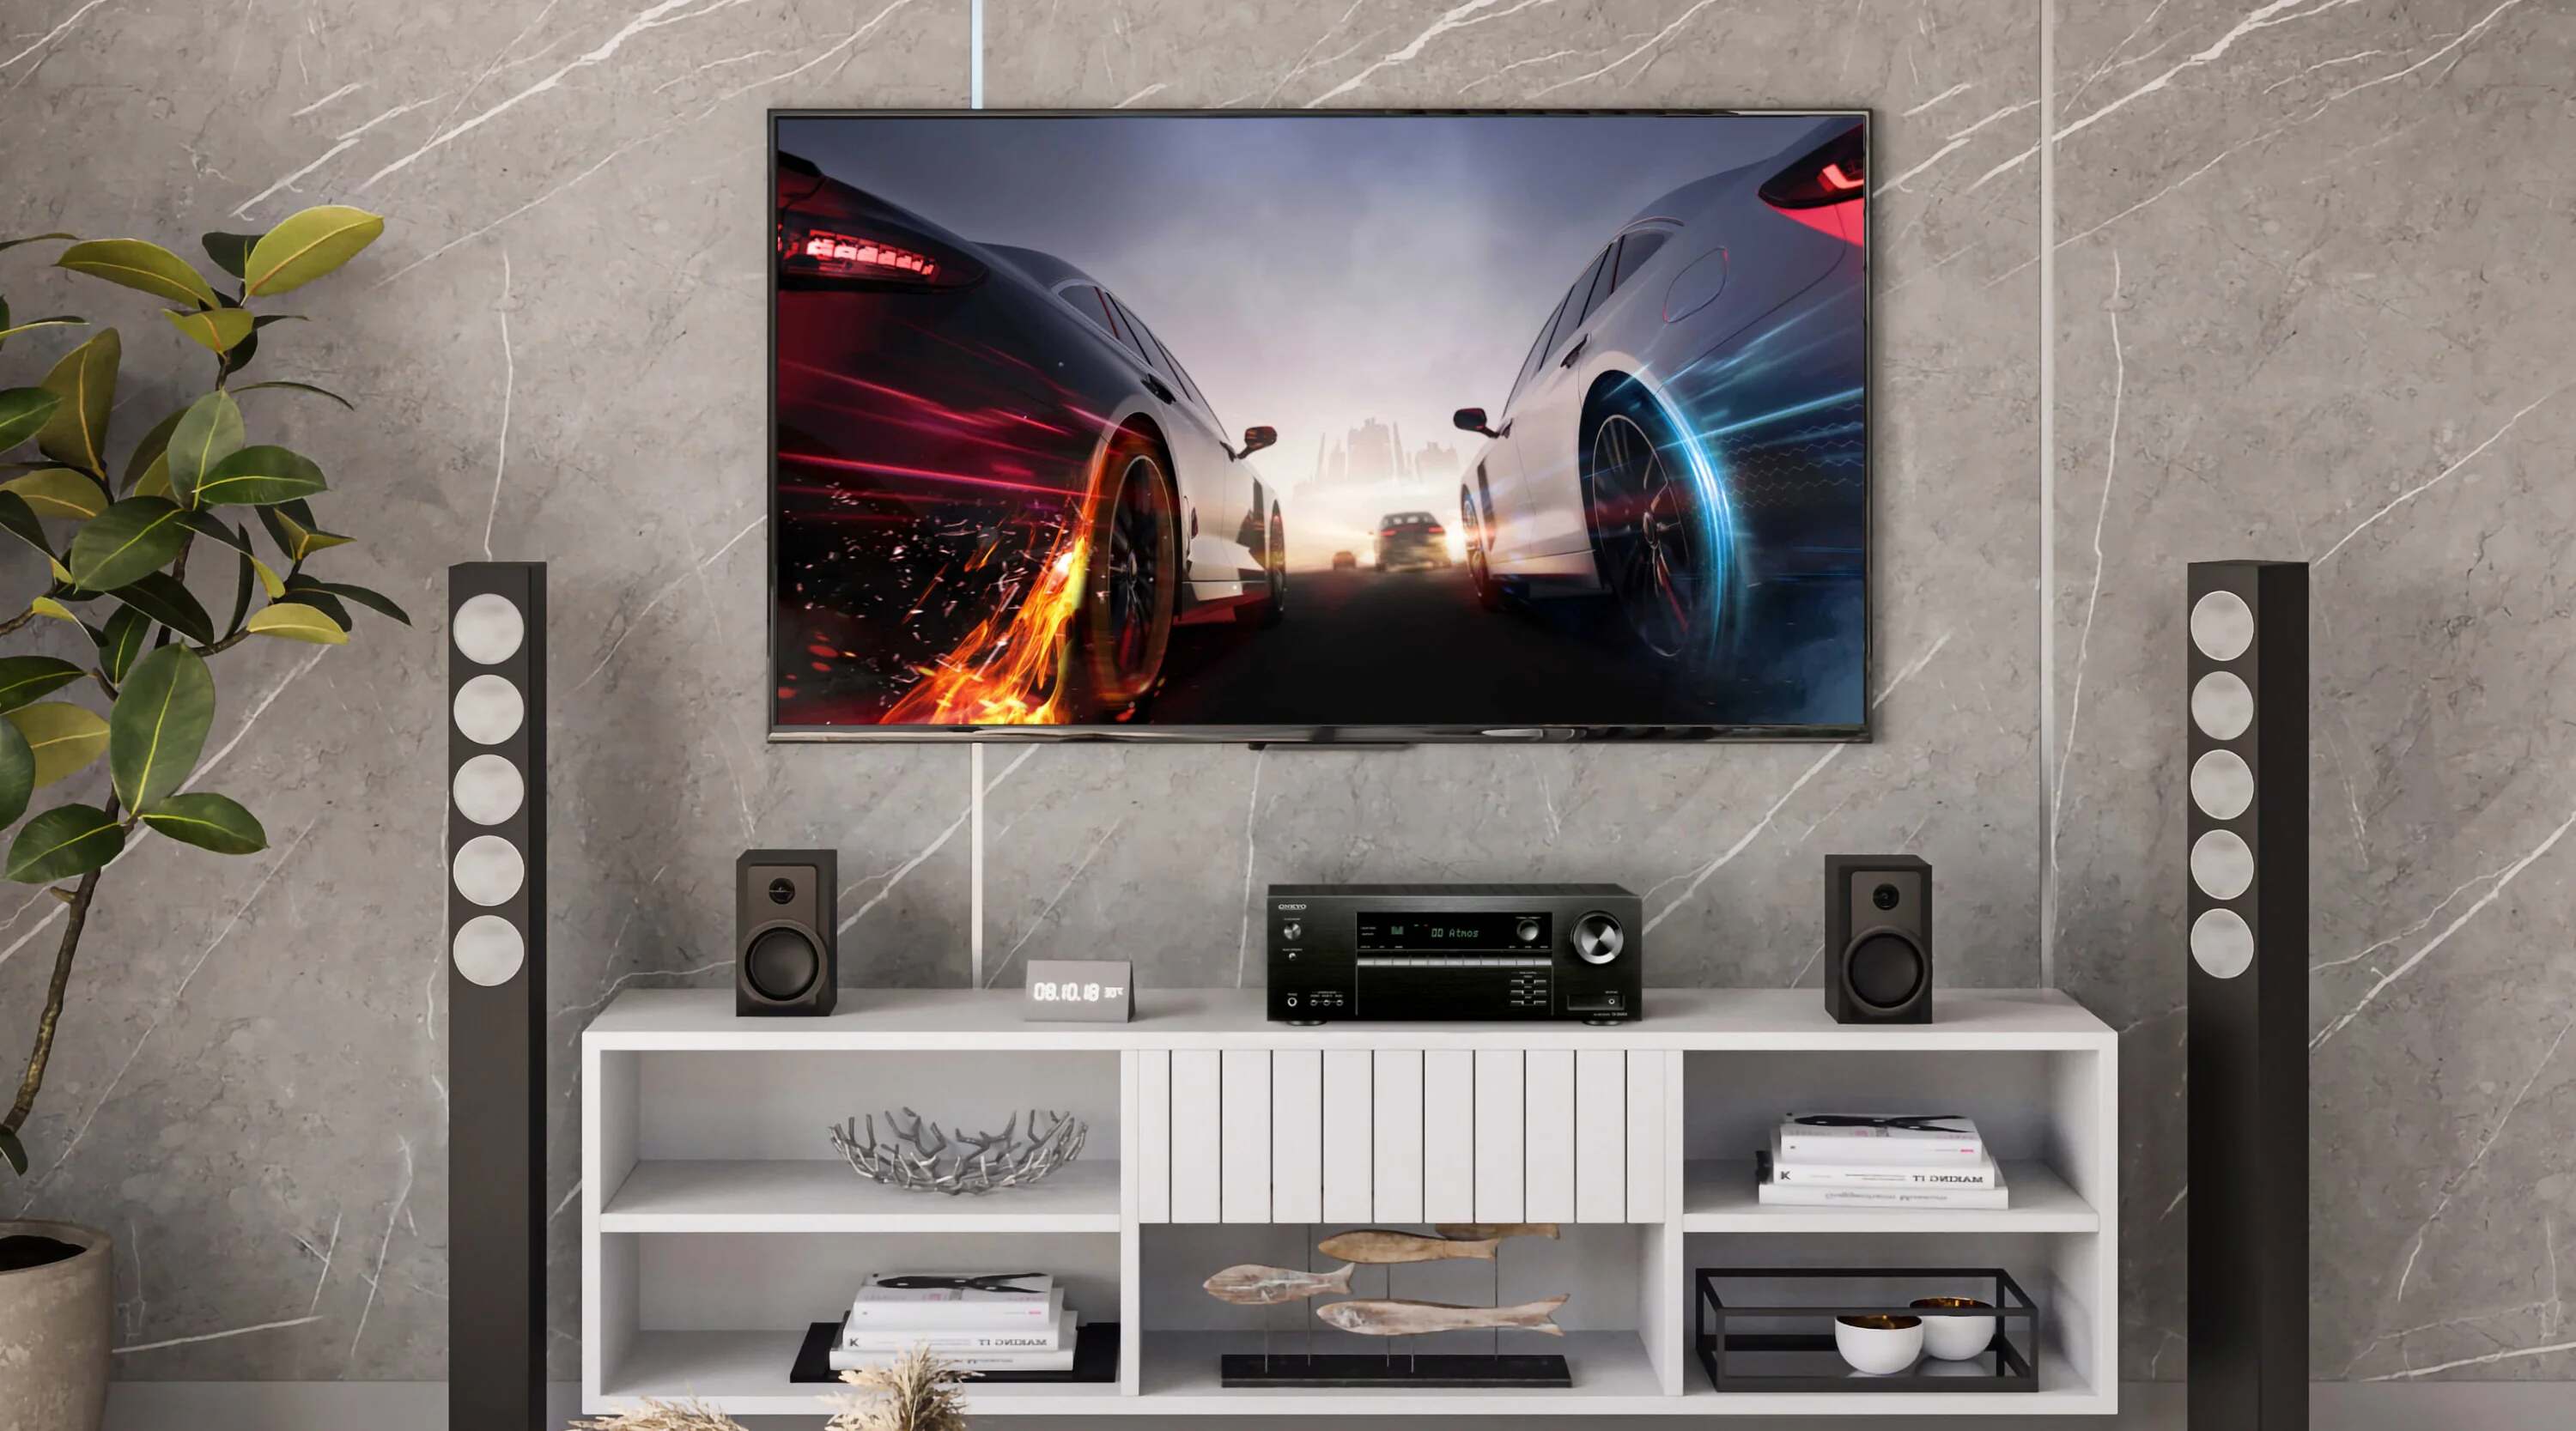
Setting Up the Source Components
Configuring the source components, such as Blu-ray players, gaming consoles, media streamers, and cable or satellite boxes, to work seamlessly with your AV receiver is a crucial step in creating a cohesive and immersive home entertainment system. Properly setting up the source components ensures that audio and video signals are transmitted effectively to the AV receiver, allowing for a seamless integration of various media sources. Here’s a comprehensive guide to setting up the source components:
- Identify Input and Output Ports: Familiarize yourself with the input and output ports on both the source components and the AV receiver. This includes HDMI, optical, coaxial, and analog audio/video connections, as well as network and USB ports for streaming and media playback.
- Connect HDMI Sources: For devices that support HDMI connectivity, such as Blu-ray players and gaming consoles, use high-speed HDMI cables to connect the HDMI output of each source component to the HDMI inputs on the AV receiver. Ensure that the HDMI cables are securely plugged in to transmit both audio and video signals.
- Optical and Coaxial Connections: If your source components utilize digital optical or coaxial outputs, such as older DVD players or audio equipment, use the respective digital cables to connect these devices to the corresponding optical or coaxial inputs on the AV receiver, allowing for the transmission of digital audio signals.
- Analog Audio/Video Connections: Some legacy devices may require analog audio or composite video connections. In such cases, use the appropriate analog cables to connect the audio and video outputs of these devices to the analog inputs on the AV receiver, ensuring compatibility and signal transmission.
- Network and USB Connectivity: If your AV receiver supports network streaming or USB media playback, establish network connections or USB connections to enable access to online music services, streaming platforms, and locally stored media content. Follow the manufacturer’s instructions for configuring network settings and accessing media libraries.
- Configure Source Settings: Access the settings menus on each source component to ensure that the audio and video output settings align with the capabilities of your AV receiver and display device. This includes selecting the appropriate audio formats, video resolutions, and output configurations to optimize the media playback experience.
By meticulously setting up the source components and establishing robust connections to the AV receiver, you pave the way for a seamless and integrated audio-visual system, allowing for effortless access to a diverse range of media content while maintaining pristine audio and video quality.
Configuring the AV Receiver
Once the physical connections are in place, configuring the settings of the AV receiver is essential for optimizing audio performance, tailoring the system to your specific preferences, and ensuring seamless operation. Modern AV receivers offer a plethora of customization options, room calibration features, and audio processing technologies that can significantly enhance the overall listening experience. Here’s a comprehensive guide to configuring the AV receiver:
- Access the On-Screen Menu: Most AV receivers feature an on-screen setup menu accessible through the connected display device. Use the remote control to navigate the menu and access the various configuration options.
- Speaker Setup and Calibration: Initiate the speaker setup and calibration process, which may involve an automated calibration system that uses a supplied microphone to analyze the acoustic characteristics of the room and optimize the speaker settings for balanced sound reproduction. Follow the on-screen prompts to ensure accurate speaker placement and calibration.
- Audio and Video Settings: Customize the audio and video settings based on your preferences and the capabilities of your audio-visual setup. This includes selecting the appropriate audio decoding formats, adjusting speaker levels, configuring video processing options, and enabling features such as dynamic range control and audio delay for synchronized playback.
- Network and Streaming Setup: If your AV receiver supports network connectivity and streaming features, configure the network settings, including wireless or wired connections, IP address settings, and access credentials for online music services and streaming platforms. Ensure that the receiver is connected to your home network for seamless access to digital content.
- Input Assignments and Naming: Customize the input assignments and input names to correspond with the connected source components. This simplifies the operation of the AV receiver by allowing you to easily select and identify each input source using intuitive labels.
- Room Correction and EQ: Utilize the built-in room correction and equalization features, if available, to fine-tune the audio performance based on the acoustics of your listening environment. This may involve adjusting frequency response, speaker distances, and crossover settings to achieve an optimal sonic balance.
By meticulously configuring the settings of the AV receiver, you can unleash the full potential of your audio-visual system, ensuring that it is tailored to your preferences, optimized for the acoustic characteristics of your space, and equipped to deliver a captivating and immersive entertainment experience.
Testing the System
After completing the physical connections and configuring the settings of your AV receiver, it’s time to put the system to the test and ensure that everything is functioning as intended. Testing the system allows you to verify the audio and video performance, troubleshoot any potential issues, and fine-tune the settings for an optimal listening and viewing experience. Here’s a comprehensive guide to testing your AV receiver system:
- Audio Playback Test: Begin by playing audio content through the AV receiver, whether it’s music, movie soundtracks, or streaming audio. Verify that the sound is being reproduced from all speakers as intended, with clear dialogue from the center channel, immersive surround effects from the rear speakers, and impactful bass from the subwoofer. Adjust the volume levels and individual speaker settings as needed to achieve a balanced and enveloping soundstage.
- Surround Sound Calibration: If your system supports surround sound formats such as Dolby Atmos or DTS:X, test specific audio and video content that utilizes these formats to ensure that the immersive surround effects are accurately reproduced. Verify that overhead effects, directional audio cues, and spatial imaging are rendered with precision and coherence.
- Video Display Test: Play high-definition video content through the AV receiver to evaluate the visual performance. Verify that the video signal is transmitted without artifacts, color inaccuracies, or resolution issues. If your AV receiver incorporates video upscaling or processing features, test different video sources to assess the quality of the displayed content.
- Network and Streaming Test: If your AV receiver supports network streaming, access online music services, internet radio, or streaming platforms to verify the stability of the network connection and the quality of the streamed audio content. Test the responsiveness of the user interface and the seamless playback of digital media from networked devices.
- Remote Control and Operation: Test the functionality of the remote control and the operational responsiveness of the AV receiver. Ensure that you can easily switch between input sources, adjust audio settings, and navigate the on-screen menu without encountering any operational issues or delays.
- Room Correction Verification: If you utilized the room correction and equalization features of the AV receiver, listen to various audio content to assess the impact of the room calibration on the overall sound quality. Verify that the tonal balance, imaging, and bass response are optimized based on the acoustic characteristics of your listening environment.
By rigorously testing the system, you can identify any potential issues, fine-tune the settings for optimal performance, and ultimately enjoy a seamless and immersive audio-visual experience that fully leverages the capabilities of your AV receiver and speaker system.