Introduction
Setting up a 3.1 speaker system to an AV receiver can significantly enhance your home audio experience, delivering immersive sound for your movies, music, and gaming. Whether you're a cinephile seeking cinematic audio quality or a music enthusiast craving rich, detailed sound, a 3.1 speaker setup can elevate your entertainment to new heights.
In this guide, we'll walk you through the process of wiring a 3.1 speaker system to an AV receiver, covering everything from understanding the components of the speaker system to configuring the receiver for optimal audio performance. By the end of this tutorial, you'll have the knowledge and confidence to create a captivating audio environment in your home.
If you're ready to embark on this audio adventure, let's dive into the world of 3.1 speaker systems and discover how to seamlessly integrate them with your AV receiver. Whether you're a seasoned audio enthusiast or a newcomer to the realm of home theater setups, this guide will provide you with the essential know-how to bring your audio dreams to life. So, grab your cables, plug in your speakers, and let's get started on this sonic journey.
Understanding the 3.1 Speaker System
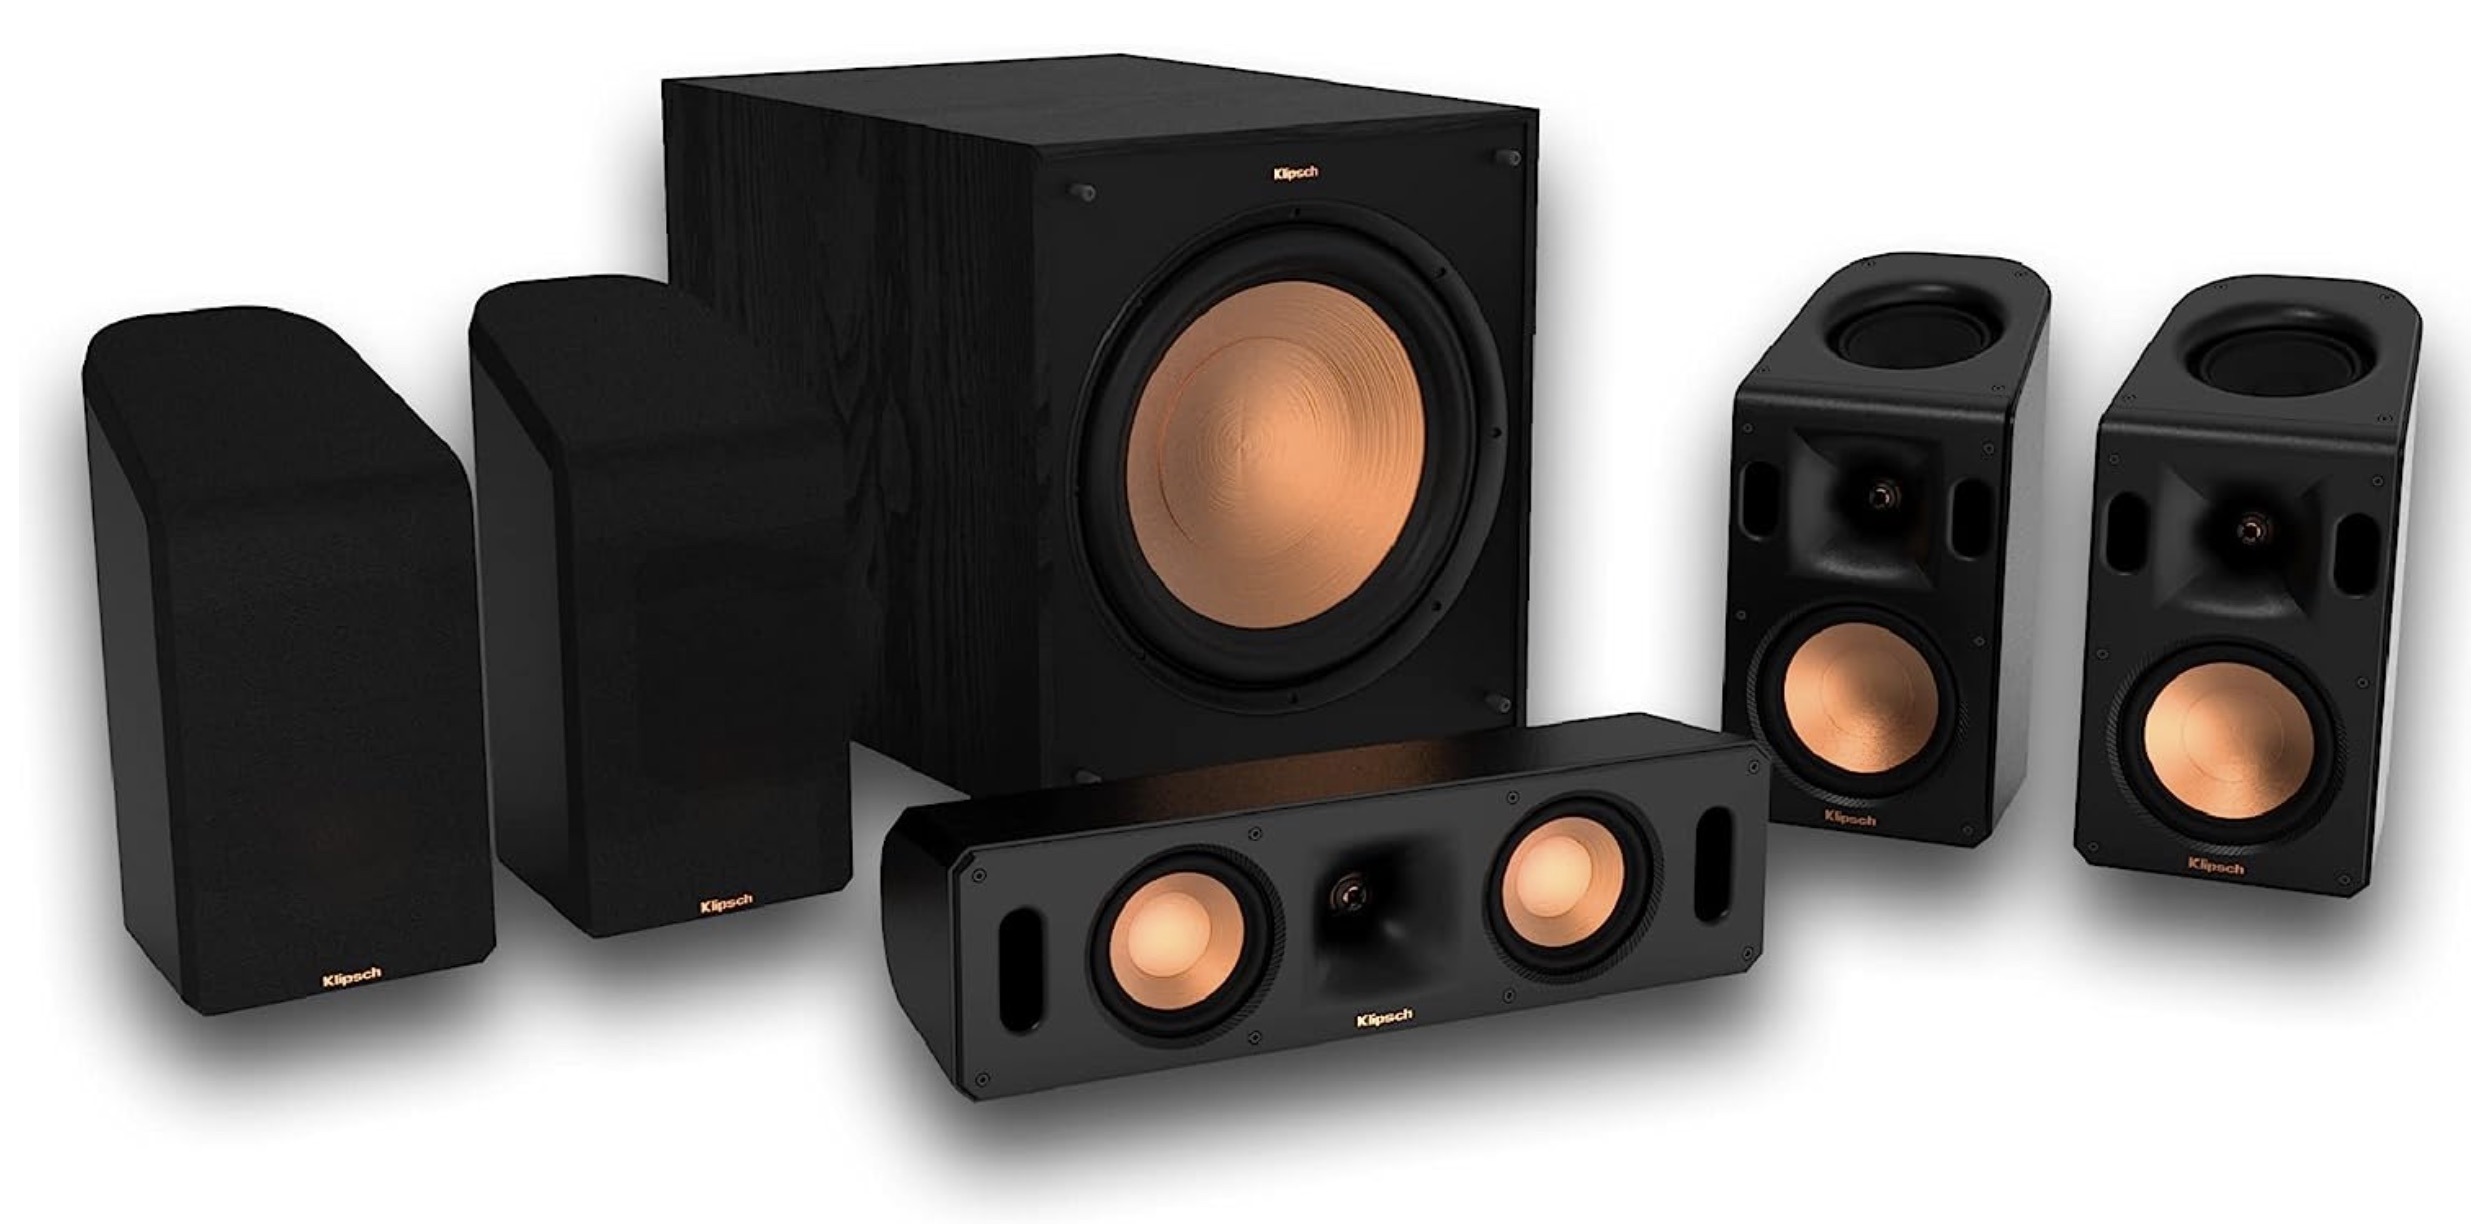
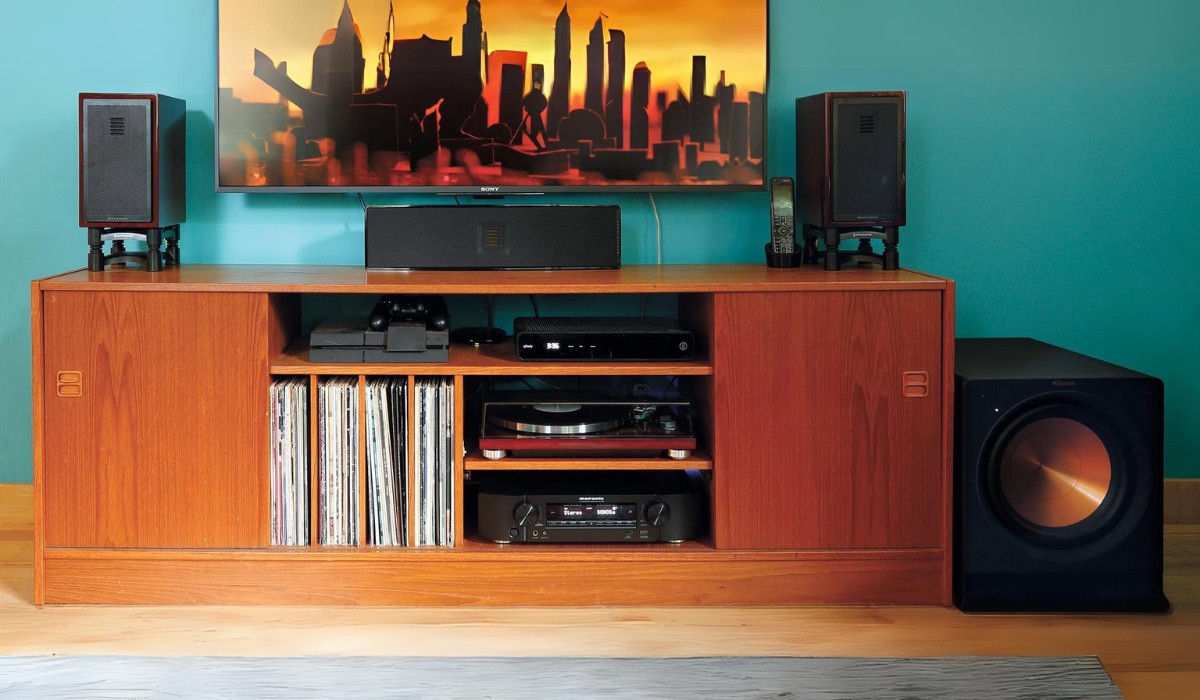
Before diving into the wiring process, it’s crucial to grasp the fundamental components of a 3.1 speaker system. Unlike traditional stereo setups, a 3.1 configuration comprises three main speakers and a dedicated subwoofer, offering a balanced audio experience that combines crisp dialogue, detailed midrange, and powerful low-frequency effects.
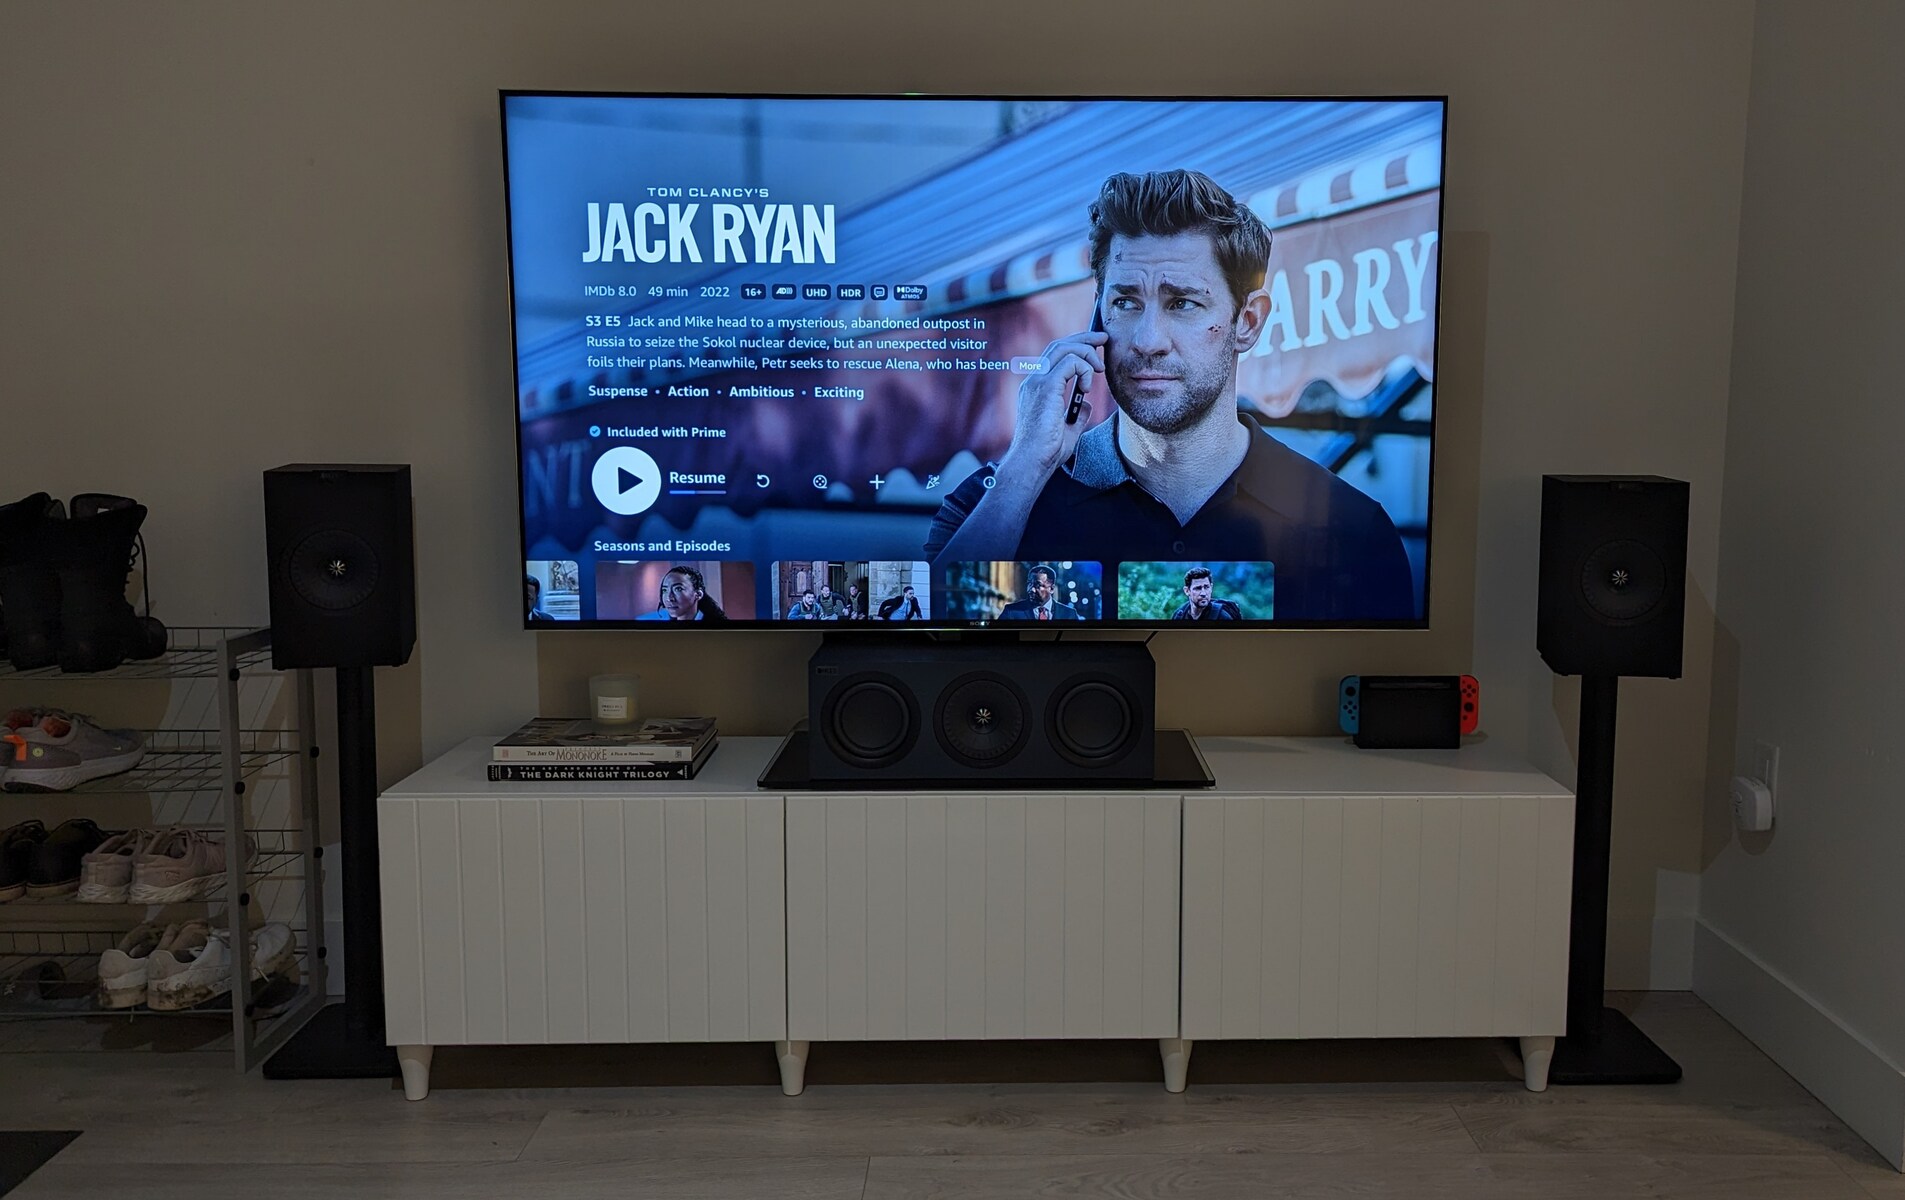
The “3” in 3.1 represents the three main speakers: the front left, front right, and center channels. These speakers work in harmony to deliver a broad soundstage, ensuring that dialogue, music, and sound effects are accurately positioned within the audio environment. The center channel, in particular, plays a pivotal role in reproducing clear and intelligible dialogue, making it essential for an immersive home theater experience.
Complementing the three main speakers is the “1,” which denotes the subwoofer. This specialized speaker is dedicated to handling low-frequency sounds, adding depth and impact to movie soundtracks, music, and gaming effects. By reproducing deep bass tones with precision, the subwoofer enriches the overall audio performance, creating a more dynamic and engaging listening experience.
Understanding the distinct roles of each speaker in a 3.1 system is vital for achieving balanced audio reproduction across the frequency spectrum. Whether you’re watching a dialogue-heavy film, enjoying music with intricate instrumentation, or immersing yourself in the explosive sounds of a blockbuster action sequence, a well-configured 3.1 setup can elevate the sonic impact of your entertainment content.
Now that we’ve explored the core elements of a 3.1 speaker system, it’s time to delve into the practical steps of connecting and configuring these components to unleash their sonic potential within your home audio setup.
Choosing the Right Cables and Connectors
When wiring a 3.1 speaker system to an AV receiver, selecting the appropriate cables and connectors is essential for maintaining signal integrity and achieving optimal audio performance. The following considerations will guide you in choosing the right components for your setup:
- Speaker Wire Gauge: The gauge of the speaker wire plays a crucial role in delivering clean and efficient power to your speakers. Thicker wire (lower gauge number) is recommended for longer distances or higher power applications, while shorter runs or lower power requirements may be adequately served by thinner wire. Consult the manufacturer’s recommendations for your specific speakers to determine the appropriate gauge.
- Connector Types: Consider the type of connectors compatible with your speakers and AV receiver. Common connector options include banana plugs, spade connectors, and bare wire connections. Select connectors that are compatible with your equipment and provide secure and reliable connections.
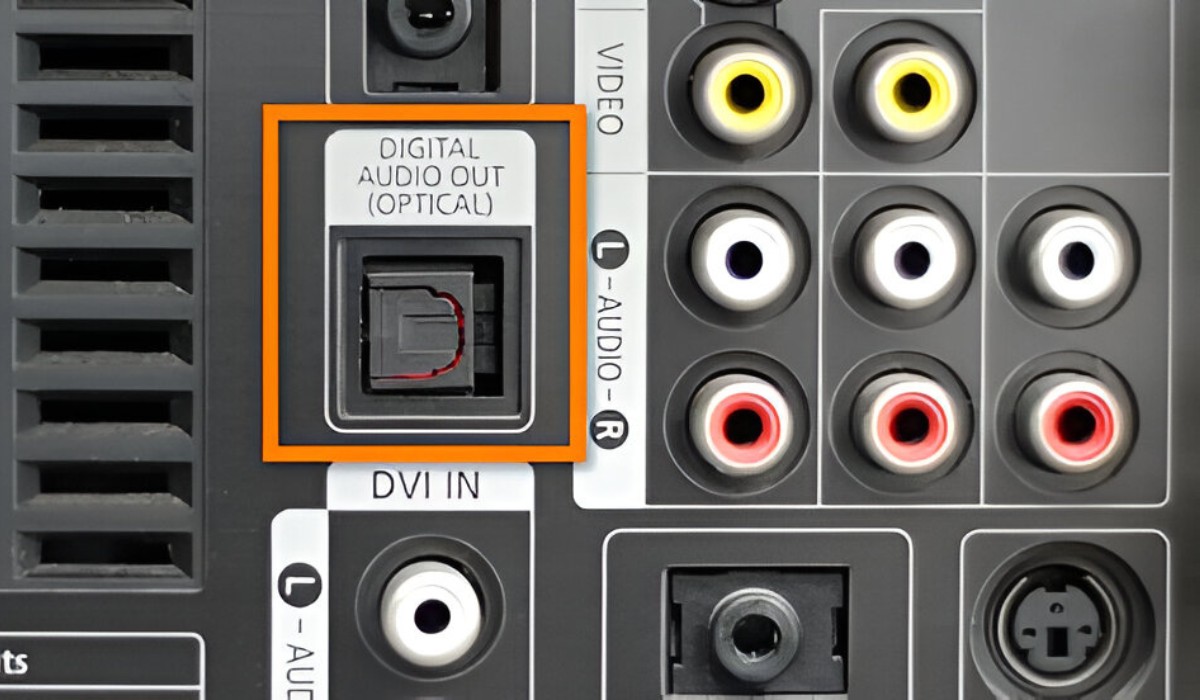
- Subwoofer Cable: For connecting the subwoofer to the AV receiver, a dedicated subwoofer cable with RCA connectors is typically used. Ensure that the cable length is sufficient to reach from the receiver to the subwoofer location while allowing for tidy cable management.
- Cable Length: Measure the distance between each speaker and the AV receiver to determine the required cable lengths. Add a margin for flexibility and potential repositioning of components in the future.
- Quality and Shielding: Invest in high-quality cables with proper shielding to minimize signal interference and maintain signal integrity. Shielded cables are particularly important when routing cables near power sources or other electronic devices to reduce the risk of electromagnetic interference.
By carefully considering these factors and selecting the appropriate cables and connectors, you can ensure reliable signal transmission and minimize potential audio quality degradation in your 3.1 speaker system setup. With the right components in place, you’ll be well-prepared to establish robust connections between your speakers and AV receiver, laying the foundation for an exceptional audio experience.
Connecting the Front Left, Front Right, and Center Speakers
Properly connecting the front left, front right, and center speakers to your AV receiver is pivotal in establishing a cohesive and immersive audio environment. Follow these steps to ensure a seamless integration of these critical components:
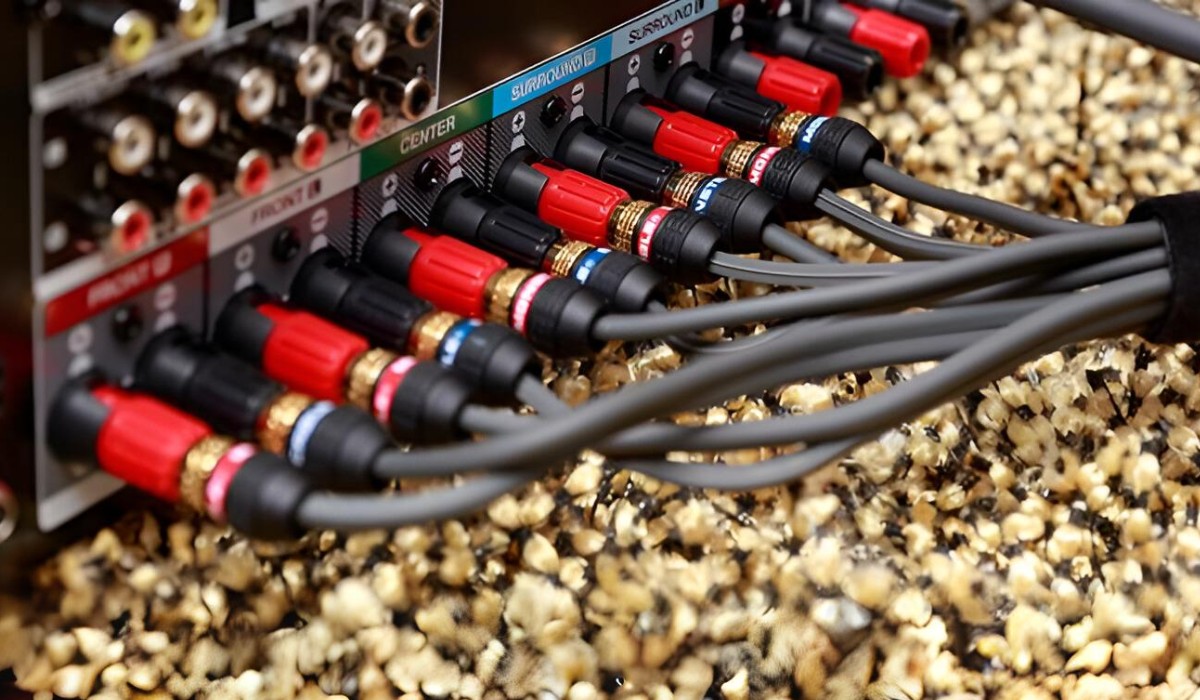
- Identify Speaker Terminals: Locate the speaker terminals on the back of your AV receiver, typically labeled as “Front Left,” “Front Right,” and “Center.” Ensure that the polarity markings on the terminals align with the corresponding markings on your speaker wires to maintain phase coherence.
- Prepare the Speaker Wire: Strip a small portion of insulation from the end of each speaker wire to expose the conductors. If using banana plugs or spade connectors, attach them to the wire ends according to the manufacturer’s instructions for a secure connection.
- Connect the Front Left Speaker: Insert the prepared speaker wire into the “Front Left” terminal on the AV receiver, observing the correct polarity. Secure the connection by tightening the terminal binding post or inserting the banana plug, ensuring a snug fit.
- Connect the Front Right Speaker: Repeat the process for the front right speaker, connecting it to the “Front Right” terminal on the receiver with the appropriate polarity. Double-check the connections to avoid any wiring errors.
- Connect the Center Speaker: Similarly, connect the center speaker to the “Center” terminal on the AV receiver, maintaining proper polarity. This speaker is crucial for anchoring dialogue and central sound effects, so a secure and accurate connection is essential.
- Verify Connections: After connecting all the speakers, perform a visual inspection to ensure that the wires are securely attached and that there are no stray wire strands that could cause a short circuit. Carefully organize and route the cables to minimize clutter and prevent accidental damage.
By meticulously following these steps and paying attention to detail, you can establish reliable and high-quality connections between your front left, front right, and center speakers and the AV receiver. These connections serve as the backbone of your 3.1 speaker system, laying the groundwork for immersive audio reproduction and an enhanced home entertainment experience.
Connecting the Subwoofer
Integrating the subwoofer into your 3.1 speaker system is crucial for delivering impactful low-frequency reproduction, adding depth and resonance to your audio content. Follow these steps to seamlessly connect the subwoofer to your AV receiver:
- Locate the Subwoofer Output: Identify the subwoofer output on your AV receiver, often labeled as “Sub Out” or “LFE Out.” This dedicated output is designed to carry low-frequency signals to the subwoofer, ensuring that it handles bass frequencies effectively.
- Choose the Connection Type: Depending on the subwoofer and receiver’s available connections, you may use a subwoofer cable with RCA connectors or a dedicated LFE (Low-Frequency Effects) cable. Select the appropriate cable type based on the available connections and your subwoofer’s input options.
- Connect the Subwoofer Cable: If using a subwoofer cable with RCA connectors, plug one end into the subwoofer output on the AV receiver and the other end into the corresponding input on the subwoofer. Ensure a secure and snug connection to prevent signal loss or interference.
- Adjust Subwoofer Settings: Access the AV receiver’s settings menu to configure the subwoofer output and crossover settings. Adjust the crossover frequency to seamlessly blend the subwoofer’s output with the main speakers, ensuring a smooth transition between the low-frequency effects and the rest of the audio spectrum.
- Set Subwoofer Level: Fine-tune the subwoofer level to achieve a balanced blend of bass without overpowering the main speakers. Many AV receivers offer manual adjustment or automated calibration routines to optimize the subwoofer’s output level based on your room’s acoustics.
- Verify Subwoofer Operation: Play audio content with prominent low-frequency effects to confirm that the subwoofer is operational and seamlessly integrated with the rest of the speaker system. Make any necessary adjustments to the settings to achieve the desired bass response.
By following these steps, you can effectively connect the subwoofer to your AV receiver, ensuring that it seamlessly complements the main speakers and enriches the overall audio experience. The subwoofer’s contribution to the low-frequency spectrum enhances the depth and impact of your audio content, creating a more immersive and engaging sonic landscape within your home environment.
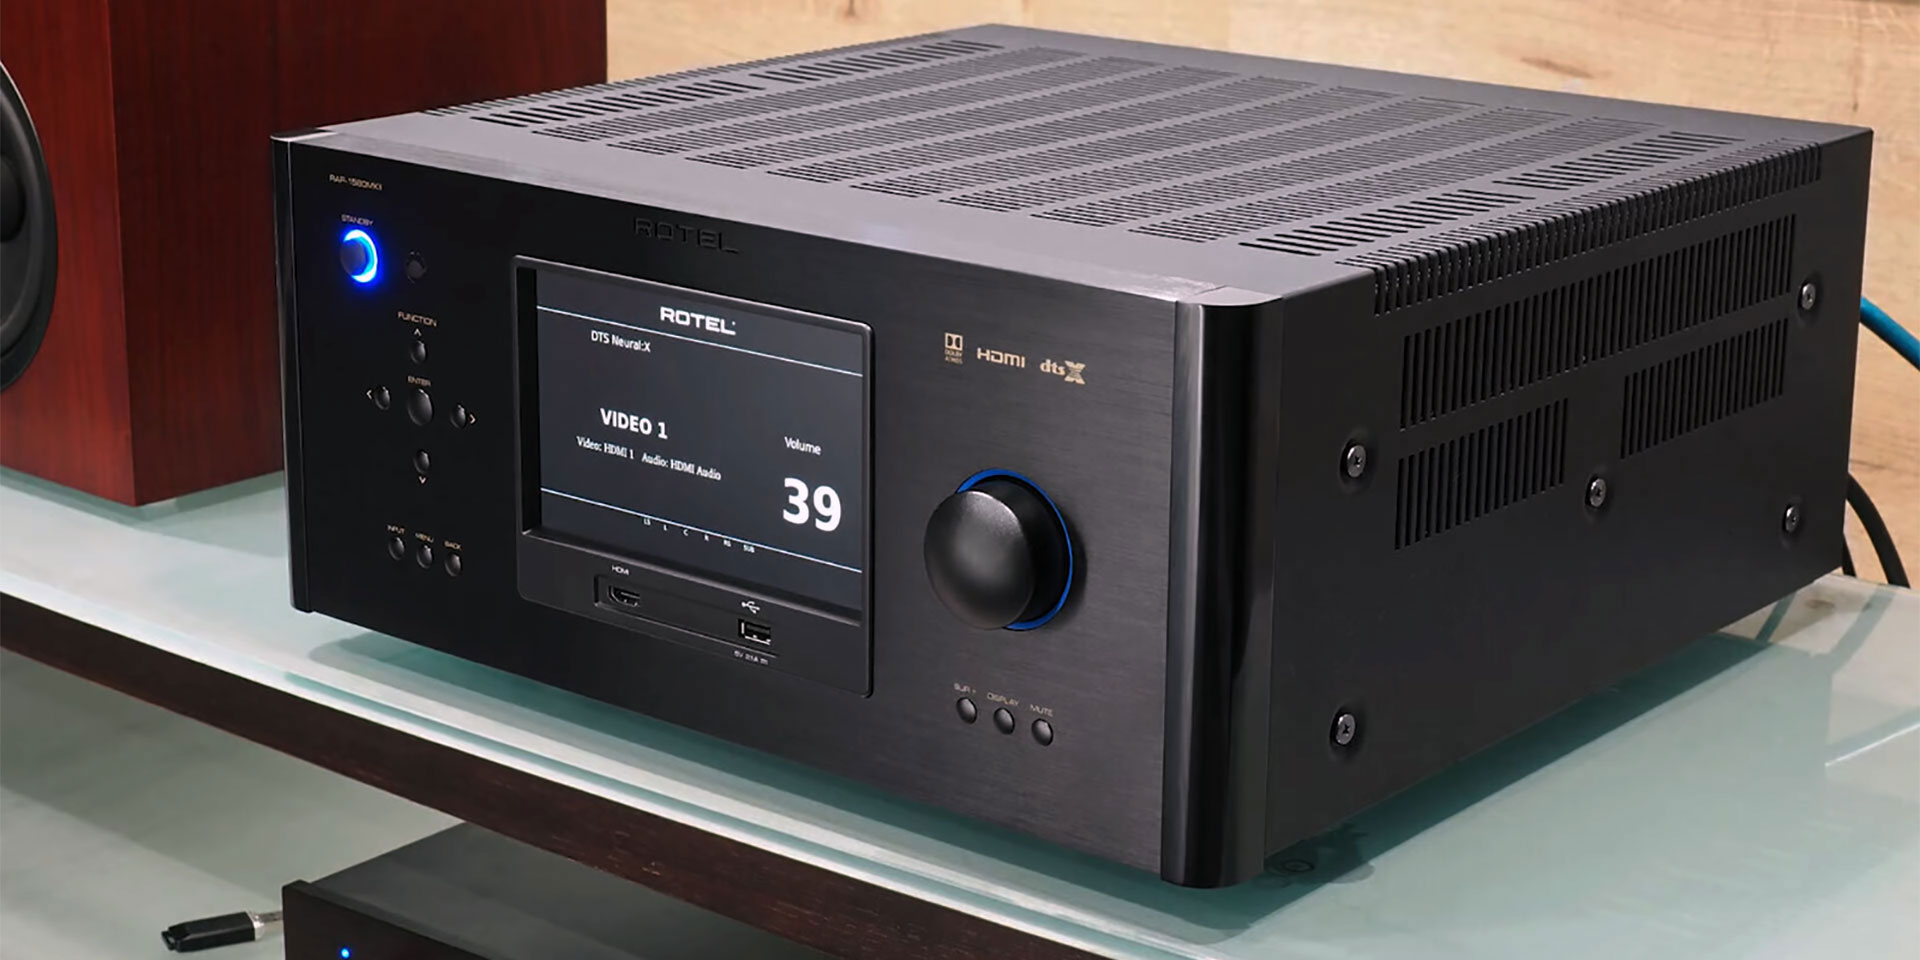
Configuring the AV Receiver for 3.1 Audio
After connecting the speakers and subwoofer, configuring the AV receiver’s settings is essential to ensure that the 3.1 speaker system operates optimally, delivering balanced audio across the frequency spectrum. Follow these steps to set up the AV receiver for 3.1 audio reproduction:
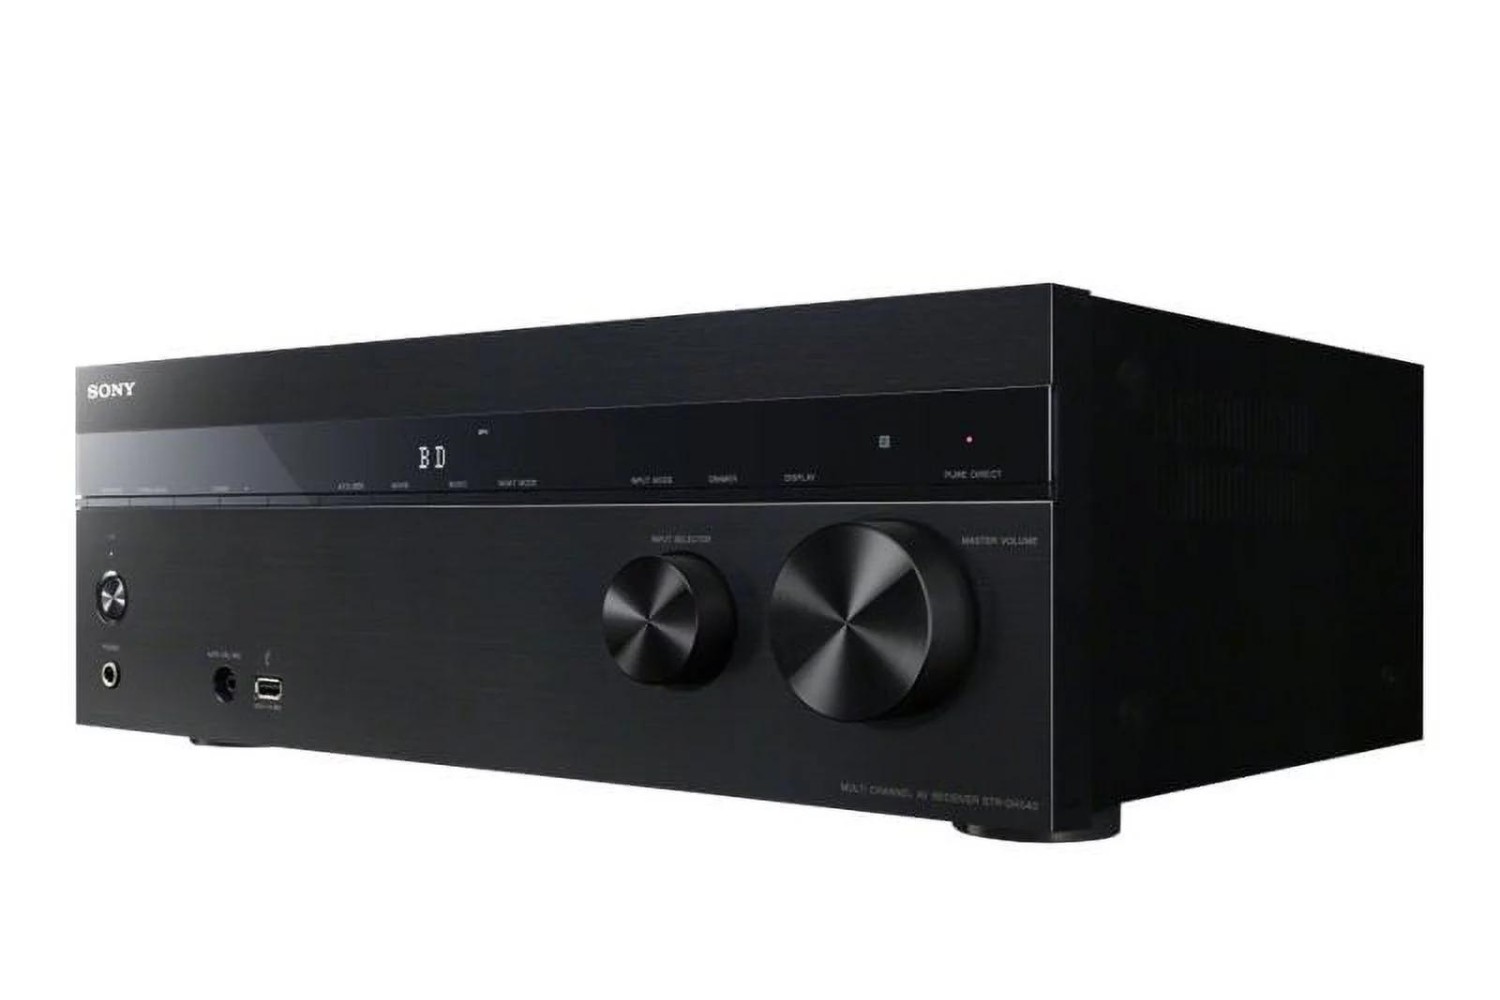
- Access the Receiver’s Menu: Using the receiver’s remote or front panel controls, navigate to the settings or setup menu. Look for options related to speaker configuration, channel levels, and crossover settings.
- Select Speaker Configuration: Locate the speaker setup or configuration menu and specify that you are using a 3.1 speaker system. This step informs the receiver of the specific speaker layout and enables it to direct audio signals to the appropriate channels.
- Adjust Channel Levels: Fine-tune the volume levels for the front left, front right, and center speakers to achieve a balanced soundstage. Some receivers offer automated calibration routines using a setup microphone to optimize channel levels based on your room’s acoustics.
- Set Crossover Frequencies: Configure the crossover settings to define the frequency range handled by the subwoofer. Typically, a crossover frequency of around 80Hz is suitable for directing bass frequencies to the subwoofer while allowing the main speakers to handle midrange and higher frequencies.
- Enable Bass Management: Ensure that the receiver’s bass management system is active, directing low-frequency signals to the subwoofer and seamlessly blending the subwoofer’s output with the main speakers. This ensures a cohesive and balanced audio presentation.
- Engage Room Correction Features: If your AV receiver offers room correction or equalization features, consider activating them to optimize the audio performance based on your room’s acoustics. Room correction can compensate for acoustic anomalies and enhance overall sound quality.
By carefully configuring these settings, you can harness the full potential of your 3.1 speaker system, ensuring that the AV receiver optimally directs audio signals to the speakers and subwoofer while maintaining a cohesive and immersive listening experience. These adjustments lay the groundwork for a captivating audio environment that faithfully reproduces the nuances and impact of your favorite audio content.
Testing the Speaker System
After completing the physical connections and configuring the AV receiver, it’s time to put your 3.1 speaker system to the test. By conducting comprehensive audio testing, you can ensure that each speaker and the subwoofer are operating as intended, delivering a cohesive and immersive soundstage for your home entertainment. Follow these steps to evaluate the performance of your speaker system:
- Playback Various Audio Content: Begin by playing a diverse selection of audio content, including music, movies, and games, to assess the system’s performance across different genres and sound profiles. Pay attention to the clarity of dialogue, the fidelity of musical instruments, and the impact of low-frequency effects.
- Dialogue Clarity Test: Select a movie or TV show known for its dialogue-heavy scenes. Ensure that the center speaker accurately reproduces speech, anchoring it at the center of the soundstage. Dialogue should be clear and intelligible, enhancing the overall intelligibility of the audio content.
- Music Listening Experience: Play music tracks with varied instrumentation and sonic textures to gauge the system’s ability to render nuanced musical details. Assess the tonal balance, imaging, and soundstage width to ensure that the front left, front right, and center speakers work harmoniously to create an immersive listening experience.
- Bass Impact Assessment: Evaluate the subwoofer’s performance by playing audio content with deep bass elements. Low-frequency effects should be impactful and well-integrated with the main speakers, enhancing the overall dynamics and depth of the audio presentation without overpowering the midrange frequencies.
- Channel Identification Test: Use dedicated audio test tracks or surround sound demonstration clips to verify that audio signals are correctly directed to the front left, front right, and center speakers. Each speaker should accurately reproduce its designated channel, contributing to a cohesive and enveloping audio environment.
- Room Acoustics Evaluation: Consider the impact of your room’s acoustics on the overall audio performance. Take note of any reflections, resonances, or standing waves that may affect the sound quality, and make adjustments to speaker placement or room treatments as needed.
By methodically testing the 3.1 speaker system across various audio scenarios, you can identify any potential issues, fine-tune the system’s settings, and ultimately ensure that it delivers a captivating and immersive audio experience. With careful evaluation and adjustment, you can optimize the performance of your 3.1 speaker system, unlocking its full potential within your home environment.