Introduction
Are you tired of squinting at your laptop screen during presentations or movie nights? A portable projector could be the perfect solution! These compact devices can instantly transform any surface into a large screen, allowing you to enjoy your favorite content with friends and colleagues, or simply indulge in a cinematic experience from the comfort of your own home.
In this guide, we'll walk you through the process of connecting a portable projector to your laptop, ensuring that you can seamlessly display your presentations, movies, or any other content without hassle. Whether you're a business professional looking to impress clients with impactful visuals, a teacher aiming to engage students with interactive lessons, or a movie enthusiast seeking a more immersive viewing experience, a portable projector can be a game-changer.
By the end of this guide, you'll have the knowledge and confidence to set up and optimize your portable projector, unlocking a world of possibilities for portable entertainment and professional presentations. So, let's dive into the details and discover how to get the most out of your portable projector when using it with your laptop.
Choosing the Right Portable Projector
When selecting a portable projector to complement your laptop, several key factors should be considered to ensure that you find the perfect match for your needs.
1. Brightness and Resolution: The brightness and resolution of a portable projector are crucial for delivering clear and vibrant visuals. Consider the environment in which you’ll be using the projector. For well-lit spaces, a higher lumen rating is essential to maintain visibility, while a higher resolution ensures sharper image quality.
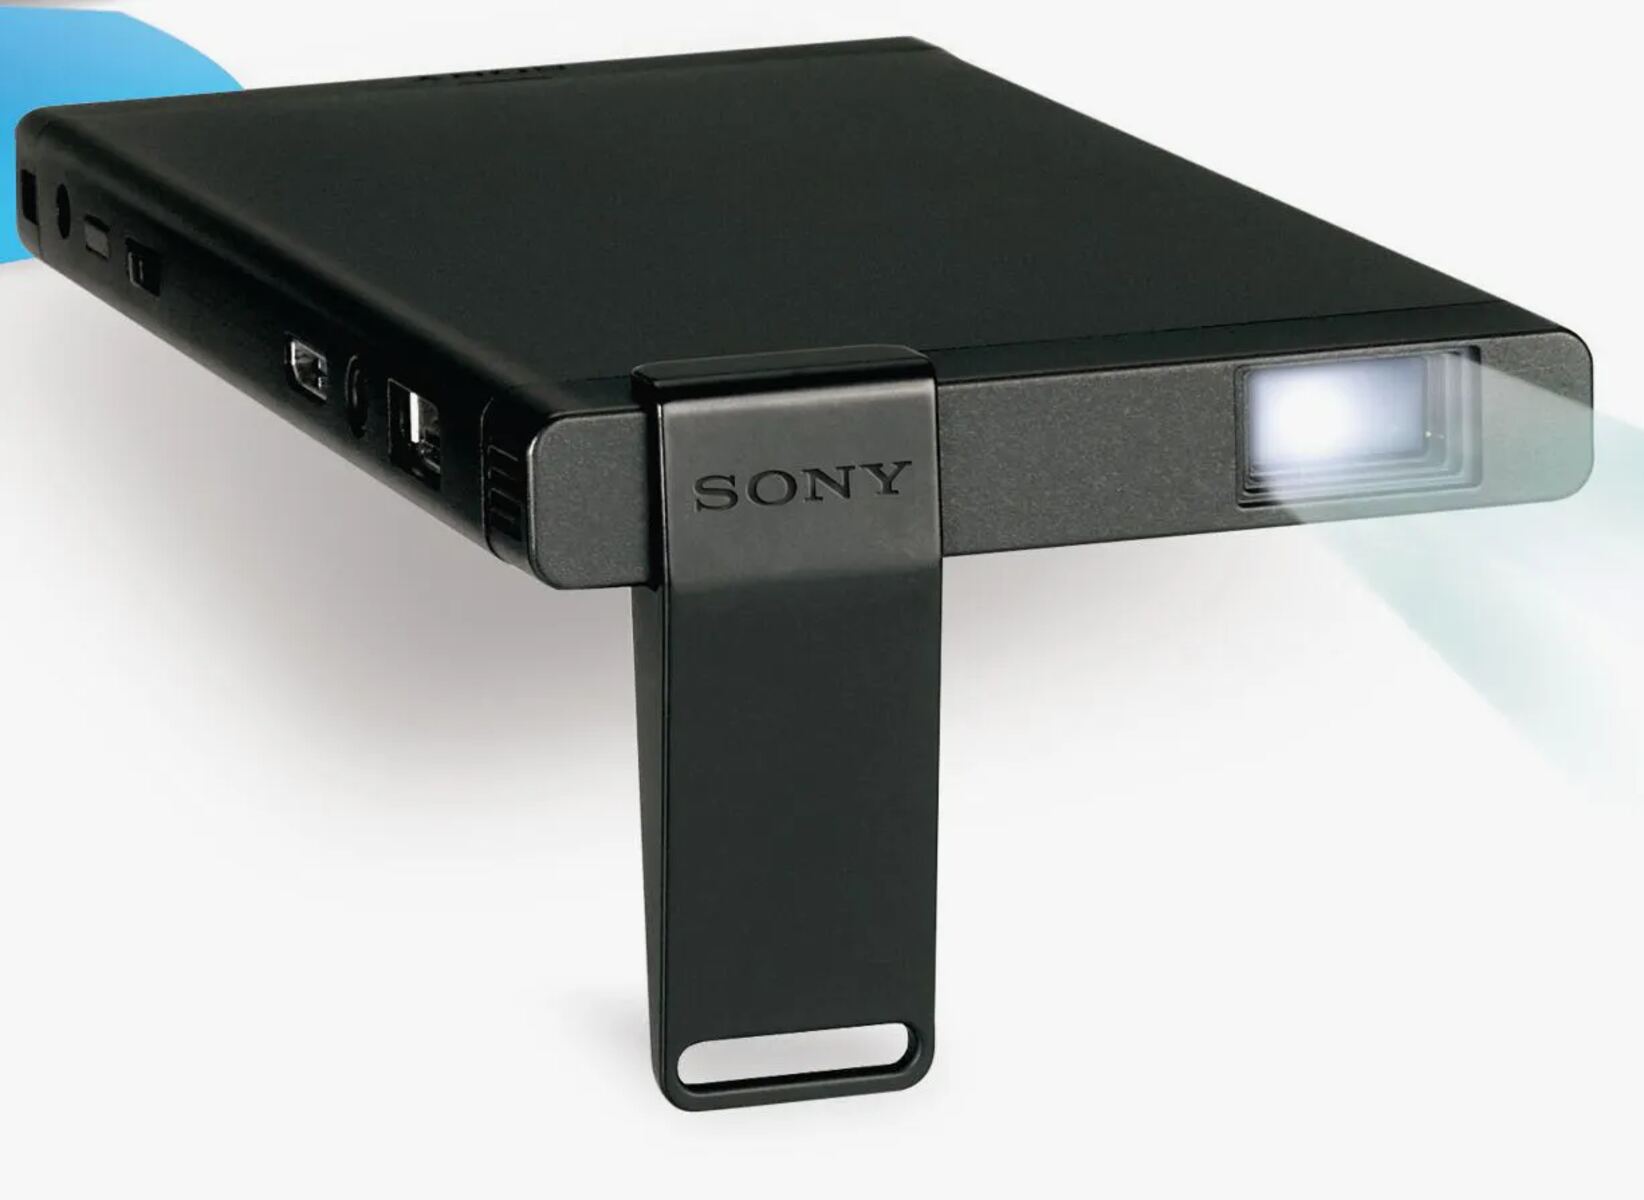
2. Portability: As the name suggests, portability is a defining feature of these projectors. Look for lightweight and compact models that are easy to transport, whether for business presentations, outdoor movie nights, or educational purposes.
3. Connectivity Options: Check for compatibility with your laptop and other devices. Most modern projectors offer HDMI, USB, and wireless connectivity, ensuring seamless integration with your laptop and other gadgets.
4. Battery Life: If you intend to use the projector in locations without easy access to power outlets, opt for a model with a long-lasting battery to support extended viewing sessions.
5. Built-in Features: Some projectors come with built-in speakers, Bluetooth capabilities, and smart features, enhancing the overall user experience and reducing the need for additional accessories.
By carefully evaluating these factors and aligning them with your specific requirements, you can confidently choose a portable projector that complements your laptop and caters to your unique usage scenarios.
Connecting the Projector to Your Laptop
Once you have chosen the ideal portable projector for your needs, the next step is to establish a seamless connection with your laptop. Most projectors offer multiple connectivity options, making it convenient to link them to your laptop regardless of the available ports.
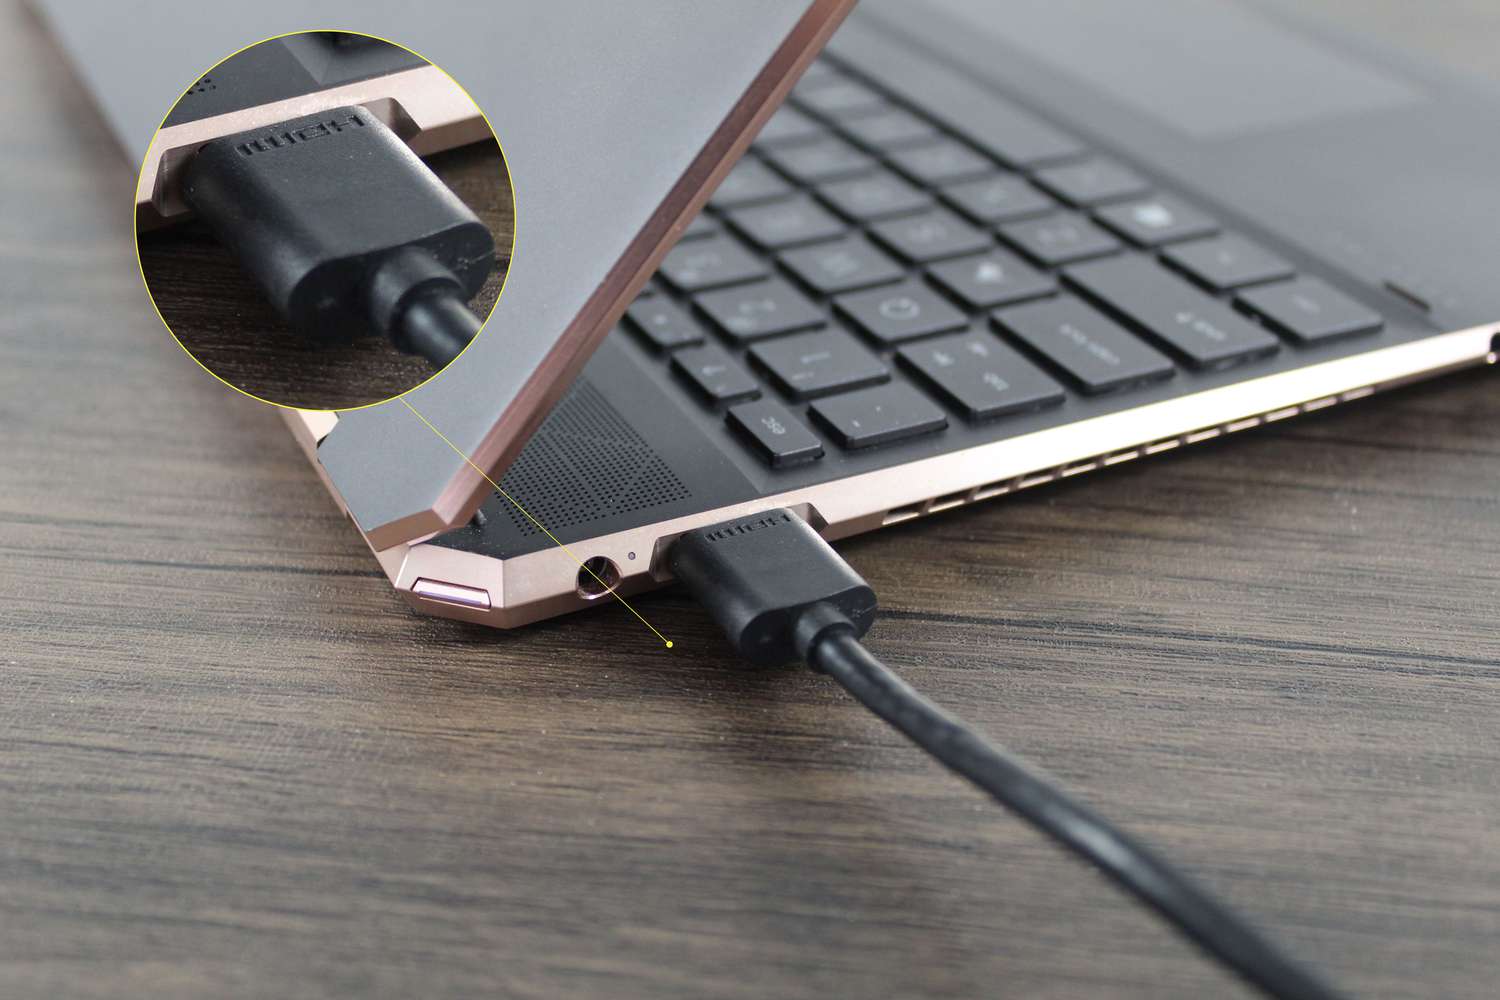
1. HDMI or VGA Connection: The most common method of connecting a projector to a laptop is through an HDMI or VGA cable. Simply plug one end of the cable into the corresponding port on your laptop and the other end into the projector. Many modern laptops and projectors feature HDMI ports, ensuring a hassle-free connection.
2. Wireless Connection: Some projectors support wireless connectivity, allowing you to mirror your laptop screen without the need for physical cables. This wireless functionality often requires the installation of specific software or apps on your laptop to facilitate the connection.
3. Adjusting Display Settings: Once the physical connection is established, you may need to configure the display settings on your laptop to ensure that the content is mirrored or extended onto the projector screen. This can typically be done through the “Display Settings” or “Graphics Properties” options in your laptop’s operating system.
4. Audio Connection: If the projector does not have built-in speakers or you prefer to use external speakers for enhanced audio, you can connect your laptop to external speakers or a sound system using the audio output port.
5. Powering Up: Ensure that both the laptop and the projector are powered on before attempting to establish the connection. This simple step can prevent potential issues and ensure a smooth setup process.
By following these steps and leveraging the available connectivity options, you can effortlessly connect your portable projector to your laptop, unlocking a world of possibilities for impactful presentations, immersive entertainment, and collaborative work environments.
Adjusting the Settings
Once your portable projector is successfully connected to your laptop, it’s essential to fine-tune the settings to optimize the viewing experience and ensure that the visuals are displayed exactly as intended.
1. Keystone Correction: Many projectors offer keystone correction features to adjust the trapezoidal distortion that can occur when the projector is not positioned directly in front of the screen. This ensures that the projected image appears rectangular and true to its original proportions.
2. Image Focus and Size: Use the projector’s focus ring to sharpen the image and adjust the projection distance to achieve the desired screen size. This allows you to customize the viewing area based on the available space and audience preferences.
3. Display Mode: Select the appropriate display mode based on the content being projected. Whether you’re showcasing slideshows, videos, or documents, adjusting the display mode can enhance clarity and color accuracy.
4. Aspect Ratio: Ensure that the projector’s aspect ratio matches the aspect ratio of your laptop’s screen to prevent distortion and maintain the integrity of the visuals.
5. Ambient Light Adjustment: Depending on the ambient light conditions, you may need to adjust the projector’s brightness and contrast settings to optimize visibility and image quality. Dimming the lights in the room can also enhance the overall viewing experience.
6. Cooling and Ventilation: Pay attention to the projector’s cooling and ventilation requirements, especially if extended usage is anticipated. Adequate airflow around the projector can prevent overheating and ensure optimal performance.
By carefully adjusting these settings, you can elevate the visual output of your portable projector, creating an immersive and captivating viewing experience for your audience, whether you’re delivering a presentation, hosting a movie night, or engaging in multimedia content creation.
Tips for a Better Viewing Experience
Enhancing the viewing experience with your portable projector involves more than just the technical setup. Consider the following tips to maximize the impact of your presentations, movie nights, or any other content displayed from your laptop.
- Optimal Viewing Environment: Choose a suitable location with minimal ambient light and a clear, unobstructed surface for projection. This creates an ideal canvas for vibrant and immersive visuals.
- Screen or Surface Selection: Utilize a high-quality projection screen or a smooth, neutral-colored wall for the best image reproduction. Avoid textured or uneven surfaces that may distort the projected image.
- Audio Enhancement: Consider connecting external speakers or a sound system to your laptop for enhanced audio quality, especially when enjoying movies, music, or multimedia presentations.
- Cable Management: Organize and secure cables to prevent tripping hazards and maintain a tidy setup, promoting a professional and polished environment.
- Interactive Features: Explore the interactive capabilities of your projector, such as touch control, interactive pens, or gesture recognition, to engage your audience and create dynamic presentations.
- Customized Presets: Save customized display presets for different scenarios, such as presentations, gaming, or movie nights, to streamline the setup process and ensure optimal settings for each use case.
- Remote Control Accessibility: Familiarize yourself with the projector’s remote control features, allowing convenient adjustments without the need to physically interact with the device.
- Regular Maintenance: Keep the projector and its components clean and dust-free to preserve image quality and prolong the lifespan of the device.
By incorporating these tips into your portable projector setup, you can elevate the overall viewing experience, captivate your audience, and unleash the full potential of your laptop’s content on the big screen.
Conclusion
Embracing the versatility and convenience of a portable projector opens up a world of possibilities for transforming your laptop into a powerful presentation tool, entertainment hub, or collaborative workspace. By carefully selecting the right portable projector that aligns with your specific needs and preferences, you can seamlessly integrate it with your laptop to unlock a myriad of benefits.
From immersive movie nights and engaging classroom experiences to impactful business presentations and collaborative brainstorming sessions, the combination of a portable projector and your laptop offers endless opportunities for creativity, communication, and entertainment.
Through the process of connecting the projector to your laptop, adjusting the settings, and implementing tips for an enhanced viewing experience, you have the power to create compelling visuals and captivating content that resonate with your audience and elevate your personal or professional endeavors.
As you embark on your portable projector journey, remember to explore the full range of features and capabilities offered by your device, experiment with different content types and settings, and continuously seek ways to optimize the viewing experience for yourself and those around you.
With the knowledge and insights gained from this guide, you are well-equipped to harness the potential of a portable projector alongside your laptop, making every presentation, movie night, or collaborative session an unforgettable and impactful experience.


