Introduction
Introduction
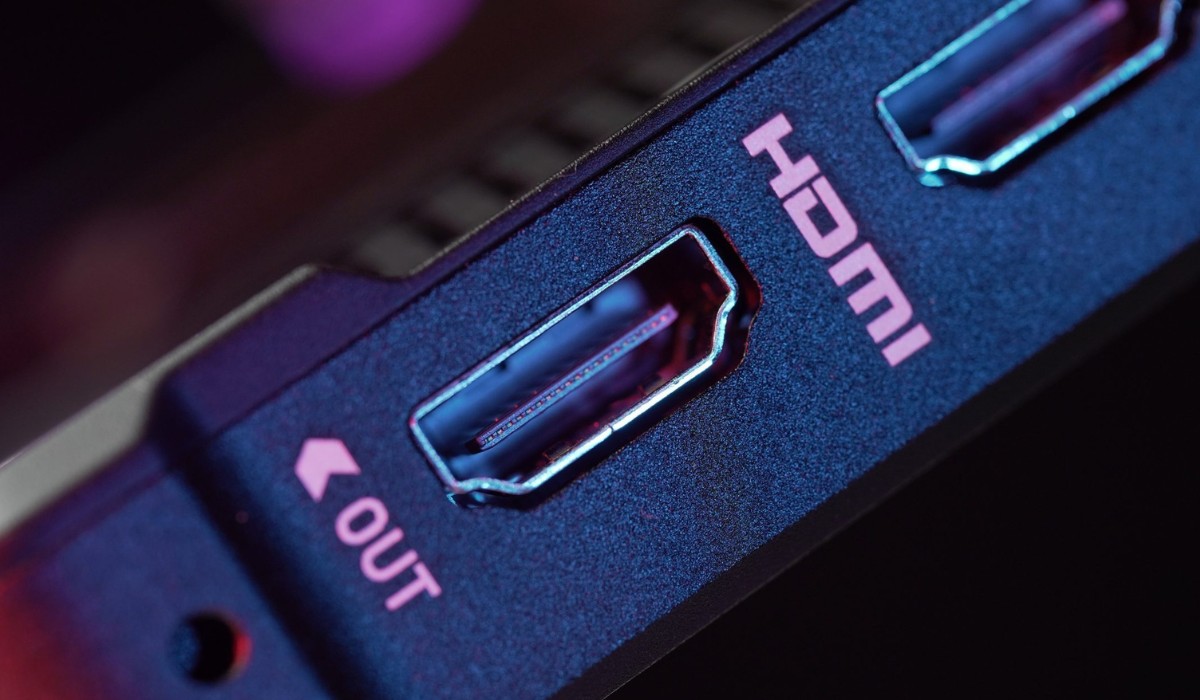
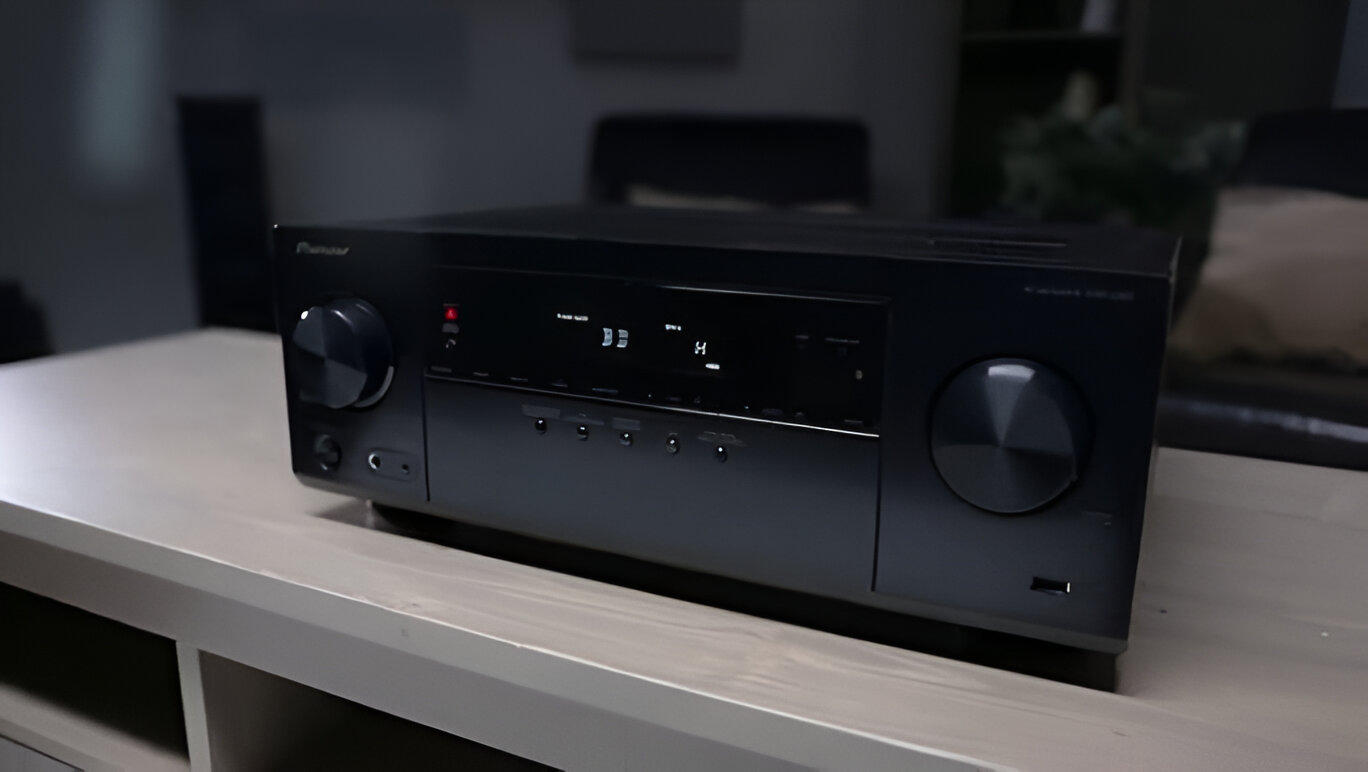
Are you experiencing frustrating HDMI out issues on your AV receiver? You're not alone. HDMI connectivity problems can be a source of great annoyance, especially when you're eager to immerse yourself in your favorite movies, music, or games. Fortunately, there are several troubleshooting steps you can take to resolve these issues and restore seamless audio and video transmission through your AV receiver.
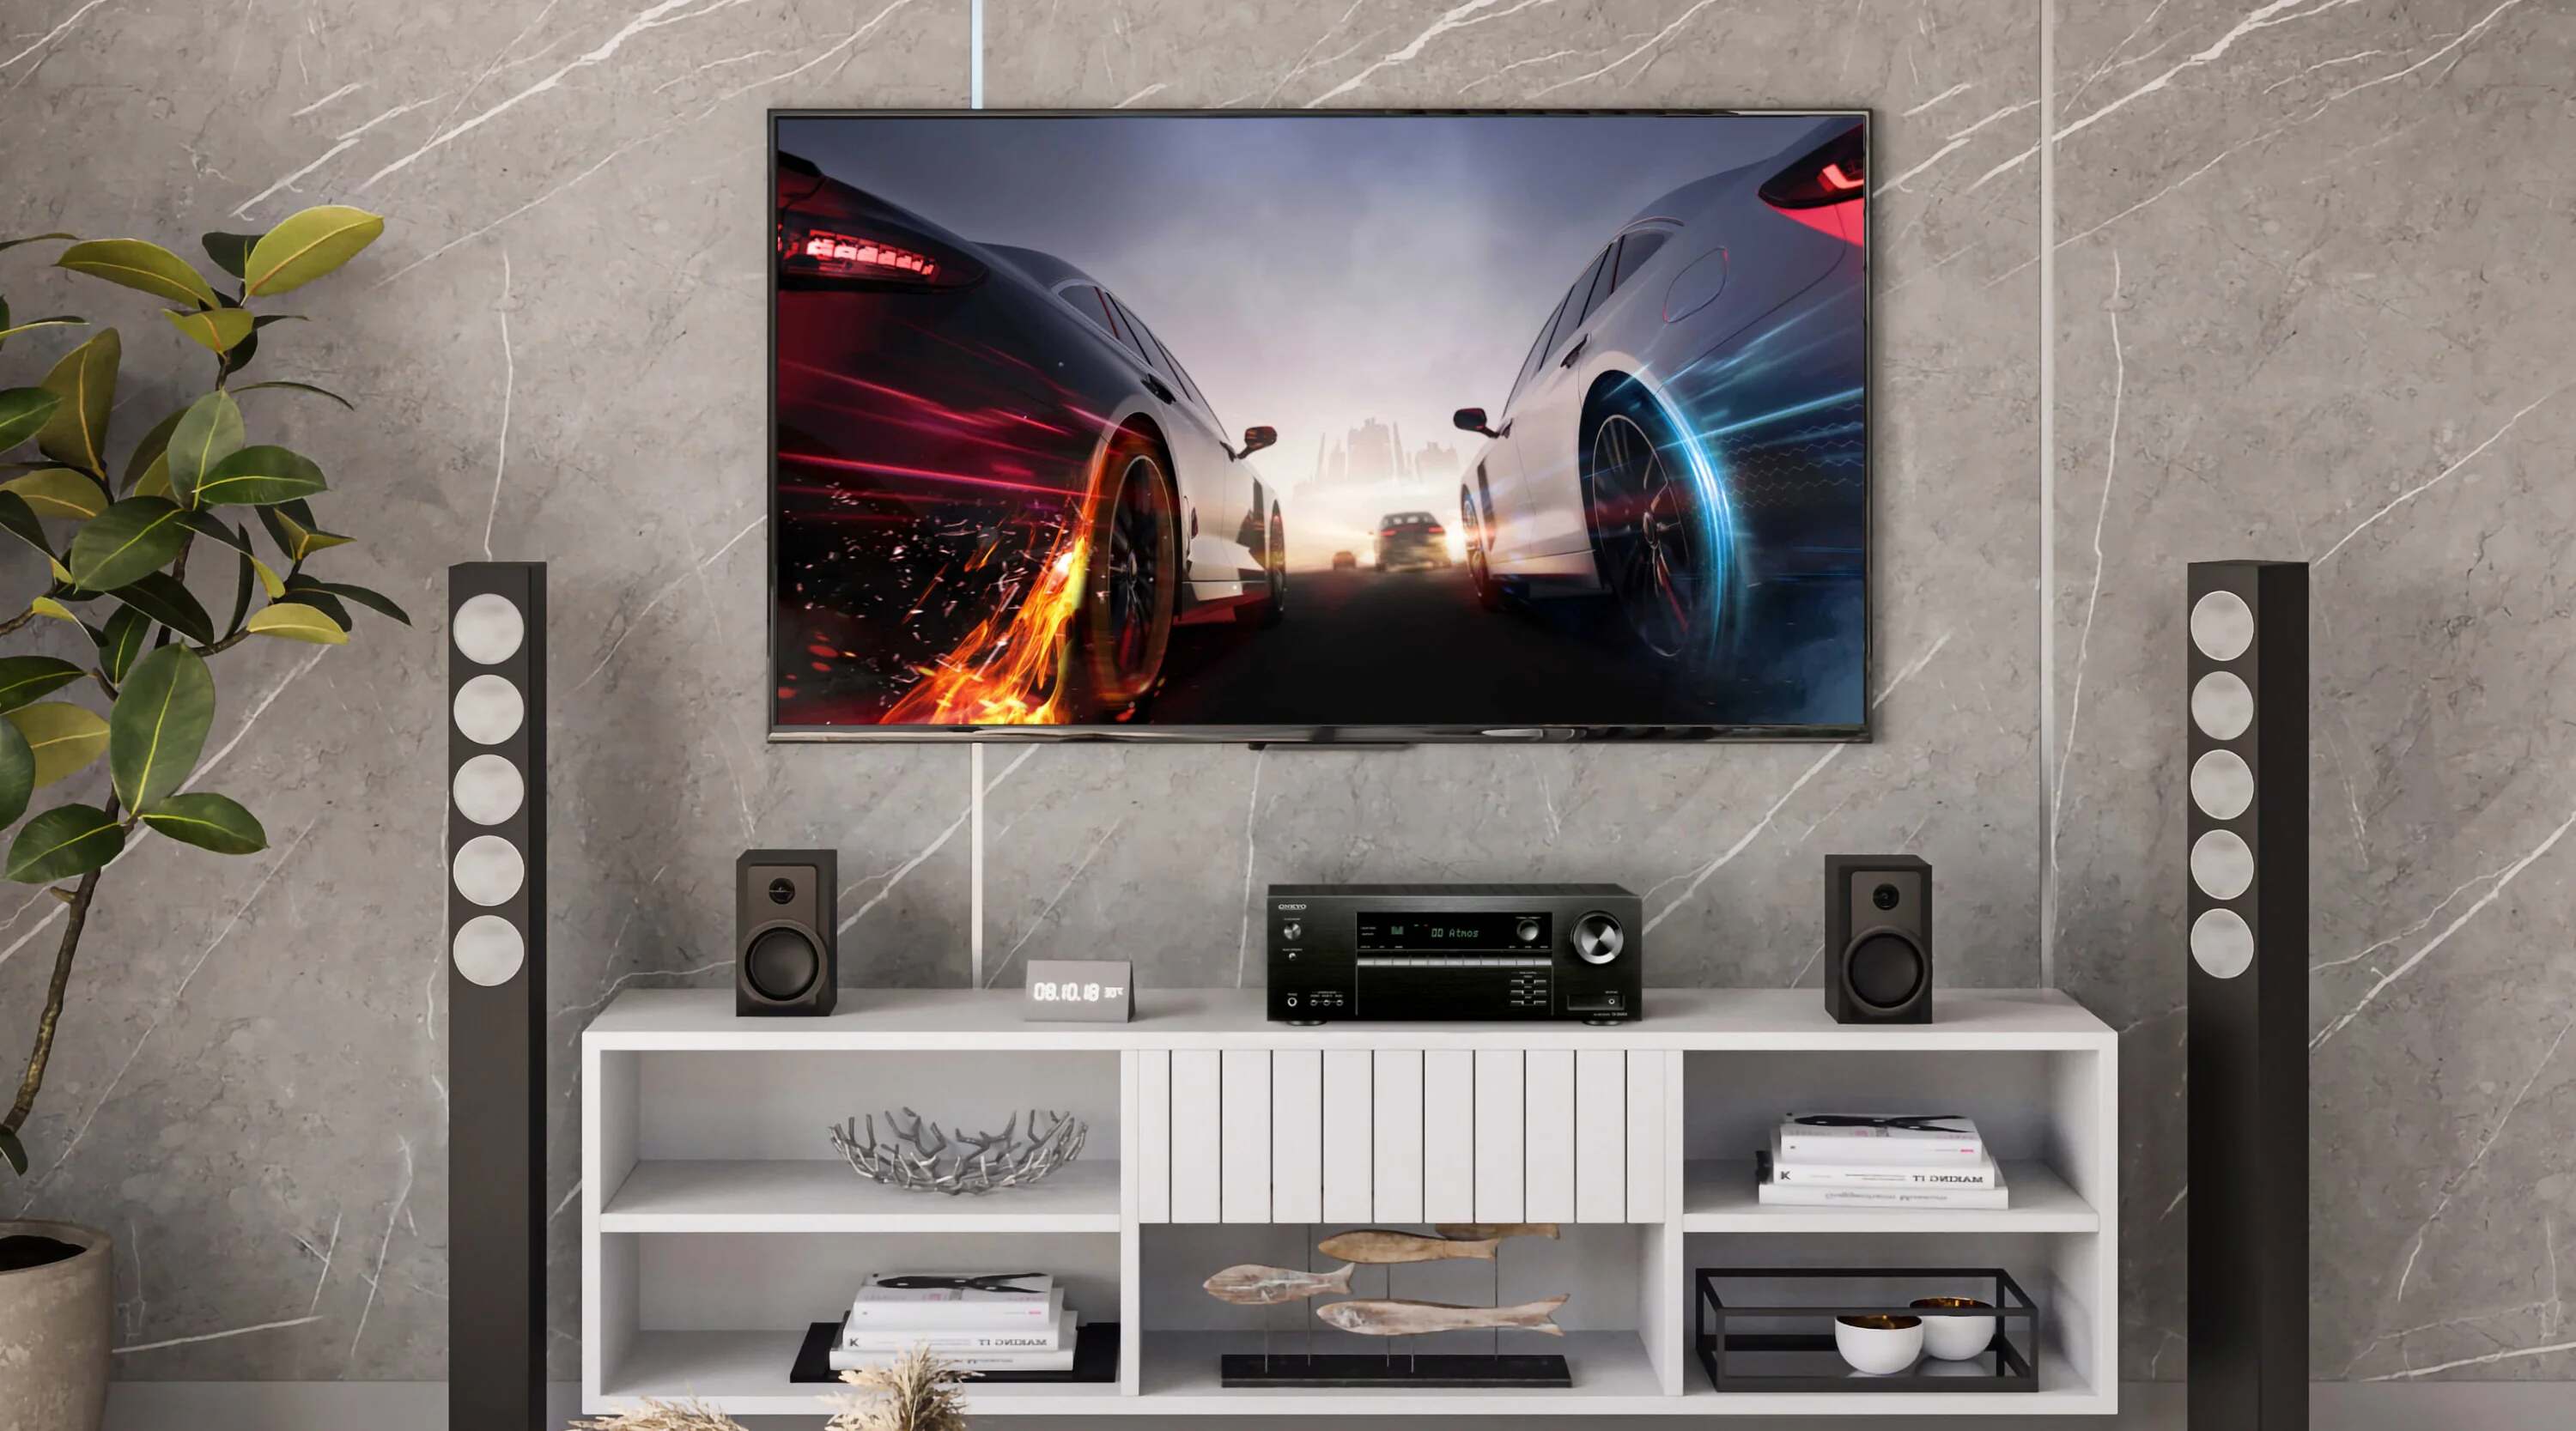
In this guide, we'll explore some practical solutions to help you address HDMI out issues on your AV receiver. By following these steps, you can potentially save time and money by avoiding unnecessary service calls or equipment replacements. Let's dive into the troubleshooting process and get your AV receiver back to delivering the high-quality audio and video performance you expect.
Whether you're encountering intermittent signal loss, audio dropouts, or video distortion, the following steps will help you identify and resolve the root cause of the HDMI out issues plaguing your AV receiver. With a systematic approach and a bit of troubleshooting savvy, you can overcome these challenges and enjoy uninterrupted entertainment experiences once again. Let's start by checking the HDMI connections to ensure everything is properly set up.
Check HDMI Connections
When encountering HDMI out issues on your AV receiver, the first step is to inspect the HDMI connections to identify any potential sources of disruption. Even a minor connection problem can lead to significant audio or video disturbances. Follow these steps to ensure that your HDMI connections are secure and properly configured:
-
Inspect Cable Connections: Begin by checking the physical connections of the HDMI cables. Ensure that they are firmly inserted into the HDMI input and output ports on both the AV receiver and the connected devices, such as a Blu-ray player, gaming console, or media streaming device. A loose connection can result in intermittent signal loss or visual artifacts.
-
Use High-Quality Cables: HDMI cables vary in quality, and using subpar cables can lead to signal degradation. Consider using high-speed HDMI cables that are certified for 4K and HDR content, especially if you are transmitting high-definition audio and video signals. Upgrading to premium cables can often mitigate compatibility issues and signal instability.
-
Verify Input and Output Settings: Access the AV receiver’s settings menu to confirm that the correct HDMI input and output settings are selected. In some cases, the receiver may default to a different input source or display output resolution, leading to confusion and signal disruptions. Ensure that the settings align with the connected devices and the desired audio and video output specifications.
By meticulously examining and addressing potential issues with the HDMI connections, you can eliminate common sources of audio and video disturbances on your AV receiver. If the HDMI connections appear to be secure and properly configured, proceed to the next troubleshooting step: resetting the AV receiver to restore its functionality.
Reset AV Receiver
When troubleshooting HDMI out issues on your AV receiver, performing a reset can often rectify underlying software or configuration anomalies that may be causing the connectivity problems. Follow these steps to reset your AV receiver and potentially resolve the HDMI out issues:
-
Power Cycle the Receiver: Begin by turning off the AV receiver and unplugging it from the power outlet. Allow the receiver to remain unplugged for at least 10-15 minutes to ensure that all internal components discharge and reset. This power cycle can help clear any temporary glitches or malfunctions that may be affecting HDMI connectivity.
-
Factory Reset: If power cycling alone does not resolve the issues, consider performing a factory reset on the AV receiver. Refer to the user manual or manufacturer’s instructions for the specific steps to initiate a factory reset. Keep in mind that a factory reset will revert the receiver to its original settings, so you may need to reconfigure your audio and video preferences afterward.
By resetting the AV receiver, you can potentially eliminate software or configuration irregularities that could be impeding the proper transmission of audio and video signals via HDMI. If the HDMI out issues persist after resetting the receiver, consider checking for firmware updates to ensure that your AV receiver is running the latest software version.
Update Firmware
Keeping the firmware of your AV receiver up to date is crucial for ensuring optimal performance and compatibility with the latest audio and video technologies. Firmware updates often include bug fixes, feature enhancements, and improved HDMI connectivity, making them a critical step in troubleshooting HDMI out issues. Follow these steps to check for and install firmware updates on your AV receiver:
-
Access the Receiver’s Settings Menu: Navigate to the settings or setup menu on your AV receiver using the remote control or front panel interface. Look for an option related to system updates, firmware, or software upgrades. The location of this option may vary depending on the receiver’s brand and model.
-
Check for Updates: Once you access the update section, initiate a check for available firmware updates. The receiver will typically connect to the manufacturer’s server to search for the latest firmware version. If an update is available, follow the on-screen prompts to download and install the new firmware.
-
Follow Manufacturer’s Instructions: During the update process, carefully follow any instructions provided by the manufacturer. This may include refraining from powering off the receiver or disconnecting it from the network while the update is in progress. Adhering to the manufacturer’s guidelines can help prevent update-related issues.
By updating the firmware of your AV receiver, you can ensure that it is equipped with the latest software enhancements and compatibility improvements. These updates can address underlying HDMI connectivity issues and enhance the overall performance of your AV receiver. If updating the firmware does not resolve the HDMI out issues, it’s essential to inspect the audio and video settings on both the receiver and connected devices.
Check Audio and Video Settings
Correctly configuring the audio and video settings on your AV receiver and connected devices is vital for ensuring seamless HDMI connectivity and optimal audio-visual performance. Misconfigured settings can lead to compatibility issues, signal disruptions, or suboptimal output quality. Follow these steps to review and adjust the audio and video settings:
-
Audio Output Settings: Access the audio settings menu on your AV receiver and verify that the audio output settings align with your speaker configuration and audio preferences. Ensure that the correct audio output format (e.g., Dolby Digital, DTS) is selected based on your audio setup and the capabilities of your connected speakers.
-
Video Output Settings: Similarly, navigate to the video output settings on your AV receiver and confirm that the video resolution, color space, and other video-related parameters are set according to the specifications of your display device (e.g., TV or projector). Adjust the settings to match the capabilities of your display for optimal video output.
-
Device-Specific Settings: If you’re experiencing HDMI out issues with specific connected devices, such as a gaming console or Blu-ray player, review the audio and video settings on those devices as well. Ensure that the output formats and display settings are compatible with the capabilities of your AV receiver and connected display.
By meticulously reviewing and adjusting the audio and video settings, you can address potential compatibility or configuration issues that may be impeding the seamless transmission of audio and video signals via HDMI. If the HDMI out issues persist despite verifying and optimizing the settings, consider testing the connectivity with different HDMI cables to rule out potential cable-related issues.
Test with Different HDMI Cables
Intermittent HDMI connectivity issues can sometimes be attributed to faulty or incompatible HDMI cables. Testing the AV receiver with different HDMI cables can help identify whether the cables are contributing to the HDMI out issues. Follow these steps to conduct a thorough cable test:
-
Swap Cables: Begin by replacing the HDMI cable connecting the AV receiver to the display device with a different cable. Use a high-quality, certified HDMI cable known for its reliability and compatibility with high-definition audio and video signals. Ensure that the new cable securely connects to both the AV receiver and the display device.
-
Observe for Changes: After swapping the HDMI cable, observe the audio and video performance to determine if the HDMI out issues persist. Look for improvements in signal stability, audio clarity, and visual quality. If the issues are resolved with the new cable, it indicates that the previous cable may have been the source of the problem.
-
Test Multiple Cables: If the first cable replacement does not resolve the HDMI out issues, consider testing the AV receiver with additional HDMI cables. By testing multiple cables, you can rule out the possibility of multiple faulty cables and ensure that the HDMI connectivity problems are not attributed to a specific cable.
Testing the AV receiver with different HDMI cables can help isolate cable-related issues and determine whether the cables are contributing to the HDMI out problems. If the issues persist even after testing with multiple cables, it may be necessary to seek assistance from the manufacturer’s support team to address potential hardware or compatibility issues.
Contact Manufacturer Support
If you’ve diligently followed the preceding troubleshooting steps and continue to experience persistent HDMI out issues with your AV receiver, reaching out to the manufacturer’s support team can provide valuable assistance and guidance. Manufacturer support representatives are equipped to address technical inquiries, provide firmware update recommendations, and offer solutions for complex hardware or software-related issues. Here’s how you can effectively engage with manufacturer support:
-
Refer to the User Manual: Consult the user manual or documentation that accompanied your AV receiver for specific contact information related to manufacturer support. This may include phone numbers, email addresses, or web portals dedicated to customer support and technical assistance.
-
Provide Detailed Information: When contacting manufacturer support, be prepared to provide detailed information about the HDMI out issues you are encountering. Describe the specific symptoms, the troubleshooting steps you’ve already taken, and any error messages or indicators displayed on the receiver or connected devices.
-
Request Firmware Recommendations: Inquire about the latest firmware updates available for your AV receiver. Manufacturer support can advise you on the most recent firmware versions and provide guidance on updating the receiver to potentially address HDMI connectivity problems.
-
Seek Technical Assistance: If the HDMI out issues persist despite thorough troubleshooting, seek technical assistance from the manufacturer’s support team. They may offer advanced diagnostics, repair options, or recommendations for further evaluation by authorized service providers.
Engaging with the manufacturer’s support resources can be instrumental in resolving persistent HDMI out issues and ensuring the optimal functionality of your AV receiver. By leveraging the expertise and guidance of the manufacturer’s support team, you can navigate complex technical challenges and restore seamless audio and video transmission through your AV receiver.


