Introduction
Welcome to our guide on how to control your Sony soundbar with your TV remote. If you’ve recently purchased a Sony soundbar and want to streamline your home entertainment setup, this tutorial is for you. By following a few simple steps, you can sync your TV remote with your Sony soundbar and eliminate the need for multiple remotes cluttering your living room.
Having a single remote to control both your TV and soundbar offers convenience and simplifies the overall user experience. Instead of toggling between different remotes and struggling to remember which one does what, programming your TV remote to control your soundbar allows you to adjust the volume, power on/off, and perform other Soundbar functions without leaving your couch.
In this guide, we will walk you through the process of setting up your Sony soundbar to work with your TV remote. However, it’s important to note that not all Sony soundbars are compatible with every TV model, as this functionality relies on features like HDMI ARC (Audio Return Channel) or CEC (Consumer Electronics Control). Therefore, the first step is to check the compatibility between your Sony soundbar and your TV.
Step 1: Check Compatibility
Before you begin the setup process, it is essential to ensure that your Sony soundbar is compatible with your TV. The compatibility depends on whether your TV has HDMI ARC (Audio Return Channel) or CEC (Consumer Electronics Control) capabilities.
HDMI ARC allows two-way communication between your TV and soundbar through a single HDMI cable. This feature enables the soundbar to receive audio signals from the TV and send audio signals back, eliminating the need for additional cables or remotes. On the other hand, CEC enables control of multiple devices connected via HDMI using a single remote.
To check if your TV has HDMI ARC or CEC functionality, refer to the user manual or look for HDMI ARC or CEC labeled HDMI ports on your TV. If your TV supports either of these features, you can proceed with setting up your Sony soundbar.
If your TV does not have HDMI ARC or CEC, you may need to explore alternative connection options, such as optical or analog audio connections. Consult your soundbar and TV user manuals for information on alternative connection methods.
Once you have confirmed compatibility between your Sony soundbar and TV, you can move on to the next step: connecting the soundbar to your TV.
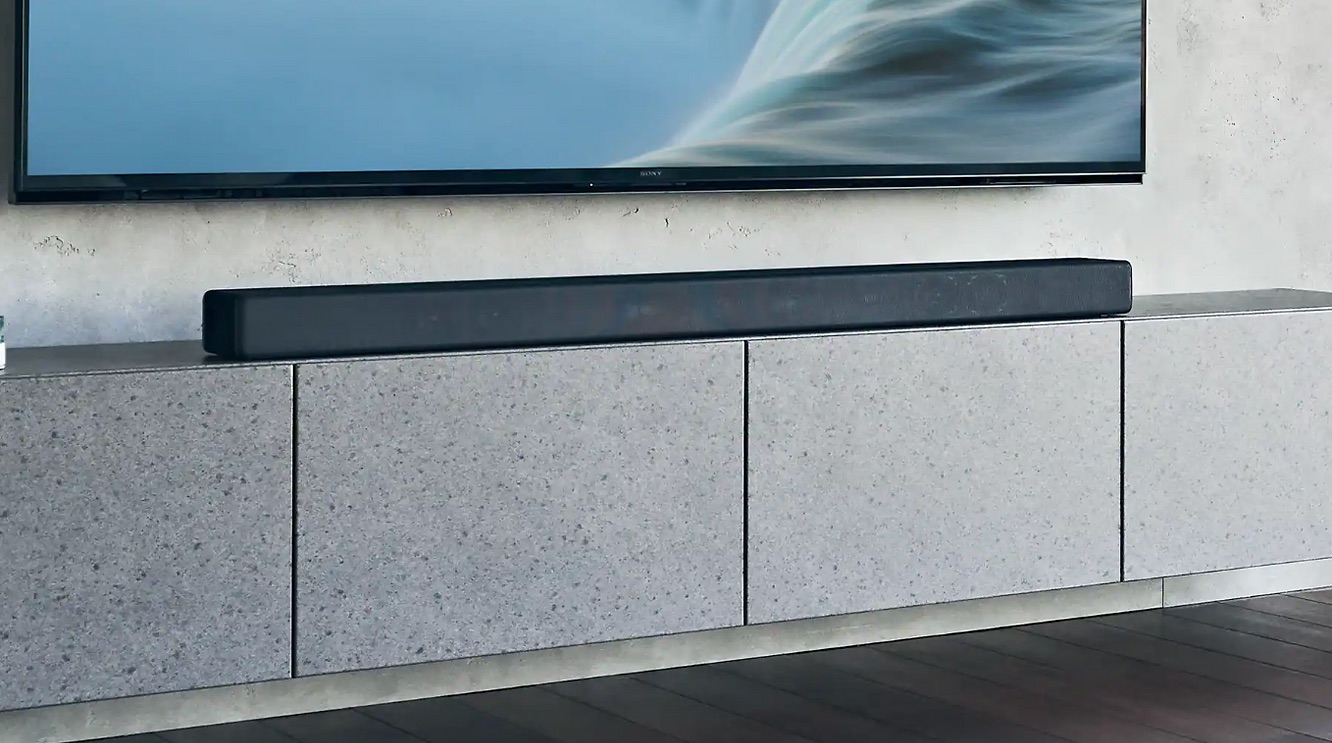
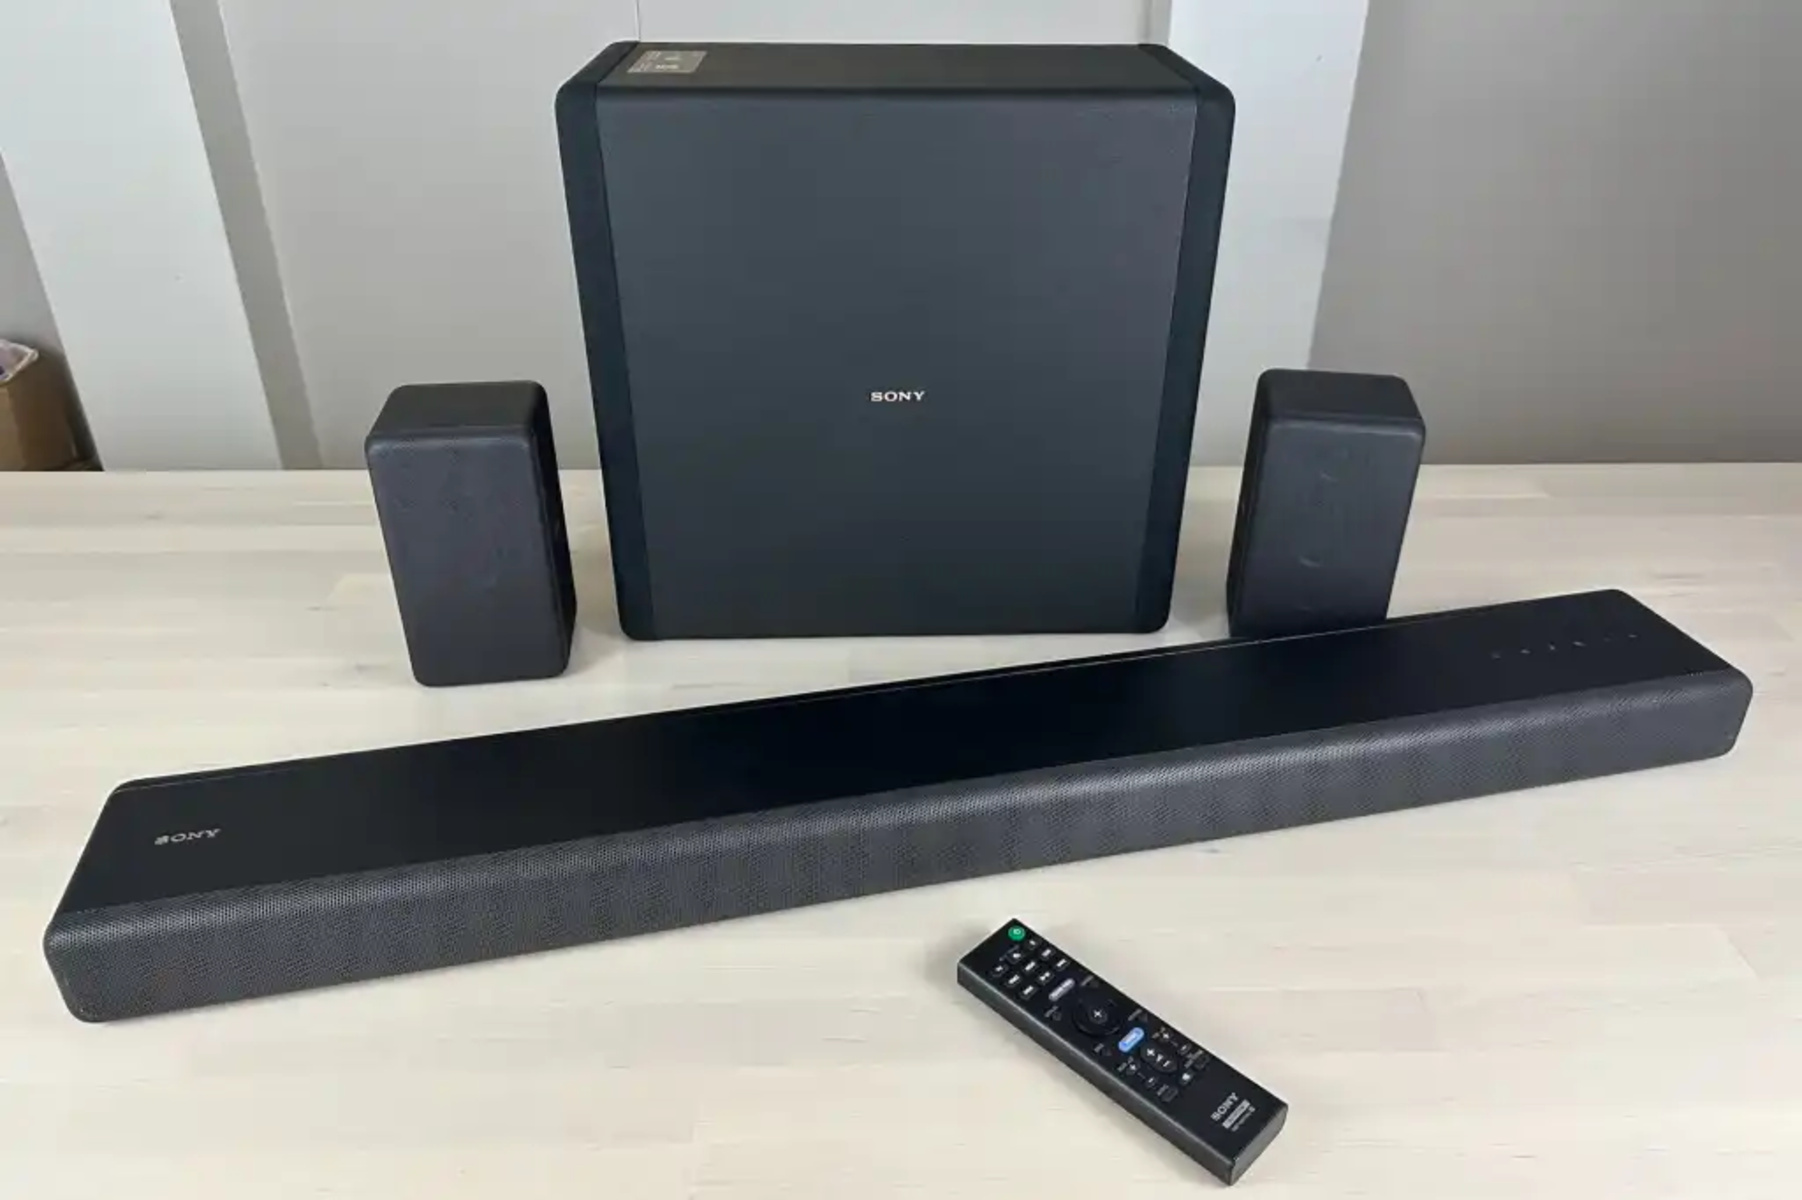
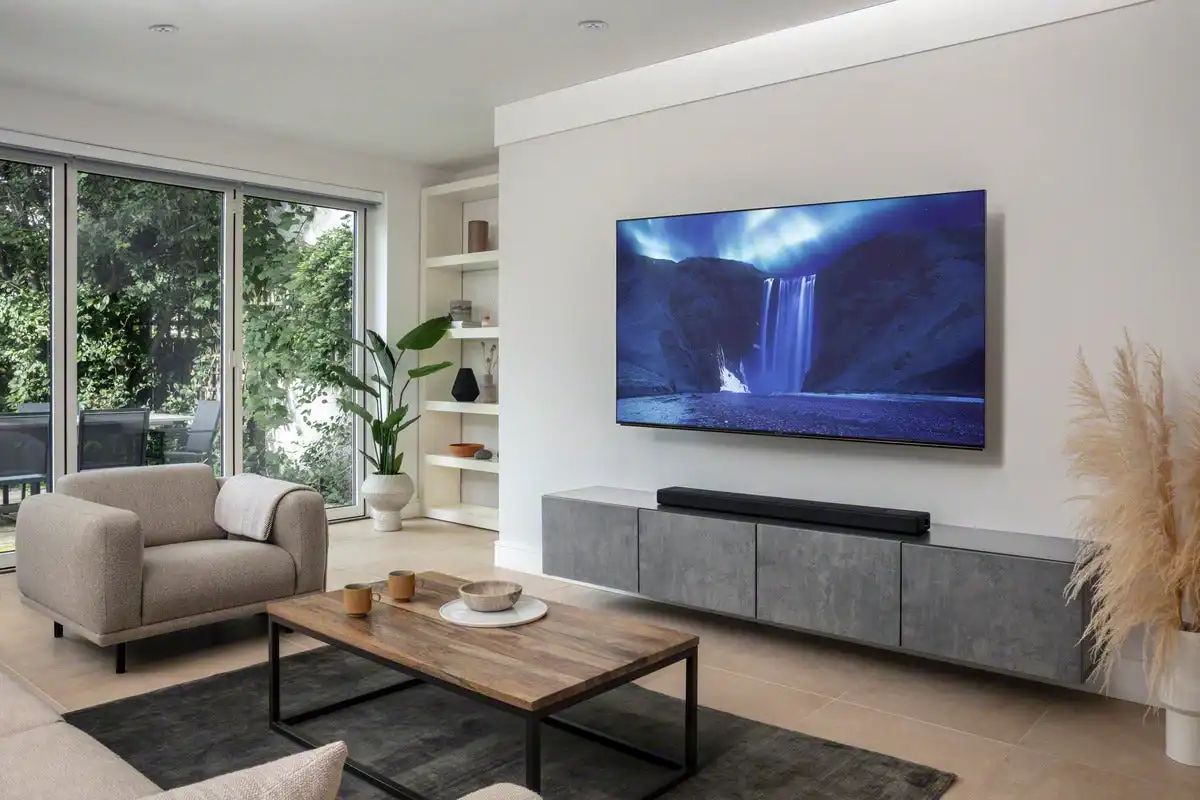
Step 2: Connect the Soundbar to Your TV
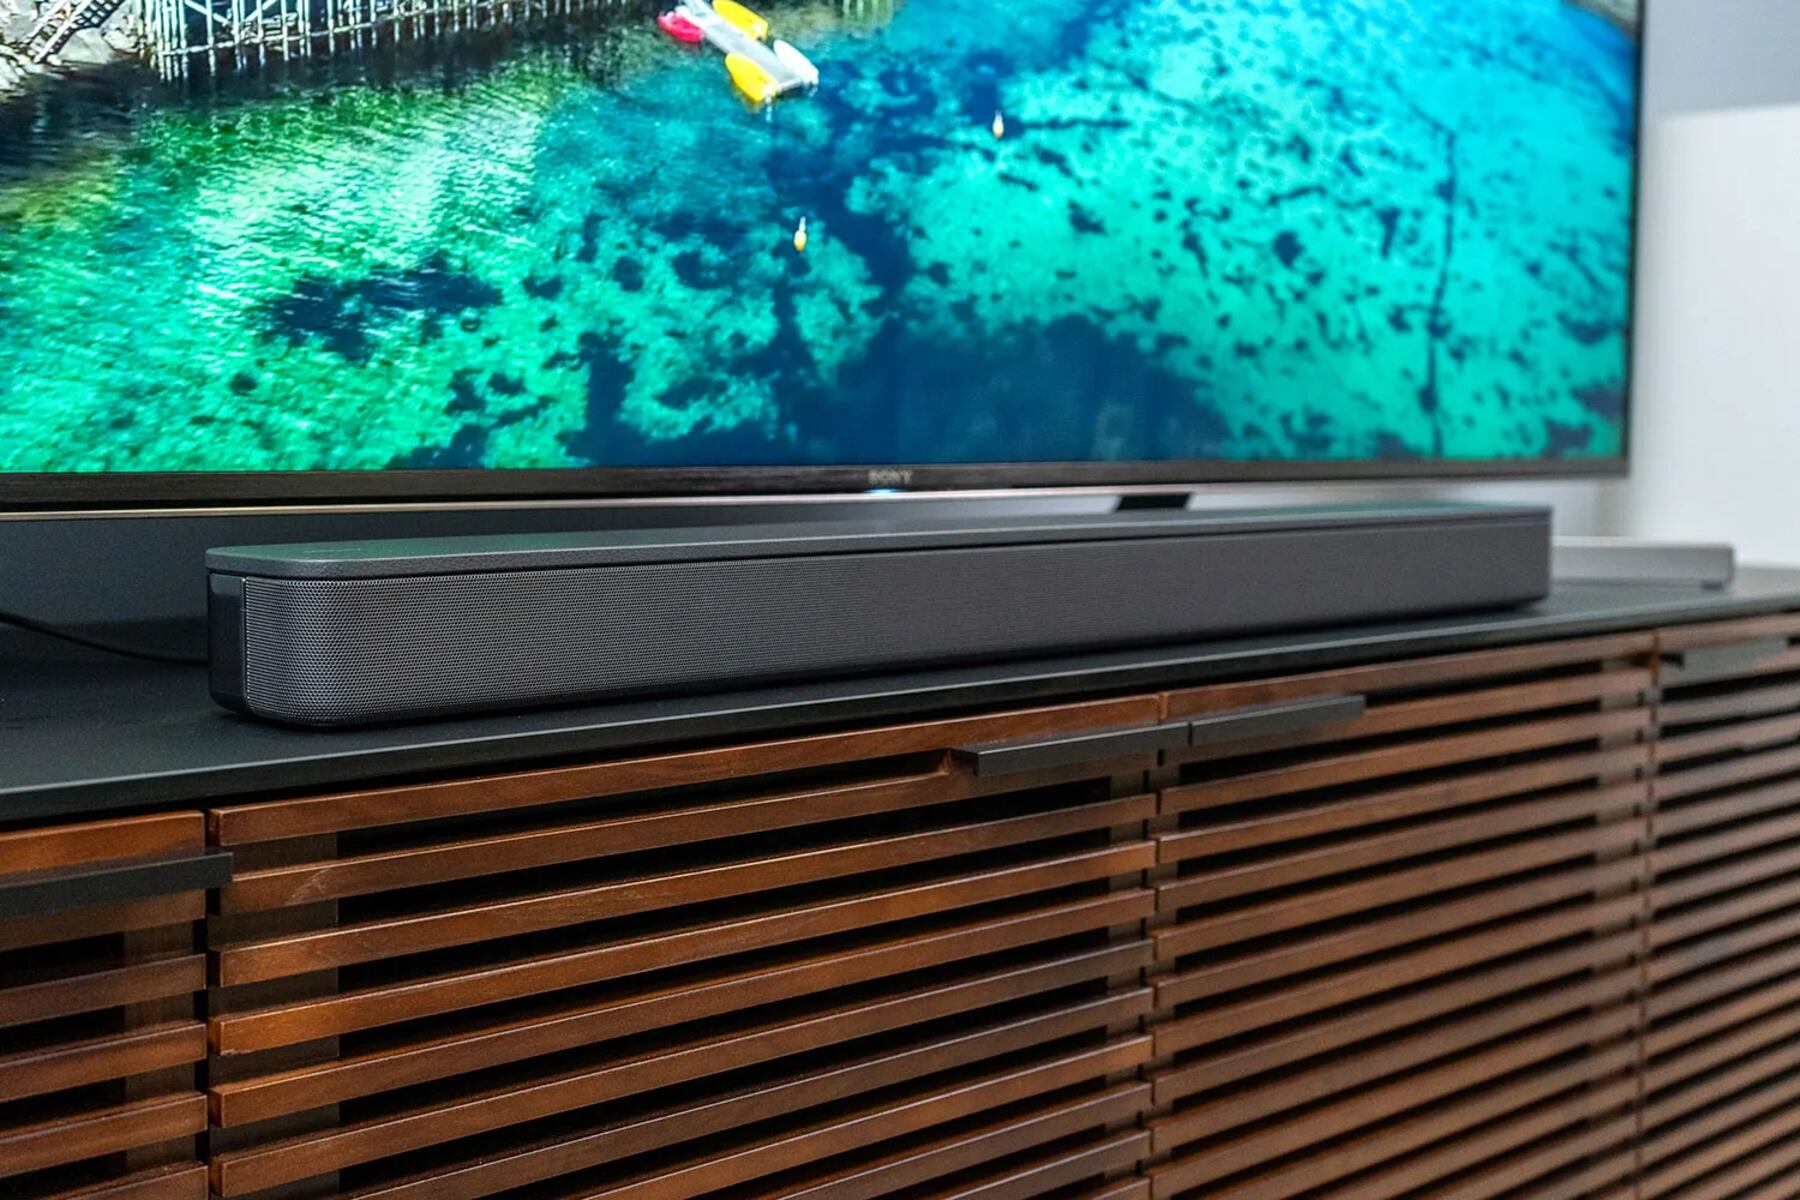
Now that you have verified the compatibility between your Sony soundbar and TV, it’s time to establish the physical connection between the two devices. Connecting the soundbar to your TV will allow audio signals to pass through and enable seamless control with your TV remote.
Follow these steps to connect your Sony soundbar to your TV:
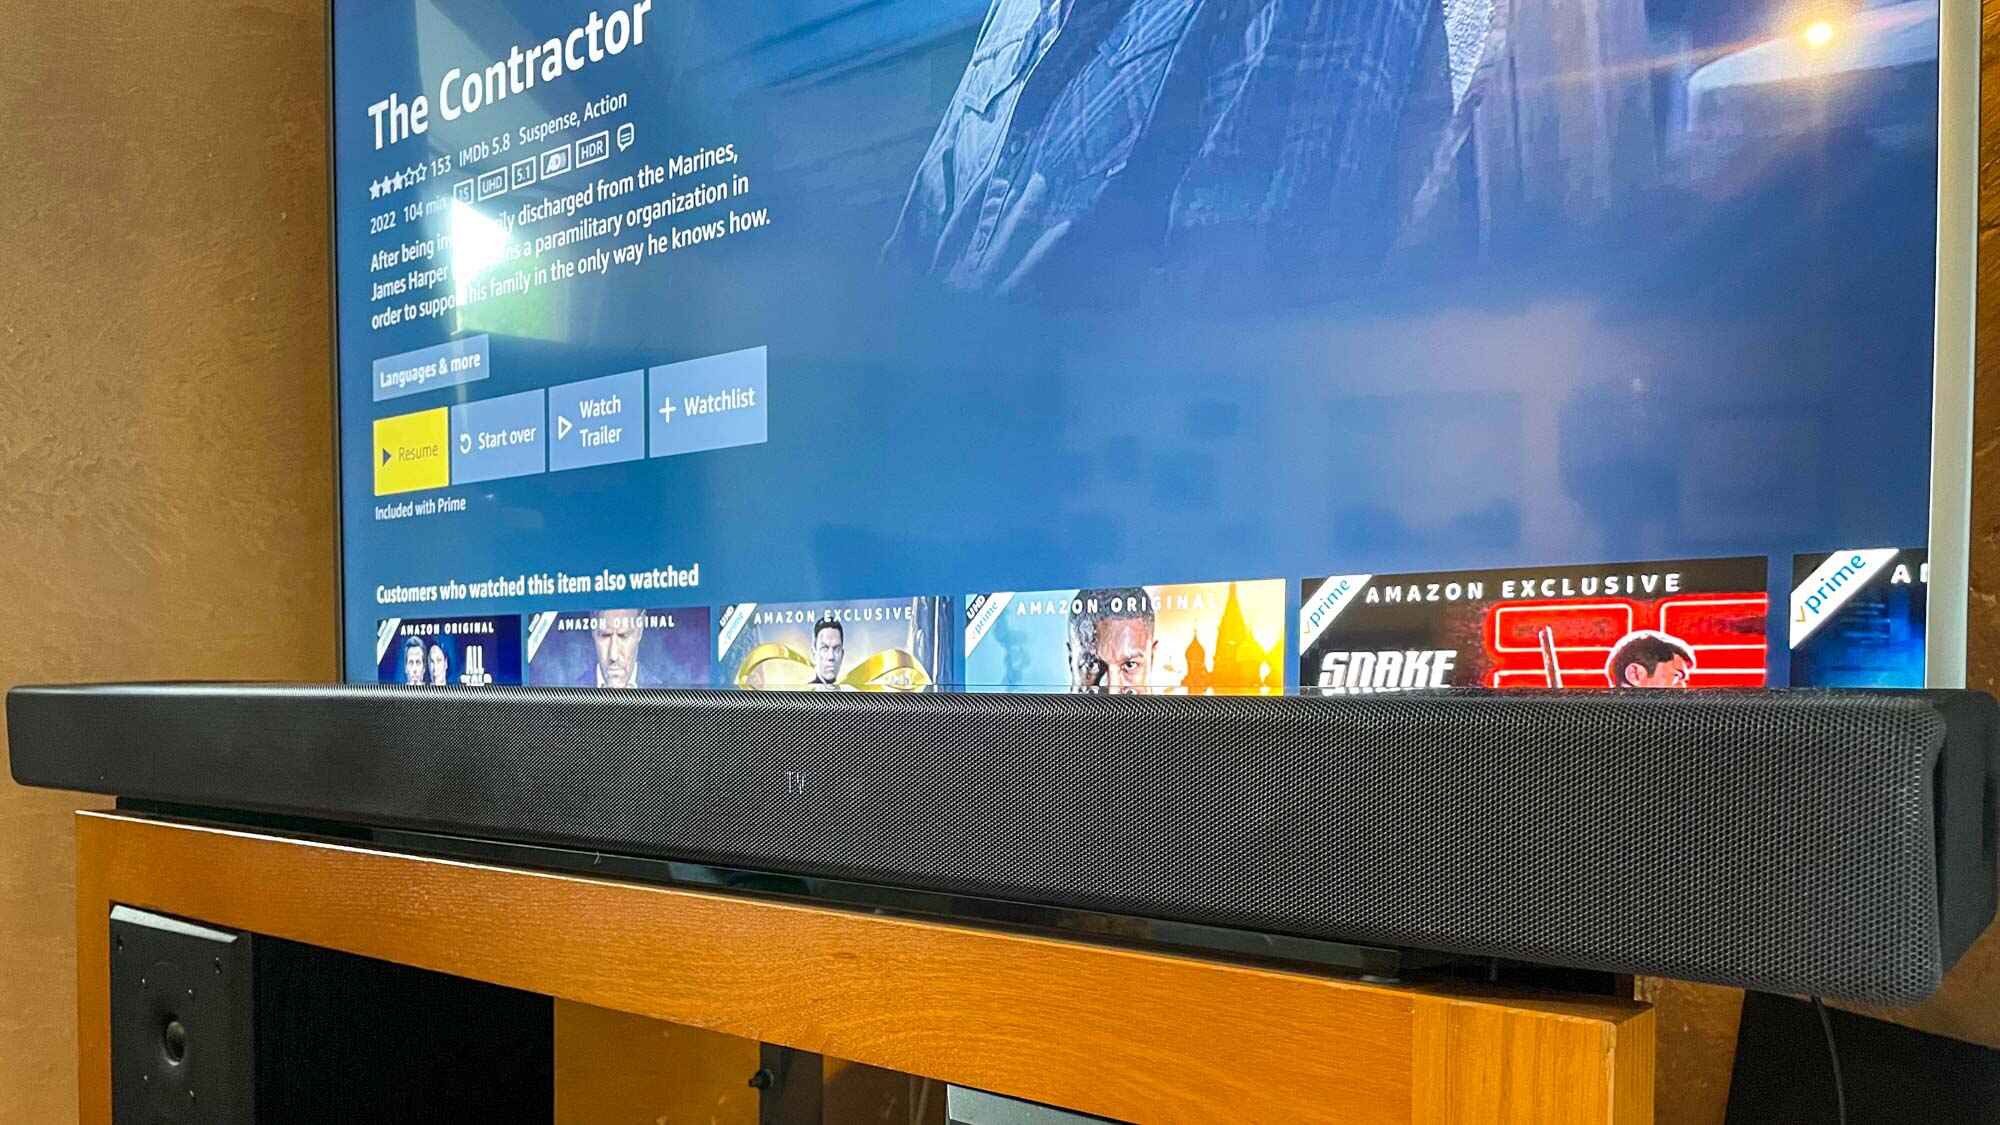
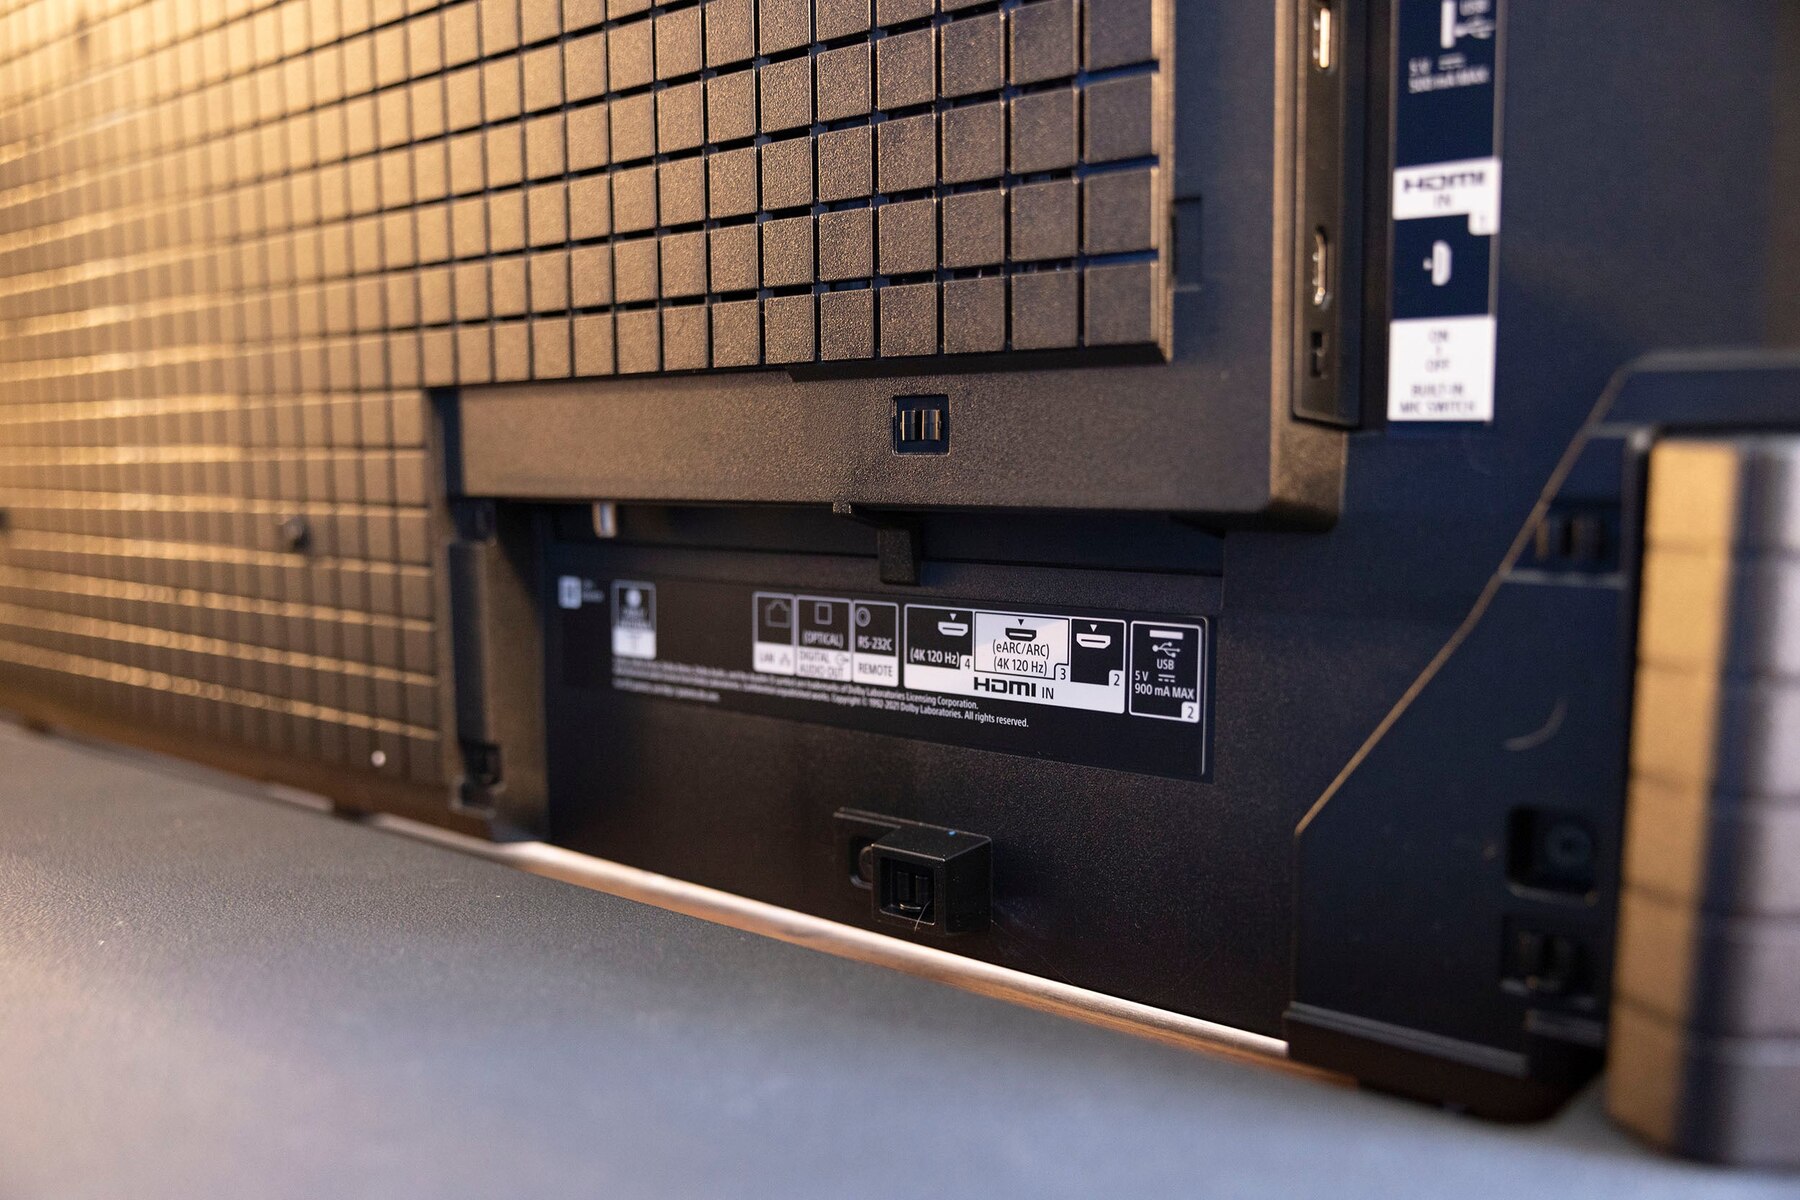
- Locate the HDMI ARC (Audio Return Channel) port on your TV. It is usually labeled “HDMI ARC” or “ARC.”
- Using an HDMI cable, connect one end to the HDMI ARC port on your TV, and the other end to the HDMI ARC port on your Sony soundbar.
- Ensure that the soundbar is powered on and set to the appropriate input source (HDMI ARC or TV).
- Power on your TV and go to the settings menu. Look for the “Audio Output” or “Sound” settings.
- Select the HDMI ARC as the audio output or sound source.
- Confirm that the sound from your TV is now playing through the soundbar. You can do this by playing a video or audio file on your TV.
If your TV does not have HDMI ARC, you can use alternative connection methods like optical audio or analog audio. Refer to the user manuals of your soundbar and TV for detailed instructions on using these connections.
Once the physical connection is established, you are ready to proceed to the next step: setting up HDMI ARC or CEC on your TV.
Step 3: Set Up HDMI ARC or CEC on Your TV
After connecting your Sony soundbar to your TV, the next step is to set up HDMI ARC (Audio Return Channel) or CEC (Consumer Electronics Control) on your TV. These features allow your TV and soundbar to communicate and function seamlessly together.
Follow these instructions to set up HDMI ARC or CEC on your TV:
- Turn on your TV and navigate to the settings menu.
- Look for the “External Inputs” or “HDMI” section in the settings menu.
- Select the HDMI port to which your soundbar is connected (HDMI ARC).
- Enable the HDMI ARC or CEC option for that HDMI port.
- If your TV has CEC settings, make sure it is turned on. This allows your TV remote to control the soundbar.
- Save the settings and exit the menu.
It’s important to note that the exact steps may vary depending on your TV’s manufacturer and model. Refer to your TV’s user manual for specific instructions on setting up HDMI ARC or CEC.
Once you have enabled HDMI ARC or CEC, your TV and soundbar will be able to communicate and interact seamlessly. This means that you can control the soundbar’s volume, power, and other functions using your TV remote.
Now that HDMI ARC or CEC is set up on your TV, let’s move on to the next step: programming your TV remote.
Step 4: Program Your TV Remote
Now that you have connected your Sony soundbar to your TV and set up HDMI ARC or CEC, it’s time to program your TV remote to control the soundbar. Programming your TV remote will allow you to adjust the volume, power on/off, and perform other soundbar functions using just one remote.
Here’s how you can program your TV remote to control your Sony soundbar:
- Power on your Sony soundbar and ensure that it is connected to your TV through HDMI ARC or CEC.
- On your TV remote, press the Home or Menu button to access the TV’s settings menu.
- Navigate to the “External Inputs” or “Devices” section in the settings menu.
- Look for the option to set up a soundbar or audio system. This may be labeled as “Soundbar Settings”, “Audio Device Settings”, or something similar.
- Select the option to add a new device or remote.
- Follow the on-screen instructions to search for and recognize your Sony soundbar.
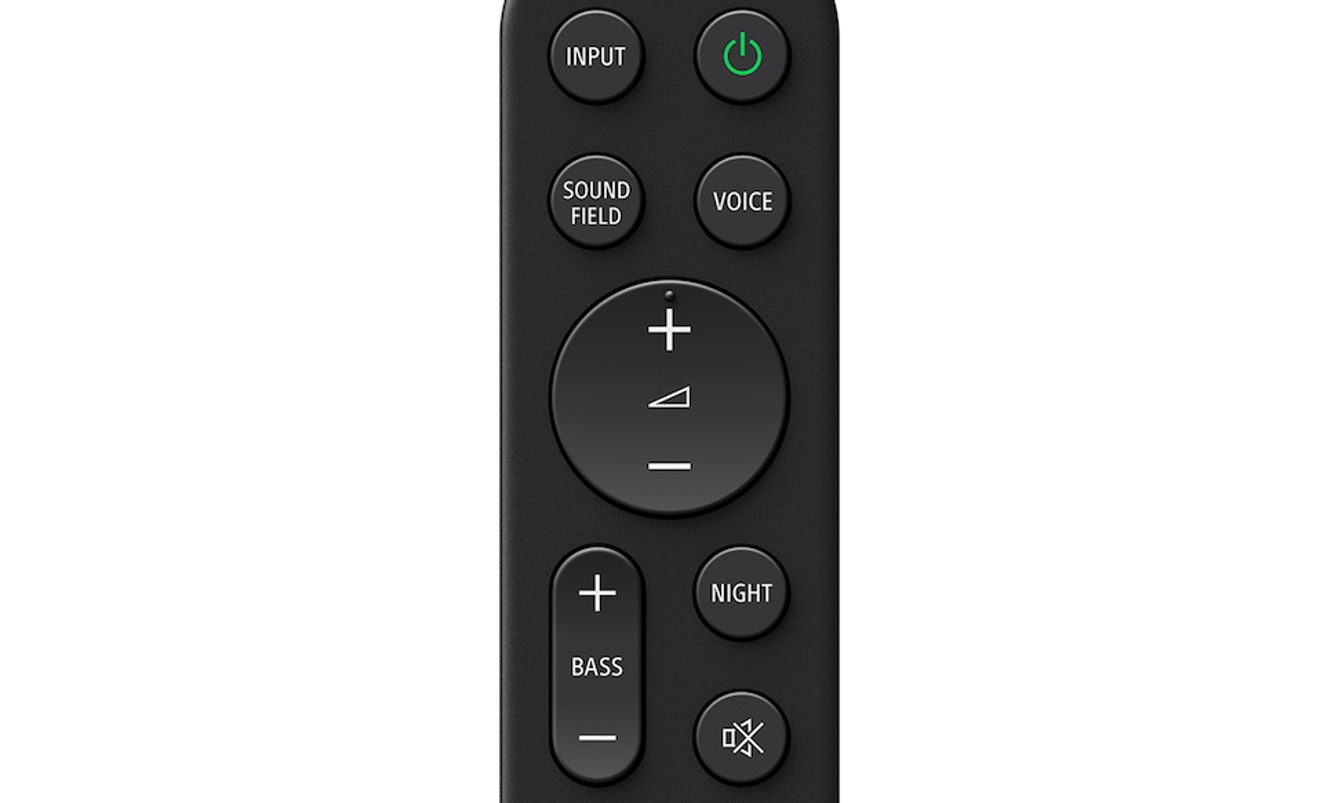
- Once your soundbar is recognized, test the control functionality by adjusting the volume or pressing the power button on your TV remote.
- If the control functions work as intended, save the settings and exit the menu.
It’s worth noting that the programming process may vary depending on your TV’s manufacturer and model. For detailed instructions, refer to your TV’s user manual or online support resources.
Now that you have successfully programmed your TV remote, you can enjoy the convenience of controlling your Sony soundbar using just one remote. However, it’s crucial to test the functionality to ensure everything is working as expected.
That brings us to the final step: testing the control functionality between your TV remote and Sony soundbar.
Step 5: Test the Control Functionality
Now that you have programmed your TV remote to control your Sony soundbar, it’s essential to test the control functionality to ensure everything is working as intended. Testing will confirm whether your TV remote can adjust the soundbar’s volume, power it on/off, and perform other necessary functions.
Follow these steps to test the control functionality:
- Ensure that your Sony soundbar is powered on.
- Grab your TV remote and point it towards the soundbar.
- Press the volume up/down button on your TV remote and verify that the soundbar’s volume adjusts accordingly.
- Press the power button on your TV remote and check if the soundbar turns on/off.
- If your soundbar has additional functions, such as input selection or sound modes, test those using your TV remote as well.
- If all control functions work correctly, congratulations! You have successfully set up and tested the control functionality between your TV remote and Sony soundbar.
If any of the control functions do not work as expected, double-check the programming steps and ensure that both the TV remote and soundbar are properly connected. Additionally, consult the user manuals of your TV and soundbar for troubleshooting tips or reach out to the manufacturer’s customer support for further assistance.
By following these steps and testing the control functionality, you can enjoy a streamlined home entertainment experience with your Sony soundbar and TV remote working seamlessly together.
Conclusion
Controlling your Sony soundbar with your TV remote is a game-changer in terms of convenience and eliminating the need for multiple remotes. By following the steps outlined in this guide, you can easily set up and program your TV remote to control your Sony soundbar.
First, it’s important to check the compatibility of your Sony soundbar and TV, ensuring that your TV has HDMI ARC or CEC capabilities. Once confirmed, connect the soundbar to your TV using an HDMI cable and set up HDMI ARC or CEC in the TV settings.
Next, program your TV remote to recognize and control the soundbar. Access the TV settings menu, navigate to the device or soundbar settings, and follow the on-screen instructions to add your Sony soundbar. Save the settings and exit the menu.
Finally, test the control functionality by adjusting the volume, powering on/off the soundbar, and testing any additional functions. Make sure that all control functions work as expected.
By successfully completing these steps, you can enjoy a simplified and seamless user experience with your Sony soundbar and TV remote. Say goodbye to cluttered living room tables and confusion with multiple remotes.
Remember, if you encounter any issues during the setup process or have specific questions related to your Sony soundbar or TV, consult the user manuals or reach out to the manufacturer’s support for personalized assistance.
We hope this guide has been helpful, and we wish you a fantastic home entertainment experience with your Sony soundbar and TV remote!