Introduction
Connecting a Sanyo soundbar to a subwoofer can dramatically enhance the audio experience of your home theater system. By integrating a subwoofer, you can enjoy deep, rich bass tones that add depth and dimension to your favorite movies, music, and games. However, figuring out how to properly connect the soundbar and subwoofer can be a bit confusing, especially if you’re not familiar with audio equipment.
In this guide, we will walk you through the step-by-step process of connecting your Sanyo soundbar to a subwoofer. You’ll learn what equipment you need, how to make the necessary connections, and how to adjust the audio settings for optimal performance.
Whether you’re a seasoned audio enthusiast or a beginner looking to enhance your audio setup, this guide will provide you with the knowledge and instructions you need to establish a seamless connection between your Sanyo soundbar and subwoofer.
Before we dive into the steps, it’s important to mention that the process may vary slightly depending on the specific model of your Sanyo soundbar and subwoofer. Therefore, we recommend consulting the user manuals of your devices for any specific instructions or requirements.
Now, let’s get started on connecting your Sanyo soundbar to a subwoofer and unleash the full potential of your audio system.
Step 1: Gather the necessary equipment
Before you can connect your Sanyo soundbar to a subwoofer, you’ll need to make sure you have all the necessary equipment on hand. Here’s a list of what you’ll need:
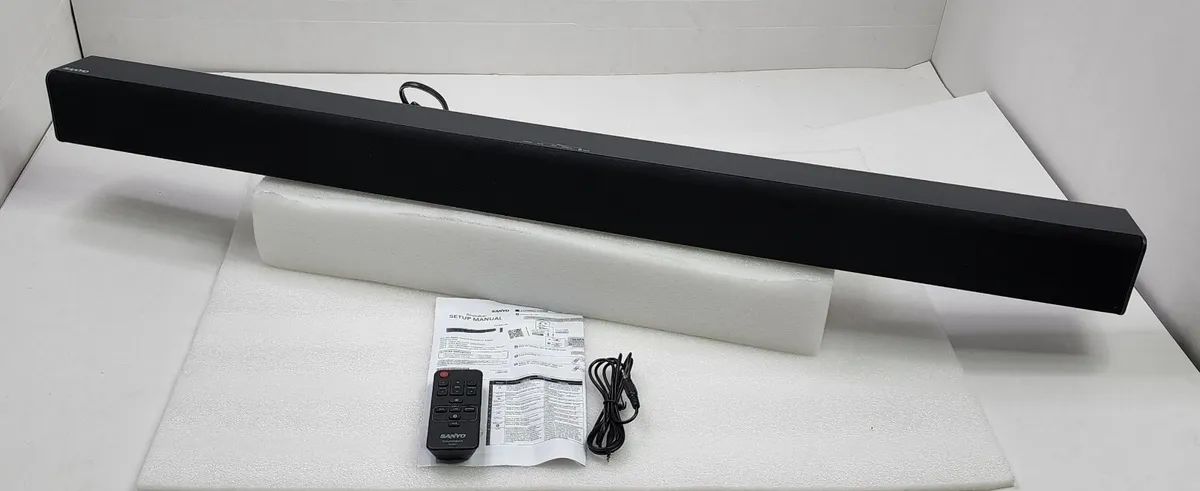
- A Sanyo soundbar: This will serve as the main audio output device.
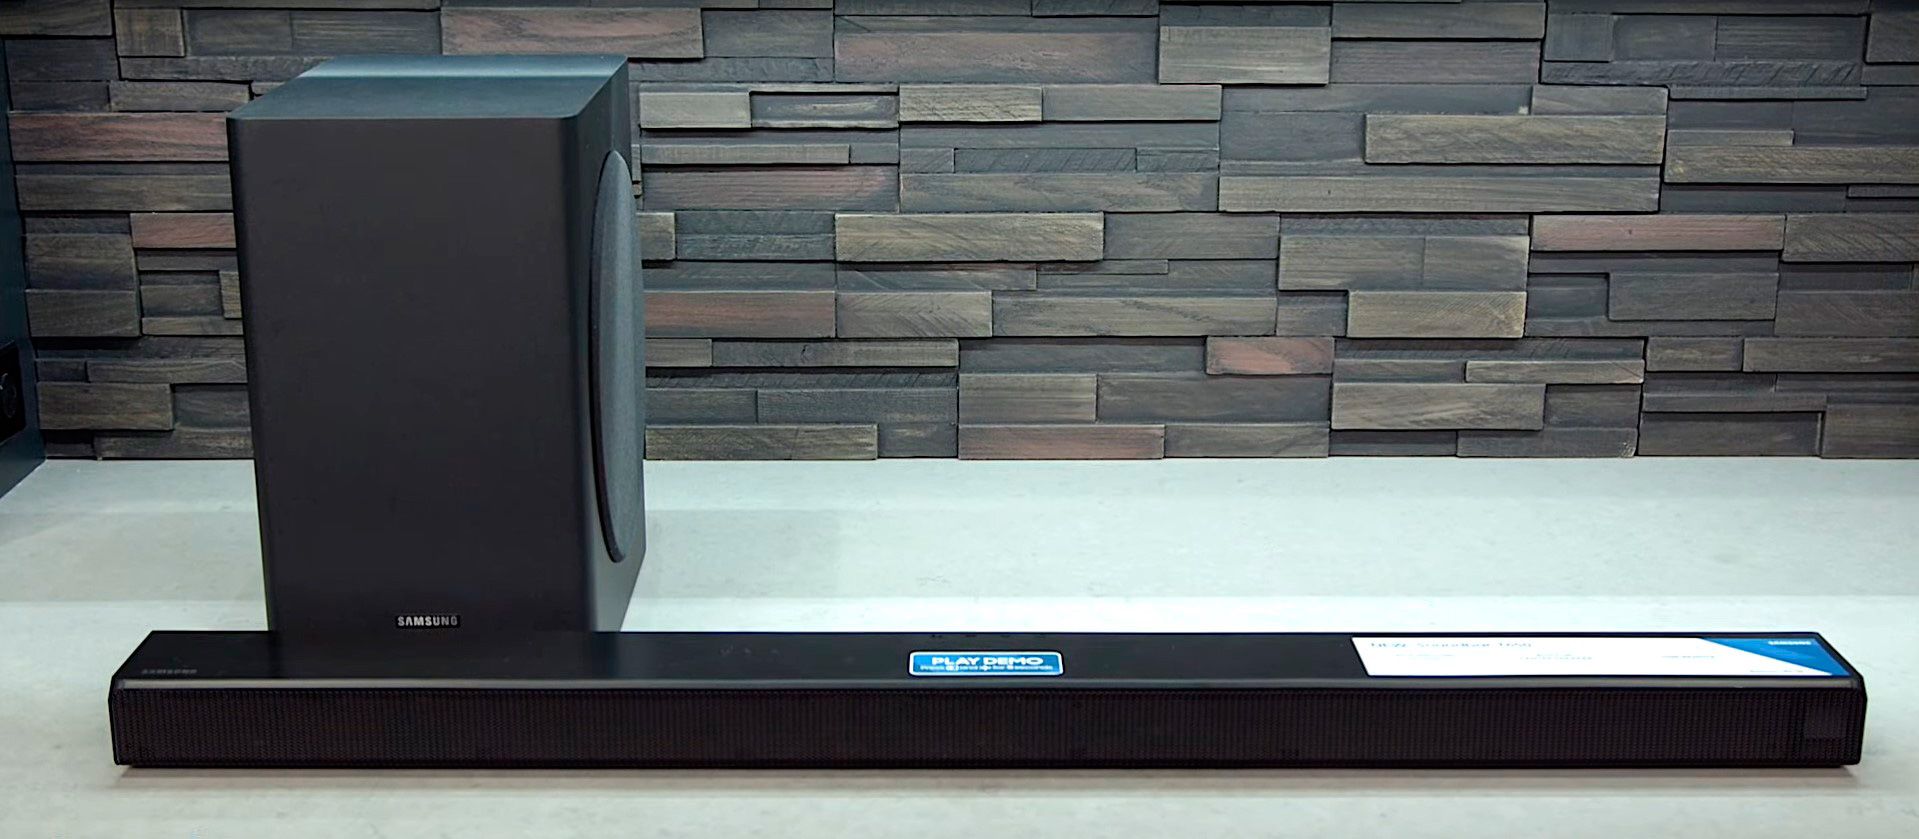
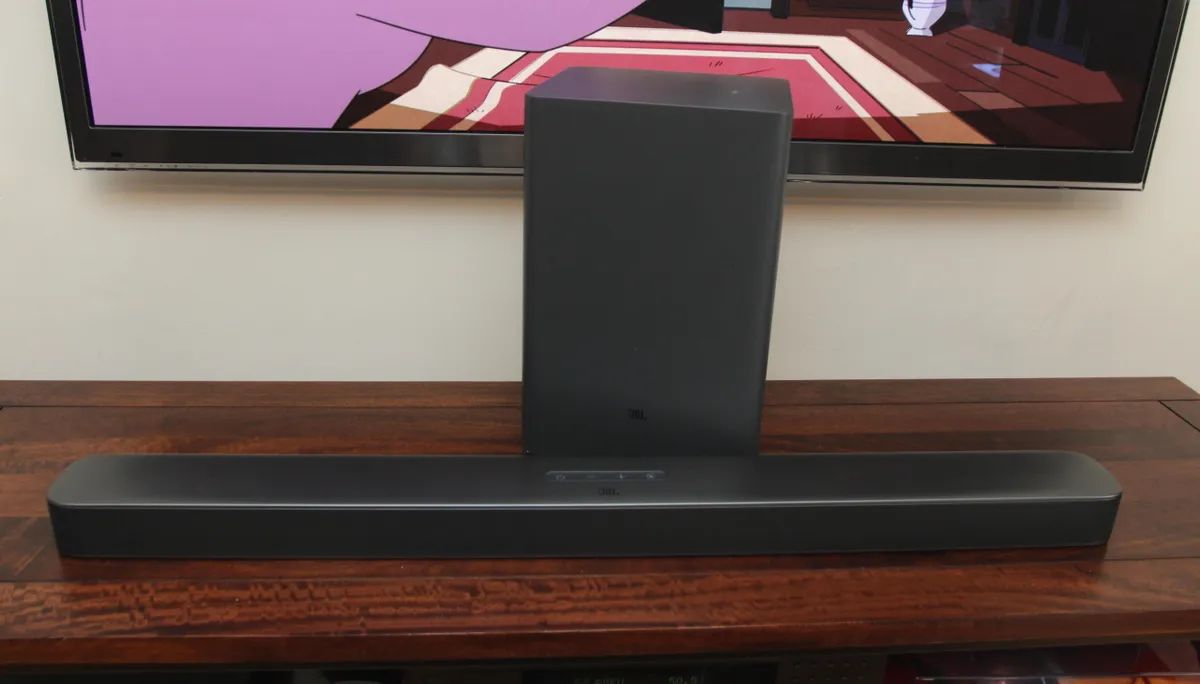
- A subwoofer: This is a specialized speaker that produces low-frequency sounds, or bass.
- Audio cables: Depending on the specific ports available on your soundbar and subwoofer, you may need HDMI cables, optical cables, or RCA cables.
- A power source: Both the soundbar and subwoofer will require power, so make sure you have nearby outlets available.
Ensure that you have the correct cables for your soundbar and subwoofer, as some devices may require specific types of connections. If you’re unsure about which cables to use, refer to the user manuals of your devices or consult with the manufacturer.
Once you have gathered all the necessary equipment, you are ready to move on to the next step: connecting the soundbar to your TV.
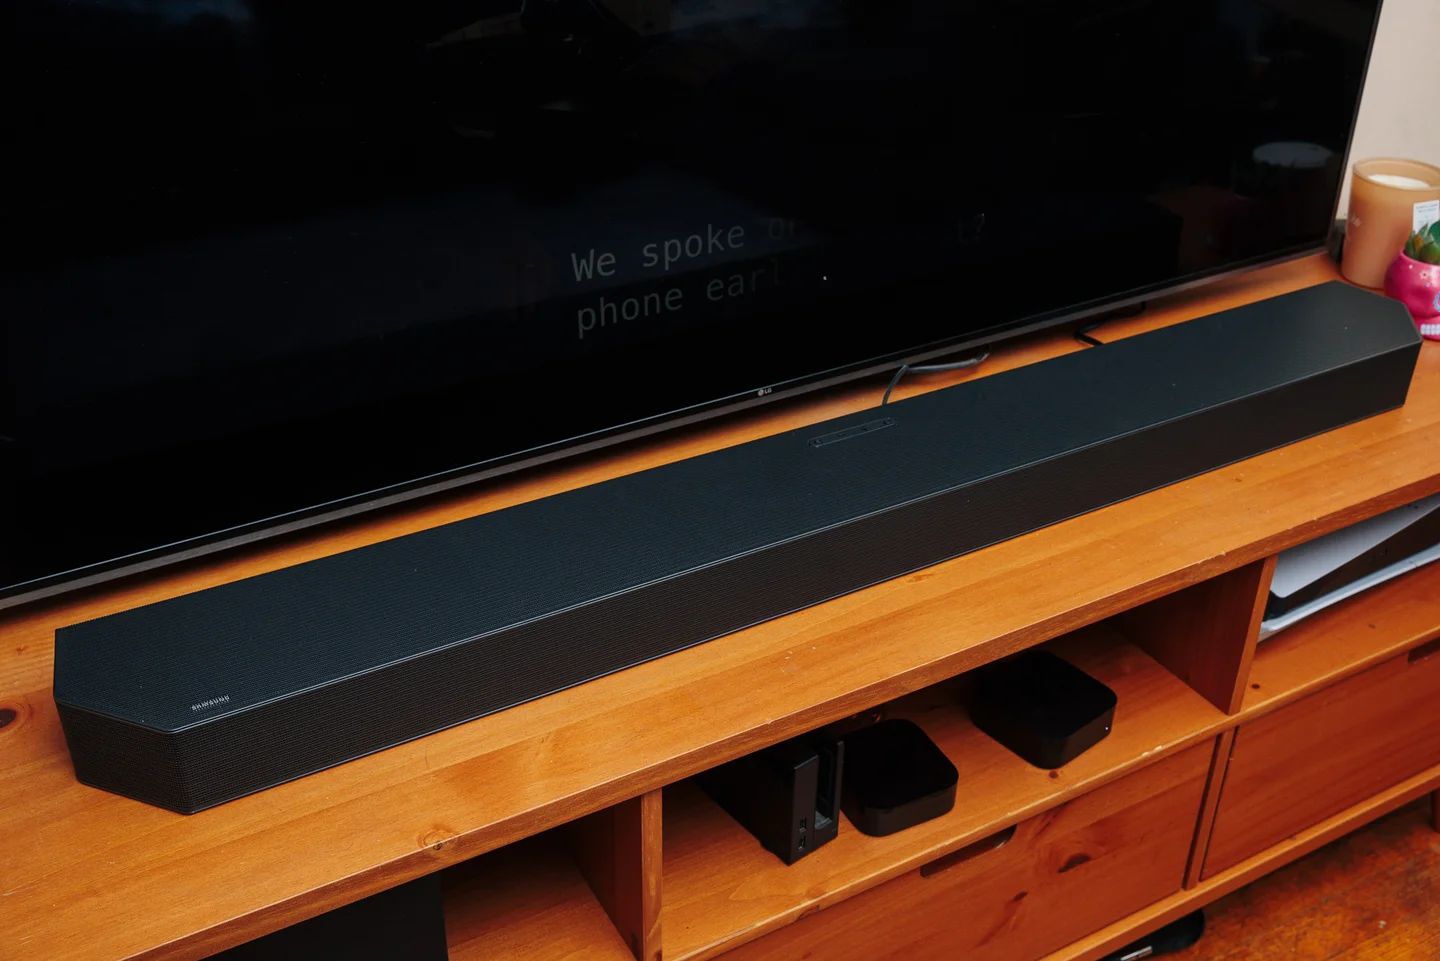
Step 2: Connect the soundbar to the TV
Now that you have all the necessary equipment, it’s time to connect your Sanyo soundbar to your TV. This will serve as the foundation for connecting the subwoofer in the next step. Follow these steps to establish the connection:
- Locate the HDMI (or optical) output port on your TV. This port is usually labeled as “HDMI ARC” or “optical out. If your TV doesn’t have these options, you can use the headphone jack or RCA output instead.
- Connect one end of the HDMI (or optical) cable to the corresponding output port on your TV.
- Connect the other end of the HDMI (or optical) cable to the corresponding input port on your Sanyo soundbar. Make sure to use the appropriate input port labeled as “HDMI ARC” or “optical in”.
- Plug both the TV and soundbar into a power source.
- Turn on both the TV and soundbar. You may need to switch the input source on your TV to the HDMI (or optical) input where the soundbar is connected.
- Once the connection is established, you should hear audio from the soundbar when playing content on your TV. You can also adjust the volume using the soundbar’s remote control.
It’s important to note that the specific steps may vary depending on your TV and soundbar models. Refer to the user manuals of your devices for any specific instructions or troubleshooting tips.
With your soundbar successfully connected to your TV, you’re now ready to move on to the next step: connecting the soundbar to the subwoofer.
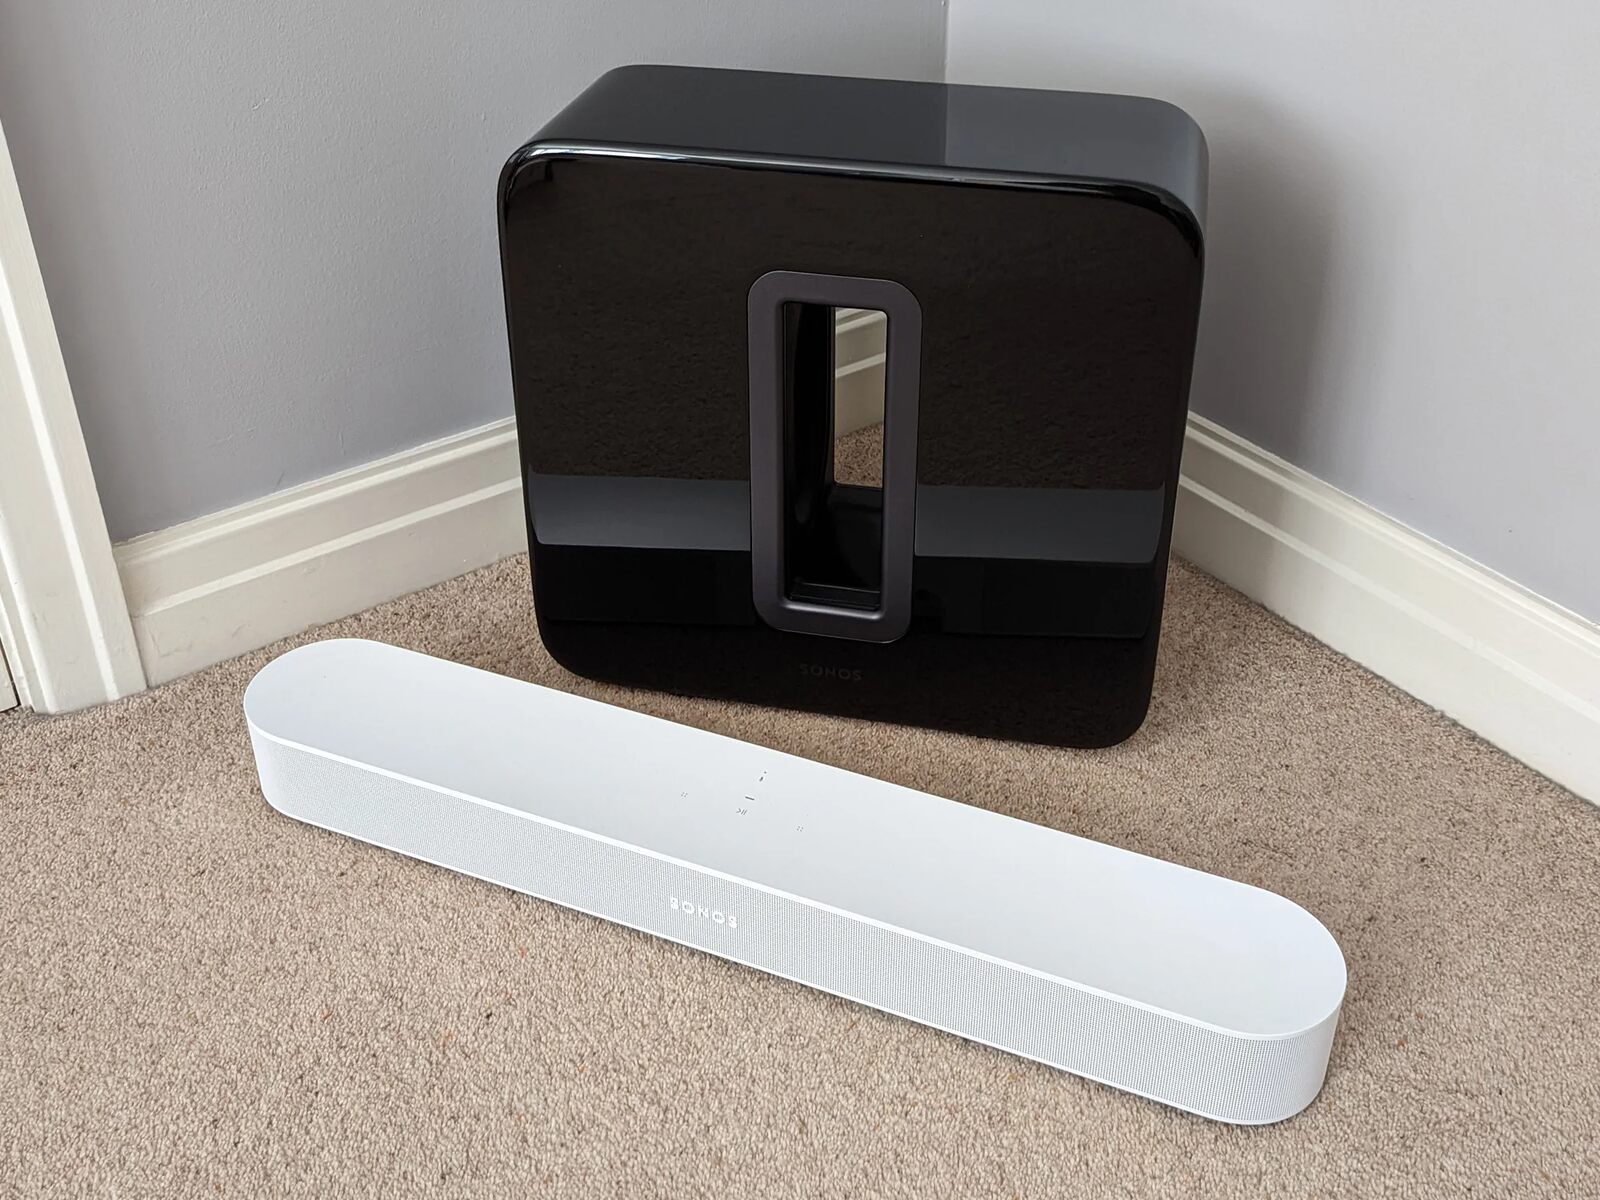
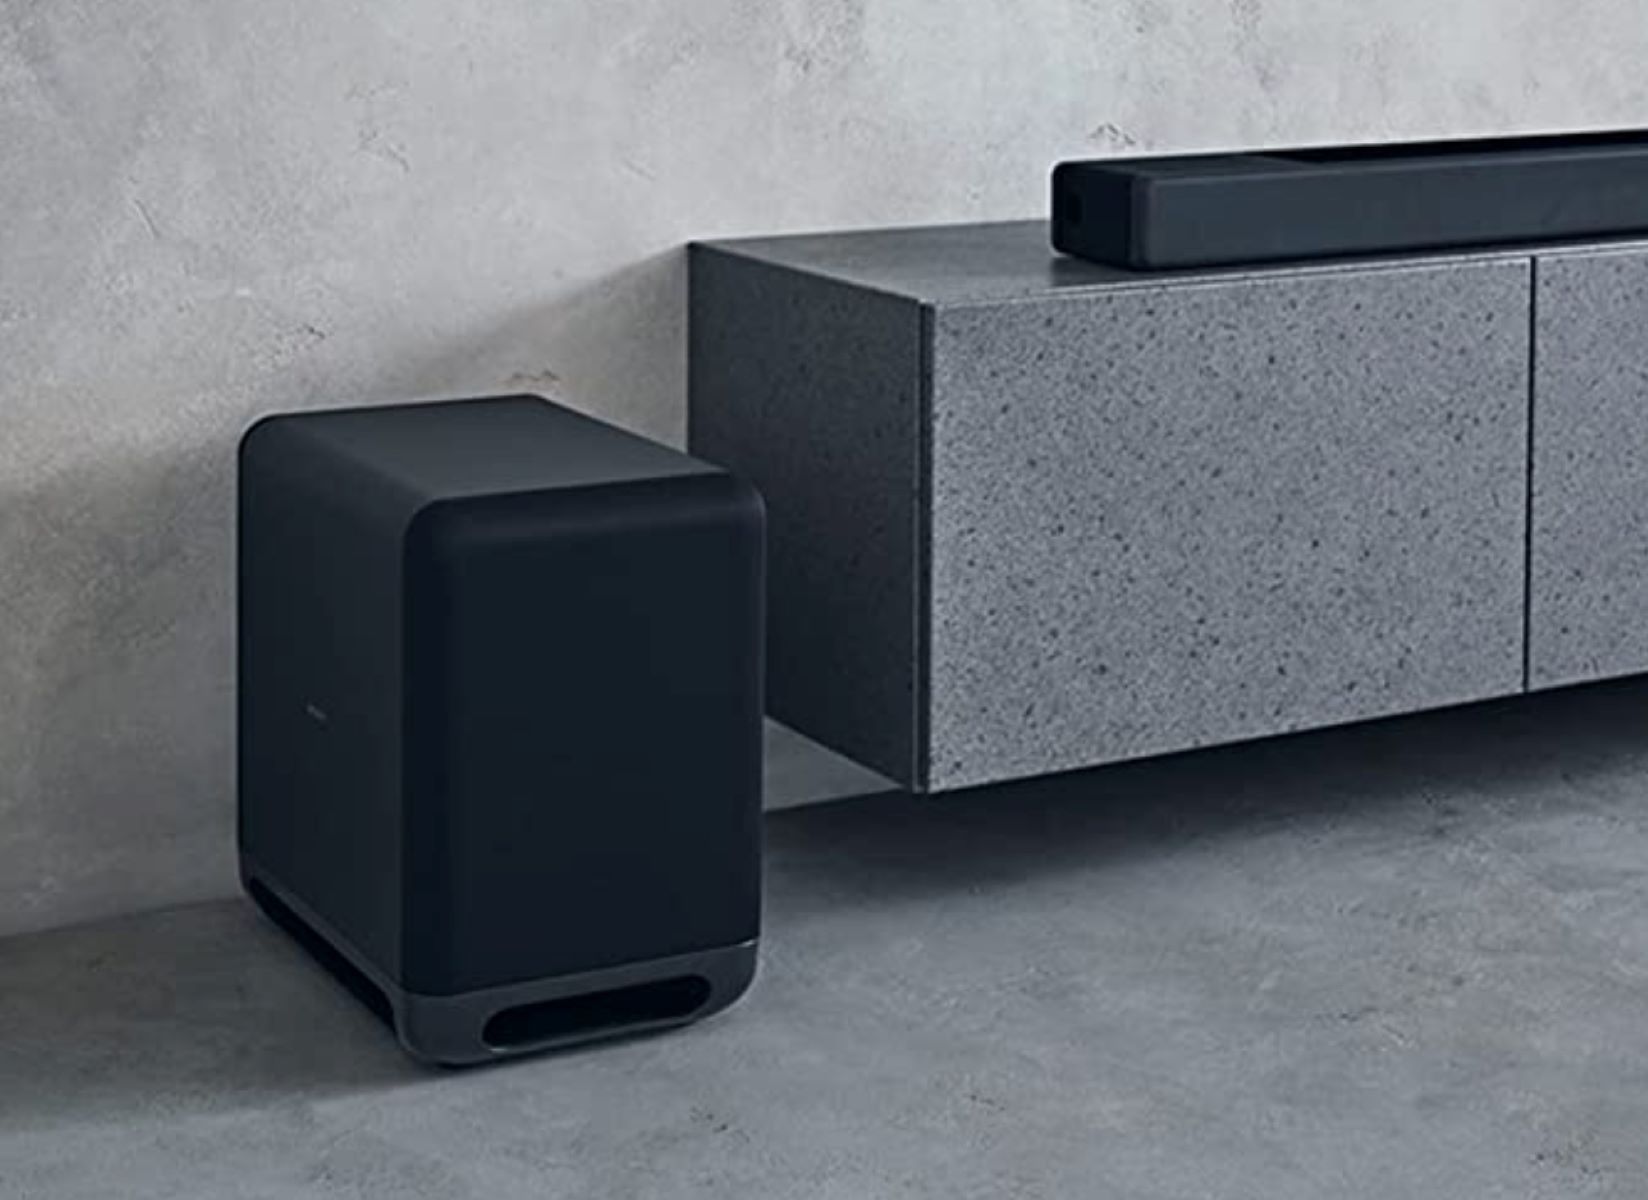
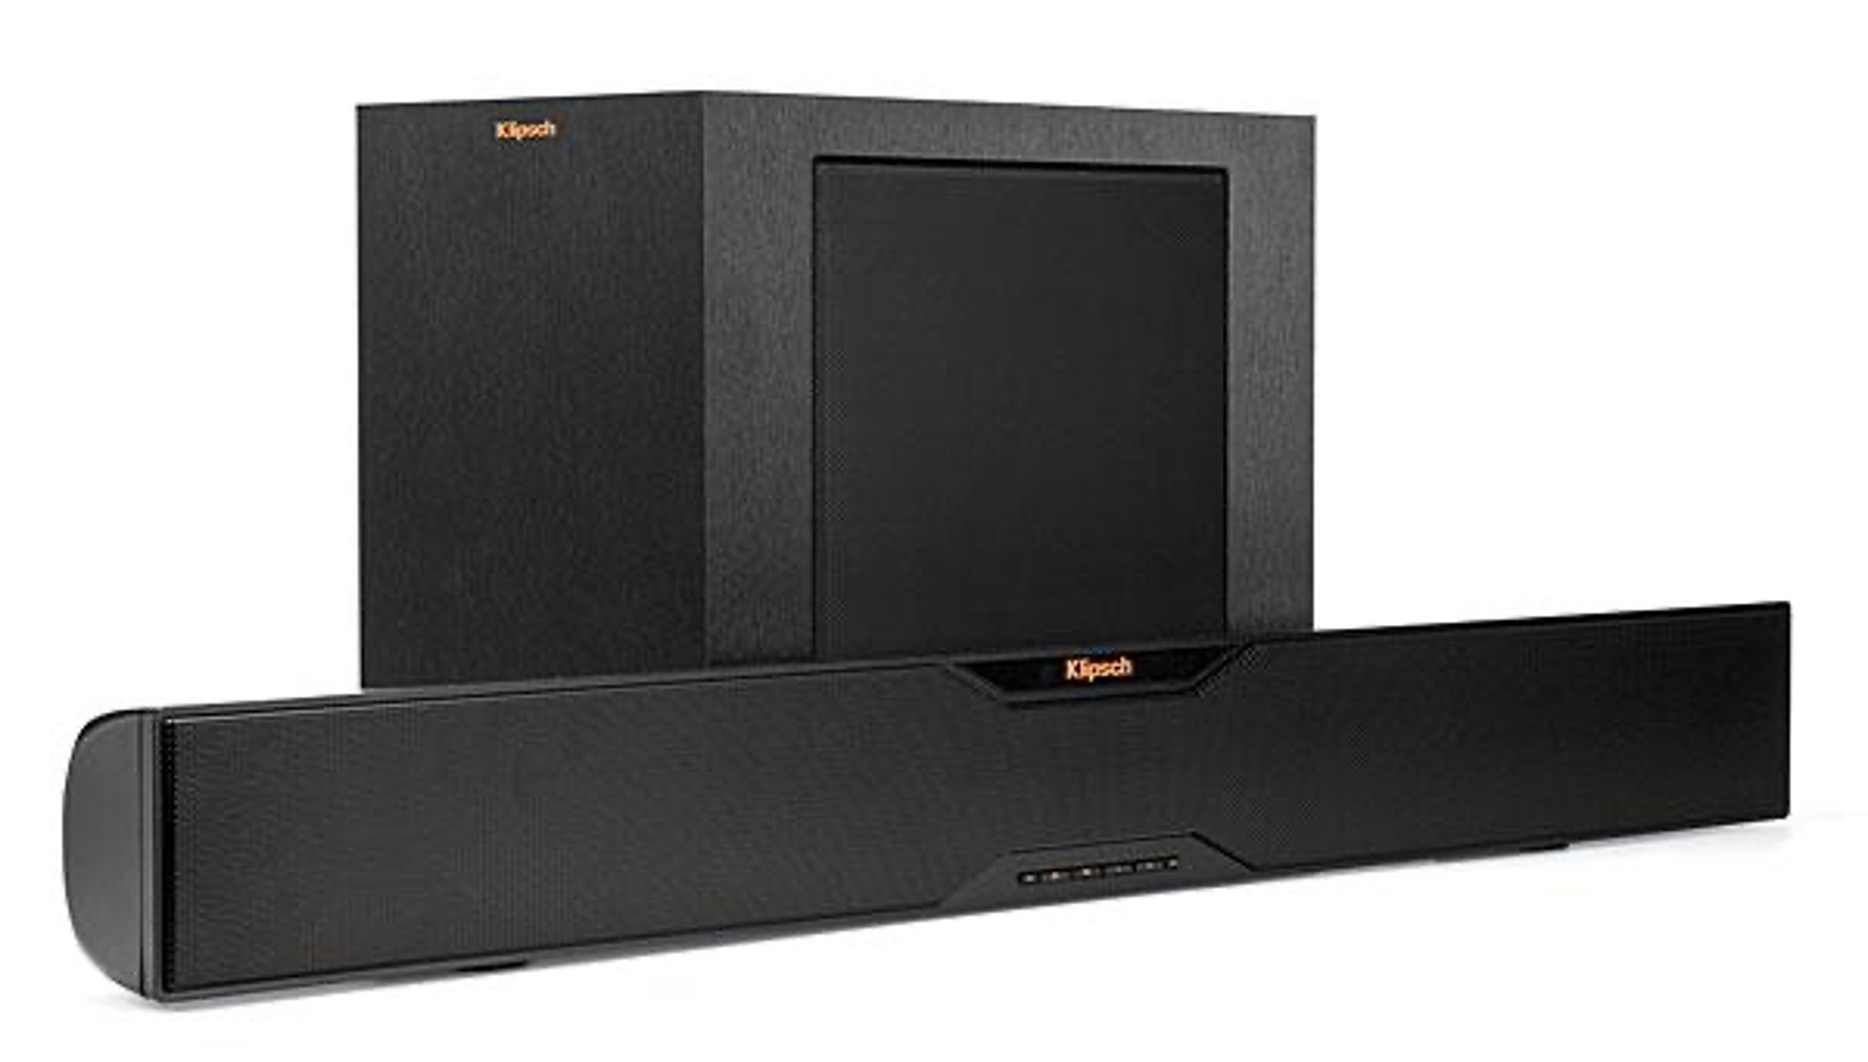
Step 3: Connect the soundbar to the subwoofer
With the soundbar successfully connected to your TV, the next step is to connect the soundbar to the subwoofer. The subwoofer will add depth and richness to the sound produced by the soundbar. Follow these steps to establish the connection:
- Locate the subwoofer output port on your soundbar. This port is usually labeled as “subwoofer out” or “sub out”.
- Connect one end of an audio cable (HDMI, optical, or RCA) to the subwoofer output port on your soundbar.
- Connect the other end of the audio cable to the corresponding input port on your subwoofer. This input port is typically labeled as “sub in” or “LFE input”.
- Plug the subwoofer into a power source.
- Turn on the soundbar and subwoofer.
Once the connection is established, your soundbar and subwoofer should now be working together seamlessly to create a more immersive audio experience. You can fine-tune the settings on your soundbar to adjust the balance between the soundbar and subwoofer output, ensuring an optimal audio blend.
If you encounter any issues or have trouble hearing audio from the subwoofer, check the connection and make sure all cables are securely plugged in. You can also refer to the user manuals provided with your soundbar and subwoofer for troubleshooting tips.
Now that your soundbar and subwoofer are connected, it’s time to move on to the next step: adjusting the audio settings.
Step 4: Adjust the audio settings
Now that the soundbar and subwoofer are connected, it’s important to adjust the audio settings to ensure optimal sound quality. Follow these steps to fine-tune the settings:
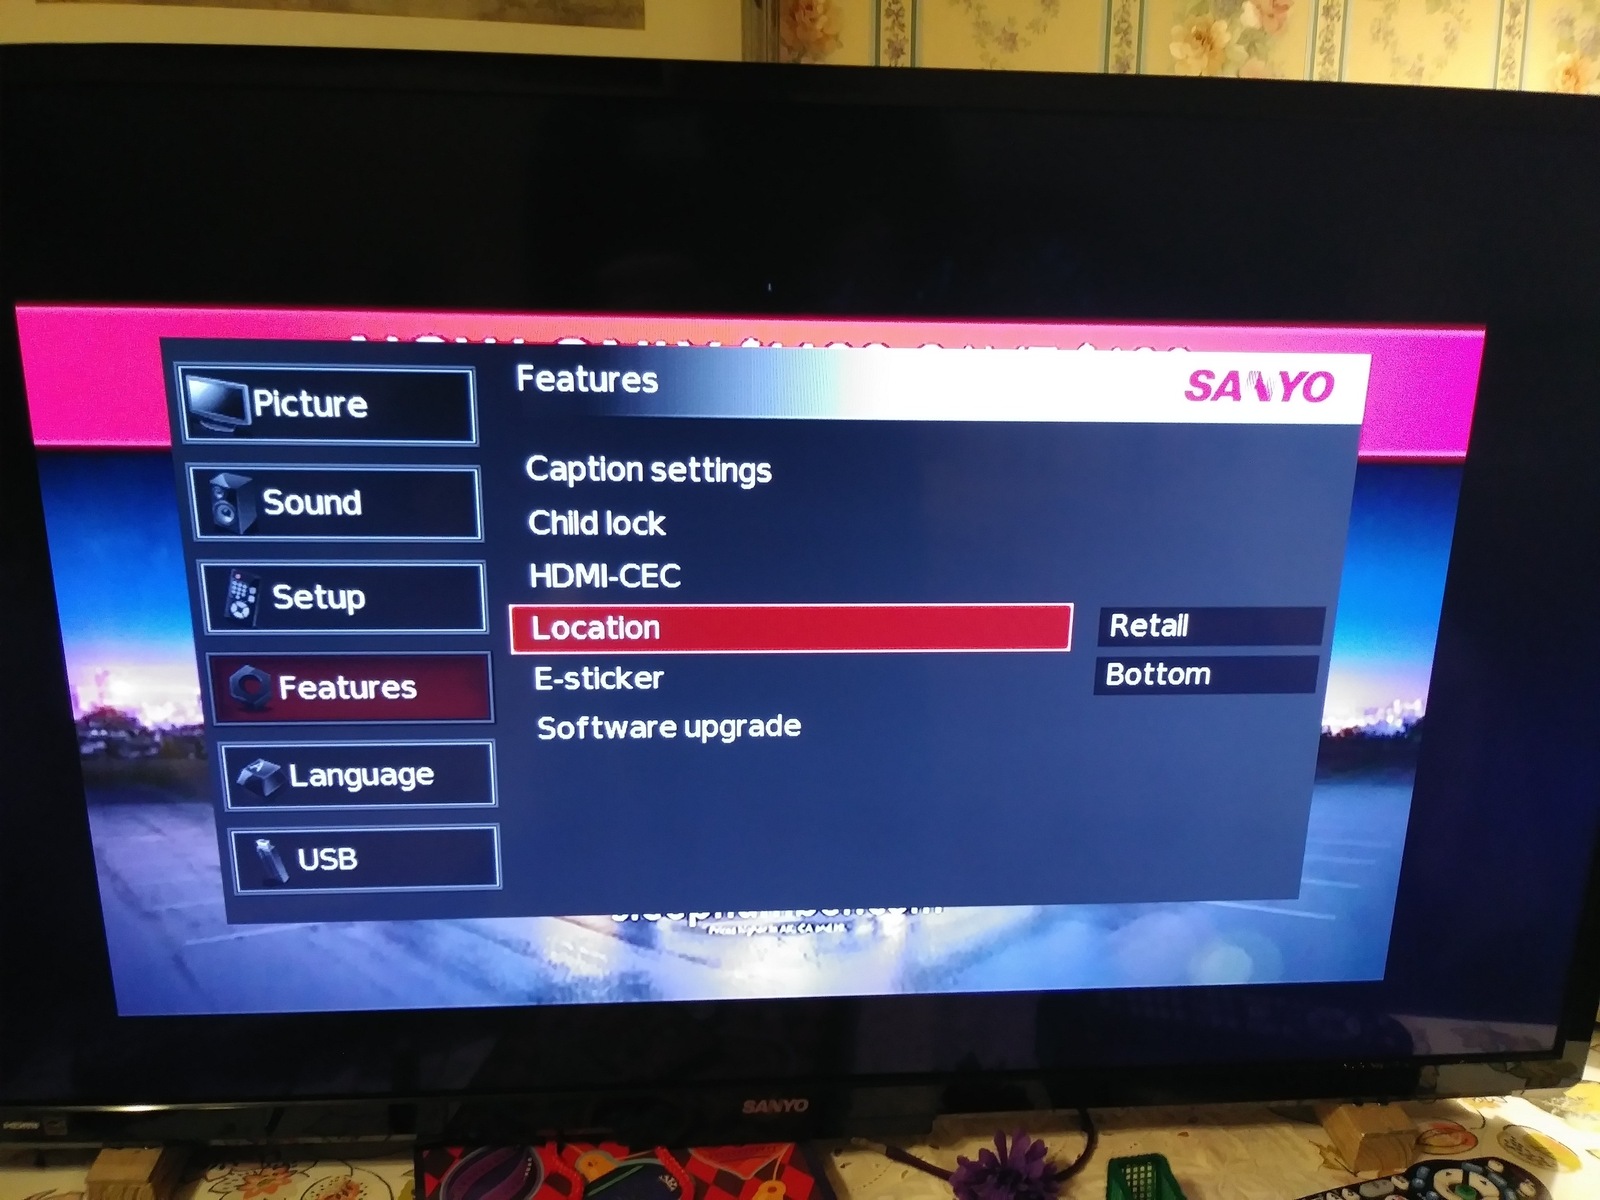
- Access the settings menu on your Sanyo soundbar. This can usually be done through the remote control or the buttons on the soundbar itself.
- Navigate to the audio settings section in the menu. Look for options related to subwoofer adjustment or bass levels.
- Adjust the subwoofer level or bass settings according to your preference. Start by setting the subwoofer level to a neutral position and gradually increase or decrease it until you achieve the desired sound balance.
- Experiment with other audio settings, such as equalizer presets or surround sound modes, to further customize the audio output.
While adjusting the audio settings, it’s important to refer to the user manual of your Sanyo soundbar for specific instructions related to your model. The available settings and options may vary depending on the soundbar model.
Additionally, it’s worth noting that the optimal audio settings can also depend on the size and layout of your room. Don’t be afraid to experiment and make adjustments based on your personal preference and the acoustics of your space.
Once you are satisfied with the audio settings, it’s time to move on to the final step: testing the connection to ensure everything is working as expected.
Step 5: Test the connection
After connecting the soundbar to the subwoofer and adjusting the audio settings, it’s crucial to test the connection to ensure that everything is working properly. Follow these steps to test the connection:
- Choose an audio source, such as a movie, music, or a video game, that you’re familiar with and that contains a range of sounds, including dialogue, music, and low-frequency sounds.
- Play the selected audio source on your TV, making sure the sound is routed through the soundbar.
- Listen carefully to the audio output. Pay attention to the clarity of dialogue, the richness of the music, and the depth of the bass tones produced by the subwoofer.
- Verify that you can hear sound coming from both the soundbar and the subwoofer. If the sound seems unbalanced or if you cannot hear any audio from either device, double-check the connections and settings.
- Make any necessary adjustments to the audio settings, such as the volume or the subwoofer level, to achieve the desired sound quality and balance.
Inspect the physical connections once more to ensure that all cables are securely plugged in and there are no loose connections. Sometimes a loose cable can cause issues with the audio output.
By testing the connection and listening to the audio output, you can ensure that the soundbar and subwoofer are working harmoniously together, creating an immersive audio experience for your viewing pleasure.
If you encounter any issues during the testing process or if the audio output doesn’t meet your expectations, consult the user manuals for troubleshooting tips or consider reaching out to the manufacturer for further assistance.
With the connection successfully tested, you can now sit back, relax, and enjoy your favorite entertainment with enhanced audio quality!
Conclusion
Connecting a Sanyo soundbar to a subwoofer can significantly elevate your audio experience, delivering enhanced bass and immersive sound to your home theater setup. By following the step-by-step guide outlined in this article, you’ll be able to successfully connect your soundbar and subwoofer and fine-tune the audio settings for optimal performance.
Throughout the process, it’s important to gather the necessary equipment, including the Sanyo soundbar, subwoofer, and appropriate audio cables. Ensuring that you have the right connections and power sources will set the stage for a seamless integration of the soundbar and subwoofer into your home entertainment system.
Connecting the soundbar to the TV serves as the foundation for the entire setup. By utilizing HDMI or optical cables, you can establish a strong audio connection between the soundbar and the TV, enabling you to enjoy your favorite content with enhanced sound quality.
Once the soundbar and TV are connected, you can proceed to connect the soundbar to the subwoofer. By utilizing the appropriate audio cables, you can ensure that the soundbar and subwoofer work together harmoniously to produce deep, rich bass tones that add depth and dimension to your audio experience.
After connecting the devices, adjusting the audio settings is crucial. This step allows you to fine-tune the sound output and achieve the desired balance between the soundbar and subwoofer. By experimenting with different settings and presets, you can customize the audio experience to suit your preferences and optimize the performance of your sound system.
Finally, it’s essential to test the connection and make any necessary adjustments to ensure that everything is working as expected. By playing audio from a variety of sources and analyzing the sound output, you can verify that the soundbar and subwoofer are properly connected and delivering the desired audio quality.
With the connection successfully tested and the audio settings adjusted to your liking, you can now sit back, relax, and enjoy an immersive and cinematic audio experience right in the comfort of your own home!