Introduction
Welcome to this guide on how to connect your DirecTV to a surround sound system. If you’re looking to enhance your TV viewing experience with immersive audio, connecting your DirecTV receiver to a surround sound system is a great option. By doing so, you can enjoy the cinematic sound quality right in the comfort of your own living room.
Whether you’re a movie enthusiast or a sports fanatic, the crisp and powerful audio from a surround sound system can take your entertainment to the next level. With a proper connection, you’ll be able to hear every detail, from the softest dialogue to the booming explosions, perfectly synchronized with the on-screen action.
But don’t worry if you’re not a tech expert – this guide will walk you through the process step by step. You’ll learn what equipment you’ll need, how to connect the DirecTV receiver to your surround sound system, and how to configure the audio settings to ensure optimal performance.
Before we delve into the details, it’s important to note that the specific steps may vary depending on the model of your DirecTV receiver and surround sound system. However, the general concepts and guidelines covered in this guide should apply to most setups.
So, without further ado, let’s get started on connecting your DirecTV to a surround sound system and elevating your home entertainment experience!
Step 1: Gather the Necessary Equipment
Before you begin the process of connecting your DirecTV receiver to a surround sound system, it’s important to ensure that you have all the necessary equipment. Here’s a list of what you’ll need:
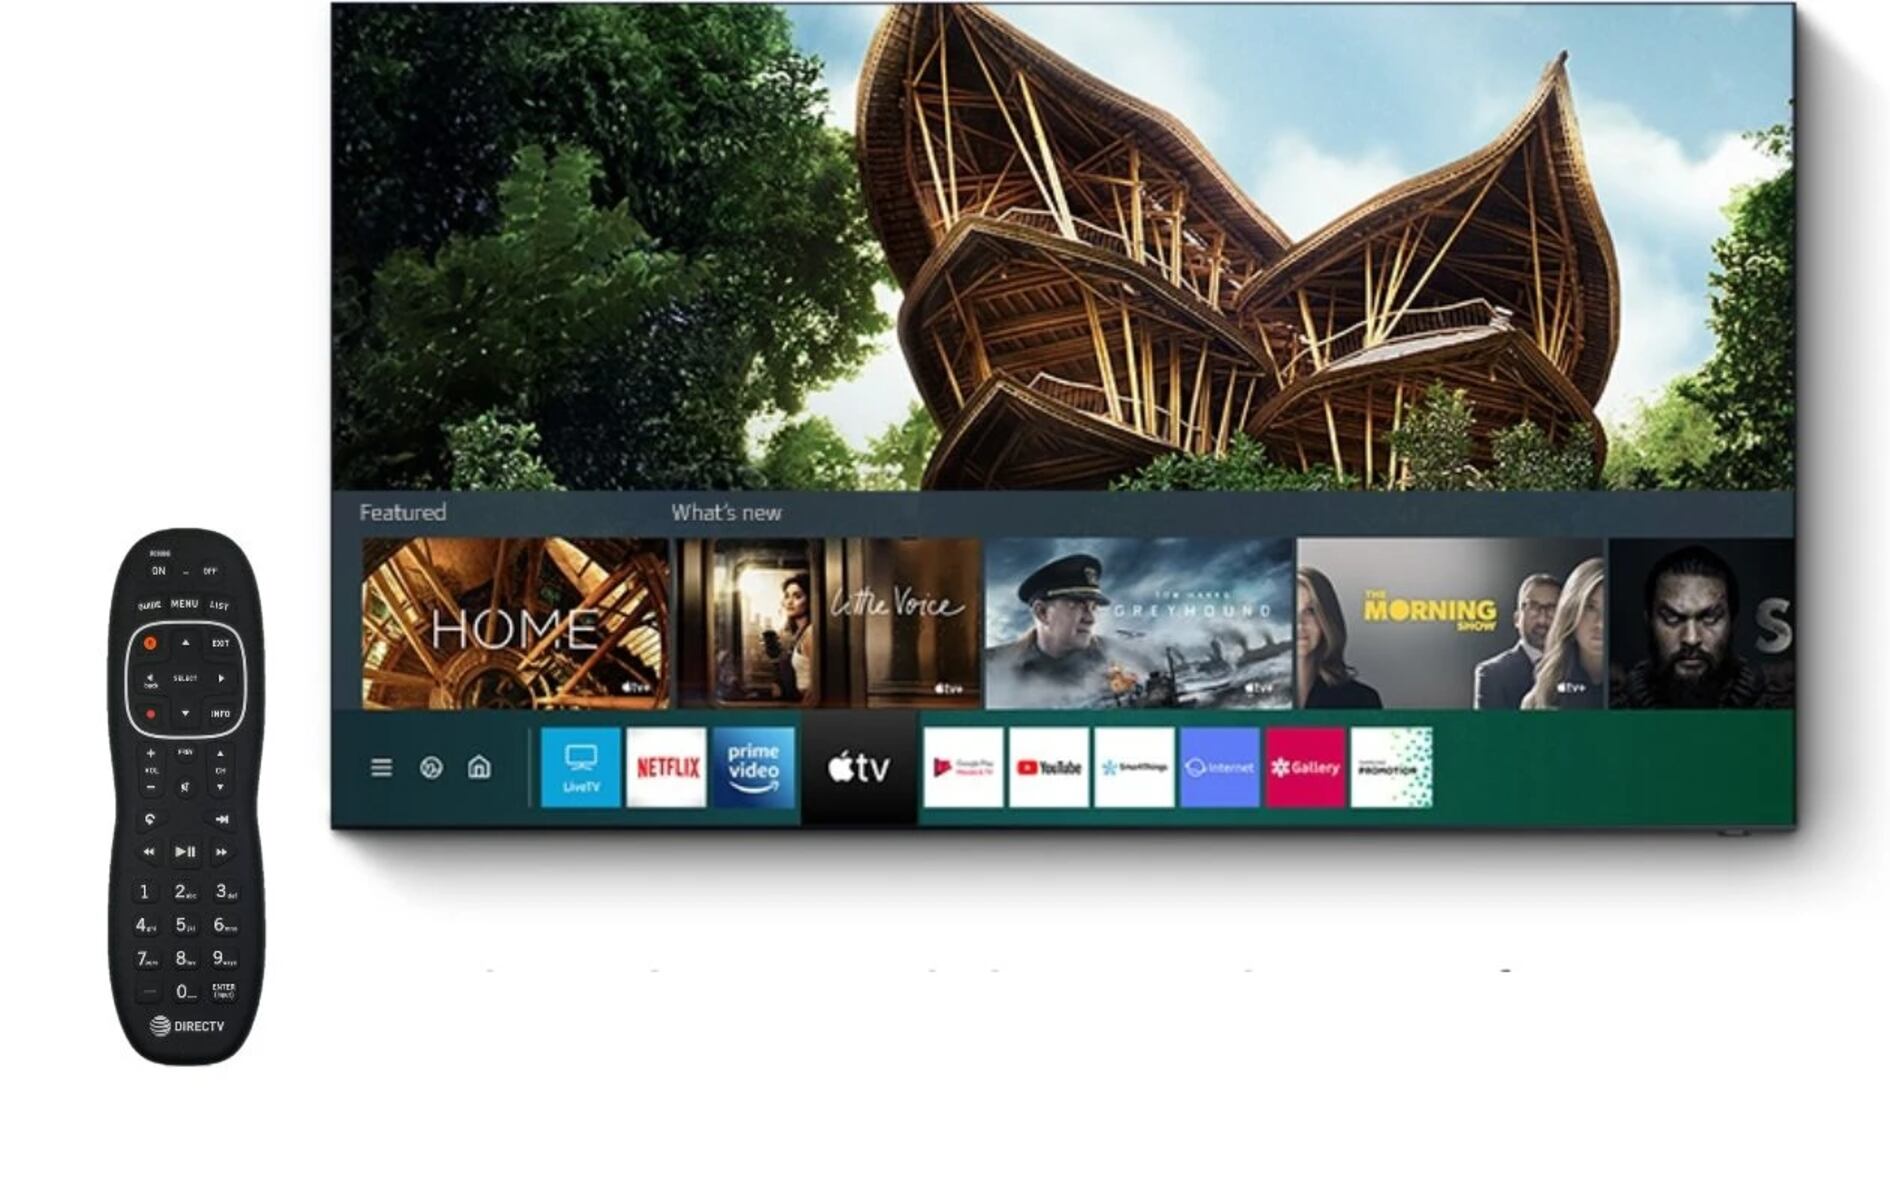
- DirecTV Receiver: This is the main device that receives the satellite signal and provides access to your television channels and on-demand content. Make sure you have a compatible DirecTV receiver with audio output options.
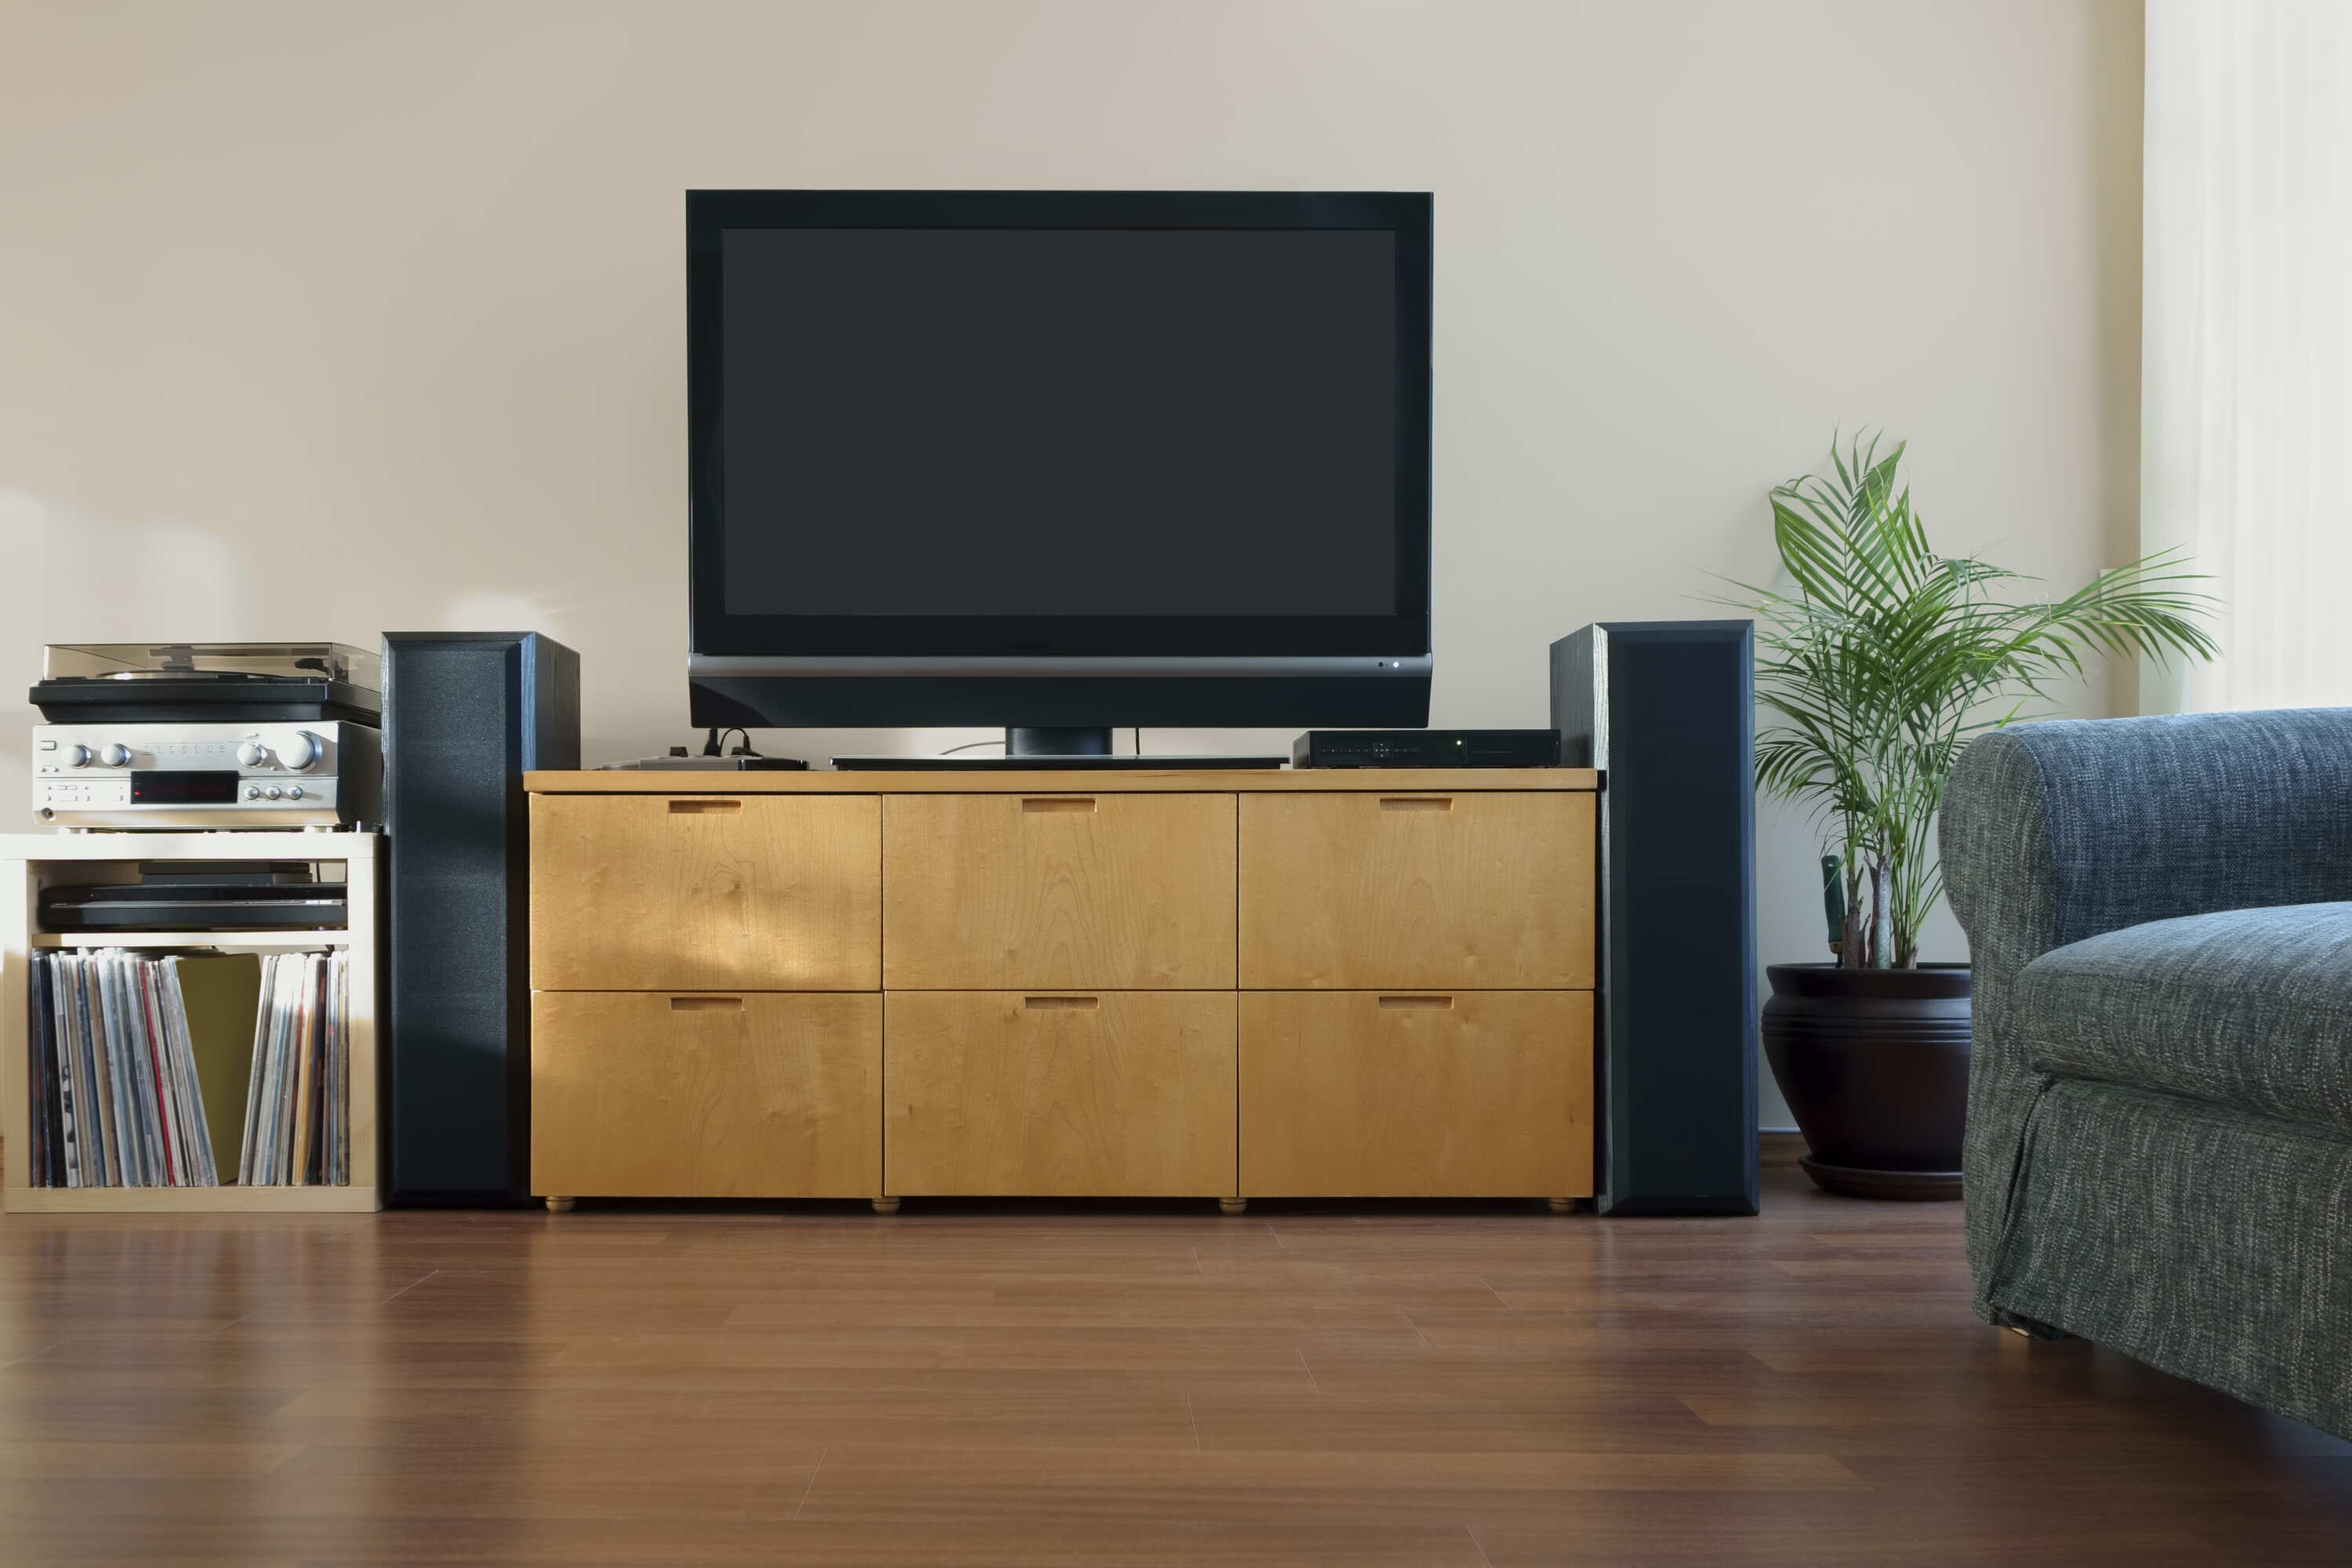
- Surround Sound System: This includes the speakers, subwoofer, and the main audio amplifier/receiver. The specific system you have may vary, but it should have audio input options that can be connected to your DirecTV receiver.
- Audio Cables: You’ll need appropriate audio cables to connect the DirecTV receiver to the surround sound system. The type of cables required may depend on the available ports on your devices. Common options include HDMI cables, optical audio cables, or RCA cables.
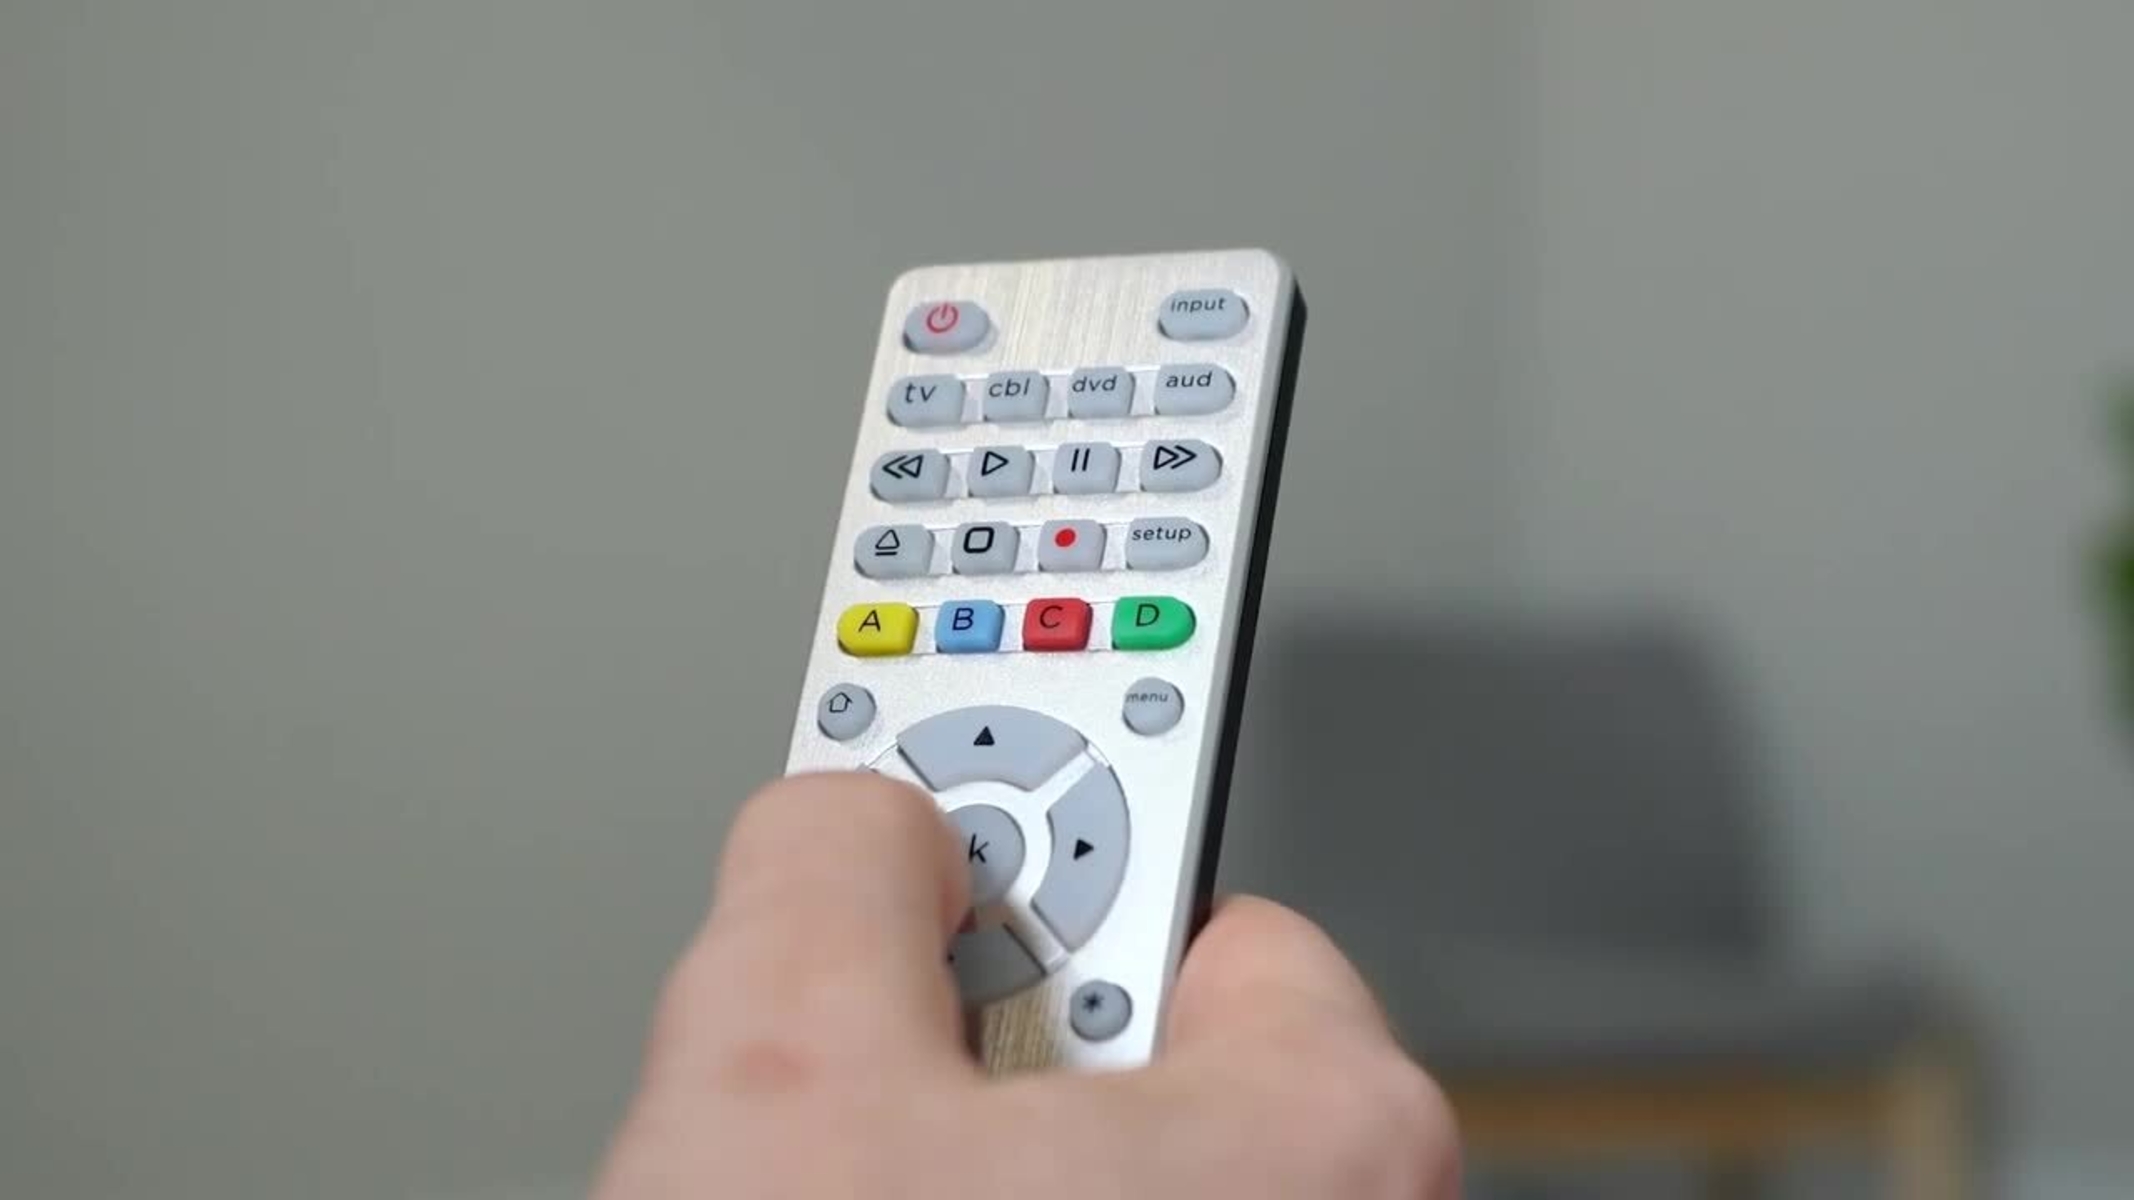
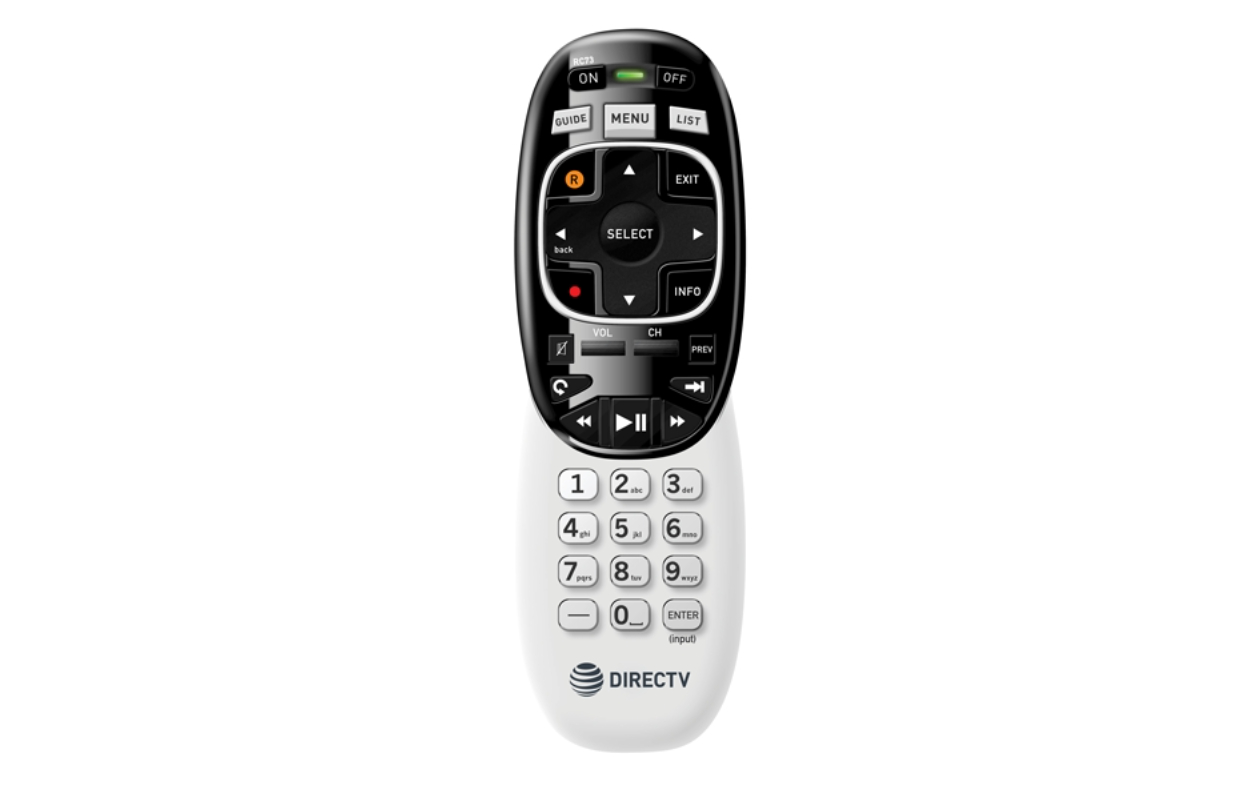
- Remote Control: Having the remote control for both the DirecTV receiver and the surround sound system will be helpful in adjusting the settings and testing the connections.
Once you have gathered all the necessary equipment, you’re ready to proceed to the next step. Remember, it’s always a good idea to read the user manuals for your DirecTV receiver and surround sound system for specific instructions and information on the available ports and settings.
Now that you have the required equipment and a basic understanding of what’s involved, we can move on to the next step: connecting the DirecTV receiver to your surround sound system.
Step 2: Connect the DirecTV Receiver to the Surround Sound System
Now that you have all the necessary equipment, it’s time to connect your DirecTV receiver to the surround sound system. Follow these steps:
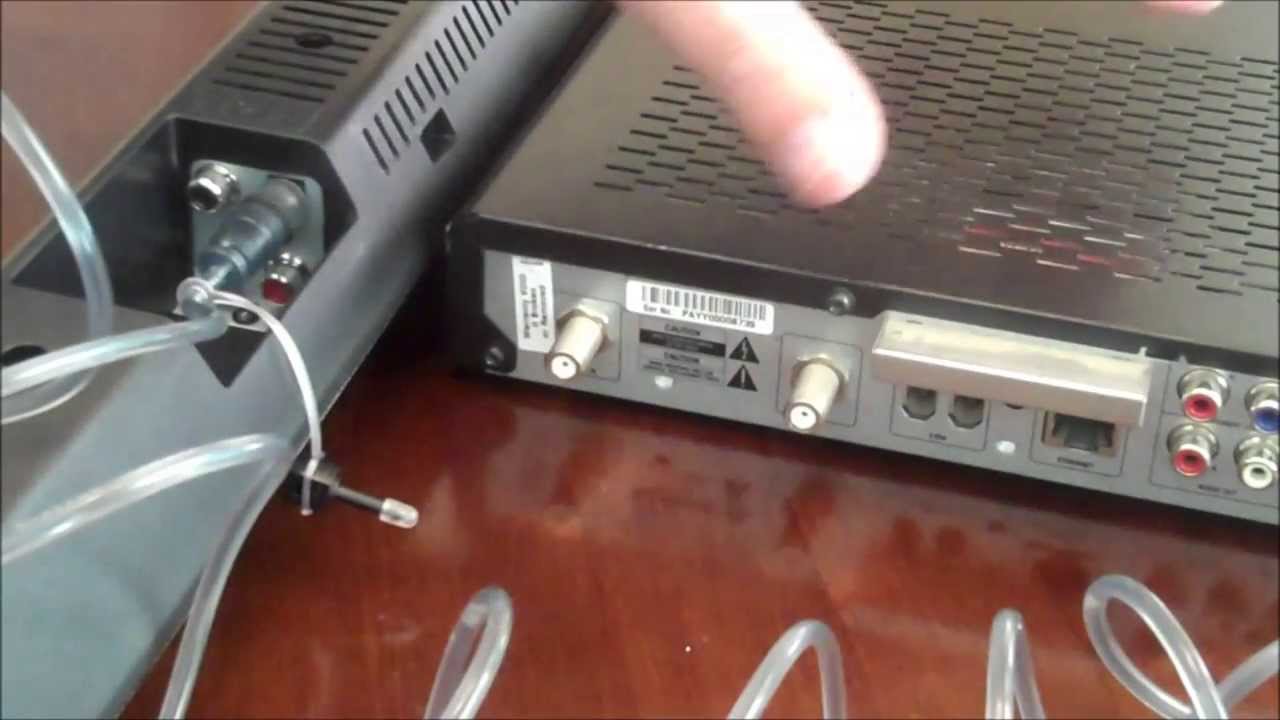
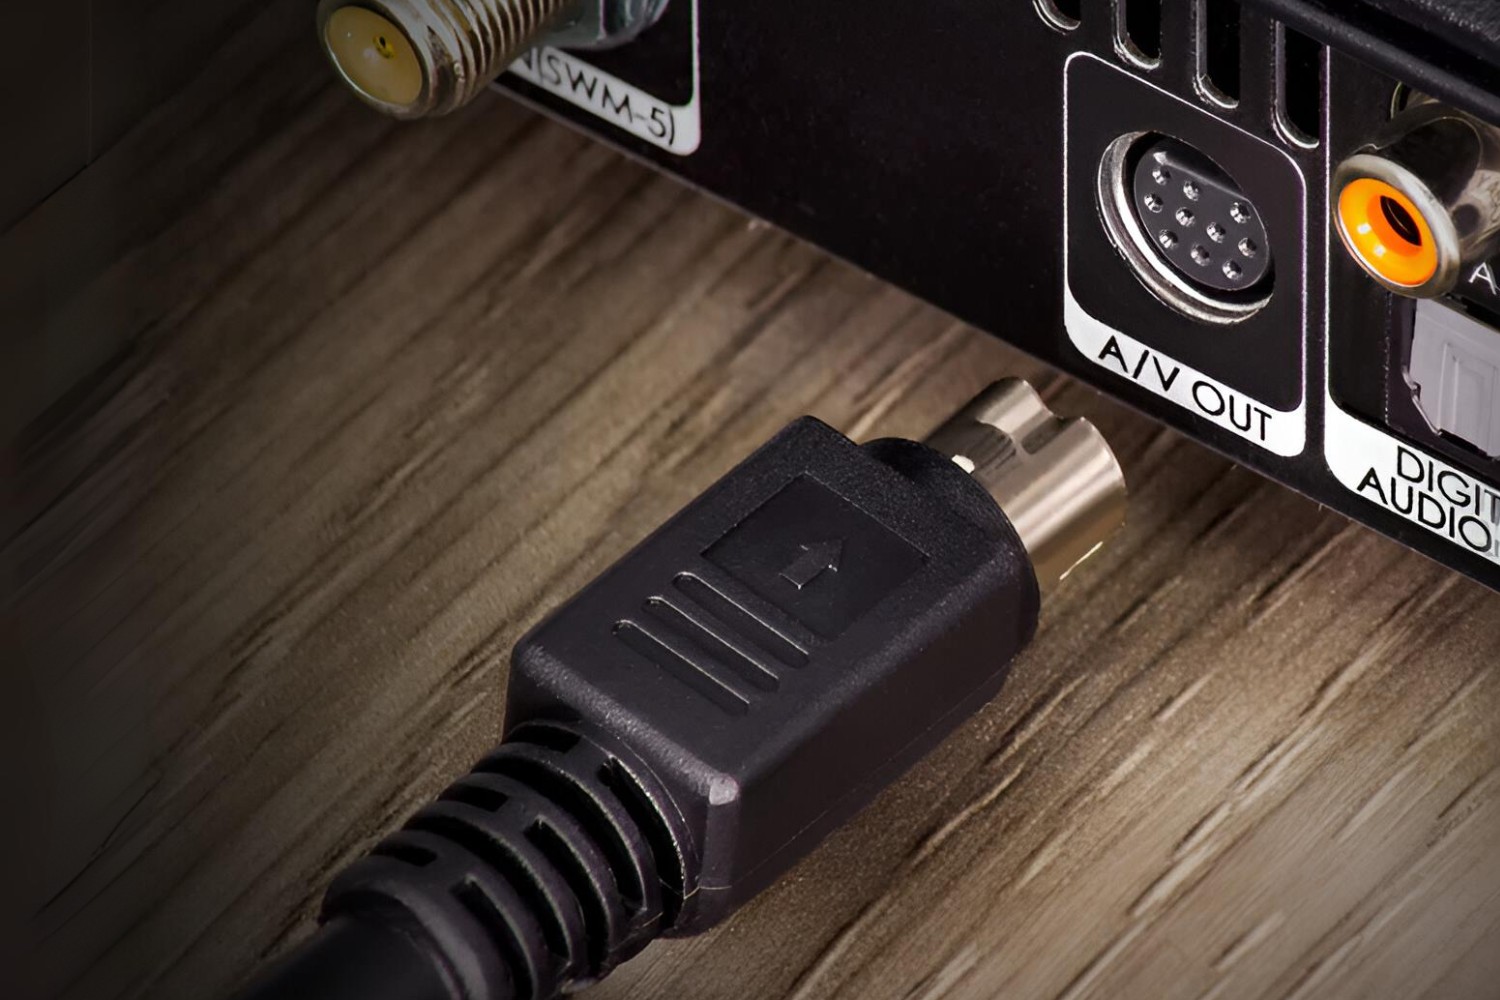
- Locate the Audio Output on the DirecTV Receiver: Depending on your receiver model, you may find multiple audio output options such as HDMI, optical, or RCA. Choose the one that is most suitable for your surround sound system.
- Locate the Audio Input on the Surround Sound System: Identify the corresponding audio input on your surround sound system. Again, this could be HDMI, optical, or RCA.
- Connect the Audio Output of the DirecTV Receiver to the Audio Input of the Surround Sound System: Use the appropriate audio cable to establish a connection between the two devices. If you’re using HDMI, simply plug one end of the cable into the HDMI output port on the receiver and the other end into the HDMI input port on the surround sound system. For optical or RCA connections, connect one end of the cable to the corresponding output port on the receiver and the other end to the input port on the surround sound system.
- Secure the Connections: Ensure that the audio cables are securely plugged into the appropriate ports on both the DirecTV receiver and the surround sound system. Make sure there are no loose connections that could affect the audio quality.
- Power on the Devices: Turn on your DirecTV receiver and the surround sound system. Allow them a few moments to establish a connection.
- Select the Correct Audio Input on the Surround Sound System: Use the remote control or the control panel on your surround sound system to select the audio input that corresponds to the connection you made (HDMI, optical, or RCA).
Once you have followed these steps, the DirecTV receiver should be successfully connected to your surround sound system. The audio from your DirecTV will now be transmitted to the surround sound speakers, providing you with an immersive audio experience.
Now that the connection is established, let’s proceed to the next step: configuring the audio settings on the DirecTV receiver to ensure optimal performance.
Step 3: Configure the Audio Settings on the DirecTV Receiver
After connecting the DirecTV receiver to your surround sound system, the next step is to configure the audio settings to ensure optimal performance. Follow these steps:
- Access the Audio Settings Menu: Using the remote control for your DirecTV receiver, navigate to the settings menu. Look for an option related to audio or sound settings. The exact location may vary based on your receiver model.
- Select the Audio Output: Within the audio settings menu, choose the audio output that corresponds to the connection you made. If you connected the receiver to your surround sound system using HDMI, select HDMI as the audio output. If you used optical or RCA, choose the corresponding option.
- Adjust the Audio Format: In certain models, you may have the option to adjust the audio format. Choose the format that is compatible with your surround sound system. Common options include stereo, Dolby Digital, or DTS.
- Set the Audio Output Level: Some receivers allow you to adjust the audio output level. Balance the sound levels to ensure that the audio from all speakers in your surround sound system is evenly distributed.
- Save the Settings: Once you have configured the audio settings to your preference, navigate to the option to save the changes. This will ensure that the settings are applied each time you use your DirecTV receiver.
By properly configuring the audio settings on your DirecTV receiver, you can optimize the sound output and ensure that it is compatible with your surround sound system. This step is crucial in achieving the best audio experience while watching your favorite TV shows, movies, or sports events.
With the audio settings configured, it’s time to move on to the final step: testing and troubleshooting the connection to ensure everything is working as expected.
Step 4: Test and Troubleshoot the Connection
Once you have connected and configured the audio settings on your DirecTV receiver and surround sound system, it’s important to test the connection to ensure everything is working properly. Follow these steps:
- Play Audio from DirecTV: Tune your DirecTV receiver to a channel or program that you know has audio. Make sure the volume on your surround sound system is set to an appropriate level.
- Listen for Audio: Pay attention to the sound coming from the speakers in your surround sound system. Confirm that you can hear the audio clearly and that it is coming from all the speakers, providing a surround sound experience.
- Check for Sound Sync: Observe whether the audio is synchronized with the visuals on the TV screen. If there is a noticeable delay between the audio and video, you may need to adjust the audio settings for synchronization. Consult the user manual of your surround sound system or receiver for guidance on adjusting audio delay settings.
- Test Different Audio Sources: Try different audio sources, such as movies, TV shows, or music, to ensure that the connection and audio settings work consistently across various content.
- Troubleshoot Any Issues: If you encounter any issues, such as no audio or distorted sound, check the connections between the devices. Ensure that all cables are securely plugged in. Additionally, confirm that the audio settings on both the DirecTV receiver and the surround sound system are correctly configured.
If you are still experiencing issues, consult the user manuals of your DirecTV receiver and surround sound system for troubleshooting tips specific to your models. It may also be helpful to reach out to customer support for further assistance.
By testing and troubleshooting the connection, you can ensure that the audio from your DirecTV is successfully transmitted to your surround sound system, providing you with a complete and immersive home theater experience.
Congratulations! You have successfully connected your DirecTV receiver to your surround sound system and can now enjoy enhanced audio quality while watching your favorite content.
Conclusion
Connecting your DirecTV receiver to a surround sound system is an excellent way to elevate your home entertainment experience. By following the steps outlined in this guide, you can enjoy immersive audio that brings movies, TV shows, and sports events to life.
We started by gathering the necessary equipment, including the DirecTV receiver, surround sound system, audio cables, and remote control. With all the components in place, we moved on to connecting the DirecTV receiver to the surround sound system, ensuring a secure and reliable connection.
Next, we guided you through the process of configuring the audio settings on your DirecTV receiver. By selecting the appropriate audio output, adjusting formats, and setting the output level, you can optimize the sound quality and compatibility with your surround sound system.
After configuring the audio settings, it’s important to test the connection to ensure everything is working as expected. By playing audio from your DirecTV receiver, listening carefully, and checking for sound sync, you can be confident in the performance of your surround sound system.
If any issues arise during the testing process, we provided troubleshooting tips such as checking connections, revisiting the audio settings, and consulting the user manuals for additional guidance. By addressing any issues promptly, you can resolve them and fully enjoy the benefits of your connected setup.
Now that you have successfully completed the process of connecting and configuring your DirecTV receiver to a surround sound system, sit back, relax, and immerse yourself in a world of cinematic audio right in your own living room. Whether you’re watching the latest blockbuster film, cheering on your favorite sports team, or enjoying a binge-watching session, the enhanced audio experience will add a new dimension to your home entertainment.
Remember, each setup may have slight variations, so it’s always a good idea to consult the user manuals of your specific devices for detailed instructions and troubleshooting tips. If needed, don’t hesitate to reach out to customer support for further assistance.
Now, grab your favorite snacks, dim the lights, and get ready to experience your favorite shows and movies like never before with the immersive audio of your connected DirecTV and surround sound system.