Introduction
Welcome to the world of surround sound systems, where you can experience an immersive audio experience right in the comfort of your own home. Whether you’re a movie enthusiast, a music lover, or a gaming aficionado, a surround sound system can elevate your audio enjoyment to a whole new level.
Surround sound systems are designed to create a multidimensional audio experience by using multiple speakers strategically placed around your listening area. By distributing sound from different directions, surround sound systems can replicate the feeling of being in the middle of the action, making you feel like you’re part of the movie, concert, or game.
In this guide, we will walk you through the process of creating your own surround sound system with multiple speakers. We will explain the key aspects to consider when choosing the right speakers, provide guidance on proper placement and positioning, and help you with the necessary steps to connect and calibrate your system. By the end of this guide, you’ll be well-equipped to set up a surround sound system that delivers an immersive audio experience.
Whether you’re a tech-savvy enthusiast or a beginner taking their first steps into the world of home audio, this guide will provide you with the knowledge and tools to create a surround sound system that suits your needs, preferences, and budget.
So, let’s dive in and discover the exciting world of surround sound systems together!
Understanding Surround Sound Systems
To fully appreciate and optimize your surround sound system, it’s essential to have a clear understanding of how it works. At its core, a surround sound system aims to create an immersive audio experience by utilizing multiple speakers and audio channels.
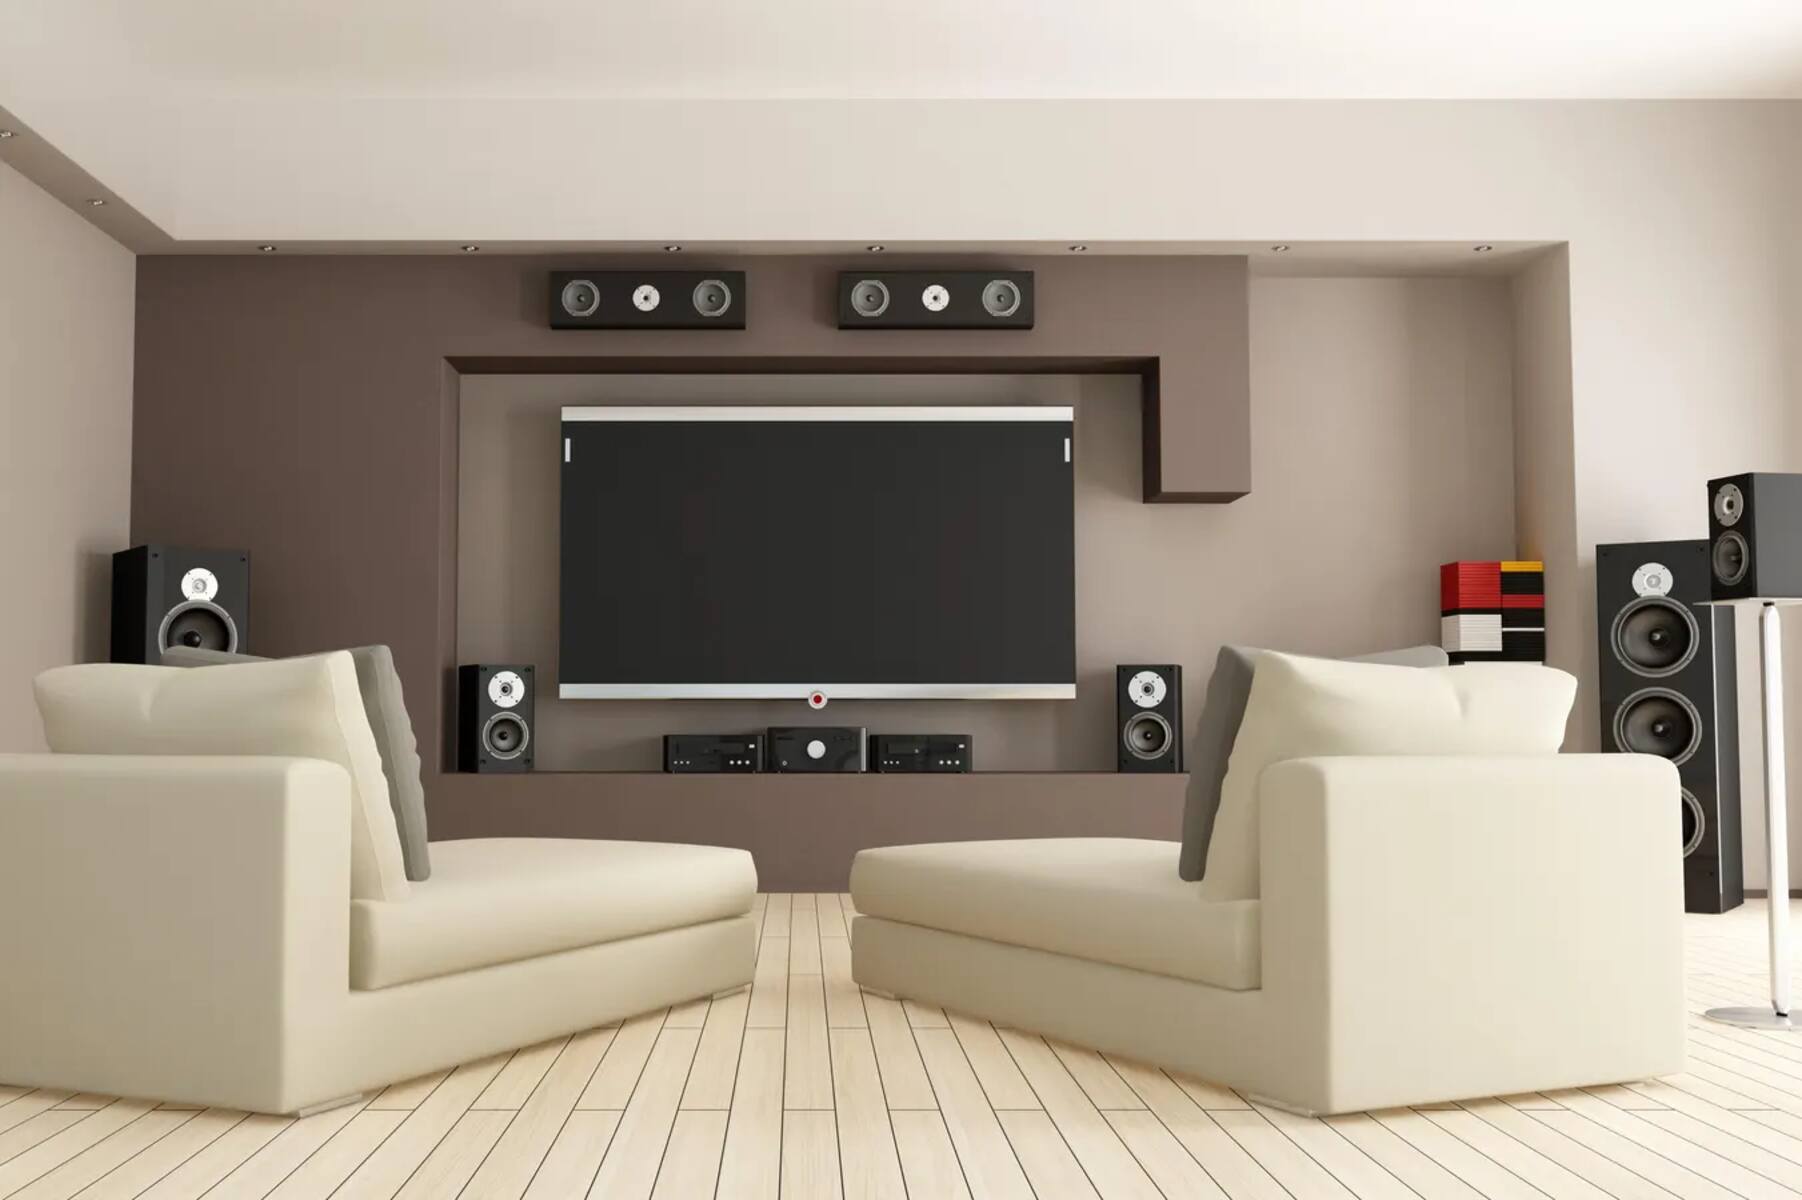
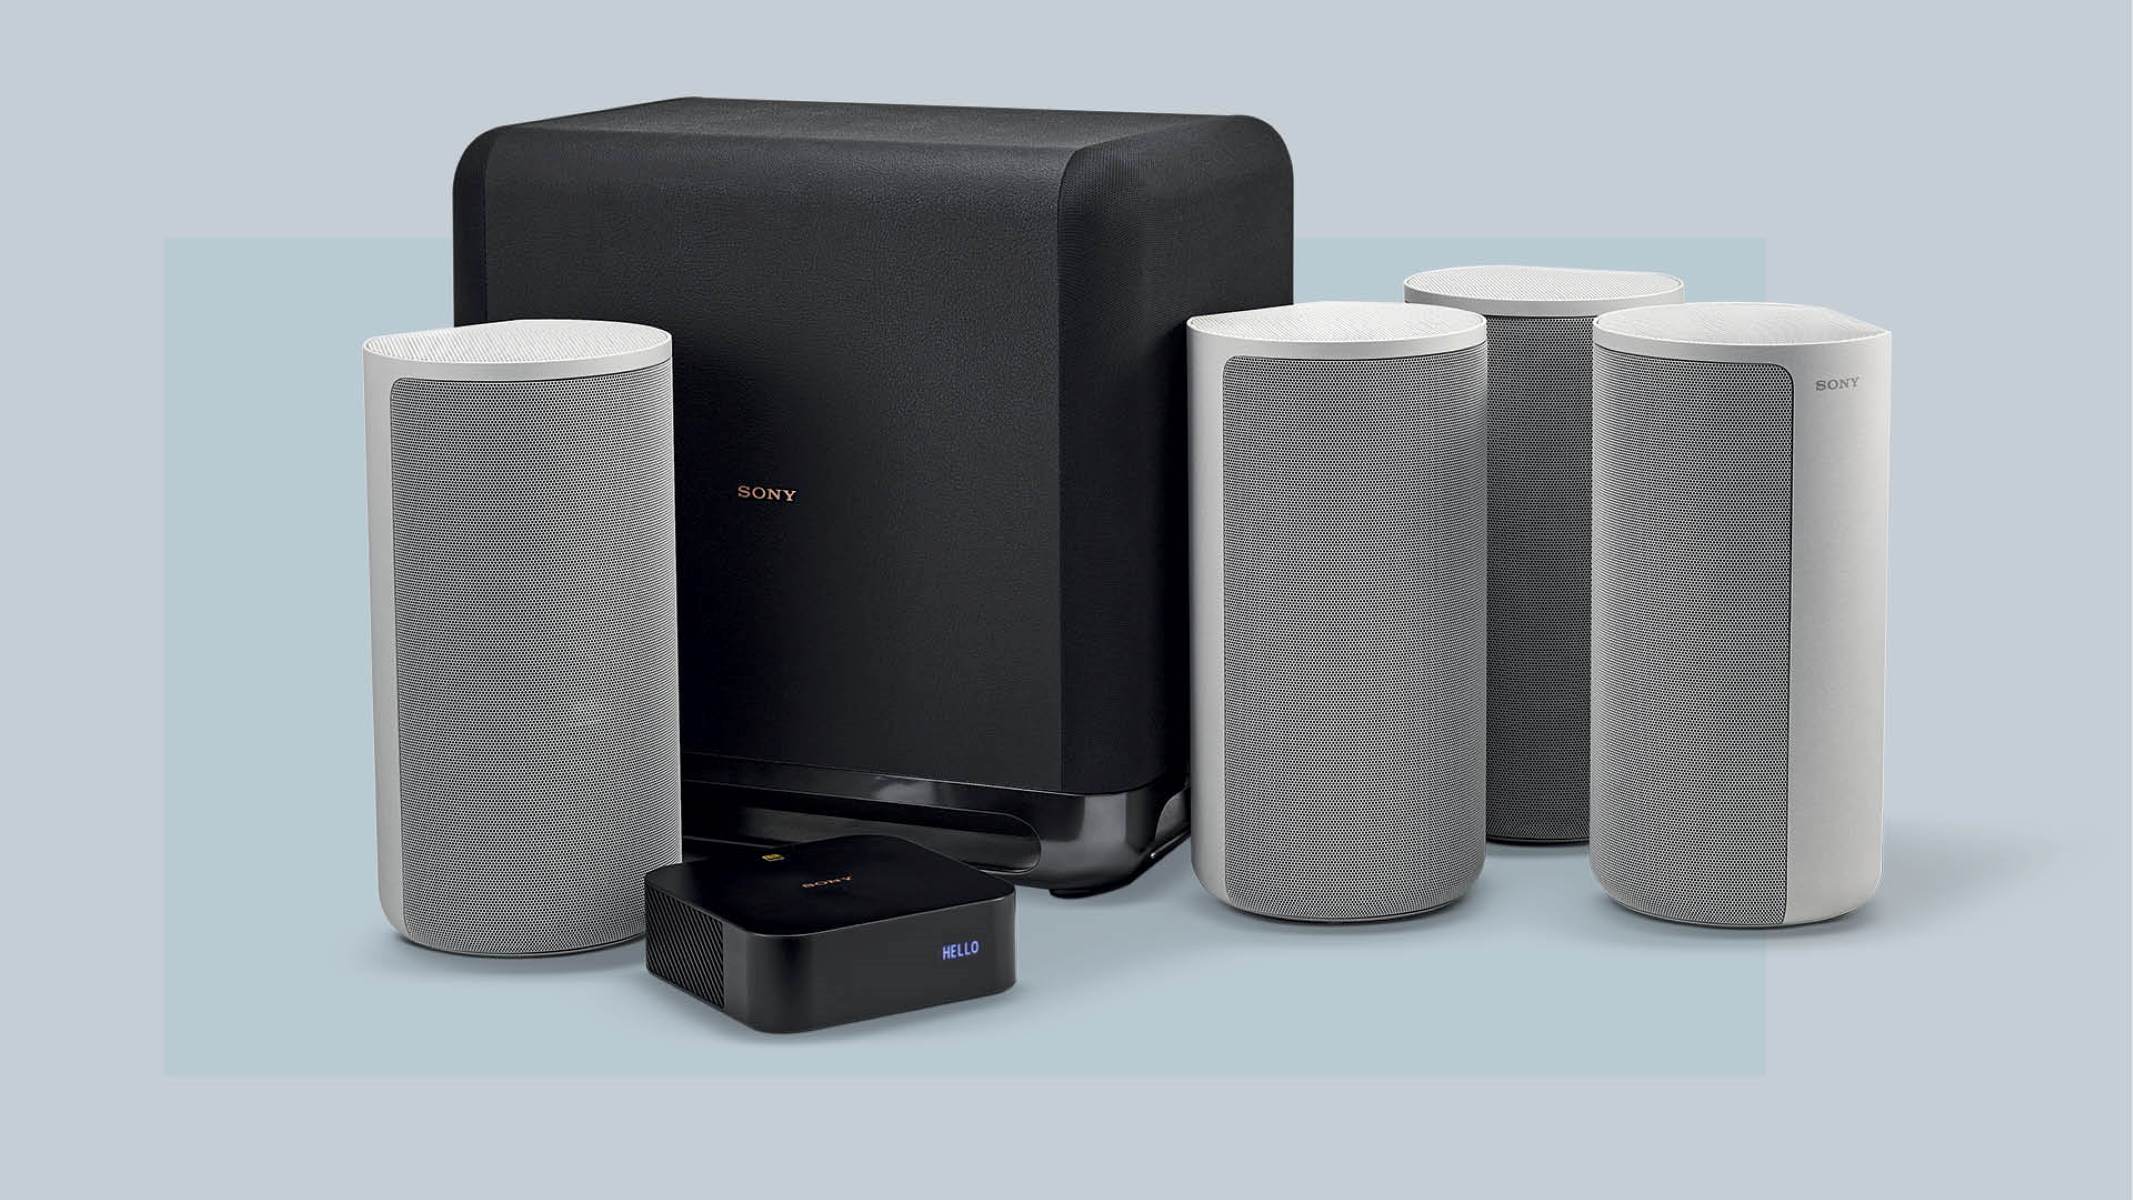
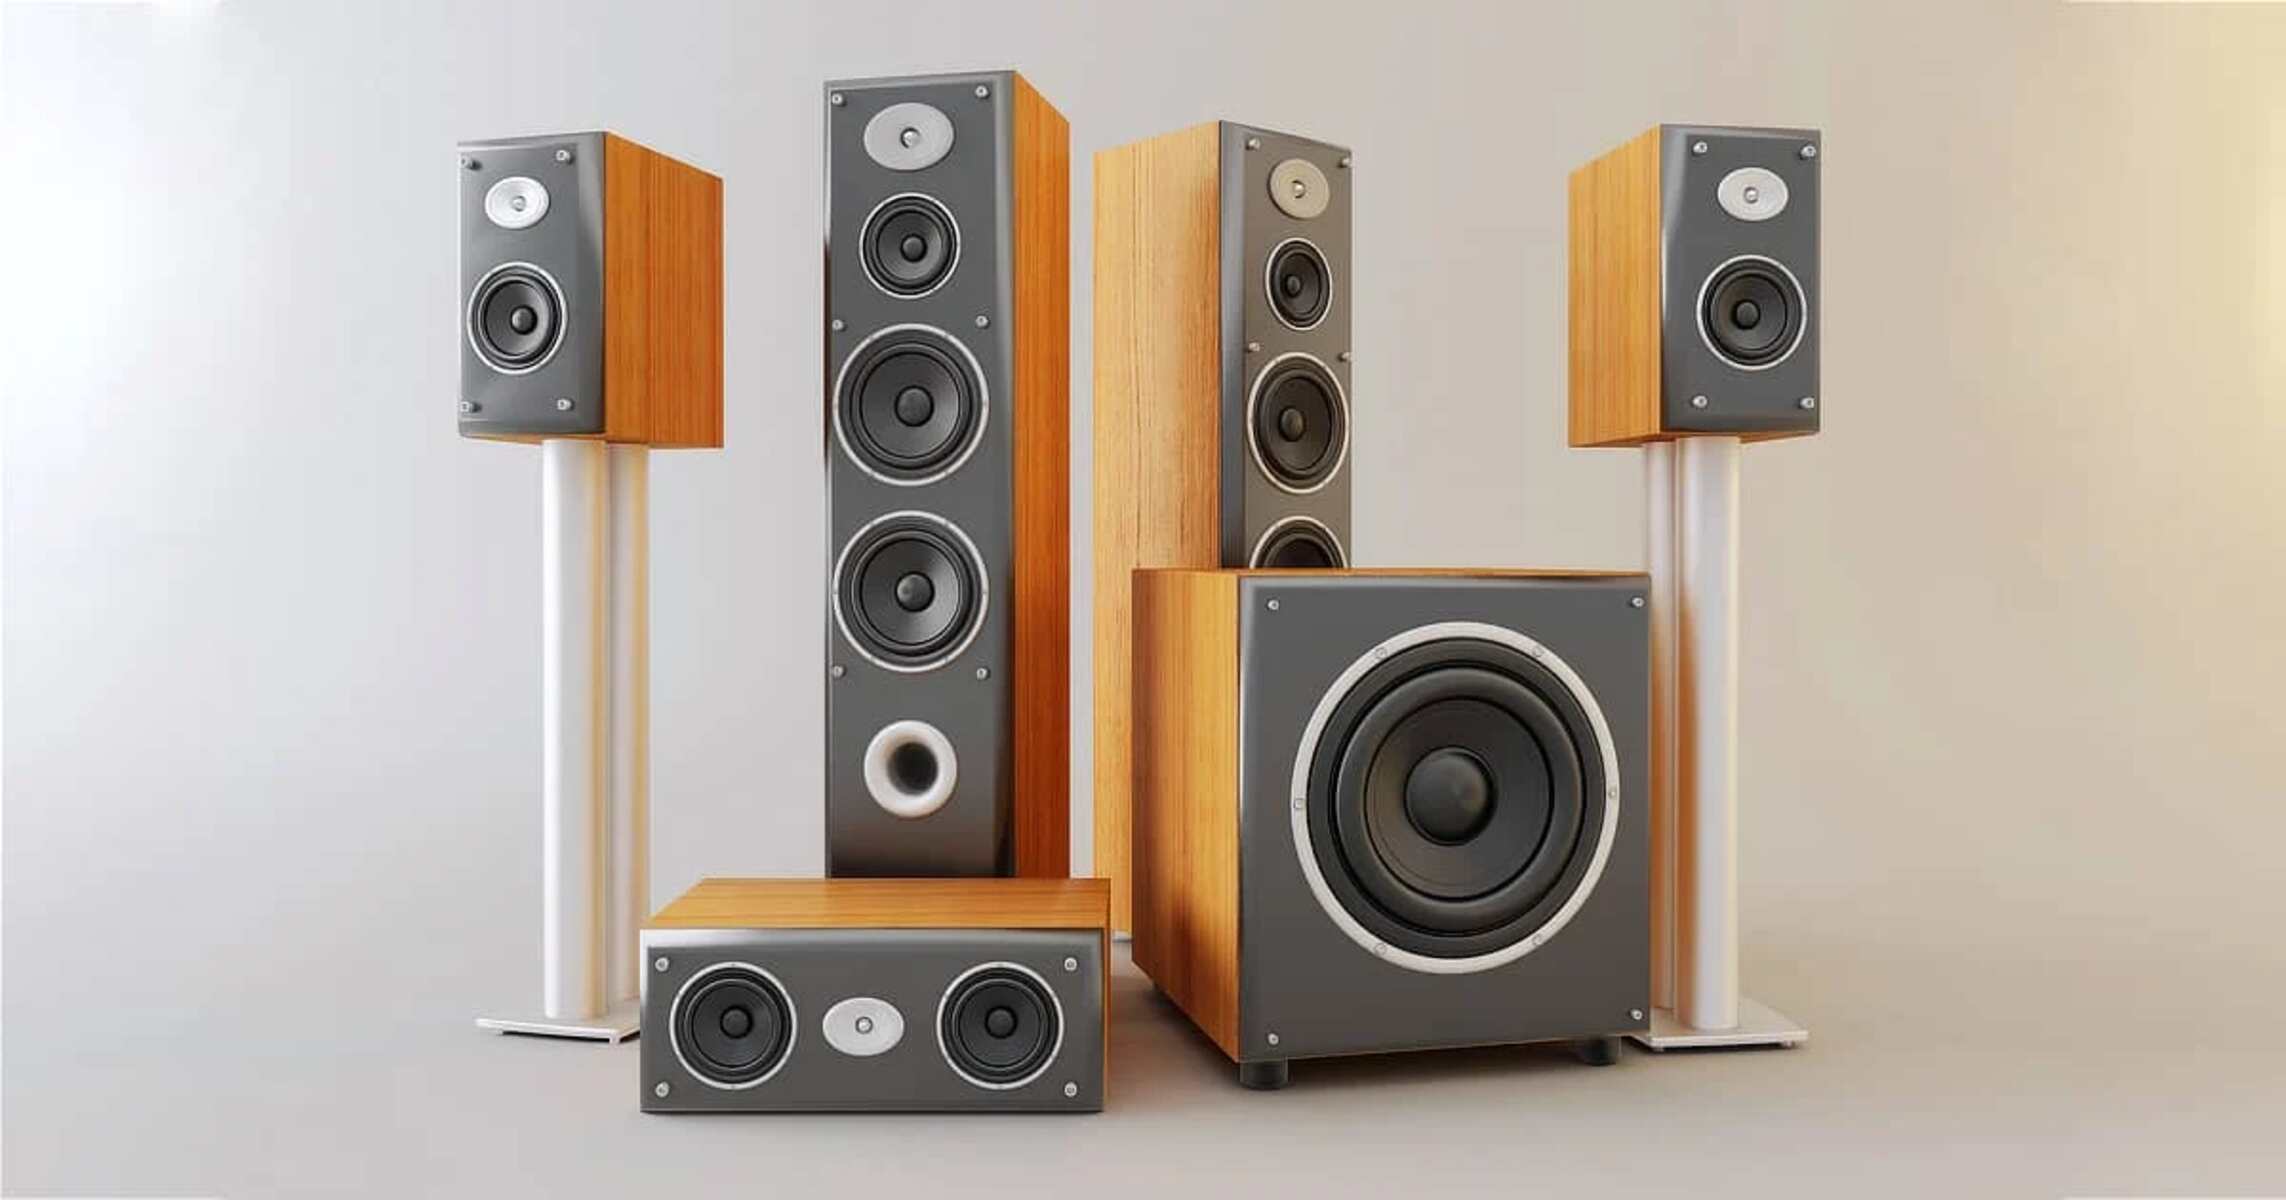
Surround sound systems utilize a configuration known as the “5.1” setup. The number “5” represents the five main speakers involved in the system, while the number “1” refers to the subwoofer responsible for handling low-frequency sounds, such as deep bass. The five main speakers consist of a center speaker, front left and right speakers, and surround left and right speakers.
The center speaker plays a crucial role in reproducing dialogue and other central audio elements, ensuring clear and distinct sounds. The front left and right speakers provide the main audio elements and are responsible for delivering the majority of the soundstage to the listener’s left and right sides. The surround left and right speakers add depth and width to the audio experience, immersing the listener in an enveloping soundscape.
Surround sound systems also employ audio encoding techniques, such as Dolby Digital or DTS (Digital Theater Systems), to further enhance the audio quality. These encoding formats allow for the delivery and decoding of multi-channel audio, ensuring precise and accurate positioning of sounds in the surround sound field.
It’s worth noting that there are more advanced configurations available, such as “7.1” and “9.1,” that include additional speakers for an even more immersive experience. However, for the purpose of this guide, we will focus on the standard “5.1” setup.
Understanding the basics of a surround sound system and its components is crucial when it comes to selecting the right speakers, setting up the system correctly, and achieving optimal audio performance. With this knowledge in mind, let’s move on to the next step – choosing the right speakers for your surround sound system.
Choosing the Right Speakers
Selecting the right speakers is a crucial step in building a high-quality surround sound system. Each speaker in the setup plays a unique role in delivering specific audio elements, so it’s essential to choose speakers that complement each other and meet your specific audio needs.
When it comes to speaker selection, several factors should be considered, including audio quality, speaker type, and compatibility with your audio receiver.
The first aspect to consider is audio quality. Look for speakers that offer a wide frequency range to ensure accurate reproduction of all audio frequencies, from deep bass to crisp highs. Speakers with a high sensitivity rating will also provide better sound output power, allowing you to achieve greater volume levels without distortion.
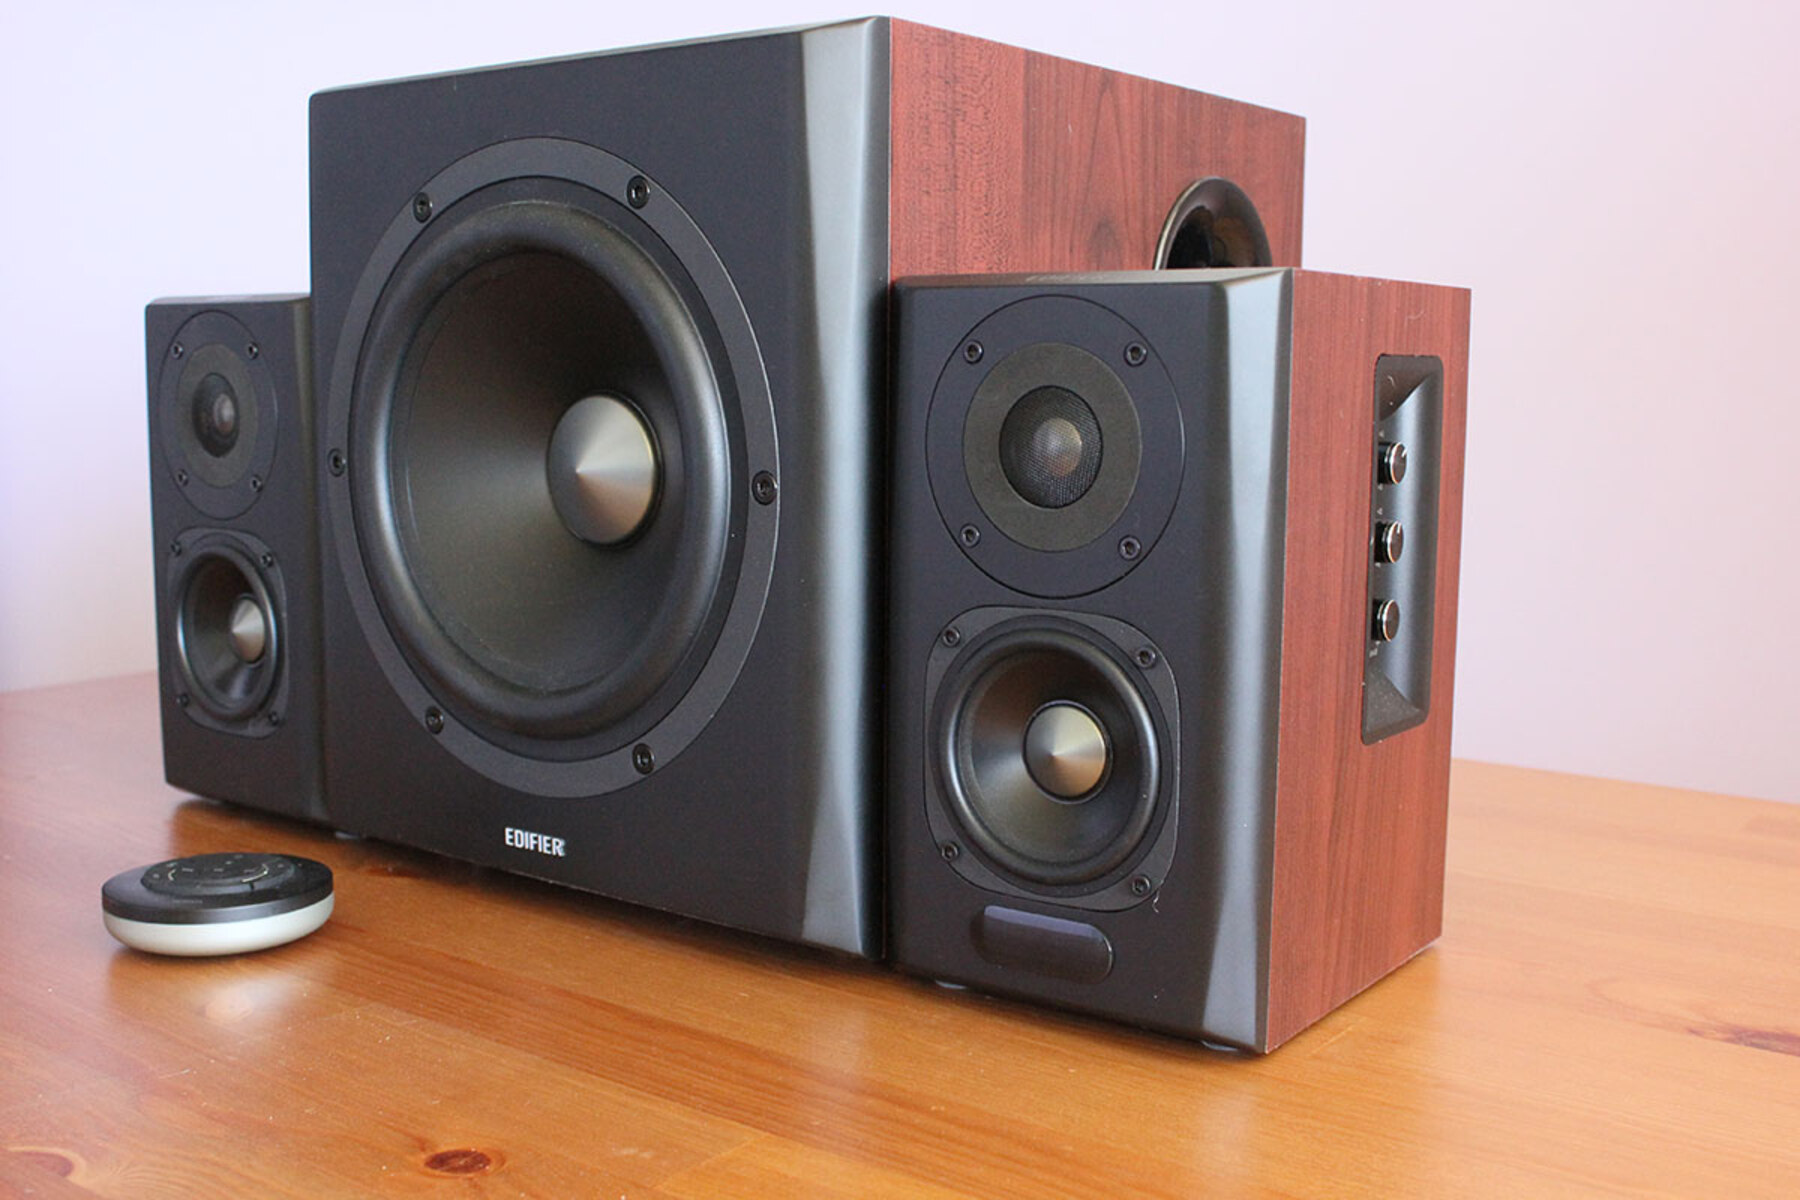
The second consideration is the type of speakers. The center speaker is crucial for clear dialogues, so prioritize a dedicated center channel speaker that delivers clear and crisp vocals. For front left and right speakers, bookshelf or floor-standing speakers with balanced sound and good imaging capabilities are recommended. The surround speakers can be compact satellite speakers or bookshelf speakers that can provide immersive surround effects.
It’s important to ensure compatibility between the speakers and your audio receiver. Check the power handling capabilities of the speakers and make sure they match the power output of your receiver. Additionally, consider the impedance rating of the speakers, as it should be compatible with your receiver for optimal performance. Most surround sound systems use speakers with an impedance of 8 ohms.
Budget is another factor to take into account. Determine your budget and look for speakers that offer the best audio quality within that range. Remember, investing in higher-quality speakers can significantly enhance your audio experience, but it’s important to strike a balance between the budget and audio performance that meets your needs.
Lastly, consider the size and aesthetics of the speakers. Ensure that the speakers fit well within your chosen placement and complement the overall design of your room. Compact speakers can be ideal for smaller spaces or if you prefer a more discreet setup, while larger speakers can deliver more powerful sound in larger rooms.
By considering these factors and doing proper research, you’ll be able to choose speakers that meet your audio preferences, fit your budget, and create an immersive surround sound experience.
Now that you understand the key factors to consider when selecting speakers, let’s move on to the next step – placement and positioning of your speakers.
Placement and Positioning
The proper placement and positioning of your speakers are essential in creating an immersive surround sound experience. Each speaker has a specific role and needs to be strategically positioned to maximize their impact. Here are some guidelines to help you with the placement and positioning of your surround sound speakers:
1. Center Speaker: The center speaker should be positioned directly above or below your TV or screen. It should ideally be at ear level when you are seated in your listening area. This placement ensures clear and focused dialogue reproduction, essential for a balanced audio experience.
2. Front Left and Right Speakers: Place the front left and right speakers at equal distances on either side of your TV or screen. Ideally, they should be positioned at ear level, forming an equilateral triangle with the seating position. This configuration provides a natural and balanced soundstage, creating a realistic audio experience.
3. Surround Left and Right Speakers: The surround speakers should be positioned to the sides or slightly behind your listening area. Aim to have them at ear level or slightly above, pointing towards the listening area. This configuration enhances the sense of spatial audio and envelopment, immersing you in a 360-degree soundfield.
4. Subwoofer: The subwoofer is less restricted in placement since low-frequency sounds are less directional. Experiment with different positions in the room to find the spot that delivers the best bass response. Common locations include corners or along the front wall. Avoid placing it too close to walls or corners, as it can result in excessive bass resonance.
5. Room Acoustics: Take into account the acoustic properties of your room. Hard surfaces and reflections can affect audio quality. Consider using acoustic treatment, such as wall panels or diffusers, to minimize unwanted echoes or reflections and improve overall sound clarity.
6. Wire Management: Use quality speaker wires and conceal them as much as possible to maintain a clean and organized look. Avoid running wires near power cables or other potential sources of interference to prevent audio distortion.
Remember to follow the user manuals and setup guides provided with your speakers for more specific recommendations related to their placement. Fine-tuning the positions of your speakers may require some experimentation to find the optimal configuration that suits your listening area and preferences.
Now that you have placed and positioned your speakers correctly, the next step is to connect them and set the proper volume levels for an optimized audio experience.
Connecting the Speakers
Once you have positioned your speakers in their optimal locations, the next step is to connect them to your audio receiver or amplifier. Properly connecting the speakers ensures that they work together seamlessly to deliver the surround sound experience you desire. Here’s a step-by-step guide on how to connect your surround sound speakers:
1. Identify the speaker terminals on your audio receiver. These terminals are usually labeled with corresponding numbers or letters for each speaker channel (Center, Front Left, Front Right, Surround Left, Surround Right, Subwoofer).
2. Begin by connecting the center speaker. Take one end of your speaker wire and strip about half an inch of insulation from each wire end. Insert the stripped wire into the center speaker’s corresponding terminal, making sure the positive (+) and negative (-) wires are correctly connected. Repeat this process for the remaining speakers.
3. Connect the front left and right speakers. Attach the stripped wire ends to the terminals labeled “Front Left” and “Front Right” on your receiver. Make sure to observe proper polarity, as incorrect connections may result in phase cancellation and affect sound quality.
4. Connect the surround left and right speakers. Connect the stripped wire ends to the terminals labeled “Surround Left” and “Surround Right” on your receiver. Again, ensure correct polarity for optimal performance.
5. Connect the subwoofer. If your subwoofer has a speaker-level input, connect it to the receiver using speaker wires. Alternatively, if your subwoofer has a dedicated subwoofer output on your receiver, use a subwoofer cable to connect them.
6. Double-check all connections. Ensure that all speaker wires are securely connected to their respective terminals and that there are no loose or protruding wires that may cause signal interference.
7. Power on your receiver and speakers. Once all the speakers are connected, power on your audio receiver or amplifier. Check the user manual for your specific receiver model to configure the speaker settings, such as channel levels, distance, and crossover frequencies, for optimal performance.
With your speakers properly connected and configured, you are now ready to set the volume levels and calibrate your surround sound system to ensure a balanced audio experience.
Adjusting Volume Levels
After connecting your surround sound speakers and configuring your audio receiver, it’s time to adjust the volume levels to ensure a balanced and immersive audio experience. Properly setting the volume levels for each speaker is crucial in achieving optimal sound quality and preventing any overpowering or underwhelming audio from certain channels. Here are the steps to adjust the volume levels:
1. Start by playing a test audio source that includes sound from all speakers, such as a surround sound test track or a movie with a diverse range of audio elements.
2. Sit in the center of your listening area and listen carefully to the audio produced by each speaker. Pay attention to the clarity, volume, and positioning of sound coming from each channel.
3. Begin by adjusting the volume level of the center speaker. The dialogues and central audio elements should be clear and distinct without overpowering or being drowned out by other sounds. Increase or decrease the center speaker’s volume level until it is balanced and in harmony with the other speakers.
4. Proceed to adjust the volume levels of the front left and right speakers. These speakers carry the main audio elements and should be well-balanced and engaging. Make sure they are not overpowering other channels or being overshadowed by them.
5. Now focus on the surround left and right speakers. They should create a sense of immersion and a spacious soundstage. Adjust their volume levels to bring out the desired surround effects without overpowering the other speakers.
6. Finally, fine-tune the volume of the subwoofer. The bass produced by the subwoofer should be deep, impactful, and well-integrated with the rest of the audio. Increase or decrease the subwoofer volume until it complements the other speakers without overpowering them.
7. Continue adjusting and fine-tuning the volume levels of each speaker until you achieve a well-balanced audio experience that envelops you in sound and accurately reproduces all audio elements.
Remember that personal preferences dictate how you want the sound to be balanced. Take your time and experiment with different volume levels to find what suits your preferences and the content you are enjoying.
It’s also worth noting that some audio receivers offer automated calibration systems that can help set optimal volume levels for each speaker. Consult your receiver’s user manual for instructions on how to utilize its calibration features.
Once you have adjusted the volume levels to your satisfaction, you can move on to calibrating the overall system for room acoustics and speaker distances to further optimize the sound quality of your surround sound system.
Calibrating the System
Calibrating your surround sound system is an important step to ensure optimal audio performance and make the most out of your setup. It involves adjusting various settings related to room acoustics and speaker distances. Taking the time to calibrate your system will result in a more accurate and immersive audio experience. Here’s how you can calibrate your surround sound system:
1. Room Acoustics:
Consider the size and layout of your room, as well as any hard surfaces that may cause audio reflections. Some audio receivers feature room correction software that can automatically analyze and optimize the audio based on your room’s characteristics. Follow the instructions provided by the receiver’s manufacturer to perform this calibration process.
2. Speaker Distance:
Measure the distance between each speaker and your listening position using a tape measure. Enter these values into the audio receiver or amplifier’s settings menu. This calibration ensures that the audio is time-aligned and balanced properly, enhancing the overall surround sound experience.
3. Speaker Levels:
Use the audio receiver’s built-in test tones or a calibration disc to balance the sound levels of each speaker accurately. The receiver’s menu will have options for adjusting the volume levels of individual speakers or a test tone generator for each channel. Play the test tone and adjust the volume for each speaker until they all sound equally balanced and clear, without any one channel overpowering the others.
4. Crossover Frequencies:
Set the crossover frequency for the speakers and the subwoofer. The crossover frequency determines the point at which low-frequency sounds are directed to the subwoofer instead of the main speakers. Set the crossover frequency to ensure smooth transitions between the speakers and the subwoofer, avoiding any gaps or overlaps in the audio.
5. Fine-Tuning:
After making initial calibration adjustments, take the time to listen to various types of audio content, including movies, music, and games, to assess the overall sound quality. Make subtle adjustments to the settings, such as the speaker levels or crossover frequencies, to suit your personal preferences and the audio content you enjoy most.
6. Save the Settings:
Once you are satisfied with the calibration adjustments, save the settings on your audio receiver or amplifier. This way, you can easily recall the calibrated settings whenever you use your surround sound system.
Keep in mind that the calibration process may vary depending on the specific model and features of your audio receiver or amplifier. Consult the user manual for detailed instructions and recommendations from the manufacturer.
By calibrating your surround sound system, you can ensure that all speakers are properly balanced and synchronized, creating a seamless and immersive audio experience every time you use your system.
Troubleshooting Common Issues
While surround sound systems offer incredible audio experiences, they can sometimes encounter common issues that may affect their performance. Troubleshooting these issues can help you get the most out of your system and ensure a smooth and enjoyable audio experience. Here are some common issues you may encounter and how to troubleshoot them:
1. No Sound or Low Volume:
If you’re experiencing no sound or low volume from your speakers, check the following:
– Ensure that all speakers are properly connected to the audio receiver or amplifier.
– Make sure the speaker wires are securely connected to the correct terminals.
– Verify that the volume levels are appropriately set for each speaker in the audio receiver’s settings.
– Check that the audio source (TV, DVD player, etc.) is set to output audio to the surround sound system.
2. Imbalanced Sound:
If you notice imbalanced sound between speakers, follow these steps to troubleshoot:
– Check the speaker wiring connections to ensure all wires are correctly connected.
– Adjust the volume levels individually for each speaker to ensure they are balanced and properly calibrated.
– Check for any physical obstructions or objects blocking the speakers that may be affecting the sound distribution.
3. Distorted Sound:
If you encounter distorted sound coming from your speakers, consider the following troubleshooting steps:
– Make sure the source audio is not overloading the speakers. Adjust the volume levels on both the receiver and the audio source if necessary.
– Check that the speaker wires are not damaged or frayed, as this can cause distortion. Replace any damaged wires if needed.
– If using a subwoofer, ensure that the crossover frequency is properly set, as an improperly set crossover can result in distorted bass.
4. Audio Delay or Out of Sync:
If you experience audio delay or an out-of-sync audio-to-video experience, follow these steps:
– Adjust the audio delay setting in your audio receiver’s settings menu to sync the audio with the video.
– Check the video source for any potential processing delays or latency issues.
– Make sure you have the latest firmware or software updates for both your audio receiver and video source devices.
5. Random Audio Dropouts or Interruptions:
If you encounter random audio dropouts or interruptions, try the following troubleshooting steps:
– Ensure that all speaker wires are firmly connected and that there are no loose connections.
– Check for any possible wireless interference from other devices, such as cordless phones or Wi-Fi routers. Adjust the placement of these devices or switch to a different wireless channel if necessary.
– If using wireless speakers, make sure they are within range of the receiver and that the batteries are properly charged.
If you encounter persistent issues that you cannot troubleshoot, consult the user manual for your specific surround sound system or consider reaching out to the manufacturer’s customer support for further assistance.
By troubleshooting common issues, you can resolve any audio-related problems and enjoy an optimal surround sound experience.
Conclusion
Creating a surround sound system with multiple speakers is a fantastic way to immerse yourself in a captivating audio experience. By understanding the fundamentals of surround sound systems, choosing the right speakers, positioning them correctly, and properly calibrating the system, you can achieve audio perfection in your own home.
When selecting speakers, consider factors such as audio quality, speaker type, compatibility, and budget. Positioning the speakers strategically ensures proper audio distribution and immersion. Connecting the speakers correctly and adjusting the volume levels creates a balanced and enveloping soundstage. Calibrating the system for room acoustics and speaker distances optimizes the overall performance and accuracy of the surround sound experience.
Should you encounter any issues, troubleshooting common problems like low volume, imbalanced sound, distorted audio, or audio delay can help resolve them and ensure a smooth audio experience.
Remember, building a surround sound system is a journey of discovery and personal preference. Experiment with different settings and configurations to find what best suits your audio enjoyment. Don’t hesitate to consult the user manuals and seek support from the manufacturers if needed.
With the right knowledge and attention to detail, you can transform your living room into a cinematic oasis or a concert hall. So, go ahead and embark on this audio adventure to create the ultimate surround sound system that enhances your entertainment experiences for years to come.