Introduction
Welcome to the world of immersive audio! If you’re a movie enthusiast, a music lover, or a gaming aficionado, you know the importance of a high-quality audio experience. A 5.1 surround sound system takes your audio immersion to the next level, recreating the sensation of being right in the middle of the action, surrounded by rich and vibrant sound.
Whether you’re setting up a home theater system or upgrading your audio setup, this article will guide you through the process of setting up a 5.1 surround sound system. We’ll cover everything from understanding surround sound to choosing the right equipment and configuring it for optimal performance.
Before we dive into the technical aspects, let’s quickly go over the basic concept of surround sound. Unlike traditional stereo systems that use two speakers to deliver audio, surround sound systems use multiple speakers strategically placed around the room to create a realistic and immersive audio experience.
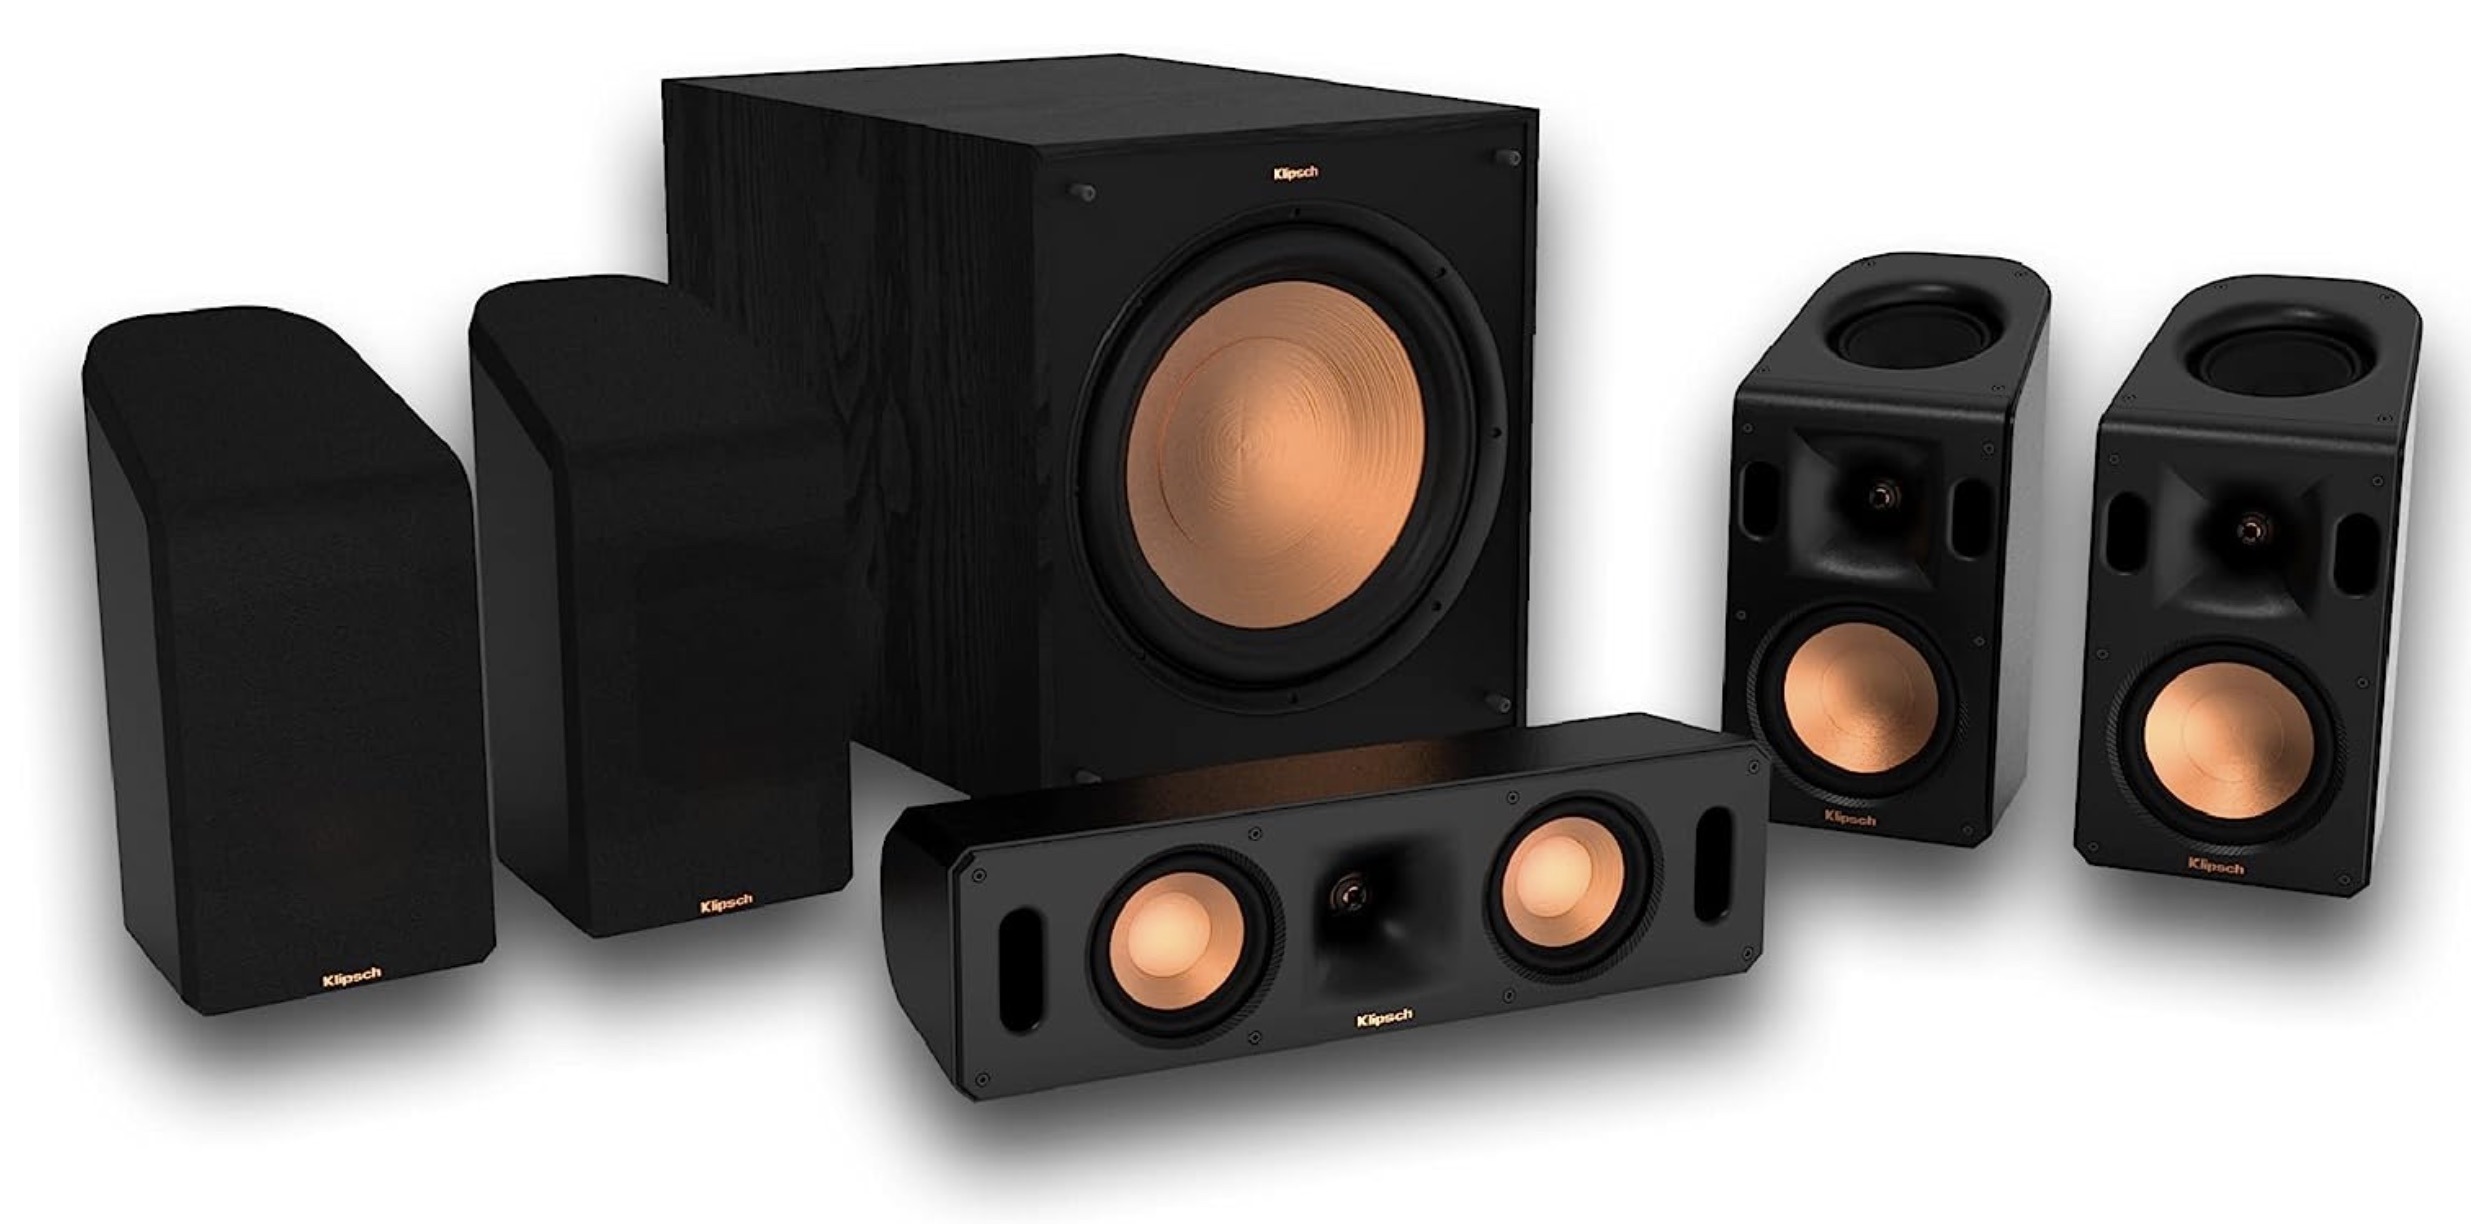
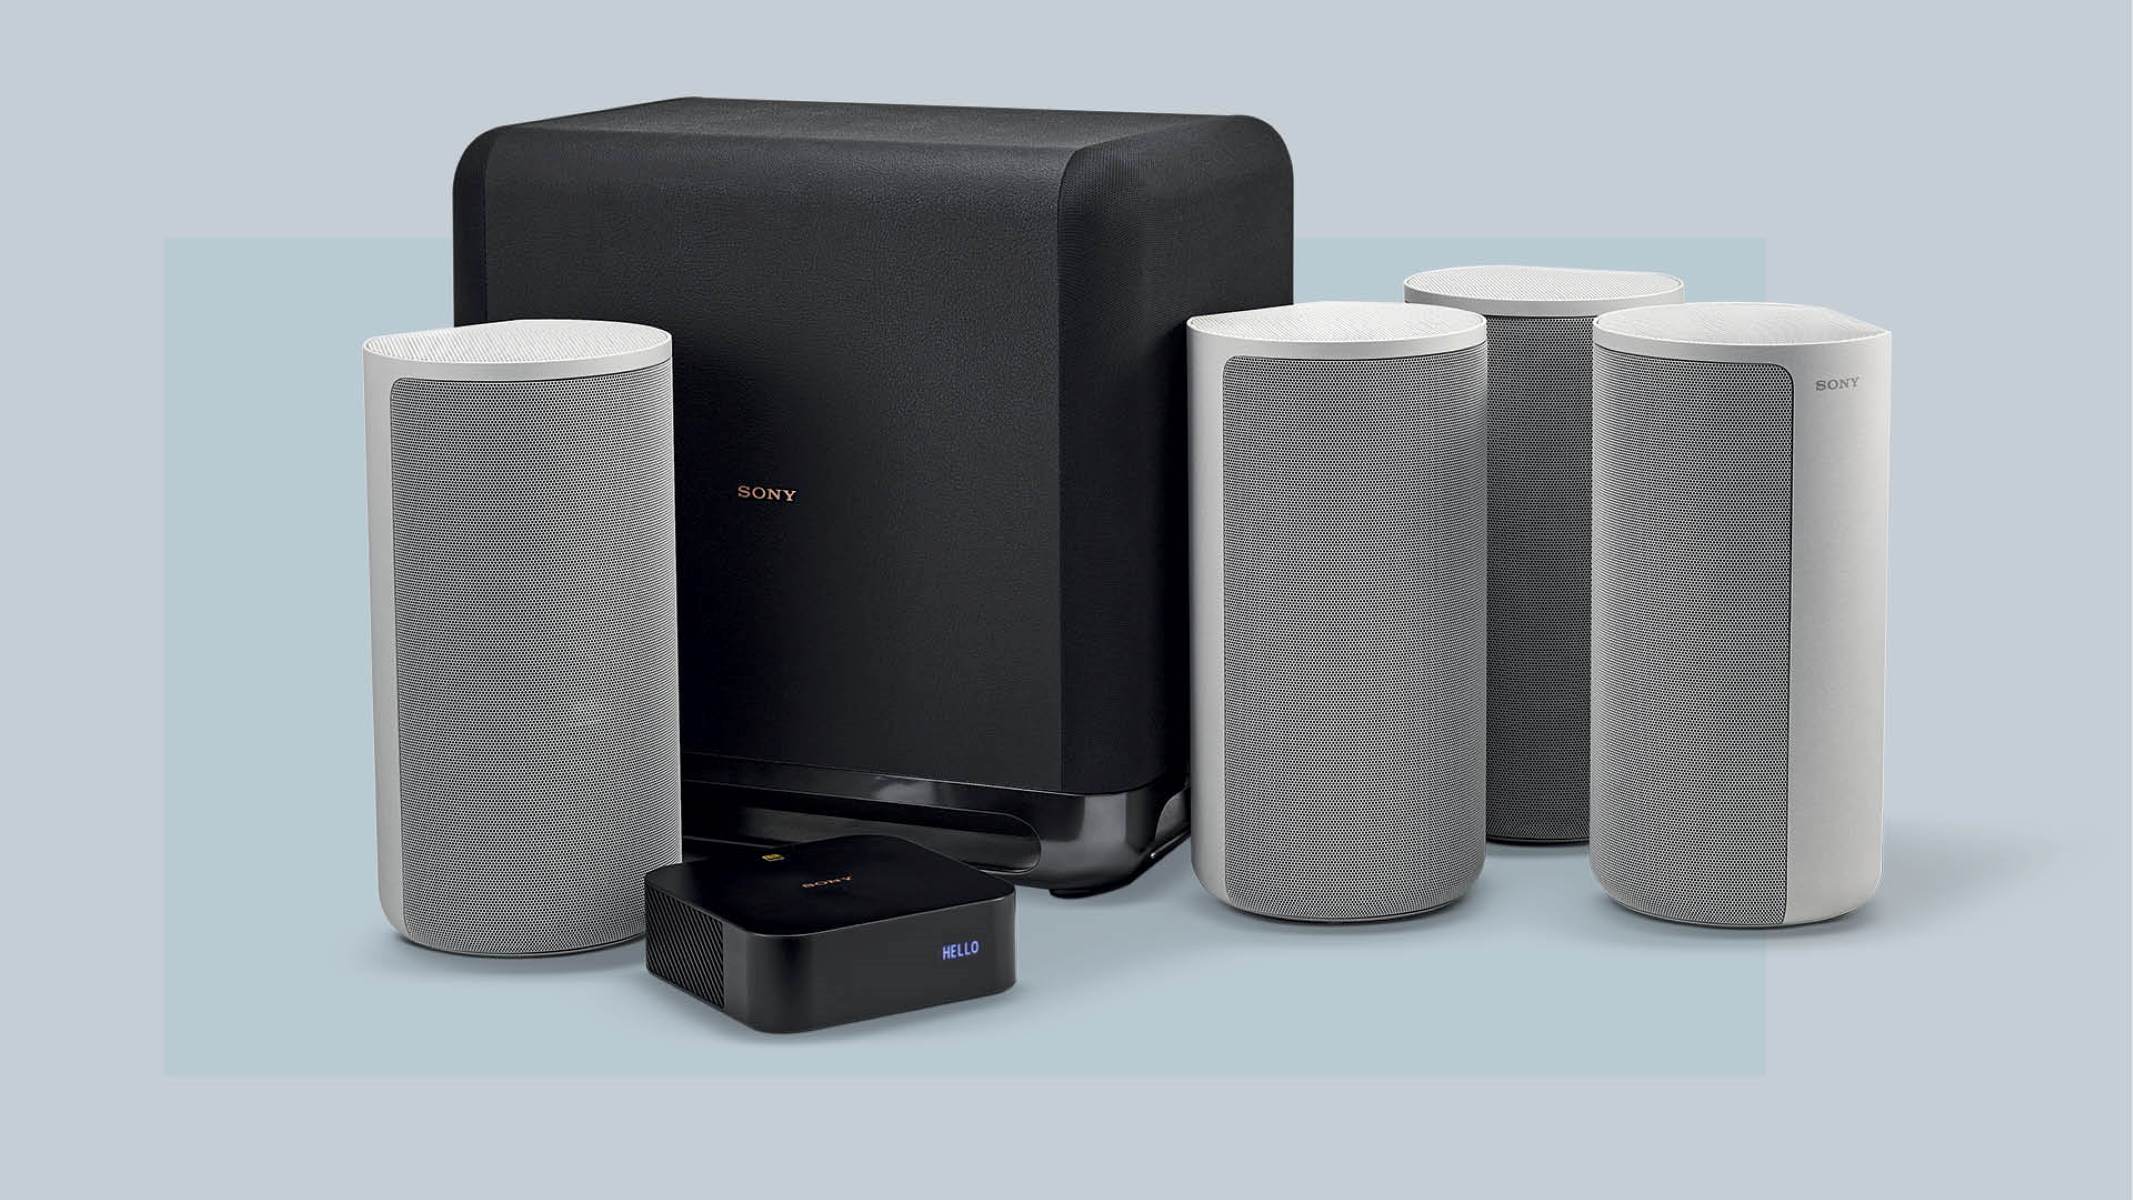
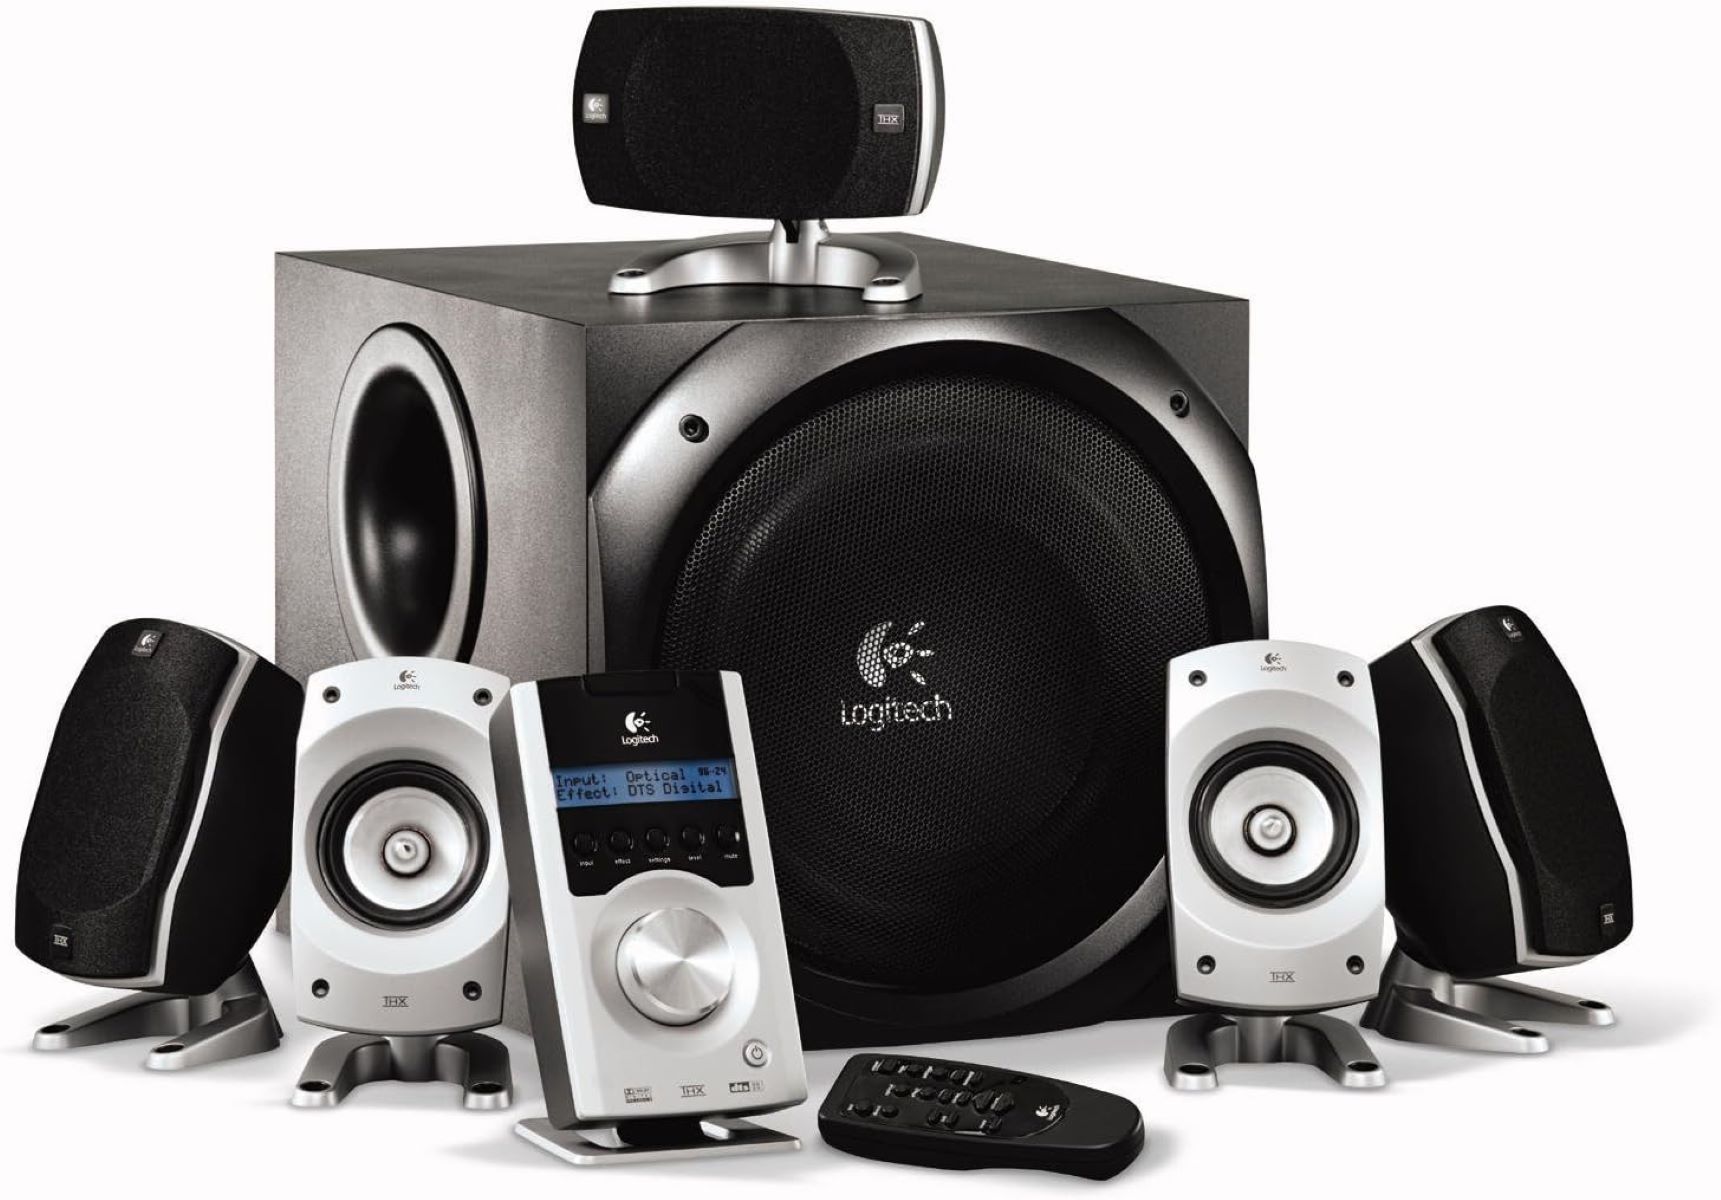
A 5.1 surround sound system consists of five speakers and one subwoofer. The numbers “5.1” refer to the configuration of speakers, where the “5” represents the five main speakers responsible for delivering mid-range and high-frequency sounds, and the “.1” represents the subwoofer handling the lower-frequency bass sounds.
Now that you have a general idea of what a 5.1 surround sound system entails, let’s explore how to choose the right equipment that suits your needs and preferences. Whether you’re aiming for a cinematic experience or a high-fidelity audio setup, selecting the right components is crucial for achieving the best audio performance.
Understanding Surround Sound
Before we delve into the specifics of setting up a 5.1 surround sound system, it’s important to have a solid understanding of how surround sound works. Surround sound technology aims to immerse you in a three-dimensional audio experience, placing you at the center of sound sources and providing a realistic and cinematic feel.
A surround sound system utilizes multiple speakers placed strategically around the room to create a sense of directionality and depth in the audio. By distributing sound from different angles, it simulates the way sound behaves in the real world, enhancing the overall audio experience.
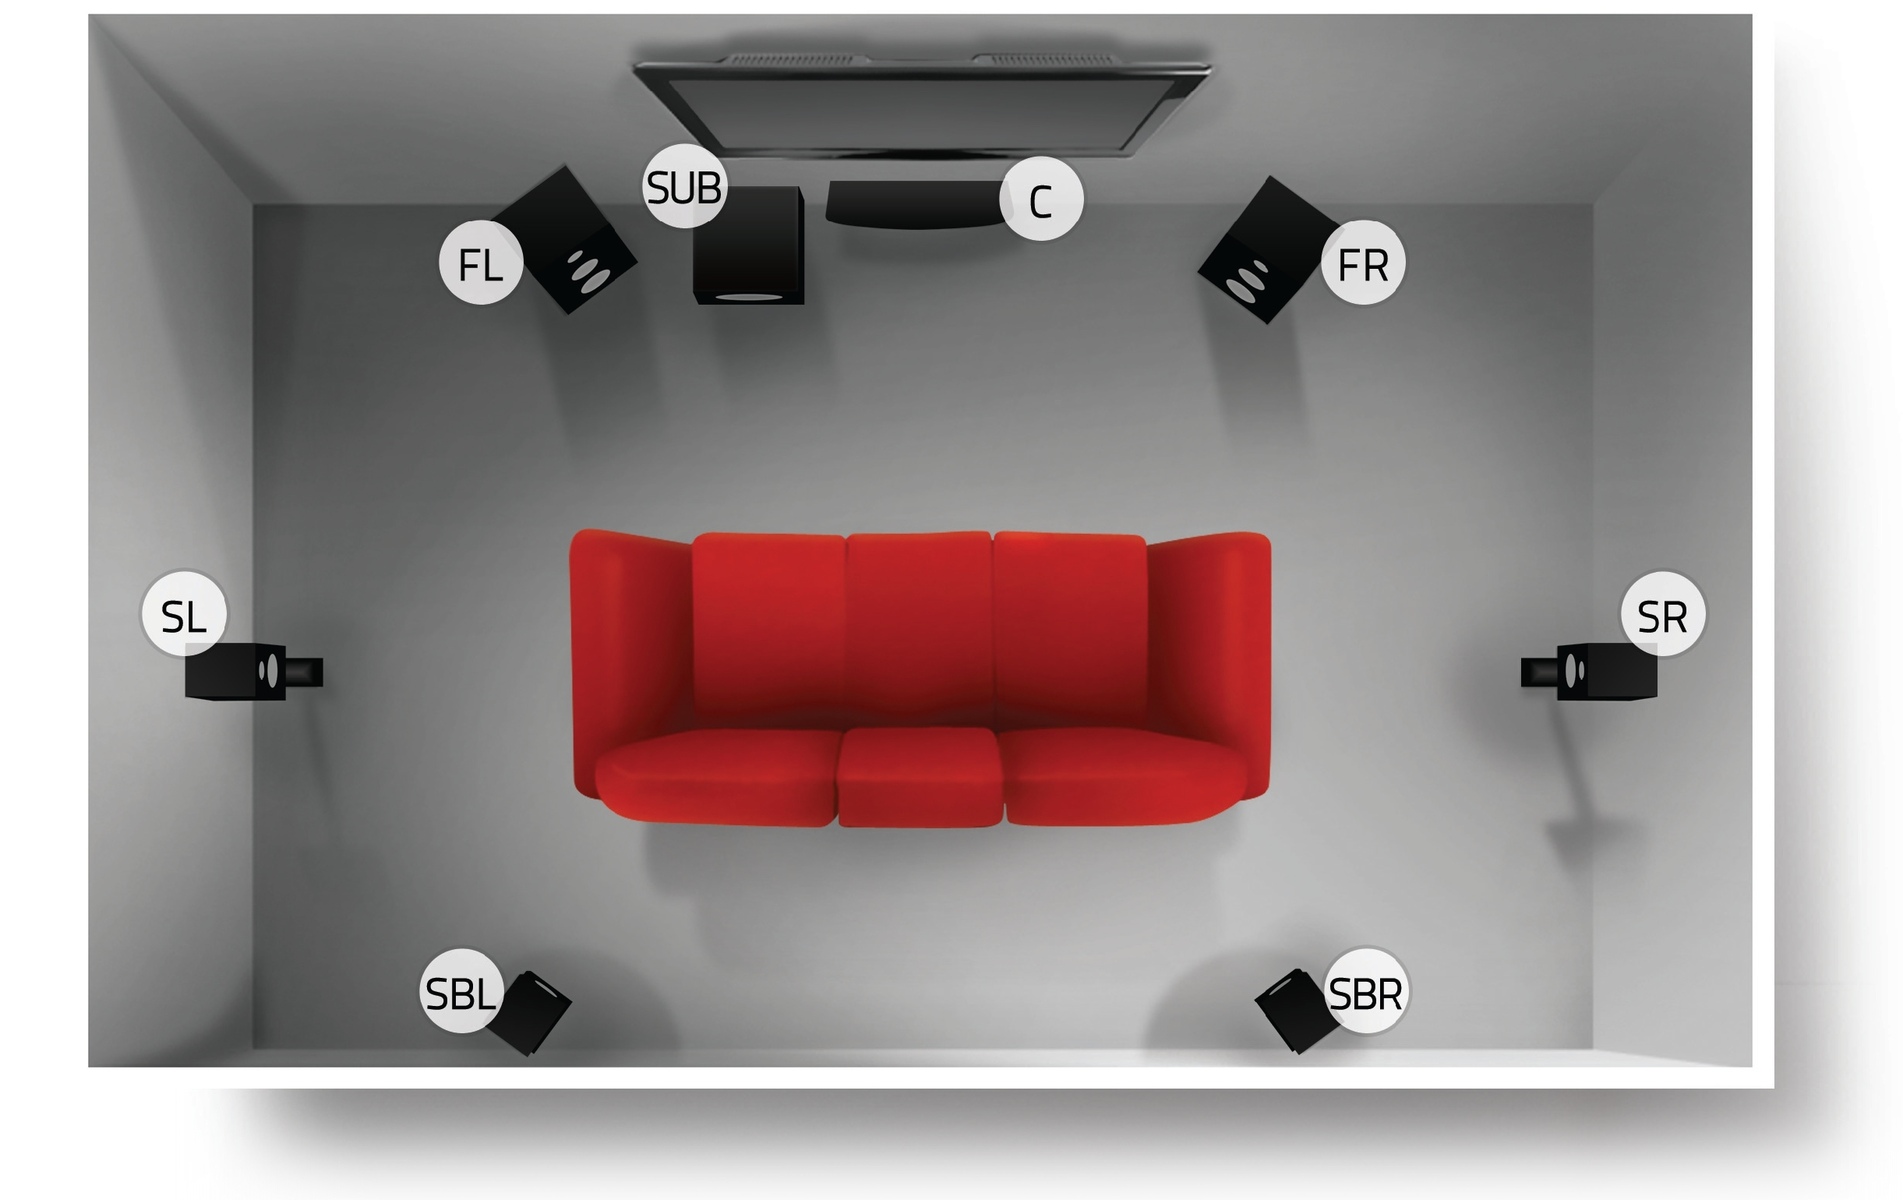
In a 5.1 surround sound system, the “5” refers to the five main speakers that are responsible for reproducing mid-range and high-frequency sounds. The setup typically includes a center speaker positioned above or below the television screen, two front speakers placed on either side of the display, and two rear speakers placed behind the listening area.
In addition to the main speakers, a 5.1 system includes a subwoofer, indicated by the “.1” in the configuration. The subwoofer focuses on producing low-frequency sounds, such as deep bass and rumble, adding depth and impact to the audio experience.
To fully appreciate the benefits of a 5.1 surround sound system, it’s essential to understand the concept of channels. Each channel represents an individual audio source and is assigned to a specific speaker. In a 5.1 setup, there are six channels:
- Front Left: This speaker handles sounds coming from the left side of the screen.
- Front Right: This speaker handles sounds coming from the right side of the screen.
- Center: Situated above or below the screen, this speaker is responsible for dialogue and other centrally-located sounds.
- Surround Left: Positioned to the left of the listening area, this speaker creates ambient sounds and directional effects.
- Surround Right: Similar to the surround left speaker, this one is placed to the right of the listening area.
- Subwoofer: This speaker reproduces the low-frequency sounds, such as explosions or deep bass notes.
By incorporating multiple speakers and assigning different audio channels to each, a surround sound system creates an immersive audio environment where you can experience sound effects and music from various angles, just like you would in a movie theater or concert hall.
Now that we have a solid understanding of the basics of surround sound, let’s move on to the next step: choosing the right equipment for your 5.1 surround sound system.
Choosing the Right Equipment
When it comes to setting up a 5.1 surround sound system, selecting the right equipment is essential to achieve optimal audio performance and create an immersive sound experience. Here are some key factors to consider when choosing the components for your system:
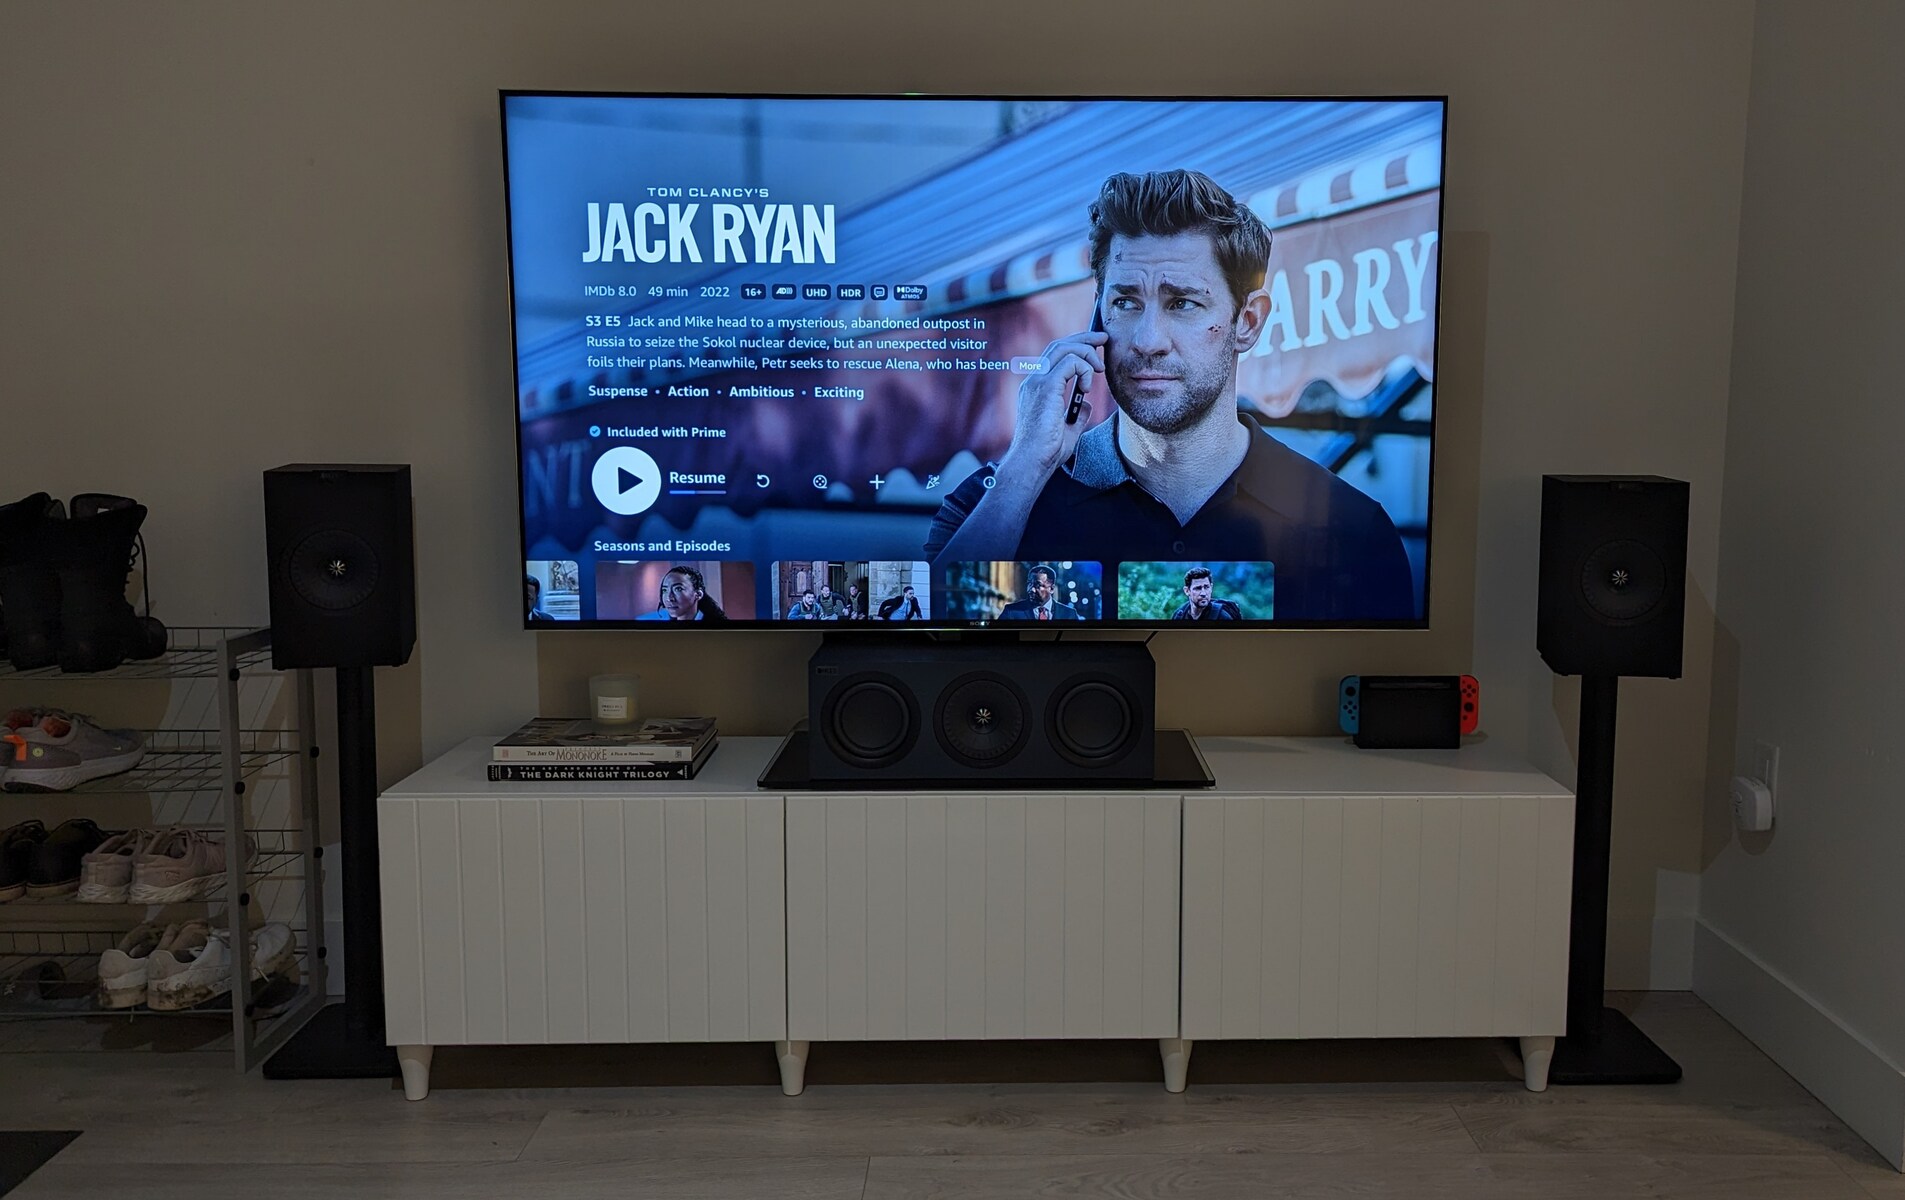
- Receiver: The receiver acts as the heart of your surround sound system, receiving audio signals from various sources and distributing them to the speakers. Look for a receiver that supports 5.1 channel output and has enough inputs to accommodate your devices.
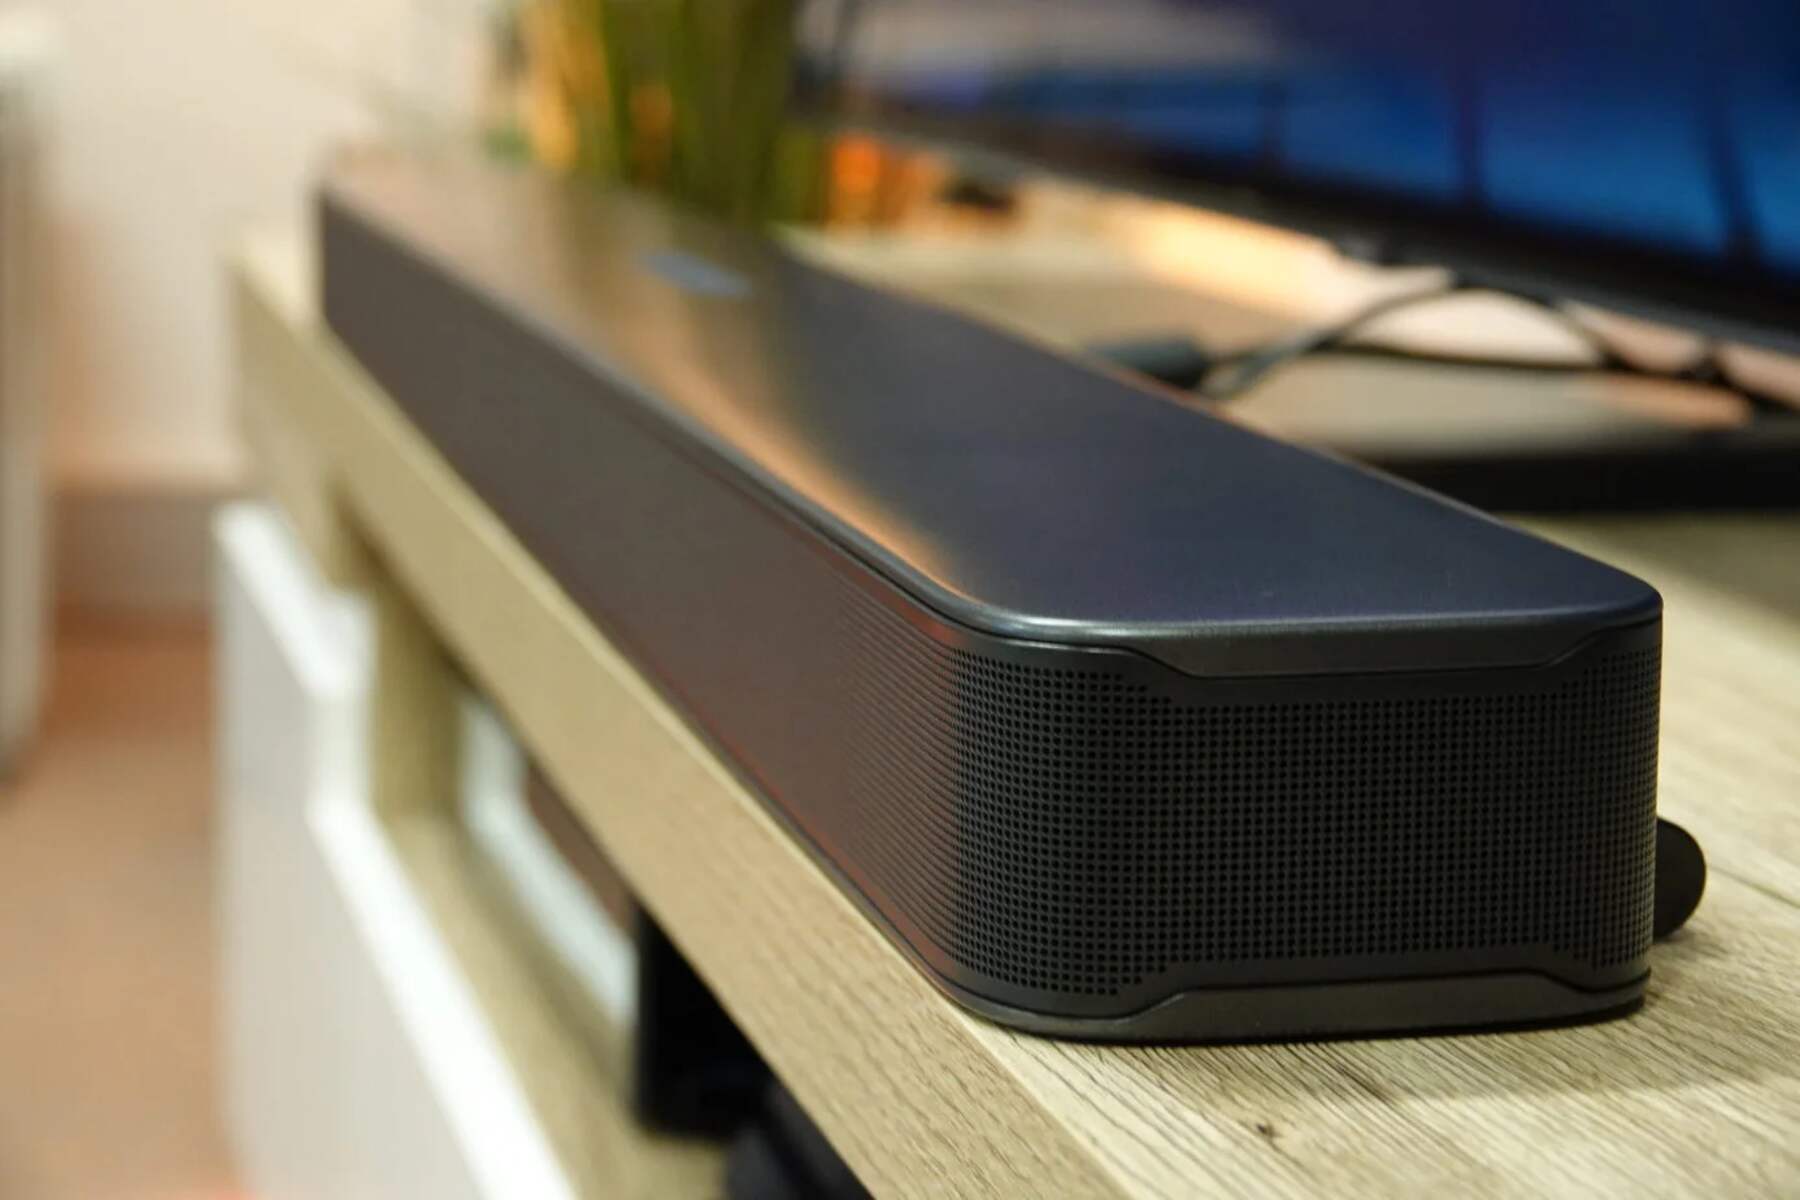
- Speakers: The quality of your speakers greatly impacts the overall audio performance. Consider investing in high-quality speakers for the main front and center channels, as these are responsible for delivering the majority of the audio. Select speakers of matching brand and series for a consistent sound signature.
- Subwoofer: The subwoofer delivers deep, low-frequency sounds, adding depth and impact to your audio experience. Look for a subwoofer with sufficient power and an adjustable crossover frequency to seamlessly blend with the main speakers.
- Room Size: Consider the size of your room when selecting speakers. Larger rooms may require more powerful speakers to adequately fill the space. Conversely, smaller rooms may benefit from compact speakers that produce focused and precise sound.
- Wiring and Cables: Ensure that you have the necessary cables and wiring to connect your speakers to the receiver. High-quality, shielded cables can help minimize interference and preserve audio quality.
While it’s important to consider budget and personal preferences, it’s recommended to prioritize audio quality and compatibility when selecting your equipment. Take the time to research and compare different brands and models, read reviews, and if possible, audition the equipment before making your final decision.
Additionally, don’t forget about future expandability. If you plan on upgrading your system or adding more speakers in the future, make sure your receiver has enough channels and outputs to accommodate the expansion.
By carefully selecting the right equipment, you can create a 5.1 surround sound system that delivers impressive audio performance and brings your favorite movies, music, and games to life.
Setting Up the Speakers
Once you have chosen the right equipment for your 5.1 surround sound system, it’s time to set up the speakers in your room. Proper speaker placement is crucial for achieving an accurate and immersive audio experience. Here are some guidelines to follow:
- Center Speaker: Place the center speaker directly above or below your television screen, at ear level when seated. This ensures clear and balanced dialogue and sound effects.
- Front Left and Right Speakers: Position the front speakers on either side of the television or screen, facing towards the listening area. Aim them slightly inward, pointing towards the center seating position.
- Surround Left and Right Speakers: Place the surround speakers behind the listening area, slightly above ear level. They should be positioned at an angle, facing towards the seating area to create a sense of envelopment.
- Subwoofer: The subwoofer can be placed anywhere in the room, as low-frequency bass sounds are non-directional. Experiment with different locations to find the spot that provides the best balance between impact and smooth integration with the main speakers.
When positioning the speakers, take into consideration the shape and size of your room. Avoid placing the speakers too close to walls or corners, as this can cause reflections and interfere with the sound quality. Aim for balanced sound distribution and a seamless transition between speakers to create a cohesive audio experience.
While these guidelines provide a good starting point, it’s important to remember that room acoustics play a significant role in the overall sound quality. Experiment with different speaker positions and fine-tune their placement to optimize performance in your specific room.
Once you have set up the speakers in their designated positions, it’s time to connect them to the receiver and configure the necessary settings to ensure they work in harmony. In the next section, we will delve into the process of connecting the speakers and configuring the receiver settings to complete the setup of your 5.1 surround sound system.
Placing the Subwoofer
The subwoofer is a crucial component of a 5.1 surround sound system that delivers deep and powerful low-frequency sounds, adding impact and immersion to your audio experience. Proper placement of the subwoofer is essential to achieve balanced and accurate bass response. Here are some tips for placing your subwoofer:
- Avoid corners: While it may be convenient to place the subwoofer in a corner, it can result in boomy and exaggerated bass response. Corner placement tends to amplify bass frequencies and can create an uneven listening experience. It’s best to try different locations and find a position where the bass sounds cohesive and integrated with the main speakers.
- Experiment with placement: Move the subwoofer around the room and listen to the bass response from your primary listening position. Start by placing it near the front wall, and then try different locations to find the sweet spot that provides smooth and well-balanced bass throughout the room.
- Consider room acoustics: The characteristics of your room can greatly affect the bass performance. Hard surfaces and reflective materials can cause bass reflections and standing waves, leading to uneven bass response. Experiment with positioning the subwoofer in different areas to mitigate any acoustical issues and achieve the best bass quality.
- Adjust volume and crossover: Most subwoofers have volume and crossover frequency controls. The volume control allows you to adjust the subwoofer’s output level, while the crossover adjustment sets the frequency at which the subwoofer takes over from the main speakers. Fine-tune these settings to achieve a smooth transition between the subwoofer and the main speakers.
- Consider using bass traps: Bass traps are acoustic treatments designed to absorb low-frequency reflections and standing waves. Placing bass traps strategically in your room can help improve bass response and reduce undesirable resonances, resulting in a more accurate and controlled bass reproduction.
The placement of your subwoofer plays a significant role in achieving optimal bass performance in your 5.1 surround sound system. Take the time to experiment, listen, and make adjustments until you find the position that provides the best integration and balance with your main speakers.
Once you have placed the subwoofer and fine-tuned its settings, the next step is to connect the speakers to the receiver and configure the necessary settings to complete the setup of your 5.1 surround sound system. In the following section, we will guide you through the process of connecting the speakers and configuring the receiver settings.
Connecting the Speakers to the Receiver
Now that you have positioned the speakers and the subwoofer in your room, it’s time to connect them to the receiver. Properly connecting the speakers ensures that the audio signals are delivered accurately and efficiently. Here’s a step-by-step guide to help you connect your speakers to the receiver:
- Identify the speaker terminals: Locate the speaker terminals on the back of the receiver. These are usually labeled as “Front Left,” “Front Right,” “Center,” “Surround Left,” “Surround Right,” and “Subwoofer.”
- Prepare the speaker wire: Cut the speaker wire to the required length for each speaker. Strip about half an inch of insulation from the ends of the wires to expose the bare copper strands.
- Connect the speaker wires: For each speaker, insert the bare end of the speaker wire into the corresponding speaker terminal on the receiver. Ensure that the positive (+) wire is connected to the positive terminal and the negative (-) wire to the negative terminal. Secure the wires by tightening the terminals.
- Verify the connections: Double-check the connections to ensure that each speaker is connected to the correct terminal on the receiver. A mismatched connection can result in reversed audio channels or poor sound quality.
- Connect the subwoofer: If your subwoofer has a dedicated subwoofer output on the receiver, use a subwoofer cable to connect it. Connect one end of the cable to the subwoofer output on the receiver and the other end to the input on the subwoofer.
- Ensure a snug connection: Make sure that all connections are secure and tight to prevent any interference or interruptions in the audio signal. Loose connections can cause audio dropouts or distortion.
Once you have connected all the speakers and the subwoofer to the appropriate terminals on the receiver, you are ready to move on to the next step: configuring the receiver settings to ensure optimal performance and audio balance.
Refer to the user manual of your receiver for detailed instructions on how to access and navigate the receiver’s settings menu. In the following section, we will guide you through the process of configuring the receiver settings to complete the setup of your 5.1 surround sound system.
Configuring the Receiver Settings
Now that you have connected the speakers to the receiver, it’s time to configure the receiver settings to optimize the performance and audio balance of your 5.1 surround sound system. By adjusting these settings, you can ensure that the audio is correctly distributed to the different speakers and that the soundstage is balanced. Here are some key settings to consider:
- Speaker Size and Distance: Access the receiver’s settings menu and navigate to the speaker settings. Here, you can specify the size and distance of each speaker. Set the speakers to their appropriate sizes (typically small) to activate bass management and redirect low-frequency sounds to the subwoofer. Enter the distance of each speaker from the primary listening position to fine-tune sound timing and synchronization.
- Crossover: Adjust the crossover frequency in the receiver settings. This setting determines the frequency at which the main speakers transition to the subwoofer. Set the crossover frequency to ensure a seamless and coherent blend between the speakers and the subwoofer, preventing any gaps or overlaps in the frequency response.
- Channel Levels: Use the channel level calibration feature of your receiver to balance the volume levels of the speakers. The receiver might have an automatic calibration system that uses a microphone to measure the sound levels and set the appropriate channel levels accordingly. Alternatively, you can manually adjust the levels to achieve a balanced soundstage.
- Surround Sound Formats: Configure the receiver to support the specific surround sound formats you want to experience. Common formats include Dolby Digital and DTS. Ensure that the receiver is set to decode and play these formats for optimal audio reproduction.
- Additional Audio Enhancements: Some receivers offer various audio enhancement features, such as equalizers, sound modes, and room correction technologies. Experiment with these settings to find the ones that suit your personal preferences and enhance your listening experience.
Take your time to navigate through the receiver’s settings menu, read the user manual, and familiarize yourself with the available options and features. Don’t hesitate to make adjustments and fine-tune the settings to achieve the best audio performance for your specific room and preferences.
By properly configuring the receiver settings, you can ensure that the audio is distributed correctly to each speaker, and the soundstage is well-balanced and immersive. Next, we will cover the process of calibrating your 5.1 surround sound system to further optimize its performance.
Calibrating the System
Calibrating your 5.1 surround sound system is a crucial step in achieving optimal audio performance and ensuring that the sound is accurately reproduced across all speakers. Calibration helps adjust the sound levels, speaker distances, and other settings to match your room’s acoustics and personal preferences. Here’s how to calibrate your system:
- Auto Calibration: Many receivers offer built-in automatic calibration systems. These systems use a microphone to analyze the audio signals and adjust the settings accordingly. Follow the instructions provided by your receiver to proceed with the automatic calibration process. The system will typically play test tones through each speaker and measure the responses to optimize the audio settings.
- Manual Calibration: If your receiver doesn’t have an automatic calibration system or if you prefer a more hands-on approach, you can manually calibrate the system. Use a sound level meter or an audio calibration disc and a tape measure to adjust the speaker levels and distances. Refer to your receiver’s manual for instructions on how to access the manual calibration settings, and follow the measurement and adjustment procedures provided.
- Room Acoustic Treatments: If you’re looking to further enhance the audio quality, consider adding room acoustic treatments like acoustic panels or bass traps. These treatments can help reduce echoes, reflections, and standing waves, resulting in improved sound clarity and accuracy. Experiment with different placements and configurations to find the optimal setup for your room.
- Listening Test: Once you have completed the calibration process, it’s important to perform a listening test to evaluate the results. Play a variety of audio sources, such as movies, music, and games, and pay attention to the soundstage, imaging, and overall balance. Make further adjustments if necessary to achieve your desired audio performance.
Calibrating your 5.1 surround sound system is an iterative process. It may require multiple adjustments and fine-tuning to achieve the desired audio quality. Take your time, be patient, and trust your ears when making adjustments.
Remember, the goal of calibration is to achieve a well-balanced audio experience that suits your room and personal preferences. By calibrating your system, you can fully harness the potential of your 5.1 surround sound setup and immerse yourself in rich, accurate, and immersive audio.
In the next section, we will address some common issues that you may encounter during the setup or calibration process and provide troubleshooting tips to help overcome these challenges.
Troubleshooting Common Issues
While setting up and calibrating a 5.1 surround sound system, you may encounter some common issues that can affect the audio performance. These issues can range from audio imbalances to connectivity problems. Here are some troubleshooting tips to help you address these common problems:
- Audio Imbalance: If you notice that certain speakers are louder or softer than others, adjust the channel levels in the receiver settings. Increase or decrease the volume levels of the affected speakers until you achieve a well-balanced soundstage. Additionally, ensure that the speaker wires are securely connected and that there are no loose connections causing the imbalance.
- No Sound or Low Sound: If you are not hearing any sound or the sound is extremely low, check the speaker connections and ensure that they are properly plugged into the receiver. Verify that the receiver is powered on and that the volume is adjusted appropriately. You should also ensure that the input source on the receiver is correctly selected and that the audio cables are securely connected to the source device.
- Subwoofer Issues: If you are experiencing a lack of bass or the subwoofer is not producing any sound, check the connection between the subwoofer and the receiver. Ensure that the subwoofer is powered on and that the cables are securely plugged into the appropriate ports on both the subwoofer and the receiver. Adjust the subwoofer volume and crossover settings in the receiver menu to achieve the desired bass response.
- Audible Hum or Noise: If you hear an audible hum or noise coming from the speakers, it could be caused by electrical interference. Make sure the receiver and the speakers are properly grounded. You can also try repositioning power cables away from audio cables to minimize interference. Additionally, check for any loose connections or damaged cables that could be contributing to the unwanted noise.
- Surround Sound Format Issues: If you are experiencing issues with specific surround sound formats, such as Dolby Digital or DTS, ensure that your receiver is set to decode and play these formats. Check the audio settings on your source device to ensure it is outputting the appropriate surround sound format. Some devices may require manual configuration to enable specific audio formats.
If you have tried the troubleshooting steps above and are still experiencing issues with your 5.1 surround sound system, consult the user manual of your equipment or contact the manufacturer’s support for further assistance. They can provide specific guidance based on the make and model of your system.
Remember that troubleshooting audio issues can sometimes require trial and error. Be patient and persistent in your troubleshooting efforts, and soon you’ll be able to enjoy the immersive audio experience your 5.1 surround sound system is capable of delivering.
Conclusion
Congratulations! You have successfully learned how to set up and calibrate a 5.1 surround sound system. By understanding the principles of surround sound, choosing the right equipment, and following the proper setup procedures, you have created an immersive listening environment where movies, music, and games come to life.
Remember, the key steps in setting up your 5.1 surround sound system include understanding the concept of surround sound, selecting the appropriate equipment, positioning the speakers in the room, properly placing the subwoofer, connecting the speakers to the receiver, configuring the receiver settings, and ensuring optimal audio performance through calibration.
Throughout the process, it’s important to maintain a balance between technical precision and personal preference. Make adjustments and fine-tune the settings to achieve the audio performance that suits your room, equipment, and individual listening preferences.
If you encounter any issues during the setup or calibration process, refer back to the troubleshooting tips provided to address common problems. Don’t be afraid to reach out to the manufacturer’s support for more specific assistance.
Now, sit back, relax, and immerse yourself in the rich and vibrant sound of your 5.1 surround sound system. Whether you’re watching a blockbuster movie, listening to your favorite music, or gaming with friends, you can now enjoy a truly immersive audio experience right in the comfort of your own home.
Thank you for joining us on this journey, and we hope you thoroughly enjoy the amazing soundscapes that your 5.1 surround sound system provides!