Introduction
The Bose Lifestyle Surround Sound System is a popular choice for individuals looking to enhance their home theater experience. With its advanced audio technology and sleek design, this system delivers immersive sound that brings movies, music, and games to life. One of the key features of the Bose Lifestyle Surround Sound System is its ability to connect to various devices, including those with HDMI input and output.
In this guide, we will explore how to effectively utilize the HDMI input and output capabilities of the Bose Lifestyle Surround Sound System. Whether you have a Blu-ray player, gaming console, or streaming device, integrating these devices with your Bose system will enable you to enjoy high-quality audio and video in the comfort of your own home.
By understanding the proper connection and configuration processes, you can make the most of your Bose Lifestyle Surround Sound System’s HDMI input and output features. Additionally, we will provide some troubleshooting tips to help you address common issues that may arise.
So, if you’re ready to unlock the full potential of your Bose Lifestyle Surround Sound System, let’s dive into the world of HDMI connectivity and witness the seamless integration of audio and video that this system has to offer.
Understanding Bose Lifestyle Surround Sound System
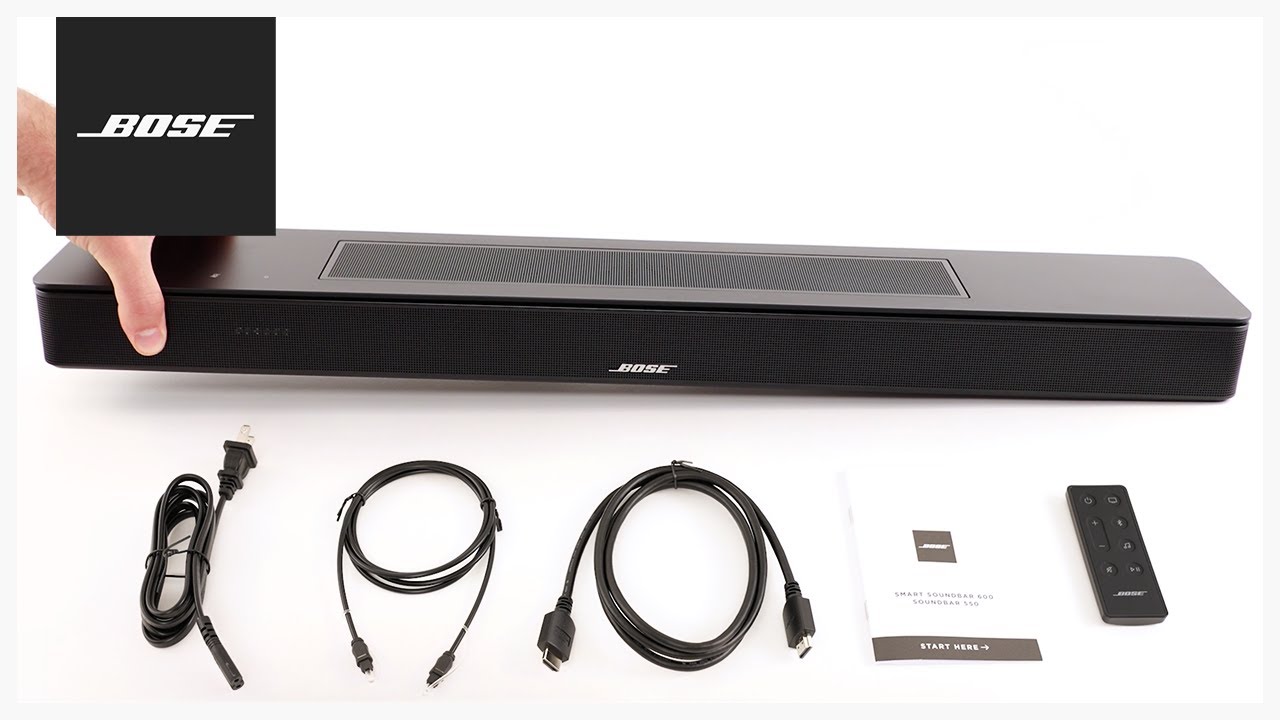
The Bose Lifestyle Surround Sound System is a state-of-the-art audio system designed to deliver an immersive and cinematic audio experience. It consists of several components that work together to create a multi-dimensional soundstage, truly bringing your movies, music, and games to life.
At the heart of the Bose Lifestyle system is the console, which serves as the control center for all your audio and video sources. It is equipped with advanced technologies, such as HDMI inputs and outputs, to ensure seamless connectivity and high-quality audio and video reproduction.
The speakers included in the Bose Lifestyle system are strategically placed to create a surround sound effect. This envelops you in a 360-degree audio experience, making you feel as if you are right in the middle of the action. The system also utilizes proprietary Bose technologies, such as AdaptiQ® calibration, to automatically adjust the audio settings based on your room’s acoustics, ensuring optimal sound performance.
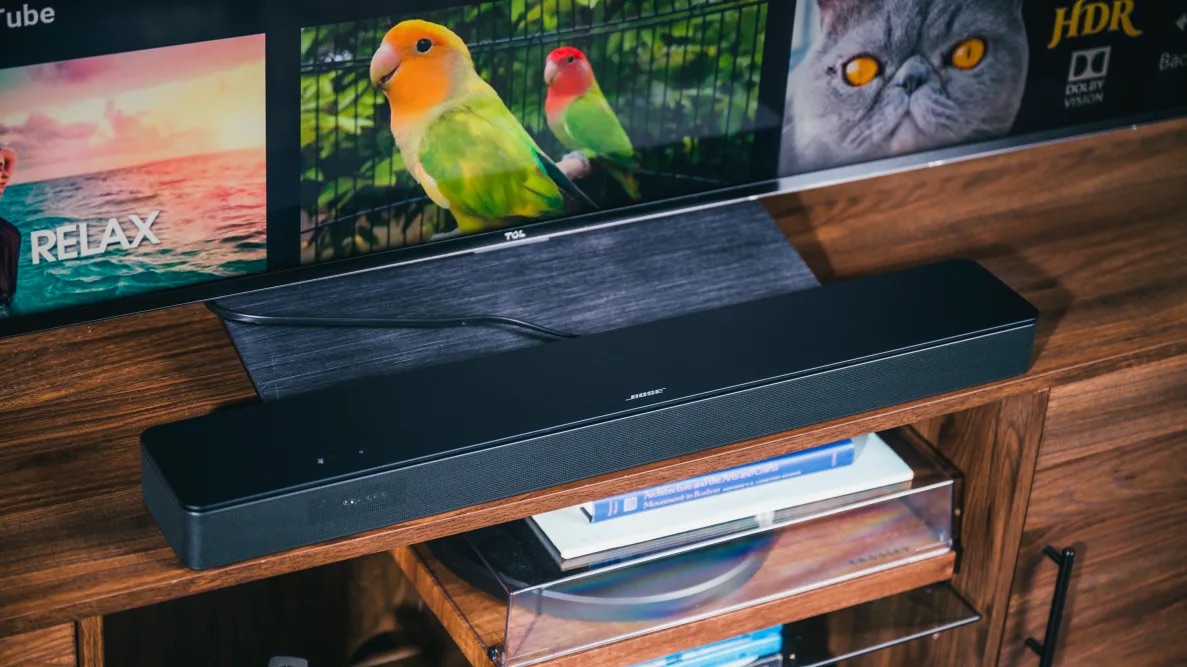
Moreover, the Bose Lifestyle Surround Sound System is designed with sleek aesthetics in mind. The speakers boast an elegant and minimalist design that seamlessly blends into any home decor. The console is typically compact and can be discreetly placed in your entertainment center or mounted to a wall.
With its user-friendly interface and intuitive controls, the Bose Lifestyle system allows you to easily navigate through your audio and video sources. Whether you want to watch a movie, listen to music, or play games, you can effortlessly switch between different inputs and enjoy the immersive sound experience provided by the Bose Lifestyle Surround Sound System.
In the next sections, we will explore how to connect and utilize the HDMI input and output capabilities of the Bose Lifestyle system. By understanding how to integrate external devices with your system, you can take full advantage of its features and enjoy a complete home theater experience.
Connecting the Bose Lifestyle Surround Sound System with HDMI Input and Output
Connecting external devices to your Bose Lifestyle Surround Sound System with HDMI input and output is a straightforward process that allows you to enjoy high-quality audio and video playback. HDMI (High-Definition Multimedia Interface) is a digital connection that carries both audio and video signals, ensuring a seamless and immersive entertainment experience.
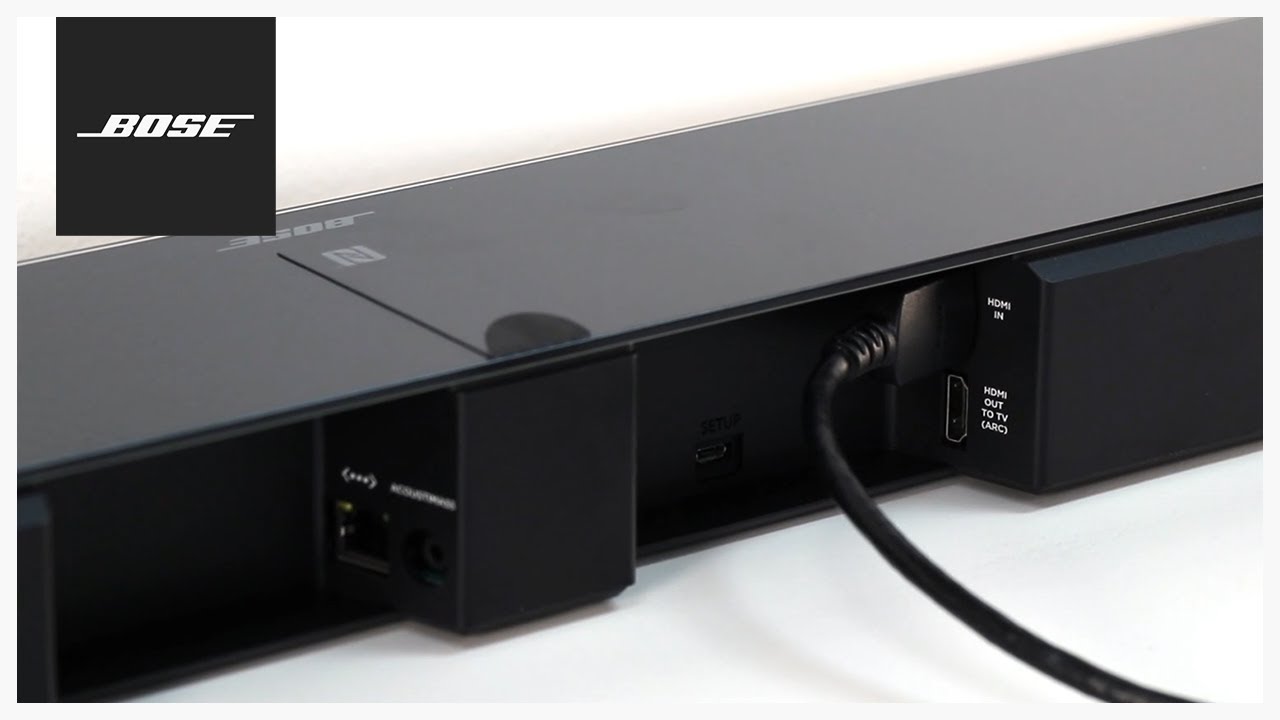
To get started, identify the HDMI input and output ports on your Bose Lifestyle console. The HDMI input ports are where you connect your external devices, such as Blu-ray players, gaming consoles, or streaming devices, while the HDMI output port is used to connect your TV or display.
Once you have located the HDMI ports, follow these steps:
- Turn off all devices before making any connections. This prevents potential hardware damage.
- Connect one end of the HDMI cable to the HDMI output port on the Bose Lifestyle console.
- Connect the other end of the HDMI cable to the HDMI input port on your TV or display.
- For each external device, connect one end of another HDMI cable to its HDMI output port.
- Connect the other end of the HDMI cable to an available HDMI input port on the Bose Lifestyle console.
- Ensure that the HDMI cables are securely connected to both the Bose Lifestyle console and the external devices.
Once the physical connections are complete, you can now proceed to the next step of configuring the HDMI audio and video settings on your Bose Lifestyle system.
It is important to note that some devices may require additional settings adjustments, such as enabling ARC (Audio Return Channel) for audio playback through the TV speakers. Refer to the user manuals of your external devices for specific instructions on HDMI setup.
In the following sections, we will discuss how to set up the HDMI audio and video settings on the Bose Lifestyle console to ensure optimal performance and compatibility with your connected devices.
Setting up the HDMI Input and Output on the Bose Console
After connecting the external devices to your Bose Lifestyle Surround Sound System using HDMI cables, you need to configure the HDMI input and output settings on the Bose console. This ensures that the system recognizes and properly utilizes the HDMI connections for audio and video playback.
Follow these steps to set up the HDMI input and output on the Bose console:
- Turn on your TV or display and set it to the correct HDMI input. This allows you to see the Bose console’s on-screen menu.
- Turn on the Bose Lifestyle console and wait for it to fully initialize.
- Use the Bose remote control to navigate to the system menu. Press the “System” button on the remote to access the menu.
- From the system menu, select “HDMI Settings” or “Input Settings,” depending on the model of your Bose Lifestyle system.
- Within the HDMI settings menu, you will find options to configure the HDMI input and output settings. Select the appropriate input and output settings based on your specific setup.
- For the HDMI input settings, you may have options like renaming the input, choosing the input type, or adjusting the volume control. Follow the on-screen prompts and make the desired selections.
- For the HDMI output settings, ensure that the output format matches the capabilities of your TV or display. You can usually choose options such as HDMI Stereo, HDMI Surround, or HDMI Auto.
- After making the necessary settings adjustments, save your changes and exit the HDMI settings menu.
Once you have completed the setup of the HDMI input and output settings, you can now enjoy seamless audio and video playback through your Bose Lifestyle Surround Sound System. You can test the connectivity by playing a video or audio source from your connected devices and verifying that the system is delivering the desired audio and video quality.
If you encounter any issues or have difficulties with the HDMI input and output setup, refer to the troubleshooting tips in the next section to help resolve common problems.
Configuring the HDMI Audio and Video Settings
Configuring the HDMI audio and video settings on your Bose Lifestyle Surround Sound System is essential to ensure optimal performance and compatibility with your connected devices. By making the right adjustments, you can enjoy high-quality audio and video playback that matches your preferences and the capabilities of your TV or display.
Here are the steps to configure the HDMI audio and video settings:
- Access the system menu on your Bose Lifestyle console using the remote control.
- Navigate to the HDMI settings menu, as described in the previous section.
- Select the HDMI audio settings option. Here, you can choose the audio format and adjust the volume control for the HDMI input sources.
- Depending on your preferences and connected devices, you may have options such as Stereo, Surround Sound, or Auto. Choose the appropriate audio format that suits your setup and personal preferences.
- Ensure that the audio settings match the capabilities of your audio source device. For example, if you are connecting a Blu-ray player, it is best to select surround sound options to fully utilize its audio capabilities.
- Next, navigate to the HDMI video settings option. Here, you can adjust the video output format to match your TV or display.
- Choose the video output format that is compatible with your TV or display’s capabilities. Common options include 720p, 1080p, or Auto. Select the highest resolution that your TV or display supports to enjoy the best video quality.
- Save the changes and exit the HDMI settings menu.
By configuring the HDMI audio and video settings correctly, you ensure that your Bose Lifestyle system delivers the optimal audio and video experience for your connected devices. Remember to test the audio and video playback after making the adjustments to confirm that everything is working as expected.
If you encounter any issues or have difficulties with the HDMI audio and video settings, refer to the troubleshooting tips in the next section to help resolve common problems.
Troubleshooting Tips for HDMI Input and Output Issues
While connecting and configuring the HDMI input and output on your Bose Lifestyle Surround Sound System is typically a straightforward process, you may encounter issues that prevent the proper functionality of these connections. Here are some troubleshooting tips to help you resolve common HDMI input and output issues:
- Check the HDMI connections: Ensure that all HDMI cables are securely plugged into the correct ports on both the Bose Lifestyle console and the connected devices. Check for any loose connections or damaged cables and replace them if necessary.
- Verify the power status: Make sure that all devices are powered on, including the Bose Lifestyle console, TV or display, and the connected external devices. Some devices may have a specific power-on sequence, so refer to their user manuals for guidance.
- Try different HDMI cables: If you are experiencing audio or video issues, try using different HDMI cables to rule out the possibility of a faulty cable. Sometimes, a cable that works with one device may not work properly with another.
- Check the HDMI input and output settings: Review the HDMI settings on your Bose Lifestyle console and ensure that the input and output settings are correctly configured. Verify that the audio and video formats match the capabilities of your connected devices and TV or display.
- Restart the devices: Turn off all devices, including the Bose Lifestyle console, TV or display, and the connected external devices. Disconnect the power cables for a few seconds, then reconnect and power on the devices one by one. This can help refresh the connections and resolve any temporary issues.
- Update firmware and software: Check for any available firmware or software updates for your Bose Lifestyle system and the connected devices. Updating to the latest versions can often address compatibility issues and improve overall performance.
- Reset the Bose Lifestyle system: As a last resort, you can perform a factory reset on the Bose Lifestyle console. This will restore the system to its default settings and may resolve any persistent HDMI input and output issues. Refer to the user manual for instructions on how to perform a factory reset.
If you have tried these troubleshooting tips and are still experiencing issues with the HDMI input and output on your Bose Lifestyle Surround Sound System, it is recommended to contact the Bose customer support for further assistance. They have experts who can provide personalized guidance and help resolve any specific issues you may be facing.
Conclusion
The Bose Lifestyle Surround Sound System, with its HDMI input and output capabilities, offers a seamless and immersive audio and video experience for your home theater setup. By understanding how to connect, configure, and troubleshoot HDMI input and output on your Bose console, you can fully utilize the system’s features and enhance your entertainment experience.
In this guide, we discussed the importance of understanding the Bose Lifestyle system and its components. We explored the process of connecting external devices to the system using HDMI cables, and we provided step-by-step instructions for setting up the HDMI input and output on the Bose console. Additionally, we discussed how to configure the HDMI audio and video settings to ensure optimal performance and compatibility with your devices and TV or display.
If you encounter any issues with the HDMI input and output, we provided troubleshooting tips to help you resolve common problems. From checking the connections to restarting devices and performing a factory reset if necessary, these tips can assist in troubleshooting and resolving any issues you may face.
Remember, the HDMI input and output on your Bose Lifestyle system can greatly enhance your home theater experience. Take the time to understand and connect your devices correctly, configure the settings to suit your preferences, and troubleshoot any issues that may arise. With the right setup, you can enjoy immersive sound and stunning visuals that will elevate your entertainment to new heights.
If you require further assistance or encounter persistent issues, it is always advisable to reach out to the Bose customer support for expert guidance tailored to your specific setup and configuration.