Introduction
Welcome to this guide on how to connect your soundbar to DirecTV. If you want to enhance your home entertainment experience by improving the audio quality while watching your favorite shows and movies, connecting a soundbar to your DirecTV receiver is a great option.
A soundbar is a compact and sleek audio device that delivers high-quality sound and enhances the overall audio performance of your TV. It is a versatile solution that can complement any home theater setup.
DirecTV, one of the leading satellite television providers, offers a wide range of channels and programming options. By combining the power of DirecTV with a soundbar, you can create a cinematic audio experience right in your living room.
In this guide, we will walk you through the steps to connect your soundbar to your DirecTV receiver. We will explain the required equipment, positioning, and connection methods, as well as provide tips for troubleshooting common issues.
Whether you are a tech-savvy individual or a beginner, this guide is designed to be easy to follow, so you can enjoy immersive sound while enjoying your favorite content.
Before we begin, it is important to note that the specific steps and options may vary depending on the model and brand of your soundbar and DirecTV receiver. However, the general principles and concepts outlined in this guide will apply to most setups.
Now, without further ado, let’s dive into the process of connecting your soundbar to your DirecTV receiver and take your home entertainment to the next level!
Step 1: Gather the necessary equipment
Before you can begin connecting your soundbar to your DirecTV receiver, you will need to gather a few essential pieces of equipment. Here is what you will need:
- Soundbar: Select a soundbar that suits your audio needs and preferences. Ensure that it has the necessary inputs and features to connect to your DirecTV receiver.
- DirecTV receiver: This is the device that receives the satellite signals and decodes them into audio and video signals for your TV.
- HDMI cable: Look for a high-quality HDMI cable that is long enough to reach from your soundbar to your DirecTV receiver. Make sure it supports the latest HDMI specifications.
- Power cords: Ensure that you have the appropriate power cords for both the soundbar and the DirecTV receiver.
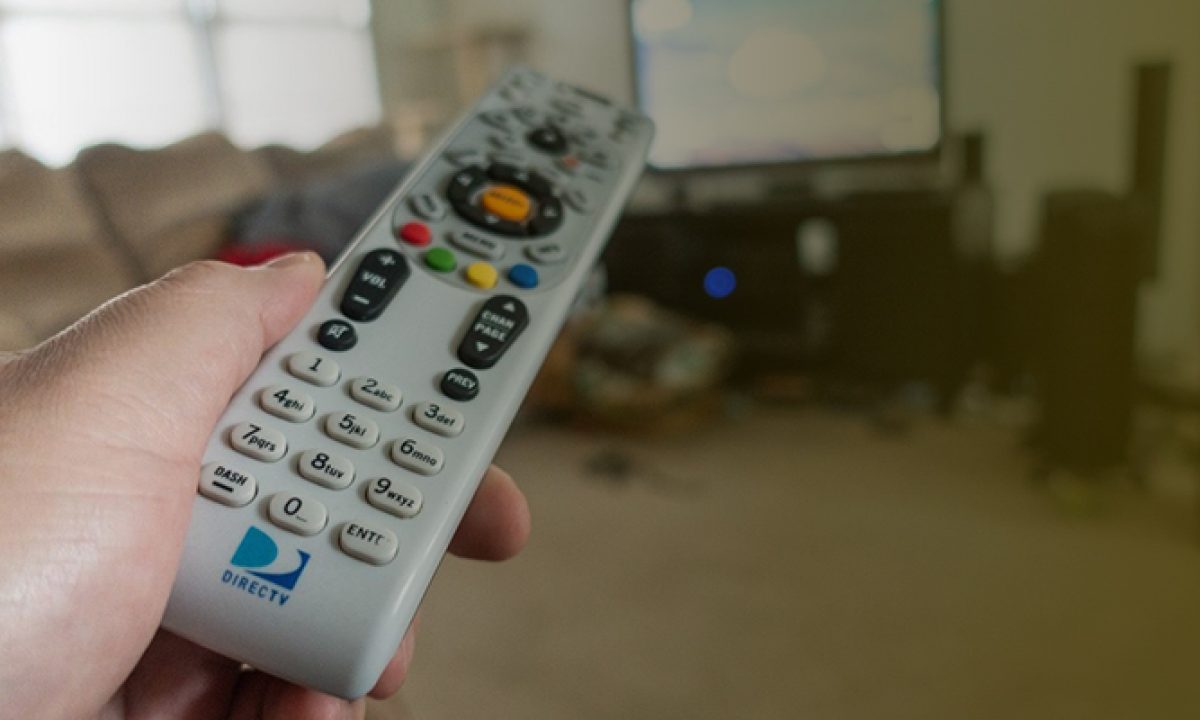
- Remote control: Keep the remote control for your DirecTV receiver handy, as you may need it during the setup process.
- Optional: Optical cable or RCA cables: Depending on your soundbar and DirecTV receiver, you may need additional cables such as an optical cable or RCA cables for alternative connection methods.
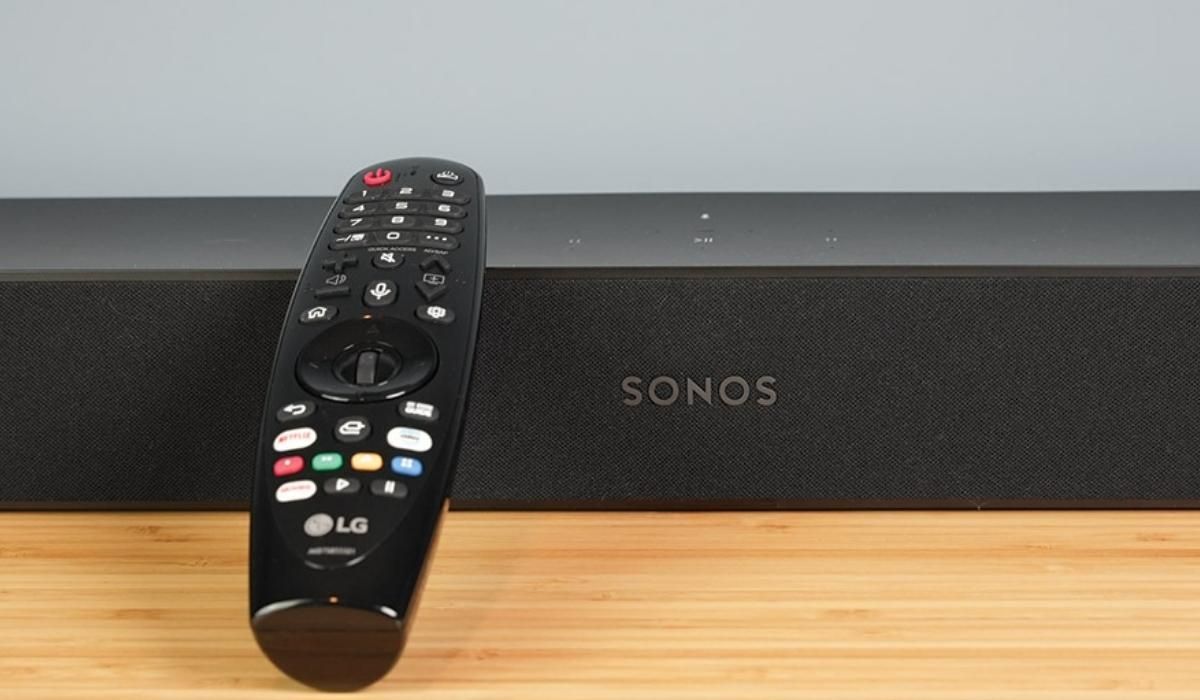
It is important to note that some soundbars come with their own remote control, while others can be controlled through the DirecTV remote by programming it to work with your soundbar. Check the user manual or the manufacturer’s website for instructions on how to program your DirecTV remote.
Once you have gathered all the necessary equipment, you will be ready to proceed to the next steps of connecting your soundbar to your DirecTV receiver. In the following steps, we will guide you through the setup process to ensure a seamless and immersive audio experience.
Step 2: Position your soundbar and DirecTV receiver
The next step in connecting your soundbar to DirecTV is to position both the soundbar and the DirecTV receiver in an optimal location. Proper positioning will ensure the best audio and video experience while also considering the aesthetics of your setup.
Here are some factors to consider when positioning your soundbar and DirecTV receiver:
- TV placement: Determine the best location for your TV, as it will be the focal point of your home theater setup. Ensure that it is placed at eye level and that there is enough space for the soundbar to be positioned either below or above the TV. The distance between the TV and soundbar should be balanced to create a cohesive audio-visual environment.
- Soundbar placement: Depending on the design and size of your soundbar, you can position it either on top of a media console, mounted on the wall, or directly below the TV. Make sure that the soundbar is centered and aligned with the TV for a balanced aesthetic appearance.
- DirecTV receiver placement: Place the DirecTV receiver near the TV and soundbar to ensure easy access for cables and connections. It is also important to consider proper ventilation to prevent overheating, so avoid placing it inside enclosed cabinets or near other heat-emitting devices.
- Cable management: As you position your soundbar and DirecTV receiver, consider how to manage the cables to maintain a clean and organized look. Use cable clips, cord covers, or cable sleeves to hide and secure the wires, reducing clutter and improving the overall appearance of your setup.
Take the time to carefully position your soundbar and DirecTV receiver, considering both functionality and aesthetics. Once you have determined the optimal placement, you can move on to the next step of connecting the two devices.
Step 3: Connect your soundbar to your DirecTV receiver using HDMI ARC
Now that you have positioned your soundbar and DirecTV receiver, it is time to establish the connection between the two devices using the HDMI ARC (Audio Return Channel) feature.
The HDMI ARC feature allows for a simple and streamlined connection, as it enables audio to be sent from your DirecTV receiver to your soundbar through a single HDMI cable. This eliminates the need for additional audio cables and simplifies the setup process.
Follow these steps to connect your soundbar to your DirecTV receiver using HDMI ARC:
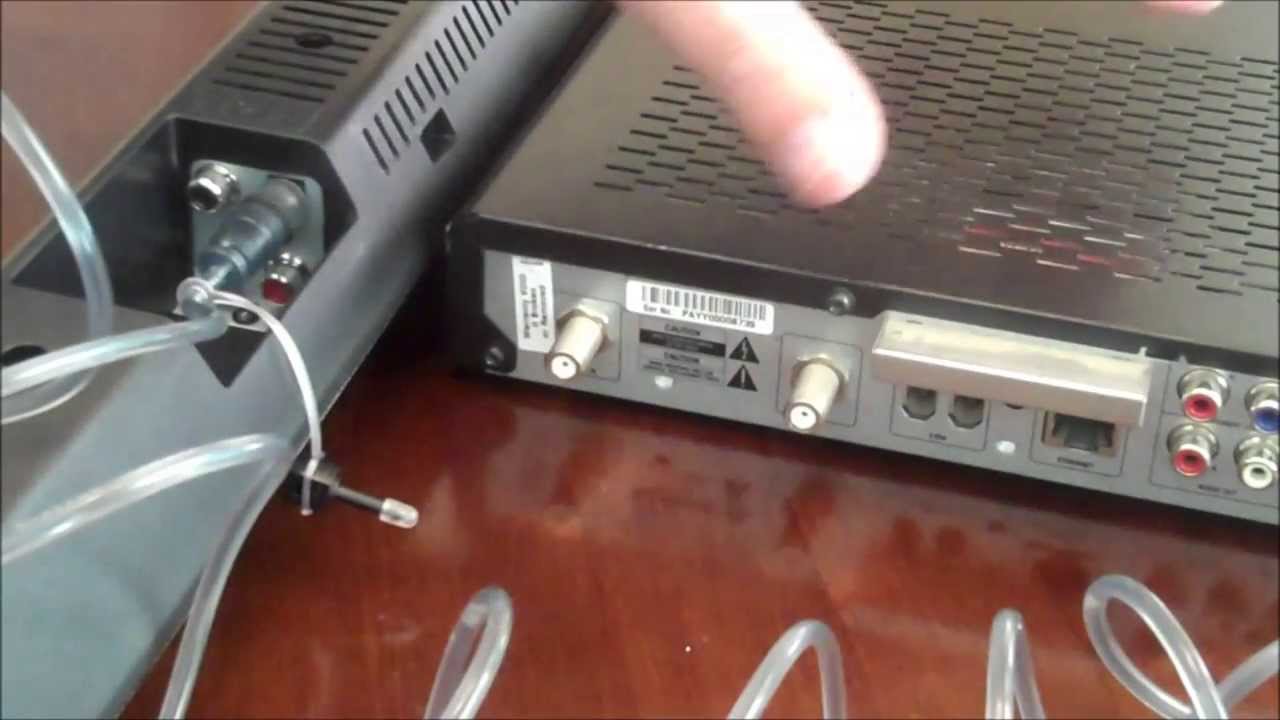
- Locate the HDMI ARC ports: Check the back of both your soundbar and DirecTV receiver for HDMI ARC ports. These ports are labeled as “HDMI ARC” or may be indicated by a specific symbol.
- Connect HDMI cable: Take one end of the HDMI cable and insert it into the HDMI ARC port on your soundbar. Then, connect the other end of the cable to the HDMI ARC port on your DirecTV receiver.
- Power on your devices: Ensure that both your soundbar and DirecTV receiver are powered on and switched to the appropriate input source. Use the remote control for each device to perform these actions.
- Enable HDMI ARC: On your soundbar and DirecTV receiver, navigate to the settings menu and locate the option to enable HDMI ARC. Enable it on both devices, if necessary. Refer to the user manuals for specific instructions on accessing the settings menu.
- Test the connection: Play a video or audio content on your DirecTV receiver and listen for the sound output from your soundbar. Adjust the volume as needed to ensure the audio is coming from the soundbar. If you do not hear any sound, check the connections and settings, and make sure your soundbar is selected as the audio output device on your DirecTV receiver.
By connecting your soundbar to your DirecTV receiver using HDMI ARC, you can enjoy high-quality audio and a simplified setup process. With the connection established, you are now ready to move on to the next step of setting up your soundbar and DirecTV receiver.
Step 4: Set up your soundbar and DirecTV receiver
Now that you have successfully connected your soundbar to your DirecTV receiver, it’s time to proceed with the setup process for both devices. This step will ensure that the audio settings and configurations are optimized for the best audio experience.
Follow these steps to set up your soundbar and DirecTV receiver:
- Soundbar setup: Refer to the user manual of your soundbar to understand the setup options and features available. This may include adjusting sound modes, sound effects, equalizer settings, and other audio enhancements. Configure the soundbar settings according to your preferences to enjoy personalized audio.
- DirecTV receiver setup: On your DirecTV receiver, access the settings menu and navigate to the audio settings section. Adjust the audio output settings to ensure that the sound is routed to your soundbar for an immersive audio experience. You may also have options to enable surround sound or other audio features, depending on your receiver model.
- Audio synchronization: In some cases, you may notice a slight delay between the audio and video when using external audio devices like a soundbar. If you experience any synchronization issues, check the soundbar settings or DirecTV receiver settings for an audio delay or synchronization feature. Make any necessary adjustments until the audio and video are in perfect sync.
- System updates: It is recommended to ensure that both your soundbar and DirecTV receiver are running the latest firmware versions. Check the manufacturer’s website or use the respective device settings menus to check for and install any available updates. System updates can provide bug fixes, performance improvements, and additional features.
- Channel and volume control: Ensure that the volume control on your DirecTV remote is synchronized with the soundbar. You can program your DirecTV remote to control the volume on your soundbar by following the instructions in the user manual or by using the manufacturer’s online resources.
By setting up your soundbar and DirecTV receiver properly, you can tailor the audio experience to your liking and maximize the capabilities of your audio system. Take your time to explore the settings and experiment with different configurations until you achieve the desired audio performance.
With the soundbar and DirecTV receiver successfully set up, you are now ready to move on to the next step of configuring the audio settings, which we will cover in the following step.
Step 5: Configure the audio settings
Now that you have set up your soundbar and DirecTV receiver, it’s time to configure the audio settings to ensure optimal sound quality and performance. By adjusting the audio settings, you can customize the audio output according to your preferences and the capabilities of your soundbar.
Follow these steps to configure the audio settings:
- Sound modes: Many soundbars offer different sound modes that are optimized for specific types of content, such as movies, music, sports, or gaming. Explore the sound mode options on your soundbar and select the one that best suits the content you are watching or listening to.
- Equalizer settings: Some soundbars allow you to adjust the equalizer settings to fine-tune the audio frequencies. Experiment with the bass, treble, and midrange settings to achieve the desired tonal balance and enhance your audio experience.
- Virtual surround sound: If your soundbar supports virtual surround sound, consider enabling it to create a more immersive audio experience. This feature simulates multi-channel audio by creating a wider soundstage, giving you a more cinematic feel.
- Audio format: Check the audio format supported by your soundbar and configure the audio output settings on your DirecTV receiver to match. The most common audio formats include Dolby Digital, DTS, and PCM. Select the appropriate audio format to ensure compatibility and optimal sound quality.
- Volume leveling: Some soundbars offer volume-leveling features that automatically balance the loudness across different sources and content. Enable this feature to prevent sudden volume changes and ensure consistent audio levels.
Remember to refer to the user manuals or online resources provided by the manufacturers of your soundbar and DirecTV receiver for more specific instructions on configuring the audio settings. Every soundbar and DirecTV receiver may have different options and features available.
By taking the time to adjust and optimize the audio settings, you can fully harness the capabilities of your soundbar and enjoy a personalized and immersive sound experience while watching your favorite shows and movies.
Now that you have configured the audio settings, it’s time to move on to the next step, which involves testing the connection and adjusting the soundbar settings as needed.
Step 6: Test the connection and adjust the soundbar settings
Once you have completed the setup and configuration of your soundbar and DirecTV receiver, it’s important to test the connection and make any necessary adjustments to the soundbar settings for the best audio experience. This step ensures that everything is functioning correctly and allows you to fine-tune the soundbar settings to suit your preferences.
Follow these steps to test the connection and adjust the soundbar settings:
- Test the audio: Play a variety of content on your DirecTV receiver, such as movies, TV shows, music, or sports, and listen to how it sounds through your soundbar. Pay attention to the clarity, depth, and balance of the audio. If the sound quality doesn’t meet your expectations, proceed to the next steps to make adjustments.
- Adjust soundbar settings: Refer to the user manual of your soundbar to understand the available settings and options. Explore the sound settings menu and make adjustments to the volume, bass, treble, and other audio parameters to achieve your desired sound quality. Take note of any changes and observe how they impact the audio output.
- Experiment with sound modes: Switch between different sound modes available on your soundbar and determine which one enhances your audio experience the most. Different sound modes emphasize various aspects of the audio, such as dialogues, surround effects, or music clarity. Choose the mode that best suits your preferences and the content you are watching or listening to.
- Balance the audio: If you find that certain frequencies are overpowering or lacking, adjust the soundbar’s equalizer settings accordingly. Increase or decrease the bass, treble, or midrange frequencies to achieve a well-balanced audio output that suits your taste and the content you are enjoying.
- Volume synchronization: Ensure that the volume control on your soundbar and DirecTV remote are synchronized. If you find that the volume buttons on one device don’t affect the volume on the other, refer to the user manuals of both devices to program the remote control or adjust the settings for volume control.
Take your time to experiment with different settings and fine-tune the soundbar to your liking. Test it with various types of content and make adjustments as needed until you achieve the desired audio quality and balance.
If you encounter any issues or are unsure how to make certain adjustments, refer to the user manuals or seek support from the manufacturer’s website or customer service. They can provide specific guidance based on your soundbar model and help you troubleshoot any problems that may arise.
With the connection tested and the soundbar settings adjusted to your preference, you are now ready to fully enjoy the immersive audio experience that your soundbar and DirecTV setup can provide.
Step 7: Troubleshooting tips for common issues
While setting up a soundbar with DirecTV can be a straightforward process, there may be instances where you encounter common issues or experience challenges. In this step, we will provide some troubleshooting tips to help you overcome these obstacles and ensure a smooth audio setup.
Here are some common issues you might encounter and their corresponding solutions:
- No sound from the soundbar: Ensure that all cables are securely connected to the correct ports on both the soundbar and the DirecTV receiver. Verify that the audio output settings on the DirecTV receiver are set to the appropriate output device (in this case, the soundbar).
- Poor sound quality: Experiment with different sound modes and adjust the equalizer settings on your soundbar to achieve optimal sound quality. It may also be helpful to check if there are any firmware updates available for your soundbar that can improve performance.
- Audio delay or synchronization issues: If you notice a delay between the audio and video, check the soundbar settings or the DirecTV receiver settings for an audio delay adjustment. Make necessary adjustments until you achieve synchronization. Additionally, ensure that your soundbar and DirecTV receiver are connected to HDMI ARC ports and that the HDMI cable used is of high quality.
- Volume control issues: If you are unable to control the volume of your soundbar using your DirecTV remote, refer to the user manual to program your remote control. You may need to follow specific instructions provided by the manufacturer to sync the remote control with your soundbar.
- Dropped or intermittent audio: Check all cable connections to ensure they are secure. If you are using an HDMI ARC connection, consider trying a different HDMI cable, as a faulty cable can lead to audio interruptions. Additionally, make sure that there are no obstacles blocking the line of sight between the remote control and the soundbar.
- Incompatible audio formats: If you encounter issues while playing specific audio formats, ensure that your soundbar and DirecTV receiver support the same audio formats. Check the audio format settings on both devices and adjust them accordingly. If necessary, consult the user manuals or contact customer support for further assistance.
If you have followed the previous steps and are still experiencing difficulties with setting up your soundbar with DirecTV, it may be helpful to consult the user manuals provided with your devices. Additionally, you can visit the manufacturer’s website or contact their customer support for further guidance specific to your soundbar model.
By troubleshooting common issues and resolving them effectively, you can ensure a seamless and optimized soundbar experience with your DirecTV setup.
Conclusion
Congratulations! You have successfully connected your soundbar to your DirecTV receiver and optimized the audio settings to enhance your home entertainment experience. By following the steps outlined in this guide, you have taken the necessary steps to ensure a seamless and immersive audio setup.
Throughout this process, you gathered the necessary equipment, positioned your soundbar and DirecTV receiver, connected them using HDMI ARC, set them up, configured the audio settings, tested the connection, and adjusted the soundbar settings to suit your preferences. Additionally, you learned some troubleshooting tips to overcome common issues that may arise during the setup and usage of a soundbar with DirecTV.
Remember that each soundbar and DirecTV receiver may have specific features and functionalities, so it is recommended to refer to the user manuals provided by the manufacturers for more detailed instructions and troubleshooting guidance.
With your soundbar connected to your DirecTV receiver, you can now enjoy a cinematic audio experience right in your living room. Whether you’re watching movies, TV shows, sports, or gaming, the enhanced sound quality will immerse you in the action and bring your entertainment to life.
Don’t forget to explore different sound modes, adjust the equalizer settings, and experiment with various audio configurations to find what suits your preferences and enhances your viewing pleasure. With a well-adjusted soundbar and DirecTV setup, you can sit back, relax, and enjoy a truly immersive audio experience that complements the stunning visuals on your TV screen.
Thank you for following this guide on how to connect your soundbar to DirecTV. We hope you found it helpful and that it has provided you with the information needed to enhance your home audio setup. Enjoy your newfound immersive sound and happy viewing!


