Introduction
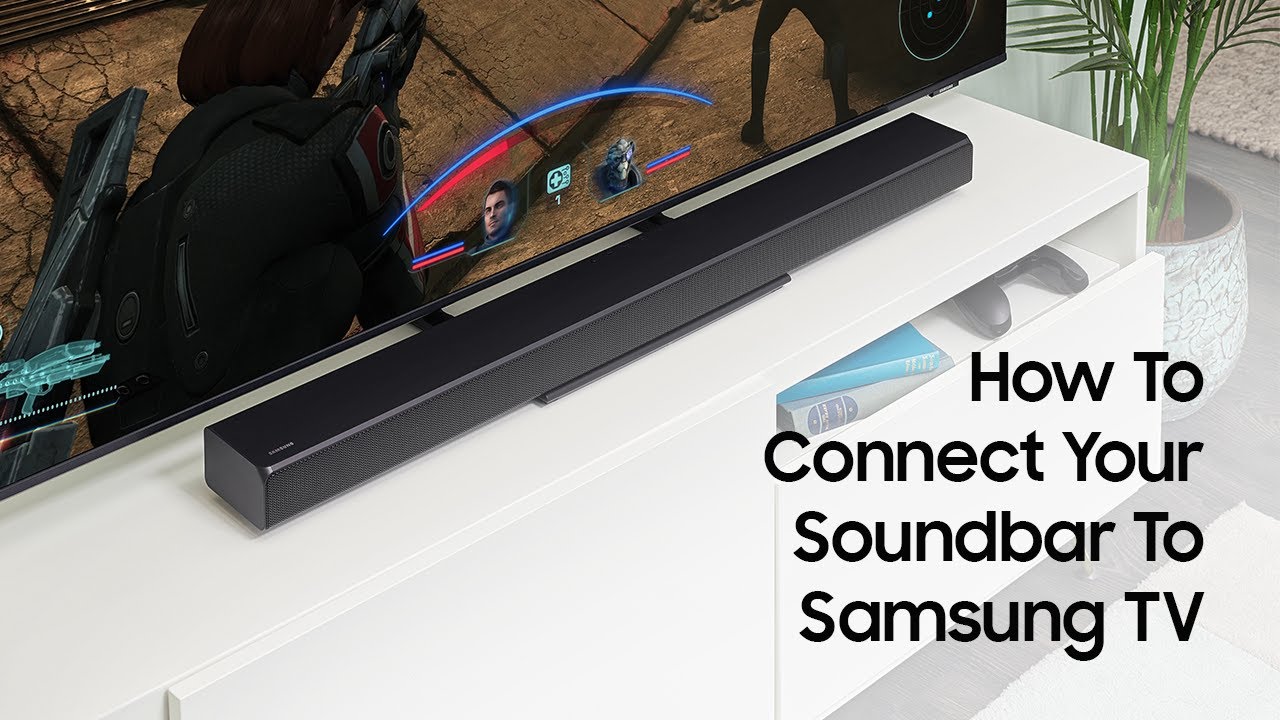
Welcome to this comprehensive guide on how to connect your Bomaker Soundbar to your TV. If you’re looking to enhance your TV-watching experience with high-quality sound, the Bomaker Soundbar is an excellent choice. Whether you’re a movie buff, a sports enthusiast, or someone who enjoys immersive audio, connecting your soundbar to your TV is a simple process that can greatly enhance your audio experience.
Bomaker is known for producing top-notch soundbars with impressive audio quality, sleek designs, and user-friendly features. With their wide range of options, you can find the perfect soundbar to complement any TV setup. By connecting your Bomaker Soundbar to your TV, you’ll be able to enjoy cinematic sound from the comfort of your own home.
In this guide, we’ll walk you through each step of the connection process. Whether you’re a tech-savvy individual or a beginner, you’ll find this guide easy to follow. We’ll start by gathering the necessary equipment and then walk you through identifying the audio output ports on your TV. We’ll help you choose the appropriate audio cable and guide you on how to connect the cable to both your TV and soundbar.
Once the physical connections are made, we’ll dive into adjusting the soundbar settings to ensure optimal audio performance. Finally, we’ll test the connection to make sure everything is working as expected.
So, without further ado, let’s get started on connecting your Bomaker Soundbar to your TV and elevate your audio experience to the next level!
Step 1: Gather the necessary equipment
Before you begin connecting your Bomaker Soundbar to your TV, it’s important to gather all the necessary equipment to ensure a smooth setup process. Here’s what you’ll need:
- Bomaker Soundbar: Of course, you’ll need your Bomaker Soundbar, which should come with all the necessary cables and accessories.
- TV: Ensure that you have your TV ready and turned off before proceeding with the connection.
- Remote Control: Keep the remote control for your Bomaker Soundbar handy, as you’ll need it later to adjust the settings.
- Audio Cable: Depending on the available audio output ports on your TV, you may need either an HDMI cable, an optical cable, or a 3.5mm auxiliary cable. Refer to your TV’s user manual to determine which type of cable is compatible.
- Power Cables: Make sure you have the appropriate power cables for both your TV and the Bomaker Soundbar.
Gathering all the necessary equipment beforehand will save you time and ensure a hassle-free setup process.
Once you’ve gathered all the required items, you’re ready to move on to the next step: identifying the audio output ports on your TV.
Step 2: Identify the audio output ports on your TV
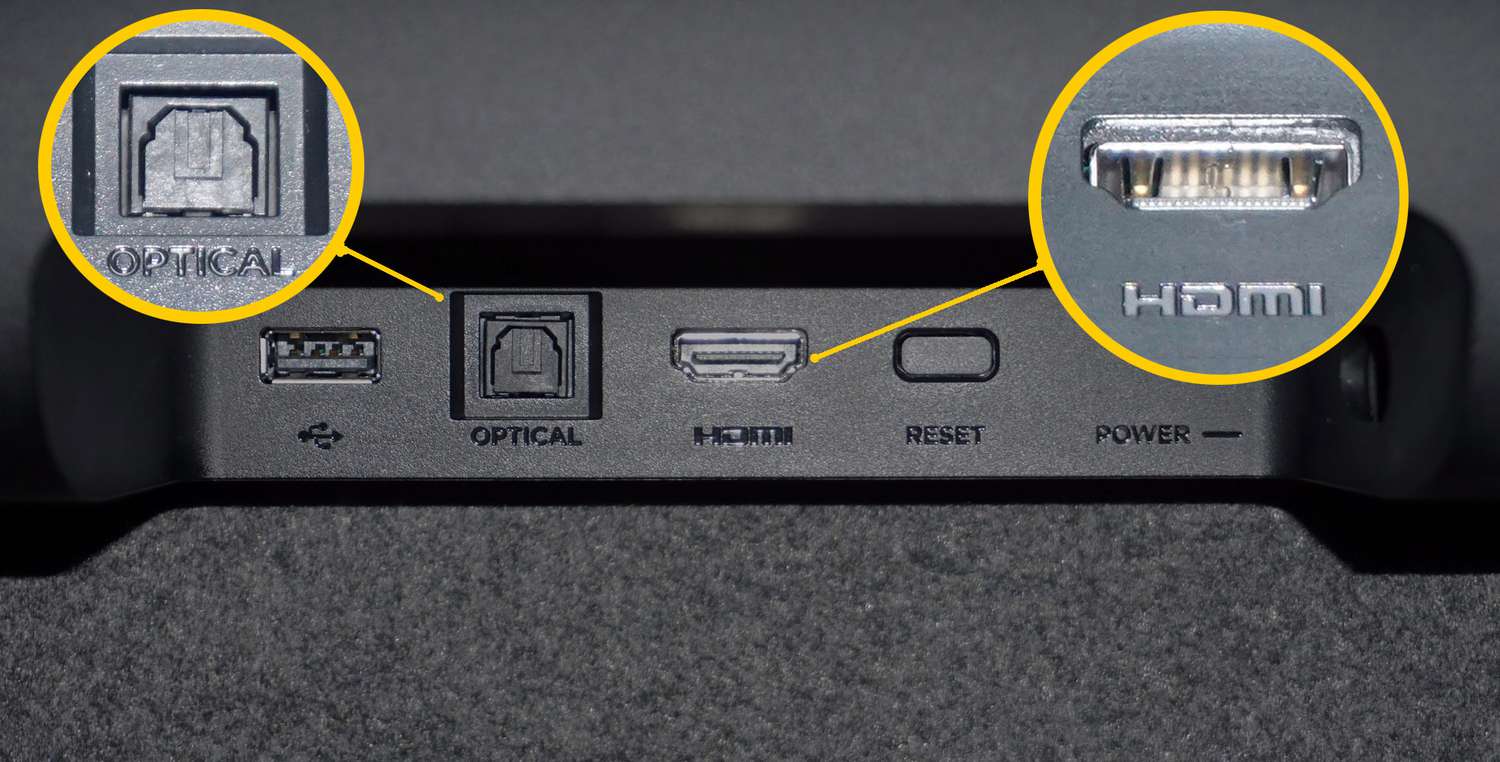
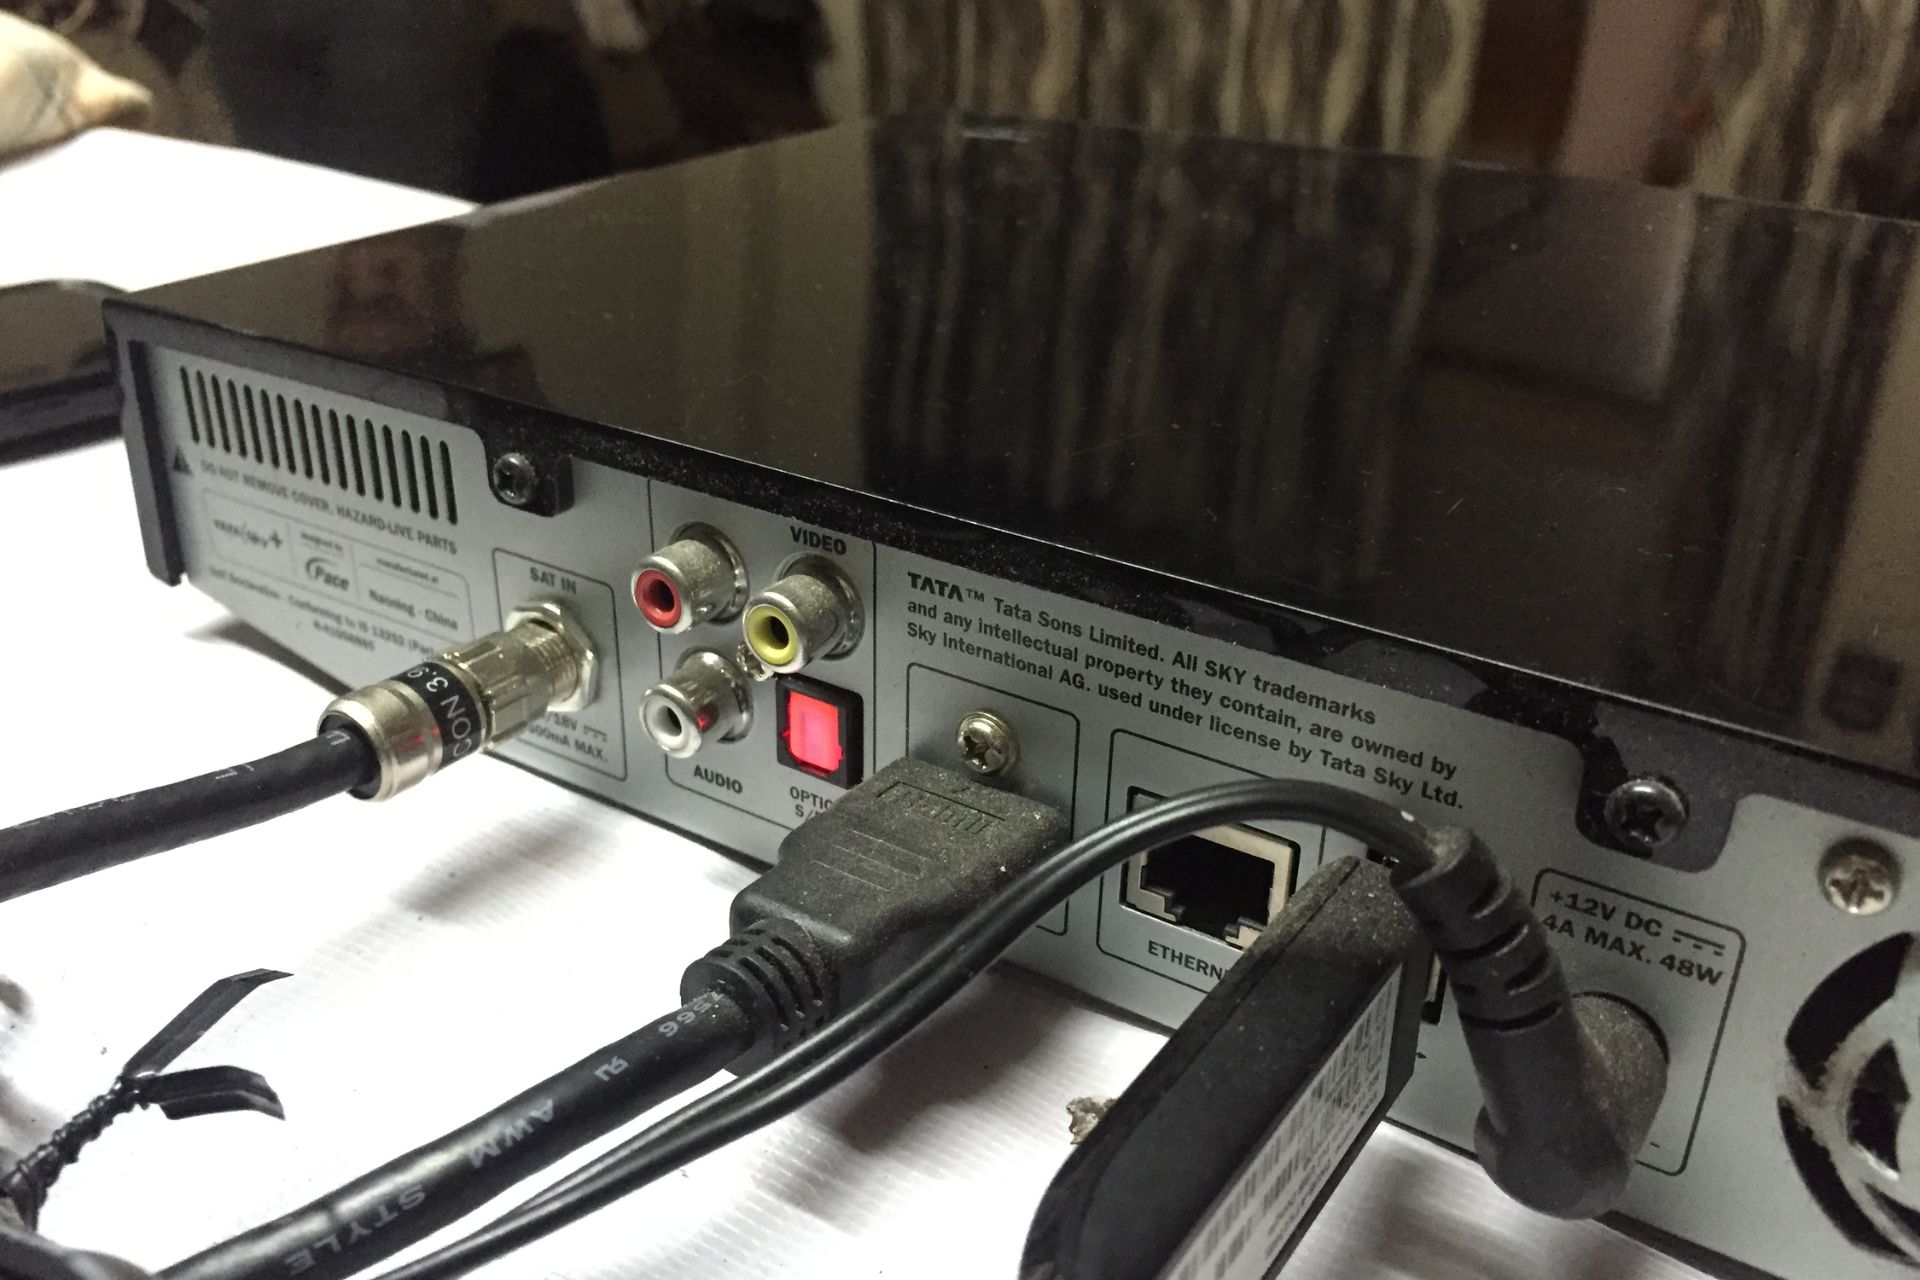
Before you can connect your Bomaker Soundbar to your TV, you need to identify the audio output ports on your TV. The type of port you have will determine which audio cable you’ll need to use for the connection. Here are the most common types of audio output ports:
- HDMI ARC: HDMI ARC (Audio Return Channel) is a convenient option if both your TV and soundbar support it. This single HDMI port can transmit both audio and video signals and allows for two-way communication between the TV and soundbar.
- Optical (Toslink) Port: The optical port is a square-shaped port that transmits digital audio. This port is commonly found on many modern TVs and soundbars. If your TV has an optical port, you’ll need an optical cable for the connection.
- 3.5mm Auxiliary (Headphone) Jack: Some older TVs may have a 3.5mm auxiliary jack, also known as a headphone jack. If your TV has this port, you’ll need a 3.5mm auxiliary cable to connect to your Bomaker Soundbar.
Once you’ve identified the type of audio output port on your TV, make a note of it. This information will be helpful when choosing the appropriate audio cable in the next step.
If you’re not sure which audio output port your TV has or need additional assistance, consult your TV’s user manual or contact the manufacturer for guidance.
Now that you’ve identified the audio output ports on your TV, you’re ready to move on to the next step: choosing the appropriate audio cable.
Step 3: Choose the appropriate audio cable
Once you have identified the audio output port on your TV, it’s time to choose the appropriate audio cable for the connection. The type of cable you’ll need depends on the audio output port you have on your TV. Here are the common types of audio cables you may need:
- HDMI Cable: If your TV and soundbar both have HDMI ARC ports, using an HDMI cable is a convenient option. HDMI cables transmit both audio and video signals in high definition. Ensure that the HDMI cable you choose is compatible with ARC functionality.
- Optical Cable: If your TV has an optical (Toslink) port, you’ll need an optical cable to make the connection. Optical cables transmit digital audio signals and are capable of delivering high-quality sound.
- 3.5mm Auxiliary Cable: For TVs with a 3.5mm auxiliary (headphone) jack, you’ll need a 3.5mm auxiliary cable to connect to your Bomaker Soundbar. This cable is ideal for analog audio connections.
Refer to your TV’s user manual to determine the optimal audio cable to use. If you’re unsure about the compatibility or need further assistance, consult the Bomaker Soundbar’s user manual or reach out to the manufacturer for guidance.
Once you have chosen the appropriate audio cable, make sure to check its length. Ensure that the cable length allows for easy connection between your TV and Bomaker Soundbar without any strain or tangles.
Now that you have chosen the right audio cable, you’re ready to move on to the next step: connecting the cable to your TV and soundbar.
Step 4: Connect the audio cable to the TV and soundbar
With the appropriate audio cable in hand, it’s time to connect it to both your TV and Bomaker Soundbar. Follow these steps to ensure a secure and proper connection:
- TV Connection: Locate the audio output port on your TV that you identified in the previous step. Depending on the type of port, follow these instructions:
- If you’re using an HDMI cable with HDMI ARC ports, connect one end of the HDMI cable to the HDMI ARC port on your TV.
- If you’re using an optical cable, insert one end of the optical cable into the optical port on your TV.
- If your TV has a 3.5mm auxiliary jack, insert one end of the 3.5mm auxiliary cable into the headphone jack on your TV.
- Soundbar Connection: Locate the corresponding input port on your Bomaker Soundbar and connect the other end of the audio cable to it. Again, depending on the type of port, follow these instructions:
- If you’re using an HDMI cable, connect the other end of the HDMI cable to the HDMI ARC port on your soundbar.
- If you’re using an optical cable, insert the other end of the optical cable into the optical port on your soundbar.
- If your soundbar has a 3.5mm auxiliary input, insert the other end of the 3.5mm auxiliary cable into the auxiliary input port.
- Secure the Connections: Ensure that the audio cable is securely connected to both the TV and the soundbar. Check for any loose connections and gently push the cable in if necessary.
- Power On: Once the audio cable is connected, power on your TV and the Bomaker Soundbar. Make sure both devices are set to the appropriate input source.
By following these steps, you can establish a solid and reliable connection between your TV and Bomaker Soundbar.
Now that the physical connections are made, it’s time to proceed to the next step: adjusting the soundbar settings for optimal audio performance.
Step 5: Adjust the soundbar settings
Now that the audio cable is connected between your TV and Bomaker Soundbar, it’s essential to adjust the soundbar settings to ensure optimal audio performance. Follow these steps to fine-tune the settings:
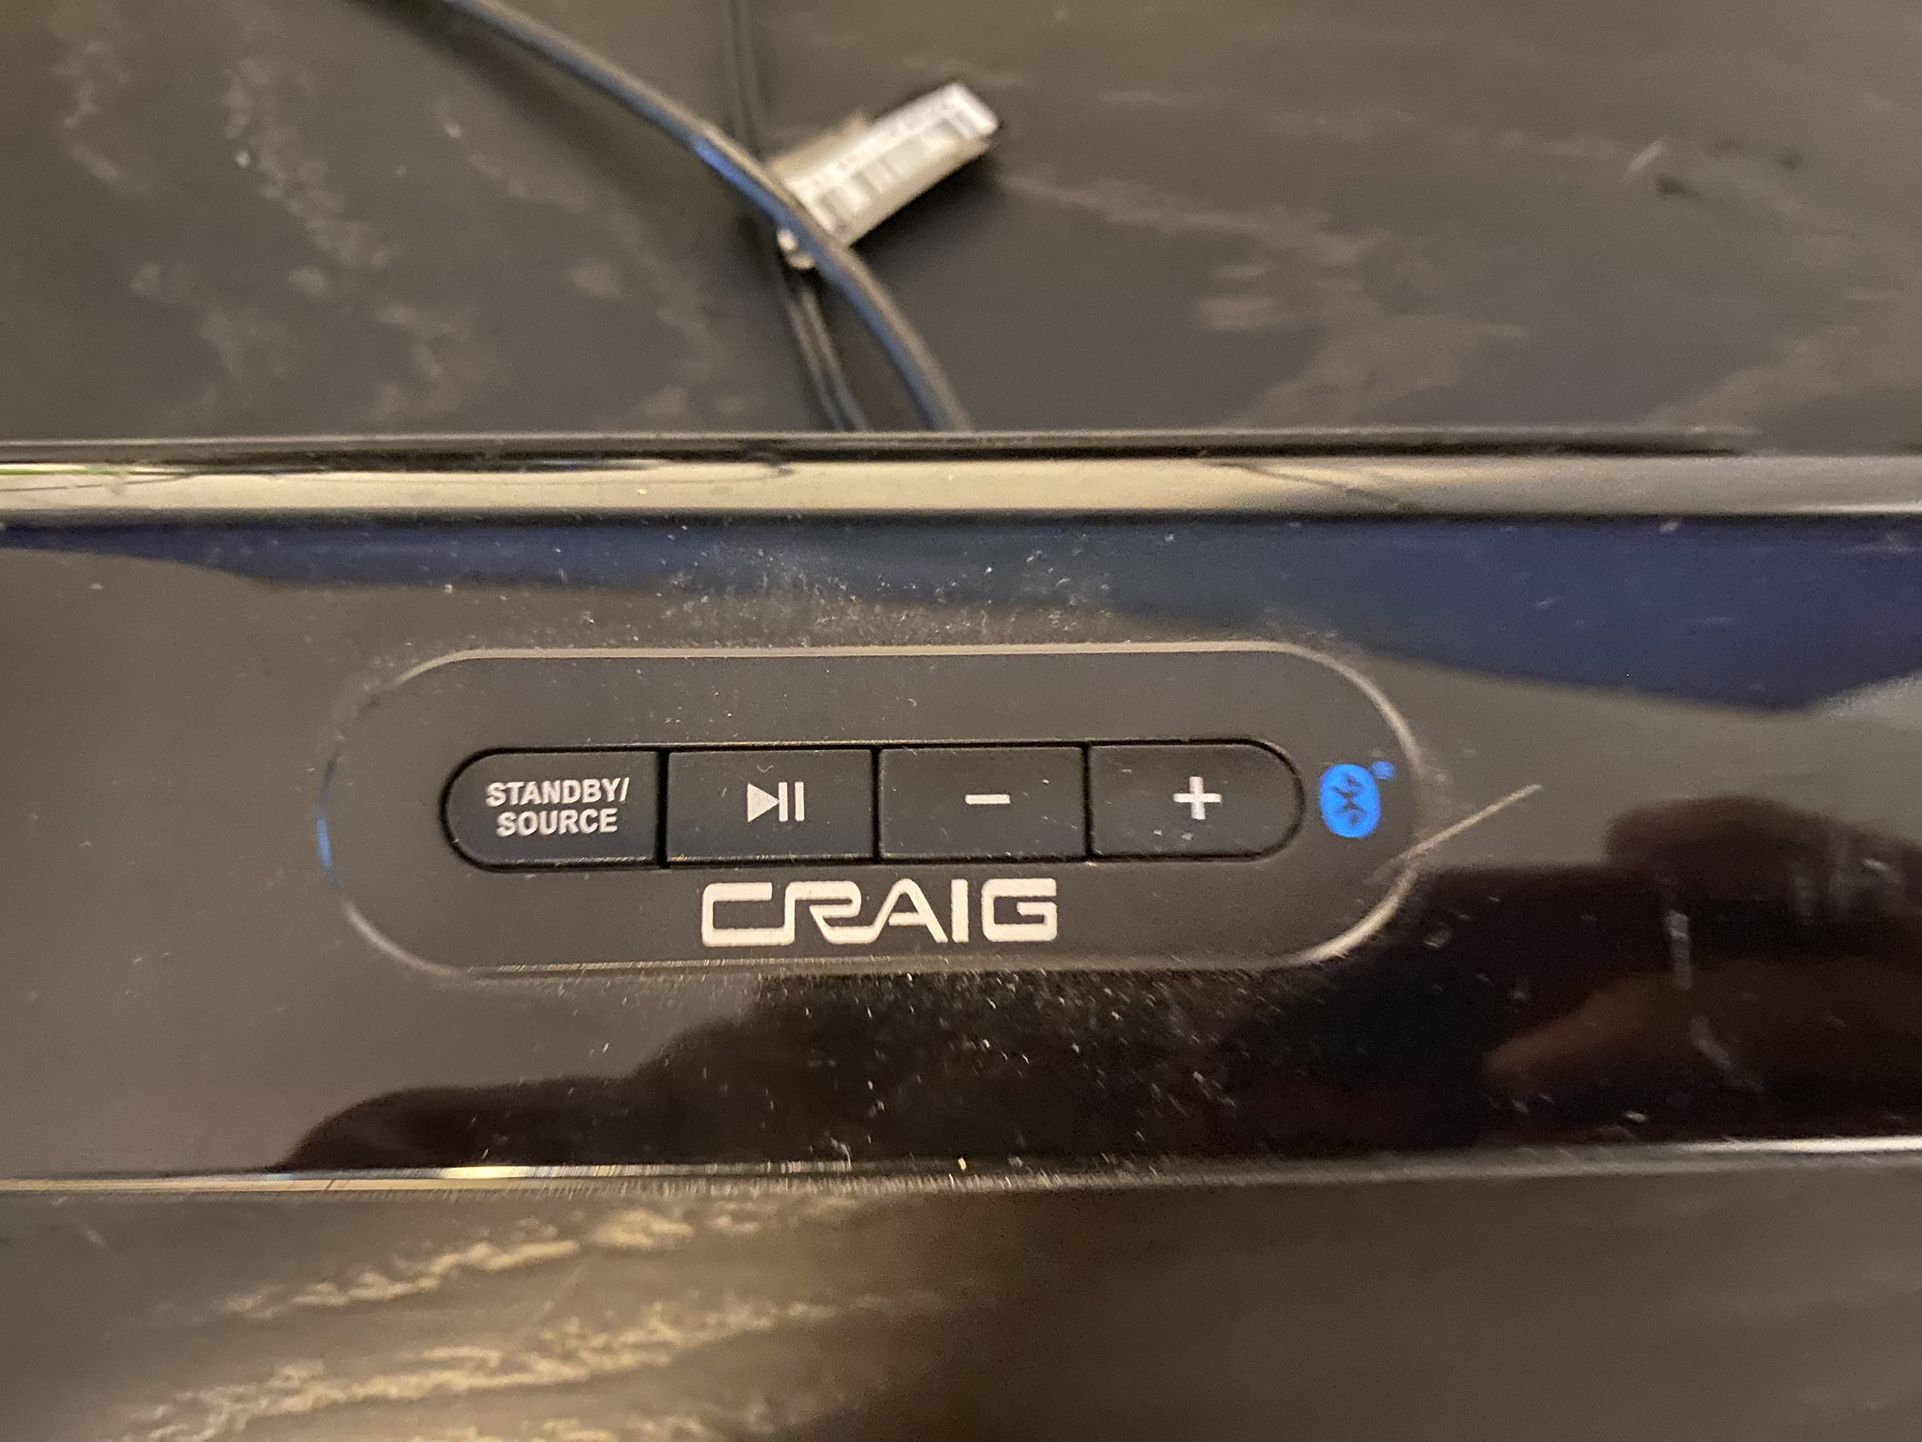
- Access the Soundbar Settings: Use the remote control that came with your Bomaker Soundbar to access the soundbar settings. Most soundbars have a dedicated button or menu option on the remote control for accessing the settings.
- Sound Mode: Explore the available sound modes on your soundbar. Bomaker soundbars typically offer various sound enhancement options such as “Movie,” “Music,” or “Dialogue.” Select the sound mode that best suits your preference or the content you’re currently watching.
- Equalizer Settings: Some soundbars have built-in equalizer settings that allow you to customize the audio output further. Adjusting the equalizer settings can help you enhance specific frequencies to match your listening preferences. Experiment with the settings to find the perfect balance for your audio experience.
- Volume and Treble/Bass Control: Fine-tune the volume levels to your liking using the soundbar remote control. Additionally, many soundbars provide options to adjust the treble (high-frequency tones) and bass (low-frequency tones) levels. Play around with these controls to achieve the desired audio balance.
- Additional Audio Features: Depending on your Bomaker Soundbar model, you may have access to other audio features such as virtual surround sound, 3D audio, or Bluetooth connectivity. Explore these features and adjust them according to your preferences or specific requirements.
Remember, the ideal settings can vary depending on personal preference and the content you’re watching or listening to. Take the time to experiment and find the configuration that delivers the best audio experience for you.
With the soundbar settings adjusted, you’re almost ready to enjoy an enhanced audio experience. However, before you start watching or listening, it’s important to test the connection to ensure everything is functioning as expected. This will be covered in the next step.
Step 6: Test the connection
After connecting your Bomaker Soundbar to your TV and adjusting the soundbar settings, it’s crucial to test the connection to ensure that everything is working properly. Here’s how you can test the connection:
- Select the Correct Input Source: On your TV remote control, navigate to the input/source settings and ensure that the audio input source is set to the connected port (HDMI ARC, optical, or auxiliary).
- Play Audio: Choose a program or content on your TV that you know has audio. It can be a movie, TV show, or even a music streaming service.
- Listen for Sound: Once the content starts playing, listen for sound coming from your Bomaker Soundbar. If you hear audio coming through the soundbar, congratulations! The connection is successful.
- Adjustments: If you’re not getting any sound or experiencing issues, double-check the cables’ connections and make sure they are securely plugged in. Also, ensure that the soundbar is powered on and set to the correct input source. If necessary, go back to the previous steps and recheck the settings and connections.
If you’re still having trouble after troubleshooting, consult the user manual for your specific Bomaker Soundbar model or reach out to Bomaker’s customer support for further assistance.
Once you’ve confirmed that the connection is working, sit back, relax, and enjoy the immersive audio experience provided by your Bomaker Soundbar. Whether you’re watching a thrilling movie or vibing to your favorite tunes, the enhanced sound quality will truly elevate your entertainment experience.
Congratulations! You have successfully connected and tested your Bomaker Soundbar to your TV. Now you can indulge in a whole new level of audio immersion and enjoy your favorite content like never before.
Conclusion
Connecting your Bomaker Soundbar to your TV is a simple process that can greatly enhance your audio experience. By following the steps outlined in this guide, you’ll be able to enjoy the immersive sound quality that Bomaker soundbars are known for.
We started by gathering the necessary equipment, including the soundbar, TV, remote control, audio cable, and power cables. Then, we identified the audio output ports on your TV, which could be HDMI ARC, optical, or a 3.5mm auxiliary jack. Based on the port type, we chose the appropriate audio cable to ensure a compatible connection.
After connecting the audio cable to both your TV and soundbar, we moved on to adjusting the soundbar settings. This step allowed you to fine-tune the sound mode, equalizer, volume, treble, bass, and other audio features according to your preferences and the content you’re watching or listening to.
Lastly, we tested the connection to confirm that everything was functioning as expected. By selecting the correct input source on your TV and playing audio content, you were able to verify if the sound was coming through the Bomaker Soundbar successfully.
Now that you have successfully connected and tested your Bomaker Soundbar, you can sit back and enjoy a superior audio experience. Whether you’re immersing yourself in a gripping movie, enjoying a music concert, or watching your favorite TV shows, the enhanced sound quality will enhance your entertainment.
If you encounter any issues or have further questions, consult the user manuals provided with your TV and soundbar or reach out to Bomaker customer support for assistance. They are always ready to help you get the most out of your audio setup.
Thank you for choosing Bomaker, and we hope you have many enjoyable moments with your newly connected Bomaker Soundbar and TV setup! Happy watching and listening!