Introduction
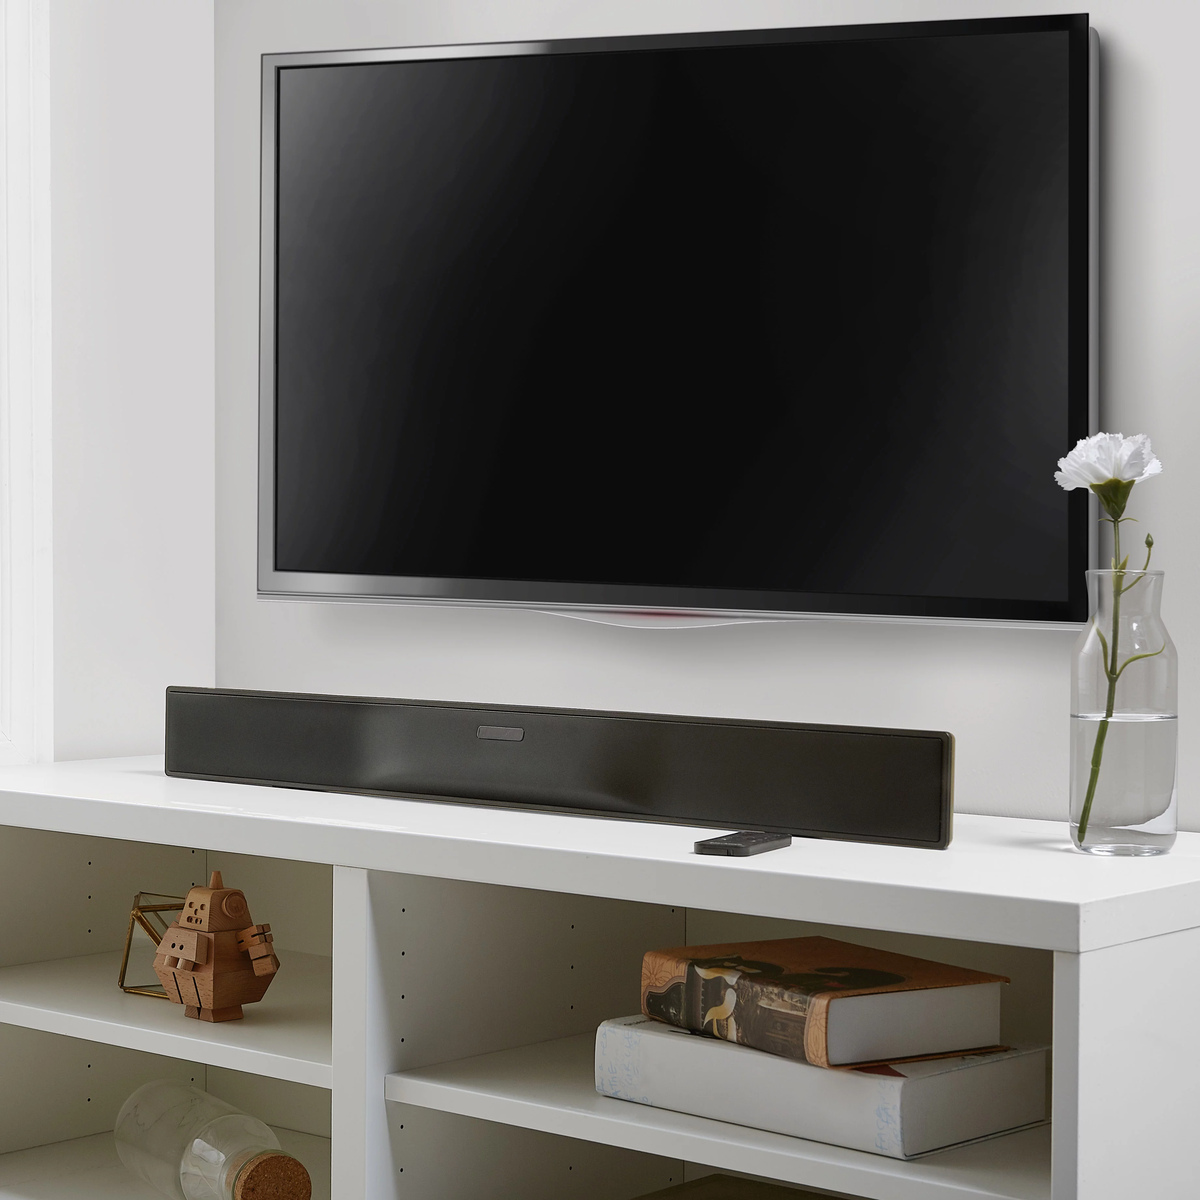
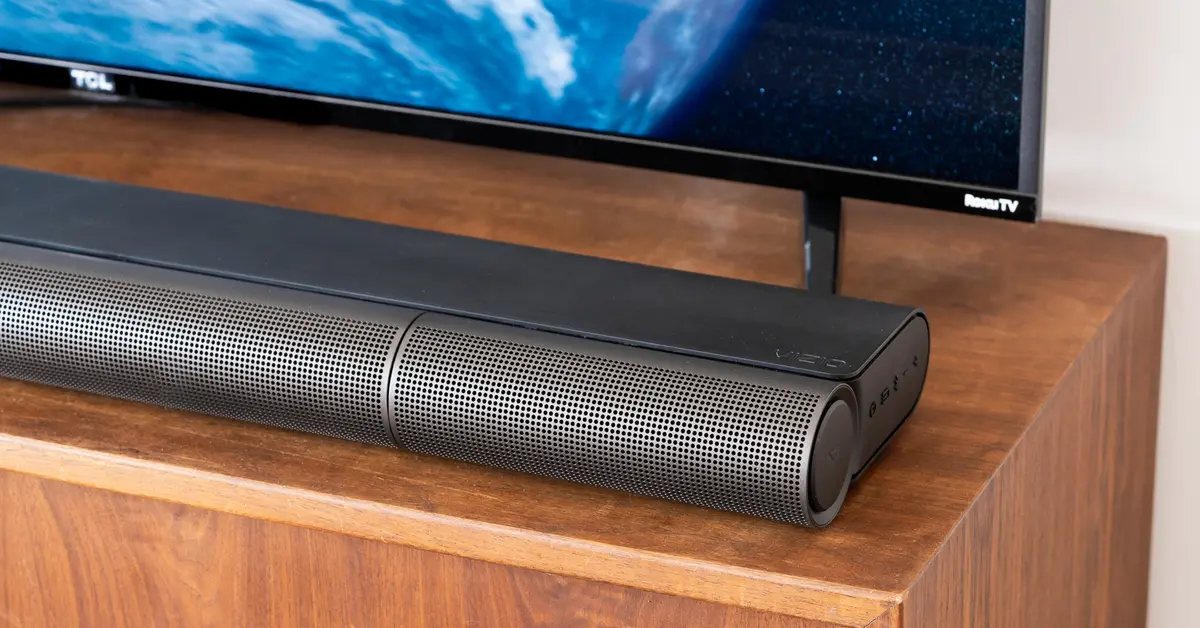
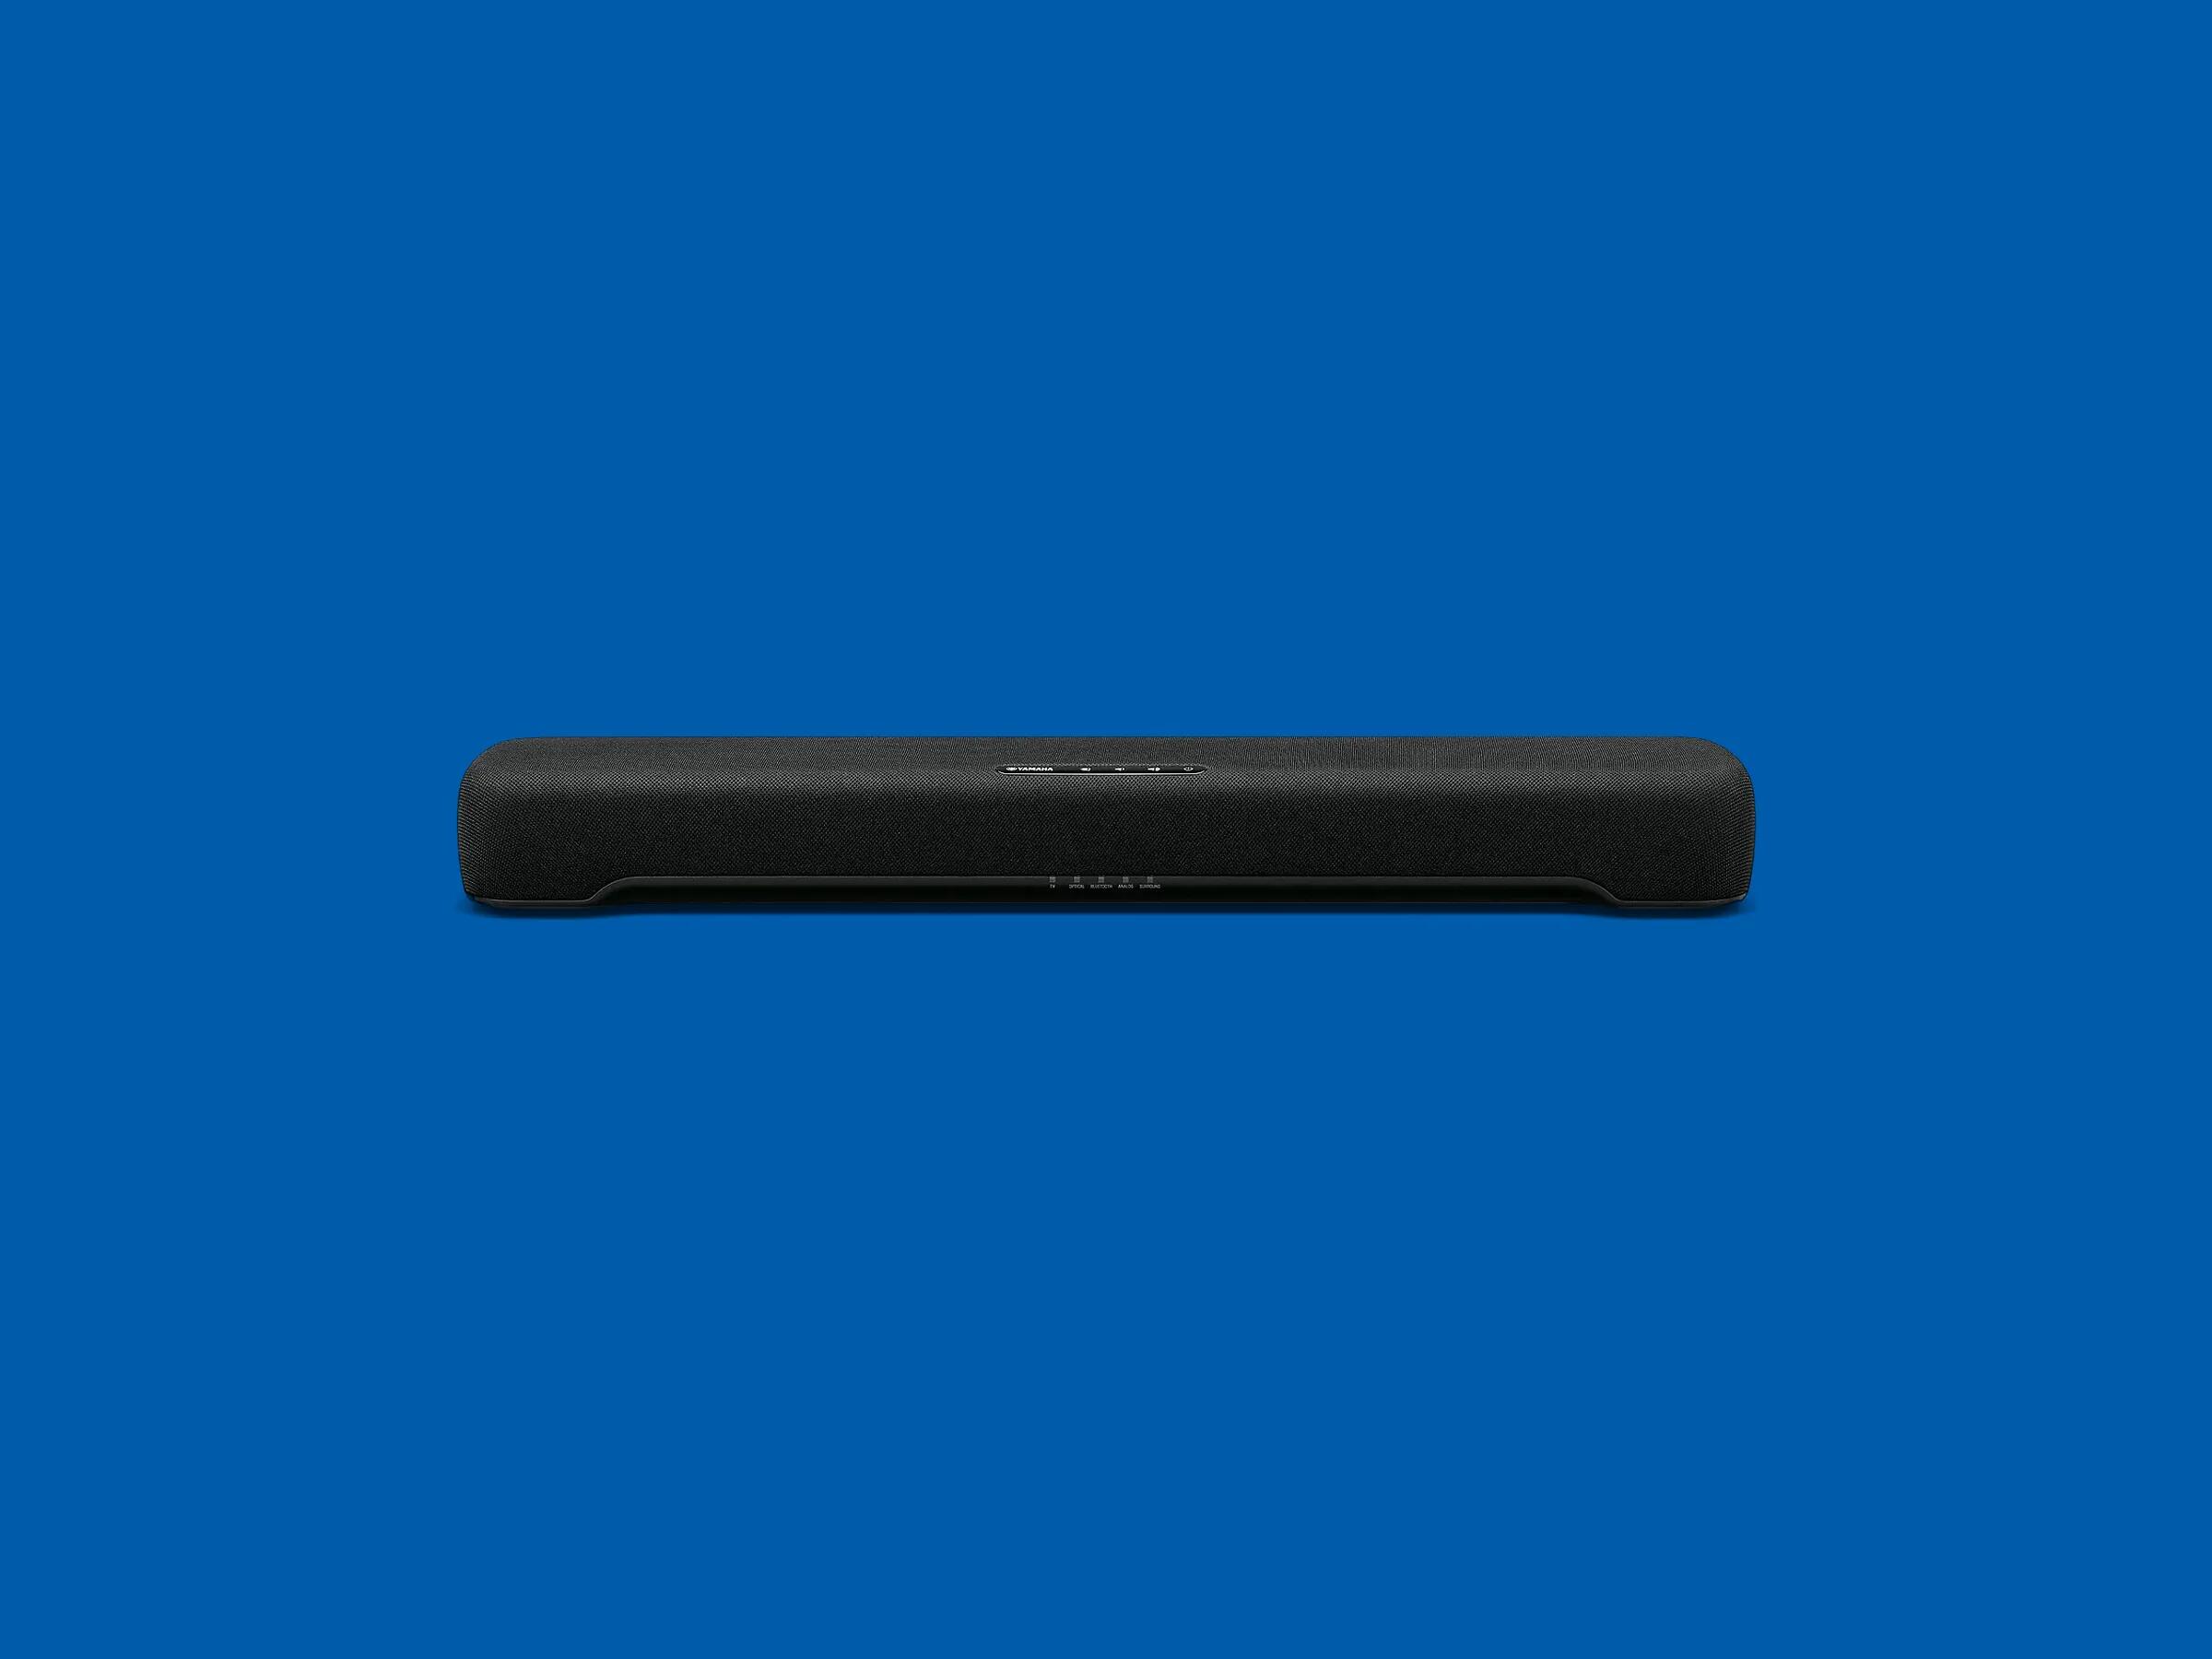
Welcome to our guide on how to connect an RCA soundbar to your TV. Soundbars have become increasingly popular due to their ability to enhance TV audio and provide a theater-like experience in the comfort of your own home. RCA soundbars are a great option for those looking for an affordable and easy-to-use audio solution.
Connecting an RCA soundbar to your TV is a relatively simple process that can greatly improve your audio quality. Whether you’re watching movies, playing video games, or streaming your favorite shows, a soundbar can provide crisp and clear sound that enhances your overall viewing experience.
In this guide, we will walk you through the step-by-step process of connecting your RCA soundbar to your TV using RCA cables. We’ll also provide tips and troubleshooting advice along the way to ensure a smooth setup process.
Before we begin, it’s important to note that the specific steps may vary slightly depending on the model and brand of your TV and soundbar. However, the general principles discussed in this guide should apply to most RCA soundbars and TVs.
So let’s get started and learn how to connect your RCA soundbar to your TV.
Step 1: Gather the necessary equipment
Before you start connecting your RCA soundbar to your TV, it’s important to gather all the necessary equipment. Here are the items you’ll need:
- RCA soundbar: Make sure you have a compatible RCA soundbar. Check the user manual or the manufacturer’s website for specific details about the model you own.
- TV: You will need a TV with an available audio output port. Most modern TVs have multiple audio options, including RCA, HDMI, and optical output.
- RCA cables: These are the cables that will connect your soundbar to your TV. Make sure you have the appropriate length and number of RCA cables needed for your setup.
- Power cords: Ensure you have the power cords for both the soundbar and the TV.
- Remote control: Keep the remote control for your RCA soundbar handy, as you may need to access certain settings or functions during the setup process.
Once you have gathered all the necessary equipment, you’re ready to proceed to the next step.
Step 2: Determine the audio ports on your TV
Before connecting your RCA soundbar to your TV, you need to identify the audio output ports available on your TV. Most TVs have multiple audio options, such as RCA, HDMI, and optical output. Here’s how you can determine the audio ports on your TV:
- Refer to the TV manual: The user manual that came with your TV should have a section dedicated to the ports and connections. Check the manual to find the audio output options and their corresponding labels.
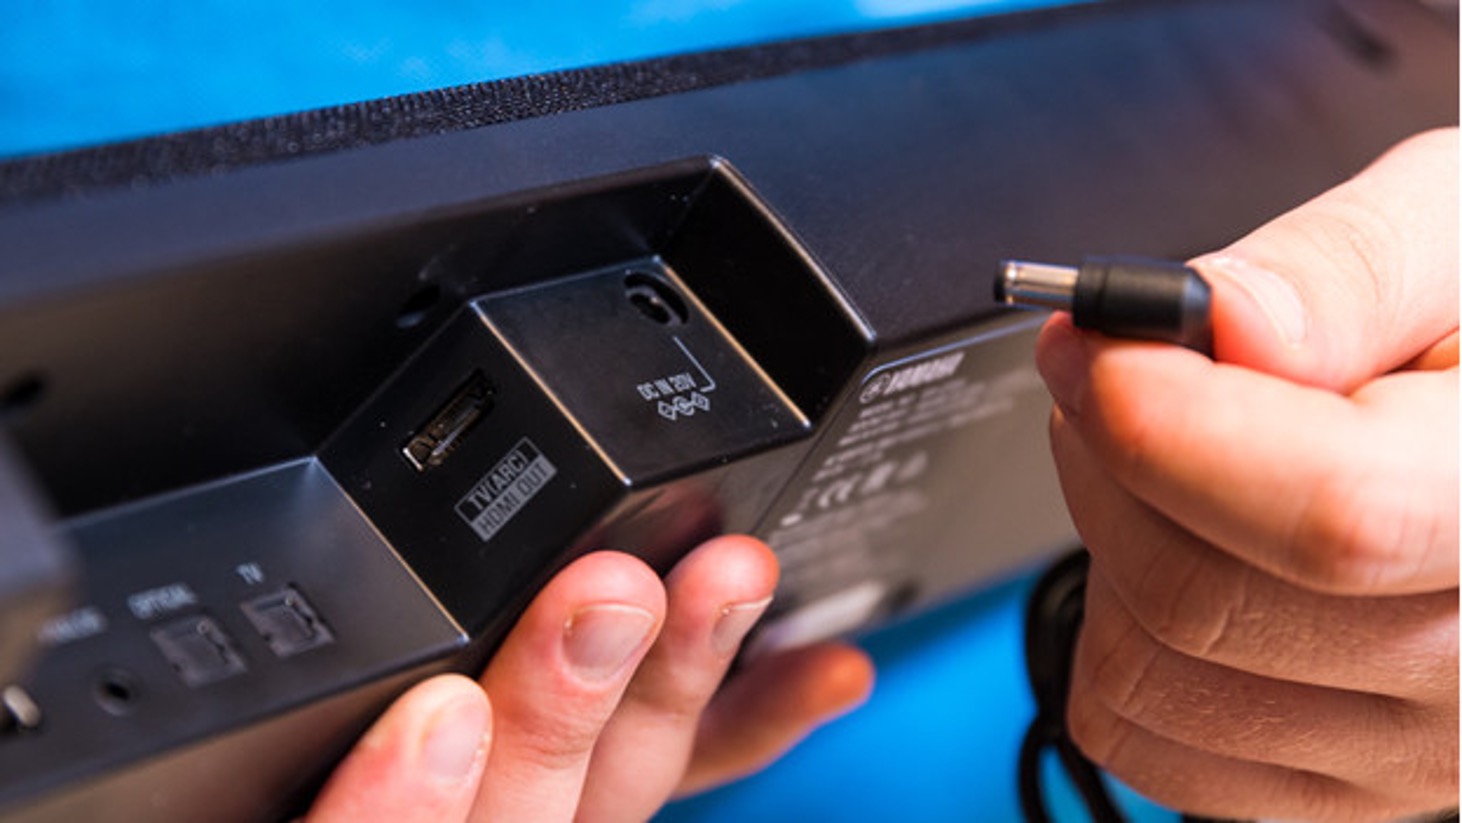
- Inspect the back or sides of your TV: Take a look at the back or sides of your TV to locate the various ports. The audio output ports are typically labeled, such as “Audio Out,” “RCA,” or “HDMI ARC.” Some TVs may also have a headphone jack that can be used as an audio output.
- Use the TV settings: If you’re unable to find the audio ports physically, you can try accessing the TV’s settings menu. Navigate to the audio or sound settings section and look for the audio output options listed there. These settings may provide more detailed information about the available audio ports.
Once you have identified the audio output ports on your TV, you’re ready to proceed to the next step of connecting your RCA soundbar.
Step 3: Connect the soundbar to your TV using RCA cables
Now that you have determined the audio output ports on your TV, it’s time to connect your RCA soundbar using RCA cables. Follow these steps:
- Turn off your TV and soundbar: Before connecting any cables, ensure that both your TV and soundbar are turned off to avoid any electrical damage.
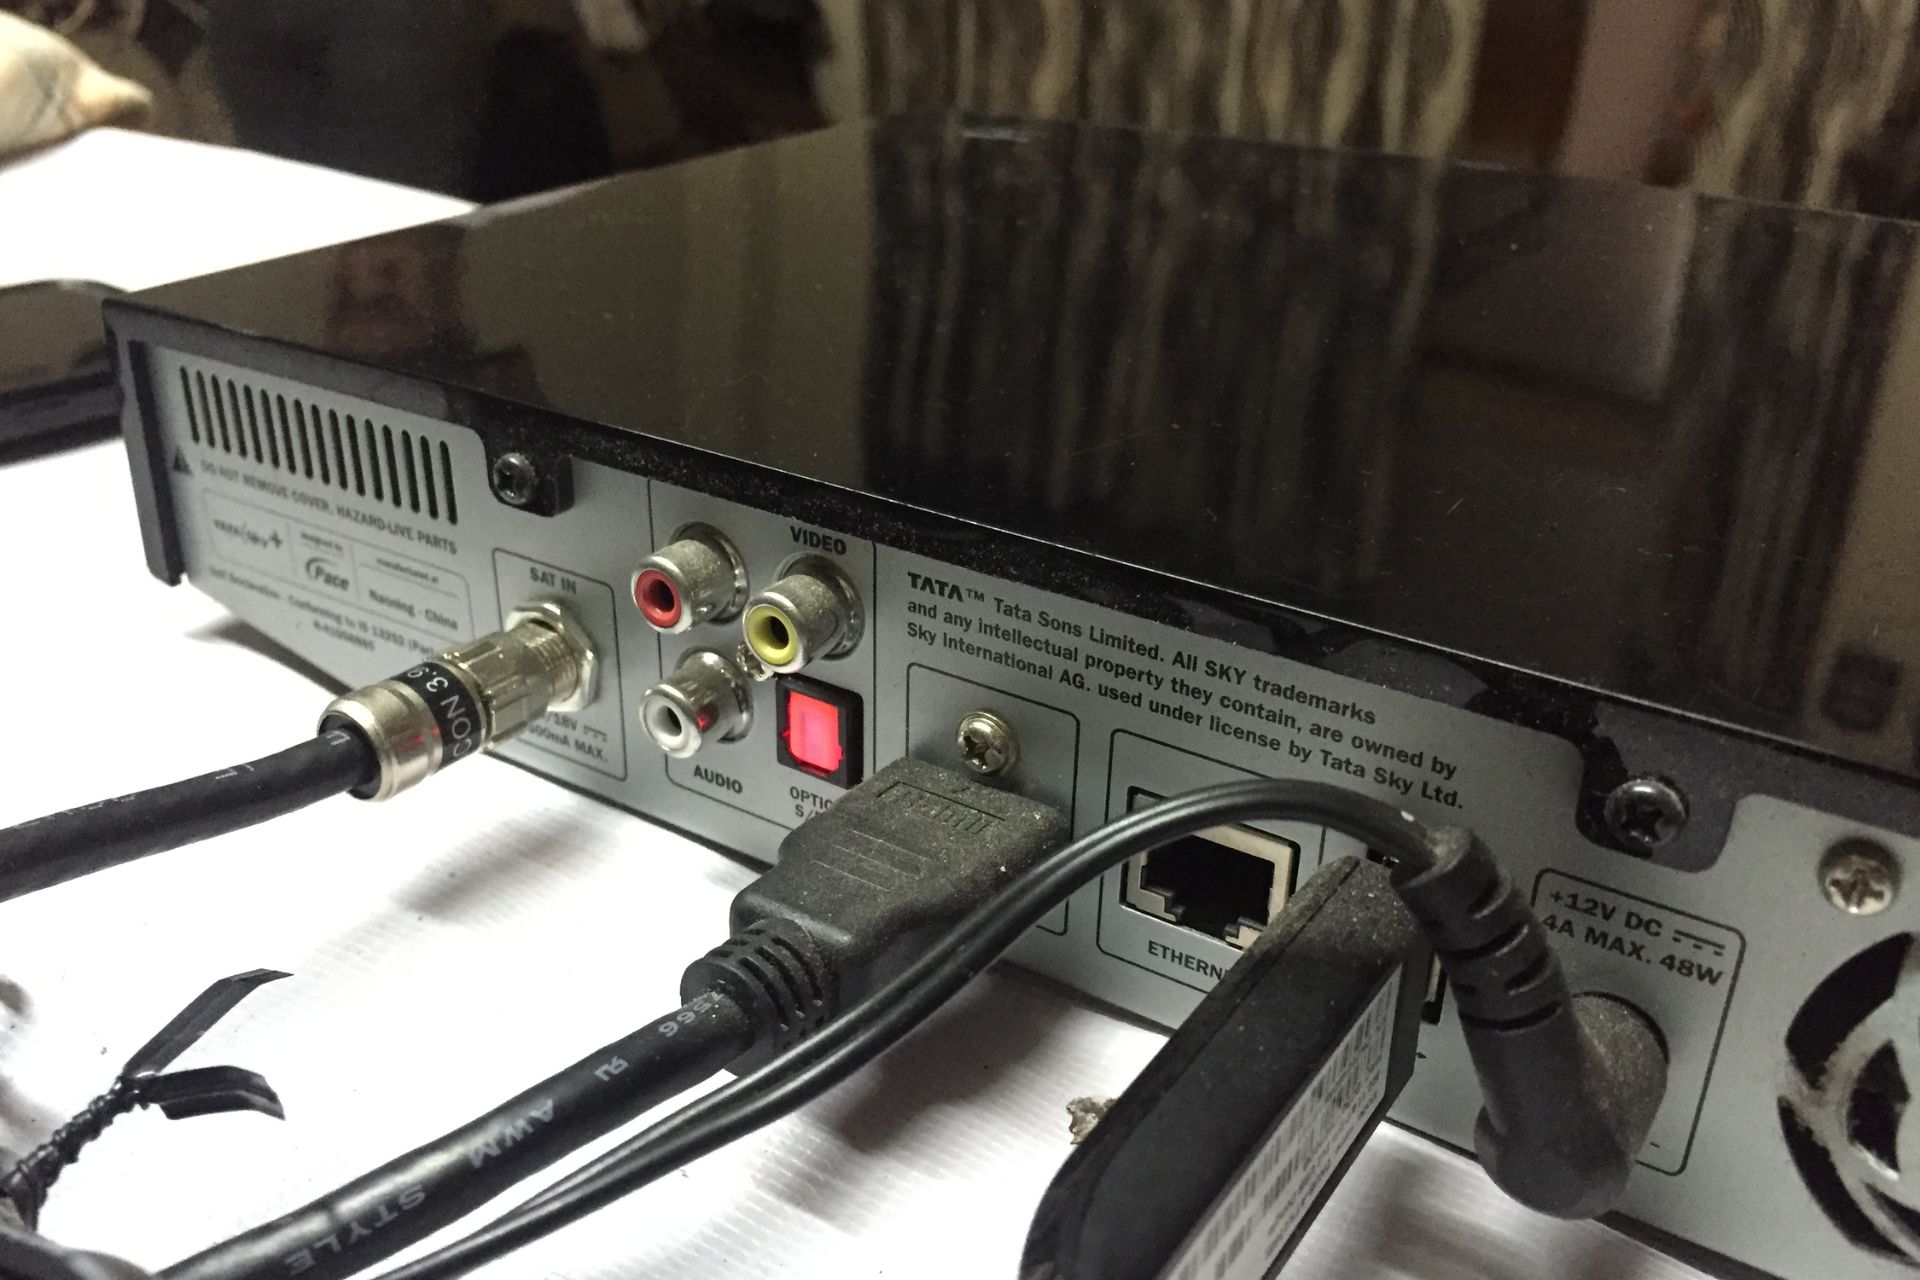
- Locate the RCA audio output ports on your TV: Identify the RCA audio output ports on your TV. They are usually color-coded red and white or labeled as “Audio Out.”
- Connect the RCA cables: Take one end of the RCA cable and plug the red connector into the red RCA port on your TV, and the white (or black) connector into the white RCA port on your TV. Make sure to firmly insert the cables into the respective ports.
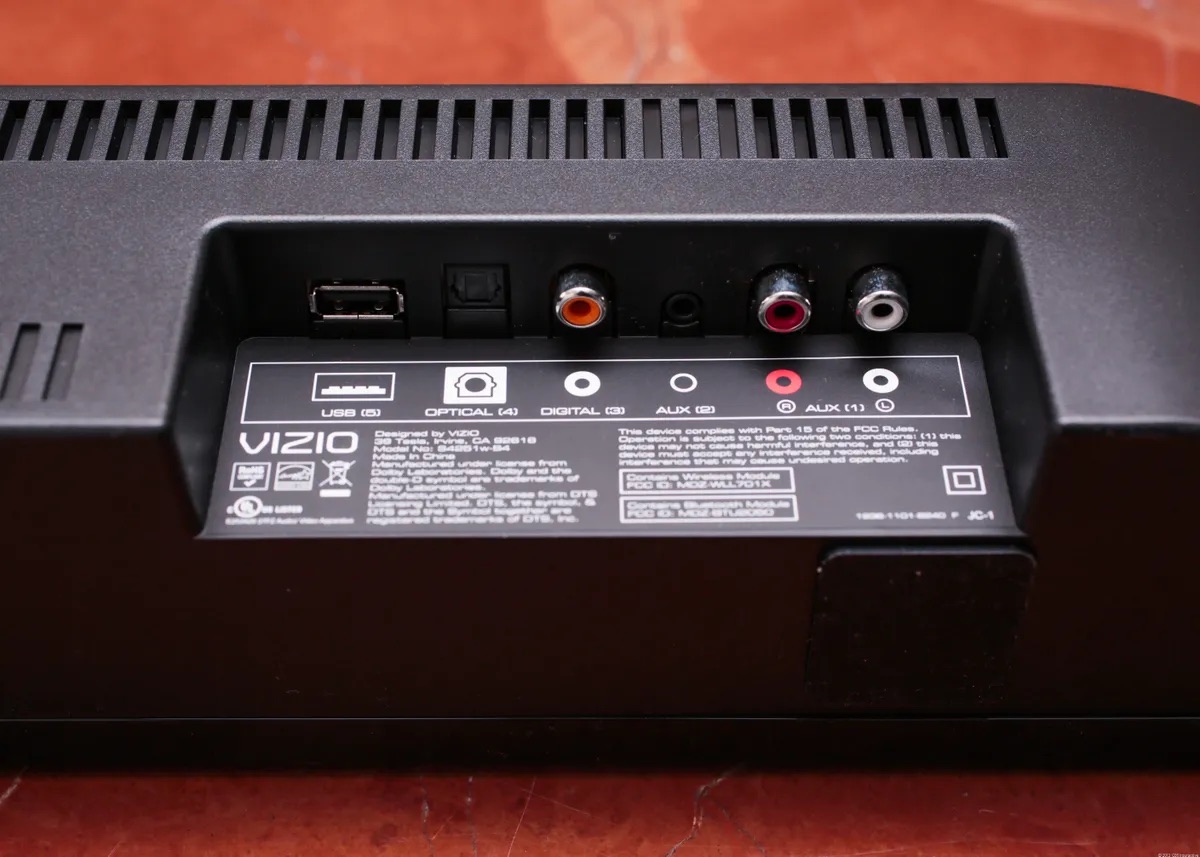
- Locate the RCA audio input ports on your soundbar: Identify the RCA audio input ports on your soundbar. They are usually located on the back or side of the soundbar and labeled as “Audio In.”
- Connect the RCA cables to the soundbar: Take the other ends of the RCA cables and plug them into the corresponding RCA audio input ports on your soundbar. Ensure a secure connection by firmly pushing the cables into the ports.
- Turn on your TV and soundbar: Once the cables are securely connected, power on both your TV and soundbar.
That’s it! You have successfully connected your RCA soundbar to your TV using RCA cables. Now, it’s time to move on to the next step and adjust the audio settings on your TV.
Step 4: Adjust the settings on your TV
After connecting your RCA soundbar to your TV using RCA cables, it’s essential to adjust the audio settings on your TV to ensure optimal performance. Follow these steps to adjust the settings:
- Access the TV menu: Using your TV’s remote control, navigate to the settings or menu option. This may be labeled as “Menu,” “Settings,” or indicated by an icon resembling a gear or a series of horizontal lines.
- Select the audio settings: Within the menu, locate the audio settings section. This section may be named “Audio,” “Sound,” or something similar.
- Choose the audio output: In the audio settings, select the audio output option that corresponds to the RCA soundbar. This may be referred to as “External Speakers,” “Audio Out,” or similar. Selecting this option ensures that the sound from your TV is routed to the soundbar.
- Adjust the audio settings: Depending on your TV model, you may have options to further customize the audio settings. This can include adjusting the equalizer settings, selecting sound modes, or enabling any surround sound features. Experiment with these settings to find the audio configuration that suits your preference.
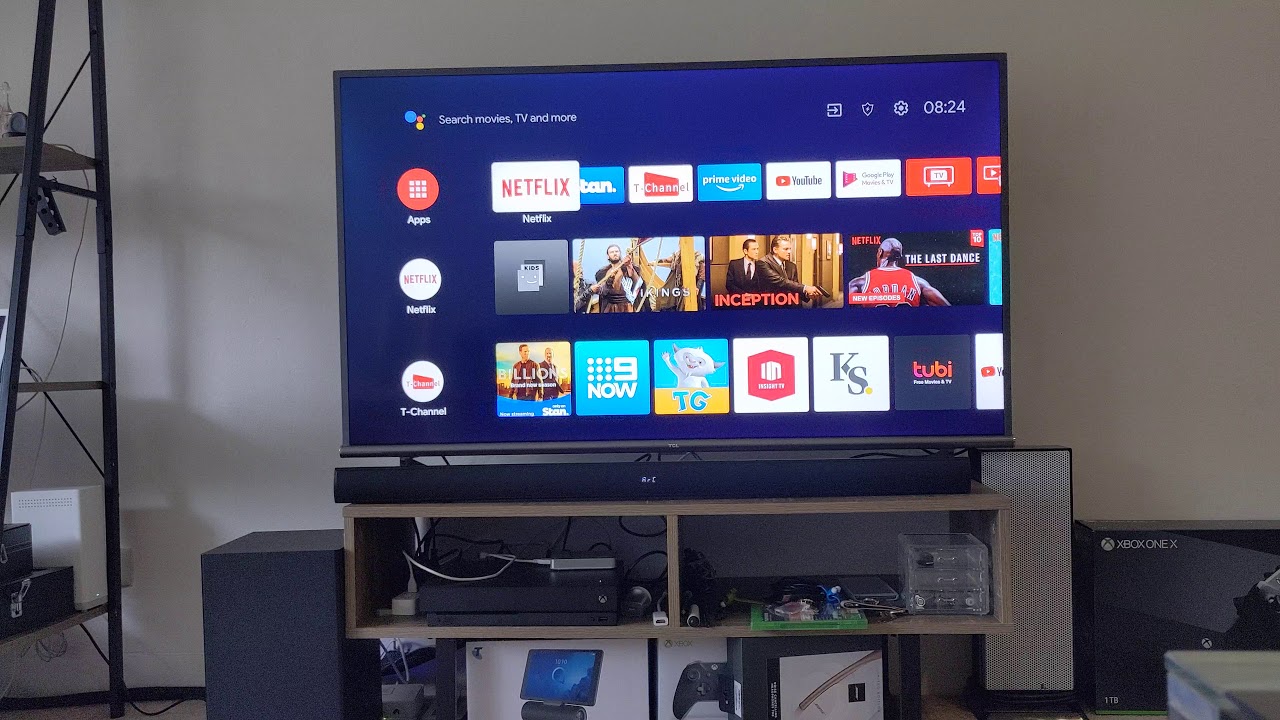
- Test the audio: Once you have adjusted the settings, play a video, movie, or music on your TV to test the audio output. Make sure the sound is coming from the RCA soundbar and that it sounds clear and balanced.
By adjusting the audio settings on your TV, you can optimize the audio performance of your RCA soundbar and enjoy an enhanced audio experience while watching your favorite content.
Step 5: Test the audio output
Now that you have connected your RCA soundbar to your TV and adjusted the settings, it’s time to test the audio output to ensure everything is working correctly. Follow these steps to test the audio:
- Play audio content: Choose a TV show, movie, or music that you enjoy and play it on your TV. Make sure the volume is set to a reasonable level.
- Listen for sound from the soundbar: As the content is playing, listen carefully to determine if the sound is coming from the RCA soundbar. The audio should be clear, well-balanced, and free from any distortions or abnormalities.
- Check channel separation: Some soundbars offer channel separation, meaning they have separate left and right speakers. To test this feature, play audio that includes distinct left and right sounds, such as a stereo test track or a movie with surround sound effects. Ensure that you can clearly hear sound coming from both sides of the soundbar.
- Adjust audio settings if necessary: If you notice any issues with the audio output, such as low volume, imbalanced sound, or lack of clarity, you may need to revisit the audio settings on your TV and soundbar. Make the necessary adjustments to optimize the audio performance.
Testing the audio output allows you to confirm that the RCA soundbar is functioning correctly and delivering the desired audio experience. If any issues persist, double-check your connections, consult the user manual, or reach out to the manufacturer for assistance.
By following these steps, you can ensure that your RCA soundbar is properly connected to your TV and enjoy high-quality audio while watching your favorite content.
Conclusion
Connecting an RCA soundbar to your TV can significantly enhance your audio experience and transform your home entertainment setup. By following the steps outlined in this guide, you can successfully connect your RCA soundbar to your TV using RCA cables and adjust the necessary settings for optimal performance.
First, gather all the necessary equipment, including your RCA soundbar, TV, RCA cables, power cords, and remote control. It’s important to ensure compatibility and have everything ready before starting the setup process.
Next, determine the audio output ports on your TV by referring to the TV manual, inspecting the physical ports on your TV, or accessing the TV settings menu. This step is crucial in identifying the correct audio ports for connecting your RCA soundbar.
Once you have located the audio output ports, you can proceed to connect the soundbar to your TV using RCA cables. Securely plug the cables into the corresponding ports on both the TV and the soundbar to establish the audio connection.
After the physical connection is established, adjust the audio settings on your TV to ensure that the sound is routed to the RCA soundbar. Make any additional audio customizations or enhancements available in the settings to fine-tune your audio experience.
Finally, test the audio output by playing various types of content and paying attention to the sound quality, volume, and channel separation. If needed, make further adjustments to the settings and connections to optimize the audio performance.
By following these steps, you can successfully connect an RCA soundbar to your TV and enjoy immersive sound while watching movies, TV shows, sports, or playing video games.
We hope this guide has been helpful in assisting you with connecting your RCA soundbar to your TV. Now sit back, relax, and enjoy an enhanced audio experience with your RCA soundbar!


