Introduction
Welcome to our guide on how to connect an Onn Soundbar to your TV. A soundbar is a great way to enhance your television viewing experience by providing rich, immersive audio. The Onn Soundbar offers high-quality sound and is compatible with a variety of TV models.
Whether you’re a tech-savvy individual or a beginner, this step-by-step guide will walk you through the process of connecting your Onn Soundbar to your TV. By following these instructions, you’ll be able to enjoy your favorite movies and shows with enhanced audio quality in no time.
We’ll cover different connectivity options, including HDMI and optical cables, as well as how to pair your soundbar with Bluetooth devices. Additionally, we’ll provide troubleshooting tips for common issues you may encounter during the setup process.
Before we dive into the steps, it’s important to ensure you have all the necessary components. Make sure you have your Onn Soundbar, the remote control, power cable, HDMI or optical cable (depending on your preferred connection method), and batteries for the remote control.
Now, let’s get started on configuring and connecting your Onn Soundbar to your TV for an impressive audio experience!
Step 1: Unboxing the Onn Soundbar
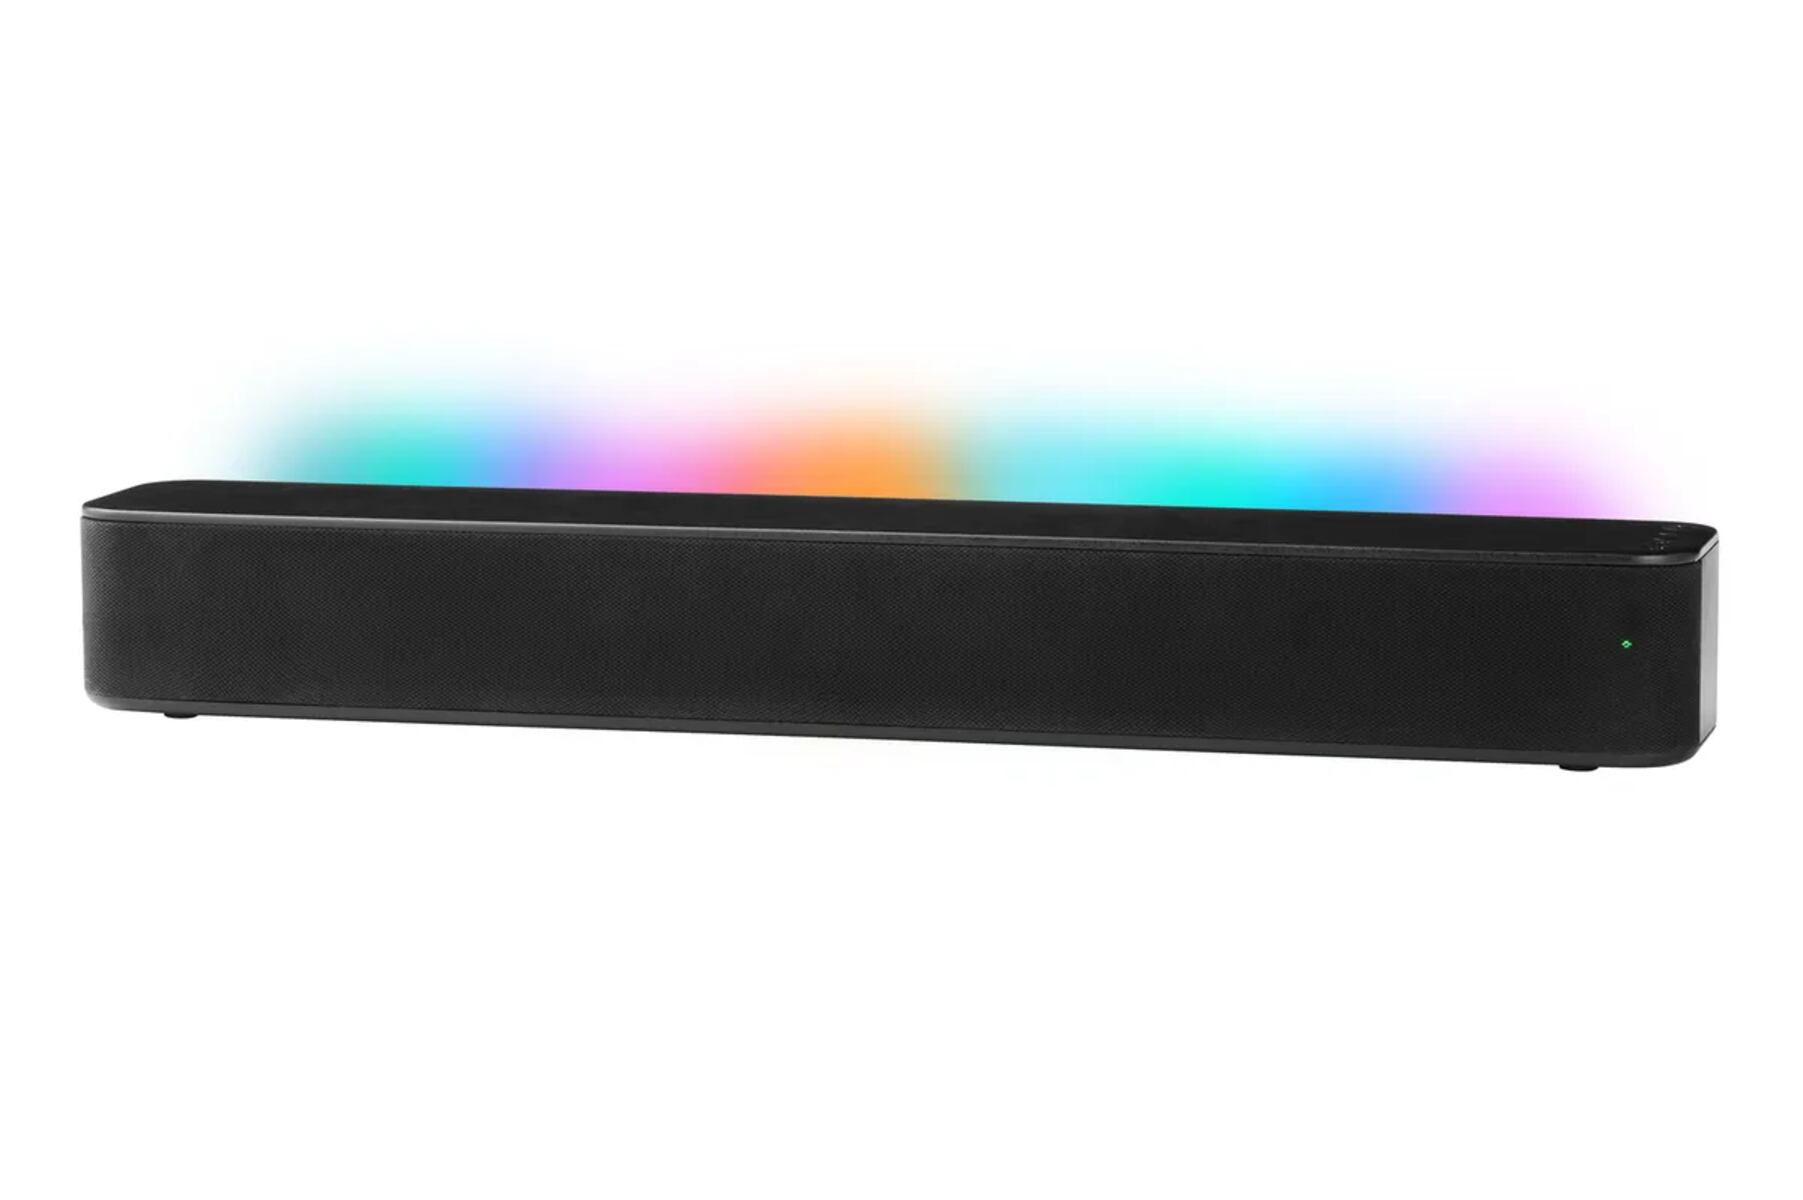
The first step in connecting your Onn Soundbar to your TV is to unbox the soundbar itself. Carefully remove the soundbar and its accessories from the packaging, ensuring not to damage any components in the process.
Inside the box, you will typically find the Onn Soundbar itself, a remote control, a power cable, and any additional accessories that may come with your specific model.
Before proceeding, it’s essential to familiarize yourself with the different components of the soundbar. Take a moment to examine the soundbar and locate its input and output ports, buttons, and display (if applicable). This will help you understand the connection options and navigation controls better.
Once you have inspected the soundbar and its components, you are ready to move on to the next steps of the setup process. Remember to keep the packaging and any documentation in a safe place, as you may need them for future reference or in case of warranty concerns.
By following these initial steps, you have successfully unboxed your Onn Soundbar and familiarized yourself with its components. Now, we can proceed to the next steps of connecting the soundbar to your TV.
Step 2: Checking the Soundbar’s Components
After unboxing your Onn Soundbar, it’s important to take a closer look at its components to ensure everything is in order before proceeding with the setup process.
First, check the soundbar itself for any visible damage or defects. Inspect the exterior for scratches, dents, or any other physical abnormalities that may have occurred during shipping or handling. If you notice any issues, contact the retailer or manufacturer for assistance.
Next, check the remote control that came with your soundbar. Ensure that it is in good condition and that the buttons are responsive. Insert the provided batteries into the remote control, following the correct polarity markings.
Now, connect the power cable to the designated input on the soundbar and the other end to a power outlet. Check that the power cable is securely connected, and make sure the soundbar’s power indicator lights up to indicate it is receiving power.
If your Onn Soundbar model includes any additional accessories, such as wall-mount brackets or cables, check that they are included in the package and in good condition.
Lastly, consult the user manual or quick start guide that came with the soundbar. This will provide detailed information about the specific features, inputs, and additional settings available on your Onn Soundbar. Familiarize yourself with the manual so that you can refer to it later if needed.
By thoroughly checking the soundbar’s components, you can ensure that everything is in working order before proceeding with the setup. This will help avoid any potential issues or interruptions during the connection process.
Step 3: Finding the Optimal Placement for the Soundbar
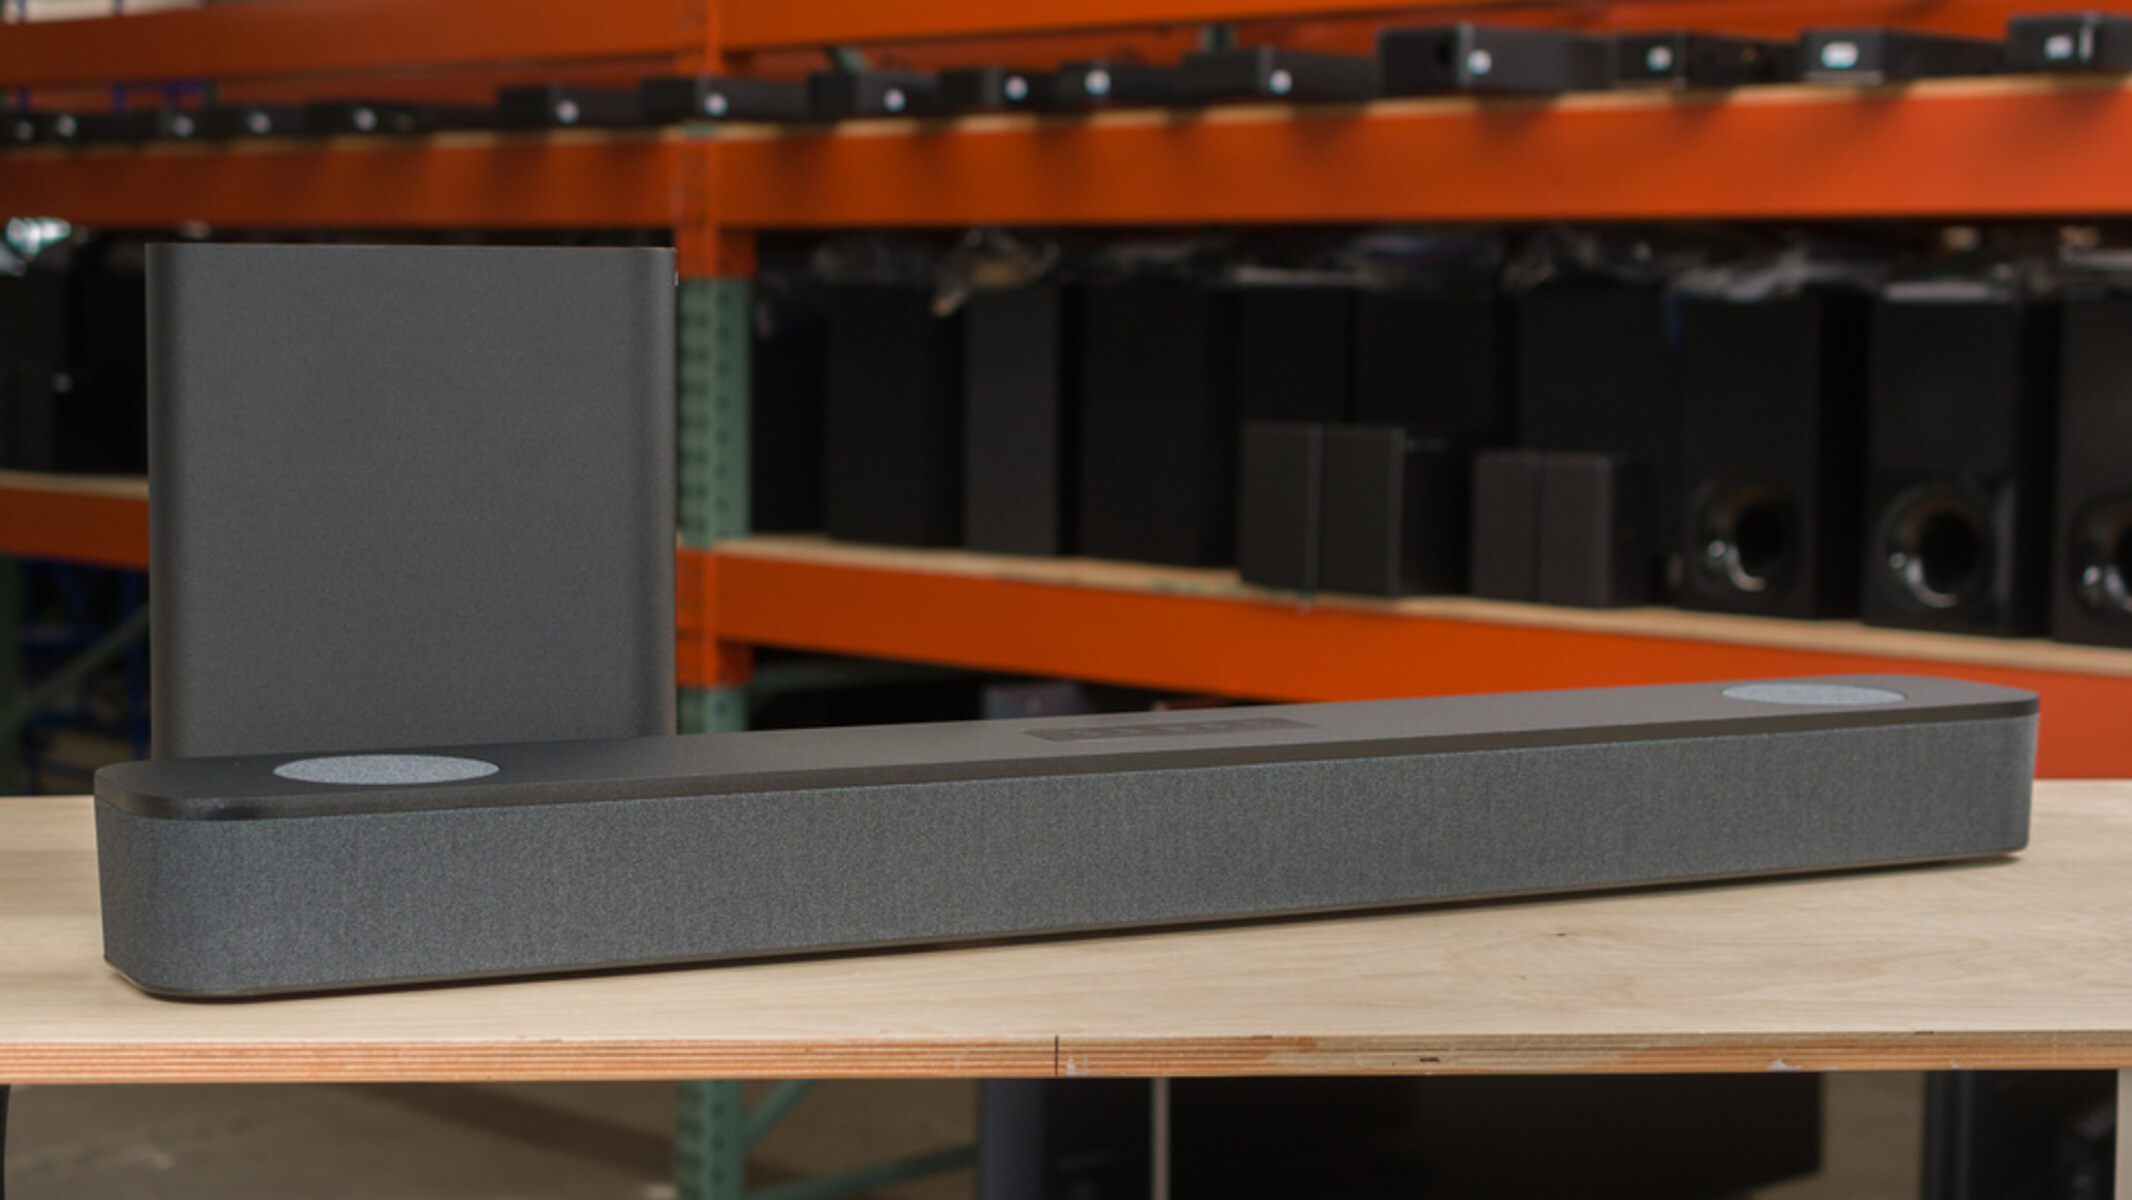
Now that you have unboxed and checked the components of your Onn Soundbar, it’s time to find the optimal placement for it in your home theater setup. The placement of the soundbar plays a crucial role in maximizing audio performance and creating an immersive listening experience.
Start by assessing your TV placement. Ideally, the soundbar should be centered horizontally with your TV screen. If your TV is mounted on the wall, consider mounting the soundbar directly below it for a cohesive look.
When it comes to positioning the soundbar vertically, make sure it is placed at a height that aligns with your ear level when seated in the primary listening area. This will help ensure that the sound is directed towards your ears and that you can fully appreciate the audio experience.
Take into account any furniture or obstacles that may block or interfere with the soundbar’s audio output. Avoid placing the soundbar inside a closed cabinet or directly against a wall, as this can impact sound quality and resonance. Instead, try to find an open space in front of or below your TV where the sound can freely propagate.
For optimal stereo sound, consider positioning the soundbar equidistant from the side walls in your room. This helps create a wider soundstage and enhances the sense of immersion.
Lastly, avoid placing the soundbar too close to the edges of furniture or shelves, as this can cause vibrations and affect sound quality. Ensure that it has enough clearance and is not obstructed by any objects that may interfere with audio dispersion.
Consider experimenting with different placements and listening positions to find the setup that offers the best audio performance in your viewing area. Once you have determined the optimal placement for your Onn Soundbar, you can proceed to the next steps of connecting the soundbar to your TV.
Step 4: Connecting the Soundbar to the TV via HDMI
Connecting your Onn Soundbar to your TV via HDMI is one of the most common and straightforward methods. HDMI offers high-quality audio transmission and simplifies the setup process.
Start by locating the HDMI ARC (Audio Return Channel) port on both your soundbar and your TV. The HDMI ARC port is specifically designed for connecting audio devices, such as soundbars, to your TV.
Using an HDMI cable, plug one end into the HDMI ARC port on your soundbar and the other end into the HDMI ARC port on your TV. Ensure that the cable is securely connected to both devices.
Next, turn on your TV and navigate to the settings menu. Look for the audio settings and select the option to output audio through the HDMI ARC connection. This allows your TV to recognize the soundbar as the audio output device.
Once the HDMI ARC connection is established, you can control the volume and other sound settings using your TV’s remote control. This eliminates the need for an additional remote control for the soundbar.
If your TV does not have an HDMI ARC port, you can still connect your soundbar using a regular HDMI connection. In this case, simply connect one end of the HDMI cable to the HDMI OUT or HDMI IN port on your soundbar and the other end to an available HDMI port on your TV. You may need to adjust the audio settings on your TV to select the appropriate HDMI input as the audio source.
By connecting your Onn Soundbar to your TV via HDMI, you can enjoy high-quality audio playback and control the soundbar conveniently through your TV’s remote control.
Now that the soundbar is successfully connected via HDMI, you can proceed to the next step where we’ll configure the audio output settings on your TV.
Step 5: Configuring the TV’s Audio Output Settings
After connecting your Onn Soundbar to your TV via HDMI, the next step is to configure the audio output settings on your TV. This ensures that the audio signal is correctly routed to the soundbar, allowing you to enjoy the enhanced sound quality.
Start by turning on your TV and accessing the settings menu. Look for the audio or sound settings option, which may vary depending on your TV model.
Within the audio settings menu, you should find an option to select the audio output. Choose the HDMI ARC (or the regular HDMI if you don’t have an ARC-enabled TV) as the audio output source. This tells your TV to send the audio signal to the connected soundbar.
Depending on your TV’s settings, you may also have additional audio options such as surround sound, virtual sound, or equalizer settings. Feel free to explore these options and adjust them based on your personal preference.
While configuring the audio settings, it’s worth noting that some TVs may have a toggle option to enable/disable the TV speakers. To ensure that the audio is only output through the soundbar, disable the TV speakers in the audio settings.
Once you have made the necessary audio output settings changes, save the settings and exit the menu. Make sure to test the audio playback to confirm that the soundbar is receiving the audio signal from your TV.
If you’re not getting any audio or experiencing issues, double-check all the connections and settings made so far. Ensure that the HDMI cable is securely plugged into both the TV and soundbar, and that the soundbar is powered on and set to the correct input source.
By properly configuring the TV’s audio output settings, you can ensure that the audio is being directed to your Onn Soundbar, resulting in an immersive and enhanced audio experience while watching your favorite content.
With the audio output settings successfully configured, you are now ready to enjoy the improved sound quality from your Onn Soundbar while watching movies, TV shows, or playing games!
Step 6: Connecting the Soundbar to the TV via Optical Cable
If your TV doesn’t have an HDMI ARC port or you prefer to use an alternative connection method, you can connect your Onn Soundbar to the TV using an optical cable. The optical cable provides a digital audio connection that can deliver high-quality sound.
Start by locating the optical audio output port on your TV. It is usually labeled as “Optical Out” or “Digital Audio Out.” Make sure your TV has an optical audio output before proceeding.
Next, locate the optical audio input port on your Onn Soundbar. It is typically labeled as “Digital In” or “Optical In.”
Once you have located both the optical audio output port on your TV and the input port on your soundbar, connect one end of the optical cable to the TV’s optical audio output port and the other end to the soundbar’s optical audio input port.
Ensure that the optical cable is firmly inserted into both the TV and soundbar to establish a secure connection.
After connecting the optical cable, power on both the TV and soundbar. Then, navigate to your TV’s settings menu and access the audio or sound settings.
Within the audio settings, select the “Digital Audio Out” or “Optical Out” option as the audio output source. This tells your TV to send the audio signal to the connected soundbar via the optical cable.
At this point, you may need to adjust the audio format settings on your TV to ensure compatibility with your soundbar. Consult your TV’s user manual for instructions on how to access and configure these settings.
Once the optical connection is established and the audio settings are configured, test the audio playback to confirm that the sound is being correctly routed to your Onn Soundbar.
If you are not getting any audio or experiencing issues, double-check the optical cable connections and ensure that the soundbar is powered on and set to the correct input source.
By connecting your Onn Soundbar to your TV via an optical cable, you can enjoy high-quality digital audio playback and enhance your overall viewing experience.
With the soundbar successfully connected to your TV via an optical cable, you can now proceed to the next steps where we’ll explore additional features and connectivity options.
Step 7: Configuring the TV’s Audio Output Settings for Optical Connection
After connecting your Onn Soundbar to your TV via an optical cable, it’s important to configure the audio output settings on your TV to ensure optimal sound performance. Here’s how:
Start by turning on your TV and accessing the settings menu. Look for the audio or sound settings option, which may vary depending on your TV model.
Within the audio settings menu, locate the audio output section or similar options. Select the optical audio output as the audio source. This tells your TV to route the audio signal through the connected soundbar via the optical cable.
In some cases, you may need to adjust the audio format or audio mode settings to ensure compatibility between your TV and the soundbar. If there are multiple options available, such as PCM or Dolby Digital, choose the format that best matches your soundbar’s capabilities. Reference your TV’s user manual for specific instructions on adjusting these settings.
Some TVs also offer additional audio settings, such as equalizer controls or virtual surround sound options. Feel free to explore these settings and adjust them according to your personal preference.
Once you have made the necessary audio output settings changes, save the settings and exit the menu. Test the audio playback to ensure that the sound is being properly routed to your Onn Soundbar via the optical connection.
If you encounter any issues or don’t hear any sound, double-check the optical cable connections and ensure that the soundbar is powered on and set to the correct input source.
By configuring your TV’s audio output settings for the optical connection, you can optimize the audio performance and create an immersive sound experience when using your Onn Soundbar.
With the audio output settings successfully configured, you are now ready to enjoy high-quality audio from your Onn Soundbar through the optical connection.
Now that you have completed the setup process and configured the audio output settings, you can sit back, relax, and enjoy your favorite movies, TV shows, and music with enhanced sound quality!
Step 8: Pairing the Soundbar with Bluetooth Devices
In addition to connecting your Onn Soundbar to your TV, you can also pair it with Bluetooth-enabled devices such as smartphones, tablets, or computers. This allows you to stream audio wirelessly to the soundbar and enjoy your favorite music or podcasts without the need for physical connections.
To begin the pairing process, ensure that the soundbar is in Bluetooth pairing mode. Consult the user manual for specific instructions on how to enable Bluetooth mode on your particular model.
On your Bluetooth device, navigate to the settings menu and enable Bluetooth functionality. Scan for available devices, and you should see your Onn Soundbar listed.
Select the soundbar from the list of available devices to initiate the pairing process. The soundbar may prompt you to confirm the pairing request.
Once the pairing is successful, the soundbar and your Bluetooth device will be connected. You can now stream audio wirelessly from your device to the soundbar.
Depending on your Bluetooth device’s capabilities, you may also be able to control the volume and playback settings using the device itself or the soundbar’s remote control.
Keep in mind that the range of the Bluetooth connection may vary depending on the devices and any potential obstacles. Ensure that your Bluetooth device is within a reasonable range from the soundbar for a stable and uninterrupted connection.
To disconnect your Bluetooth device from the soundbar, navigate to the Bluetooth settings on your device and select “Disconnect” or “Forget Device” next to the soundbar’s name.
Pairing your Onn Soundbar with Bluetooth devices allows you to enjoy wireless audio streaming and adds versatility to your entertainment setup.
With the soundbar successfully paired with your Bluetooth device, you can now enjoy your favorite music, podcasts, or other audio content wirelessly through the Onn Soundbar!
Step 9: Troubleshooting Common Issues
While setting up your Onn Soundbar, you may encounter some common issues. Don’t worry, as we’ll provide troubleshooting tips to help you overcome these challenges:
1. No sound: Ensure that the soundbar is powered on and connected to the TV or Bluetooth device properly. Check the volume levels on both your soundbar and TV or device. Also, verify that the TV’s audio output settings are correctly configured.
2. Poor sound quality: If you experience distorted or low-quality sound, check the placement of your soundbar. Make sure it is not obstructed by any objects, and there is sufficient clearance for optimal sound propagation. Adjust the soundbar’s audio settings, such as equalizer or sound modes, to find the best sound balance.
3. Remote control issues: If your soundbar’s remote control is not working, ensure that the batteries are inserted correctly. Also, check for any obstructions or interference between the remote sensor on the soundbar and the remote control itself.
4. Bluetooth pairing problems: If you are having difficulty pairing your soundbar with a Bluetooth device, ensure that both devices are in pairing mode and within close proximity. Restarting both the soundbar and the Bluetooth device might also help establish a successful connection.
5. Firmware updates: Check for any available firmware updates for your Onn Soundbar. These updates can address potential glitches or improve performance. Follow the instructions in the user manual or visit the manufacturer’s website for guidance on updating the firmware.
6. Audio synchronization issues: If you notice a delay between the audio and video, it may be due to a latency issue. Check if your TV has a setting to adjust audio delay or lip-sync. Adjusting this setting can help synchronize the sound with the visual content.
If you encounter any other issues not mentioned here, consult the user manual or contact the manufacturer’s customer support for assistance. They can provide specific troubleshooting steps tailored to your soundbar model.
Remember, patience is key when troubleshooting. Take the time to double-check connections, settings, and ensure that all devices are powered on and functioning correctly. With a bit of troubleshooting, you can overcome common issues and enjoy the full benefits of your Onn Soundbar.
Conclusion
Congratulations! You have successfully learned how to connect your Onn Soundbar to your TV, configure the audio output settings, and even pair it with Bluetooth devices. By following these steps, you can now enjoy an enhanced audio experience while watching your favorite movies, TV shows, and even while listening to music.
Throughout the setup process, you unboxed the soundbar, checked its components, found the optimal placement, and connected it to your TV using either HDMI or optical cables. Additionally, you configured the audio output settings on your TV, ensuring that the sound is properly directed to the soundbar.
Furthermore, you discovered how to pair the soundbar with Bluetooth devices, allowing you to stream music wirelessly and enjoy the flexibility of a wireless audio setup.
If you encounter any issues during the setup or usage of your Onn Soundbar, refer back to the troubleshooting tips provided in this guide. Taking the time to troubleshoot and resolve any problems will ensure a smooth and enjoyable audio experience.
We hope this guide has been helpful in guiding you through the process of connecting your Onn Soundbar to your TV. Now sit back, relax, and immerse yourself in stunning audio quality as you watch your favorite content with the dynamic sound provided by your Onn Soundbar!