Introduction
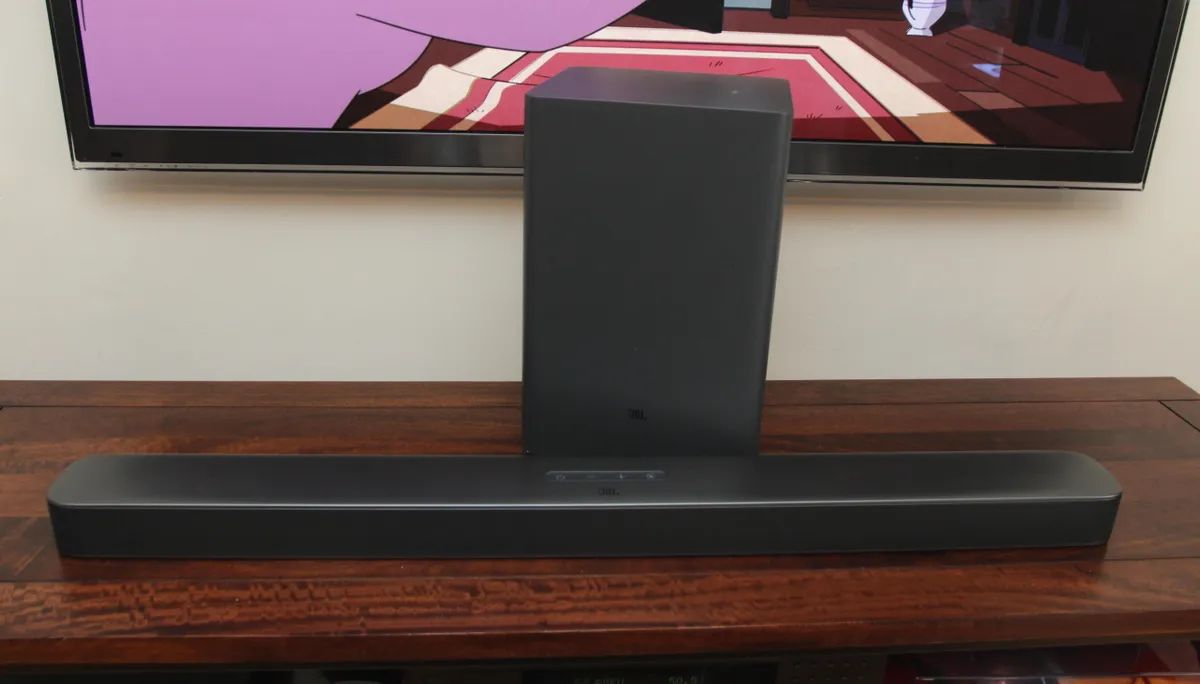
Welcome to this guide on how to connect a subwoofer to a soundbar. If you’re looking to enhance the audio experience of your soundbar system, adding a subwoofer can make a significant difference. A subwoofer is a specialized speaker that is designed to reproduce low-frequency sounds, providing deep, rich bass that adds depth and impact to your audio. Whether you’re a music enthusiast or a movie lover, a subwoofer can take your audio playback to the next level.
However, connecting a subwoofer to a soundbar may seem daunting, especially if you’re not familiar with audio equipment. But fear not! In this guide, we’ll walk you through the process step by step, making it easy for you to achieve that immersive audio experience you’ve been craving.
Before we dive into the specifics, it’s important to understand the terminology associated with subwoofer and soundbar connections. This will help you make informed decisions and troubleshoot any issues that may arise along the way.
Understanding the Terminology
Before we proceed with connecting a subwoofer to a soundbar, let’s familiarize ourselves with some key terms that will be mentioned throughout this guide:
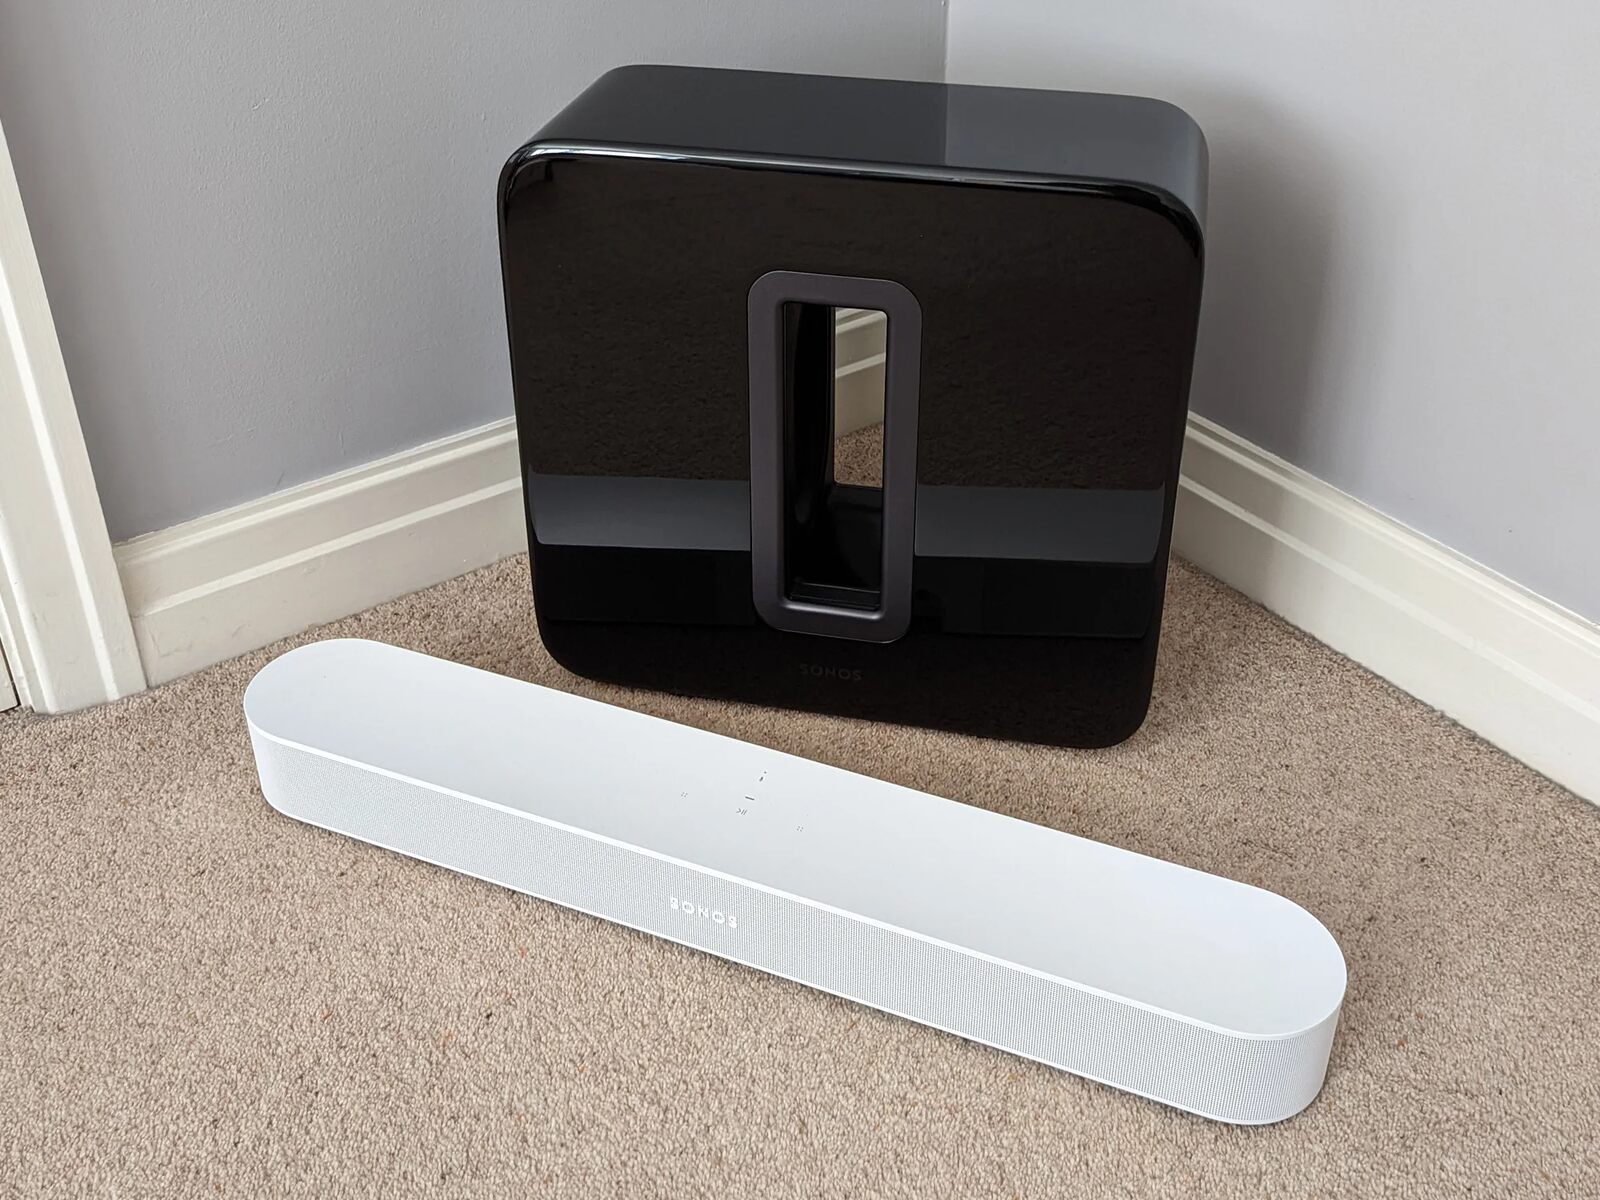
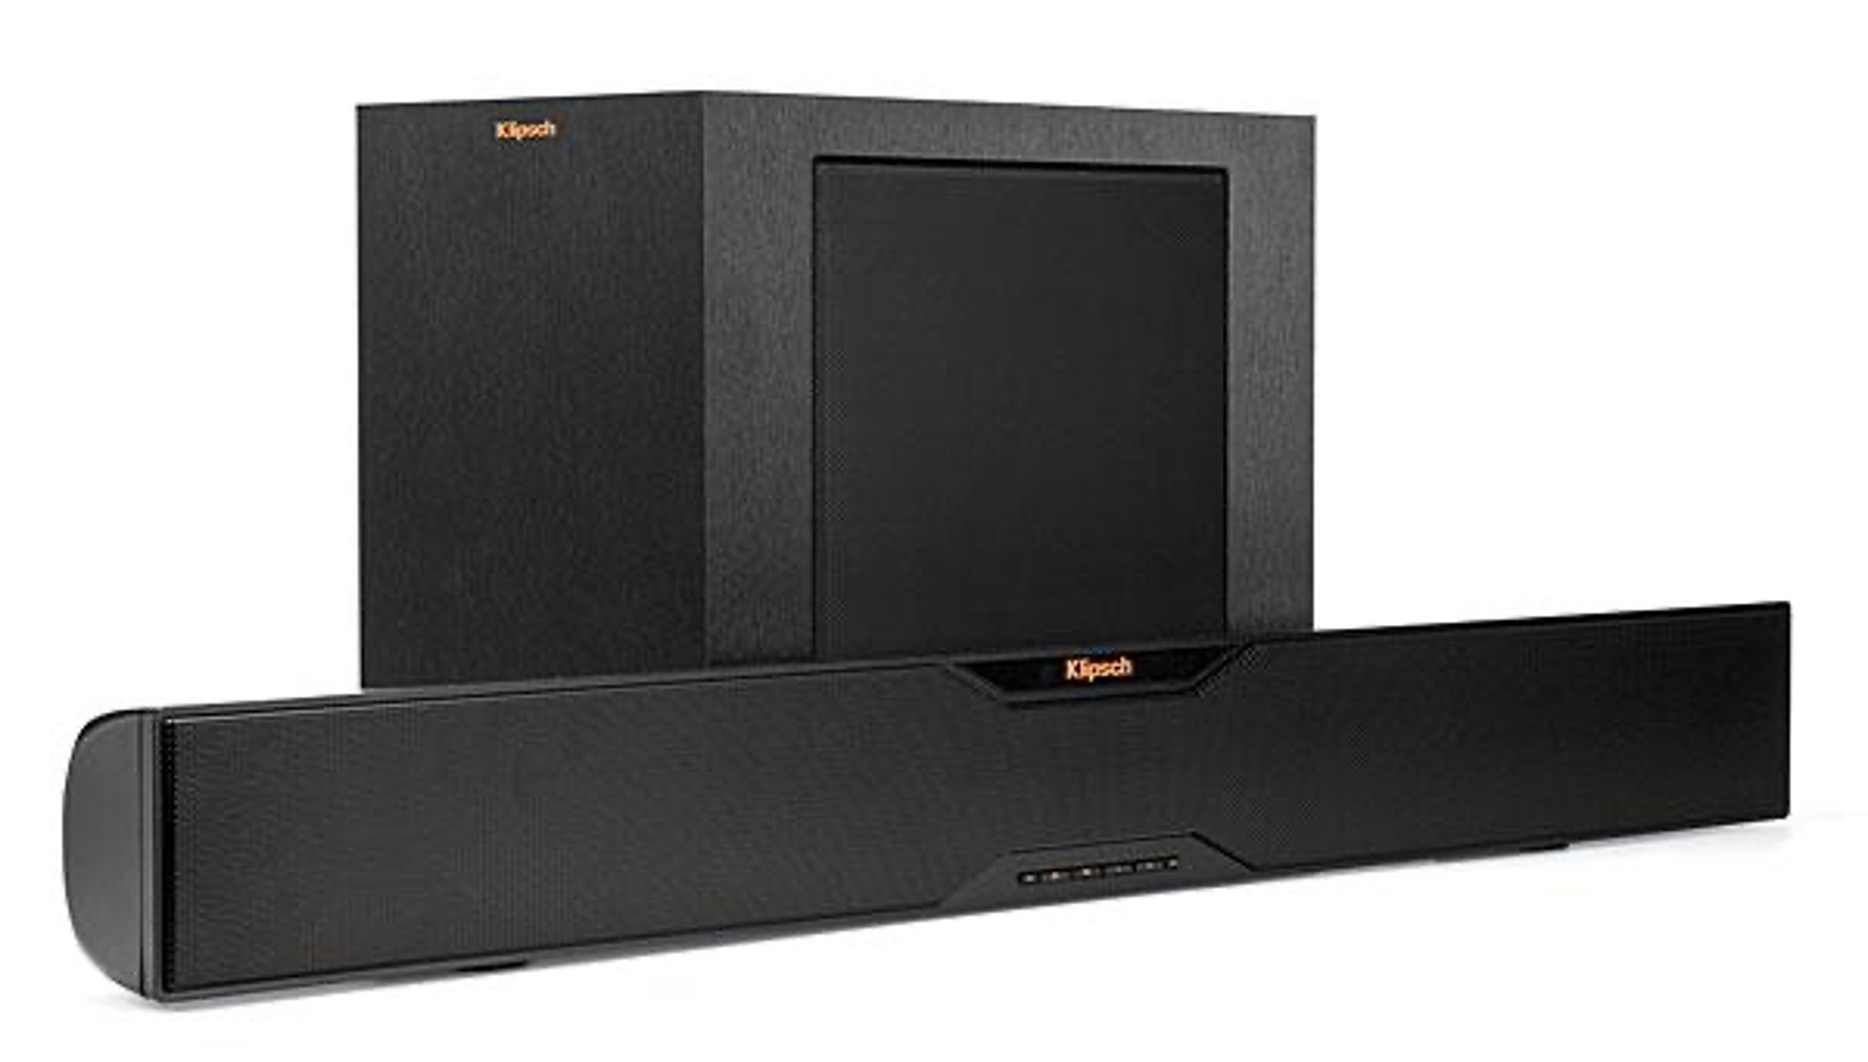
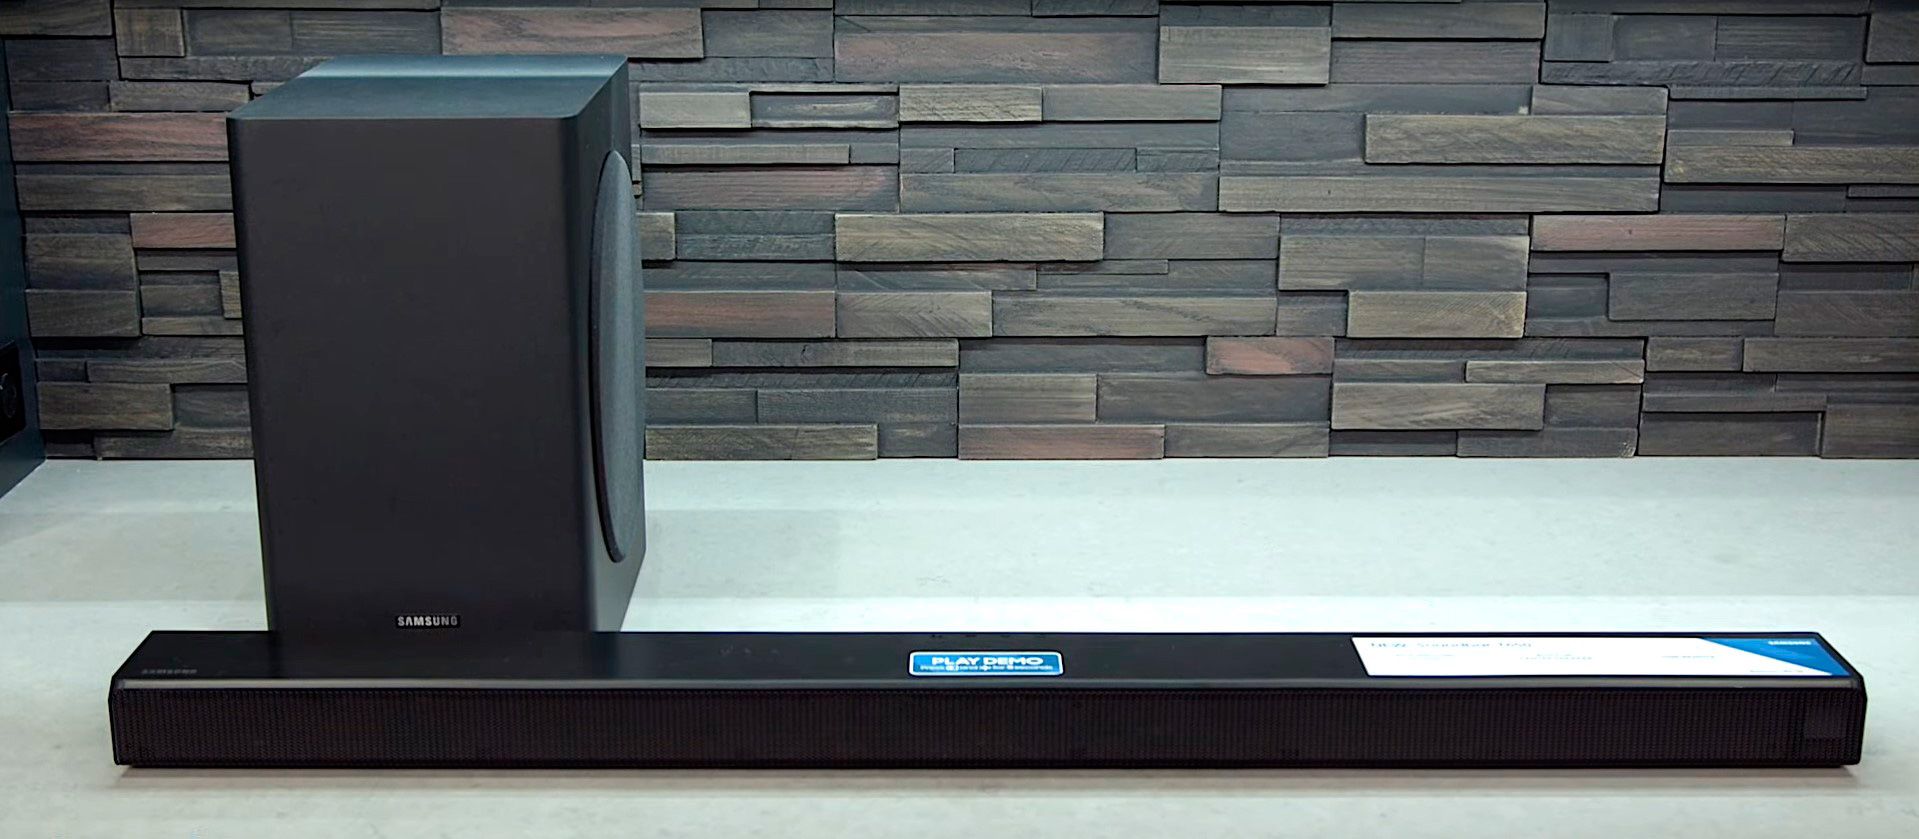
- Subwoofer: A subwoofer is a speaker specifically designed to reproduce low-frequency sounds (typically below 100 Hz), such as deep bass. It adds depth and impact to your audio, enhancing your overall listening experience.
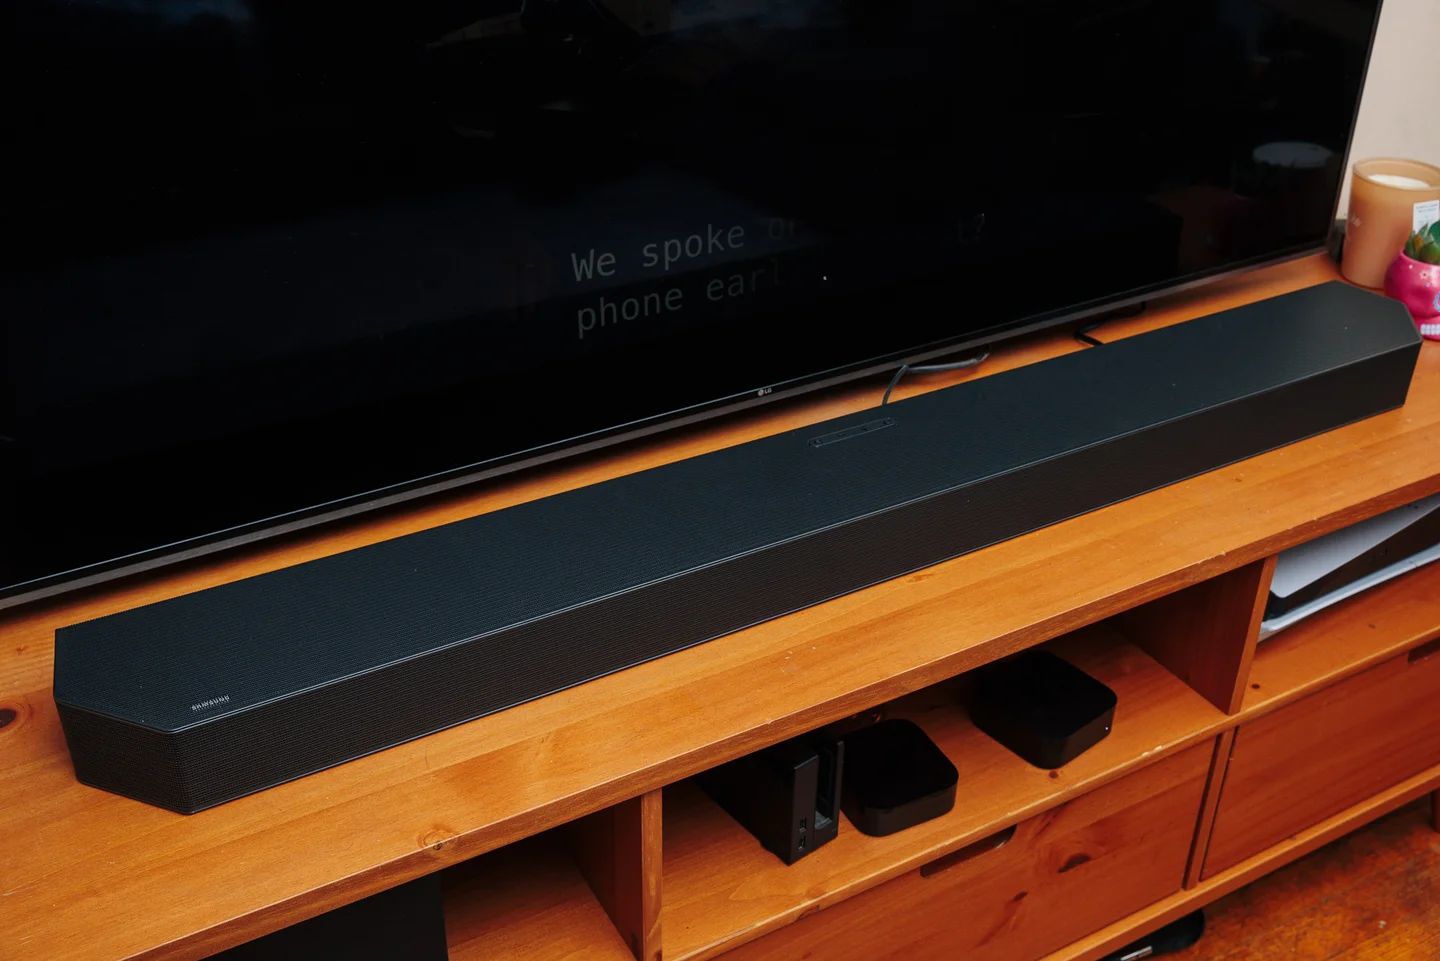
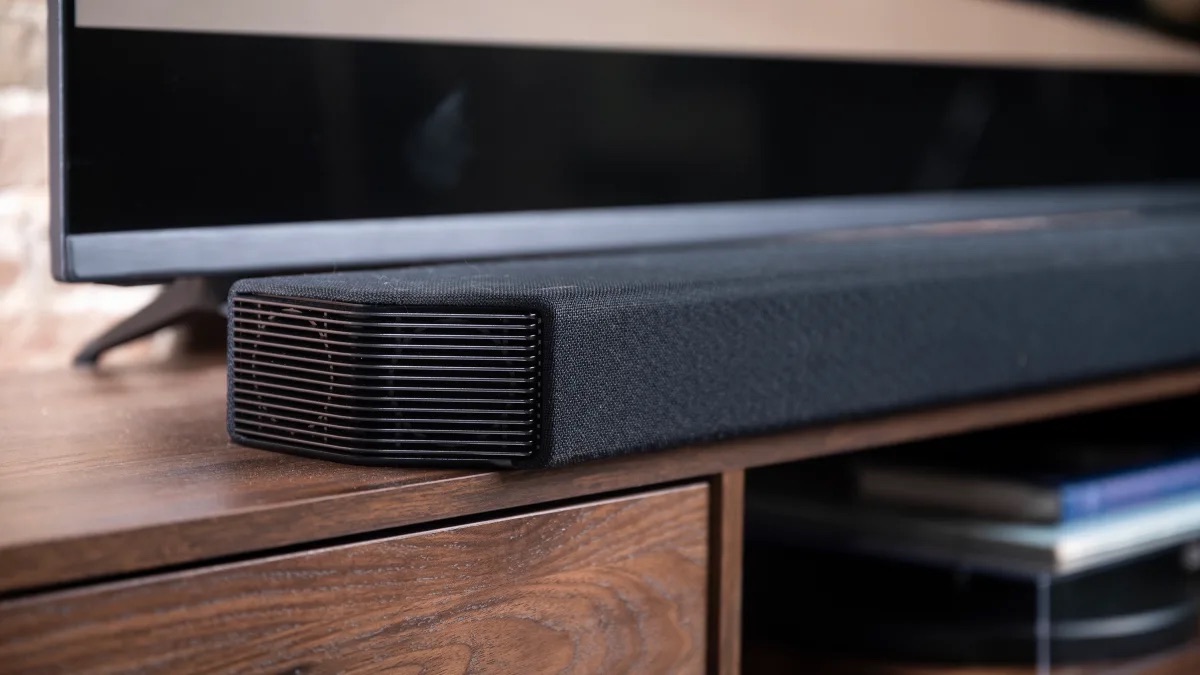
- Soundbar: A soundbar is a long, slim speaker system that typically sits in front of or below your television. It is designed to provide better audio quality compared to the built-in speakers of your TV. A soundbar combines several speakers into one unit, often including left, right, and center channels.
- Wired Subwoofer: A wired subwoofer connects to your soundbar using an audio cable. This type of connection ensures a stable and reliable signal transfer between the soundbar and subwoofer.
- Wireless Subwoofer: A wireless subwoofer connects to your soundbar wirelessly, typically using a dedicated wireless protocol like Bluetooth or Wi-Fi. This type of connection offers more flexibility in terms of subwoofer placement within your room.
- Audio Input: The audio input is the port on your soundbar that receives the audio signal from your source device, such as a television, Blu-ray player, or gaming console. Common audio input options include HDMI, optical, RCA, and 3.5mm auxiliary.
- Audio Output: The audio output is the port on your soundbar that sends the audio signal to your subwoofer. It may be labeled as “Sub Out” or “Pre-Out.” This output is specially designed to connect to a subwoofer and provides the low-frequency audio signal for reproduction.
By understanding these terms, you’ll be better equipped to navigate the setup process and troubleshoot any issues that may arise. Now that we have a basic understanding of the terminology, let’s move on to determining the type of subwoofer connection for your soundbar system.
Determine the Type of Subwoofer Connection
Before connecting your subwoofer to the soundbar, it’s important to determine the type of connection your soundbar supports. This will vary depending on the specific model and brand of your soundbar. Generally, there are two common types of subwoofer connections: wired and wireless.
If your soundbar has a dedicated subwoofer output, usually labeled as “Sub Out” or “Pre-Out,” it means it supports wired subwoofer connection. This output is designed to send the low-frequency audio signal to your subwoofer for reproduction. In this case, you’ll need an audio cable to connect the subwoofer output of your soundbar to the input of your wired subwoofer.
On the other hand, if your soundbar supports wireless connectivity, it may offer the option to connect a wireless subwoofer. Wireless subwoofers typically communicate with the soundbar using Bluetooth or Wi-Fi, eliminating the need for a physical cable connection. Check the user manual or specifications of your soundbar to confirm if it supports wireless subwoofer connections. If it does, you can skip the next section on connecting a wired subwoofer and proceed to the section on connecting a wireless subwoofer.
If your soundbar does not have a dedicated subwoofer output or does not support wireless subwoofer connections, it may not be compatible with an external subwoofer. In this case, you may need to consider alternative options to enhance the bass performance of your sound system, such as soundbar models with built-in subwoofers or soundbars that support virtual surround sound technologies.
Now that you’ve determined the type of subwoofer connection your soundbar supports, let’s move on to the next section, where we’ll guide you through the process of connecting a wired subwoofer to your soundbar.
Connecting a Wired Subwoofer
If your soundbar supports a wired subwoofer connection, follow these steps to connect your subwoofer:
- Locate the subwoofer output on your soundbar. It is usually labeled as “Sub Out” or “Pre-Out.”
- Take an audio cable (typically an RCA cable) and connect one end to the subwoofer output on your soundbar.
- Connect the other end of the audio cable to the subwoofer input. This is typically located on the back of your subwoofer and may be labeled as “Sub In” or “Line In.”
- Ensure that both ends of the cable are securely connected.
- Power on your subwoofer and soundbar.
- If necessary, access the soundbar settings menu and locate the subwoofer settings. Make sure the subwoofer is enabled and adjust the subwoofer volume level according to your preference.
- Play audio through your soundbar and subwoofer to ensure they are properly connected. You should notice enhanced bass performance from the subwoofer.
It’s worth noting that some soundbars may have different types of subwoofer outputs, such as optical or HDMI. In such cases, you will need to use the appropriate cable depending on the available ports and the compatibility of your subwoofer.
If you encounter any issues, double-check the cable connections and ensure that your subwoofer is powered on and properly configured. Refer to the user manual of your soundbar and subwoofer for specific instructions related to your models.
Now that you have successfully connected your wired subwoofer to your soundbar, let’s move on to the next section, where we’ll discuss how to connect a wireless subwoofer if your soundbar supports this feature.
Connecting a Wireless Subwoofer
If your soundbar supports a wireless subwoofer connection, follow these steps to connect your subwoofer:
- Place the subwoofer in the desired location within the range of your soundbar. Keep in mind that for optimal performance, it is recommended to place the subwoofer near a power outlet and away from walls or other objects that may obstruct the signal.
- Power on your subwoofer and soundbar.
- Access the settings menu of your soundbar, usually through a remote control or buttons on the soundbar itself.
- Find the wireless subwoofer pairing option in the settings menu and select it.
- On your subwoofer, locate the pairing button, usually labeled as “Pair” or “Connect.”
- Press and hold the pairing button on the subwoofer until the LED indicator starts flashing or changes color.
- Return to the soundbar and wait for the wireless subwoofer to be detected. This may take a few seconds.
- Once detected, the soundbar will establish a wireless connection with the subwoofer.
- Play audio through your soundbar to test the wireless subwoofer connection. You should hear enhanced bass coming from the subwoofer.
If the wireless subwoofer connection is not successful, ensure that both the soundbar and subwoofer are within the recommended distance for wireless transmission. Additionally, make sure that there are no obstructions, such as thick walls or electronic devices, interfering with the signal.
If you encounter any issues during the pairing process, consult the user manual of your soundbar and subwoofer for specific instructions related to your models. Some soundbars may require additional steps or alternative methods for wireless subwoofer pairing.
Now that your wireless subwoofer is successfully connected to your soundbar, you can proceed to the next section to adjust the subwoofer settings and fine-tune the bass performance to your liking.
Adjusting the Subwoofer Settings
Once you have connected your subwoofer to your soundbar, it’s important to adjust the subwoofer settings to achieve the desired bass performance. Most soundbars offer various control options to customize the subwoofer settings. Follow these steps to adjust the subwoofer settings:
- Access the settings menu of your soundbar. This can usually be done using the remote control or buttons on the soundbar itself.
- Locate the subwoofer settings or audio settings section within the soundbar menu.
- Look for options such as “Subwoofer Level,” “Bass,” or “Low-Frequency Effect.”
- Adjust the subwoofer level or bass settings to increase or decrease the intensity of the bass output. Experiment with different levels to find the balance that best suits your preferences and listening environment.
- Some soundbars may offer additional features like equalizer settings or preset audio modes. Explore these options to further customize the sound profile, including the bass response.
- Test the audio by playing content that features low-frequency sounds, such as movies with explosive action scenes or music with heavy bass. Make adjustments to the subwoofer settings as needed.
Remember to take into consideration the size of your room and the placement of the subwoofer when adjusting the settings. The ideal bass response may vary depending on the acoustics of your space.
If you find that the bass is overpowering or distorting the audio, you can reduce the subwoofer level or decrease the bass settings. Conversely, if you feel the bass is lacking impact, you can increase the subwoofer level or boost the bass settings.
Don’t hesitate to experiment with different settings to achieve the desired audio experience. Fine-tuning the subwoofer settings can significantly enhance the overall quality and immersion of your soundbar system.
Now that you have adjusted the subwoofer settings, you’re ready to enjoy your favorite movies, music, and more with deep, powerful bass from your newly connected subwoofer.
Troubleshooting Common Issues
While connecting a subwoofer to a soundbar is a relatively straightforward process, you may encounter some common issues along the way. Here are a few troubleshooting tips to help you resolve any potential problems:
- No sound from the subwoofer: Ensure that both the soundbar and subwoofer are powered on and properly connected. Double-check the cable connections for wired setups and make sure the wireless subwoofer is paired correctly for wireless setups.
- Weak or distorted bass: If you’re experiencing weak or distorted bass, try adjusting the subwoofer level or bass settings on your soundbar. Experiment with different levels to find the optimal balance for your audio setup.
- Interference or dropouts with wireless subwoofer: If you’re using a wireless subwoofer and experiencing interference or signal dropouts, ensure that there are no obstructions between the soundbar and subwoofer. Additionally, try relocating the subwoofer to reduce the possibility of interference from other devices.
- Compatibility issues: If you find that your subwoofer is not compatible with your soundbar, double-check the specifications of both devices. Some soundbars may only support specific subwoofer models or require proprietary connections.
- Noise or hum from the subwoofer: If you’re hearing unwanted noise or hum from your subwoofer, check the power source and ensure that it’s properly grounded. You can also try using a power conditioner or surge protector to minimize electrical interference.
If you’ve tried these troubleshooting tips and are still experiencing issues, consult the user manual of your soundbar and subwoofer for further guidance. Additionally, reach out to the manufacturer’s support for assistance specific to your devices.
Remember that each soundbar and subwoofer setup may have unique considerations and troubleshooting steps, so it’s important to refer to the documentation provided by the manufacturers.
By addressing any common issues that arise during the setup process, you can ensure a smooth and satisfying subwoofer integration with your soundbar system.
Conclusion
Congratulations! You have successfully learned how to connect a subwoofer to a soundbar. By following the steps outlined in this guide, you can now experience enhanced audio quality with deep, impactful bass.
Throughout this guide, we covered the terminology associated with subwoofer and soundbar connections, helping you understand the different types of subwoofer connections available. We discussed how to connect both wired and wireless subwoofers to your soundbar, providing step-by-step instructions to make the process easier for you.
We also explored how to adjust the subwoofer settings to fine-tune the bass performance according to your preferences and room acoustics. Additionally, in case you encounter any issues during the setup, we provided troubleshooting tips to help you overcome common problems.
Remember to consult the user manuals of your soundbar and subwoofer for specific instructions and guidelines tailored to your devices. Each manufacturer may have slight variations in the setup process, so it’s important to refer to the official documentation.
Now, sit back, relax, and enjoy your favorite movies, music, and games with immersive sound and powerful bass from your newly connected subwoofer and soundbar system. Feel the impact of every explosion, the depth of every beat, and the richness of every sound.
Thank you for choosing this guide, and happy listening!


