Introduction
Welcome to this comprehensive guide on how to connect a soundbar with HDMI. If you’re looking to enhance your audio experience while watching movies or listening to your favorite music, connecting a soundbar to your TV using an HDMI cable can greatly improve the sound quality and immerse you in a rich and cinematic experience.
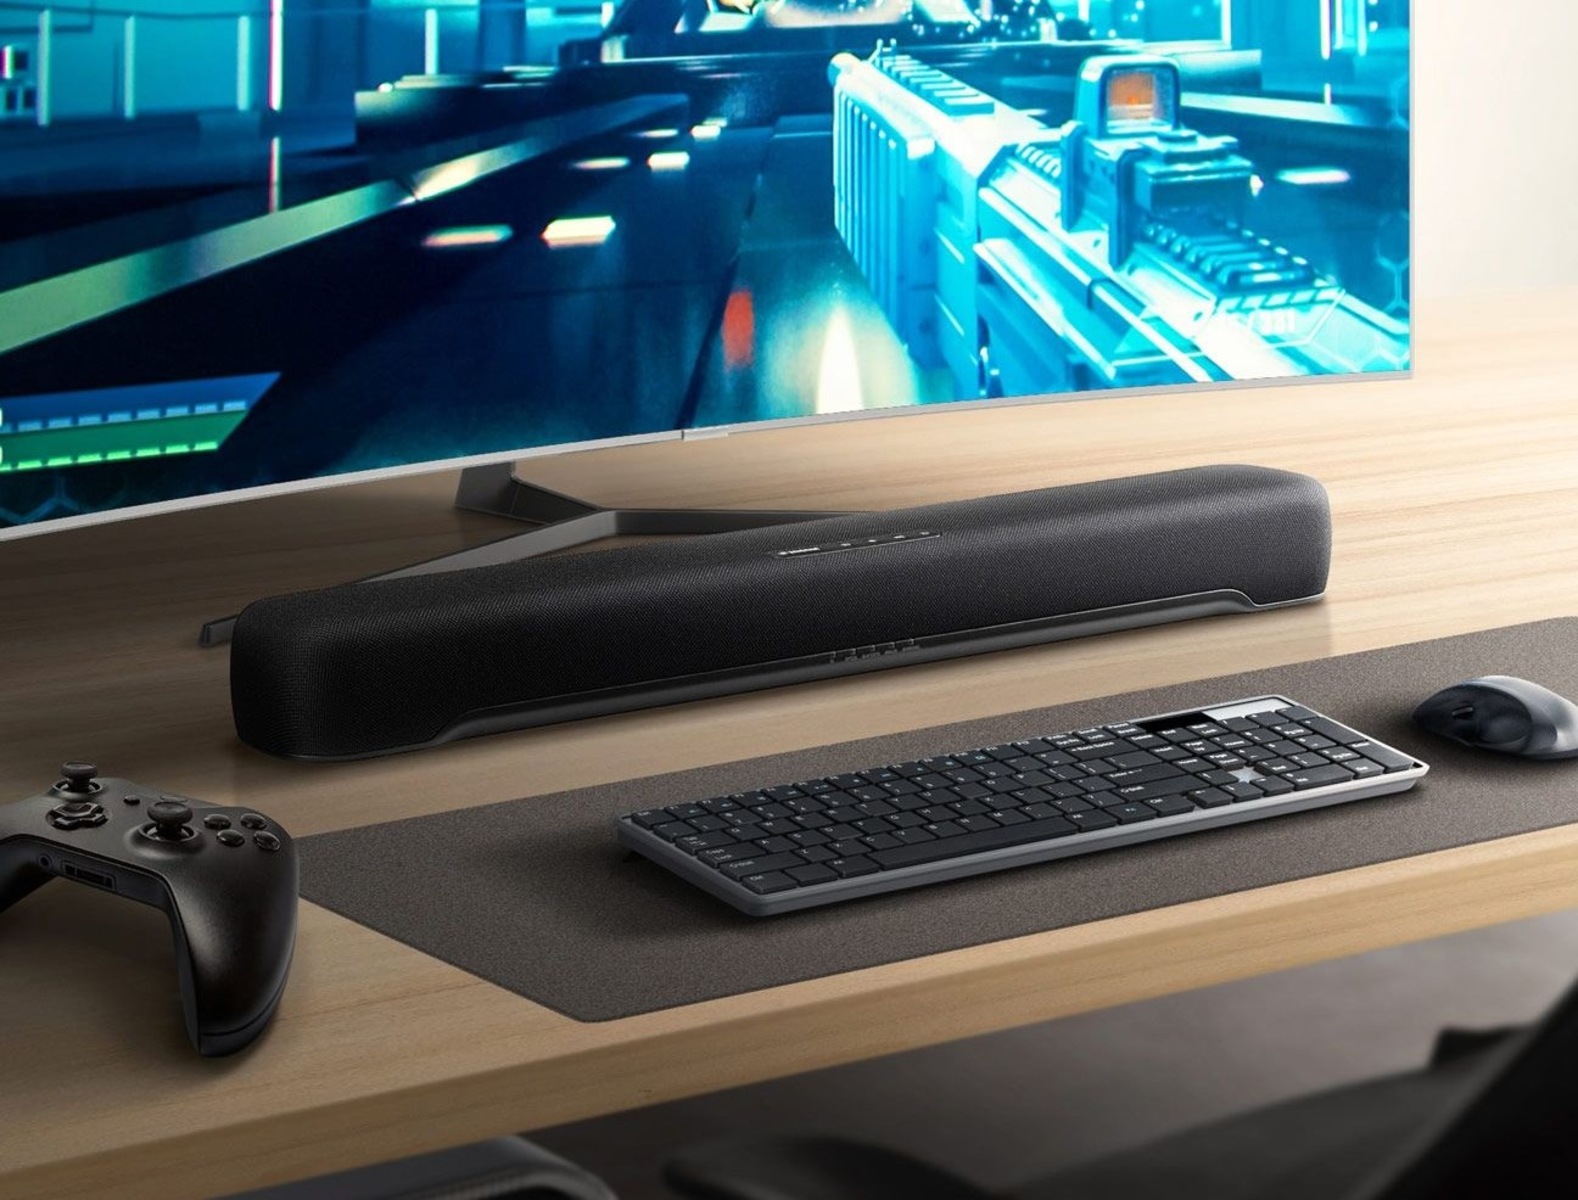
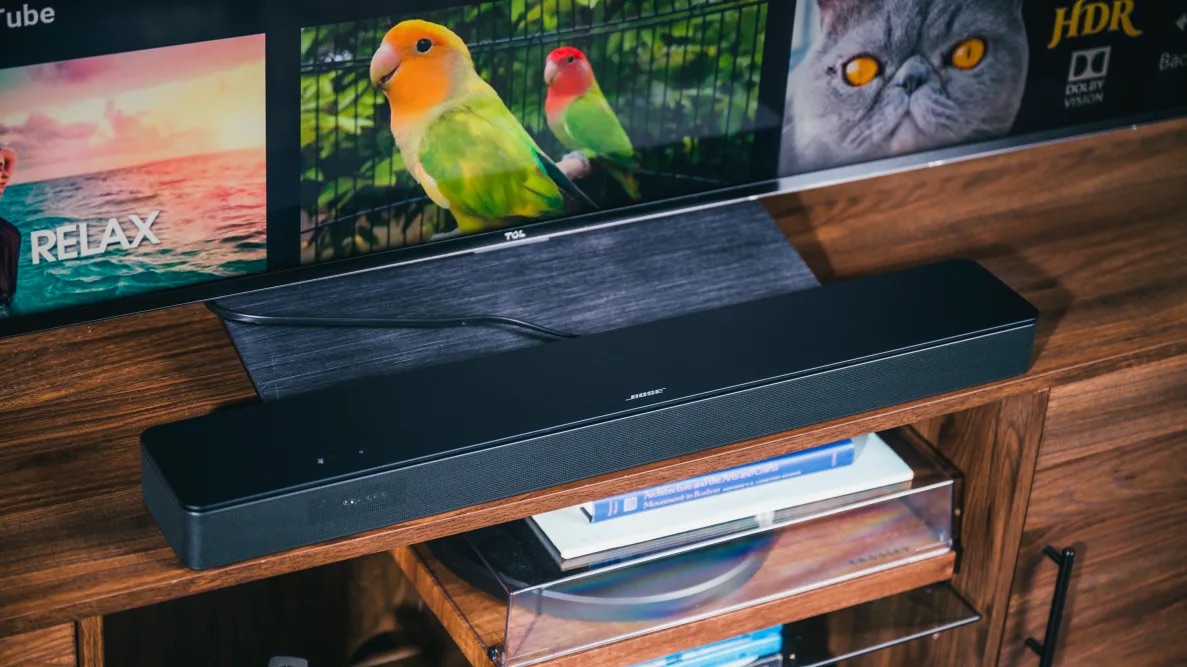
Soundbars have become increasingly popular in recent years due to their simplicity and ability to deliver high-quality audio in a compact form. Unlike traditional bulky speaker systems, a soundbar is a sleek and space-saving audio solution that can be easily mounted on a wall or placed in front of your TV. It offers an immersive audio experience by improving dialogue clarity and delivering dynamic sound effects.
While there are various ways to connect a soundbar to your TV, using an HDMI cable offers several advantages. HDMI (High-Definition Multimedia Interface) is a digital connection that supports high-quality audio and video signals. By connecting your soundbar to your TV via HDMI, you can enjoy superior audio quality, eliminate the need for multiple cables, and take advantage of additional features such as ARC (Audio Return Channel) and CEC (Consumer Electronics Control) for seamless control of your TV and soundbar using a single remote.
In this guide, we will walk you through the step-by-step process of connecting a soundbar with HDMI. Whether you’re a beginner or have some knowledge of audio equipment, this guide will provide you with the necessary instructions and tips to set up your soundbar successfully.
Before we get started, please ensure that you have the necessary equipment: a soundbar with HDMI ports, an HDMI cable, and a compatible TV with HDMI ports. It’s also a good idea to familiarize yourself with the ports and settings on your soundbar and TV to make the setup process smoother.
What is a Soundbar?
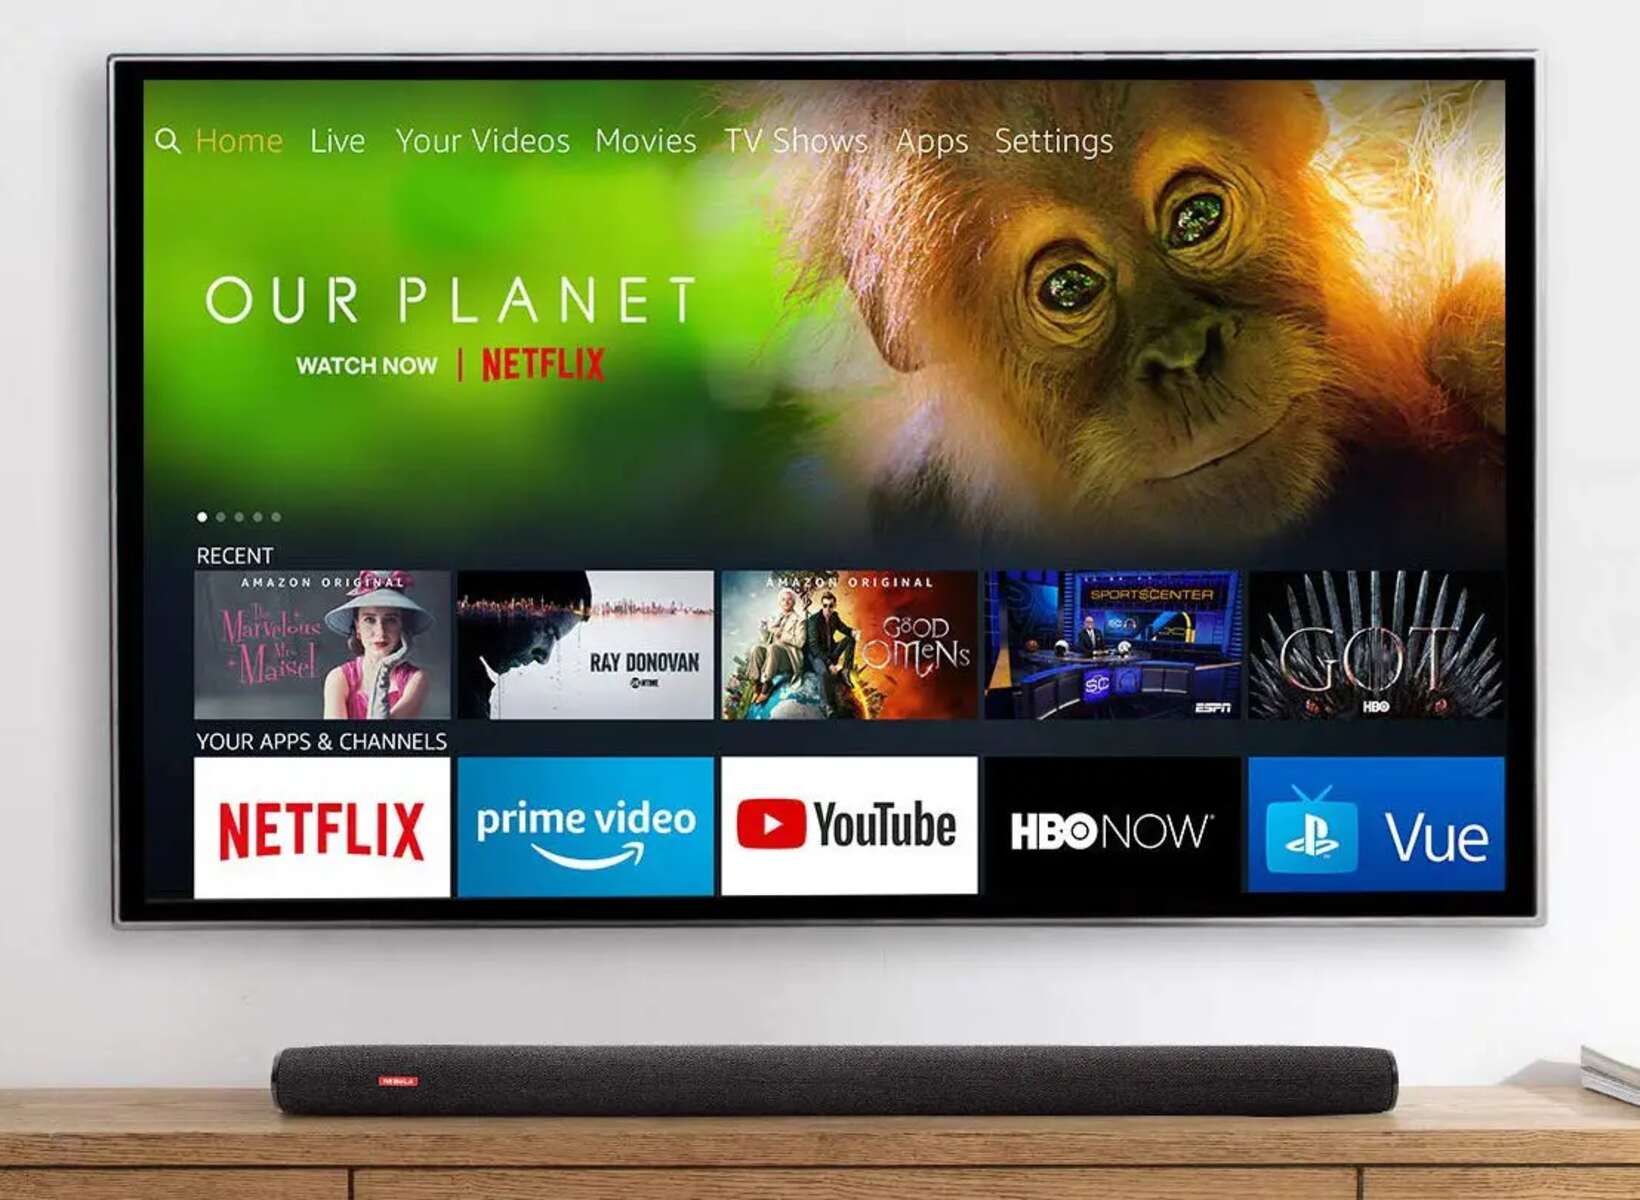
A soundbar is a single, elongated speaker enclosure that is designed to enhance the audio quality of your TV or entertainment system. It is a convenient and space-saving audio solution that delivers immersive sound without the need for a complex setup or multiple speakers placed around the room.
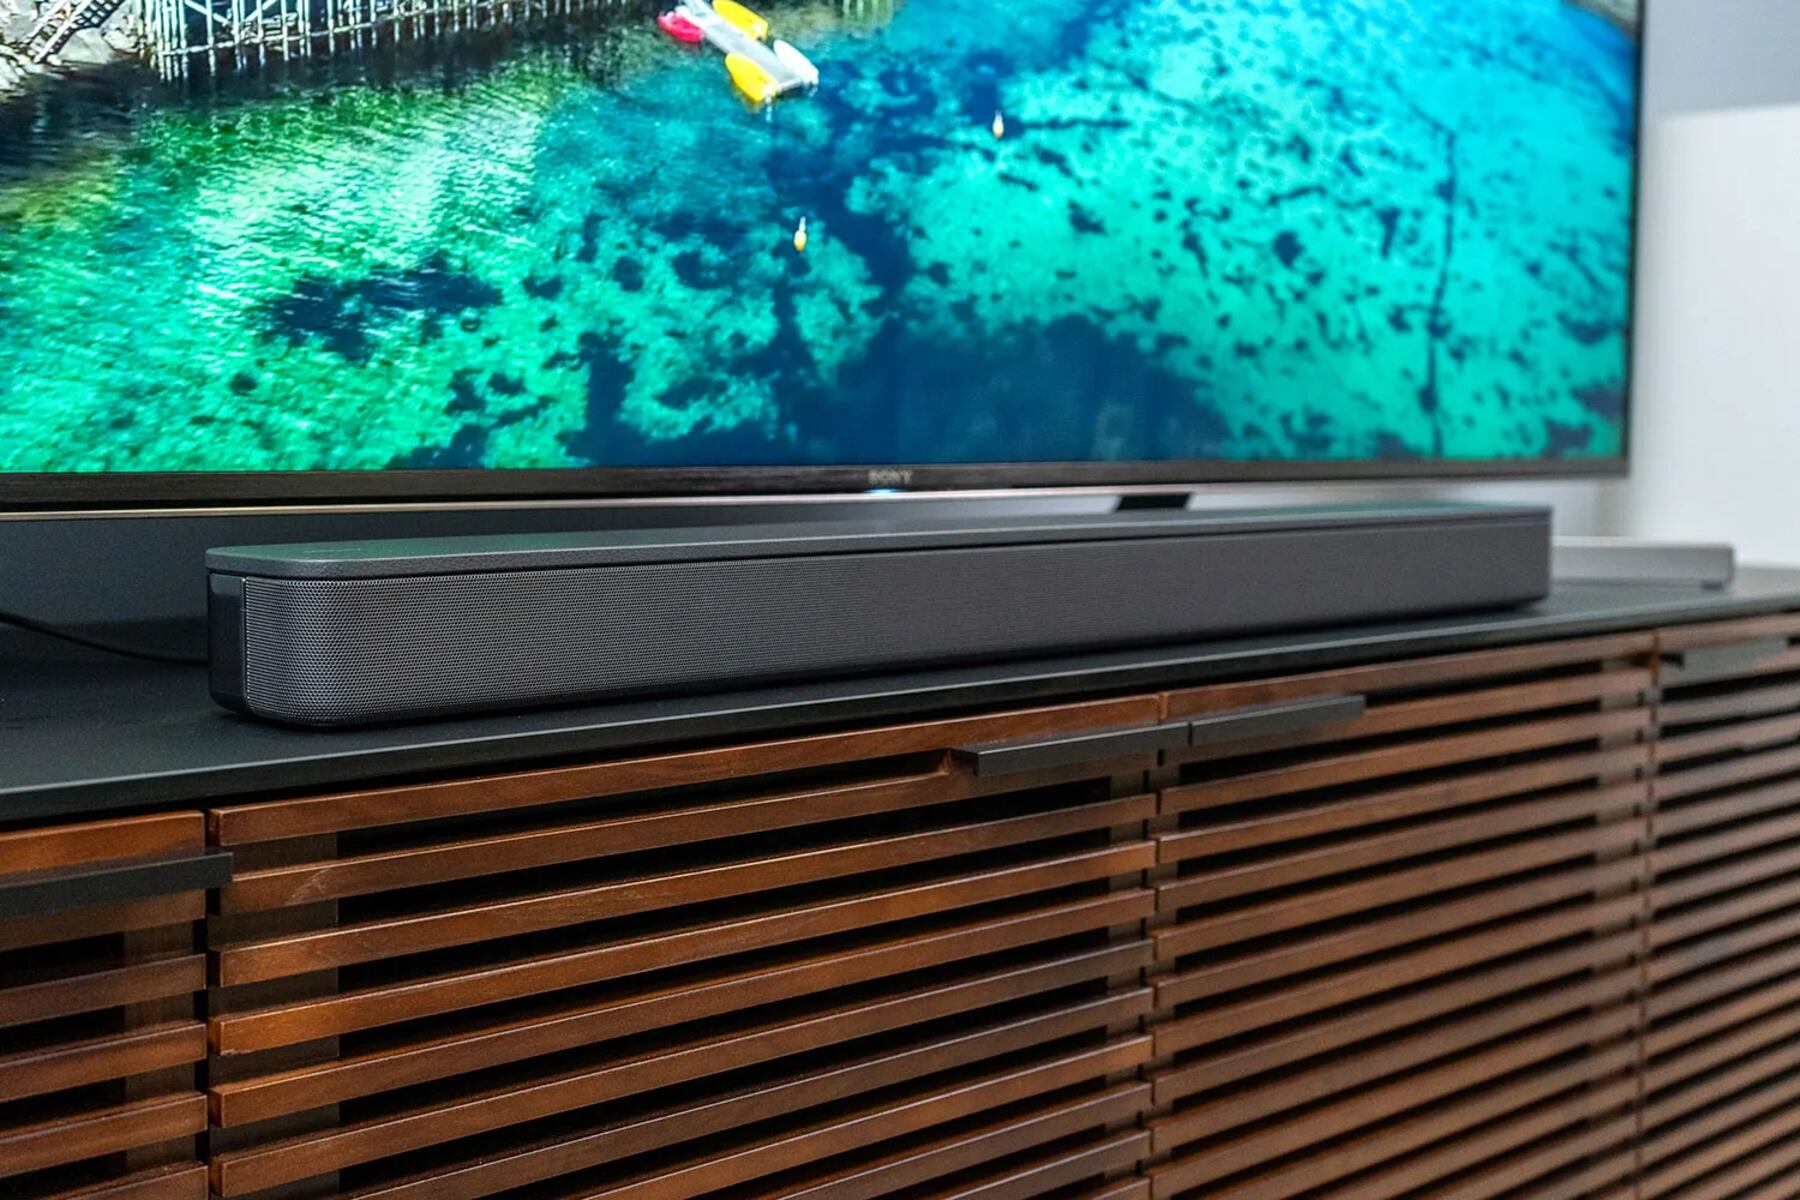
Soundbars are typically placed in front of or below your TV and consist of multiple built-in speakers, including tweeters, midrange drivers, and sometimes dedicated subwoofers for enhanced bass. These speakers work together to provide a wide soundstage and improve the overall audio experience.
One of the key advantages of a soundbar is its ability to produce virtual surround sound. By utilizing advanced audio processing technology, a soundbar can simulate the effect of a multi-channel speaker setup, creating the illusion that sound is coming from different directions around you. This creates a more immersive and cinematic experience, especially when watching action-packed movies or playing video games.
Soundbars also offer various connectivity options, including HDMI, optical, and Bluetooth. This allows you to connect your soundbar to multiple devices, such as your TV, gaming console, or smartphone, and enjoy high-quality audio from different sources.
Another benefit of using a soundbar is its minimalist design and ease of installation. It can be wall-mounted or placed on a stand, blending seamlessly with your entertainment setup. Unlike traditional surround sound systems, a soundbar eliminates the clutter of multiple speakers and cables, providing a clean and organized appearance.
Soundbars also come with a range of additional features and functionalities to enhance your audio experience. These may include built-in equalizers to customize the sound to your preferences, wireless subwoofer options for added bass, and compatibility with virtual assistants like Amazon Alexa or Google Assistant for voice control.
In summary, a soundbar is a compact and versatile audio device that significantly improves the sound quality of your TV or entertainment system. It offers virtual surround sound, easy installation, and various connectivity options, making it an ideal choice for those seeking enhanced audio without the complexity of a traditional speaker setup.
Why Connect a Soundbar with HDMI?
Connecting a soundbar to your TV using an HDMI cable offers several advantages and is considered one of the best ways to enhance your audio experience. Here are the main reasons why you should connect your soundbar with HDMI:
1. High-Quality Audio and Video: HDMI (High-Definition Multimedia Interface) is a digital connection that supports high-quality audio and video signals. When you connect your soundbar to your TV using an HDMI cable, you can enjoy superior audio performance with enhanced clarity, detail, and dynamic range. HDMI also ensures that the audio and video signals are transmitted in their original digital form without any loss of quality.
2. Simplified Setup and Convenience: By using HDMI to connect your soundbar, you can eliminate the need for multiple audio cables. This simplifies the setup process and reduces cable clutter, providing a clean and organized appearance. With fewer cables to manage, it becomes easier to set up and maintain your audio system.
3. Audio Return Channel (ARC) Support: Many soundbars and TVs support ARC (Audio Return Channel) functionality over HDMI. This means that you can use a single HDMI cable to send audio signals from your TV to your soundbar, eliminating the need for a separate audio cable. ARC allows the soundbar to receive audio from the TV, including audio from built-in apps, connected devices, or over-the-air broadcasts.
4. Consumer Electronics Control (CEC) Integration: HDMI also supports CEC (Consumer Electronics Control), which enables seamless control of multiple devices connected via HDMI using a single remote control. When you connect your soundbar to your TV via HDMI, you can often control the soundbar’s volume, power, and other functions directly from your TV remote, simplifying the overall user experience.
5. Enhanced Features and Compatibility: HDMI offers compatibility with various audio formats, including Dolby Digital, DTS, and more. This ensures that your soundbar can decode and playback advanced audio formats, providing a more immersive and cinematic sound experience. Additionally, HDMI allows for additional features, such as lip-sync correction and automatic audio format detection, ensuring optimal audio performance.
In summary, connecting your soundbar to your TV with HDMI provides high-quality audio and video, simplified setup, ARC support, CEC integration, and compatibility with advanced audio formats. By utilizing HDMI, you can enjoy an enhanced audio experience while simplifying your setup and control options.
Step 1: Check the Ports on your Soundbar and TV
Before connecting your soundbar with HDMI, it’s essential to check the available ports on both your soundbar and TV. This will ensure that you have the necessary connections for a successful setup. Here’s what you need to do:
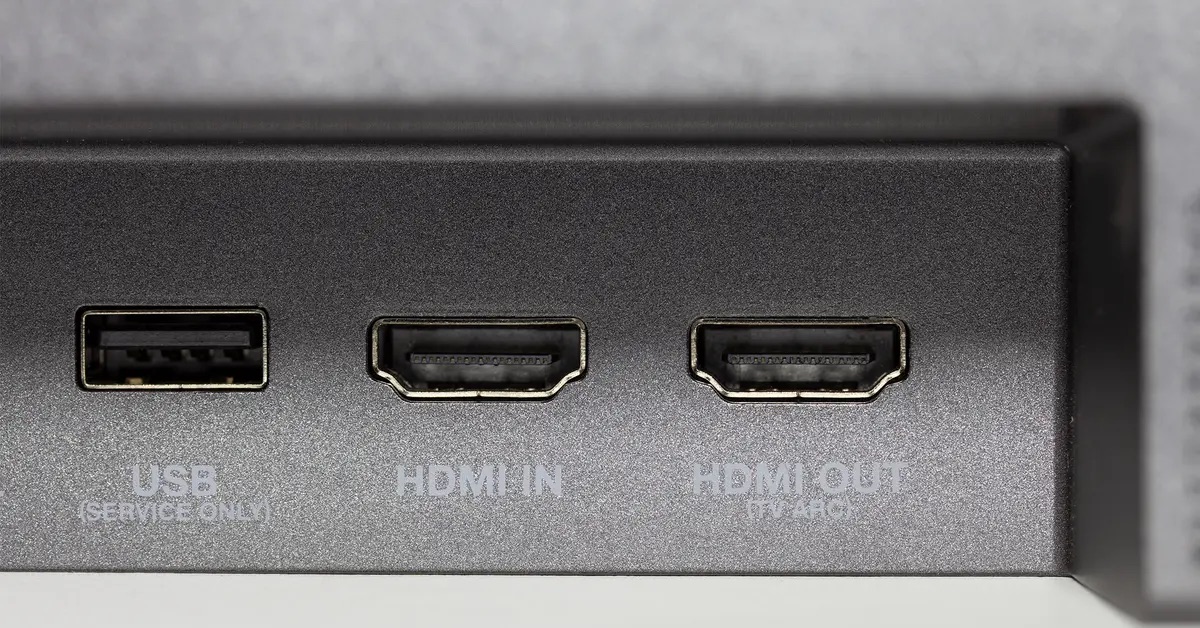
1. Examine the Soundbar: Take a close look at the back or sides of your soundbar to identify the available ports. Most soundbars will have HDMI ports labeled as “HDMI IN” or “HDMI (ARC)” for audio return channel support. Make sure you have at least one HDMI input port on your soundbar. Additionally, check for any other ports that you might need, such as an optical audio input or a USB port for firmware updates.
2. Inspect the TV: Next, examine the back or sides of your TV to find the corresponding HDMI ports. Look for ports labeled as “HDMI IN” or “HDMI (ARC)” on your TV. It’s important to ensure that your TV has at least one HDMI output port which supports ARC if you plan to use the audio return channel functionality.
3. Verify ARC Compatibility: If you intend to utilize the audio return channel feature, double-check that both your soundbar and TV support ARC over HDMI. This information can usually be found in the user manual or specifications of your devices. If your soundbar or TV does not support ARC, you may still be able to connect them using standard HDMI inputs, but you will need an additional audio cable for the audio connection.
4. Take Note of Port Locations: Pay attention to the physical location of the HDMI ports on both devices. Note which HDMI input on the soundbar corresponds to the HDMI output port on the TV. This information will be useful during the setup process.
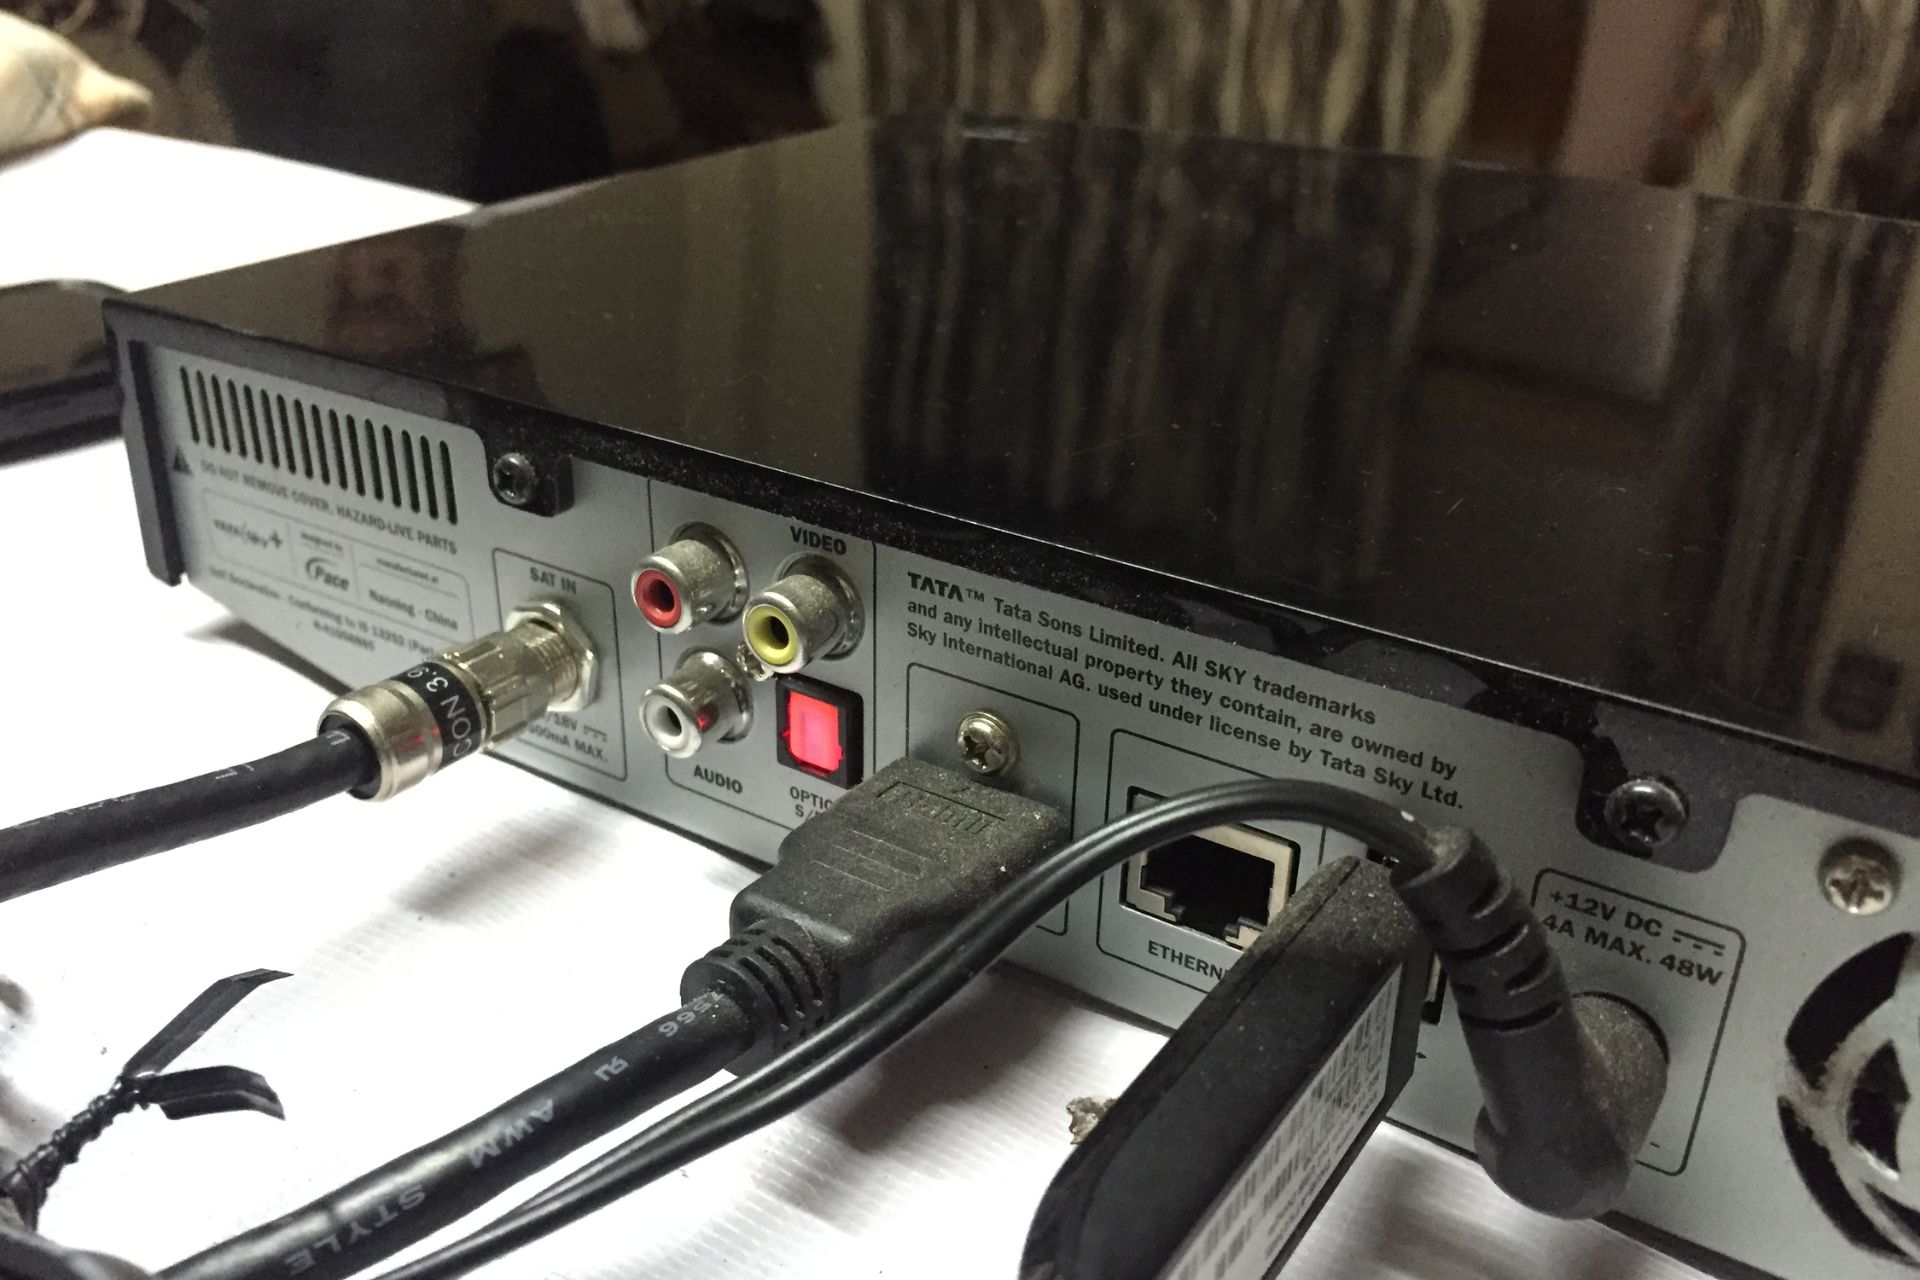
5. Ensure Proper HDMI Cable Compatibility: HDMI cables come in different versions (e.g., HDMI 1.4, HDMI 2.0, HDMI 2.1), each with varying capabilities and bandwidth. To ensure optimal audio and video performance, make sure that you have an HDMI cable that is compatible with the HDMI versions supported by your soundbar and TV.
By checking the available ports on your soundbar and TV, verifying ARC compatibility, noting port locations, and using a proper HDMI cable, you are now ready to move on to the next step: connecting the HDMI cable to your soundbar.
Step 2: Connect the HDMI Cable to the Soundbar
Once you have identified the available ports on your soundbar and TV, it’s time to connect the HDMI cable to the soundbar. Follow these steps:
1. Power Off: Before making any connections, ensure that both the soundbar and the TV are turned off and unplugged. This will prevent any accidental damage or interference.
2. Locate the HDMI Input Port: Identify the HDMI input port on your soundbar. It is usually labeled as “HDMI IN” or similar. Take note of the exact port location to avoid any confusion later on.
3. Insert the HDMI Cable: Take one end of the HDMI cable and insert it into the HDMI input port on the soundbar. Make sure the cable is securely plugged in until it clicks into place.
4. Secure the Cable: Once the HDMI cable is inserted, gently secure it in place by tightening any screws or clips that may be present on the soundbar. This will ensure a stable connection and prevent accidental disconnection.
5. Connect the Other End: Now, take the other end of the HDMI cable and insert it into the HDMI output port on your TV. Ensure that it is securely connected.
6. Power On: With the HDMI cable now connected between the soundbar and TV, you can plug in and power on both devices.
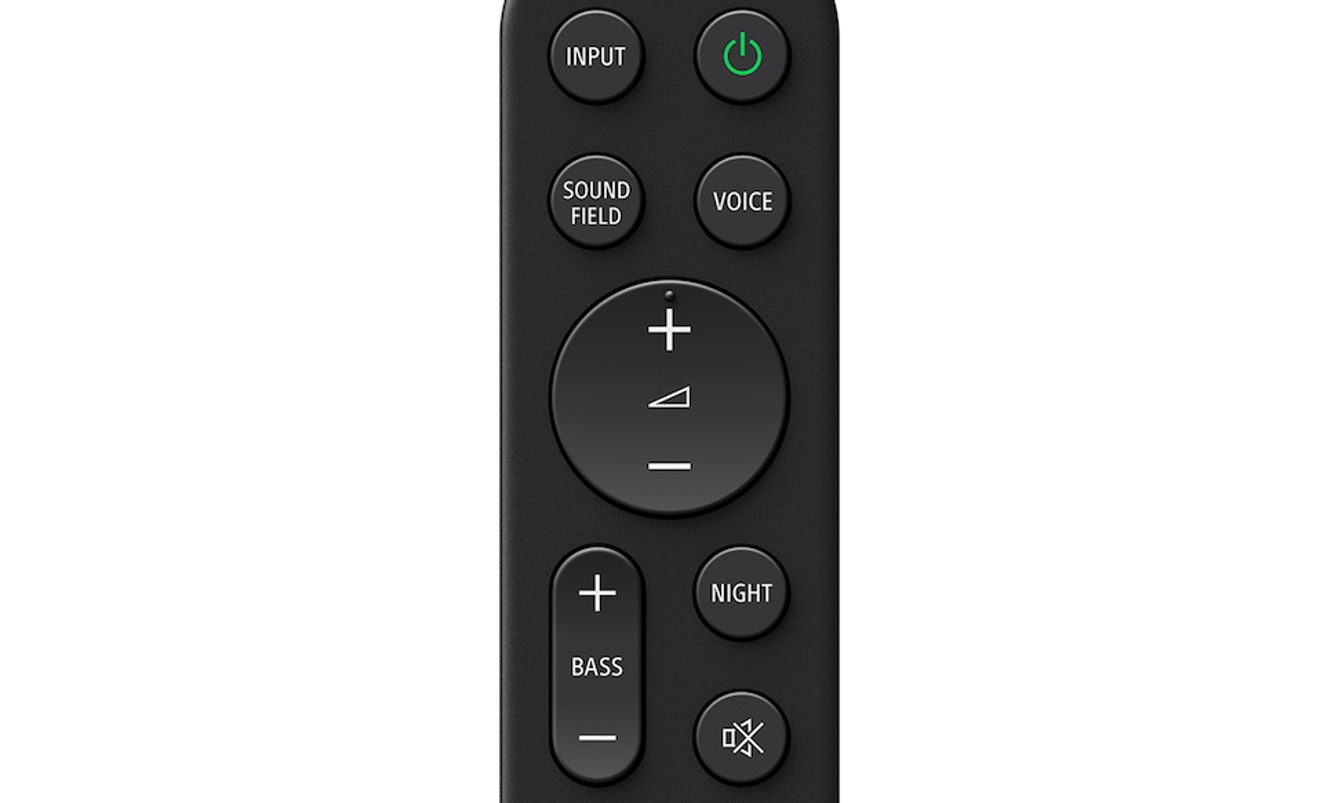
7. Set the Soundbar to HDMI Input: Use the soundbar’s remote control or front panel buttons to select the HDMI input you connected the cable to. This will allow the soundbar to receive audio signals from the TV through the HDMI connection.
By following these steps, you have successfully connected the HDMI cable to your soundbar. In the next step, we will move on to connecting the HDMI cable to the TV.
Step 3: Connect the HDMI Cable to the TV
After connecting the HDMI cable to your soundbar, the next step is to connect the other end of the cable to your TV. Follow these steps:
1. Locate the HDMI Input Port: Identify the HDMI input port on your TV. Look for ports labeled as “HDMI IN” or similar. Note the exact port location to avoid confusion during the setup process.
2. Insert the HDMI Cable: Take the end of the HDMI cable that is connected to your soundbar and insert it into the HDMI input port on your TV. Ensure that the cable is securely plugged in until it clicks into place.
3. Secure the Cable: Once the HDMI cable is inserted, gently secure it in place by tightening any screws or clips on the TV side. This will ensure a stable connection and prevent accidental disconnection.
4. Power On: With the HDMI cable now connected between the soundbar and TV, you can plug in and power on both devices.
5. Select the HDMI Input on the TV: Use your TV’s remote control or on-screen menu to select the HDMI input that corresponds to the connected soundbar. This will enable the TV to recognize the soundbar and route the audio signals through the HDMI connection.
6. Verify the Connection: Once everything is set up, you should see the TV display or hear a sound notification indicating that a new device is connected. You may need to adjust the TV’s audio settings to ensure that the sound is routed to the soundbar correctly.
By following these steps, you have successfully connected the HDMI cable from the soundbar to the TV. The next step is to configure the soundbar and TV settings to optimize your audio experience.
Step 4: Configure the Soundbar and TV Settings
Once you have successfully connected the HDMI cable between your soundbar and TV, it’s time to configure the settings on both devices to ensure optimal audio performance. Follow these steps:
1. Soundbar Settings:
– Access the soundbar’s settings menu using the remote control or front panel buttons.
– Adjust the soundbar’s volume and equalizer settings according to your preference.
– If your soundbar has additional audio settings, such as surround sound modes or dialogue enhancement, explore and customize them to your liking.
2. TV Settings:
– Access your TV’s settings menu using the remote control or on-screen menu.
– Navigate to the audio settings section and locate the sound output options. Select the HDMI output that corresponds to the connected soundbar.
– Configure the TV’s audio settings, such as volume control, audio mode (stereo, surround, etc.), and any additional features like lip-sync correction.
3. Audio Format:
– Check if both the soundbar and TV support the same audio formats, such as Dolby Digital or DTS. Ensure that the audio format settings on both devices are compatible and set to a format that provides the best audio quality.
4. Audio Delay:
– If you notice any audio delay or synchronization issues between the video and sound, adjust the audio delay settings on either the soundbar or TV to achieve proper lip-syncing.
5. Test the Audio:
– Play various audio sources, such as movies, music, or TV shows, to test the connection and audio performance. Ensure that the audio is coming from the soundbar and not the TV’s built-in speakers.
– Adjust the volume levels on both the soundbar and TV to achieve your desired listening experience.
By configuring the soundbar and TV settings, you can optimize the audio performance and tailor it to your preferences. Once the settings are adjusted, proceed to the next step to test the connection and make any necessary adjustments.
Step 5: Test the Connection and Adjust Settings as Needed
After configuring the soundbar and TV settings, it’s essential to test the connection and ensure that everything is functioning correctly. Follow these steps to test and fine-tune your setup:
1. Playback Test:
– Play various audio and video content on your TV to test the soundbar’s performance. This can include movies, TV shows, music, or any other media that you typically enjoy.
– Pay attention to the audio quality, clarity, and overall sound balance. Ensure that the sound is coming from the soundbar and not the TV’s built-in speakers.
2. Volume Control:
– Test the volume control from both the soundbar and TV. Make sure that adjusting either of them results in a change in the sound level.
– Check if the volume level is consistent across different sources and adjust it as needed for a comfortable listening experience.
3. Surround Sound Test (if applicable):
– If your soundbar supports virtual surround sound, ensure that it is enabled and functioning correctly. Play content specifically designed to showcase surround sound effects to evaluate its performance.
4. Fine-Tuning:
– If you encounter any issues, such as audio delay, distortion, or imbalanced sound, revisit the soundbar and TV settings to make necessary adjustments.
– Experiment with different equalizer settings or sound modes on the soundbar to find the configuration that suits your preferences the best. Additionally, explore different audio settings on your TV to fine-tune the audio output.
5. Repeat and Refine:
– If necessary, repeat the testing process with different audio and video content to ensure consistent and satisfactory performance.
– Make note of any specific settings or adjustments that deliver the best audio experience for future reference.
By testing the connection, adjusting settings as needed, and refining your audio setup, you can ensure that you’re getting the best possible sound quality from your connected soundbar. Once you are satisfied with the performance, sit back, relax, and enjoy your favorite movies, music, and TV shows with immersive and enhanced audio.
Troubleshooting Common Issues
While connecting and setting up a soundbar with HDMI is usually a straightforward process, you may encounter some common issues along the way. Here are troubleshooting tips for addressing these problems:
1. No Sound:
– Check that the soundbar is powered on and connected to the TV via the HDMI cable securely.
– Ensure that the TV’s audio settings are correctly configured to output sound through the HDMI connection.
– Verify that the volume on both the soundbar and TV are not muted and are set to an audible level.
2. Audio Sync Issues:
– If you experience a noticeable delay between the video and audio, adjust the audio delay settings on either the soundbar or TV until lip-sync is achieved.
– Alternatively, try disabling any audio processing features, such as surround sound modes, on the soundbar to see if it rectifies the syncing issue.
3. No ARC Functionality:
– Ensure that both your soundbar and TV support ARC (Audio Return Channel) and that HDMI-CEC settings are enabled on both devices.
– Check that the HDMI cable used is ARC-compatible and properly connected to the HDMI-ARC ports on your soundbar and TV.
– Refer to the user manuals of both the soundbar and TV for specific instructions on enabling ARC functionality.
4. Limited or Distorted Sound:
– Confirm that your soundbar is configured to receive the audio signal from the correct HDMI input on the TV.
– Adjust the soundbar’s equalizer settings to find the balance that provides clear and pleasing sound, eliminating any distortion.
– If using an external subwoofer, ensure it is properly connected and configured to avoid overpowering or inadequate bass.
5. HDMI Handshake Issues:
– If you encounter issues with the HDMI handshake between your soundbar and TV, try using a different HDMI cable or connecting the devices in a different sequence.
– Power cycle both the soundbar and TV by turning them off and unplugging them for a few minutes before reconnecting and powering them back on.
– Update the firmware of your soundbar and TV to the latest available versions as this may resolve compatibility issues.
If you have exhausted all troubleshooting options and are still experiencing difficulties, consult the user manuals for your specific devices or reach out to the manufacturers’ customer support for further assistance. Remember, each soundbar and TV model may have unique troubleshooting steps, so refer to the specific instructions provided by the manufacturers.
Conclusion
Connecting a soundbar to your TV using an HDMI cable is a simple and effective way to elevate your audio experience. By following the step-by-step guide outlined above, you can successfully set up and configure your soundbar with HDMI, enhancing the sound quality and immersing yourself in a cinematic audio experience.
Throughout this guide, we discussed the importance of checking the ports on your soundbar and TV, connecting the HDMI cable to both devices, configuring the settings, and troubleshooting common issues that may arise during the setup process.
Remember to thoroughly examine the available ports on your soundbar and TV, ensuring compatibility and understanding the functionality of each port. Connect the HDMI cable securely to both devices, and make sure to configure the soundbar and TV settings to optimize the audio output, including volume control, audio formats, and surround sound options if available.
If you encounter any issues, refer to the troubleshooting section for guidance on common problems and their solutions. It’s important to note that each soundbar and TV model may have specific instructions and troubleshooting steps, so consulting the user manuals and contacting customer support can provide further assistance if needed.
By successfully connecting your soundbar with HDMI, you can enjoy exceptional audio quality, immersive sound, and a more enjoyable entertainment experience. So go ahead and sit back, relax, and indulge in your favorite movies, shows, and music with the enhanced audio performance that a soundbar can provide.


