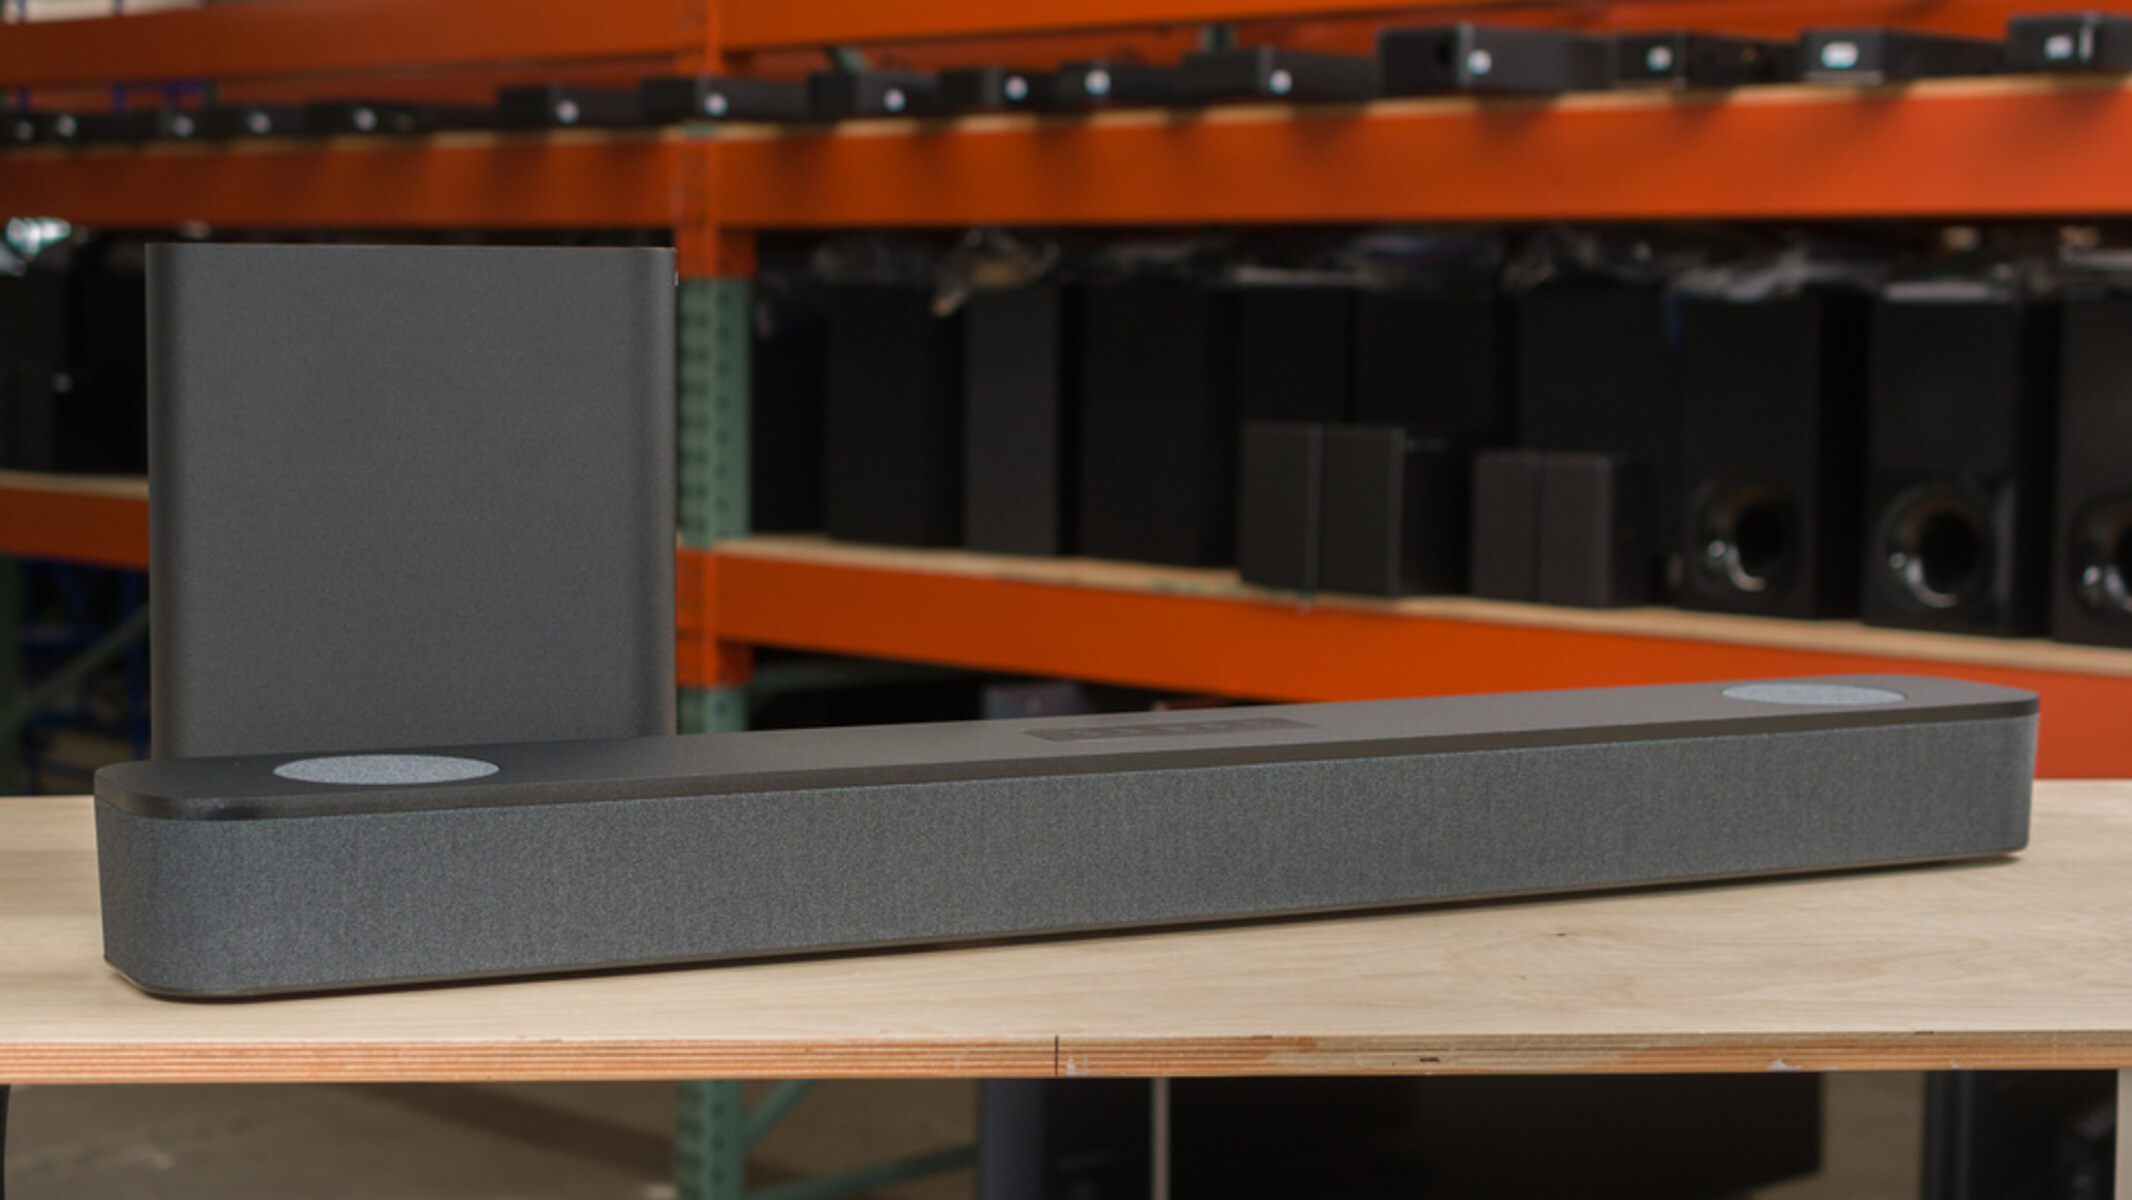
Overview
Connecting a soundbar to your TV via HDMI ARC (Audio Return Channel) is a convenient and simple way to enhance your audio experience. HDMI ARC allows for two-way communication between your TV and soundbar, eliminating the need for multiple cables and complicated setup processes.
By connecting your soundbar through HDMI ARC, you can enjoy high-quality audio directly from your TV, whether you’re watching movies, gaming, or listening to music. The audio signal is transmitted digitally, ensuring a clear and immersive sound experience.
In this guide, we will walk you through the steps to connect your soundbar to your TV using HDMI ARC. Before you begin, make sure that both your TV and soundbar support HDMI ARC functionality. While most modern TVs and soundbars are equipped with this feature, it’s always a good idea to check the user manuals or specifications to confirm compatibility.
Once you have confirmed compatibility, you can proceed with the following steps:
- Check the compatibility of your TV and soundbar
- Connect the HDMI ARC cable
- Enable HDMI ARC on the TV settings
- Configure the soundbar settings
- Test the audio connectivity
By following these steps, you will be able to establish a seamless connection between your TV and soundbar, allowing you to enjoy enhanced audio quality and a more immersive entertainment experience.
Step 1: Check the compatibility
Before you begin connecting your soundbar to your TV via HDMI ARC, it’s essential to ensure that your TV and soundbar are compatible with this feature. Here’s how you can check the compatibility:
1. Refer to the user manuals: Start by checking the user manuals of both your TV and soundbar. Look for information regarding HDMI ARC support. The manuals should clearly state whether the devices are equipped with HDMI ARC functionality.
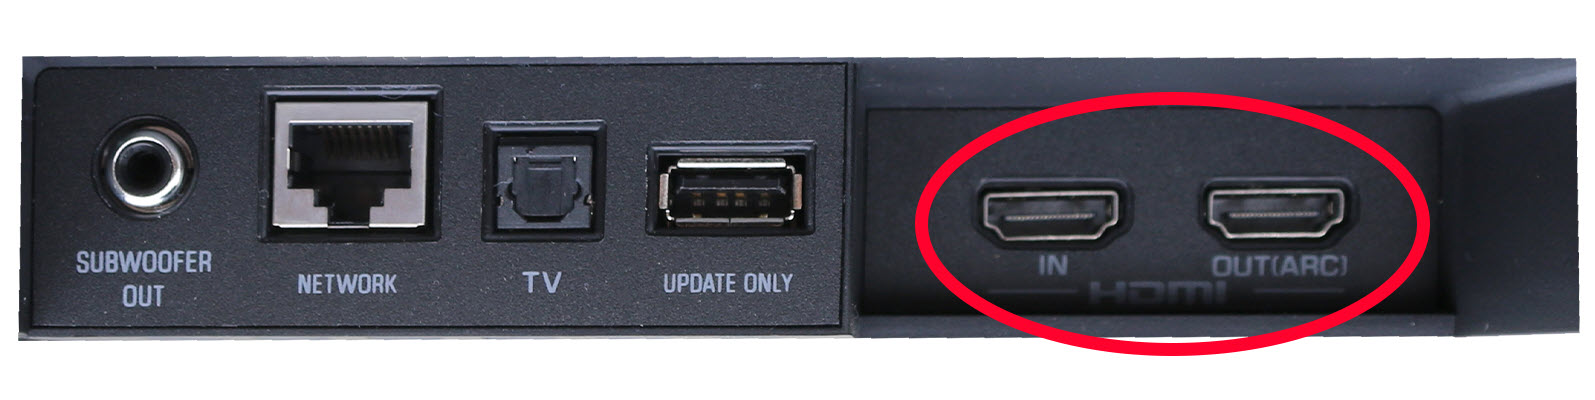
2. Check the HDMI ports: Examine the ports on both your TV and soundbar. HDMI ARC-enabled TVs usually have an HDMI port labeled as “ARC” or “HDMI ARC. Similarly, soundbars will have a designated HDMI ARC port. If you see these labels, it’s a good indication that the devices support HDMI ARC.
3. Visit the manufacturer’s website: If you’re still unsure about the compatibility, visit the manufacturer’s website for your TV and soundbar. Look for the product specifications or HDMI ARC compatibility information. Manufacturers often provide detailed specifications and compatibility lists to ensure seamless integration.
4. Contact customer support: When in doubt, it’s advisable to reach out to the customer support of the TV and soundbar manufacturers. They will be able to provide you with accurate information regarding HDMI ARC compatibility and answer any specific questions you may have.
Remember, for the HDMI ARC setup to work properly, both your TV and soundbar need to support this feature. If either of the devices doesn’t have HDMI ARC capability, you will need to explore alternative methods of connection or consider upgrading your equipment.
Once you have confirmed the compatibility, you can proceed to the next step, which is connecting the HDMI ARC cable.
Step 2: Connect the HDMI ARC cable
Now that you have verified the compatibility of your TV and soundbar, it’s time to connect them using the HDMI ARC cable. Follow these steps:
- Locate the HDMI ARC ports: Identify the HDMI ARC ports on both your TV and soundbar. These ports are typically labeled as “ARC” or “HDMI ARC”. Make sure to use the correct ones.
- Connect one end of the HDMI cable to the HDMI ARC port on your soundbar.
- Connect the other end of the HDMI cable to the HDMI ARC port on your TV.
- Ensure a secure connection by gently pushing in the HDMI connector on both ends. You should feel a click when it is properly inserted.
- Double-check the connections to ensure that the HDMI ARC cable is securely connected to both devices.
Keep in mind that some soundbars may have multiple HDMI ports. In such cases, make sure to connect the HDMI ARC cable to the HDMI ARC port specifically. Using a different HDMI port may result in an incorrect connection or no audio output.
It’s worth mentioning that HDMI ARC is a bidirectional connection, meaning it can transmit both audio and control signals. This eliminates the need for additional cables and simplifies the setup process.
Once you have successfully connected the HDMI ARC cable, you can proceed to the next step: enabling HDMI ARC on your TV settings.
Step 3: Enable HDMI ARC on the TV
After successfully connecting the HDMI ARC cable between your soundbar and TV, the next step is to enable HDMI ARC on your TV settings. Here’s how you can do it:
- Turn on your TV and soundbar.
- Using your TV remote, navigate to the settings menu. The exact process may vary depending on the brand and model of your TV.
- Look for the “Audio” or “Sound” settings. Within these settings, you should find an option related to HDMI ARC.
- Select the HDMI ARC option and enable it. This will allow your TV to send audio signals to the connected soundbar.
- Save the settings and exit the menu.
Enabling HDMI ARC on your TV will establish the communication channel between your TV and soundbar. It ensures that the audio from your TV is routed to the soundbar for an enhanced listening experience.
It’s important to note that the exact steps to enable HDMI ARC may differ depending on your TV’s manufacturer and model. Consult the user manual or refer to the manufacturer’s website for specific instructions related to your TV.
If you encounter any difficulties during this process, double-check the cable connections and make sure that the HDMI ARC cable is securely plugged into both your TV and soundbar. Additionally, you can also try power cycling both devices by turning them off and then back on again, as this can often resolve any connectivity issues.
Once you have successfully enabled HDMI ARC on your TV, you can move on to the next step: configuring the soundbar settings.
Step 4: Configure the soundbar settings
With the HDMI ARC connection established between your TV and soundbar, it’s time to configure the soundbar settings to ensure optimal audio performance. Follow these steps to configure the soundbar settings:
- Access the soundbar settings: Depending on your soundbar model, you can usually access the settings either through the remote control or physical buttons located on the soundbar itself.
- Choose the input source: Look for the input source selection option in the soundbar settings. Select the HDMI ARC input as the source for receiving audio signals from your TV.
- Adjust audio settings (optional): Some soundbars offer additional audio settings for customization. You can fine-tune the sound quality by adjusting settings such as bass, treble, surround sound, or equalizer presets according to your preferences.
- Enable CEC (Consumer Electronics Control): If your soundbar and TV support CEC, enabling it allows for better synchronization between devices. This feature enables you to control the soundbar volume using the TV remote and automatically turns on/off the soundbar along with the TV.
- Save the settings and exit the menu.
Remember, the steps mentioned above may vary depending on your specific soundbar model. Refer to the user manual or manufacturer’s website for detailed instructions tailored to your soundbar’s settings.
Once the soundbar settings are configured, you’re ready to enjoy enhanced audio output from your TV through the soundbar. However, make sure to test the audio connectivity to ensure that everything is working correctly.
In the next step, we will cover how you can test the audio connectivity between your TV and soundbar.
Step 5: Test the audio connectivity
After setting up the HDMI ARC connection and configuring the soundbar settings, it’s crucial to test the audio connectivity to ensure that the audio is being properly transmitted from your TV to the soundbar. Follow these steps to test the audio connectivity:
- Select a source on your TV: Choose a source, such as a movie, TV show, or music, and play it on your TV. Ensure that the volume is set to a comfortable level.
- Listen for audio from the soundbar: As the content plays on your TV, listen for the audio output coming from the soundbar. You should hear the soundbar producing clear and immersive audio.
- Check for synchronization: Pay attention to the audio synchronization between the visuals on your TV and the audio coming from the soundbar. The sound should be in perfect harmony with the on-screen action. If you notice any delay or out-of-sync audio, refer to the soundbar’s user manual for troubleshooting steps or contact customer support for assistance.
- Test different sources: Repeat the process for various sources, such as different channels, streaming platforms, or connected devices, to ensure that the audio connectivity is consistent across different content.
If you encounter any issues during the audio connectivity test, make sure to verify the HDMI ARC connections on both your TV and soundbar. Ensure that the HDMI ARC cable is securely connected and that both devices have HDMI ARC enabled.
If the issue persists or you have trouble with audio synchronization, you can try power cycling both your TV and soundbar by turning them off and then back on again. Additionally, it’s recommended to consult the user manual or reach out to the soundbar manufacturer’s customer support for further assistance.
By completing the audio connectivity test, you can ensure that the HDMI ARC setup is functioning correctly, and you can enjoy immersive sound quality for your favorite TV programs, movies, and music.
In case of any troubleshooting needs or for further optimization, refer to the next section for some helpful tips.
Troubleshooting tips
While connecting your soundbar to your TV via HDMI ARC is usually a straightforward process, you may encounter some common issues along the way. Here are some troubleshooting tips to help resolve any potential problems:
- Double-check the connections: Ensure that the HDMI ARC cable is securely plugged into both your TV and soundbar. Loose or improperly inserted cables can cause audio or connection issues.
- Restart your TV and soundbar: Power cycling both devices by turning them off and then back on again can often resolve temporary glitches and restore proper functionality.
- Update firmware: Check if there are any available firmware updates for your TV and soundbar. Manufacturers often release updates to address performance issues and improve compatibility.
- Adjust CEC settings: If you’re experiencing issues with CEC functionality, try disabling and re-enabling it in both your TV and soundbar settings. This can help establish a smoother connection and enable better control between devices.
- Check compatibility: If you’re still encountering problems, revisit the compatibility aspect. Make sure that both your TV and soundbar are indeed compatible with HDMI ARC. Consult the user manuals or contact customer support for clarification.
- Try a different HDMI cable: In some cases, a faulty HDMI cable can cause audio or connection issues. Consider trying a different HDMI cable to rule out any cable-related problems.
- Reset to factory settings: As a last resort, you can try resetting your TV and soundbar to their factory settings. Be aware that this will erase any personalized settings, so make sure to note them down before proceeding.
If you’ve exhausted these troubleshooting tips and are still experiencing issues with the HDMI ARC connection, it’s advisable to reach out to the customer support of your TV or soundbar manufacturer. They can provide further guidance and assistance specific to your devices.
Remember that every TV and soundbar setup can have its own unique challenges, and the solutions may vary. Patience, thoroughness, and following the instructions provided by the manufacturers will help you troubleshoot and overcome any issues that may arise.