Introduction
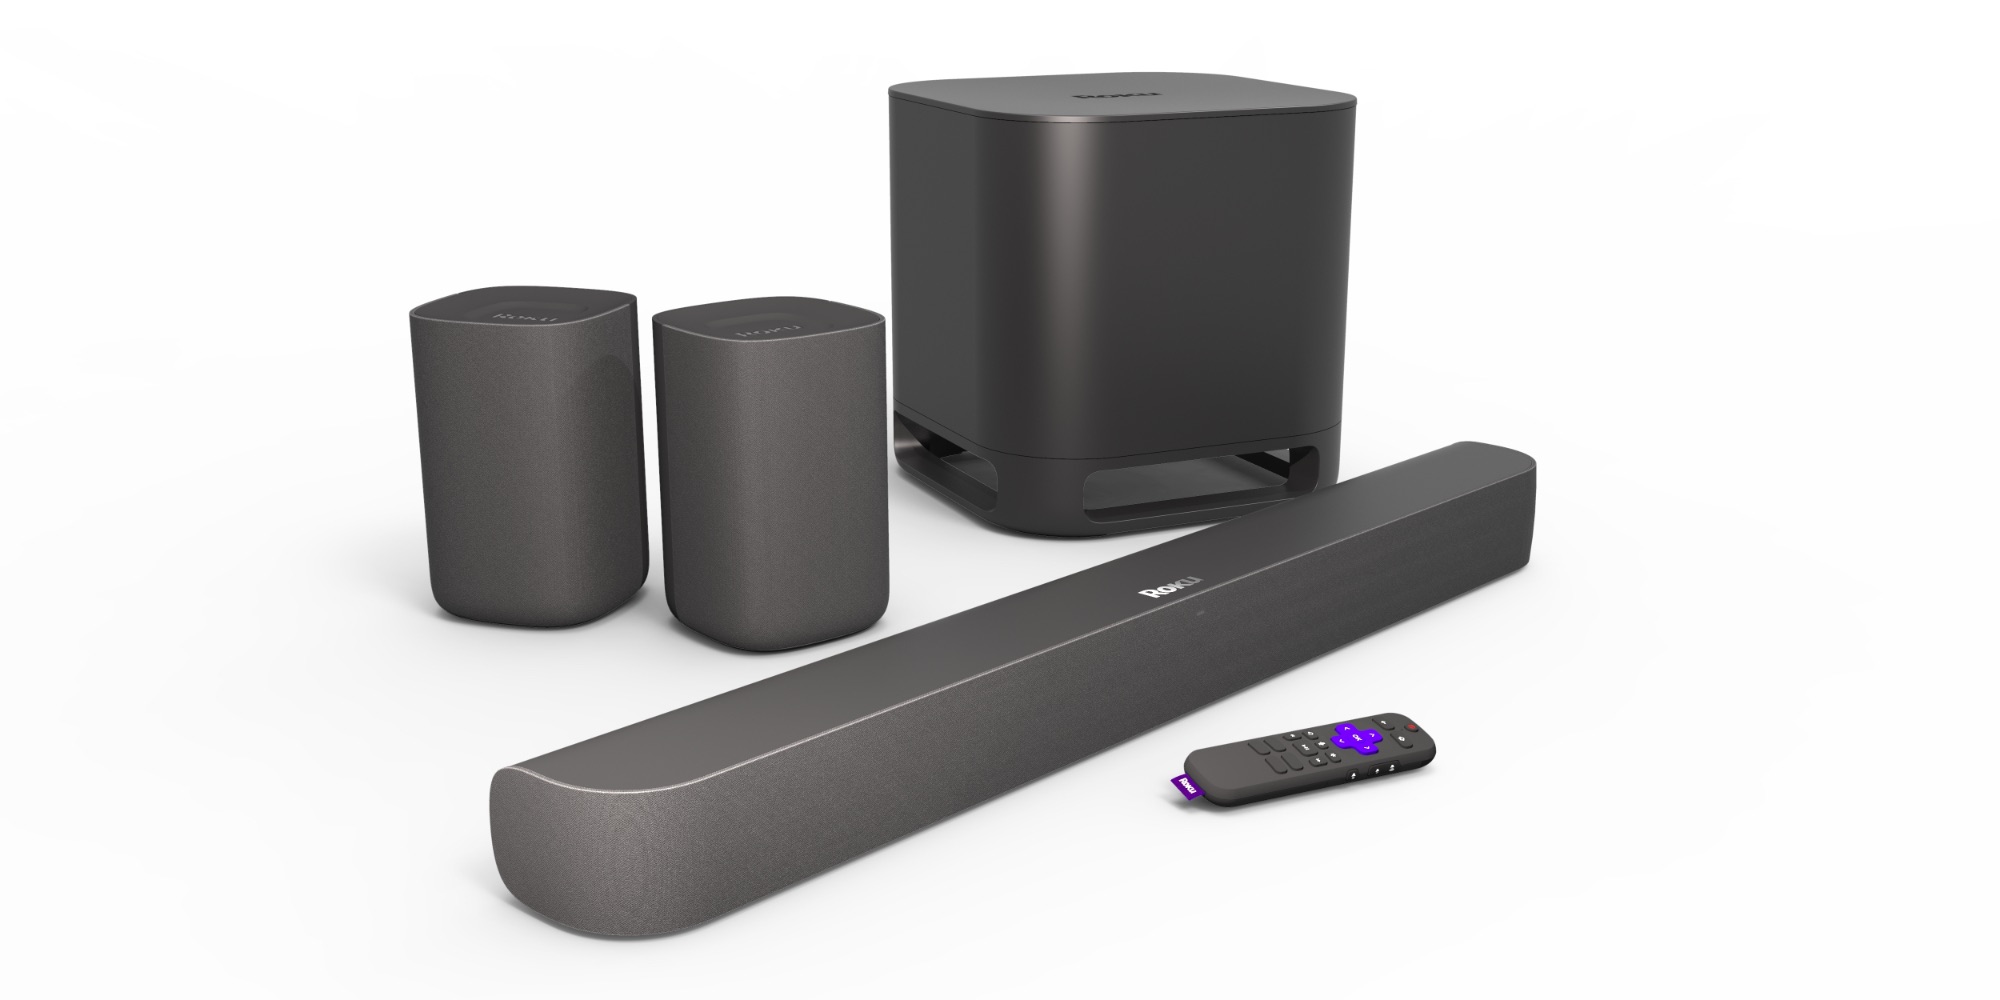
Connecting a soundbar to a Hisense Roku TV can significantly enhance your audio experience while watching movies, TV shows, or playing games. Soundbars are designed to deliver better sound quality and immersive audio compared to the built-in speakers of a TV. With the right connections, you can easily integrate a soundbar with your Hisense Roku TV and enjoy a cinematic audio experience right in your living room.
However, the process of connecting a soundbar to a TV may seem a bit intimidating if you’re not familiar with the necessary cables and settings. In this guide, we will walk you through the step-by-step process of connecting a soundbar to your Hisense Roku TV, ensuring that you can enjoy enhanced audio in no time.
Before we begin, it’s important to note that soundbar compatibility may vary based on the model of your Hisense Roku TV. Some newer models have HDMI ARC (Audio Return Channel) ports, while others might require optical or analog connections. It’s recommended to check the manual or specifications of your specific TV model to determine the available connection options.
Now, let’s dive into the steps that will guide you in connecting a soundbar to your Hisense Roku TV, and maximize your audio experience while enjoying your favorite entertainment.
Step 1: Check the Soundbar Compatibility
Before you start connecting your soundbar to your Hisense Roku TV, it’s essential to ensure that the soundbar is compatible with your TV model. Different soundbars have different connection options, so it’s crucial to check if your TV and soundbar have corresponding ports.
Firstly, refer to the manual or specifications of your Hisense Roku TV to identify the available audio output ports. The most common options are HDMI ARC, optical, and analog (3.5mm or RCA) ports. Some newer models might only have HDMI ARC, while older ones might support optical or analog connections.
Once you know the audio output options on your TV, check the soundbar’s input options. Most soundbars have multiple input ports, including HDMI, optical, and analog. However, not all soundbars have HDMI ARC ports, so make sure your soundbar supports the specific audio output of your TV.
If your soundbar and TV have incompatible ports, don’t worry. There are adapter cables and converters available in the market that can help you connect them. Just make sure to choose a reliable adapter that supports the necessary audio formats and maintains the audio quality.
By checking the compatibility between your soundbar and Hisense Roku TV, you’ll ensure that you have the right cables and equipment needed for a successful connection. Now that you are aware of the necessary port requirements, let’s move on to the next step to gather the cables and equipment.
Step 2: Gather the Necessary Cables and Equipment
Before you begin connecting your soundbar to your Hisense Roku TV, it’s important to gather all the necessary cables and equipment. Having everything ready will save you time and ensure a smooth setup process.
The specific cables and equipment you’ll need depend on the compatibility between your soundbar and TV, as well as the available connection options. Here are some common items you might need:
- HDMI cable: If both your soundbar and TV have HDMI ARC ports, you’ll need an HDMI cable to establish the connection. Make sure to choose a high-quality HDMI cable that supports ARC functionality.
- Optical cable: If your TV has an optical output and your soundbar has an optical input, you’ll need an optical cable to connect the two devices. Look for a cable that provides a secure and reliable connection.
- Analog cable: If your TV and soundbar have analog ports (3.5mm or RCA), you’ll need an appropriate analog cable to connect them. Ensure that you have the correct connectors for a proper connection.
- Power cords: Make sure you have the necessary power cords for both the soundbar and TV. Ensure that they are long enough to reach the power outlets without any strain.
- Remote control: Check if your soundbar comes with a dedicated remote control. This will allow you to control the soundbar’s volume and other settings separately from the TV.
- Batteries: If the soundbar remote control requires batteries, ensure that you have fresh batteries ready.
By gathering all the required cables and equipment beforehand, you’ll be well-prepared to connect your soundbar to your Hisense Roku TV. With everything in place, it’s time to proceed to the next step: powering off the TV and soundbar.
Step 3: Power off the TV and Soundbar
Before you start the physical connection process, it’s important to power off both your Hisense Roku TV and the soundbar. This ensures that you can safely make the necessary connections without any electrical interference or accidents.
Firstly, use your TV’s remote control or the power button on the TV itself to turn it off. Wait for a few seconds to ensure that it completely powers down. This will prevent any unexpected changes in settings while you’re making the connections.
Next, locate the power button or switch on your soundbar and turn it off. Make sure the soundbar is completely powered down before proceeding. This ensures that you won’t encounter any issues when connecting the devices and avoids any potential audio disturbances.
By powering off both your Hisense Roku TV and the soundbar, you’re taking a precautionary step to ensure a smooth and safe connection process. Now that both devices are powered off, let’s move on to the next step, which involves connecting the soundbar to the TV using HDMI ARC.
Step 4: Connect the Soundbar to the TV using HDMI ARC
If your Hisense Roku TV and soundbar both have HDMI ARC (Audio Return Channel) ports, this is the recommended method for connecting them. HDMI ARC allows for both audio and video transmission through a single cable, simplifying the setup process.
Here’s how you can connect the soundbar to the TV using HDMI ARC:
- Locate the HDMI ARC port on your TV. It is usually labeled as “HDMI ARC” or “ARC”. Make sure to identify the correct port.
- Connect one end of the HDMI cable to the HDMI ARC port on your TV.
- Find the HDMI ARC input on your soundbar. This port might also be labeled as “HDMI ARC” or “ARC”. Connect the other end of the HDMI cable to this port.
- Ensure that the HDMI cable is securely plugged in on both ends to establish a stable connection.
Once the HDMI ARC connection is established, the soundbar will receive audio signals from the TV, and the TV will recognize the soundbar as the primary audio output device. This means that you can control the soundbar’s volume using the TV’s remote control.
It’s important to note that not all HDMI ports support ARC functionality, so make sure that you’re using the designated HDMI ARC port on your TV and soundbar.
With the soundbar connected to the TV using HDMI ARC, you’re one step closer to enjoying enhanced audio. However, remember to proceed to the next step to turn on both the TV and soundbar.
Step 5: Turn on the TV and Soundbar
After successfully connecting the soundbar to your Hisense Roku TV using the HDMI ARC connection, it’s time to turn on both devices and ensure they are properly synchronized.
Here’s how you can turn on the TV and soundbar:
- Using the TV’s remote control or the power button on the TV itself, turn on your Hisense Roku TV. Give it a few moments to power up and initialize.
- Locate the power button or switch on your soundbar and turn it on. Wait for the soundbar to fully power up and establish a connection with the TV.
Once both devices are turned on, the TV should automatically detect the soundbar as the audio output device. You may see an on-screen notification or indication that confirms the successful connection.
If the TV doesn’t automatically recognize the soundbar, you may need to manually switch the TV’s audio output settings. Refer to your TV’s manual or settings menu to select the appropriate audio output source – in this case, the soundbar.
By turning on both the TV and soundbar, you’ve completed the necessary steps to ensure they are ready to deliver enhanced audio. However, there are still a few adjustments to make in the soundbar settings to optimize your audio experience, so let’s move on to the next step.
Step 6: Adjust the Soundbar Settings
Once the TV and soundbar are turned on and properly connected, it’s time to fine-tune the soundbar settings to optimize your audio experience. Adjusting the settings will ensure that you get the desired sound quality and settings for your specific setup.
Here are some key settings to consider adjusting on your soundbar:
- Sound Modes: Explore the different sound modes available on your soundbar. These modes are designed to enhance specific types of audio, such as cinema, music, or sports. Experiment with different modes to find the one that suits your preferences.
- Equalizer: Many soundbars have an equalizer or sound presets that allow you to adjust the audio frequencies according to your liking. You can tweak settings like bass, treble, and midrange to achieve the desired sound balance.
- Volume Levels: Adjust the volume levels on the soundbar to match your preferences. You can increase or decrease the volume using the soundbar’s remote control or through the TV’s remote control if it has the ability to control external audio devices.
- Subwoofer Settings: If your soundbar comes with a separate subwoofer for deep bass, ensure that it is properly positioned and adjust its settings if available. You can fine-tune the subwoofer’s volume level to achieve the desired level of bass in your audio playback.
- Surround Sound: If your soundbar supports virtual or dedicated surround sound technology, enable it to create a more immersive audio experience. This can simulate a surround sound setup without the need for additional speakers.
It’s worth noting that the exact settings and options may vary depending on the model and brand of your soundbar. Therefore, refer to the user manual or consult the manufacturer’s website for specific instructions on adjusting the settings.
By taking the time to adjust the soundbar settings, you can tailor the audio output to your liking and create an immersive audio experience while enjoying your favorite movies, TV shows, or games.
Step 7: Test the Soundbar Audio Output
After adjusting the soundbar settings, it’s essential to test the audio output to ensure that everything is working correctly. Testing the soundbar audio output will allow you to confirm that the soundbar is producing the desired sound quality and that it is synchronized with your Hisense Roku TV.
Here’s how you can test the soundbar audio output:
- Play a piece of content on your Hisense Roku TV, such as a movie, TV show, or music.
- Ensure that the TV’s audio output is set to the soundbar. If necessary, adjust the TV’s audio settings to route the audio to the soundbar and not the TV’s built-in speakers.
- Listen to the sound coming from the soundbar and assess its quality. Pay attention to factors like clarity, volume, and overall balance.
- Check if the sound is in sync with the visuals on your TV. Ensure that there is no noticeable delay or mismatch between the audio and video.
- Try different types of content, including dialogues, music, and action sequences, to get a comprehensive understanding of the soundbar’s performance. This will help you assess its capabilities across various audio formats and genres.
During the testing phase, if you encounter any issues such as audio distortion, low volume, or audio-video sync problems, double-check the connections and settings. Ensure that all cables are securely plugged in, and the settings on both the soundbar and TV are properly configured.
If problems persist, consult the user manual or contact the soundbar manufacturer’s customer support for further assistance and troubleshooting guidance.
By thoroughly testing the soundbar audio output, you can confirm that the connection is successful, and the soundbar is working as expected. You can now sit back, relax, and enjoy your favorite content with an enhanced audio experience provided by your Hisense Roku TV and soundbar.
Conclusion
Connecting a soundbar to your Hisense Roku TV can greatly enhance your audio experience, immersing you in high-quality sound while enjoying your favorite movies, TV shows, and games. By following the step-by-step guide outlined in this article, you can easily connect the soundbar to your TV and optimize the audio settings to suit your preferences.
Throughout the process, it’s important to ensure the compatibility between your soundbar and TV, gather the necessary cables and equipment, and power off both devices before making the connections. Connecting the soundbar to your Hisense Roku TV using HDMI ARC is recommended for optimal audio quality and simplicity.
Once the soundbar is connected and the TV is powered on, adjusting the soundbar settings allows you to fine-tune the audio output, enabling you to create a personalized and immersive audio experience.
Before enjoying your enhanced audio, don’t forget to test the soundbar’s audio output to confirm that it is synchronized with your TV and producing the desired sound quality.
Remember, if you encounter any issues during the setup process or experience any audio-related problems, refer to the user manuals or reach out to the manufacturer’s customer support for assistance and troubleshooting.
Now that you have successfully connected your soundbar to your Hisense Roku TV, sit back, relax, and indulge in a whole new level of audio enjoyment.


