Introduction
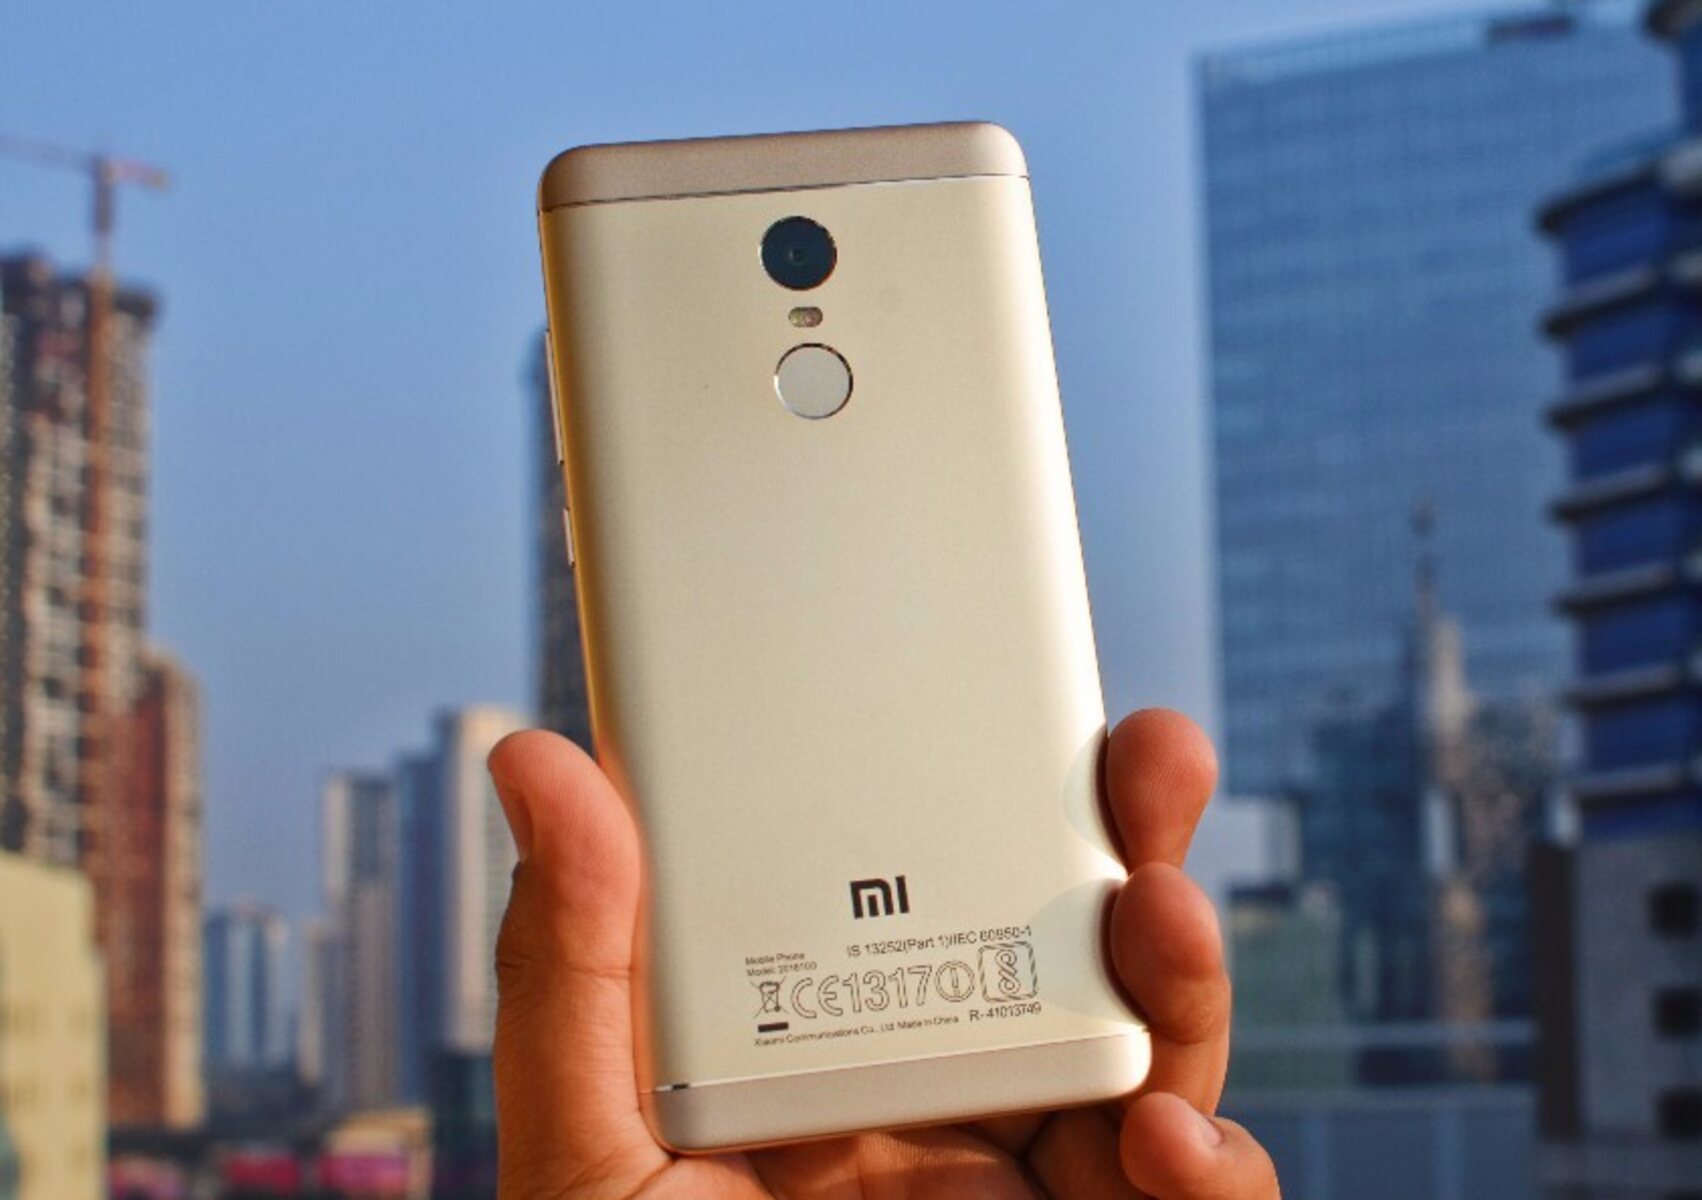
Transferring photos from your Redmi Note 4 to your PC can be a convenient way to back up your precious memories, free up space on your device, or simply organize your photo collection. Whether you want to share your photos with friends and family, create a backup, or edit them on a larger screen, the process of transferring photos from your Redmi Note 4 to your PC is straightforward and can be accomplished in a few simple steps.
In this comprehensive guide, we will walk you through the process of transferring photos from your Redmi Note 4 to your PC using both the traditional method of connecting via USB and the alternative method of using Mi PC Suite. By following these step-by-step instructions, you can seamlessly transfer your photos and ensure that they are safely stored on your PC for easy access and management.
With the increasing importance of digital photo storage and management, knowing how to transfer photos from your Redmi Note 4 to your PC is a valuable skill that can save you time and effort in the long run. Whether you are a photography enthusiast, a casual smartphone user, or someone who simply wants to keep their digital memories organized, mastering this process will empower you to take control of your photo collection and make the most of your Redmi Note 4's camera capabilities.
So, without further ado, let's dive into the step-by-step guide to transferring photos from your Redmi Note 4 to your PC and discover the seamless and efficient methods that will simplify your photo management experience.
Step 1: Connect your Redmi Note 4 to your PC
To initiate the process of transferring photos from your Redmi Note 4 to your PC, the first step is to establish a physical connection between the two devices. This can be achieved by using a USB cable that is compatible with your Redmi Note 4 and your PC. The USB cable serves as the bridge through which data, including photos, can be transferred between your smartphone and your computer.
Begin by locating the USB port on your Redmi Note 4. This port is typically located at the bottom of the device, and it is where you will insert one end of the USB cable. Once the cable is securely connected to your Redmi Note 4, the other end of the cable should be inserted into an available USB port on your PC. It is important to ensure that both ends of the cable are firmly connected to establish a stable and reliable connection for data transfer.
Upon successful connection, your Redmi Note 4 may prompt you to select a USB connection mode. You can choose the "File Transfer" or "MTP" mode to enable the transfer of photos and other files between your device and your PC. This step is crucial as it allows your PC to recognize your Redmi Note 4 as a storage device, enabling you to access and transfer the photos stored on your smartphone.
Once the USB connection mode is selected, your Redmi Note 4 will be recognized by your PC, and you can proceed to access the photo storage on your device. This will allow you to navigate through the photo directories on your Redmi Note 4 and select the photos you wish to transfer to your PC.
By successfully connecting your Redmi Note 4 to your PC via USB and configuring the appropriate connection mode, you have laid the foundation for the seamless transfer of photos from your smartphone to your computer. This essential first step sets the stage for the subsequent actions that will enable you to efficiently manage and organize your photo collection on your PC, ensuring that your digital memories are safely preserved and easily accessible.
In the next steps, we will delve into the specific methods of transferring photos using File Explorer and Mi PC Suite, providing you with comprehensive guidance to complete the photo transfer process with ease and confidence.
Step 2: Enable USB debugging on your Redmi Note 4
Enabling USB debugging on your Redmi Note 4 is a crucial step that allows your smartphone to communicate with your PC more effectively, facilitating the seamless transfer of photos and other data. By enabling USB debugging, you grant your PC permission to access the developer-level functions of your Redmi Note 4, enabling a smoother and more efficient data transfer process.
To enable USB debugging on your Redmi Note 4, follow these step-by-step instructions:
-
Access the Developer Options: Begin by accessing the Developer Options on your Redmi Note 4. To do this, navigate to the "Settings" menu on your device. Scroll down and tap on "About phone." Here, you will find the "MIUI version" or "Build number" option. Tap on this option repeatedly (usually seven times) until you see a message indicating that you are now a developer.
-
Enable Developer Options: Once you have unlocked the Developer Options, go back to the main "Settings" menu. You will now see the "Developer Options" listed above "About phone." Tap on "Developer Options" to access the advanced settings.
-
Enable USB Debugging: Within the Developer Options, locate the "USB debugging" option and toggle the switch to enable it. You may be prompted to confirm this action, and you should proceed by selecting "OK" or "Enable" to grant permission for USB debugging.
-
Confirm USB Debugging Authorization: When you connect your Redmi Note 4 to your PC, a prompt may appear on your smartphone's screen asking for permission to allow USB debugging from the connected computer. Select "Always allow from this computer" and tap "OK" to confirm. This step ensures that your PC can establish a secure and authorized connection with your Redmi Note 4 for data transfer purposes.
By enabling USB debugging on your Redmi Note 4, you have empowered your smartphone to communicate effectively with your PC, streamlining the process of transferring photos and other files. This developer-level access enhances the compatibility and efficiency of the data transfer process, allowing you to seamlessly manage your photo collection and ensure that your digital memories are safely stored on your PC.
With USB debugging enabled, you are now ready to proceed to the next steps, where we will explore the methods of transferring photos using File Explorer and Mi PC Suite, providing you with comprehensive guidance to complete the photo transfer process with ease and confidence.
Step 3: Transfer photos using File Explorer
Transferring photos from your Redmi Note 4 to your PC using File Explorer is a straightforward and efficient method that allows you to directly access and manage the photo files stored on your smartphone. By leveraging the familiar interface of File Explorer on your PC, you can seamlessly transfer your photos and organize them according to your preferences. Follow these step-by-step instructions to transfer photos using File Explorer:
-
Access File Explorer: On your PC, open File Explorer by clicking on the folder icon located on your taskbar or by pressing the Windows key + E on your keyboard. This will launch File Explorer, providing you with a visual representation of the files and folders on your PC.
-
Locate your Redmi Note 4: In the left-hand navigation pane of File Explorer, locate and click on "This PC" or "Computer." Under the "Devices and drives" section, you should see your Redmi Note 4 listed as a connected device. Click on your device to access its storage.
-
Navigate to the Photos Directory: Once you have accessed your Redmi Note 4's storage, navigate to the directory where your photos are stored. This is typically found within the "DCIM" (Digital Camera Images) folder or a dedicated "Pictures" folder on your device.
-
Select and Transfer Photos: Within the designated photo directory, you can browse through your collection and select the photos you wish to transfer to your PC. You can click and drag to select multiple photos or use keyboard shortcuts to make your selections. Once you have chosen the photos, simply drag them to a folder on your PC to initiate the transfer process.
-
Monitor the Transfer Progress: As the photos are being transferred, you can monitor the progress of the transfer within File Explorer. A status bar will indicate the transfer status, and you will receive a notification once the transfer is complete.
By following these steps, you can efficiently transfer your photos from your Redmi Note 4 to your PC using File Explorer. This method provides you with direct control over the transfer process, allowing you to selectively choose the photos you want to transfer and organize them within your PC's file system. Whether you are creating a backup of your photos or simply organizing your collection, the File Explorer method offers a user-friendly and intuitive approach to managing your digital memories.
With the photos successfully transferred to your PC, you can now proceed to the next steps, where we will explore an alternative method of transferring photos using Mi PC Suite, providing you with comprehensive guidance to complete the photo transfer process with ease and confidence.
Step 4: Transfer photos using Mi PC Suite
Transferring photos from your Redmi Note 4 to your PC using Mi PC Suite offers a convenient and feature-rich alternative to traditional file transfer methods. Mi PC Suite is a versatile software developed by Xiaomi that is designed to facilitate seamless communication between your Redmi Note 4 and your PC. By leveraging the capabilities of Mi PC Suite, you can streamline the process of transferring photos and other data, ensuring efficient management of your digital content. Follow these step-by-step instructions to transfer photos using Mi PC Suite:
-
Download and Install Mi PC Suite: Begin by downloading Mi PC Suite from the official Xiaomi website or other trusted sources. Once the download is complete, install the software on your PC by following the on-screen instructions. After the installation is complete, launch Mi PC Suite to initiate the connection process.
-
Connect your Redmi Note 4 to Mi PC Suite: Using a compatible USB cable, connect your Redmi Note 4 to your PC. Launch Mi PC Suite, and the software should automatically detect your connected device. Follow any on-screen prompts to establish a secure and stable connection between your smartphone and your PC.
-
Navigate to the Photo Management Section: Within Mi PC Suite, navigate to the photo management section, which provides you with a comprehensive view of the photos stored on your Redmi Note 4. This interface allows you to browse through your photo collection, select specific photos, and initiate the transfer process.
-
Select and Transfer Photos: Once you have accessed the photo management section, you can select the photos you wish to transfer to your PC. Mi PC Suite offers intuitive selection tools, allowing you to choose individual photos, entire albums, or specific categories for transfer. After making your selections, initiate the transfer process to begin copying the photos to your PC.
-
Monitor the Transfer Progress: As the photos are being transferred, you can monitor the progress within Mi PC Suite. The software provides real-time status updates, ensuring that you are informed about the transfer speed and completion status. Once the transfer is complete, you will receive a confirmation message, indicating that the selected photos have been successfully transferred to your PC.
By following these steps, you can leverage the capabilities of Mi PC Suite to efficiently transfer your photos from your Redmi Note 4 to your PC. This method offers a user-friendly and feature-rich approach to photo management, allowing you to seamlessly organize and back up your digital memories with ease. With Mi PC Suite, you can take advantage of advanced features and a streamlined interface, empowering you to maintain control over your photo collection and ensure that your precious moments are securely stored on your PC.
Conclusion
In conclusion, the process of transferring photos from your Redmi Note 4 to your PC is a valuable skill that empowers you to take control of your digital photo collection, ensuring that your precious memories are safely stored and easily accessible. By following the step-by-step guide outlined in this comprehensive article, you have gained the knowledge and confidence to seamlessly transfer your photos using both traditional and alternative methods, allowing you to choose the approach that best suits your preferences and technical capabilities.
Whether you opt to connect your Redmi Note 4 to your PC via USB and utilize File Explorer for direct file transfer or leverage the advanced features of Mi PC Suite for a more streamlined approach, the end goal remains the same: to efficiently manage and organize your photo collection on your PC. The ability to transfer photos from your Redmi Note 4 to your PC opens up a world of possibilities, from creating backups and freeing up storage space on your device to editing and sharing your photos with ease.
By connecting your Redmi Note 4 to your PC and enabling USB debugging, you have established a secure and authorized connection that facilitates the seamless transfer of photos and other data. Whether you are a photography enthusiast, a casual smartphone user, or someone who values the preservation of digital memories, mastering the art of transferring photos from your Redmi Note 4 to your PC is a valuable skill that simplifies your photo management experience.
The File Explorer method offers a familiar and user-friendly approach, allowing you to directly access and transfer your photos with ease. On the other hand, Mi PC Suite provides a feature-rich and intuitive platform for managing your digital content, offering advanced capabilities and a streamlined interface for efficient photo transfer and organization.
With the photos successfully transferred to your PC, you now have the freedom to organize, edit, and share your digital memories with confidence. Whether you are creating a backup of your photos, organizing them into albums, or preparing them for editing and sharing, the seamless transfer process ensures that your digital memories are safely preserved and easily accessible whenever you need them.
In mastering the art of transferring photos from your Redmi Note 4 to your PC, you have unlocked the potential to take full control of your digital photo collection, ensuring that your precious memories are safeguarded and ready to be enjoyed for years to come.