Introduction
Connecting your Redmi Note to your laptop can open up a world of possibilities, allowing you to transfer files, perform software updates, and even use your phone as a modem for internet access. Whether you're a tech enthusiast, a professional seeking seamless integration between devices, or simply someone looking to streamline their digital experience, this step-by-step guide will walk you through the process with ease.
By establishing a direct connection between your Redmi Note and laptop, you can harness the power of both devices to enhance productivity and convenience. Whether you need to back up important files, share media between devices, or simply charge your phone while accessing its contents on a larger screen, this guide will equip you with the knowledge to achieve these tasks effortlessly.
In the following steps, you will learn how to install necessary drivers, enable USB debugging on your Redmi Note, and establish a stable connection between your phone and laptop. Additionally, you will discover how to seamlessly transfer files between the two devices, ensuring a smooth and efficient workflow.
With this guide, you'll be able to harness the full potential of your Redmi Note and laptop, creating a seamless and interconnected digital ecosystem that enhances your daily activities. Let's dive into the step-by-step process and unlock the myriad benefits of connecting your Redmi Note to your laptop.
Step 1: Install Necessary Drivers
Before establishing a connection between your Redmi Note and laptop, it's essential to ensure that the necessary drivers are installed on your laptop. These drivers facilitate seamless communication between the devices, enabling efficient data transfer and device management. Follow these steps to install the required drivers:
-
Download the Official Xiaomi USB Driver: Visit the official Xiaomi website or the support page dedicated to the Redmi Note model you own. Look for the USB driver section and download the appropriate driver for your laptop's operating system. Ensure that you download the latest version to benefit from performance improvements and compatibility updates.
-
Install the USB Driver on Your Laptop: Once the driver file is downloaded, locate it on your laptop and initiate the installation process. Follow the on-screen instructions to complete the installation. During the installation, the driver software will be integrated into your laptop's operating system, enabling it to recognize and communicate with your Redmi Note seamlessly.
-
Restart Your Laptop: After the driver installation is complete, it's advisable to restart your laptop to ensure that the changes take effect. This step helps in refreshing the system and ensuring that the newly installed driver is fully functional.
By following these steps, you will have successfully installed the necessary drivers on your laptop, laying the foundation for a smooth and stable connection between your Redmi Note and laptop. With the drivers in place, you are now ready to proceed to the next step and enable USB debugging on your Redmi Note, bringing you one step closer to seamless device integration and enhanced productivity.
Installing the required drivers is a crucial initial step that sets the stage for a seamless connection between your Redmi Note and laptop. With the drivers in place, you can look forward to a hassle-free experience when connecting and interacting with your Redmi Note from your laptop, unlocking a myriad of possibilities for file management, software updates, and device synchronization.
Step 2: Enable USB Debugging on Your Redmi Note
Enabling USB debugging on your Redmi Note is a pivotal step that empowers your device to communicate effectively with your laptop, allowing for seamless data transfer, software debugging, and advanced device management. By activating this feature, you grant your laptop the necessary permissions to interact with your Redmi Note at a deeper level, unlocking a plethora of functionalities and capabilities.
To enable USB debugging on your Redmi Note, follow these steps:
-
Access Developer Options: On your Redmi Note, navigate to the "Settings" app and scroll down to find the "About phone" section. Tap on "About phone" to access detailed information about your device.
-
Tap Build Number: Within the "About phone" section, locate the "MIUI version" or "Build number" entry. Tap on this entry repeatedly (usually seven times) to enable Developer Options. You will receive a prompt indicating that you are now a developer.
-
Access Developer Options: Once Developer Options are enabled, go back to the main "Settings" menu. Scroll down to find the newly unlocked "Developer Options" menu, which should now be visible above the "About phone" section.
-
Enable USB Debugging: Enter the "Developer Options" menu and locate the "USB debugging" option. Toggle the switch to enable USB debugging. You may receive a prompt seeking your confirmation to allow USB debugging. Select "OK" to grant the necessary permissions.
By following these steps, you have successfully enabled USB debugging on your Redmi Note, paving the way for enhanced connectivity and device management. With USB debugging activated, your Redmi Note is now equipped to establish a robust and secure connection with your laptop, enabling seamless file transfers, software debugging, and advanced device control.
Enabling USB debugging on your Redmi Note is a straightforward yet crucial process that unlocks the full potential of your device, allowing for enhanced interaction with your laptop and opening up a world of possibilities for seamless device integration and efficient data management. With USB debugging enabled, you are now ready to proceed to the next step and establish a direct connection between your Redmi Note and laptop, bringing you closer to a harmonious digital ecosystem where both devices work in tandem to elevate your user experience.
Step 3: Connect Redmi Note to Laptop via USB Cable
Connecting your Redmi Note to your laptop via a USB cable is a straightforward process that establishes a direct and reliable link between the two devices, enabling seamless data transfer, device management, and even the use of your phone as a modem for internet access. This physical connection allows you to harness the combined capabilities of your Redmi Note and laptop, creating a unified digital ecosystem that enhances your productivity and convenience.
To connect your Redmi Note to your laptop via USB cable, follow these simple steps:
-
Prepare the USB Cable: Ensure that you have a compatible USB cable that can establish a stable connection between your Redmi Note and laptop. Use the original USB cable that came with your Redmi Note or a certified third-party cable to ensure optimal performance and compatibility.
-
Unlock Your Redmi Note: If your Redmi Note is locked, unlock the device using your preferred method, such as entering your PIN, pattern, or fingerprint.
-
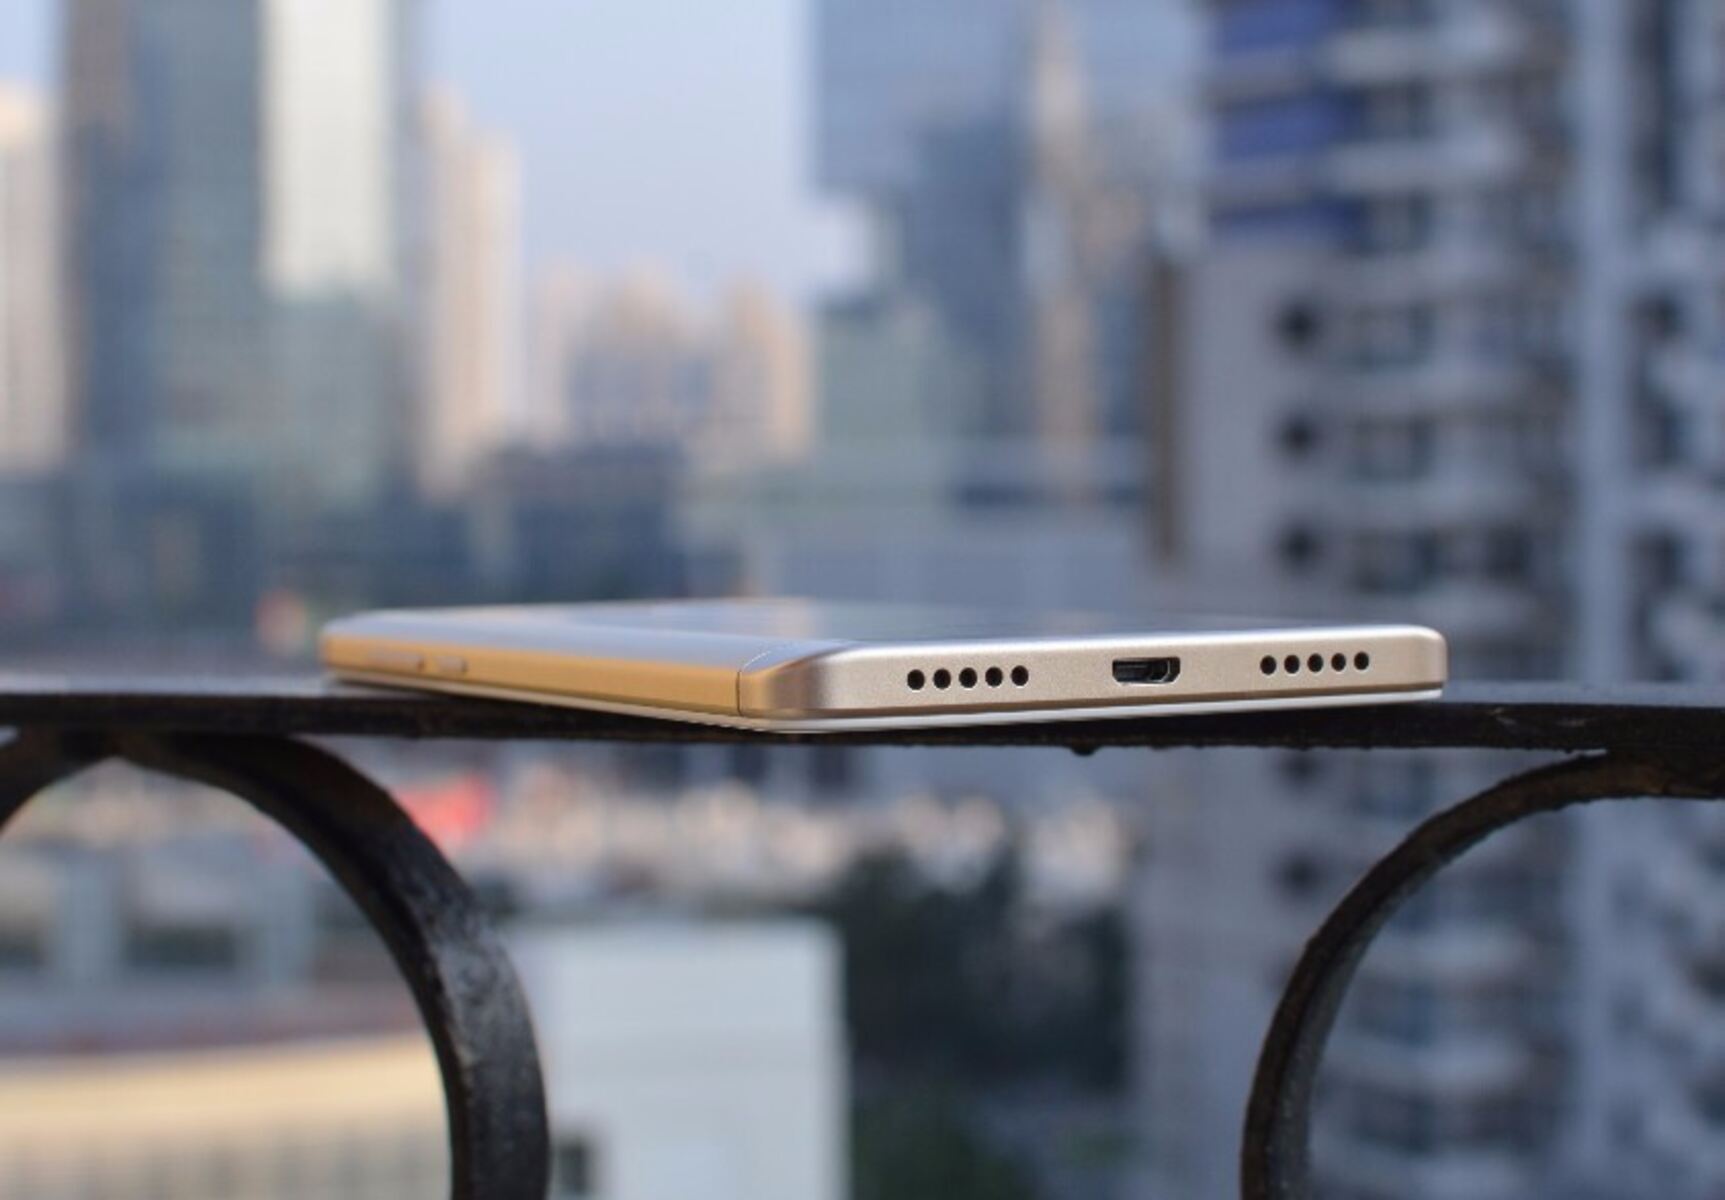
Connect the USB Cable: Locate the USB port on your laptop and the corresponding port on your Redmi Note. Insert one end of the USB cable into the USB port on your laptop and the other end into the charging port of your Redmi Note. Ensure that the connection is secure and that the cable is properly inserted into both devices.
-
Check the Connection: Once the USB cable is connected, your Redmi Note may prompt you to select a USB connection mode. Depending on your device's settings, you may be prompted to choose between options such as "File transfer," "Charging only," or "Transfer photos (PTP)." Select the appropriate mode based on your intended use, such as transferring files between devices.
-
Laptop Recognition: After establishing the physical connection, your laptop should recognize the Redmi Note as a connected device. Depending on your laptop's operating system, you may receive a notification or see the device listed in the file explorer or device manager.
By following these steps, you have successfully connected your Redmi Note to your laptop via a USB cable, establishing a direct and reliable link between the two devices. This connection opens up a myriad of possibilities, allowing you to transfer files, manage device content, and leverage the combined capabilities of your Redmi Note and laptop to enhance your digital experience.
Establishing a physical connection between your Redmi Note and laptop via a USB cable is a fundamental step that sets the stage for seamless data transfer and device management. With the devices connected, you are now ready to proceed to the next step and explore how to transfer files between your Redmi Note and laptop, further enhancing the synergy between the two devices.
Step 4: Transfer Files Between Redmi Note and Laptop
Transferring files between your Redmi Note and laptop is a fundamental aspect of device integration, enabling seamless access to photos, videos, documents, and other media across both platforms. Whether you need to back up important files from your Redmi Note to your laptop, share media between devices, or simply manage your digital content efficiently, the ability to transfer files is essential. By following the steps outlined below, you can effortlessly transfer files between your Redmi Note and laptop, streamlining your digital workflow and ensuring that your data is readily accessible across both devices.
Using File Transfer Mode
-
Select File Transfer Mode: After connecting your Redmi Note to your laptop via a USB cable, your Redmi Note may prompt you to select a USB connection mode. Choose the "File transfer" or "Transfer files" option to enable the transfer of files between the devices.
-
Access Your Redmi Note Storage: Once the file transfer mode is enabled, your laptop should recognize your Redmi Note as an external storage device. Open the file explorer on your laptop and navigate to the Redmi Note's storage to access its contents.
-
Transfer Files: With the Redmi Note's storage accessible on your laptop, you can now transfer files by simply dragging and dropping them between the devices. Select the files you wish to transfer, drag them to the desired location on your laptop, and release the mouse button to initiate the transfer.
Using Xiaomi's File Manager App
-
Install Xiaomi's File Manager App: If you prefer a wireless file transfer method, you can install Xiaomi's File Manager app on your Redmi Note. This app allows you to transfer files between your Redmi Note and laptop over a Wi-Fi network.
-
Connect to the Same Wi-Fi Network: Ensure that both your Redmi Note and laptop are connected to the same Wi-Fi network for seamless file transfer using Xiaomi's File Manager app.
-
Transfer Files Wirelessly: Open the File Manager app on your Redmi Note, select the files you want to transfer, and choose the option to share or send the files. From the sharing options, select "Send files to PC" and follow the on-screen instructions to establish a wireless connection with your laptop and initiate the file transfer.
By leveraging these methods, you can efficiently transfer files between your Redmi Note and laptop, ensuring that your digital content remains accessible and organized across both devices. Whether you prefer the simplicity of a USB connection or the convenience of wireless file transfer, these approaches empower you to manage your files seamlessly, enhancing your digital experience and productivity.
Conclusion
In conclusion, the process of connecting your Redmi Note to your laptop opens up a world of seamless integration and enhanced productivity. By following the step-by-step guide outlined in this article, you have gained the knowledge and skills to establish a stable connection between your Redmi Note and laptop, enabling efficient data transfer, device management, and the seamless utilization of both devices' capabilities.
By installing the necessary drivers, enabling USB debugging on your Redmi Note, and establishing a physical connection via a USB cable, you have laid the groundwork for a harmonious digital ecosystem where your devices work in tandem to elevate your user experience. The ability to transfer files between your Redmi Note and laptop further enhances this synergy, allowing you to access and manage your digital content effortlessly.
With your Redmi Note connected to your laptop, you can now seamlessly transfer photos, videos, documents, and other media, ensuring that your data is readily accessible across both platforms. Whether you need to back up important files, share media between devices, or simply manage your digital content efficiently, the process of connecting your Redmi Note to your laptop empowers you to streamline your digital workflow and enhance your overall user experience.
Furthermore, the establishment of a direct connection between your Redmi Note and laptop unlocks a myriad of possibilities, including the use of your phone as a modem for internet access, software updates, and advanced device control. This seamless integration creates a unified digital ecosystem that enhances your productivity and convenience, allowing you to harness the combined capabilities of your Redmi Note and laptop to elevate your digital experience.
In essence, the process of connecting your Redmi Note to your laptop transcends mere technical integration; it represents the convergence of two powerful devices to create a cohesive and interconnected digital environment. By following this guide, you have not only mastered the technical aspects of device connectivity but also unlocked the potential for a more streamlined and efficient digital lifestyle.
As you embark on your journey with your Redmi Note and laptop working in harmony, may this guide serve as a valuable resource, empowering you to make the most of your devices and enhancing your digital experience. Embrace the seamless connectivity, efficient file management, and enhanced productivity that comes with connecting your Redmi Note to your laptop, and unlock a world of possibilities at your fingertips.