Introduction
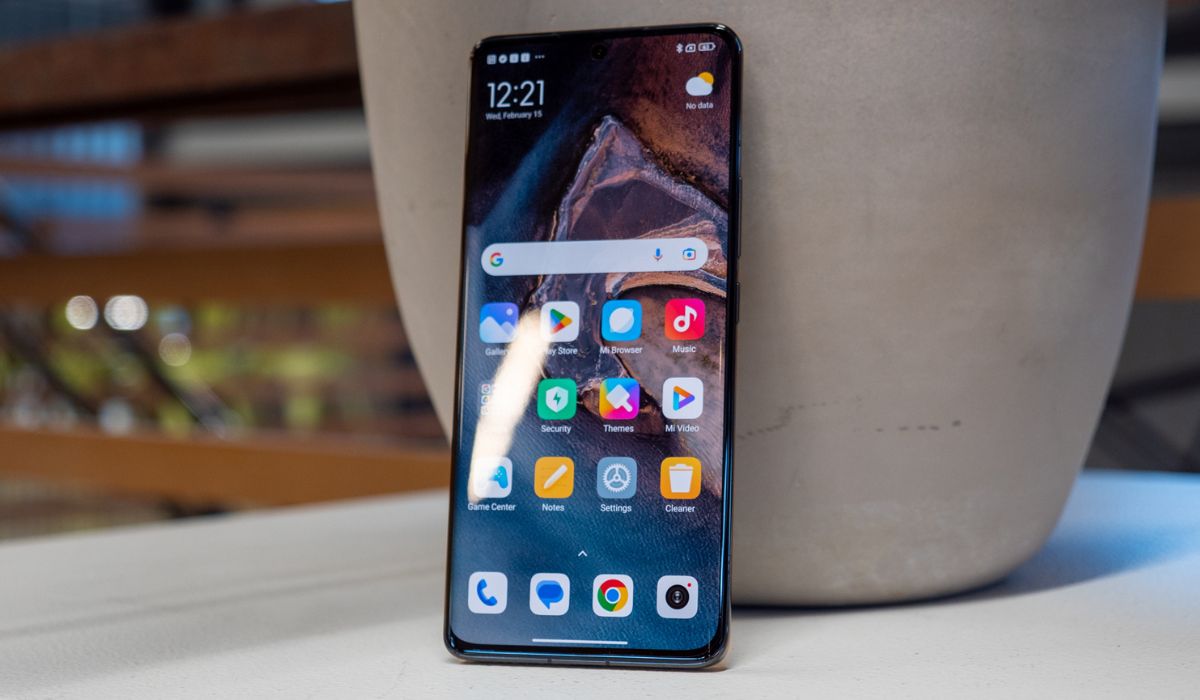
In this digital era, the seamless integration between mobile devices and laptops has become increasingly essential. The ability to send approval requests from a laptop to a mobile device, such as the Redmi Note 7, exemplifies the convergence of technology and convenience. This step-by-step guide will walk you through the process of sending approval requests to your Redmi Note 7 directly from your laptop. By following these instructions, you can effortlessly manage and control your device from a centralized location, streamlining your workflow and enhancing productivity.
The process involves installing necessary software on your laptop, establishing a connection between your Redmi Note 7 and your laptop, enabling USB debugging on your device, and initiating the approval request. With the increasing reliance on mobile devices for both personal and professional tasks, this capability offers a practical solution for users seeking efficient device management.
By leveraging the functionalities of your laptop and the Redmi Note 7, you can seamlessly navigate between devices, ensuring a smooth and integrated user experience. This guide aims to simplify the process, empowering users to harness the full potential of their devices and streamline their digital interactions.
Now, let's delve into the step-by-step instructions to send approval requests to your Redmi Note 7 from your laptop, unlocking a new level of convenience and control over your mobile device.
Step 1: Install the necessary software on your laptop
To initiate the process of sending approval requests to your Redmi Note 7 from your laptop, the first step is to install the essential software. This software serves as the bridge between your laptop and your mobile device, enabling seamless communication and interaction. The software required for this purpose is the "Xiaomi Mi PC Suite," a versatile tool designed to facilitate the management of Xiaomi devices from a computer.
To begin, open your preferred web browser on your laptop and navigate to the official Xiaomi website. Locate the "Mi PC Suite" section, which provides the latest version of the software for download. Ensure that you download the version compatible with your laptop's operating system, whether it is Windows or macOS.
Once the download is complete, proceed to install the Xiaomi Mi PC Suite by following the on-screen instructions. The installation process is straightforward and typically involves accepting the terms and conditions, choosing the installation directory, and allowing the software to complete the setup.
After the installation is successful, launch the Xiaomi Mi PC Suite on your laptop. Upon opening the software, you will be prompted to connect your Redmi Note 7 to your laptop using a USB cable. This establishes the initial connection between the two devices, paving the way for seamless communication and data transfer.
The installation of the Xiaomi Mi PC Suite is a crucial foundation for the subsequent steps in sending approval requests to your Redmi Note 7 from your laptop. This software serves as the central hub for managing your device, providing a user-friendly interface for initiating various commands and operations directly from your laptop.
By completing this step, you have equipped your laptop with the necessary software to facilitate the seamless interaction with your Redmi Note 7. With the Xiaomi Mi PC Suite installed and ready for use, you are now prepared to proceed to the next step, which involves establishing a connection between your laptop and your Redmi Note 7.
The successful installation of the Xiaomi Mi PC Suite sets the stage for a streamlined and efficient process of sending approval requests to your Redmi Note 7, enhancing your ability to manage and control your device from your laptop with ease.
Step 2: Connect your Redmi Note 7 to your laptop
Connecting your Redmi Note 7 to your laptop is a pivotal step in the process of sending approval requests from your laptop to your mobile device. This connection establishes the communication link necessary for seamless interaction and control. Here's a detailed guide on how to connect your Redmi Note 7 to your laptop:
-
USB Cable Connection: Begin by locating the USB cable that came with your Redmi Note 7. This cable serves as the physical conduit for connecting your device to your laptop. With the Xiaomi Mi PC Suite already installed on your laptop, connect one end of the USB cable to the USB port on your laptop.
-
Enable USB Debugging: On your Redmi Note 7, navigate to the "Settings" menu and select "About phone." Locate the "MIUI version" and tap on it multiple times until you see a message indicating that you are now a developer. Once this is done, go back to the main "Settings" menu and select "Additional settings." Within this menu, choose "Developer options" and enable "USB debugging." This step is crucial as it allows your laptop to communicate with your Redmi Note 7 effectively.
-
Connect the USB Cable: With USB debugging enabled on your Redmi Note 7, connect the other end of the USB cable to your device. Upon establishing the physical connection, your laptop should recognize the Redmi Note 7 and initiate the device pairing process.
-
Device Recognition: After connecting the USB cable, your laptop, equipped with the Xiaomi Mi PC Suite, should detect your Redmi Note 7 and display a notification indicating the successful connection. At this point, your Redmi Note 7 is effectively linked to your laptop, ready to receive approval requests and commands from the installed software.
By following these steps, you have successfully connected your Redmi Note 7 to your laptop, laying the groundwork for the subsequent actions involved in sending approval requests directly from your laptop to your mobile device. This seamless connection streamlines the process of managing and controlling your Redmi Note 7, offering a convenient and integrated approach to device interaction. With the connection established, you are now prepared to proceed to the next step, which involves enabling USB debugging on your Redmi Note 7 to further enhance the communication between your laptop and your mobile device.
Step 3: Enable USB debugging on your Redmi Note 7
Enabling USB debugging on your Redmi Note 7 is a crucial step that enhances the communication and interaction between your mobile device and your laptop. By activating USB debugging, you grant your laptop the necessary permissions to access and control various aspects of your Redmi Note 7, facilitating the seamless transmission of approval requests and commands. Here's a detailed guide on how to enable USB debugging on your Redmi Note 7:
-
Access Developer Options: To begin, navigate to the "Settings" menu on your Redmi Note 7. Scroll down and select "About phone" to access detailed information about your device.
-
Tap MIUI Version: Within the "About phone" section, locate the "MIUI version" entry. Tap on this entry multiple times in quick succession. After a few taps, you will see a message confirming that you are now a developer. This action unlocks the hidden developer options on your device.
-
Access Developer Options: Once you have enabled developer mode, go back to the main "Settings" menu. Scroll down and select "Additional settings" to reveal additional configuration options.
-
Enable USB Debugging: Within the "Additional settings" menu, locate and tap on "Developer options." In the developer options menu, find the "USB debugging" setting and toggle it to the "On" position. You may be prompted to confirm this action, acknowledging that USB debugging allows your laptop to communicate with your Redmi Note 7.
-
Grant Permission: Upon enabling USB debugging, your Redmi Note 7 will display a prompt requesting permission for your laptop to access the device. Confirm this permission to establish the necessary connection between your device and your laptop.
Enabling USB debugging on your Redmi Note 7 empowers your laptop to communicate with and control your device effectively. This crucial step sets the stage for sending approval requests and executing commands from your laptop to your Redmi Note 7 seamlessly. With USB debugging enabled, you have unlocked the full potential of device interaction, streamlining the management and control of your Redmi Note 7 from your laptop.
By following these steps, you have successfully enabled USB debugging on your Redmi Note 7, enhancing the connectivity and communication between your device and your laptop. This pivotal action paves the way for the subsequent steps involved in sending approval requests directly from your laptop to your Redmi Note 7, ensuring a seamless and integrated user experience.
Step 4: Open the software on your laptop and select "Send Approval Request"
With the Xiaomi Mi PC Suite successfully installed on your laptop and your Redmi Note 7 connected and USB debugging enabled, you are now ready to initiate the process of sending approval requests directly from your laptop to your mobile device. This step involves leveraging the capabilities of the installed software to seamlessly transmit approval requests and commands to your Redmi Note 7.
Begin by launching the Xiaomi Mi PC Suite on your laptop. Upon opening the software, you will be greeted by a user-friendly interface that provides a comprehensive set of tools and features for managing your Xiaomi device. The intuitive layout and navigation options make it easy to access the functionalities required to send approval requests to your Redmi Note 7.
Within the Xiaomi Mi PC Suite, locate and select the option labeled "Send Approval Request." This command serves as the gateway for initiating the approval request process, enabling you to remotely authorize specific actions and permissions on your Redmi Note 7 directly from your laptop. By selecting this option, you are initiating a seamless communication channel between your laptop and your mobile device, streamlining the process of managing and controlling your Redmi Note 7.
Upon selecting "Send Approval Request," the Xiaomi Mi PC Suite will prompt you to specify the nature of the approval request. Whether it involves granting access to specific files, applications, or system settings, the software provides a streamlined interface for customizing and specifying the details of the approval request. This level of flexibility empowers you to tailor the approval request to suit your specific requirements, ensuring a personalized and efficient approach to device management.
Once you have defined the parameters of the approval request, proceed to confirm and initiate the transmission of the request to your Redmi Note 7. The Xiaomi Mi PC Suite facilitates the seamless delivery of the approval request to your device, leveraging the established connection and USB debugging capabilities to ensure reliable and secure communication.
By opening the software on your laptop and selecting "Send Approval Request," you have effectively harnessed the power of the Xiaomi Mi PC Suite to initiate the approval request process, enabling you to remotely manage and control your Redmi Note 7 with unparalleled convenience and efficiency. This seamless integration between your laptop and your mobile device exemplifies the convergence of technology and user-centric design, offering a practical and intuitive solution for streamlined device management.
With the approval request initiated, you are now poised to proceed to the next step, which involves approving the request on your Redmi Note 7. This seamless transition from sending the approval request to the subsequent action underscores the cohesive and integrated approach facilitated by the Xiaomi Mi PC Suite, empowering you to navigate and manage your device with unparalleled ease and control.
Step 5: Approve the request on your Redmi Note 7
After sending the approval request from your laptop to your Redmi Note 7 using the Xiaomi Mi PC Suite, the next crucial step involves approving the request on your mobile device. This seamless process allows you to authorize specific actions, permissions, or commands initiated from your laptop, ensuring a harmonized approach to device management. Here's a detailed guide on how to approve the request on your Redmi Note 7:
-
Notification Prompt: Upon sending the approval request from your laptop, your Redmi Note 7 will promptly display a notification indicating the pending approval request. This notification serves as a direct link to the request initiated from your laptop, providing a clear and accessible pathway for authorizing the specified action or permission.
-
Review Request Details: Upon tapping the notification, your Redmi Note 7 will present the details of the approval request, including the nature of the action or permission being sought. This transparency empowers you to review the specifics of the request, ensuring informed decision-making regarding the authorization process.
-
Authorize the Request: After reviewing the request details, you have the option to authorize the request directly from your Redmi Note 7. By confirming the approval, you grant the necessary permissions or execute the specified action, aligning the device's functionality with the commands initiated from your laptop.
-
Confirmation Feedback: Upon approving the request, your Redmi Note 7 will provide confirmation feedback, indicating that the action or permission has been successfully authorized. This feedback serves as a seamless communication loop, providing real-time updates on the status of the approval process.
By following these steps, you have successfully approved the request on your Redmi Note 7, seamlessly aligning the actions and permissions initiated from your laptop with the functionality of your mobile device. This cohesive approach to device management underscores the seamless integration facilitated by the Xiaomi Mi PC Suite, empowering you to navigate and control your Redmi Note 7 with unparalleled convenience and efficiency.
With the approval process completed, you have effectively harnessed the capabilities of the Xiaomi Mi PC Suite to send and approve requests, unlocking a new level of control and management over your Redmi Note 7. This integrated approach exemplifies the convergence of technology and user-centric design, offering a practical and intuitive solution for streamlined device interaction.
The successful approval of the request on your Redmi Note 7 marks the culmination of the process, highlighting the seamless communication and interaction between your laptop and your mobile device. This harmonized approach to device management enhances your ability to control and oversee your Redmi Note 7, ensuring a cohesive and integrated user experience.
Conclusion
In conclusion, the ability to send approval requests from a laptop to a Redmi Note 7 represents a significant advancement in device management and control. By following the step-by-step guide outlined in this article, users can seamlessly integrate their laptop with their mobile device, leveraging the Xiaomi Mi PC Suite to initiate approval requests and authorize specific actions with unparalleled convenience and efficiency.
The process begins with the installation of the Xiaomi Mi PC Suite on the laptop, establishing the foundational software necessary for managing the Redmi Note 7 from a centralized location. This step sets the stage for the subsequent actions, including connecting the Redmi Note 7 to the laptop and enabling USB debugging, which enhances the communication and interaction between the two devices.
Once the connection is established and USB debugging is enabled, users can leverage the capabilities of the Xiaomi Mi PC Suite to send approval requests directly from the laptop to the Redmi Note 7. This streamlined process empowers users to remotely authorize specific actions, permissions, or commands, enhancing the overall control and management of the mobile device.
The seamless integration between the laptop and the Redmi Note 7 exemplifies the convergence of technology and user-centric design, offering a practical and intuitive solution for streamlined device interaction. By approving the request on the Redmi Note 7, users complete the communication loop, aligning the actions and permissions initiated from the laptop with the functionality of the mobile device.
Ultimately, the step-by-step process detailed in this guide empowers users to harness the full potential of their devices, streamlining the management and control of the Redmi Note 7 from a centralized and familiar platform—their laptop. This cohesive approach to device management enhances the user experience, offering a seamless and integrated solution for navigating and controlling the mobile device with unparalleled ease.
By embracing the capabilities of the Xiaomi Mi PC Suite and following the outlined steps, users can unlock a new level of convenience and control over their Redmi Note 7, exemplifying the seamless integration between mobile devices and laptops in the digital era.