Introduction
Connecting your Redmi Note 3 to your PC can open up a world of possibilities, allowing you to transfer files, manage your device, and even perform advanced tasks such as debugging and software development. Whether you're a tech enthusiast, a developer, or simply someone who wants to manage their device more effectively, this easy access guide will walk you through the steps to establish a seamless connection between your Redmi Note 3 and your PC.
By following the simple instructions provided in this guide, you'll be able to harness the full potential of your Redmi Note 3, leveraging the power of your PC to enhance your mobile experience. Whether you're looking to transfer photos, videos, or documents, or you're interested in exploring the advanced capabilities of your device, such as debugging and software development, this guide will equip you with the knowledge and tools to achieve your goals.
So, let's dive in and explore the step-by-step process of connecting your Redmi Note 3 to your PC. Whether you're a seasoned tech enthusiast or a newcomer to the world of mobile devices, this guide is designed to be accessible and user-friendly, ensuring that you can easily follow along and establish a reliable connection between your Redmi Note 3 and your PC.
Step 1: Install USB Drivers
Installing USB drivers is the crucial first step in establishing a seamless connection between your Redmi Note 3 and your PC. These drivers act as a bridge, enabling communication between the two devices and allowing for the smooth transfer of data and the execution of various tasks. Here's a detailed guide on how to install USB drivers for your Redmi Note 3:
-
Download the Official USB Drivers: To begin, visit the official Xiaomi website or the Redmi Note 3 product page. Look for the section dedicated to USB drivers and locate the appropriate driver for your device and operating system. Ensure that you download the official and latest version of the USB drivers to guarantee compatibility and optimal performance.
-
Enable USB Debugging on Your Redmi Note 3: Before connecting your device to the PC, it's essential to enable USB debugging. This can be done by navigating to the "Developer options" in the Settings menu of your Redmi Note 3. Once inside the Developer options, locate the USB debugging setting and toggle it on. This step is crucial as it allows your PC to communicate with your device effectively.
-
Connect Your Redmi Note 3 to Your PC: Use a high-quality USB cable to connect your Redmi Note 3 to your PC. Upon connecting, your PC may prompt you to install the necessary drivers. If the drivers are not automatically installed, proceed to the next step.
-
Manual Installation of USB Drivers: If the drivers are not automatically installed, you can manually install them by locating the downloaded driver file on your PC. Right-click on the file and select "Run as administrator" to initiate the installation process. Follow the on-screen instructions to complete the installation.
-
Verify the Installation: Once the installation is complete, verify that the USB drivers have been successfully installed by checking the Device Manager on your PC. Look for your Redmi Note 3 under the "Portable Devices" or "Other devices" section. If your device is listed without any warning symbols, the drivers have been installed successfully.
By following these steps, you can ensure that the USB drivers for your Redmi Note 3 are installed correctly, laying the foundation for a stable and efficient connection between your device and your PC. With the drivers in place, you'll be ready to explore the full range of capabilities that come with connecting your Redmi Note 3 to your PC.
Step 2: Enable USB Debugging
Enabling USB debugging on your Redmi Note 3 is a pivotal step that empowers your device to communicate effectively with your PC, allowing for advanced operations such as app development, system debugging, and data analysis. By activating USB debugging, you grant your PC the necessary permissions to interact with the inner workings of your device, opening up a realm of possibilities for customization and optimization.
To enable USB debugging, begin by accessing the Developer options on your Redmi Note 3. If the Developer options are not visible in your device's settings, you can enable them by navigating to the "About phone" section and tapping the "MIUI version" multiple times until a message confirms that you are now a developer.
Once the Developer options are accessible, follow these steps to enable USB debugging:
-
Access Developer Options: In the Settings menu of your Redmi Note 3, locate and tap on the "Additional settings" option. Within this section, you will find the "Developer options" menu.
-
Enable USB Debugging: Within the Developer options, scroll down to find the "USB debugging" setting. Toggle the switch to enable USB debugging. Upon doing so, a prompt may appear asking for your confirmation to allow USB debugging. Select "OK" to grant the necessary permissions.
-
Connect Your Redmi Note 3 to Your PC: With USB debugging enabled, use a USB cable to connect your Redmi Note 3 to your PC. This connection will now allow your PC to interact with your device at a deeper level, facilitating tasks that require advanced access and control.
Enabling USB debugging on your Redmi Note 3 is a fundamental step for developers, tech enthusiasts, and power users who seek to harness the full potential of their device. Whether you're interested in exploring custom ROMs, analyzing system logs, or developing and testing applications, USB debugging serves as the gateway to a myriad of advanced functionalities.
By following these simple steps to enable USB debugging, you pave the way for a seamless and productive connection between your Redmi Note 3 and your PC, unlocking a world of possibilities for customization, optimization, and innovation.
Step 3: Connect Redmi Note 3 to PC
Connecting your Redmi Note 3 to your PC is a straightforward yet pivotal step that sets the stage for seamless data transfer, device management, and advanced operations. By establishing a reliable connection, you can leverage the power of your PC to enhance your mobile experience, whether it's for transferring media files, managing device storage, or engaging in advanced tasks such as debugging and software development.
To connect your Redmi Note 3 to your PC, follow these simple steps:
-
Use a High-Quality USB Cable: Begin by selecting a high-quality USB cable to ensure a stable and secure connection between your Redmi Note 3 and your PC. A durable USB cable with good conductivity is essential for facilitating smooth data transfer and device recognition.
-
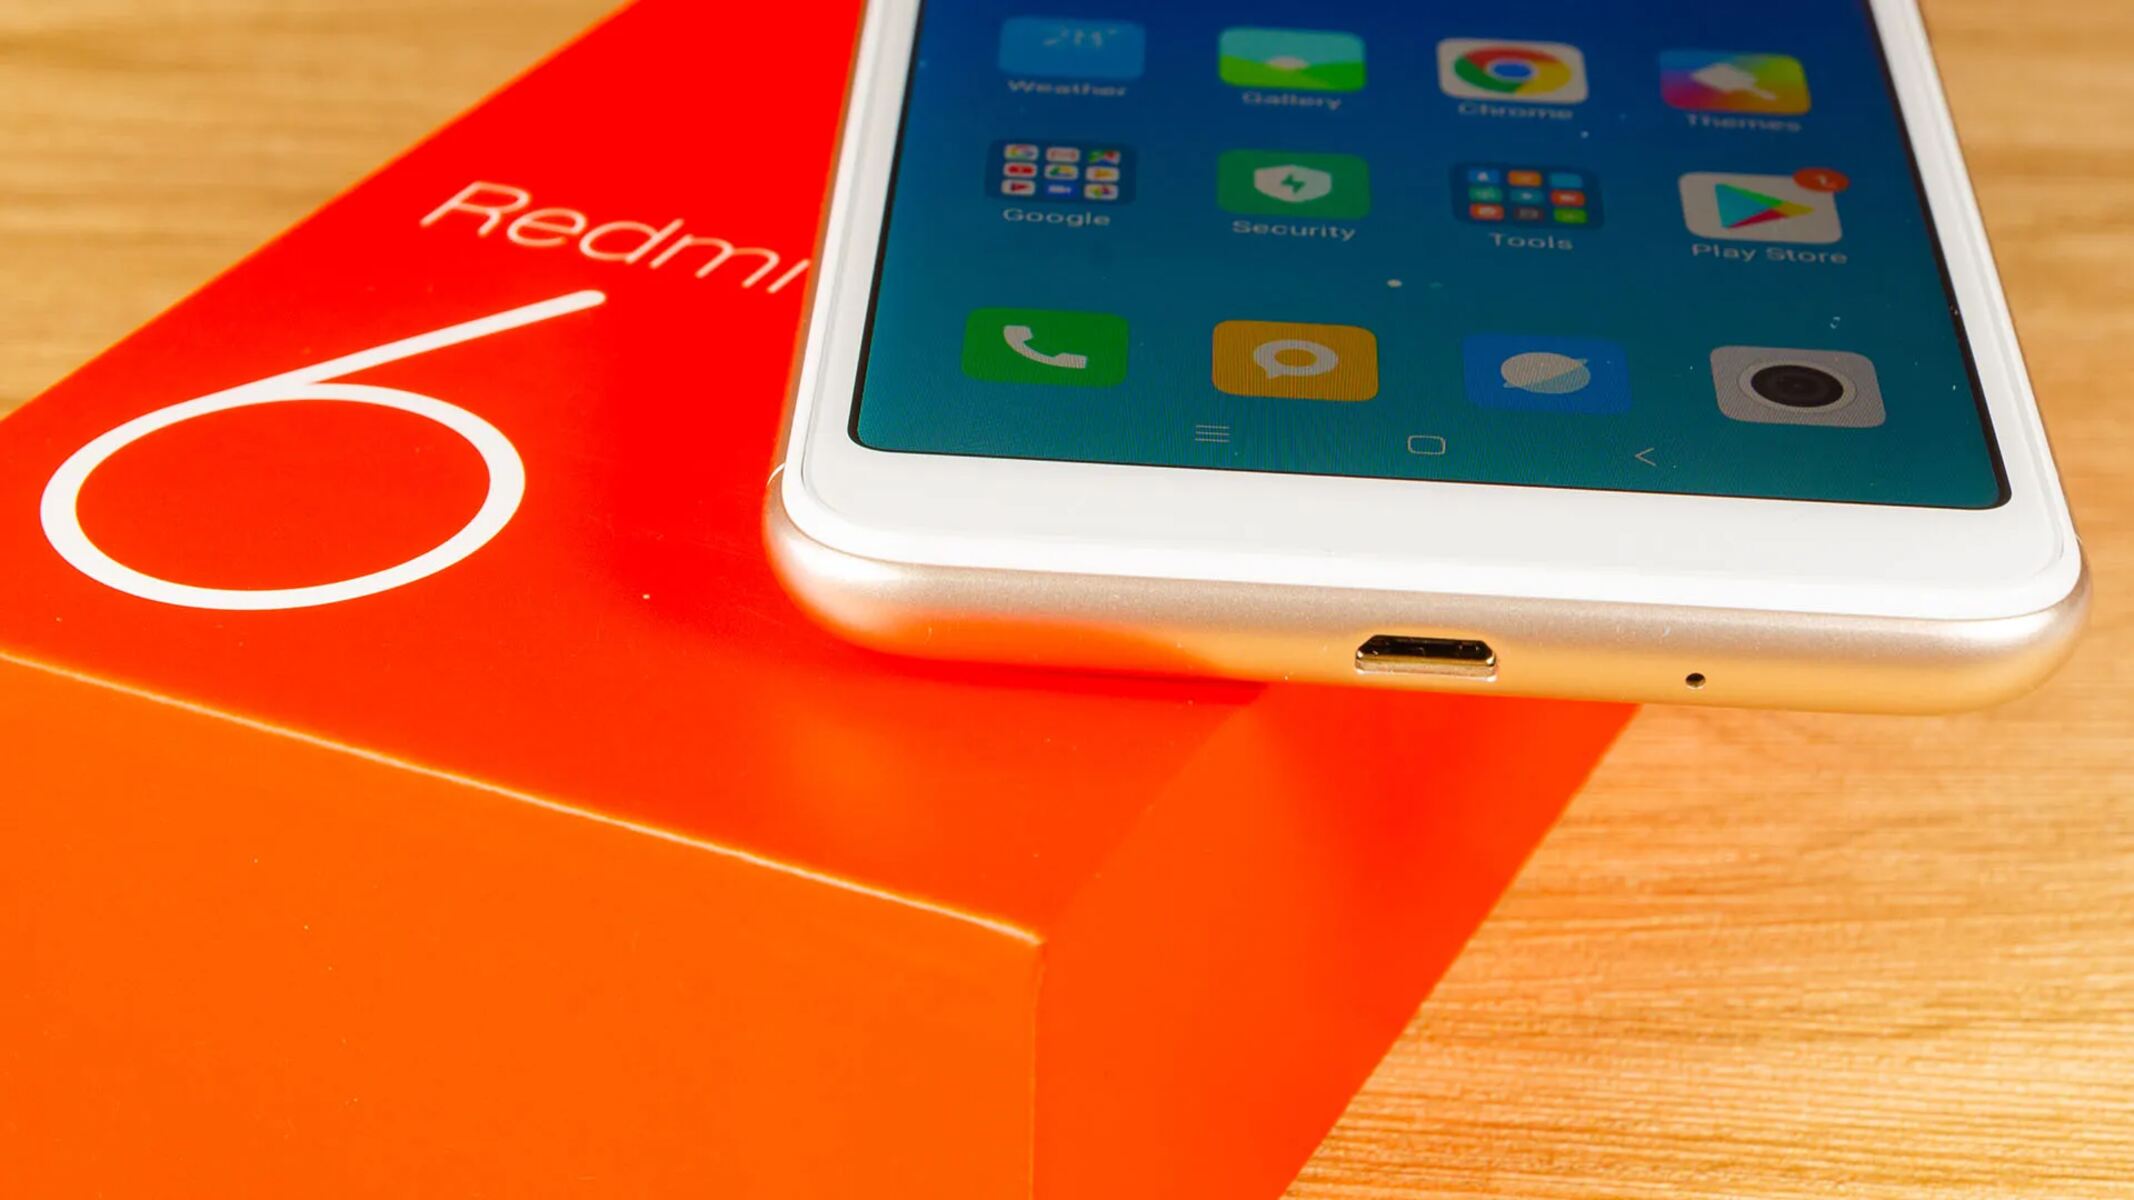
Locate the USB Port on Your Redmi Note 3: On your Redmi Note 3, locate the USB port, typically found at the bottom of the device. Carefully insert one end of the USB cable into the USB port of your Redmi Note 3, ensuring a snug and secure fit.
-
Connect the USB Cable to Your PC: With one end of the USB cable connected to your Redmi Note 3, proceed to connect the other end to an available USB port on your PC. As you insert the USB cable into the PC's USB port, you should feel a secure connection, indicating that the devices are linked.
-
Verify the Connection: Once the USB cable is connected to both your Redmi Note 3 and your PC, verify the connection on your device and PC. Your Redmi Note 3 may display a prompt asking for permission to allow access to the connected PC. Grant the necessary permissions to establish a secure and functional connection.
-
Check for Device Recognition: On your PC, navigate to the "My Computer" or "This PC" section to check if your Redmi Note 3 is recognized as a connected device. If the connection is successful, your device should appear in the list of connected devices, allowing you to access its storage and manage files seamlessly.
By following these steps, you can establish a reliable and efficient connection between your Redmi Note 3 and your PC, unlocking a multitude of possibilities for data transfer, device management, and advanced operations. With the connection in place, you are now ready to access your Redmi Note 3 on your PC and harness the full potential of this powerful mobile device.
Step 4: Access Redmi Note 3 on PC
Once your Redmi Note 3 is successfully connected to your PC, you can proceed to access and manage the device's content, transfer files, and even delve into advanced tasks such as debugging and software development. Accessing your Redmi Note 3 on your PC opens up a world of possibilities, allowing you to seamlessly integrate the capabilities of both devices for a more efficient and productive mobile experience.
Here's a detailed guide on how to access your Redmi Note 3 on your PC:
File Transfer and Management
Upon establishing the connection between your Redmi Note 3 and your PC, you can access the device's storage to transfer files such as photos, videos, music, and documents. By navigating to the file explorer on your PC, you should be able to locate your Redmi Note 3 as a connected device, granting you access to its internal storage and external SD card if applicable. From here, you can drag and drop files between your PC and your Redmi Note 3, facilitating seamless data transfer and management.
Device Management and Backup
Accessing your Redmi Note 3 on your PC also enables you to manage the device's content, including apps, contacts, messages, and settings. Additionally, you can utilize PC-based software to create backups of your device, safeguarding your valuable data and settings in the event of unforeseen circumstances. This level of device management and backup functionality empowers you to maintain the integrity of your Redmi Note 3 and ensure that your data is secure and accessible.
Advanced Operations: Debugging and Development
For users interested in advanced operations such as debugging and software development, accessing the Redmi Note 3 on a PC is essential. With the connection established, you can leverage development tools and platforms on your PC to interact with your device, analyze system logs, test applications, and even modify system settings. This level of access is particularly valuable for developers and tech enthusiasts who seek to customize and optimize their device beyond standard user functionalities.
By following these steps, you can seamlessly access your Redmi Note 3 on your PC, unlocking a myriad of capabilities for file management, device backup, and advanced operations. Whether you're a casual user looking to transfer files effortlessly or a developer aiming to harness the full potential of your device, the ability to access your Redmi Note 3 on your PC is a gateway to enhanced productivity and innovation.
Conclusion
In conclusion, the process of connecting your Redmi Note 3 to your PC is not only a practical necessity but also a gateway to a multitude of possibilities. By following the steps outlined in this guide, you have gained the knowledge and tools to establish a seamless and productive connection between your Redmi Note 3 and your PC.
Through the installation of USB drivers and the enabling of USB debugging, you have laid the foundation for a stable and efficient connection, empowering your device to communicate effectively with your PC. The use of a high-quality USB cable and the verification of the connection ensure that your Redmi Note 3 is recognized and accessible on your PC, opening up avenues for file transfer, device management, and advanced operations.
Accessing your Redmi Note 3 on your PC allows you to seamlessly transfer files, manage device content, and even delve into advanced tasks such as debugging and software development. Whether you are a casual user looking to organize and transfer media files or a developer seeking to customize and optimize your device, the ability to access your Redmi Note 3 on your PC enhances your mobile experience and productivity.
Furthermore, the connection between your Redmi Note 3 and your PC facilitates device management and backup, empowering you to safeguard your data and settings while maintaining the integrity of your device. This level of access and control ensures that you can optimize your device's performance and security, enhancing the overall user experience.
In essence, the process of connecting your Redmi Note 3 to your PC is not merely a technical procedure but a gateway to a world of convenience, productivity, and innovation. By leveraging the power of your PC to complement the capabilities of your Redmi Note 3, you have unlocked a realm of possibilities, allowing you to seamlessly integrate the functionalities of both devices for a more efficient and enriching mobile experience.
With the knowledge and insights gained from this guide, you are now equipped to harness the full potential of your Redmi Note 3, leveraging the connection to your PC to enhance your device management, data transfer, and advanced operations. Whether you are a tech enthusiast, a developer, or a casual user, the ability to connect your Redmi Note 3 to your PC empowers you to explore, create, and innovate in the realm of mobile technology.