Introduction
When it comes to managing contacts on your Sony Xperia smartphone, having a backup plan is always a smart move. One of the most reliable methods for safeguarding your contacts is by saving them to your SIM card. This ensures that even if your phone encounters unexpected issues or if you decide to switch to a new device, your contacts will remain secure and easily transferable.
In this comprehensive guide, we will walk you through the step-by-step process of saving your contacts to the SIM card on your Sony Xperia smartphone. Whether you're a tech-savvy individual or someone who is new to the world of mobile devices, this guide is designed to be user-friendly and accessible for all. By following these simple instructions, you can rest assured that your contacts will be safely stored on your SIM card, ready to be accessed whenever the need arises.
Now, let's delve into the details of how to seamlessly transfer your contacts to the SIM card, ensuring that your valuable connections are always within reach.
Step 1: Accessing the Contacts App
Accessing the Contacts app on your Sony Xperia smartphone is the initial step towards saving your valuable contacts to the SIM card. The Contacts app serves as the central hub for managing and organizing your contacts, making it essential to know how to navigate to this crucial feature.
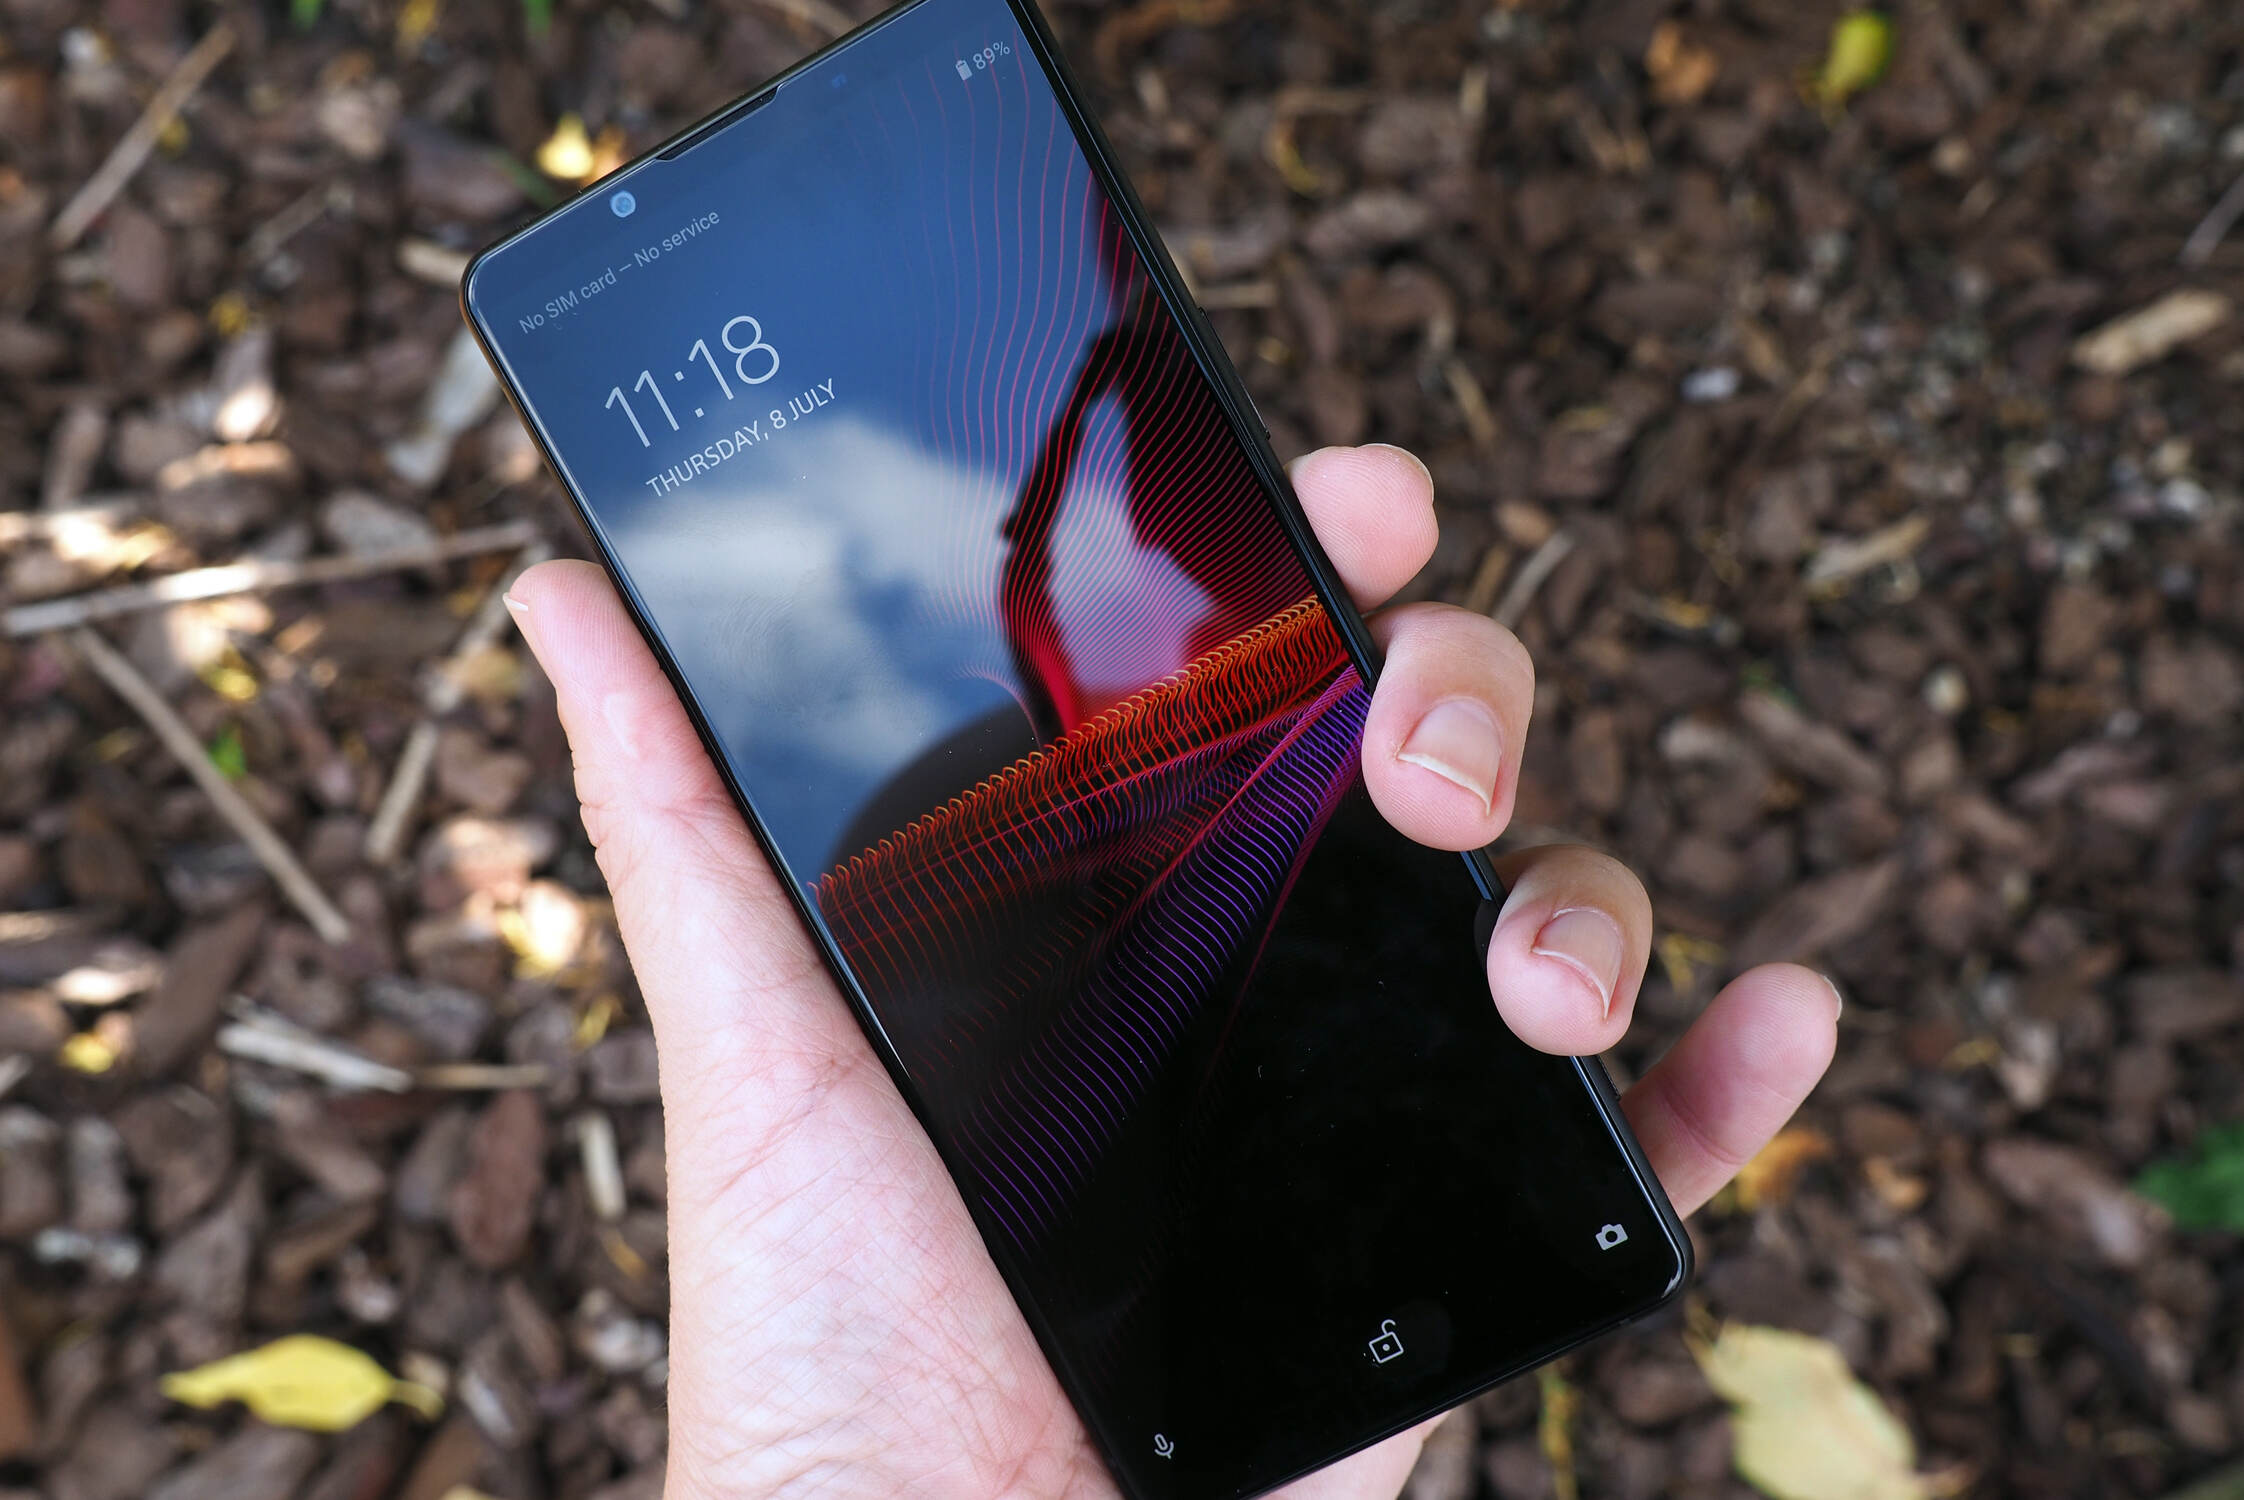
To begin, unlock your Sony Xperia smartphone by entering your PIN, pattern, or fingerprint. Once you have accessed the home screen, look for the "Contacts" icon. This icon typically features a silhouette of a person or a simple representation of a contact book. Tap on the "Contacts" icon to launch the app.
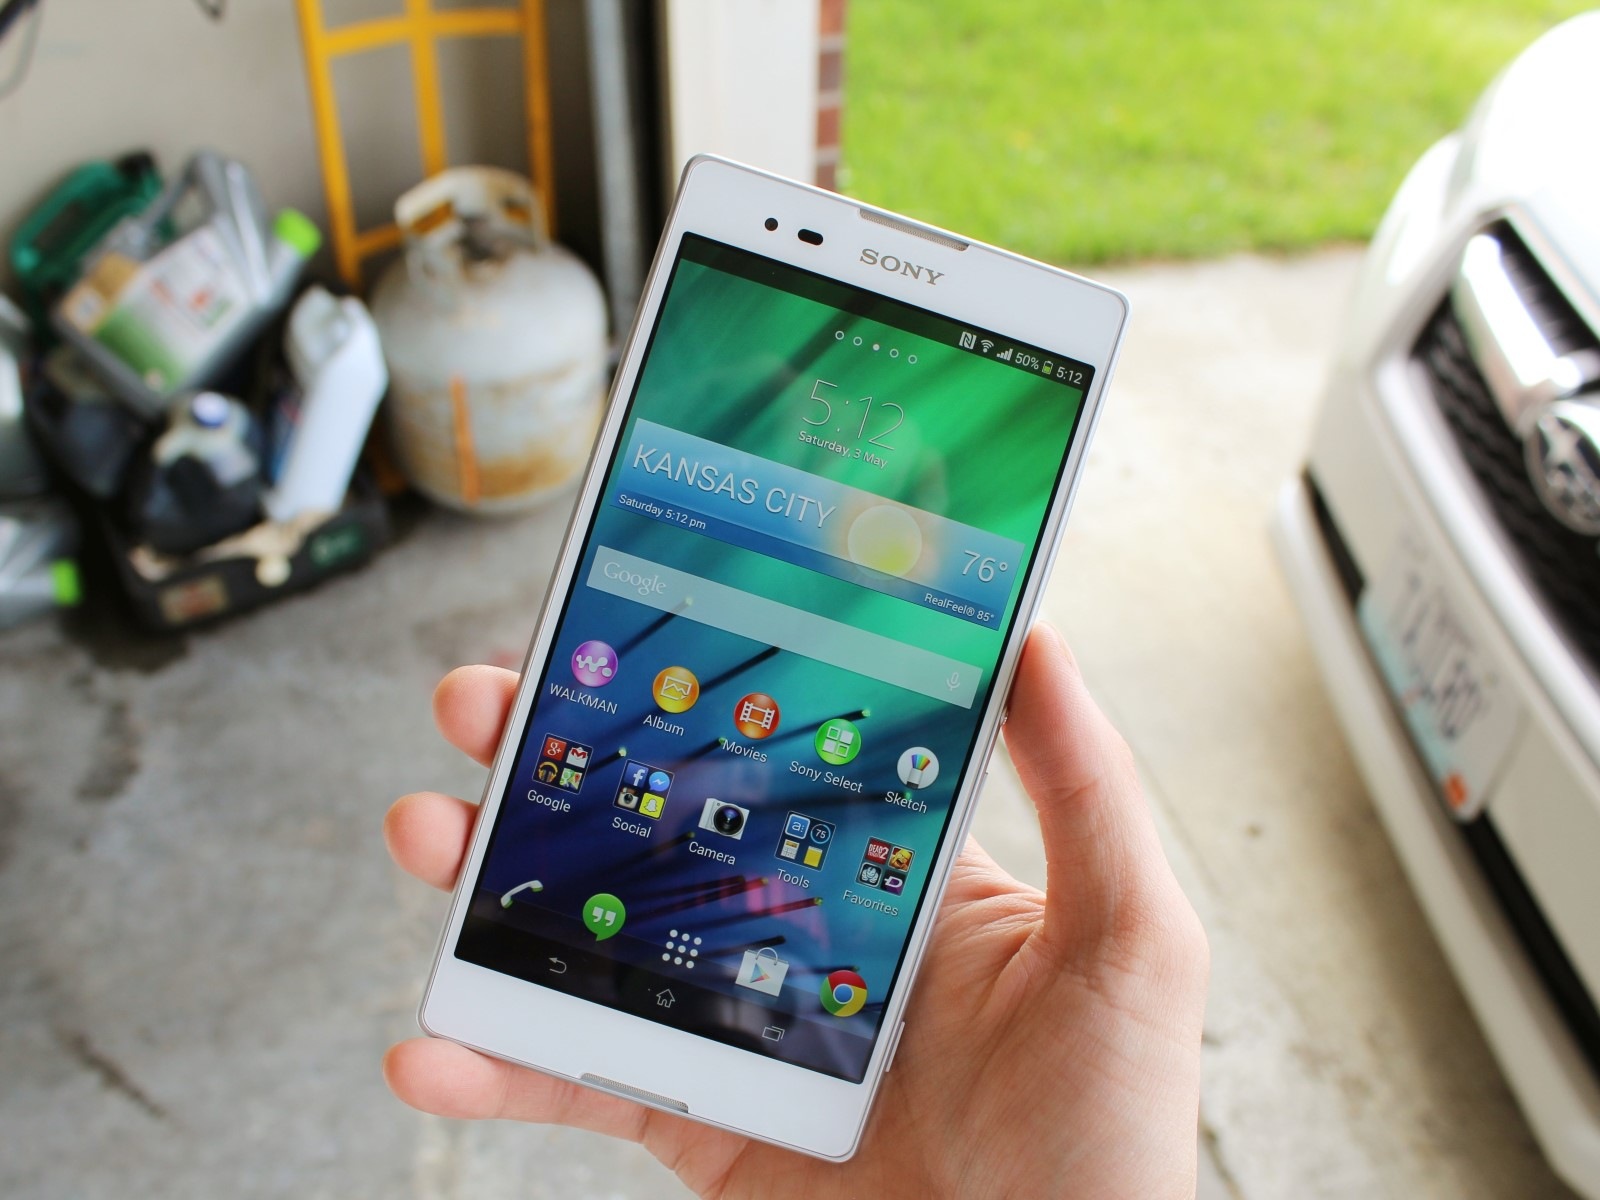
Upon opening the Contacts app, you will be greeted by a user-friendly interface that displays your contacts in a neatly organized manner. Depending on your preferences and settings, you may see your contacts listed alphabetically, with the option to search for specific contacts using the search bar at the top of the screen.
If you have multiple accounts synced to your device, such as Google, Microsoft Exchange, or other email services, you may also have the option to filter your contacts based on the account from which they are sourced. This can be particularly useful for users who maintain separate contact lists for personal and professional purposes.
In addition to accessing your contacts, the Contacts app on Sony Xperia smartphones often offers convenient features for adding new contacts, merging duplicate entries, and customizing contact details. Familiarizing yourself with these capabilities can further enhance your overall contact management experience.
By successfully accessing the Contacts app on your Sony Xperia smartphone, you have taken the crucial first step towards safeguarding your contacts by saving them to the SIM card. With this foundational knowledge in place, you are now ready to proceed to the next step of selecting the contacts you wish to save.
Now that you have successfully accessed the Contacts app, let's move on to the next step of selecting the contacts to save.
Step 2: Selecting Contacts to Save
After accessing the Contacts app on your Sony Xperia smartphone, the next crucial step is to select the specific contacts that you want to save to your SIM card. This process allows you to handpick the contacts that hold significance to you, ensuring that they are securely stored on your SIM card for future use.
To begin selecting contacts, navigate to the Contacts app on your Sony Xperia smartphone. Once inside the app, you will be presented with a list of your contacts, each displayed with their respective names and contact details. Scroll through the list and identify the contacts that you wish to save to your SIM card.
To select a contact, simply tap on the contact's name or profile. This action will typically open the contact's details, displaying additional information such as phone numbers, email addresses, and any other relevant details you may have saved for that contact. From this point, you can proceed to the next step of saving the contact to your SIM card.
If you wish to select multiple contacts at once, many Sony Xperia smartphones offer the convenient option of using checkboxes to mark multiple contacts for simultaneous action. By tapping on the checkboxes next to each contact's name, you can effectively select multiple contacts in preparation for the saving process.
It's important to take your time during this step, ensuring that you have selected all the contacts that you want to save to your SIM card. Whether it's family members, close friends, or important business contacts, the ability to handpick and safeguard specific contacts provides a personalized approach to contact management.
Once you have successfully selected the contacts that you want to save to your SIM card, you are now ready to proceed to the next step of choosing the SIM card as the destination for these selected contacts. This seamless transition from selecting contacts to the subsequent steps ensures a smooth and efficient process for safeguarding your valuable connections.
With the contacts selected, let's move on to the next step of choosing the SIM card as the destination for these contacts.
Step 3: Choosing the SIM Card as the Destination
After selecting the specific contacts that you want to save to your SIM card on your Sony Xperia smartphone, the next crucial step is to designate the SIM card as the destination for these selected contacts. This pivotal decision ensures that your chosen contacts will be securely stored on the SIM card, ready to be accessed and transferred as needed.
To begin this process, navigate to the options or settings menu within the Contacts app on your Sony Xperia smartphone. This menu is typically represented by three vertical dots or lines, often located in the upper-right corner of the screen. Tap on this menu icon to reveal a dropdown list of available actions and settings.
Within the options or settings menu, look for the specific command or feature related to saving contacts to the SIM card. The wording of this command may vary depending on the model of your Sony Xperia smartphone, but it is commonly labeled as "Save to SIM card," "Export to SIM," or a similar variation that clearly indicates the action of transferring contacts to the SIM card.
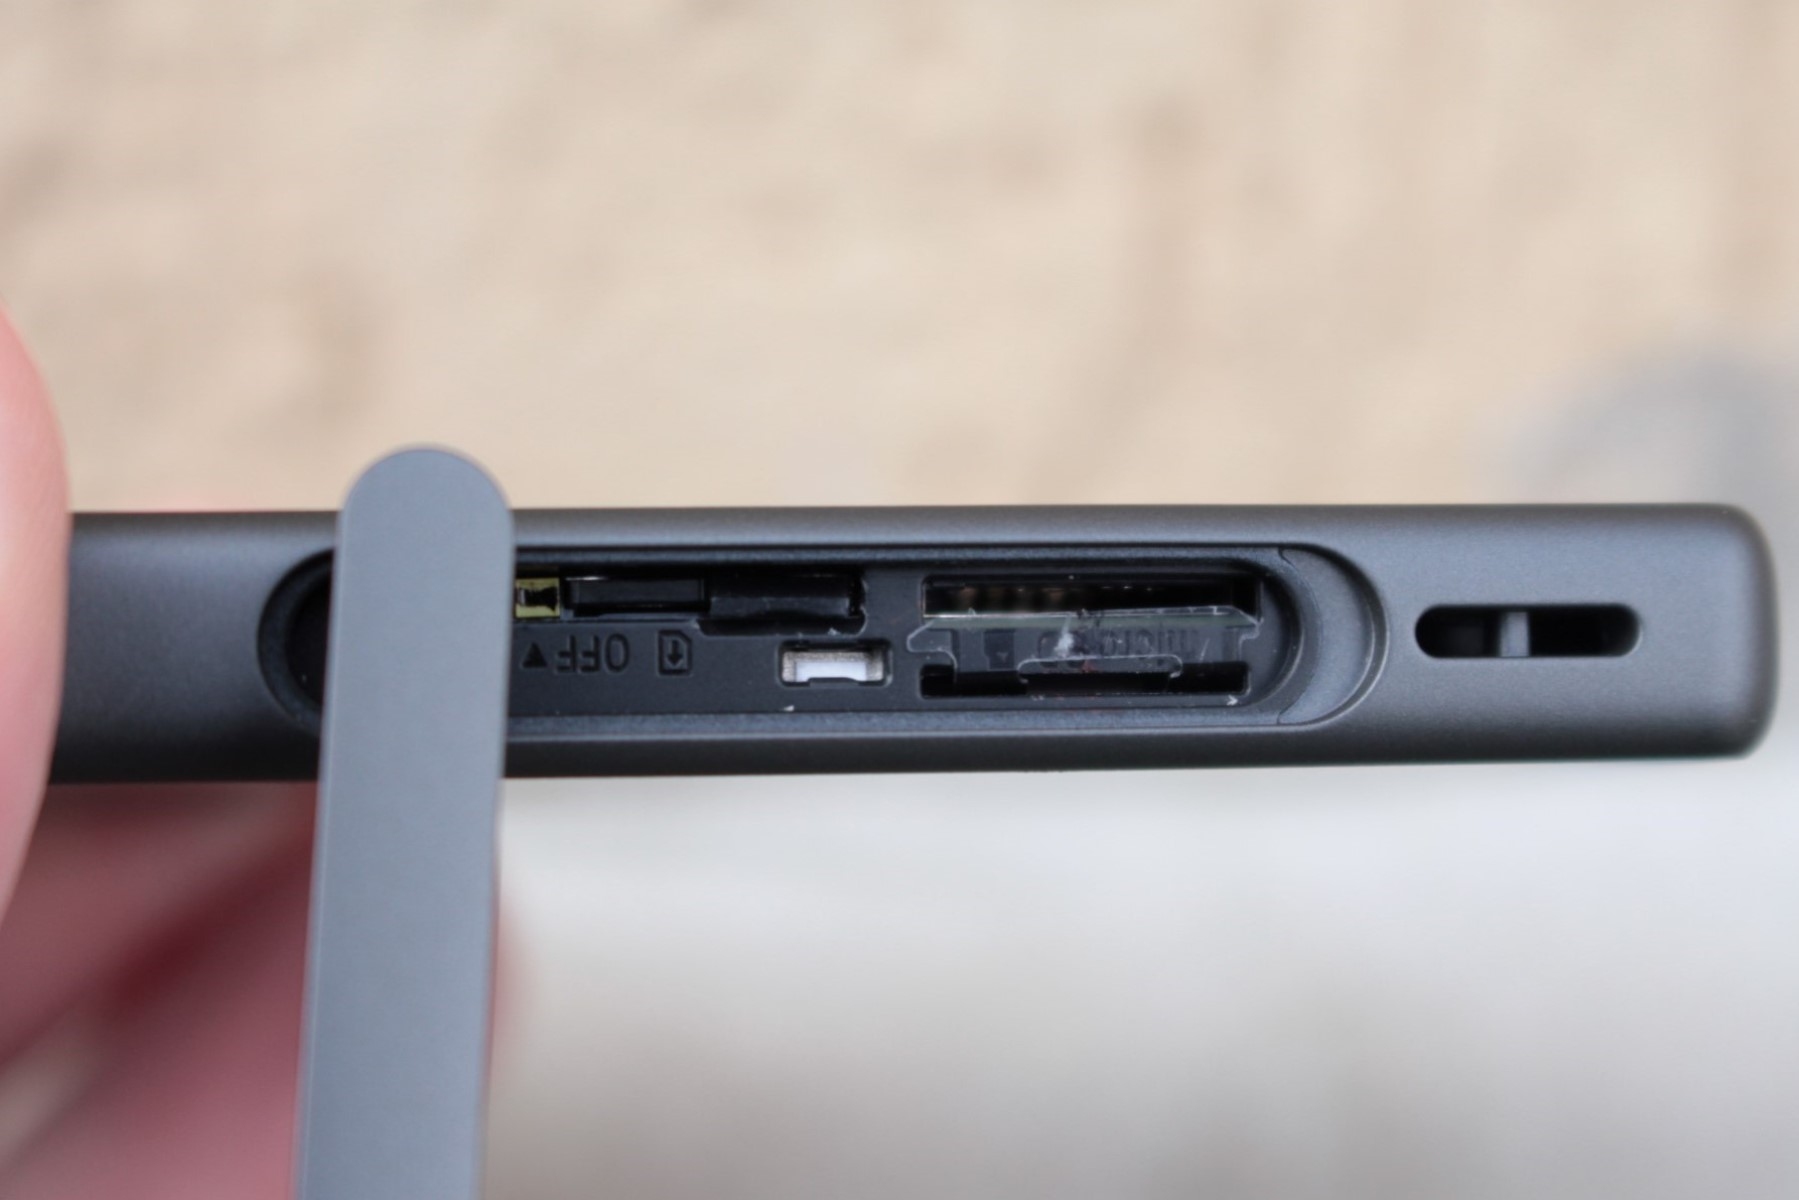
Upon selecting the appropriate command, you will likely be prompted to confirm the action and specify any additional details related to the transfer process. This may include choosing the SIM card slot if your device supports multiple SIM cards, selecting the storage location on the SIM card, or confirming the specific contacts that are being saved.
It's important to review the details carefully at this stage, ensuring that the designated contacts and transfer settings align with your intentions. This attention to detail helps to prevent any inadvertent errors and guarantees that the selected contacts are accurately saved to the SIM card without any complications.
Once you have confirmed the transfer details, the saving process will commence, with your Sony Xperia smartphone working diligently to transfer the selected contacts to the SIM card. Depending on the number of contacts being saved and the processing power of your device, this process may take a few moments to complete.
Upon successful completion of the saving process, you will receive a confirmation message or notification indicating that the selected contacts have been successfully saved to the SIM card. This reassuring notification serves as a testament to the reliability and efficiency of the saving process, affirming that your contacts are now securely stored on the SIM card.
By choosing the SIM card as the destination for your selected contacts, you have taken a proactive step towards safeguarding your valuable connections. With these contacts securely stored on the SIM card, you can rest assured that they are readily available for use and can be seamlessly transferred to other devices or SIM cards as needed.
With the contacts successfully saved to the SIM card, you have completed this pivotal step in the process of securing your contacts on your Sony Xperia smartphone. This seamless transition from choosing the SIM card as the destination to the subsequent steps ensures a smooth and efficient process for safeguarding your valuable connections.
Step 4: Confirming the Transfer
After designating the SIM card as the destination for your selected contacts on your Sony Xperia smartphone, the pivotal step of confirming the transfer ensures that the saving process is executed accurately and efficiently. This crucial confirmation stage serves as the final checkpoint, providing reassurance that your valuable contacts have been securely transferred to the SIM card, ready to be accessed whenever needed.
Upon initiating the transfer process, your Sony Xperia smartphone will diligently work to execute the saving action, moving the selected contacts from the device's internal storage to the SIM card. As the transfer progresses, it is essential to carefully monitor the process, ensuring that each contact is accurately and seamlessly saved to the SIM card without any discrepancies.
During this stage, your smartphone may display a progress indicator or a visual representation of the saving process, allowing you to track the status of the transfer. This visual feedback provides valuable insight into the efficiency of the saving process, giving you the confidence that your contacts are being securely transferred to the SIM card.
As the transfer nears completion, your smartphone may prompt you with a confirmation message, signaling that the selected contacts have been successfully saved to the SIM card. This reassuring notification serves as a testament to the reliability and precision of the saving process, affirming that your contacts are now securely stored on the SIM card, safeguarded against unexpected data loss or device issues.
Upon receiving the confirmation message, take a moment to review the details and ensure that all the selected contacts have been accurately transferred. This careful verification process helps to guarantee that no contacts have been overlooked or omitted during the saving process, providing peace of mind that your entire selection has been securely stored on the SIM card.
With the transfer confirmed and the notification received, you can proceed with confidence, knowing that your valuable contacts are now safely stored on the SIM card. This proactive approach to confirming the transfer ensures that your contacts remain easily accessible and transferable, empowering you to manage your connections with convenience and peace of mind.
By successfully confirming the transfer of your selected contacts to the SIM card, you have completed the final step in the process of safeguarding your valuable connections on your Sony Xperia smartphone. This seamless transition from confirming the transfer to the subsequent steps ensures a smooth and efficient process for securing your contacts, providing a reliable backup solution for your essential connections.
Conclusion
Congratulations! By following the step-by-step guide outlined in this comprehensive tutorial, you have successfully safeguarded your valuable contacts on your Sony Xperia smartphone by saving them to the SIM card. This proactive approach ensures that your contacts remain secure and easily transferable, providing a reliable backup solution for your essential connections.
By accessing the Contacts app, selecting the specific contacts to save, designating the SIM card as the destination, and confirming the transfer, you have demonstrated a proactive commitment to managing your contacts effectively. This user-friendly process empowers you to maintain control over your valuable connections, ensuring that they are readily accessible and protected against unexpected data loss or device issues.
With your contacts securely stored on the SIM card, you can enjoy the peace of mind that comes with knowing your essential connections are always within reach. Whether you encounter unforeseen device issues, upgrade to a new smartphone, or simply need to transfer your contacts to another device, the SIM card serves as a reliable repository for your valuable contacts.
Furthermore, the ability to save contacts to the SIM card on your Sony Xperia smartphone exemplifies the device's versatility and user-centric design. This feature provides users with a convenient and practical method for managing their contacts, aligning with Sony's commitment to delivering intuitive and reliable mobile experiences.
As you continue to explore the capabilities of your Sony Xperia smartphone, remember that the process of saving contacts to the SIM card is just one example of the device's user-friendly functionalities. By leveraging these features, you can optimize your mobile experience and streamline essential tasks, ensuring that your smartphone serves as a valuable tool for both personal and professional communication.
In conclusion, the act of saving contacts to the SIM card on your Sony Xperia smartphone reflects your proactive approach to contact management. By embracing this user-friendly process, you have taken a significant step towards ensuring the security and accessibility of your valuable connections, setting the stage for a seamless and efficient mobile experience.
With your contacts securely stored on the SIM card, you are well-equipped to navigate the dynamic landscape of mobile communication with confidence and convenience. As you continue to harness the full potential of your Sony Xperia smartphone, remember that your contacts are safely preserved on the SIM card, ready to support your communication needs whenever the occasion arises.


