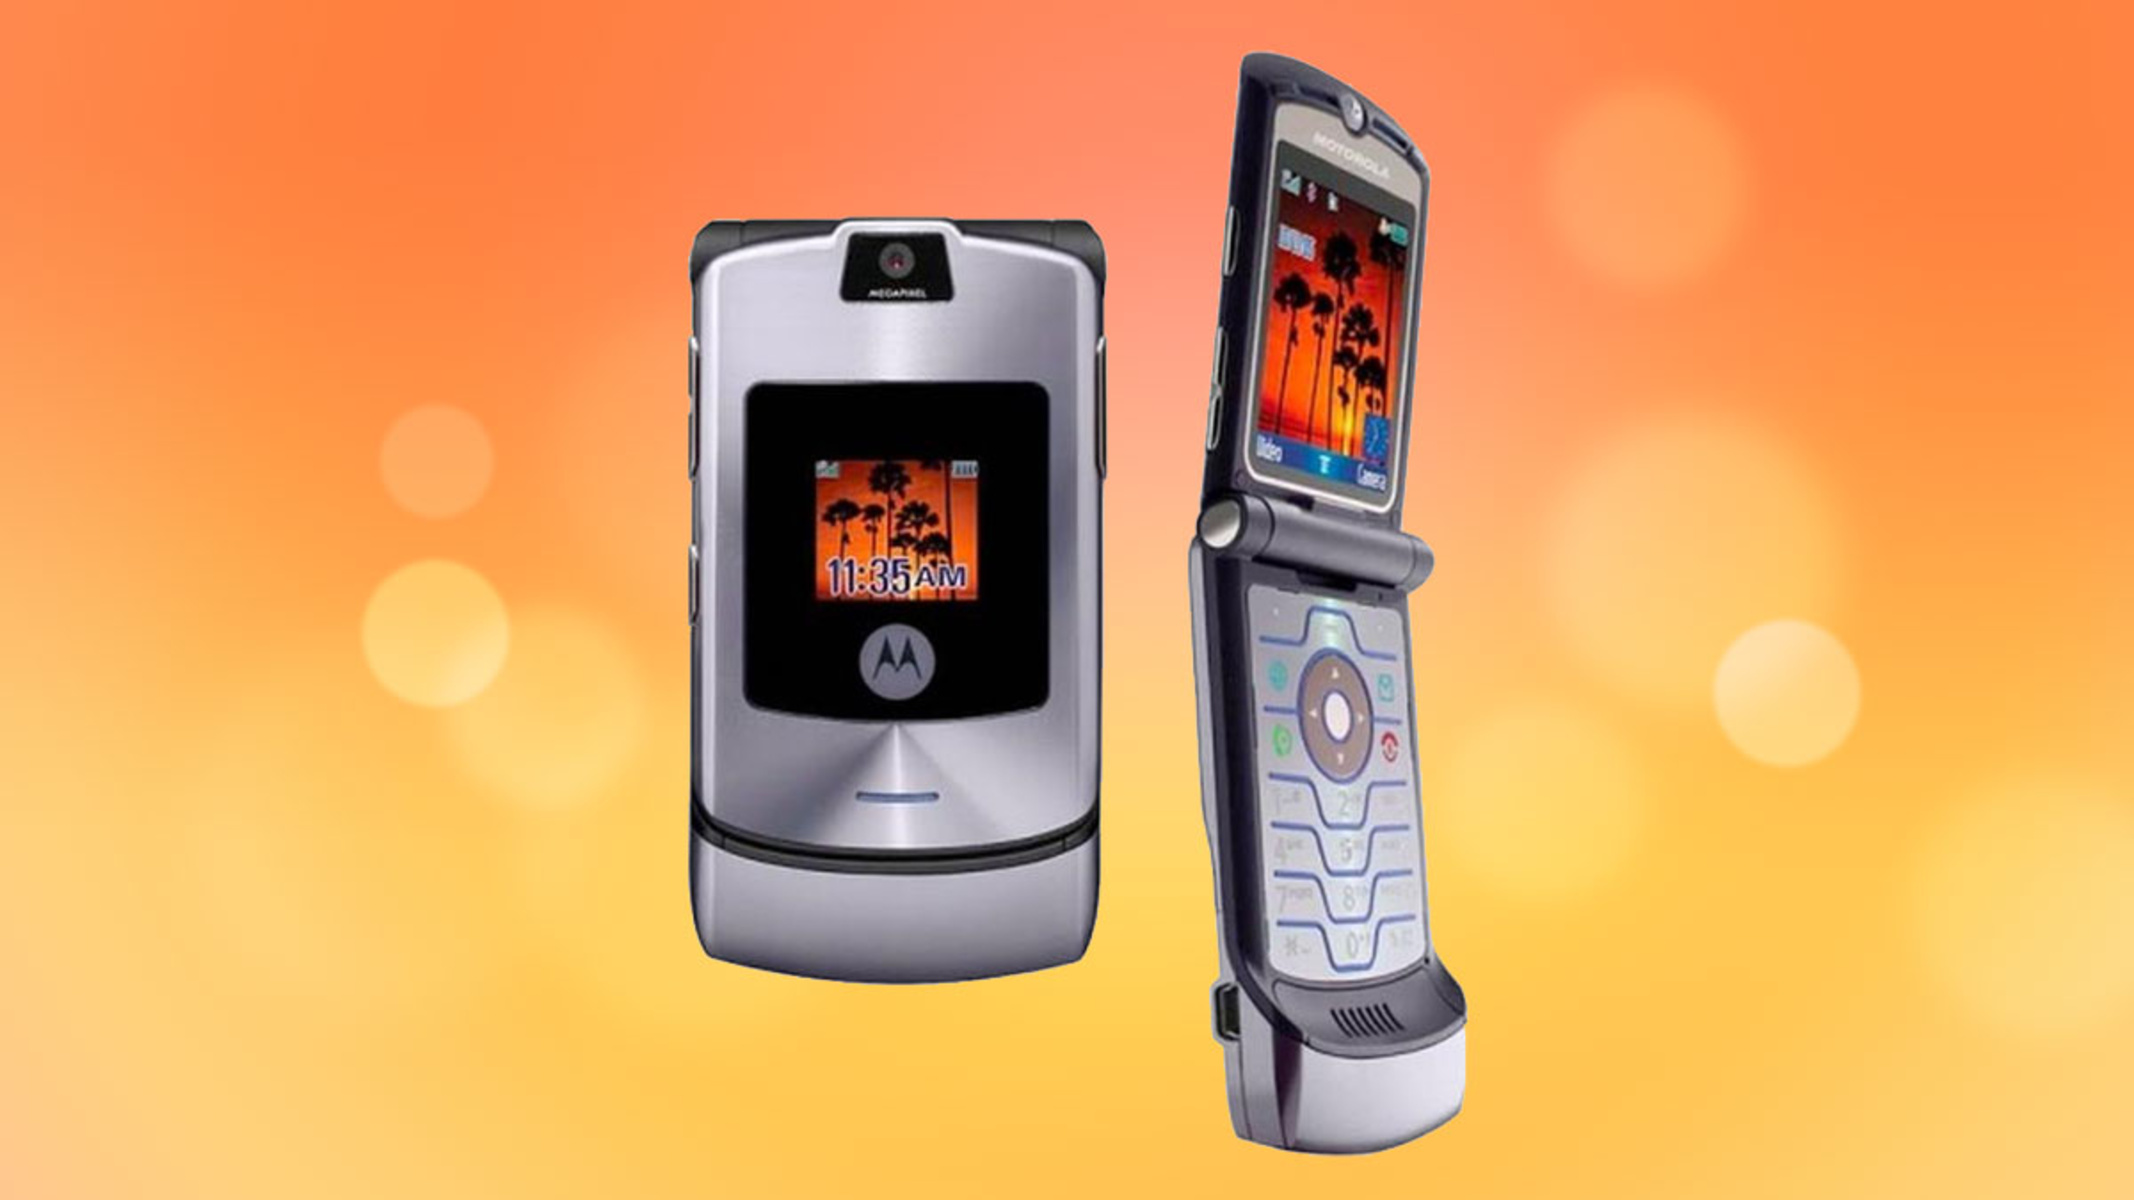
Introduction
Replacing the glass screen on a Motorola Razr M can be a daunting task, especially for those who are not familiar with the intricacies of mobile device repair. However, with the right tools, a methodical approach, and a steady hand, it is possible to successfully restore the device to its former glory. Whether the screen has been cracked, shattered, or damaged in any way, this comprehensive repair guide will walk you through the step-by-step process of replacing the glass screen on your Motorola Razr M.
The Motorola Razr M, known for its sleek design and compact form factor, has garnered a loyal following of users who appreciate its reliability and performance. However, accidents happen, and the glass screen may sustain damage due to drops, impacts, or other unforeseen mishaps. Instead of seeking professional repair services, which can be costly and time-consuming, taking the DIY approach to replace the glass screen can be a rewarding endeavor for tech-savvy individuals.
In this guide, we will cover the essential tools and materials needed for the repair, as well as detailed instructions on disassembling the device, removing the broken glass screen, and installing a new one. By following these instructions carefully and exercising patience and precision, you can breathe new life into your Motorola Razr M and enjoy a pristine display once again.
Embarking on a repair project such as this not only saves money but also empowers individuals to take control of their devices' maintenance and upkeep. It fosters a sense of accomplishment and resourcefulness, as well as a deeper understanding of the technology we rely on daily. With this in mind, let's delve into the repair process and equip ourselves with the knowledge and skills needed to tackle the task at hand.
Tools and Materials Needed
Before embarking on the repair process, it is crucial to gather the necessary tools and materials to ensure a smooth and efficient repair experience. Here's a comprehensive list of what you will need:
-
Precision Screwdriver Set: A set of precision screwdrivers with various head types and sizes is essential for disassembling the Motorola Razr M and accessing the internal components.
-
Replacement Glass Screen: Acquire a high-quality replacement glass screen specifically designed for the Motorola Razr M. Ensure that it is compatible with your device model to guarantee a proper fit and functionality.
-
Heat Gun or Hair Dryer: To soften the adhesive securing the glass screen to the device, a heat gun or hair dryer can be used to carefully apply heat and facilitate the removal process.
-
Plastic Opening Tools: Non-conductive and non-marring plastic opening tools are indispensable for prying open the device without causing damage to the delicate components or the new glass screen.
-
Adhesive Strips or Liquid Adhesive: Depending on the replacement glass screen, adhesive strips or liquid adhesive may be required to securely affix the new glass screen to the device frame.
-
Microfiber Cloth: A soft microfiber cloth is essential for cleaning the device's surfaces and ensuring a dust and fingerprint-free assembly.
-
Tweezers: Precision tweezers can aid in handling small components and screws during the disassembly and reassembly process.
-
Safety Glasses: It is advisable to wear safety glasses to protect your eyes from any potential debris or small components that may dislodge during the repair.
-
Workspace Preparation: Clear, well-lit, and organized workspace with a soft surface to prevent the device from sustaining further damage during the repair process.
By ensuring that you have all the necessary tools and materials at your disposal, you can approach the repair process with confidence and preparedness. Additionally, it is important to exercise caution and patience when handling the delicate components of the Motorola Razr M to avoid causing further damage. With these tools and materials in hand, you are ready to proceed with the glass screen replacement, bringing your device one step closer to restoration.
Step 1: Removing the Back Cover
The first step in replacing the glass screen of your Motorola Razr M involves removing the back cover to gain access to the internal components. This process requires precision and care to avoid damaging the cover or the device itself. Here's a detailed guide on how to successfully remove the back cover:
-
Power Off the Device: Before beginning the disassembly process, ensure that your Motorola Razr M is powered off to prevent any potential electrical hazards during the repair.
-
Eject the SIM Card and Memory Card: Locate the SIM card tray on the side of the device and use a SIM eject tool or a small paperclip to gently push into the pinhole, releasing the tray. Remove the SIM card and memory card from their respective slots and set them aside for safekeeping.
-
Identify the Notch: Examine the edges of the back cover to locate the small notch or groove where the cover can be pried open. This area is usually near the charging port or the bottom edge of the device.
-
Use Plastic Opening Tools: Carefully insert a plastic opening tool into the identified notch, ensuring that it is non-conductive and non-marring to prevent damage to the cover or the internal components. Gently apply pressure to begin separating the back cover from the device frame.
-
Work Around the Edges: Gradually work your way around the edges of the device with the plastic opening tool, gently releasing the clips securing the back cover in place. Exercise patience and caution to avoid applying excessive force, as this may cause the cover to crack or warp.
-
Lift Off the Back Cover: Once the clips have been disengaged, carefully lift the back cover away from the device, ensuring that no cables or connectors are still attached. If you encounter resistance, recheck for any remaining clips or adhesive securing the cover.
By following these steps meticulously, you can successfully remove the back cover of your Motorola Razr M, paving the way for the subsequent stages of the glass screen replacement process. It is essential to handle the back cover with care to prevent any unnecessary damage, as it will need to be reattached securely after the glass screen has been replaced. With the back cover removed, you are now ready to proceed to the next phase of the repair, bringing you one step closer to restoring your device to its former functionality and aesthetic appeal.
Step 2: Removing the Battery
After successfully removing the back cover of your Motorola Razr M, the next crucial step in the glass screen replacement process is removing the battery. This task requires precision and attention to detail to ensure the safe extraction of the battery without causing damage to the device or its components. Here's a detailed guide on how to effectively remove the battery from your Motorola Razr M:
-
Identify the Battery: Upon exposing the internal components of the device, locate the battery, which is typically a rectangular or square-shaped component positioned near the center or bottom of the device. Take note of its placement and the connectors attached to it.
-
Disconnect the Battery Connector: Using a pair of precision tweezers or a plastic opening tool, carefully disconnect the battery connector from the device's motherboard. Gently lift the connector away from its socket, ensuring that no excessive force is applied to avoid damaging the connector or the motherboard.
-
Release Adhesive Strips or Tabs: In some cases, the battery may be secured to the device frame with adhesive strips or tabs. If this is the case, carefully peel back the adhesive strips or tabs, ensuring that the battery remains level and stable during the removal process. Take caution to avoid bending or puncturing the battery, as it may pose a safety risk.
-
Lift Out the Battery: Once the battery connector and any adhesive strips or tabs have been safely disconnected and removed, carefully lift the battery out of its housing. Exercise patience and precision to prevent any accidental damage to the battery or the surrounding components.
-
Handle with Care: Throughout the battery removal process, it is crucial to handle the battery with care, as it is a sensitive component that requires proper handling to avoid any potential safety hazards or damage.
By following these steps diligently, you can effectively remove the battery from your Motorola Razr M, setting the stage for the subsequent phases of the glass screen replacement process. It is essential to exercise caution and precision during this task to ensure the safe removal of the battery and pave the way for the successful installation of the new glass screen. With the battery safely removed, you are now prepared to proceed to the next stage of the repair, bringing you closer to restoring your device to its optimal functionality and visual appeal.
Step 3: Removing the SIM Card and Memory Card
As you continue the glass screen replacement process for your Motorola Razr M, the next essential step involves removing the SIM card and memory card from their respective slots within the device. This task is crucial to ensure that these components are safely detached before proceeding with the disassembly, minimizing the risk of damage and facilitating a seamless repair process.
Here's a detailed guide on how to effectively remove the SIM card and memory card from your Motorola Razr M:
-
Locate the SIM Card Tray: Begin by identifying the SIM card tray, typically located on the side of the device. The tray may be secured by a small pinhole, requiring the use of a SIM eject tool or a paperclip to release it.
-
Eject the SIM Card: Once the SIM card tray is accessible, gently insert a SIM eject tool or a paperclip into the pinhole, applying light pressure to trigger the release mechanism. The tray will partially protrude, allowing you to carefully remove the SIM card from its slot.
-
Remove the Memory Card: If your device is equipped with a memory card slot, locate the slot and proceed to remove the memory card by gently pressing on it to release it from the slot. Exercise caution to avoid applying excessive force, ensuring a smooth and careful extraction.
-
Secure the Cards: After removing the SIM card and memory card, place them in a safe and designated location to prevent misplacement or damage. It is advisable to store them in a protective case or a small container to keep them secure during the repair process.
By following these steps meticulously, you can safely remove the SIM card and memory card from your Motorola Razr M, preparing the device for the subsequent stages of the glass screen replacement process. It is essential to handle these components with care to avoid any damage and ensure their safekeeping until they can be reinserted into the device after the glass screen has been replaced.
With the SIM card and memory card safely removed, you are now ready to proceed to the next phase of the repair, bringing you one step closer to restoring your device to its optimal functionality and visual appeal.
Step 4: Removing the Screws
With the SIM card and memory card safely removed, the next crucial step in the glass screen replacement process for your Motorola Razr M involves removing the screws that secure the device's front assembly. This task is pivotal in gaining access to the internal components and preparing the device for the subsequent stages of the repair. Here's a detailed guide on how to effectively remove the screws from your Motorola Razr M:
-
Organize Workspace: Before proceeding, ensure that your workspace is well-lit, organized, and free from any clutter. Lay down a soft surface to prevent the device from sustaining any further damage during the disassembly process.
-
Identify Screw Locations: Examine the edges and corners of the device's front assembly to locate the screws that secure it to the frame. These screws are typically small and may be positioned near the device's charging port, speaker grills, or along the edges of the frame.
-
Use Precision Screwdriver: Select the appropriate head type and size from your precision screwdriver set that matches the screws on the device. Carefully insert the screwdriver into the screw head, ensuring a snug fit to prevent stripping the screws.
-
Apply Gentle Pressure: With the precision screwdriver in place, apply gentle and steady pressure to loosen the screws. It is crucial to maintain a consistent angle and avoid tilting the screwdriver to prevent any damage to the screw heads.
-
Keep Screws Organized: As you remove each screw, place them in a designated container or use a magnetic mat to keep them organized and prevent misplacement. It is essential to remember the original placement of each screw to facilitate the reassembly process.
-
Exercise Patience and Precision: Exercise patience and precision when removing the screws, as they are integral to securing the device's front assembly. Avoid rushing this process and ensure that each screw is fully disengaged before proceeding to the next one.
By following these steps meticulously, you can effectively remove the screws from your Motorola Razr M, preparing the device for the subsequent phases of the glass screen replacement process. It is crucial to handle the screws with care and keep them organized to facilitate the reassembly and ensure the structural integrity of the device. With the screws safely removed, you are now prepared to proceed to the next stage of the repair, bringing you closer to restoring your device to its optimal functionality and visual appeal.
Step 5: Separating the Front Assembly
As you progress through the glass screen replacement process for your Motorola Razr M, the pivotal step of separating the front assembly from the device frame comes into focus. This task is essential in gaining access to the underlying components and preparing the device for the subsequent stages of the repair. Here's a detailed guide on how to effectively separate the front assembly from your Motorola Razr M:
-
Assess the Adhesive: Carefully examine the edges of the front assembly to identify any adhesive securing it to the device frame. The adhesive may be located along the perimeter of the assembly and requires gentle heat application to facilitate separation.
-
Apply Heat: Using a heat gun or hair dryer set to a low heat setting, carefully apply heat along the edges of the front assembly. Ensure that the heat is evenly distributed to soften the adhesive without overheating the device.
-
Utilize Plastic Opening Tools: With the adhesive softened, gently insert non-conductive and non-marring plastic opening tools between the front assembly and the device frame. Gradually work your way around the edges, applying gentle pressure to separate the assembly.
-
Exercise Caution: As you work to separate the front assembly, exercise caution to avoid applying excessive force or prying at vulnerable points on the device. Take your time and ensure a methodical approach to prevent accidental damage.
-
Check for Cable Connections: As the front assembly begins to loosen, carefully lift it away from the device frame while checking for any attached cables or connectors. If cables are present, gently disconnect them to fully separate the front assembly.
-
Secure the Front Assembly: Once the front assembly is successfully separated, place it in a safe and designated location, ensuring that it is protected from any potential damage or debris. It is crucial to handle the assembly with care to prevent any unintended harm.
By following these steps meticulously, you can effectively separate the front assembly from your Motorola Razr M, setting the stage for the subsequent phases of the glass screen replacement process. It is essential to exercise patience and precision during this task to ensure the safe separation of the front assembly and pave the way for the successful installation of the new glass screen. With the front assembly safely separated, you are now prepared to proceed to the next stage of the repair, bringing you closer to restoring your device to its optimal functionality and visual appeal.
Step 6: Removing the Broken Glass Screen
With the front assembly successfully separated from the device frame, the next critical step in the glass screen replacement process for your Motorola Razr M is the meticulous removal of the broken glass screen. This task demands precision, patience, and attention to detail to ensure the safe extraction of the damaged screen without causing harm to the underlying components. Here's a comprehensive guide on how to effectively remove the broken glass screen from your Motorola Razr M:
-
Assess the Damage: Before proceeding with the removal, carefully inspect the broken glass screen to assess the extent of the damage. Take note of any shattered glass fragments or loose pieces that may need to be cleared away before initiating the removal process.
-
Apply Heat: Using a heat gun or hair dryer set to a low heat setting, gently apply heat to the surface of the broken glass screen. This process is crucial in softening the adhesive securing the glass to the device, making it easier to dislodge without causing further damage.
-
Use Plastic Opening Tools: With the adhesive softened, carefully insert non-conductive and non-marring plastic opening tools between the broken glass screen and the underlying components. Gradually work your way around the edges, applying gentle pressure to separate the glass from the device.
-
Exercise Caution: As you work to remove the broken glass screen, exercise caution to avoid injury from sharp edges or shards. It is essential to wear safety gloves and protective eyewear to minimize the risk of injury during this delicate process.
-
Clear Glass Fragments: As the broken glass screen begins to loosen, carefully clear away any shattered glass fragments or residual adhesive from the device frame. Use a soft brush or compressed air to ensure that the area is free from debris before proceeding.
-
Lift Out the Broken Glass Screen: Once the adhesive is sufficiently loosened and the shattered glass fragments are cleared, carefully lift out the broken glass screen from the device. Exercise patience and precision to prevent any accidental damage to the underlying components.
-
Handle with Care: Throughout the removal process, handle the broken glass screen with extreme care to avoid injury and prevent any further damage to the device or its internal components.
By following these steps diligently, you can effectively remove the broken glass screen from your Motorola Razr M, paving the way for the subsequent phase of the repair process. It is crucial to exercise patience and precision during this task to ensure the safe extraction of the damaged screen and prepare the device for the installation of the new glass screen. With the broken glass screen successfully removed, you are now ready to proceed to the next stage of the repair, bringing you closer to restoring your device to its optimal functionality and visual appeal.
Step 7: Installing the New Glass Screen
With the broken glass screen successfully removed from your Motorola Razr M, the pivotal phase of installing the new glass screen comes into focus. This task demands precision, attention to detail, and a methodical approach to ensure the seamless integration of the replacement screen, restoring the device to its optimal functionality and visual appeal. Here's a comprehensive guide on how to effectively install the new glass screen on your Motorola Razr M:
-
Prepare the Device: Before proceeding with the installation, ensure that the device frame is clean, free from any residual adhesive or debris, and ready to accommodate the new glass screen. Use a soft microfiber cloth to gently clean the surface, ensuring a dust and fingerprint-free environment for the installation process.
-
Position the New Glass Screen: Carefully align the new glass screen with the device frame, ensuring that it fits snugly and aligns with the edges and openings. Take note of any specific orientation or alignment indicators to ensure a proper fit.
-
Apply Adhesive: Depending on the replacement glass screen, apply the appropriate adhesive strips or liquid adhesive to the perimeter of the device frame. Ensure that the adhesive is evenly distributed and does not obstruct any essential components or connectors.
-
Gently Lower the Screen: With the adhesive in place, gently lower the new glass screen onto the device frame, ensuring that it aligns perfectly and adheres securely. Apply gentle pressure along the edges to facilitate adhesion, taking care not to apply excessive force that may damage the screen or underlying components.
-
Secure the Screen: Once the new glass screen is in position, ensure that it is securely affixed to the device frame. Check for any gaps or unevenness, and make any necessary adjustments to ensure a seamless and secure installation.
-
Reconnect Cables and Components: If any cables or connectors were detached during the removal process, carefully reconnect them to the device, ensuring a secure and proper connection. Exercise caution to avoid damaging the delicate components during this reconnection phase.
-
Test Functionality: Before proceeding with the reassembly, power on the device and test the functionality of the new glass screen. Verify that touch responsiveness, display clarity, and overall performance meet the expected standards.
By following these steps meticulously, you can effectively install the new glass screen on your Motorola Razr M, completing the crucial phase of the repair process. It is essential to exercise patience and precision during this task to ensure the seamless integration of the replacement screen, bringing your device one step closer to restoration. With the new glass screen successfully installed, you are now prepared to proceed to the final phase of the repair, culminating in the reassembly of the device and the realization of a fully restored Motorola Razr M.
Step 8: Reassembling the Device
With the new glass screen successfully installed and the functionality verified, the final and pivotal step in the glass screen replacement process for your Motorola Razr M is the meticulous reassembly of the device. This phase demands precision, attention to detail, and a methodical approach to ensure that all components are securely integrated, culminating in the restoration of the device to its optimal functionality and visual appeal.
Here's a comprehensive guide on how to effectively reassemble your Motorola Razr M:
-
Position the Front Assembly: Carefully align the front assembly with the device frame, ensuring that all edges and connectors align seamlessly. Take note of any specific orientation indicators or alignment guides to facilitate a proper fit.
-
Reconnect Cables and Components: If any cables or connectors were detached during the disassembly process, carefully reconnect them to their respective ports on the device's motherboard. Exercise caution to ensure that each connection is secure and properly seated.
-
Secure the Front Assembly: Once all cables and connectors are reattached, gently press the front assembly onto the device frame, ensuring that it sits flush and securely. Check for any gaps or misalignments, making any necessary adjustments to achieve a seamless integration.
-
Replace and Tighten Screws: Using the appropriate precision screwdriver, reinsert and tighten the screws that secure the front assembly to the device frame. Ensure that each screw is snugly in place, but avoid over-tightening to prevent damage to the threads or the device frame.
-
Insert the Battery: Carefully place the battery back into its housing, ensuring that it aligns properly with the connectors on the device's motherboard. Gently press it into place, ensuring a secure and stable fit within the device.
-
Reattach the Back Cover: Position the back cover over the device, aligning it with the edges and ports. Gently press down on the cover, ensuring that all clips engage securely. Take care to avoid applying excessive force to prevent warping or damage to the cover.
-
Power On and Test: Once the device is fully reassembled, power it on and test the functionality of the new glass screen, as well as the overall performance of the device. Verify that all features, including touch responsiveness and display clarity, meet the expected standards.
By following these steps meticulously, you can effectively reassemble your Motorola Razr M, completing the final phase of the glass screen replacement process. It is essential to exercise patience and precision during this task to ensure the seamless integration of all components, culminating in the successful restoration of your device to its optimal functionality and visual appeal. With the device fully reassembled and verified for performance, you have successfully completed the glass screen replacement, empowering you to enjoy a pristine display and a fully restored Motorola Razr M.
Conclusion
In conclusion, the process of replacing the glass screen on a Motorola Razr M entails a meticulous and methodical approach, requiring the right tools, precision, and patience. By following the comprehensive repair guide outlined in this article, individuals can embark on the journey of restoring their devices to their former glory, all while gaining a deeper understanding of the intricate components within their smartphones.
The initial steps of removing the back cover, battery, SIM card, and memory card set the stage for the subsequent disassembly, emphasizing the importance of careful handling and organization of components. The meticulous removal of screws and separation of the front assembly from the device frame demand precision and attention to detail, ensuring that the delicate components remain unharmed.
The pivotal phase of removing the broken glass screen and installing the new one requires a delicate touch and the application of heat to soften adhesive, all while prioritizing safety and precision. The final reassembly phase brings together all components, culminating in the successful restoration of the device's optimal functionality and visual appeal.
Embarking on a DIY repair journey not only saves money but also fosters a sense of empowerment and resourcefulness. It allows individuals to take control of their device's maintenance and gain a deeper appreciation for the technology they rely on daily. The satisfaction of successfully replacing the glass screen on a Motorola Razr M extends beyond the restoration of the device; it signifies the acquisition of valuable skills and knowledge in mobile device repair.
As individuals navigate the repair process, it is essential to prioritize safety, patience, and precision, ensuring that each step is executed with care and attention to detail. By following this comprehensive repair guide, individuals can breathe new life into their Motorola Razr M, enjoying a pristine display and the fulfillment of a successful DIY repair endeavor.


