Introduction
The iPhone 5S, renowned for its sleek design and advanced features, is a popular choice among mobile device users. One essential component of this innovative device is the Subscriber Identity Module (SIM) card, which enables users to connect to their cellular network and enjoy a wide range of communication services. Understanding the proper placement of the SIM card in the iPhone 5S is crucial for seamless connectivity and optimal device performance.
In this comprehensive guide, we will delve into the step-by-step process of correctly placing the SIM card in the iPhone 5S. Whether you are a new iPhone user or seeking a refresher on this fundamental task, this article will provide you with clear and concise instructions, ensuring that you can effortlessly manage your SIM card and maintain uninterrupted access to your mobile network.
The proper placement of the SIM card in the iPhone 5S is a foundational aspect of device setup and maintenance. By familiarizing yourself with this process, you can avoid common pitfalls and ensure that your SIM card is securely installed, allowing you to make calls, send messages, and access mobile data with ease. Let's embark on this informative journey, equipping you with the knowledge and confidence to manage your iPhone 5S SIM card effectively.
Step 1: Locate the SIM card tray
The initial step in placing a SIM card in your iPhone 5S is to locate the SIM card tray. This small yet crucial component is designed to securely hold the SIM card within the device. To begin this process, you will need to identify the precise location of the SIM card tray on your iPhone 5S.
-
Identify the SIM Card Tray Slot: The SIM card tray on the iPhone 5S is typically positioned on the right-hand side of the device. It is important to note that the exact location may vary slightly depending on the specific model of the iPhone 5S. Look for a small, recessed slot along the edge of the device, often accompanied by a pinhole or a small indentation.
-
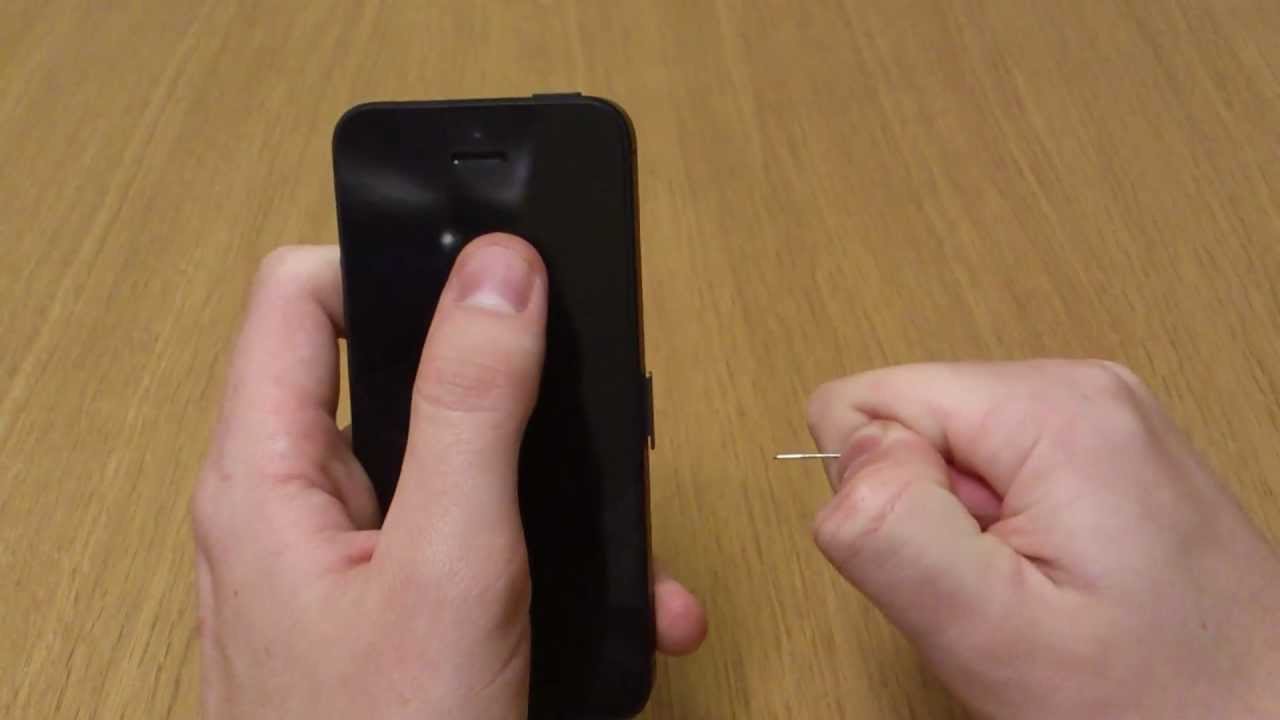
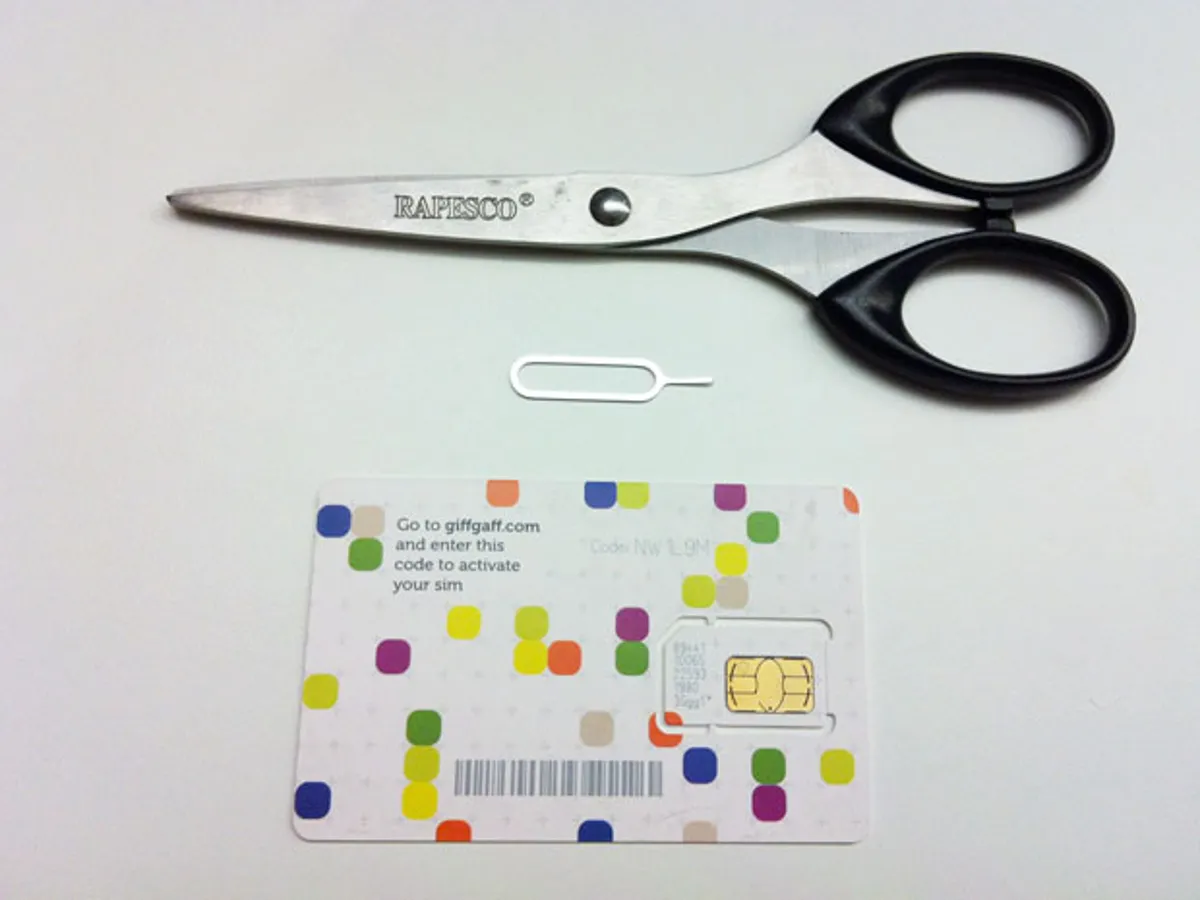
Use the SIM Eject Tool: Apple provides a specialized SIM eject tool with the iPhone 5S, designed to facilitate the removal and insertion of the SIM card. This tool is typically included in the original packaging of the device. Alternatively, a small paperclip can be used as a substitute for the SIM eject tool. Locate the SIM eject tool and keep it readily available for the subsequent steps.
-
Exercise Caution: Before proceeding, it is important to exercise caution and ensure that the device is powered off. This precautionary measure reduces the risk of damage to the SIM card or the iPhone 5S itself. Gently power off the device and prepare to access the SIM card tray.
Locating the SIM card tray is the first step in the process of placing a SIM card in your iPhone 5S. By following these initial instructions, you will be well-prepared to proceed to the subsequent steps, ultimately ensuring that your SIM card is securely and correctly installed within the device.
Step 2: Eject the SIM card tray
Ejecting the SIM card tray from your iPhone 5S is a pivotal step in the process of managing your SIM card. This action allows you to gain access to the SIM card tray, enabling you to insert or replace the SIM card as needed. By following the steps outlined below, you can effectively eject the SIM card tray with precision and confidence.
-
Retrieve the SIM Eject Tool: As mentioned earlier, the SIM eject tool provided by Apple or a suitable alternative, such as a paperclip, is essential for this task. Ensure that the SIM eject tool is within reach, as it will be used to initiate the ejection process.
-
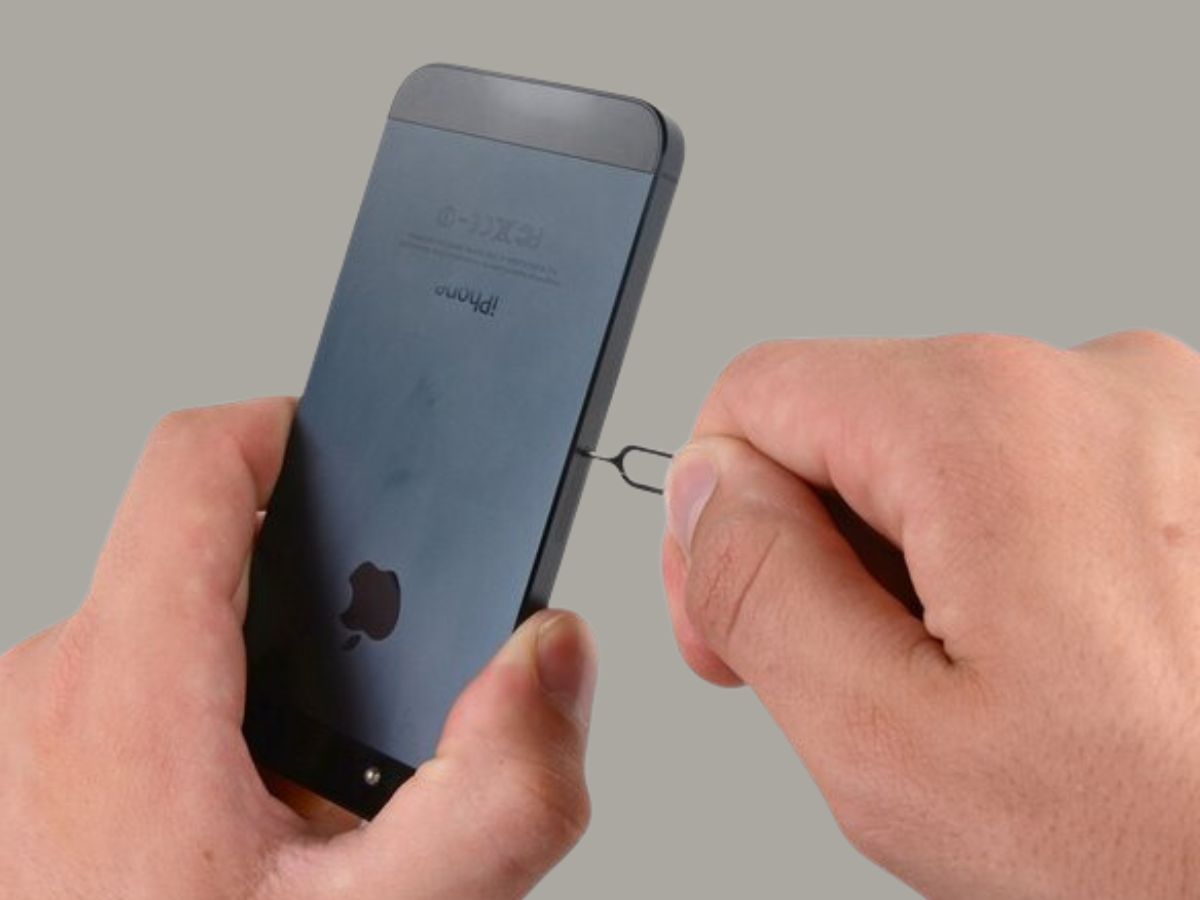
Locate the SIM Card Tray Slot: With the iPhone 5S powered off and in a secure position, identify the SIM card tray slot along the right-hand side of the device. The slot is typically small and may feature a pinhole adjacent to it. This is where the SIM eject tool will be inserted.
-
Insert the SIM Eject Tool: Holding the iPhone 5S firmly, gently insert the pointed end of the SIM eject tool or the unfolded paperclip into the pinhole or designated area next to the SIM card tray slot. Apply steady, gentle pressure to ensure that the tool is inserted correctly.
-
Initiate the Ejection Process: Upon inserting the SIM eject tool, you will feel a slight resistance as the tool engages with the internal mechanism of the SIM card tray. Continue to exert subtle pressure, and you will notice the SIM card tray gradually emerging from the device.
-
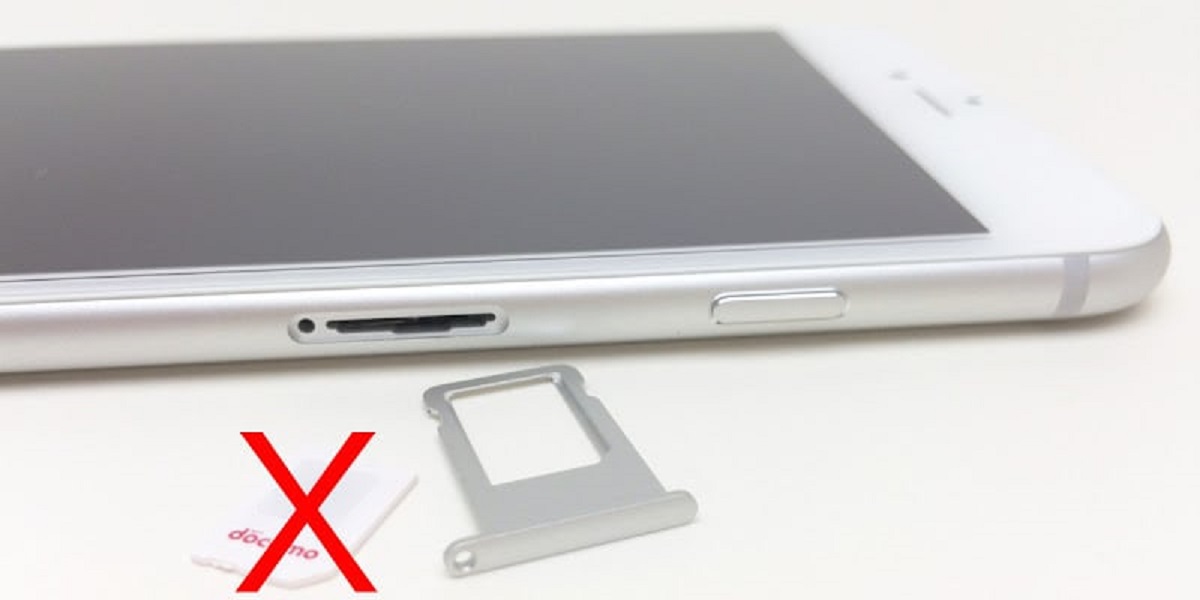
Remove the SIM Card Tray: Once the SIM card tray has been partially ejected, carefully pull it out from the iPhone 5S. Exercise caution to avoid applying excessive force or causing damage to the tray or the device itself.
Ejecting the SIM card tray from your iPhone 5S is a straightforward yet crucial procedure that sets the stage for the subsequent step of placing the SIM card into the tray. By following these detailed instructions, you can confidently navigate this essential aspect of managing your device's SIM card, ensuring a seamless and efficient process.
Step 3: Place the SIM card in the tray
With the SIM card tray successfully ejected from your iPhone 5S, you are now ready to proceed with placing the SIM card into the tray. This pivotal step ensures that the SIM card is securely and correctly positioned, allowing for seamless connectivity and optimal functionality of your device. Follow the detailed instructions below to effectively place the SIM card in the tray with precision and confidence.
-
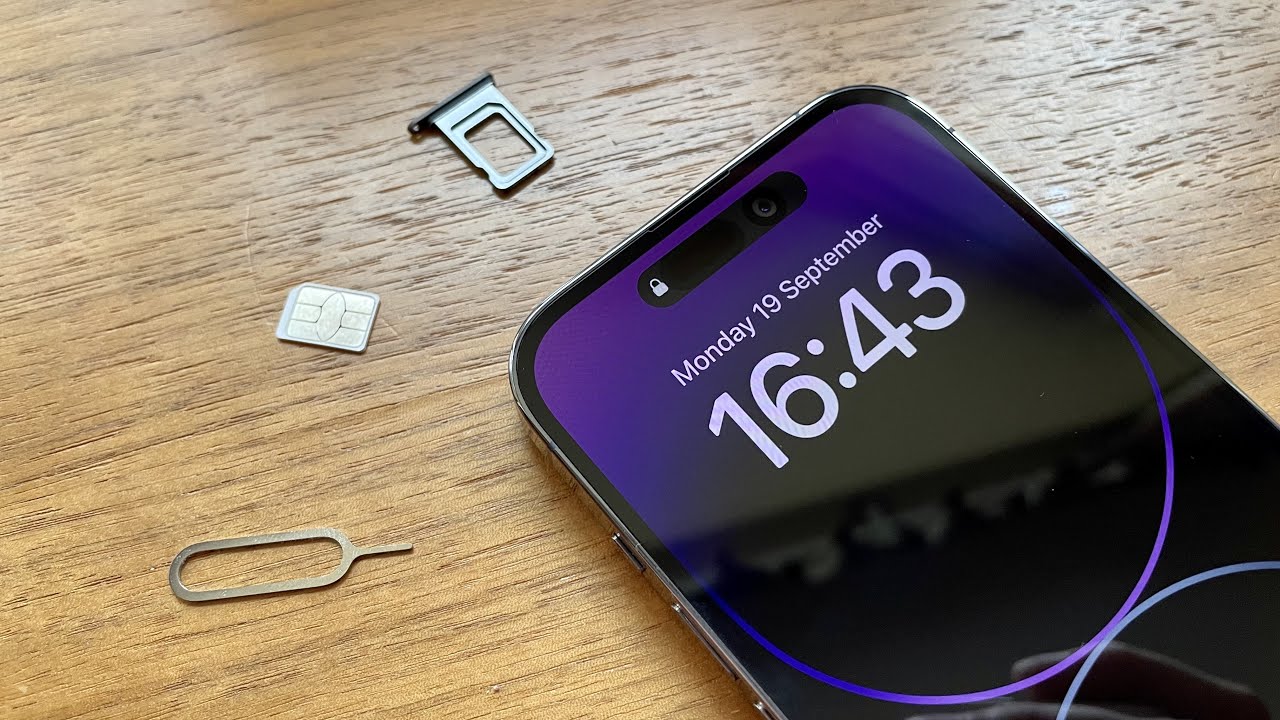
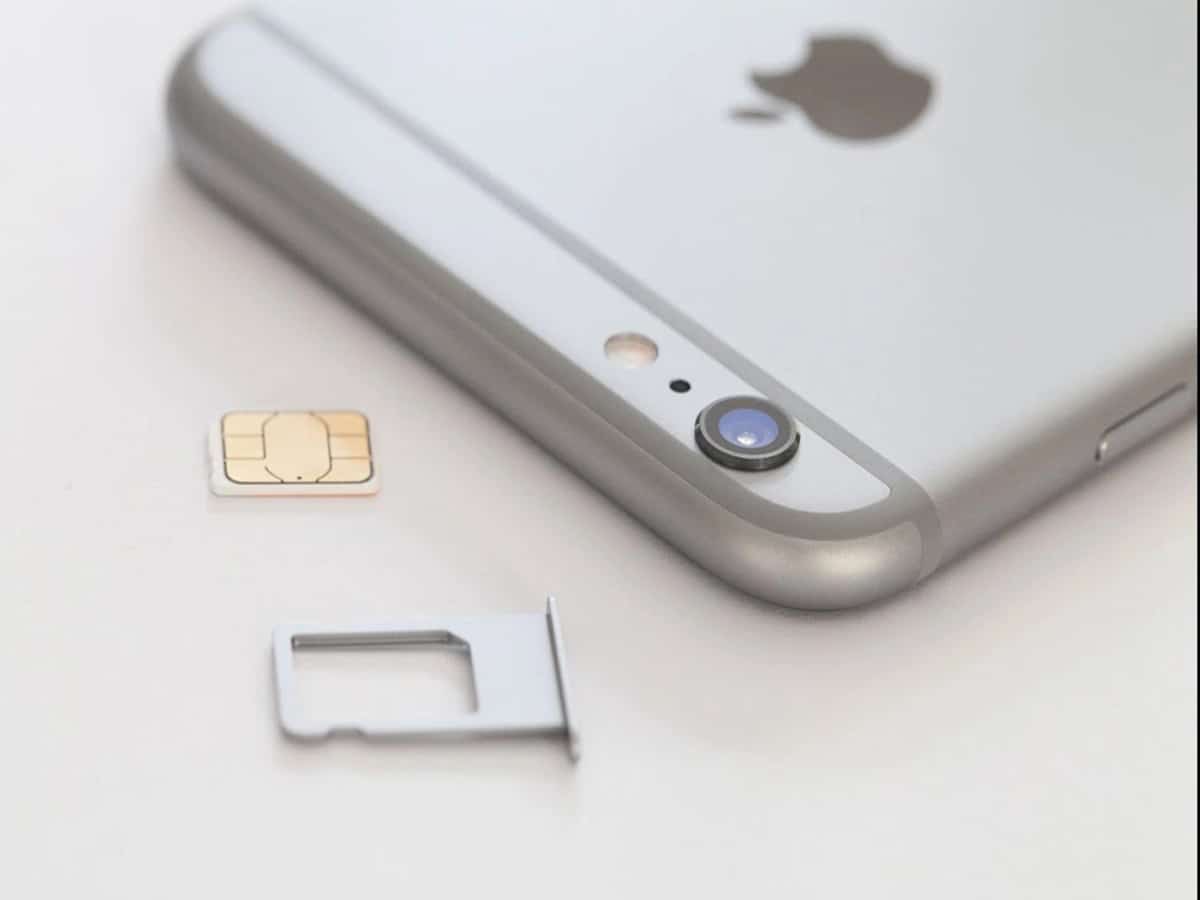
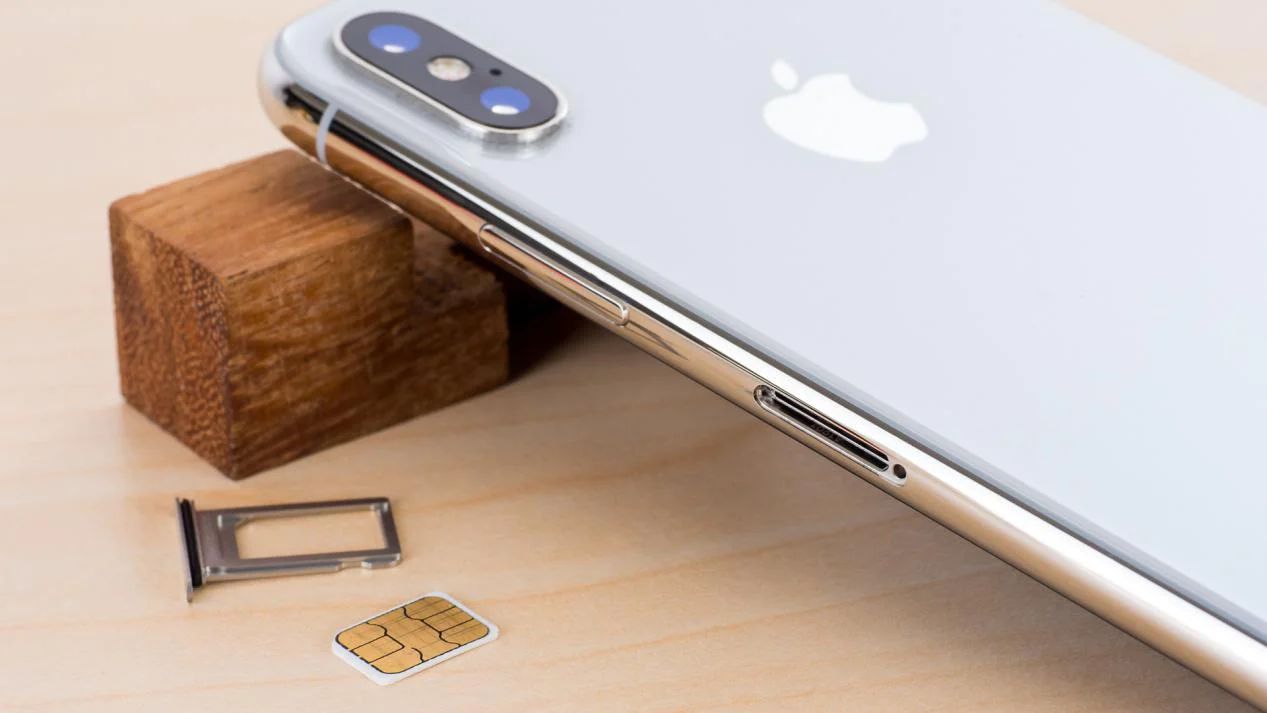
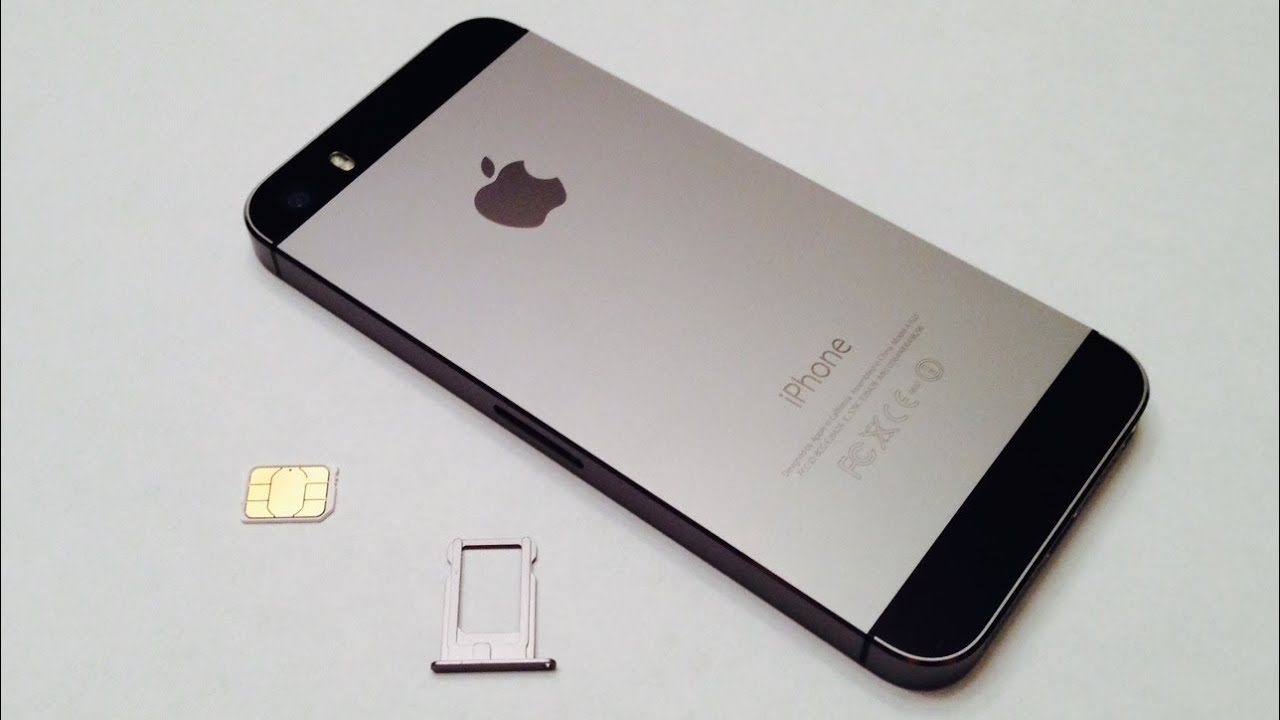
Prepare the SIM Card: Prior to placing the SIM card in the tray, it is essential to ensure that the card is clean, undamaged, and correctly oriented. Verify that the gold contacts on the SIM card are free from debris or residue, as any foreign material may hinder the card's functionality. Additionally, confirm that the SIM card is positioned in the correct orientation, aligning with the shape of the SIM card tray.
-
Align the SIM Card: Hold the SIM card with gentle precision, aligning it with the designated area within the SIM card tray. The SIM card should fit snugly within the tray, with the gold contacts facing downwards and the notched corner matching the corresponding area in the tray. Take care to avoid forcing the SIM card into the tray, as it should seamlessly align with the designated space.
-
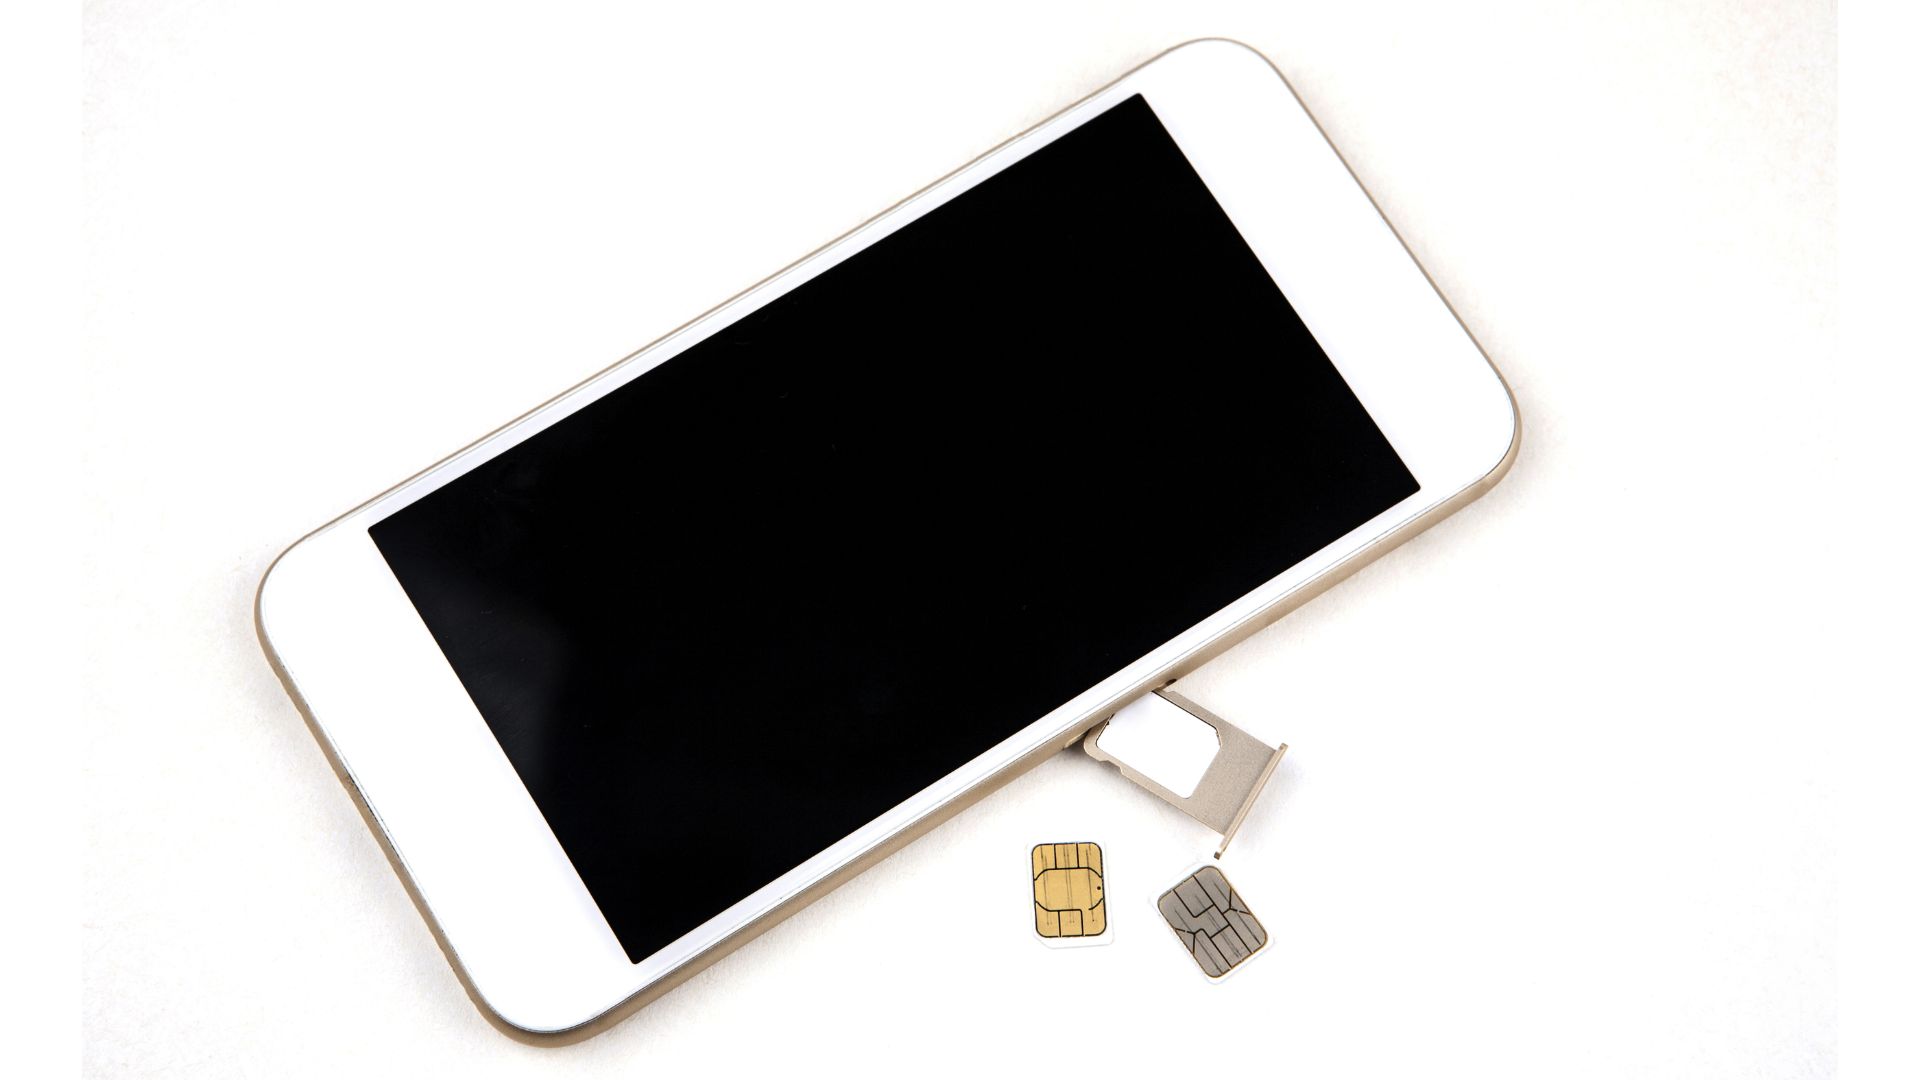
Place the SIM Card: Once the SIM card is correctly aligned, carefully position it within the SIM card tray, ensuring that it rests flat and level. Exercise caution to prevent any bending or damage to the SIM card during this process. The SIM card should fit comfortably within the tray, with no protruding edges or misalignment.
-
Verify the Placement: After placing the SIM card in the tray, visually inspect the alignment and positioning to confirm that the card is correctly seated. Ensure that the gold contacts are fully inserted and making proper contact within the tray. This verification step is crucial to guarantee that the SIM card is securely positioned for optimal functionality.
By meticulously following these steps, you can effectively place the SIM card in the tray of your iPhone 5S, setting the stage for the final step of inserting the tray back into the device. This meticulous approach ensures that your SIM card is securely and accurately installed, paving the way for uninterrupted access to your mobile network and communication services.
Step 4: Insert the SIM card tray back into the iPhone 5S
With the SIM card securely placed in the tray, the final step in the process of managing your iPhone 5S SIM card involves reinserting the tray back into the device. This critical step ensures that the SIM card is seamlessly integrated into the iPhone 5S, allowing for uninterrupted connectivity and optimal performance. Follow the detailed instructions below to effectively insert the SIM card tray back into your iPhone 5S with precision and confidence.
-
Position the SIM Card Tray: Holding the iPhone 5S securely, align the SIM card tray with the corresponding slot on the device. Take care to position the tray correctly, ensuring that it fits flush with the edge of the iPhone 5S. The tray should align smoothly with the device, without any protrusions or misalignment.
-
Gently Insert the Tray: With the SIM card tray correctly positioned, gently slide it back into the iPhone 5S. Apply steady, even pressure to ensure that the tray smoothly re-enters the device without resistance. Exercise caution to prevent any jarring movements or misalignment during the insertion process.
-
Confirm Secure Placement: Once the SIM card tray is fully inserted into the iPhone 5S, take a moment to verify its secure placement. Ensure that the tray sits flush with the device's exterior and does not protrude or feel loose. This confirmation step is crucial in guaranteeing that the SIM card tray is securely and correctly reinserted into the iPhone 5S.
-
Power on the Device: After successfully reinserting the SIM card tray, power on your iPhone 5S to initiate the device's functionality. Allow the device to boot up and establish connectivity with the mobile network, confirming that the SIM card is recognized and operational. This step ensures that the SIM card is seamlessly integrated into the iPhone 5S, enabling you to access communication services effortlessly.
By meticulously following these steps, you can confidently reinsert the SIM card tray back into your iPhone 5S, completing the essential process of managing your device's SIM card. This meticulous approach ensures that your SIM card is securely and accurately installed, paving the way for uninterrupted access to your mobile network and communication services.