Introduction
Inserting a SIM card into your Android phone is a fundamental step in setting up your device for calls, texts, and mobile data. Whether you're activating a new phone or switching to a different carrier, understanding how to properly insert a SIM card is essential for seamless connectivity. In this guide, we'll walk you through the step-by-step process of inserting a SIM card into your Android phone, ensuring that you can effortlessly set up your device and stay connected on the go.
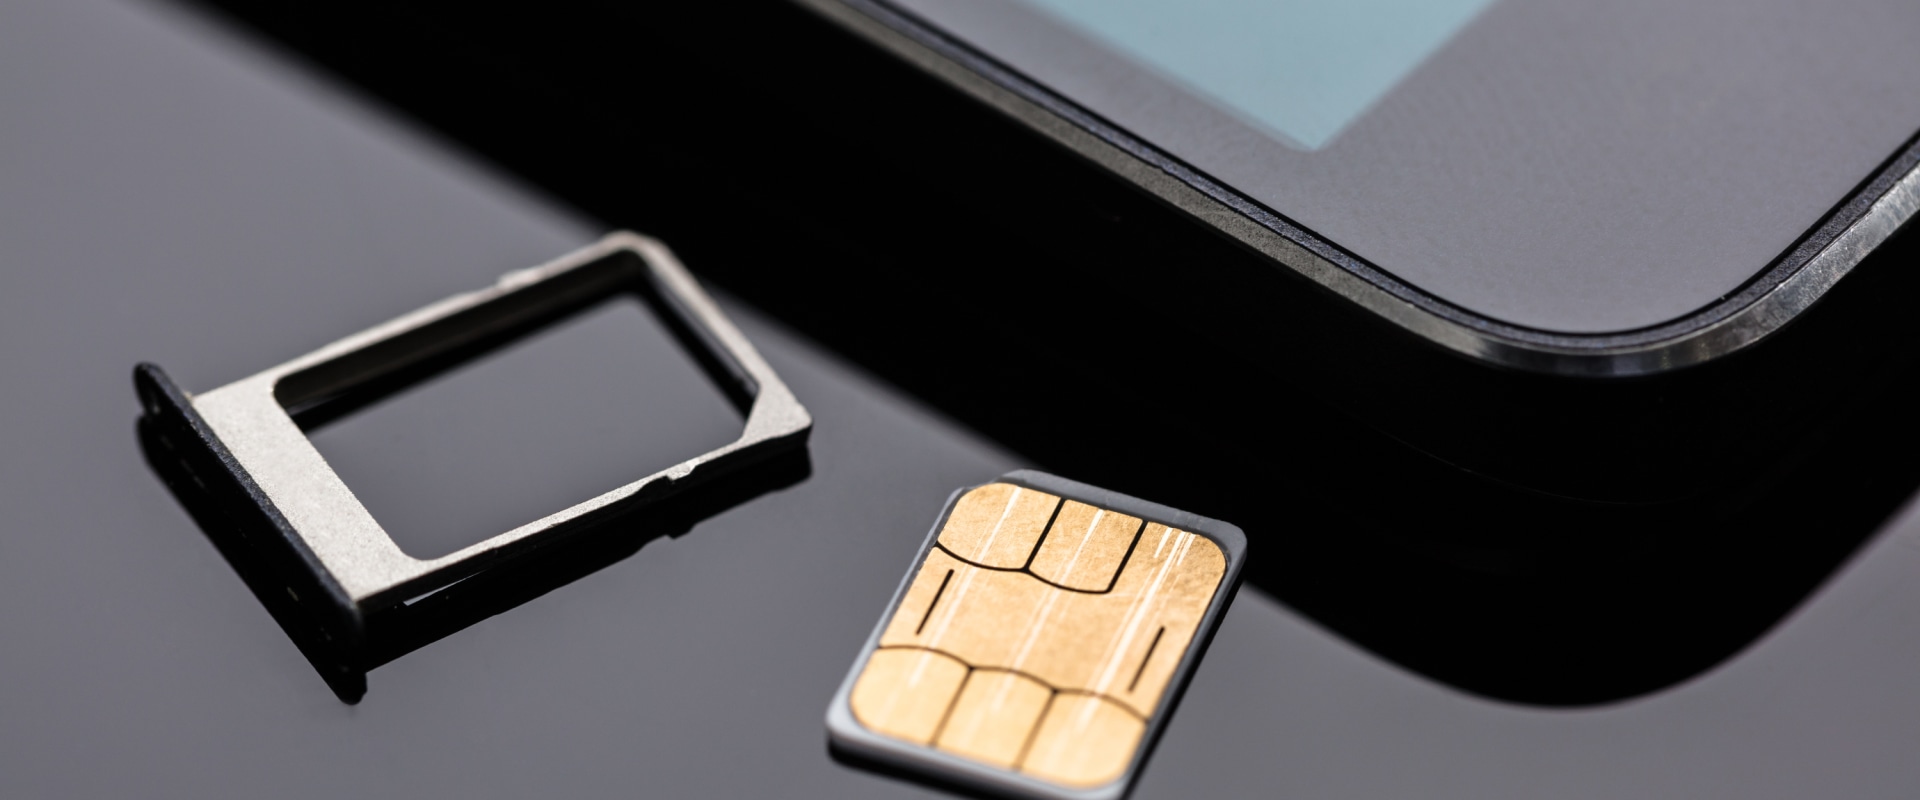
The SIM card, or Subscriber Identity Module, is a small, removable card that stores your phone number, contacts, and other essential information. It's a crucial component that enables your phone to connect to your carrier's network, allowing you to make calls, send texts, and access mobile data. Without a properly inserted SIM card, your phone would be unable to function as a communication device.
Understanding how to insert a SIM card into your Android phone is especially important for those who are new to the world of smartphones or have recently upgraded to a new device. By following the simple steps outlined in this guide, you'll be able to confidently set up your phone and ensure that it's ready for use in no time.
Now, let's dive into the step-by-step process of inserting a SIM card into your Android phone, empowering you to take full advantage of your device's communication capabilities.
Step 1: Locate the SIM card slot
Locating the SIM card slot is the first crucial step in preparing your Android phone for use with a carrier's network. The SIM card slot is typically located on the side of the phone, although the exact placement may vary depending on the specific model of your device. To locate the SIM card slot, follow these steps:
-
Refer to the User Manual: If you are unsure about the location of the SIM card slot on your specific Android phone, the user manual that came with your device is an invaluable resource. It often contains detailed illustrations and instructions on the physical layout of the phone, including the location of the SIM card slot.
-
Inspect the Phone's Exterior: Take a close look at the sides of your phone, paying attention to any small openings or trays. The SIM card slot is commonly housed within a small compartment that can be accessed by using a SIM card removal tool or a paperclip.
-
Check for Labels or Symbols: Some phone manufacturers label the SIM card slot or provide symbols to indicate its location. Look for icons such as a small SIM card outline or the word "SIM" near the slot. These visual cues can help you quickly identify the SIM card slot on your Android phone.
-
Online Resources: If you are unable to locate the SIM card slot using the user manual or visual inspection, consider searching online for the specific location of the SIM card slot on your phone model. Many manufacturers and tech websites provide detailed guides and tutorials for various phone models, including information on the SIM card slot location.
By carefully following these steps and utilizing the available resources, you can confidently locate the SIM card slot on your Android phone. Once you have identified the slot, you will be ready to proceed with the subsequent steps of inserting the SIM card and setting up your device for seamless connectivity.
This initial step sets the stage for the successful insertion of the SIM card, ensuring that you can proceed with the subsequent steps of the setup process with ease and confidence.
Step 2: Power off the phone
Before inserting the SIM card into your Android phone, it is essential to power off the device to prevent any potential disruption during the setup process. Powering off the phone ensures that you can safely access the SIM card slot and insert the card without any interference from active phone functions. This step is crucial for protecting both the SIM card and the phone itself from any potential damage that could occur if the device were to remain powered on during the insertion process.
To power off your Android phone, follow these simple steps:
-
Locate the power button: The power button is typically located on the side or top of the phone, depending on the specific model. It is often identifiable by a small icon resembling a circle with a vertical line inside, representing the universal symbol for power.
-
Press and hold the power button: Firmly press and hold the power button until the on-screen prompt appears, providing options to power off the device. Depending on the phone model and software version, the appearance of the prompt may vary, but it generally includes the option to power off the phone.
-
Select "Power off" or "Shut down": Once the on-screen prompt appears, select the option to power off the phone. This action initiates the shutdown process, and the device's screen will display a confirmation message indicating that it is powering down.
-
Wait for the phone to turn off: Allow the phone to complete the shutdown process, which may take a few seconds. You will notice the screen turning off, and the device will no longer be responsive to touch or button inputs.
By following these steps to power off your Android phone, you can ensure that the device is safely prepared for the next stage of the setup process. Powering off the phone creates a secure environment for inserting the SIM card, minimizing the risk of any technical issues or physical damage to the card or the phone itself. With the phone powered off, you are now ready to proceed with the next step of inserting the SIM card into your Android device.
This pivotal step sets the foundation for a smooth and successful SIM card insertion, allowing you to seamlessly transition to the subsequent steps of setting up your phone for connectivity with your carrier's network.
Step 3: Insert the SIM card
Now that the phone is powered off, you are ready to insert the SIM card into your Android device. This step is pivotal in establishing the connection between your phone and your carrier's network, enabling you to make calls, send texts, and access mobile data. Follow these detailed instructions to ensure a seamless and successful insertion of the SIM card:
-
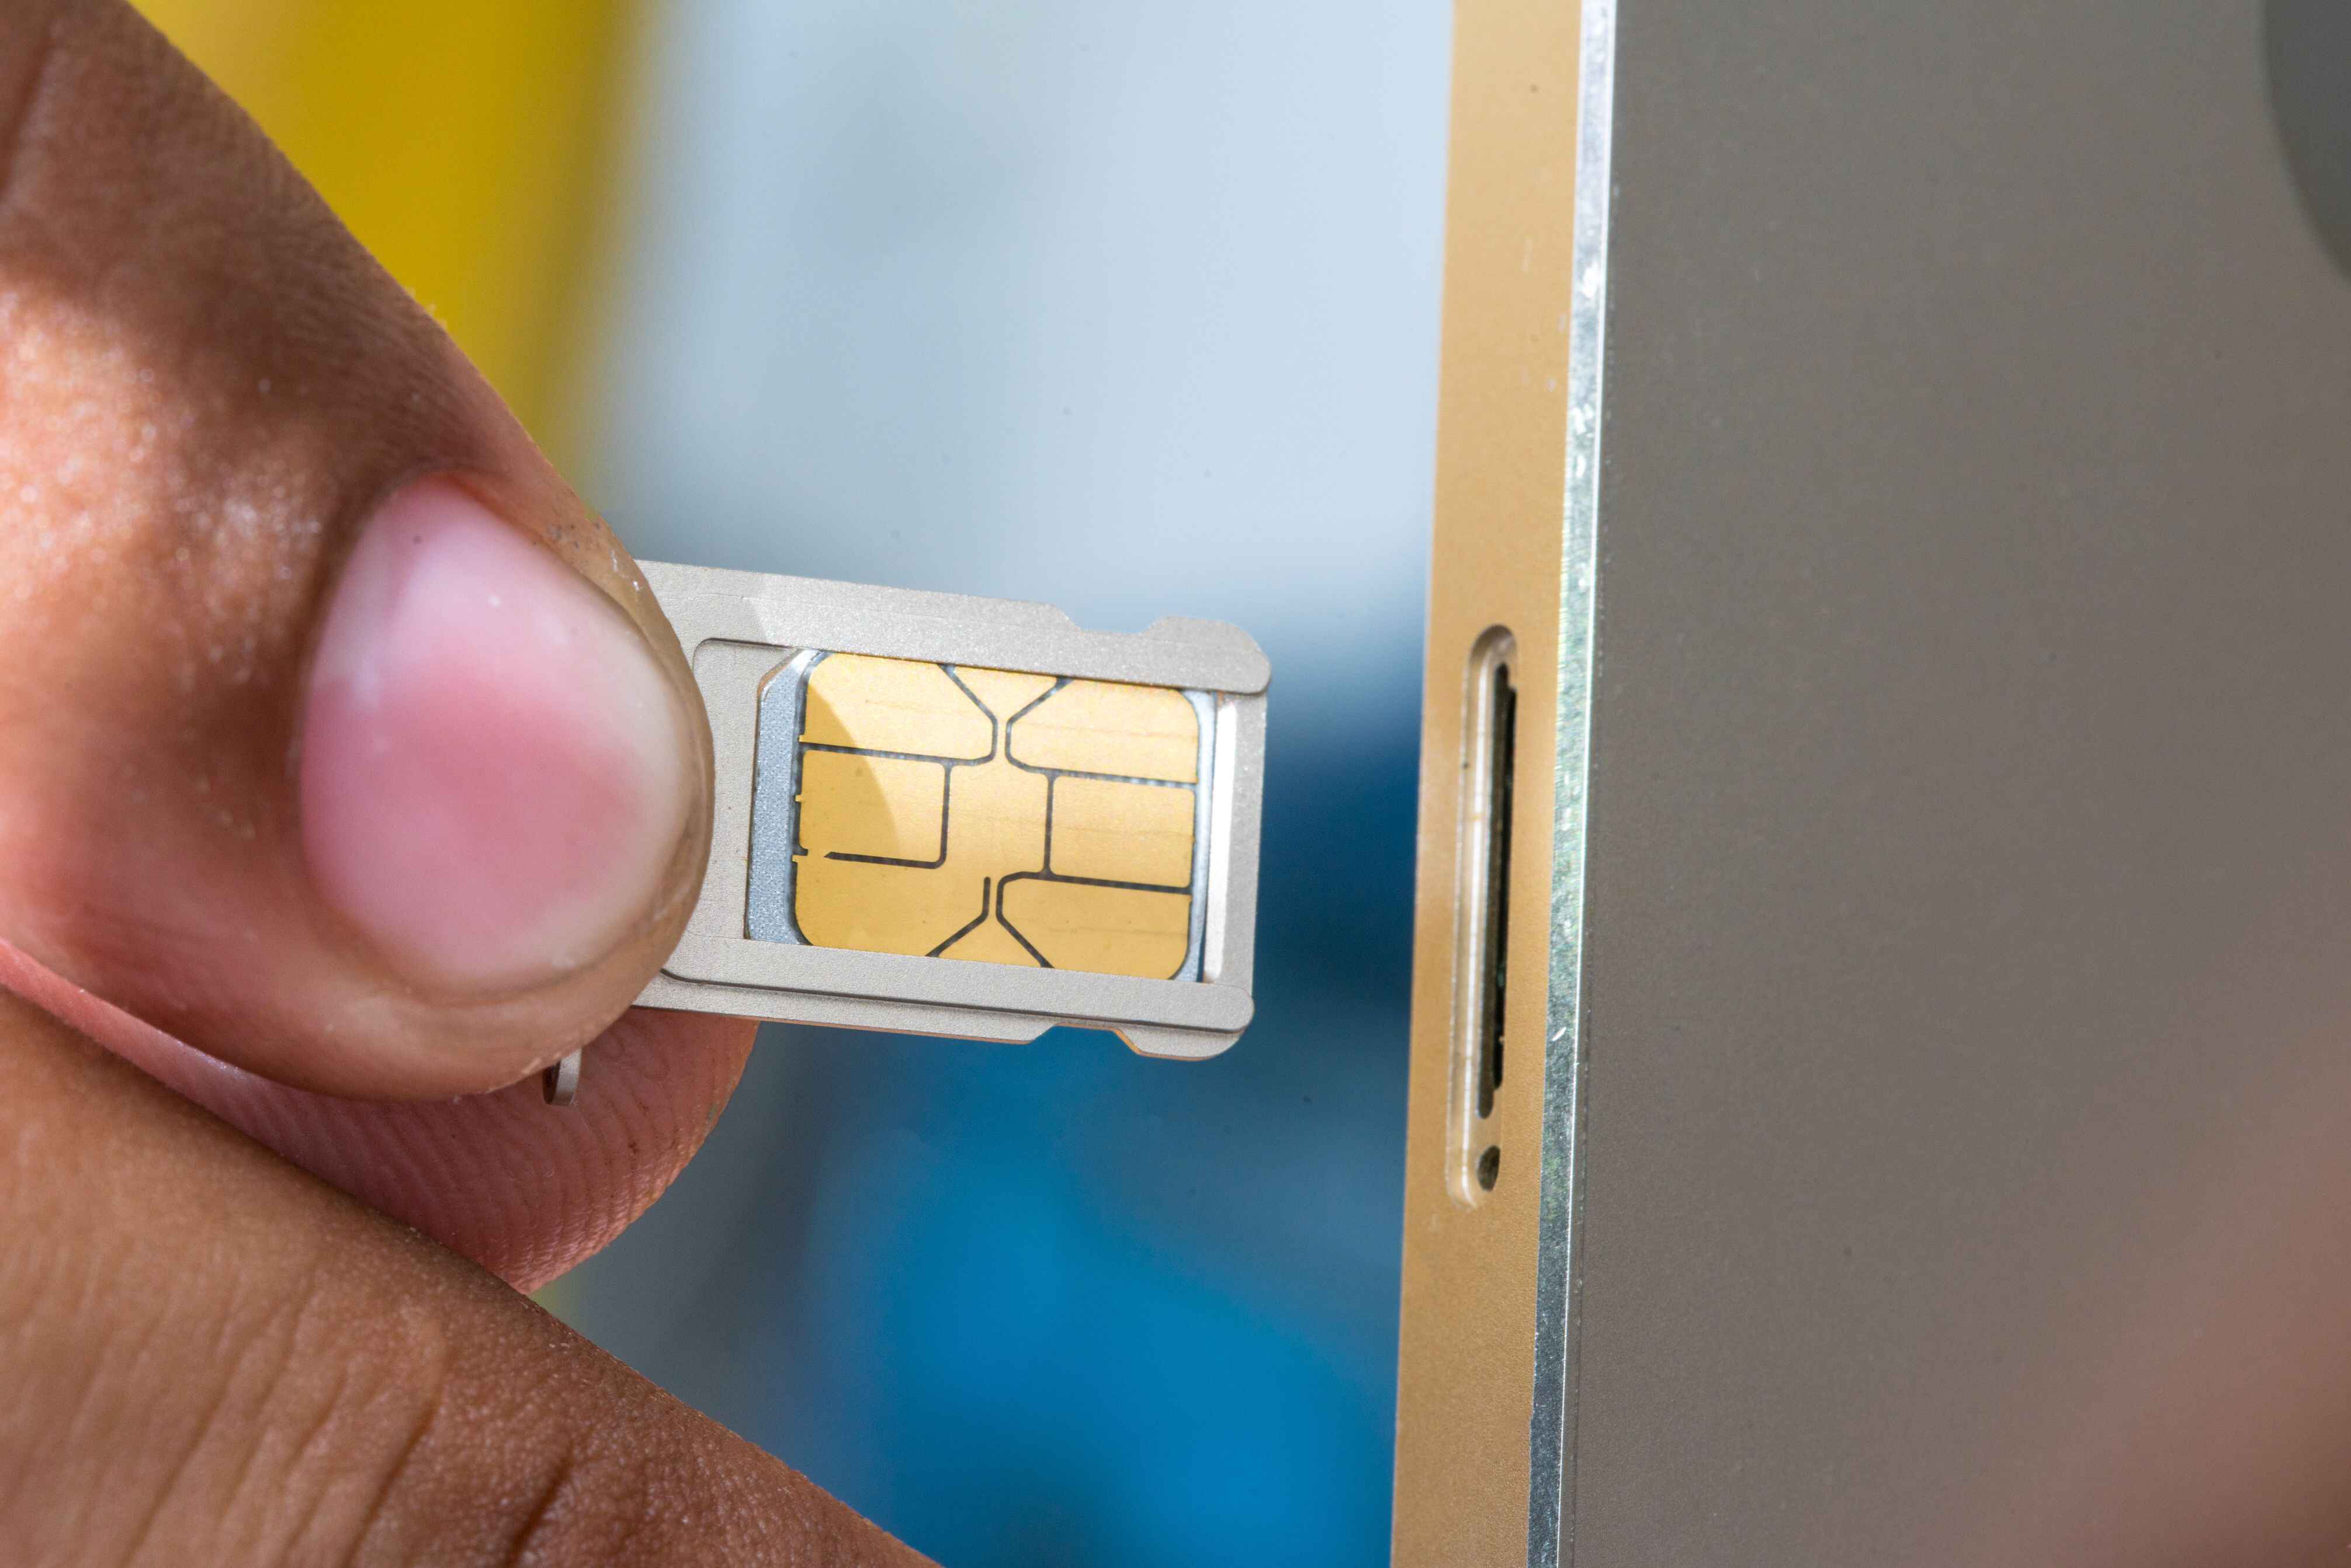
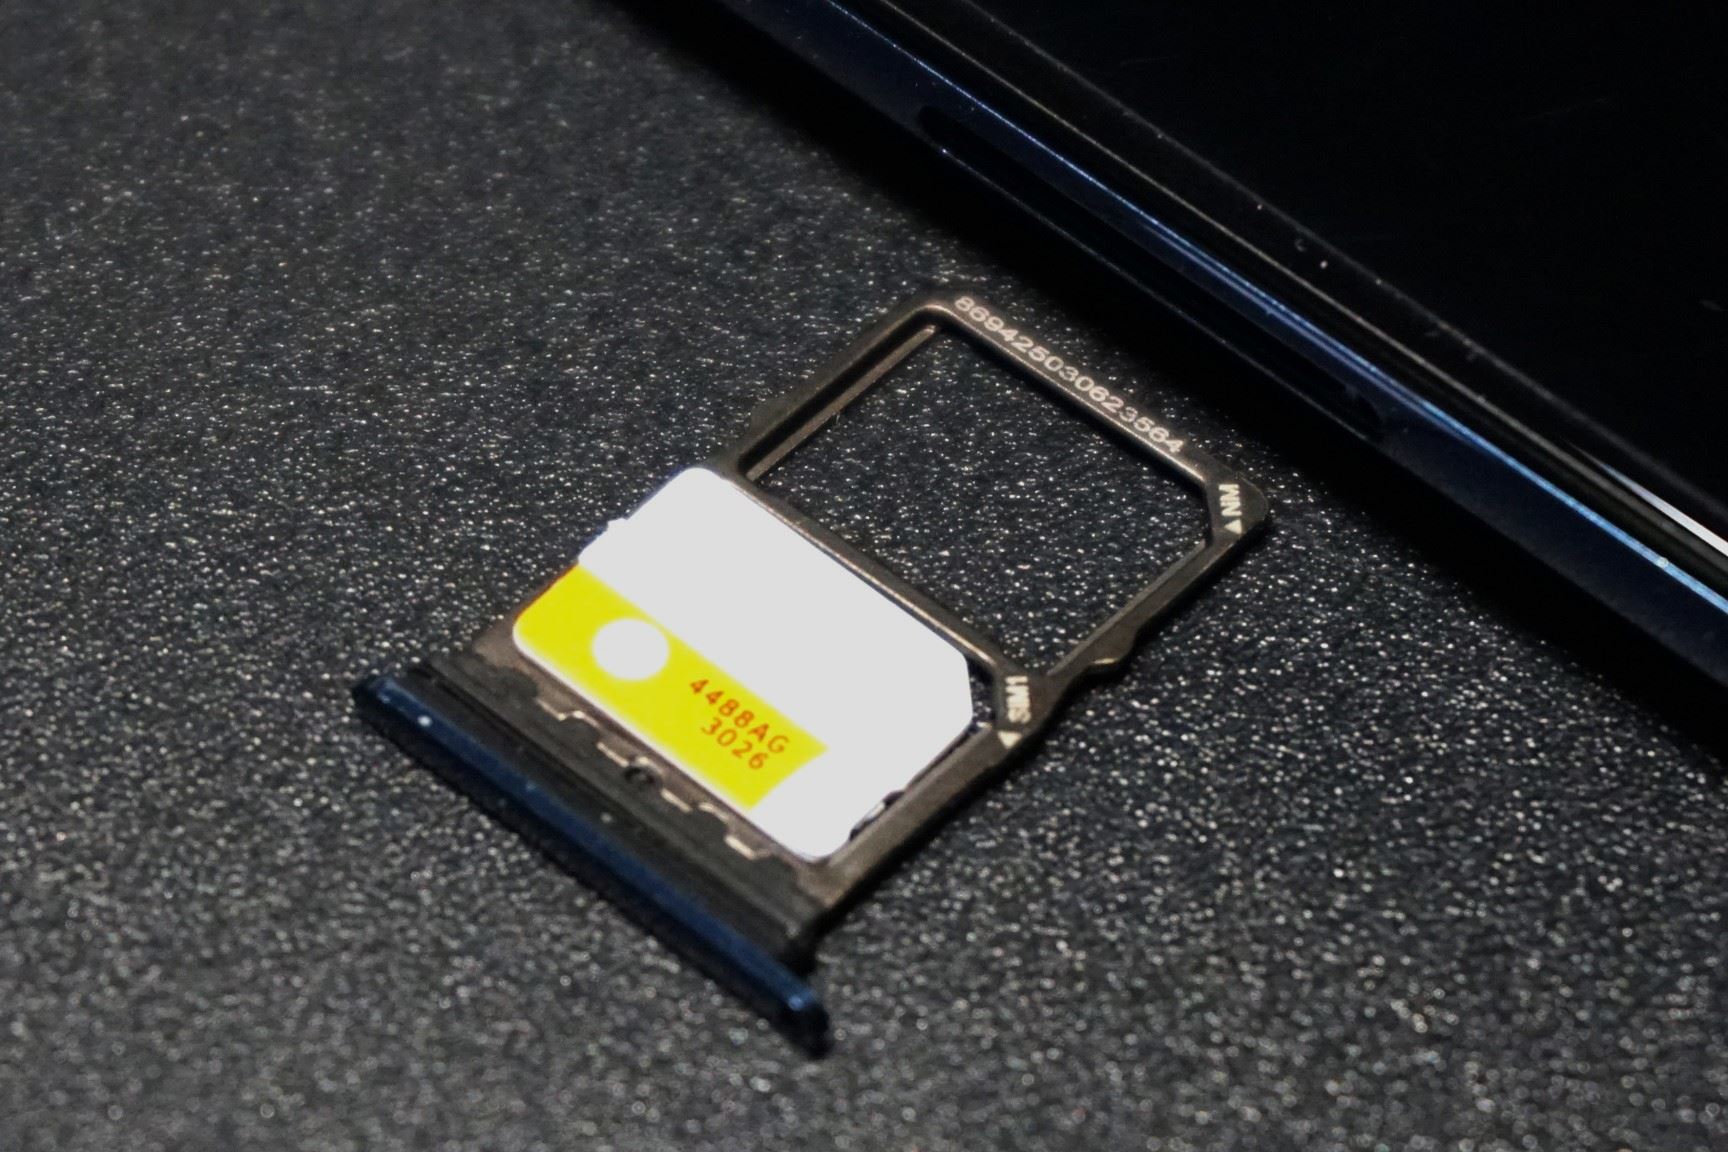
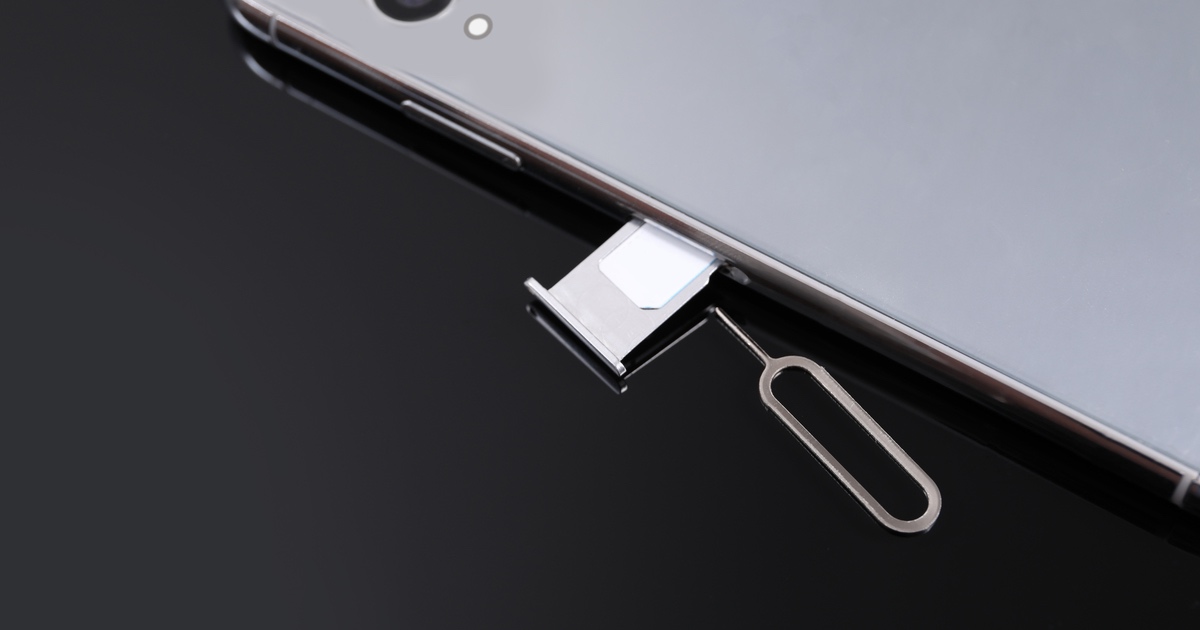
Locate the SIM card tray: The SIM card tray is typically located near the top or side of the phone, depending on the specific model. It is a small, rectangular or oval-shaped slot with a tiny pinhole next to it. Use the SIM card removal tool or a paperclip to gently press into the pinhole, causing the tray to pop out slightly.
-
Remove the SIM card tray: Once the SIM card tray is partially ejected, carefully pull it out from the phone. The tray is designed to hold the SIM card securely in place and prevent it from shifting during normal use. Place the phone on a stable surface to ensure that the tray and SIM card remain undisturbed.
-
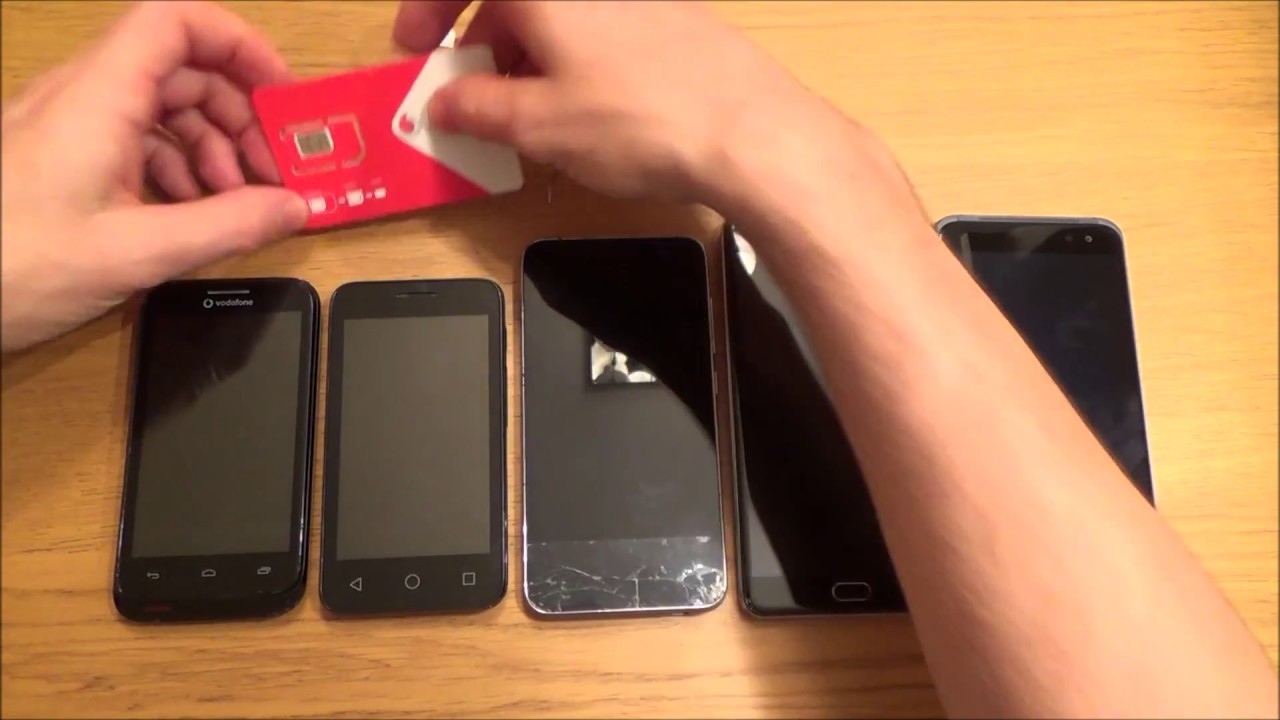
Position the SIM card: Examine the SIM card to identify the correct orientation for insertion. Most SIM cards have a notched corner, which aligns with a corresponding notch or outline on the SIM card tray. Place the SIM card on the tray, ensuring that it fits snugly and aligns with the designated guides.
-
Insert the SIM card tray: With the SIM card positioned correctly on the tray, carefully slide the tray back into the phone. Apply gentle pressure to ensure that the tray is fully seated in its original position, with no protruding edges. Be mindful of the orientation to prevent any potential damage to the SIM card or the phone.
-
Secure the SIM card tray: Once the tray is securely inserted, gently press it until it clicks into place, indicating that it is fully engaged with the phone. Ensure that the tray sits flush with the phone's exterior, maintaining a seamless and uniform appearance.
By following these detailed steps, you can confidently insert the SIM card into your Android phone, setting the stage for seamless connectivity and communication. With the SIM card securely in place, you are now ready to power on the phone and verify that the SIM card is recognized, enabling you to complete the setup process and enjoy the full functionality of your device.
Step 4: Power on the phone
With the SIM card successfully inserted into your Android phone, the next crucial step is to power on the device. Powering on the phone initiates the startup sequence, allowing the device to recognize the newly inserted SIM card and establish connectivity with your carrier's network. This step is essential for activating the SIM card and ensuring that your phone is ready to make calls, send texts, and access mobile data.
To power on your Android phone, follow these simple yet pivotal steps:
-
Press and hold the power button: Locate the power button on the side or top of the phone and firmly press and hold it until the device's screen illuminates. As you hold the power button, you will notice the phone's startup sequence commencing, indicated by the appearance of the device's logo or manufacturer's branding on the screen.
-
Wait for the phone to boot up: Once the screen lights up, continue holding the power button until the phone completes the startup process. Depending on the specific model and software configuration, the startup sequence may include animations or loading indicators as the device initializes its operating system and prepares to become fully operational.
-
Unlock the phone: Once the phone has powered on and completed the startup process, you will be prompted to unlock the device using your preferred security method, such as a PIN, pattern, or biometric authentication (e.g., fingerprint or facial recognition). Enter the required credentials to access the device's home screen and interface.
By following these steps to power on your Android phone, you are enabling the device to recognize the inserted SIM card and establish connectivity with your carrier's network. This pivotal step sets the stage for the phone to complete the activation process, ensuring that you can seamlessly transition to the final step of verifying that the SIM card is recognized and ready for use.
With the phone powered on, you are now ready to proceed to the next and final step of the setup process, empowering you to complete the activation of the SIM card and confirm that your Android phone is fully prepared for seamless communication and connectivity.
Step 5: Verify the SIM card is recognized
After powering on your Android phone and allowing it to complete the startup process, it is crucial to verify that the inserted SIM card is recognized and functioning properly. This final step ensures that your device is ready to establish connectivity with your carrier's network, enabling you to make calls, send texts, and access mobile data without any issues. To verify that the SIM card is recognized, follow these essential steps:
-
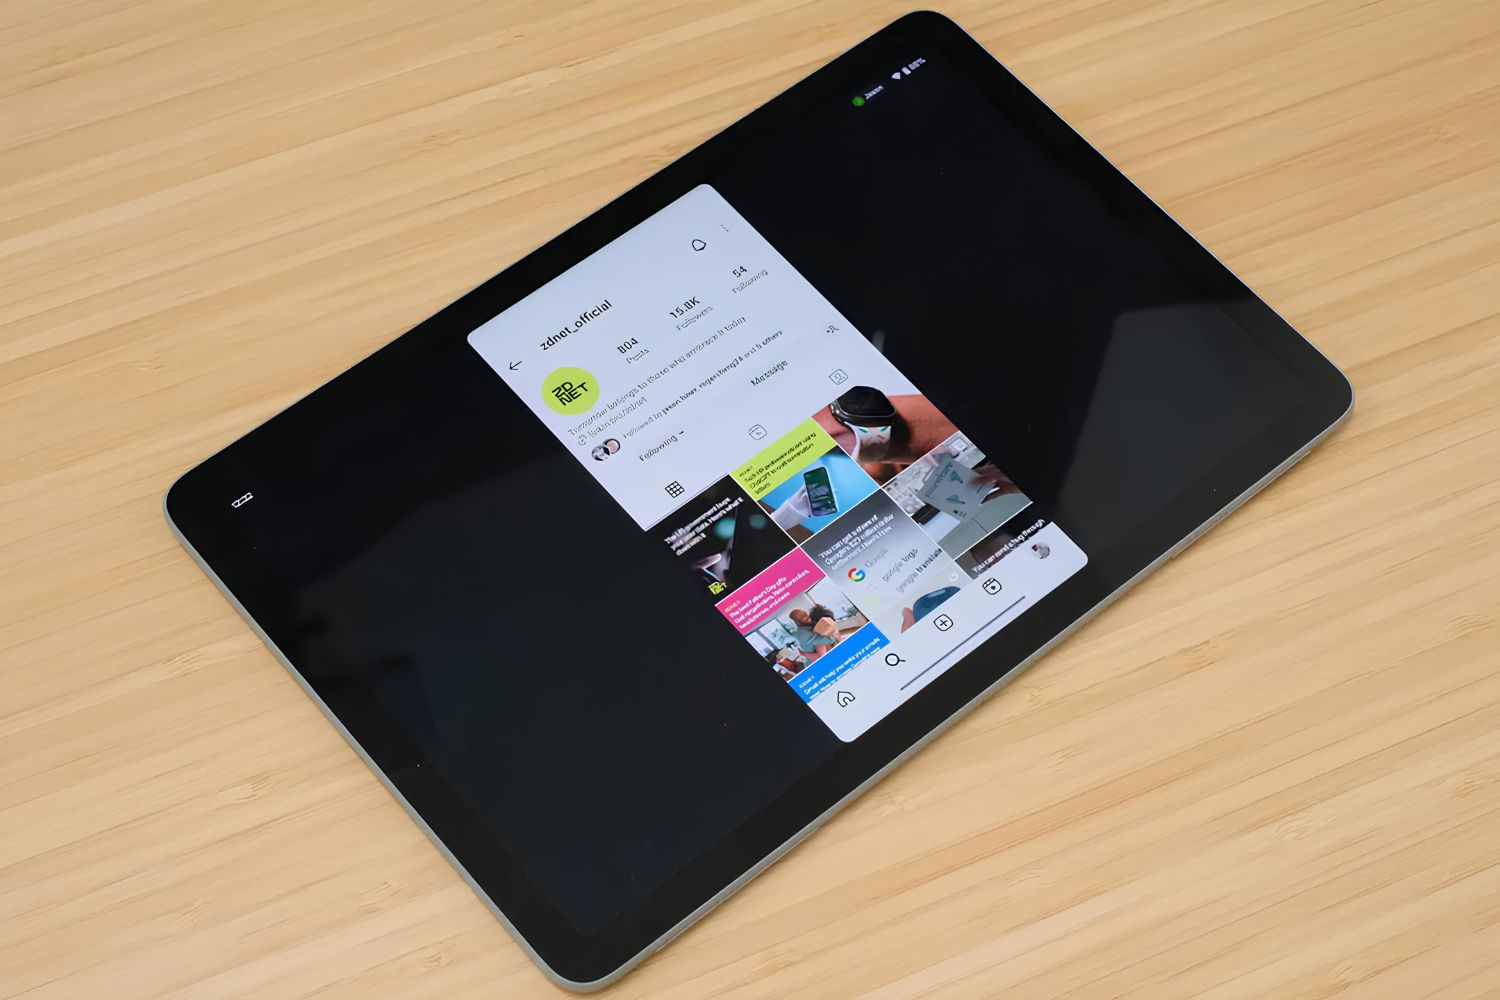
Check for Signal Reception: Once the phone has powered on and you have unlocked the device, observe the signal strength indicator on the screen. Look for the signal bars or icons that indicate the phone's ability to connect to the carrier's network. A sufficient signal strength display confirms that the SIM card is recognized and that the phone is successfully communicating with the network.
-
Make a Test Call or Send a Text: To further confirm that the SIM card is recognized and fully operational, place a test call to a known number or send a text message to a trusted contact. Initiating a call or text message validates the phone's ability to utilize the carrier's network for communication. If the call connects, or if the text message is sent and received without any issues, it indicates that the SIM card is recognized and functioning as intended.
-
Access Mobile Data: If your mobile plan includes data services, attempt to access the internet or use a data-dependent application, such as a web browser or messaging app. By successfully accessing mobile data, you can validate that the SIM card enables the phone to connect to the carrier's data network, allowing you to browse the web and utilize online services seamlessly.
-
Check for Carrier Information: Navigate to the phone's settings or status information to verify that the correct carrier information is displayed. This can typically be found in the "About phone" or "Network" section of the device settings. Confirm that the carrier name and network details align with your subscribed carrier, indicating that the SIM card is recognized and actively connected to the intended network.
By diligently following these steps to verify that the SIM card is recognized, you can ensure that your Android phone is fully prepared for seamless communication and connectivity. Successfully confirming the recognition of the SIM card validates that the setup process has been completed effectively, empowering you to utilize your device for calls, texts, and mobile data with confidence.
This pivotal step marks the culmination of the SIM card insertion process, enabling you to enjoy the full functionality of your Android phone and stay connected on the go.
Conclusion
In conclusion, the process of inserting a SIM card into your Android phone is a fundamental step that sets the stage for seamless connectivity and communication. By following the step-by-step guide outlined in this article, you have gained valuable insights into the essential procedures for preparing your device to recognize and utilize the SIM card effectively.
Understanding the importance of locating the SIM card slot, powering off the phone, and carefully inserting the SIM card empowers you to navigate the setup process with confidence and precision. By taking the time to identify the SIM card slot, power off the phone, and insert the SIM card correctly, you have ensured that your Android phone is ready to establish connectivity with your carrier's network.
The subsequent steps of powering on the phone and verifying that the SIM card is recognized have further solidified the successful setup of your device, confirming its readiness for seamless communication and connectivity. By checking for signal reception, making test calls or sending texts, accessing mobile data, and verifying carrier information, you have validated that the SIM card is recognized and functioning as intended.
It is important to note that the successful insertion and recognition of the SIM card are pivotal for unlocking the full potential of your Android phone, enabling you to make calls, send texts, and access mobile data without any interruptions. This process ensures that your device is fully prepared to serve as a reliable communication tool, keeping you connected with friends, family, and colleagues while on the go.
As you embark on your journey with your newly inserted SIM card, remember that proper handling and care of the SIM card and the phone are essential for maintaining seamless connectivity. By following the guidelines provided in this article and staying informed about the setup process, you can confidently navigate the world of mobile communication and enjoy the full benefits of your Android phone.
With the SIM card securely inserted and recognized by your Android phone, you are now well-equipped to embrace the convenience and connectivity that mobile technology has to offer. Whether you're making important calls, sending crucial texts, or accessing the internet on the go, your device is primed and ready to support your communication needs effectively.
In essence, the successful insertion and recognition of the SIM card mark a pivotal milestone in your journey with your Android phone, setting the stage for seamless connectivity and empowering you to stay connected with the world around you.